The Conversation (0)
Sign Up
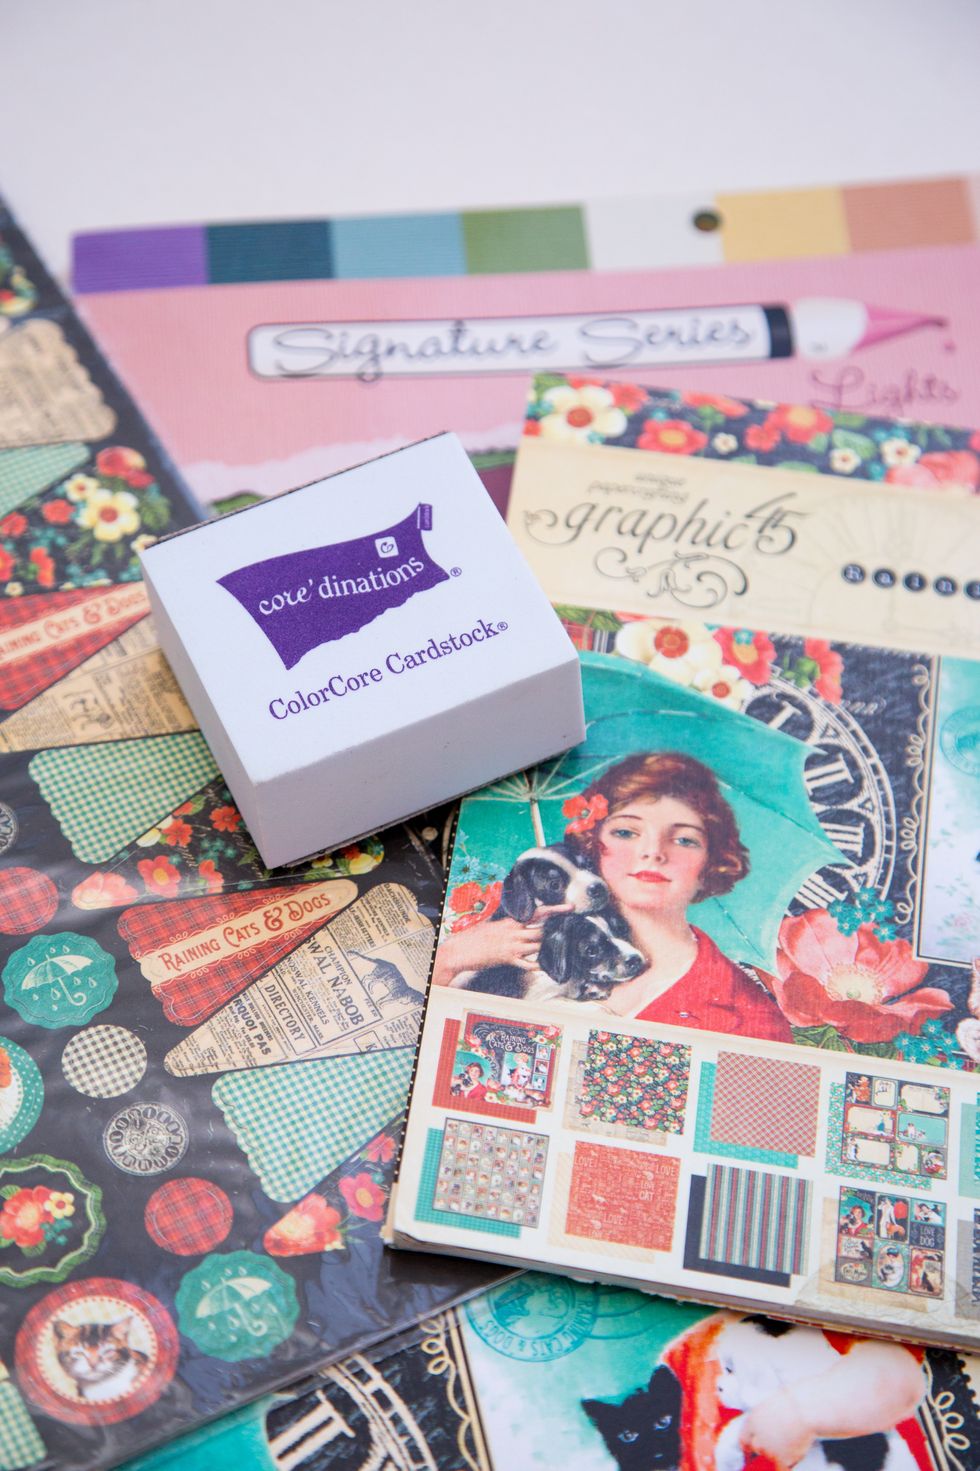
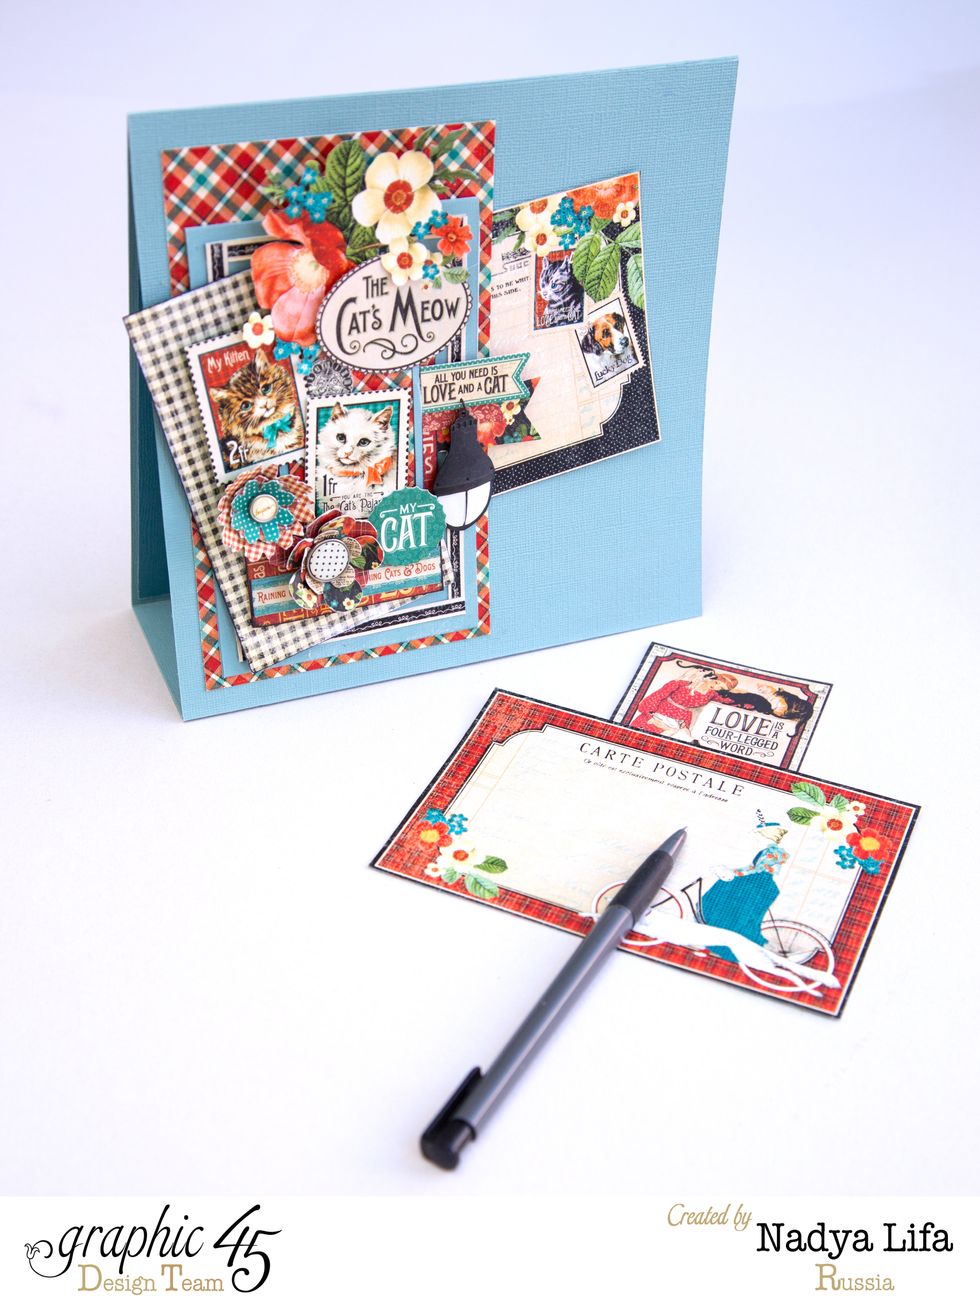
Oh, What a perfect materials to use!!! My lovely adorable Graphic 45 Raining Cats and Dogs collection and fantasic cardstock by Core`Dinations! Just #scraprightnow with me!
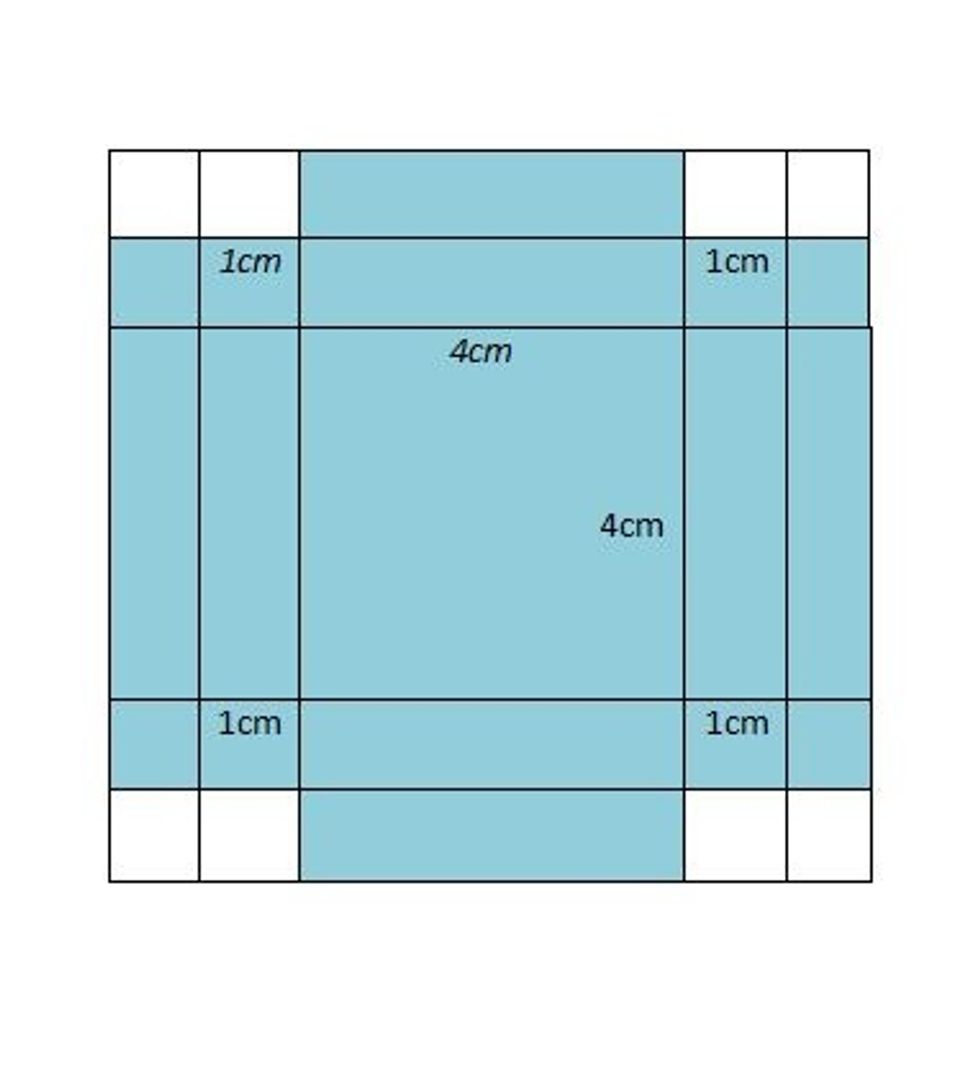
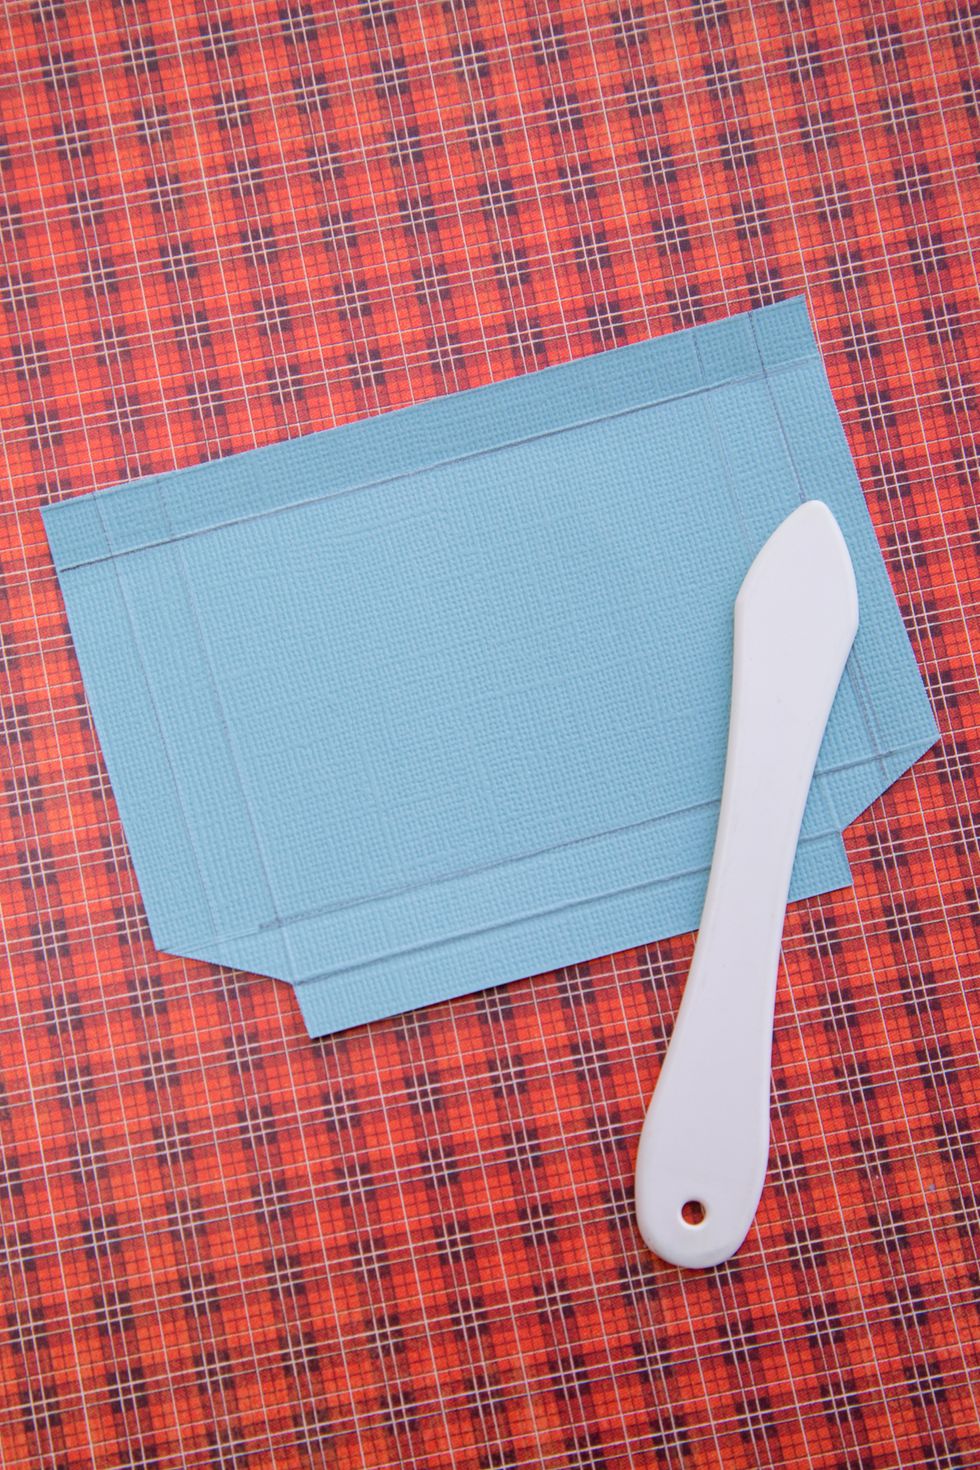
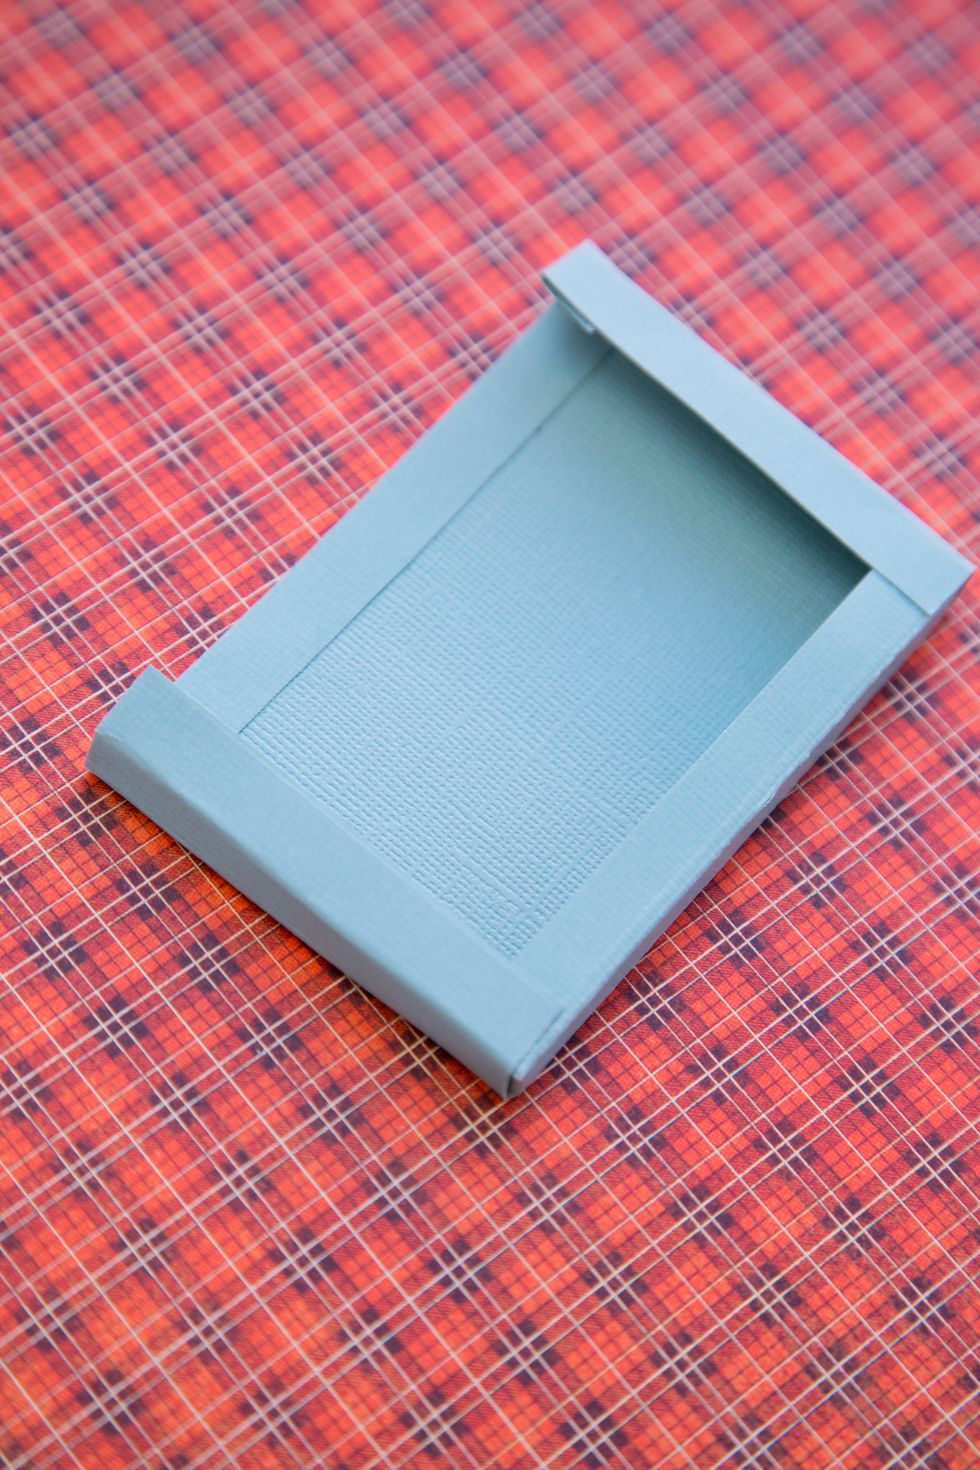
You need to create 3 parts as on the scheme...

Cut out the corners of the items as on the picture.
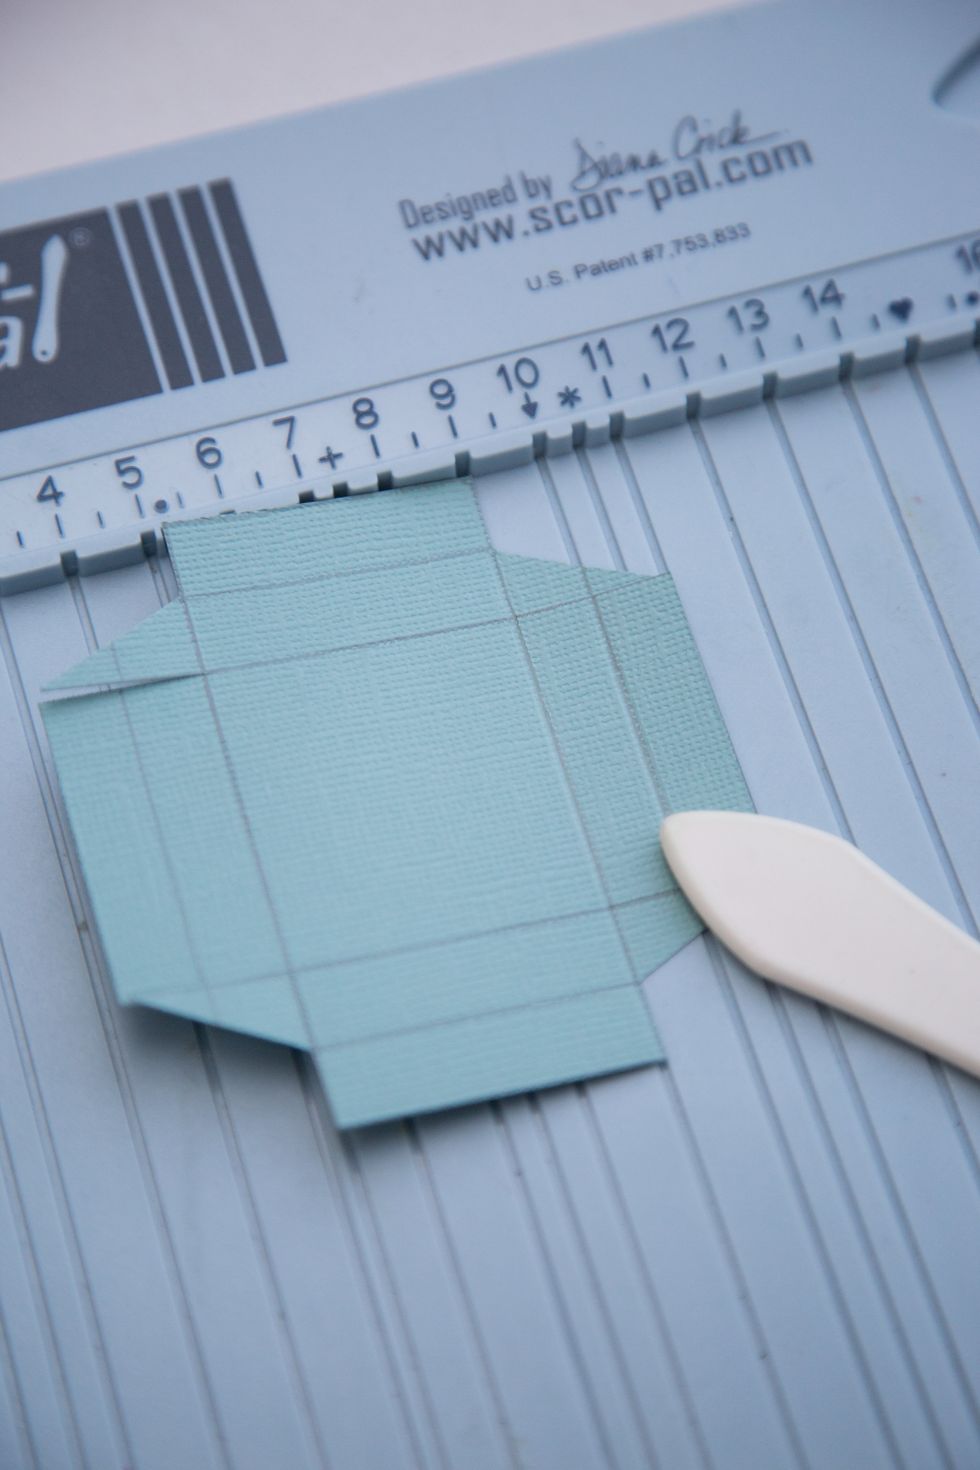
Use the board for scoring to work out on cardboard folds.
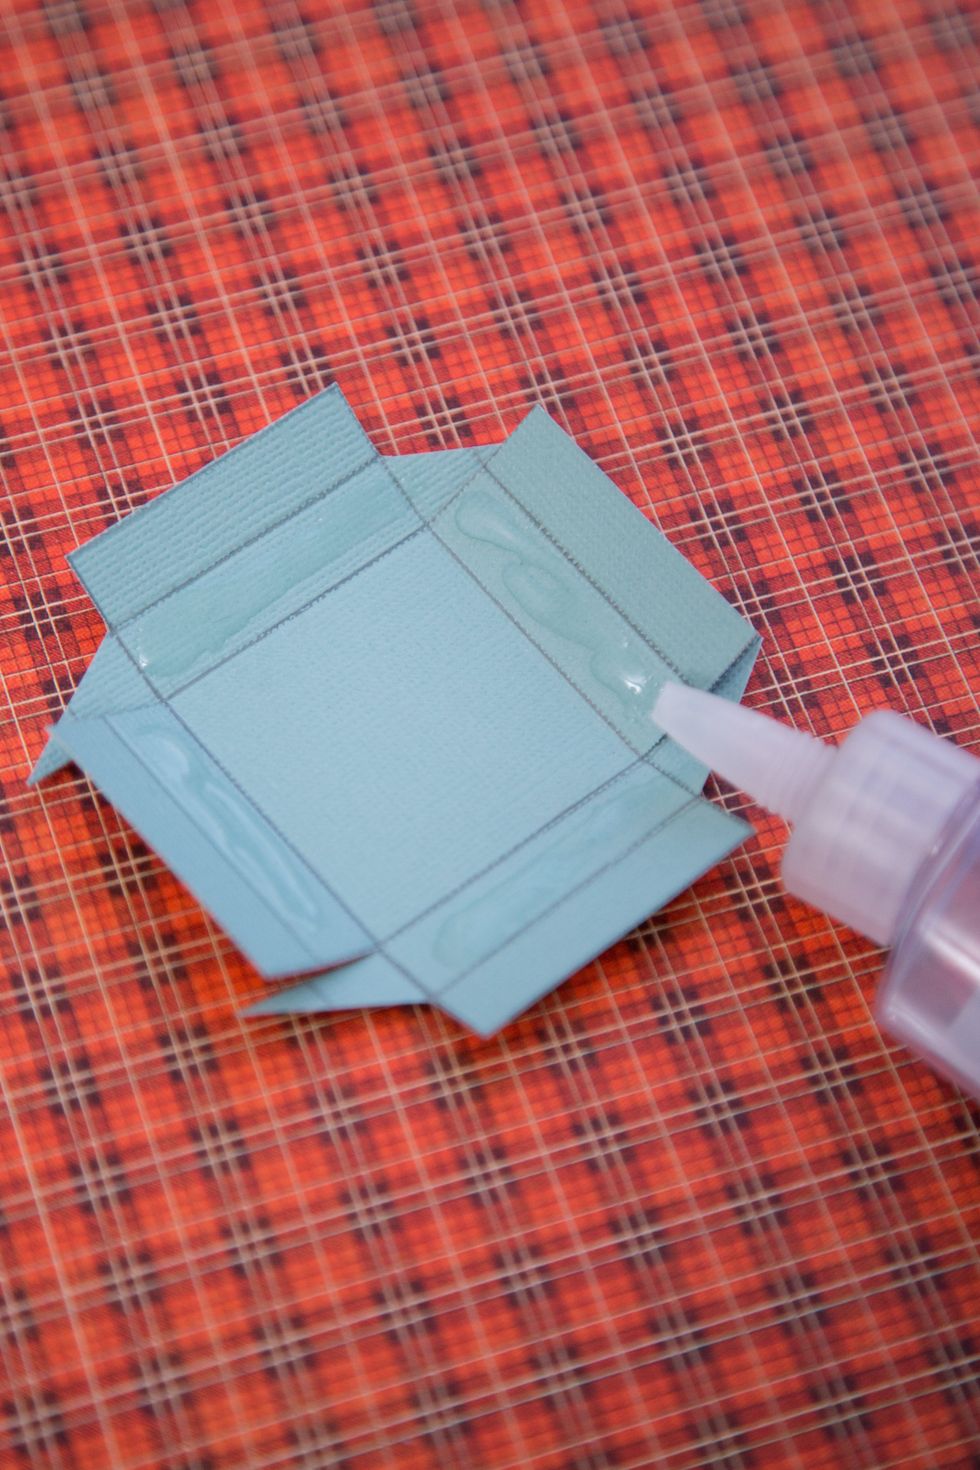
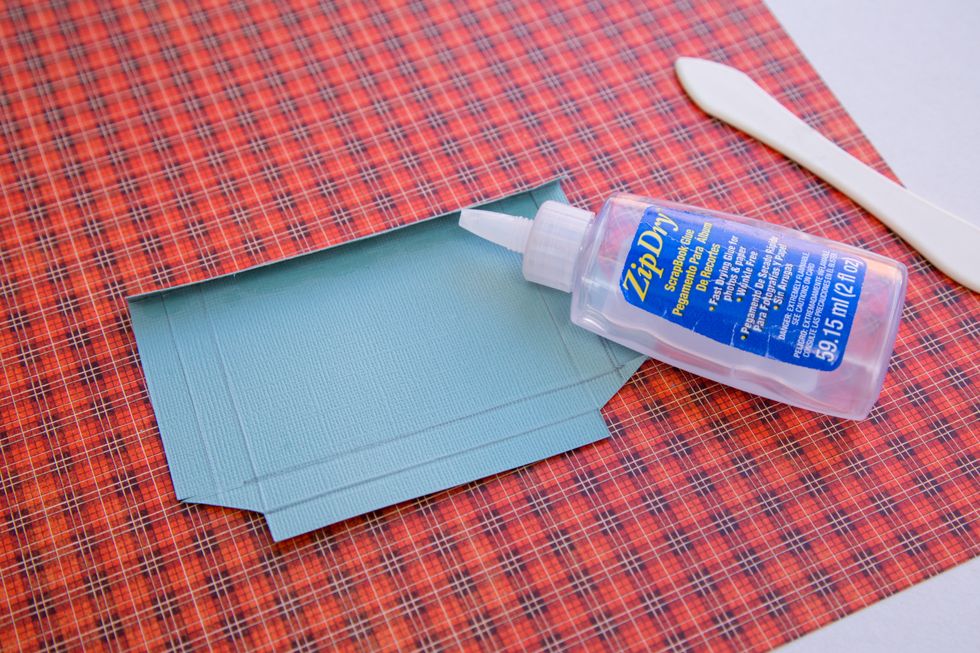
Add glue on the parts like on photo.
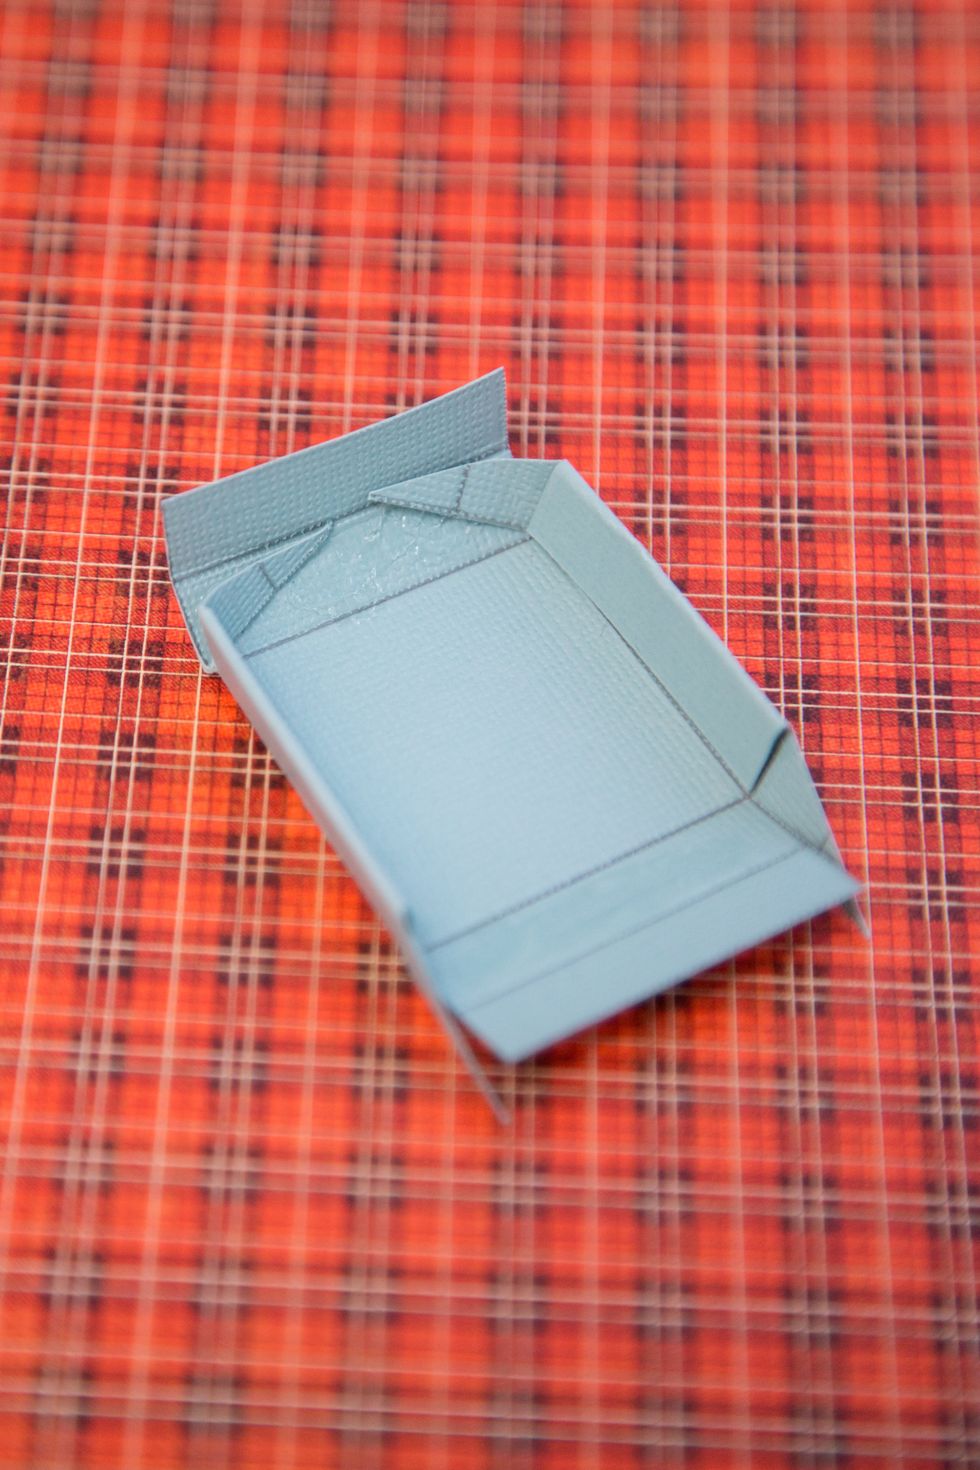
Collect а box!
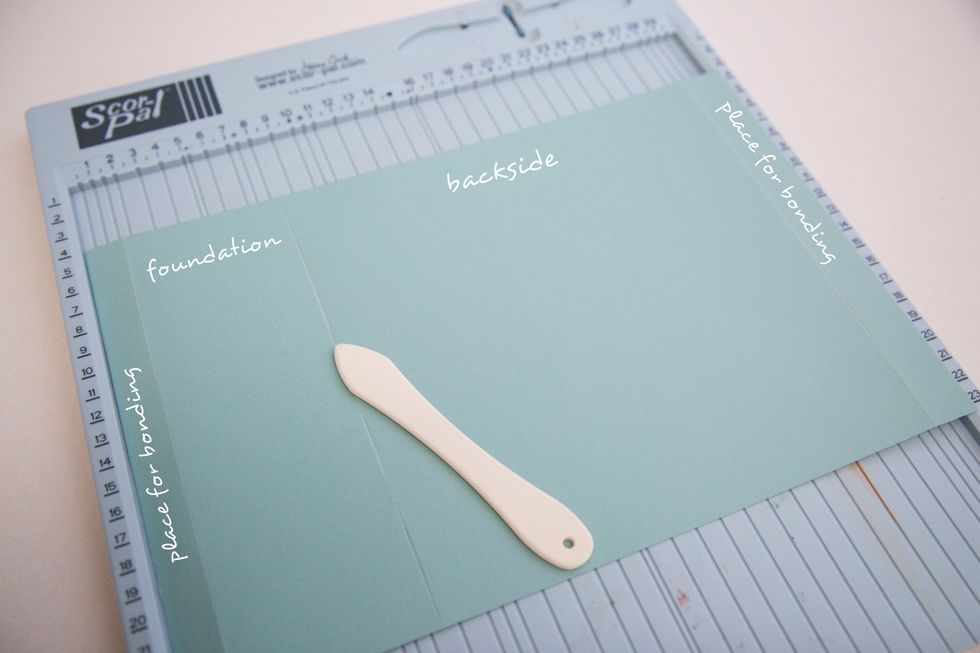
Take 2 sheets from Core`Dinations Cardstock Signature Series Lights! You need to have 1 sheet size 30,5\20cm and 1 sheet 27\20cm

Stick to the upside and backside the piece of cardstock. it will strengthen the Planner.
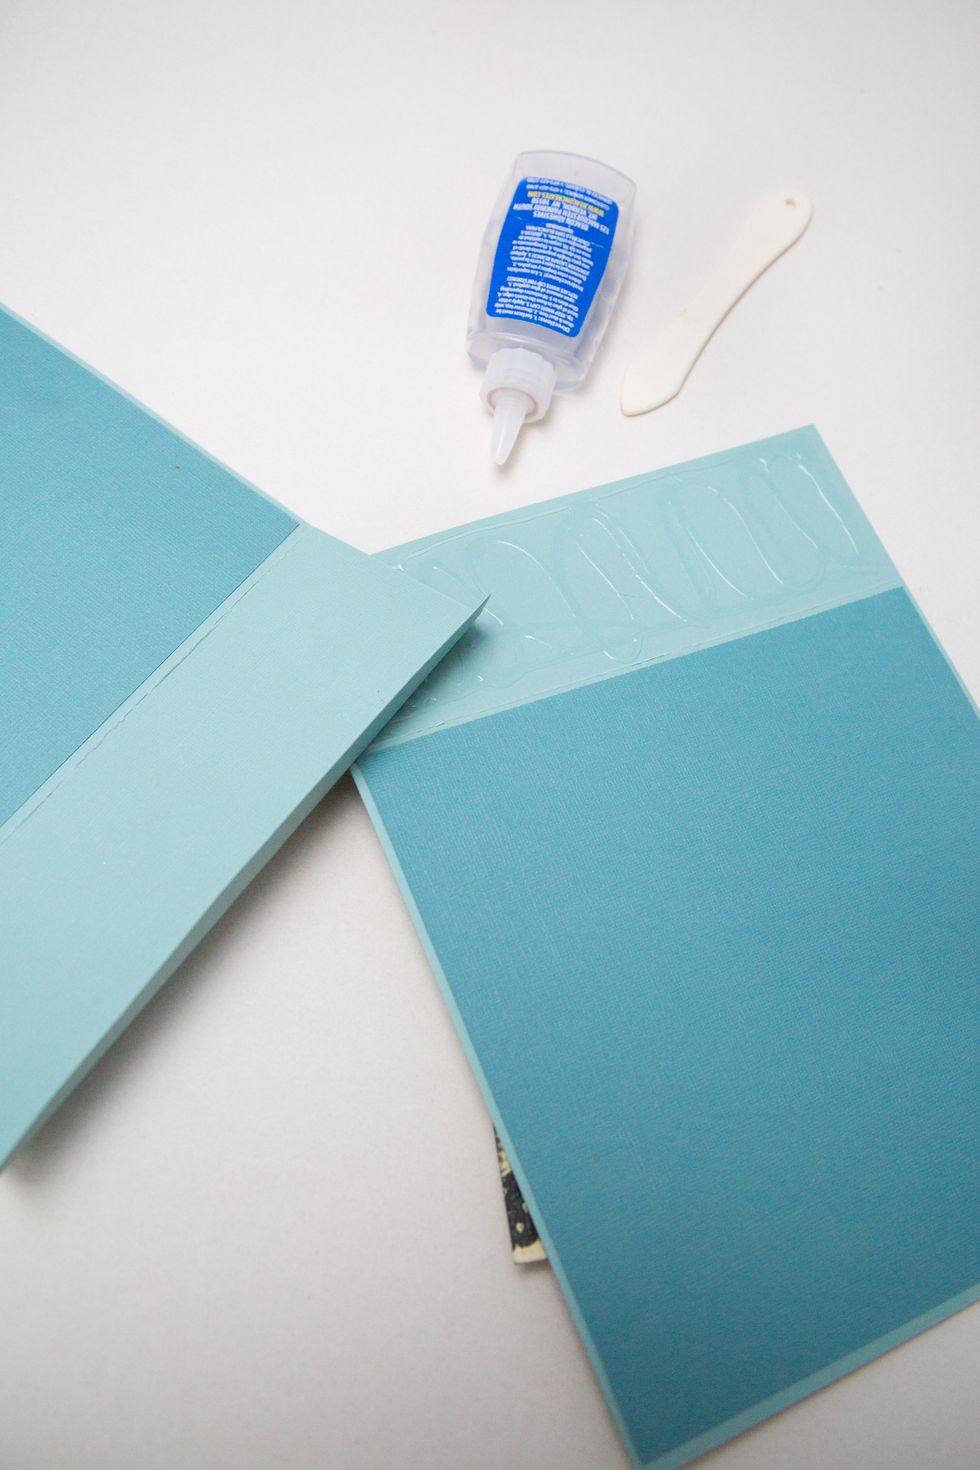
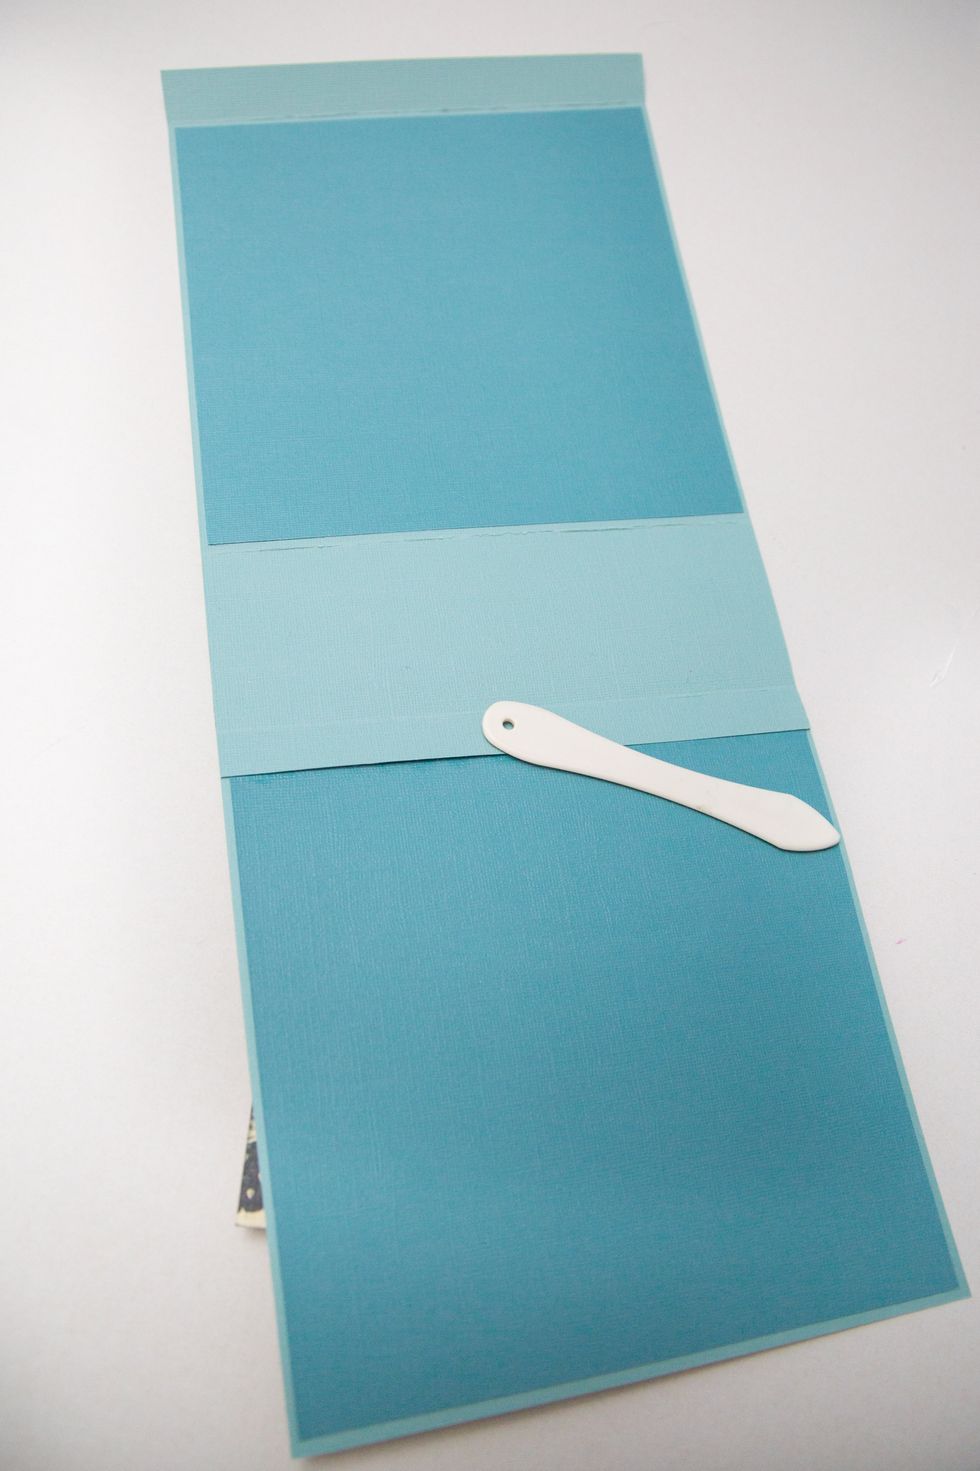
Glue the two parts together.
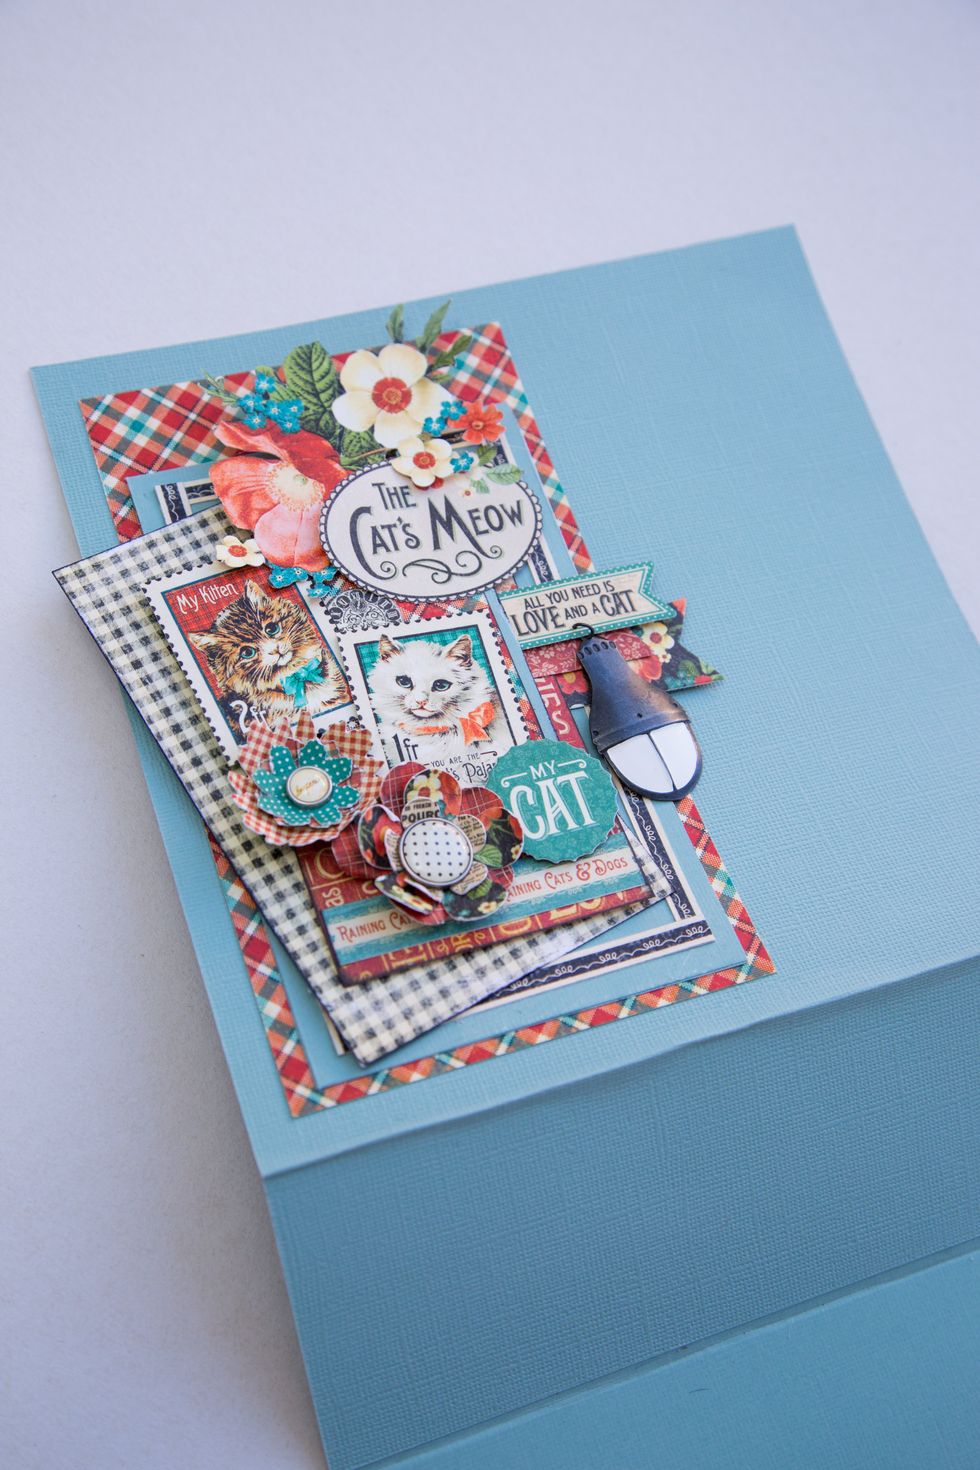
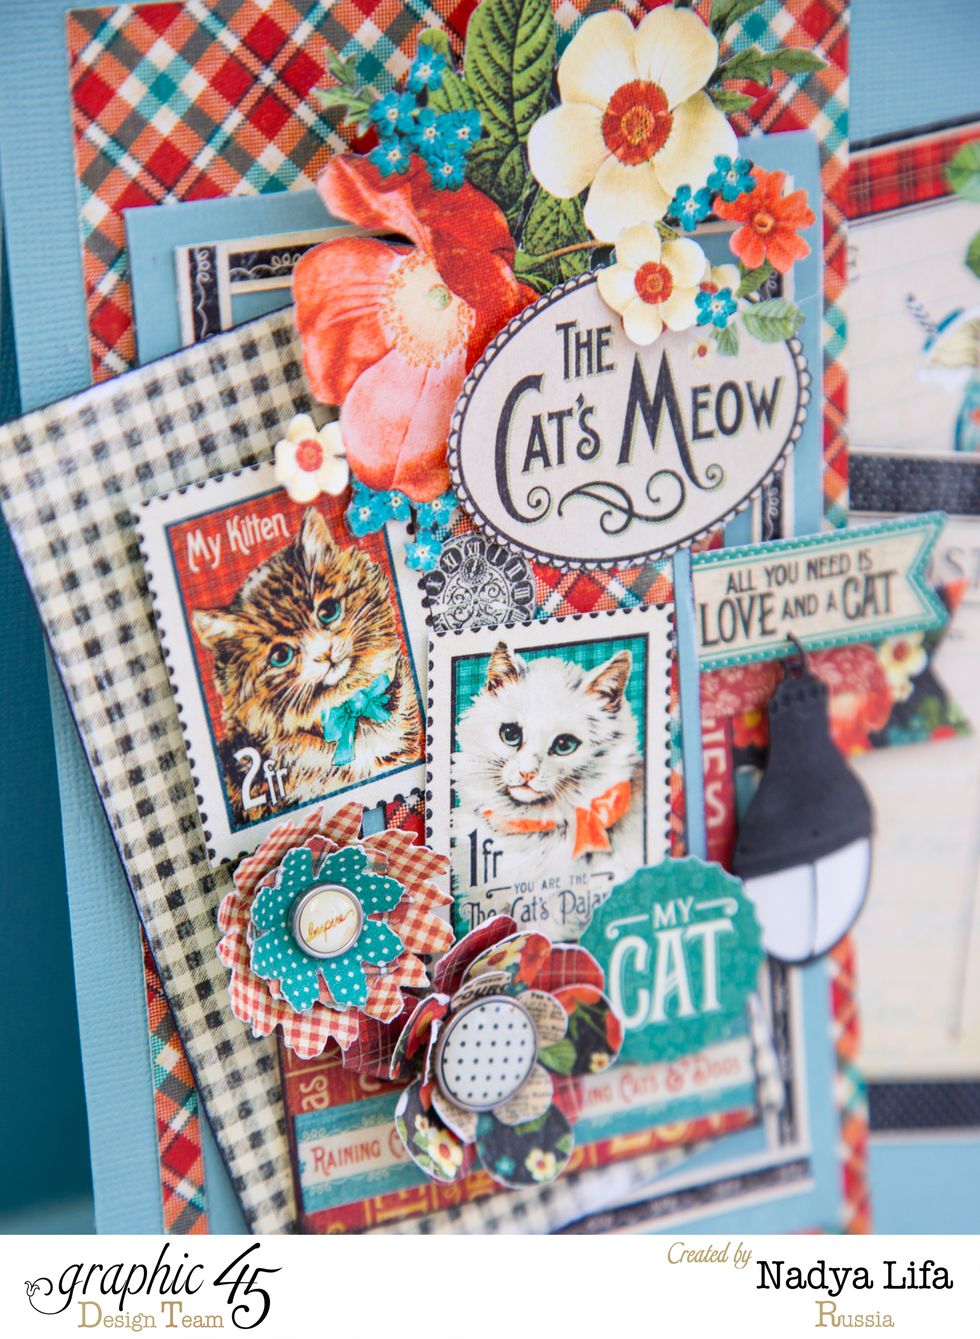
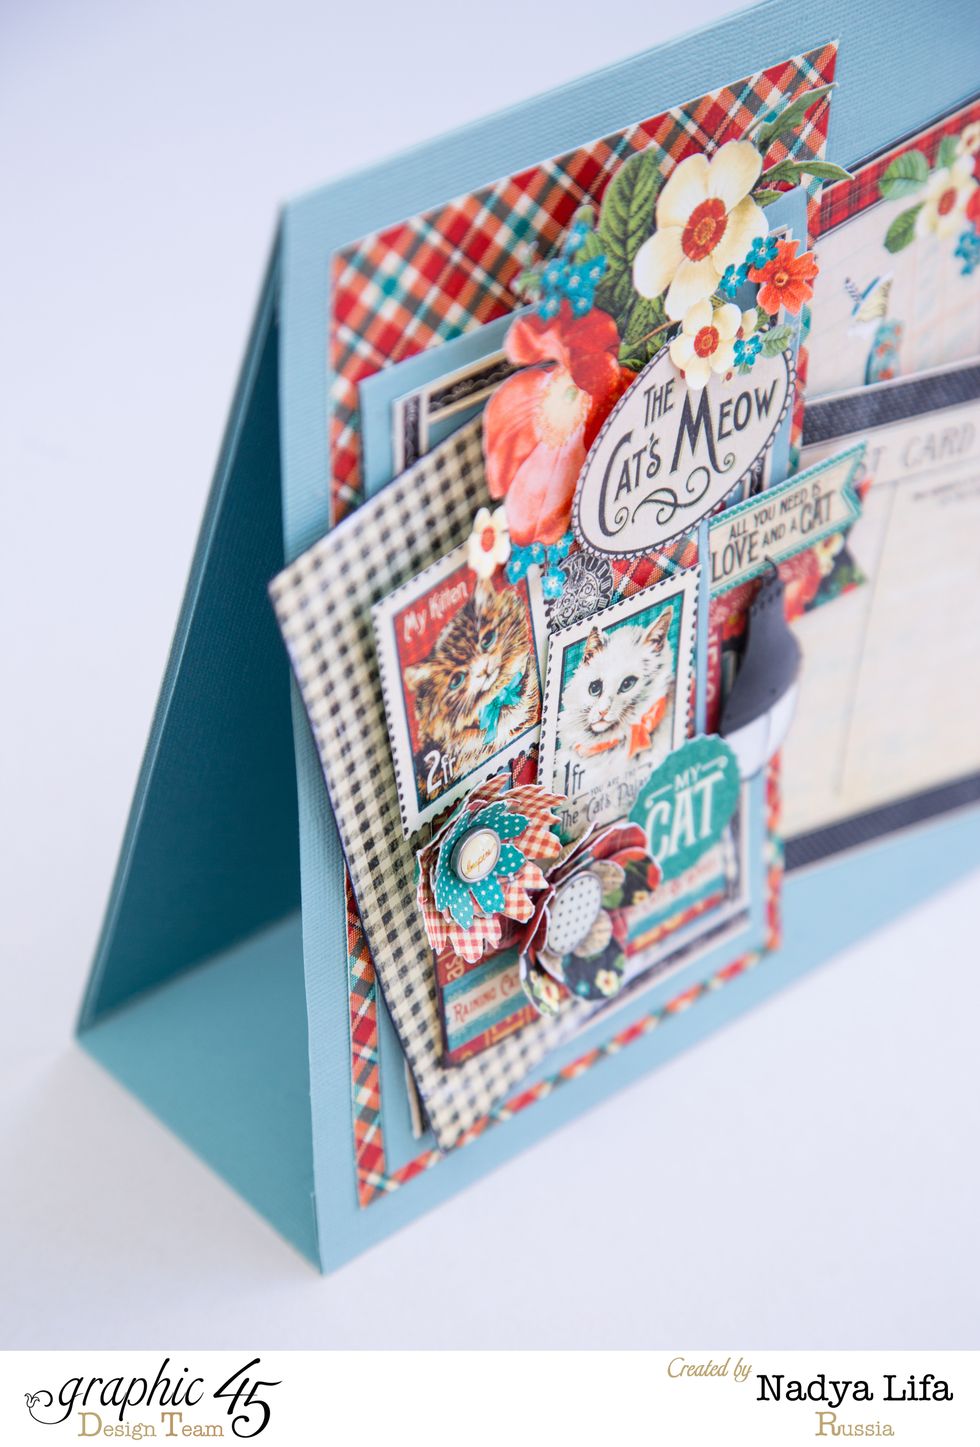
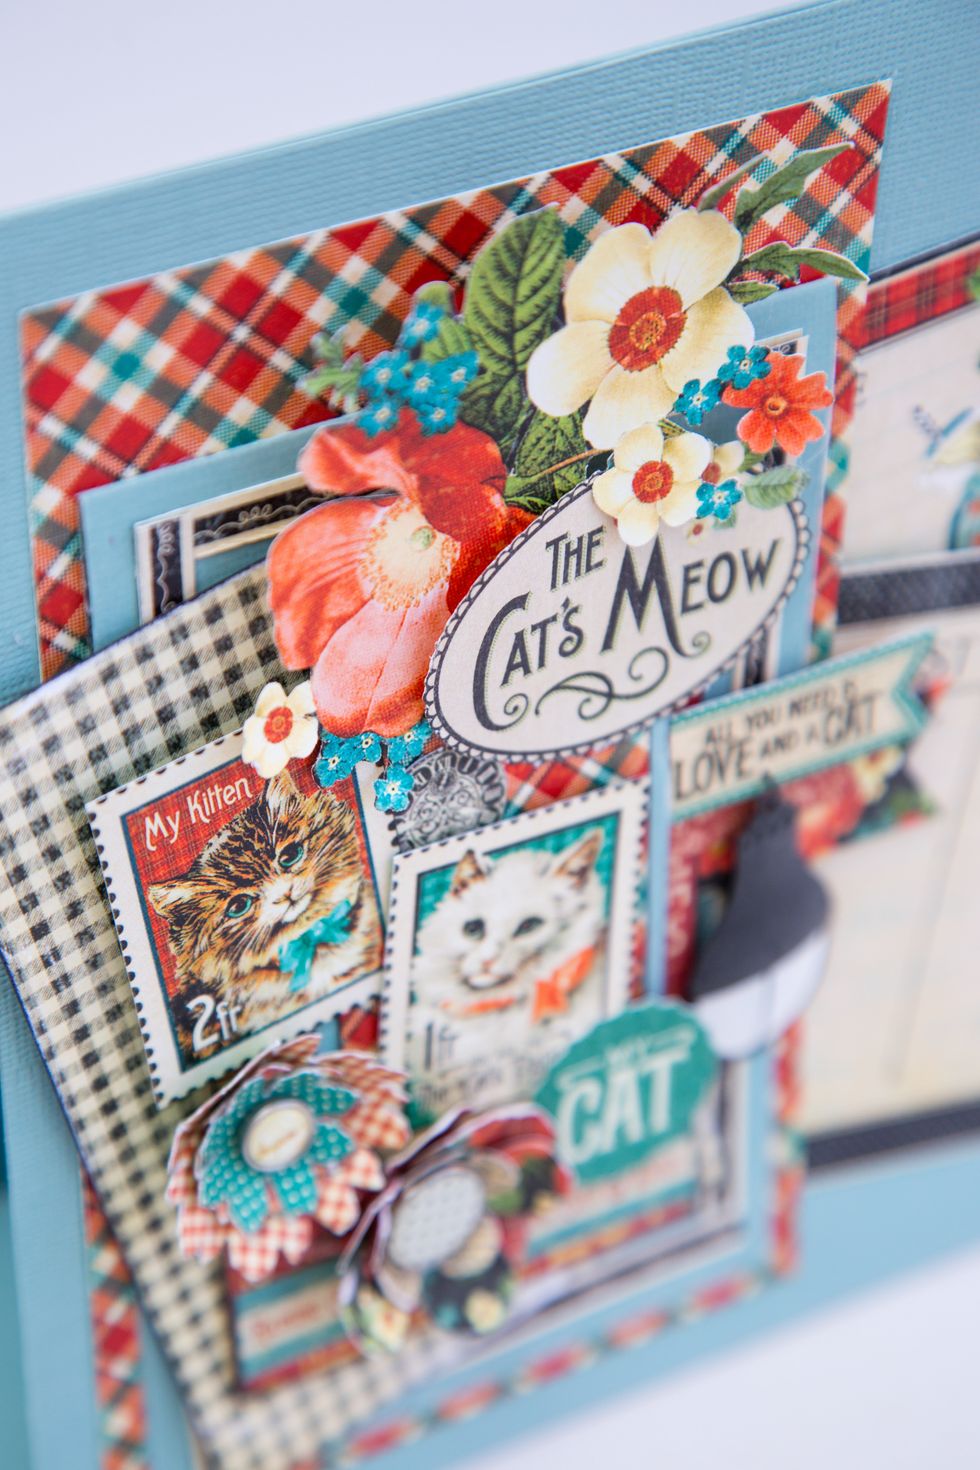
Create some decor! I made the decorations in the form of cards. Ready "postcard" I do not glue the full, just as the pocket.
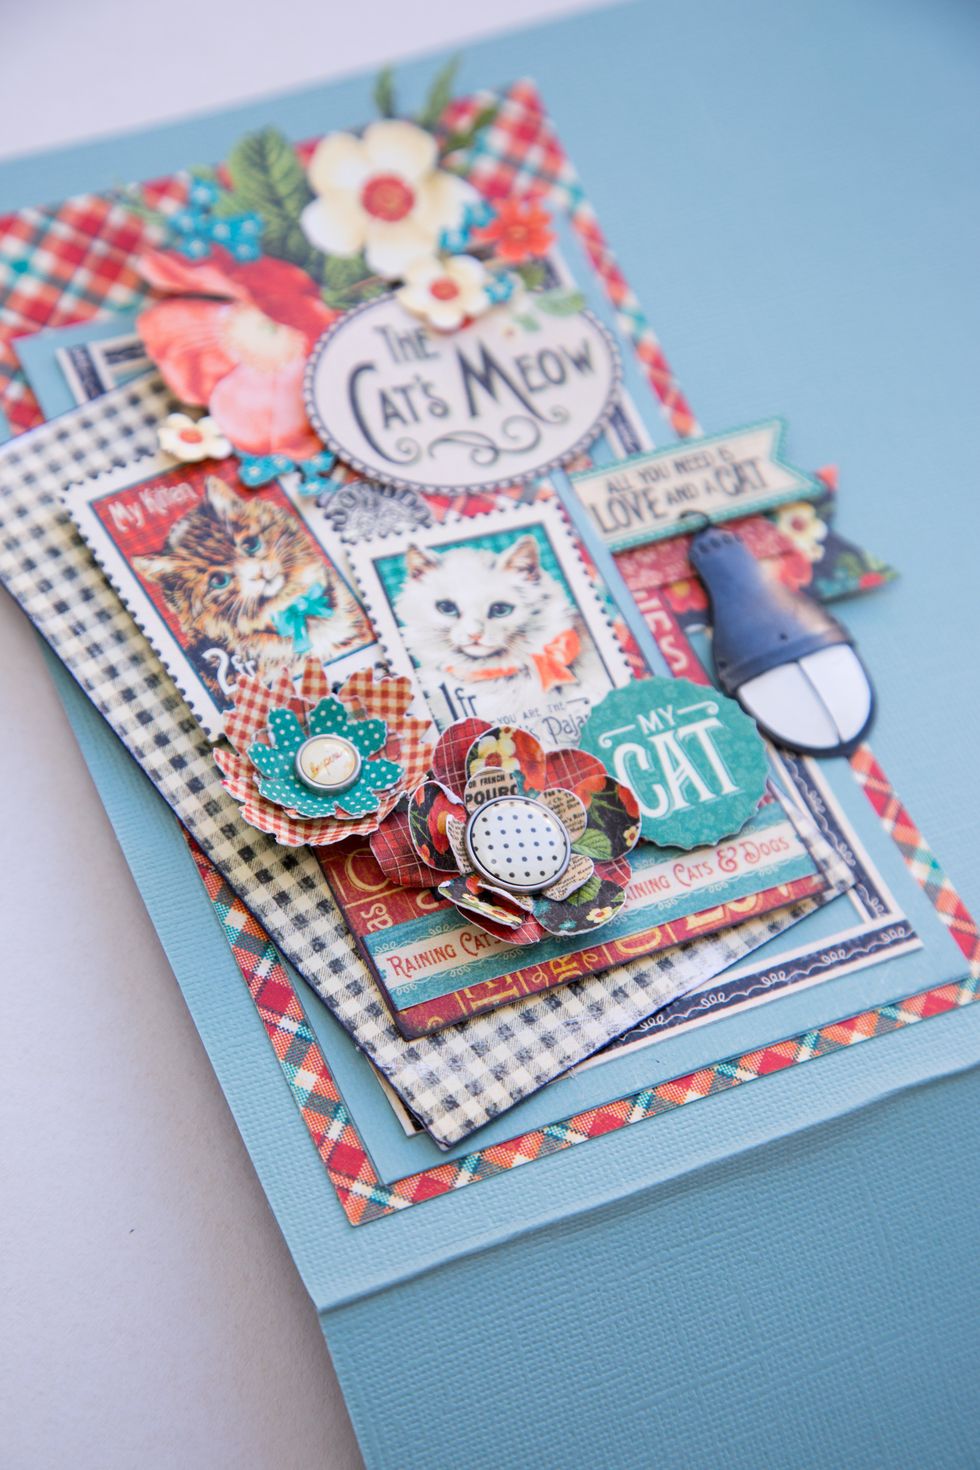
In the card I made a lot of layers and add a lot of fussy cutting details! It is always a winning reception!
Create a pocket fot backside!
Very quick!

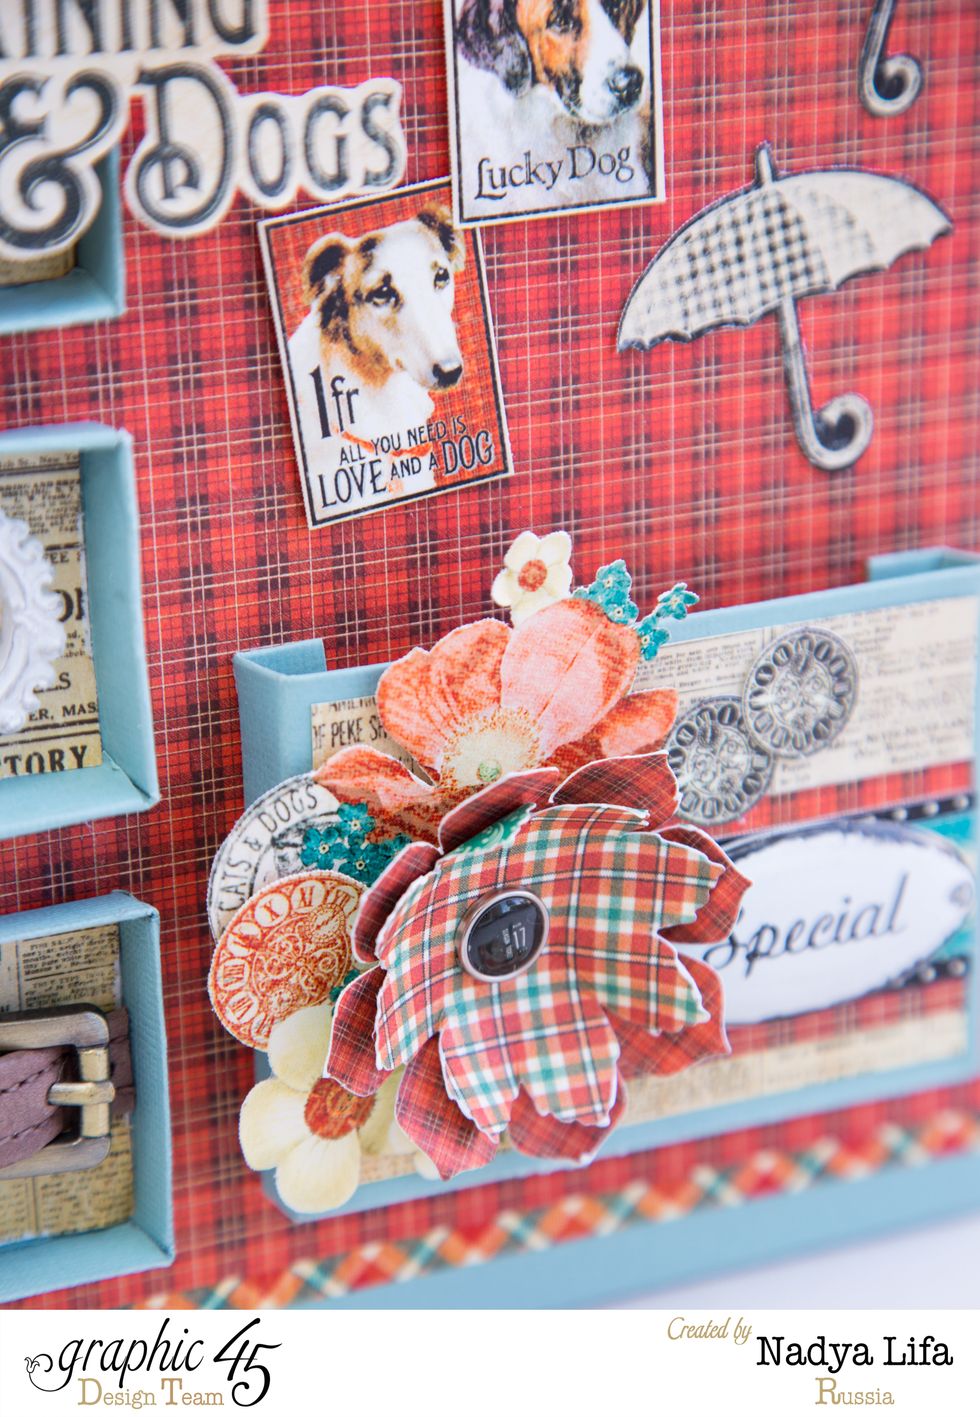
I used a little bit of fussy cutting details!
But, at the beginning, I added a paper details for basis.

Add a pocket.
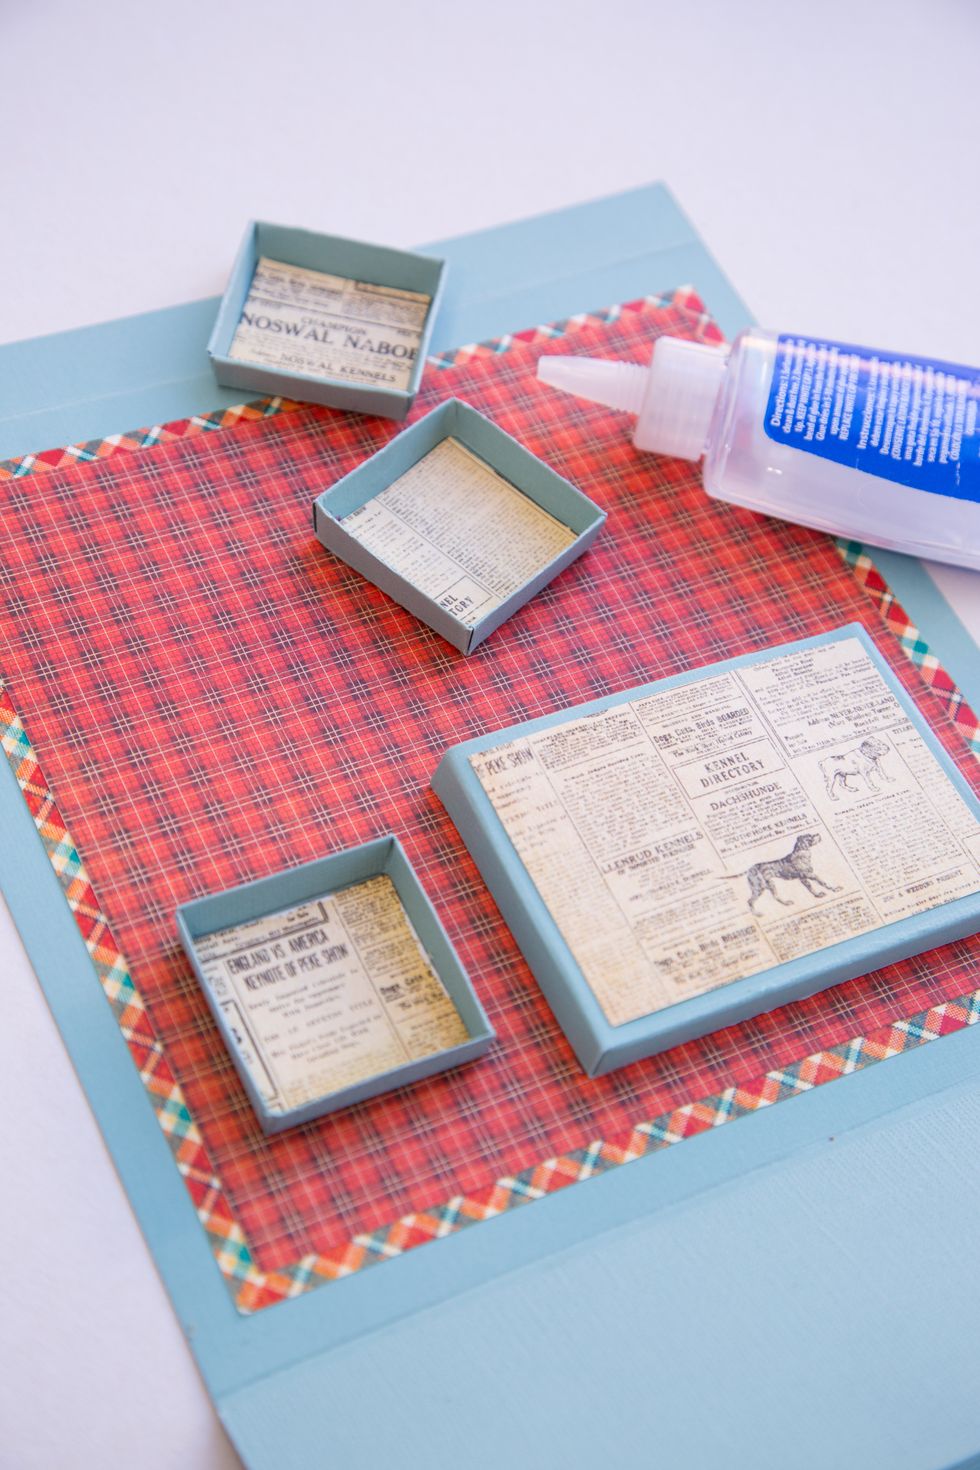
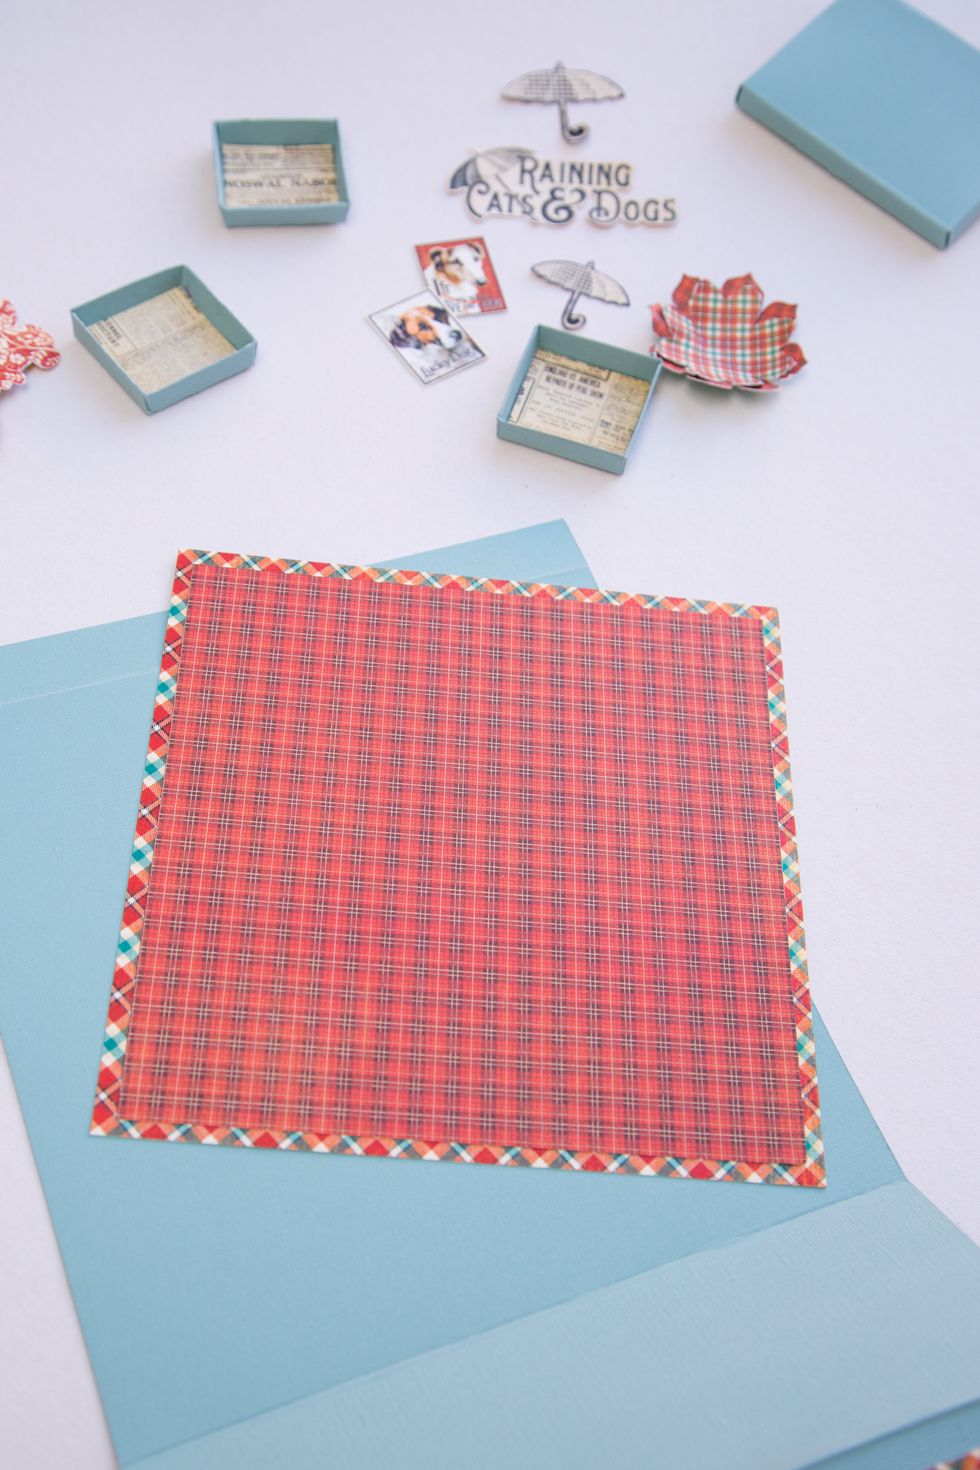
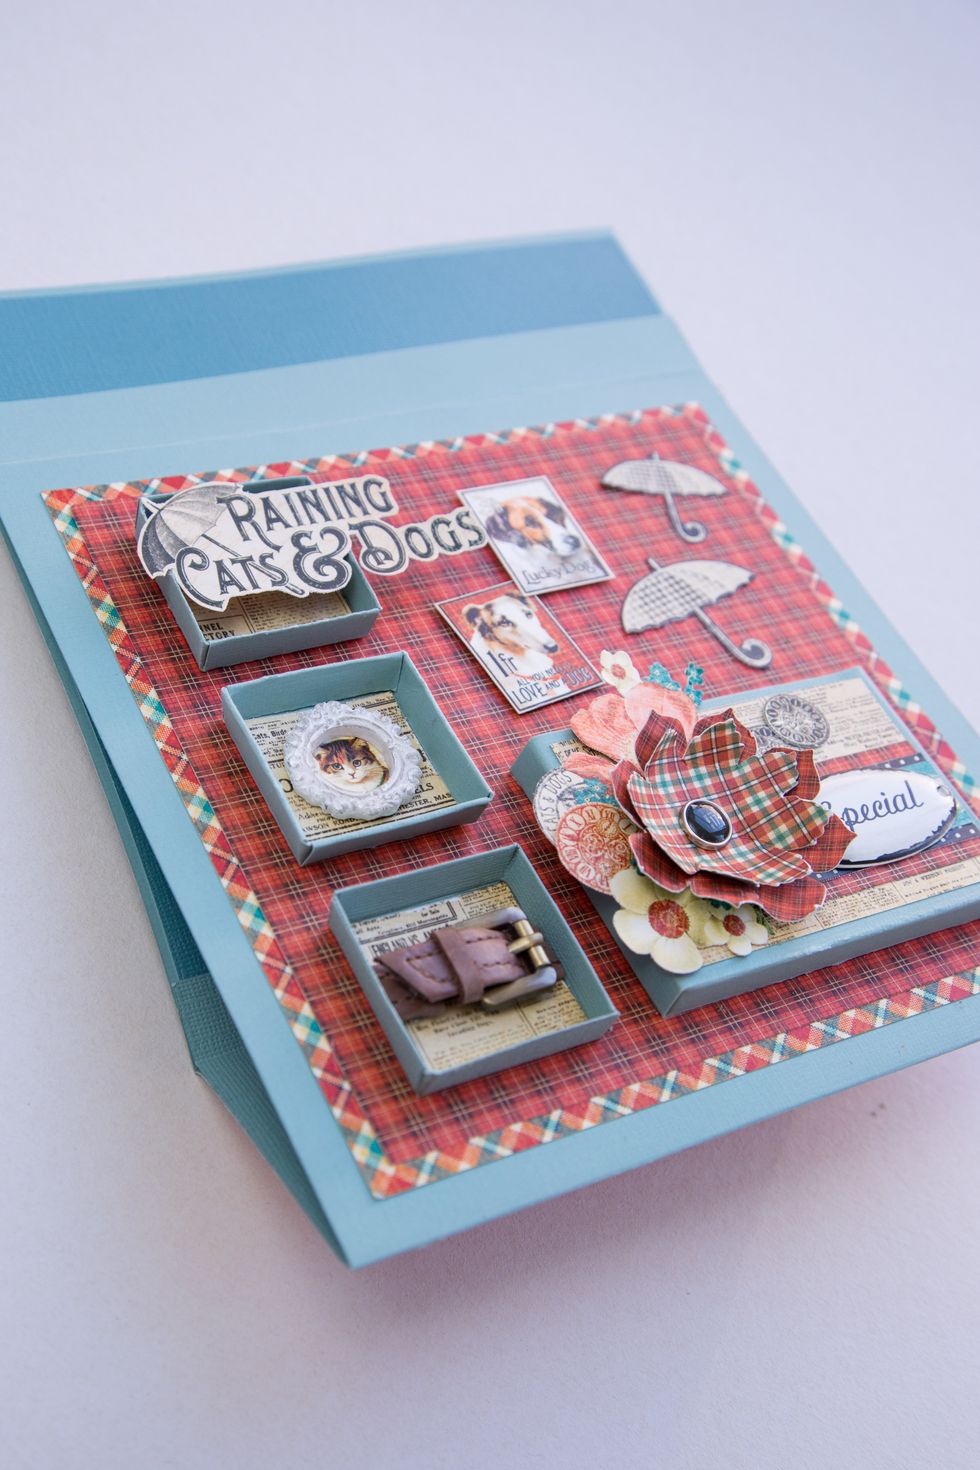
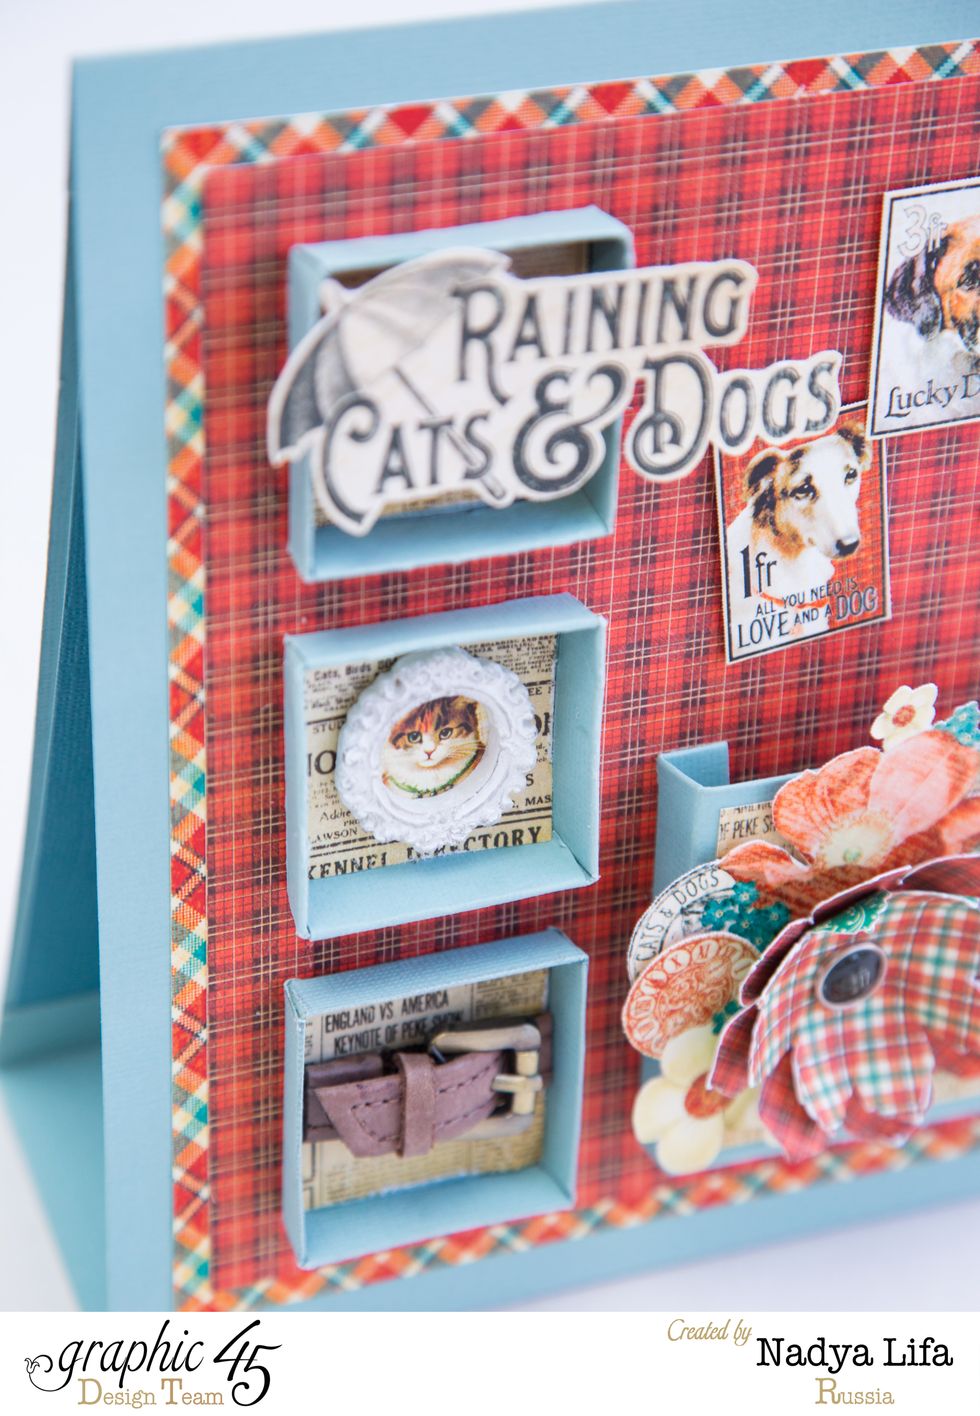
.... and mini-boxes..
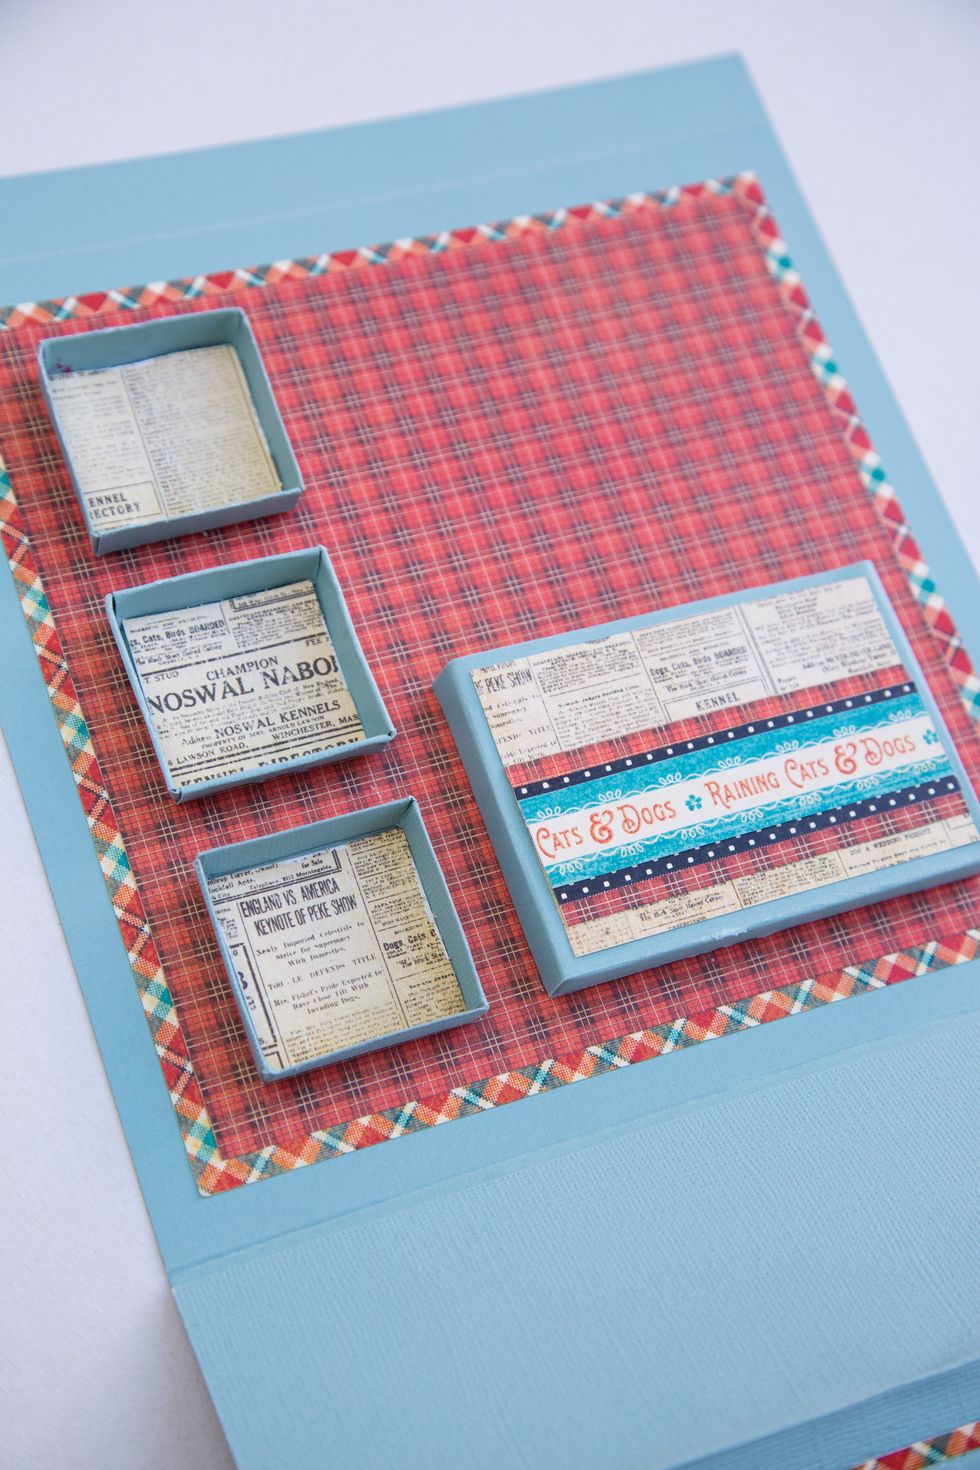
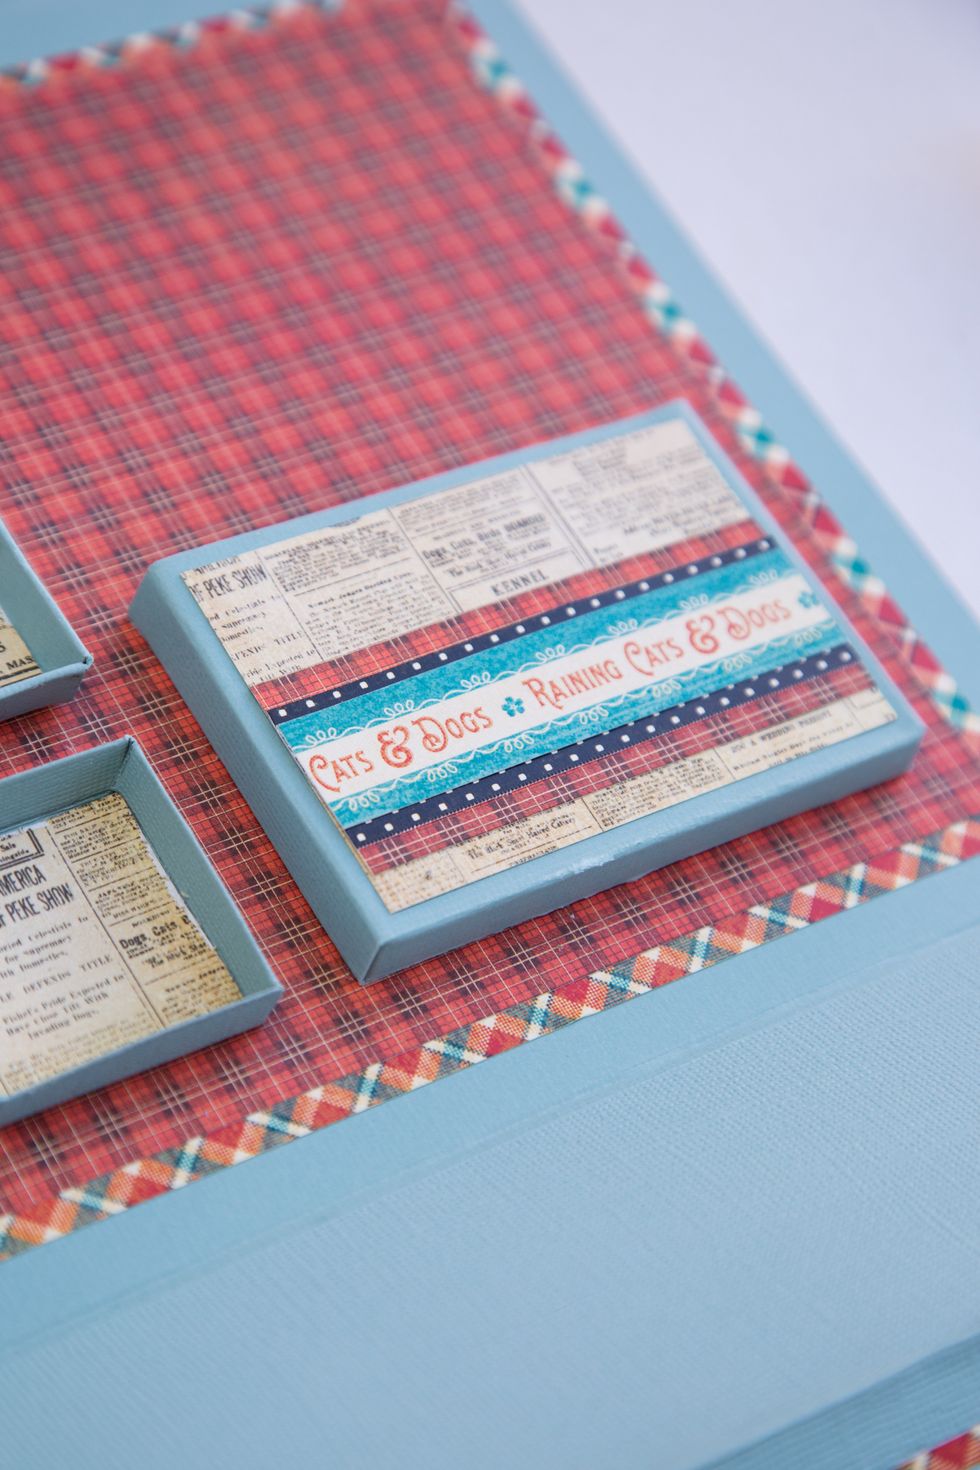
Decor them with paper details!
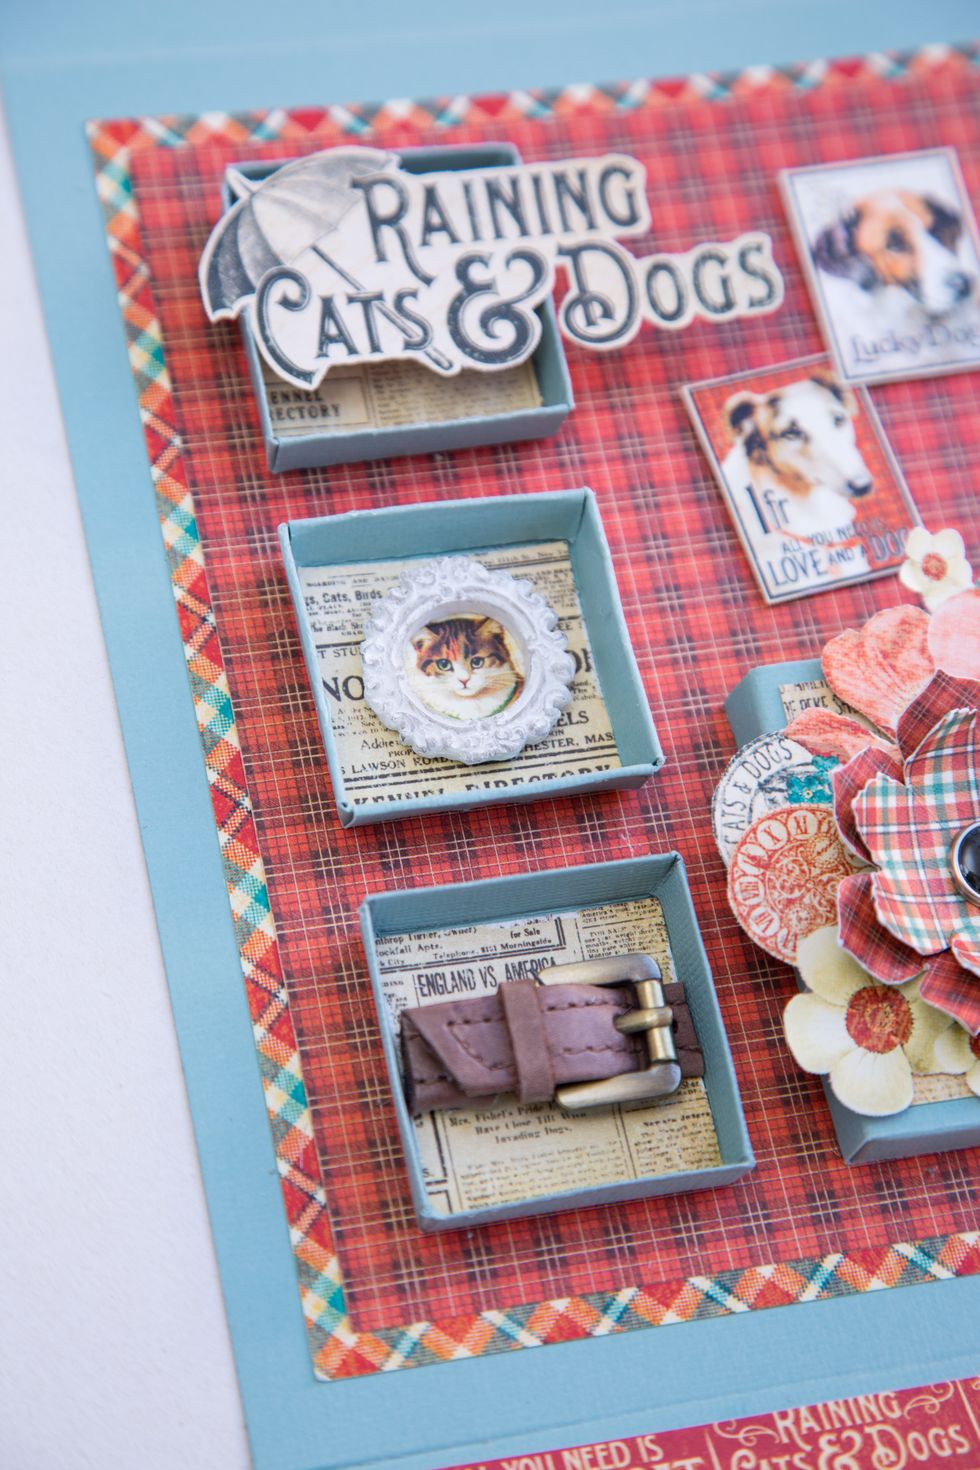
And a little bit of "Cat & Dog" theme!
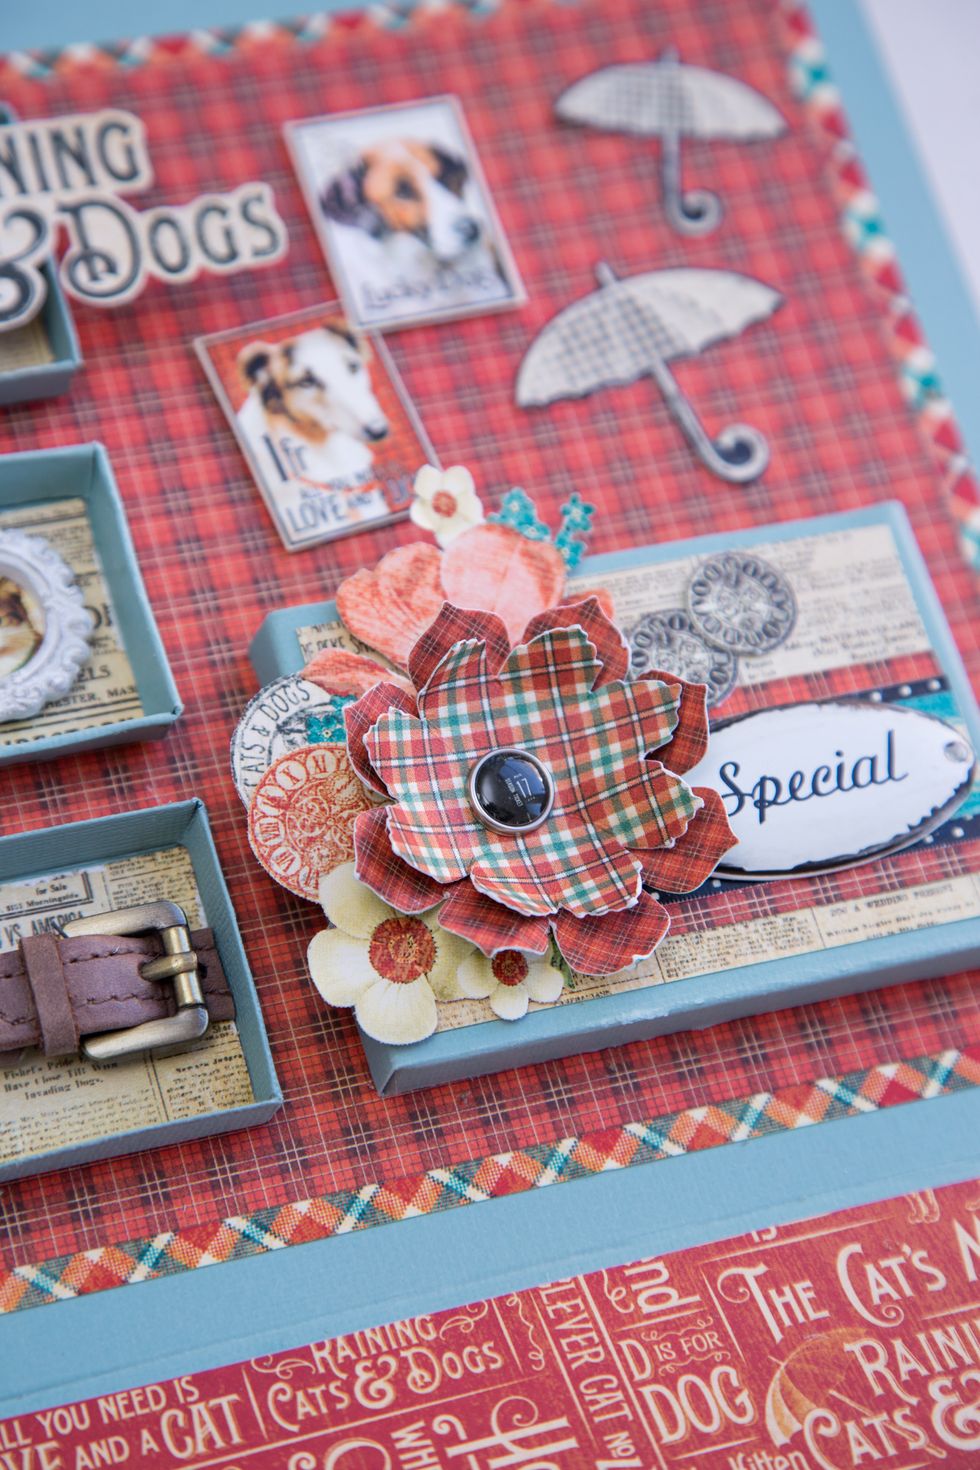
Fussy cutting+ G45 flowers - what a great idea!
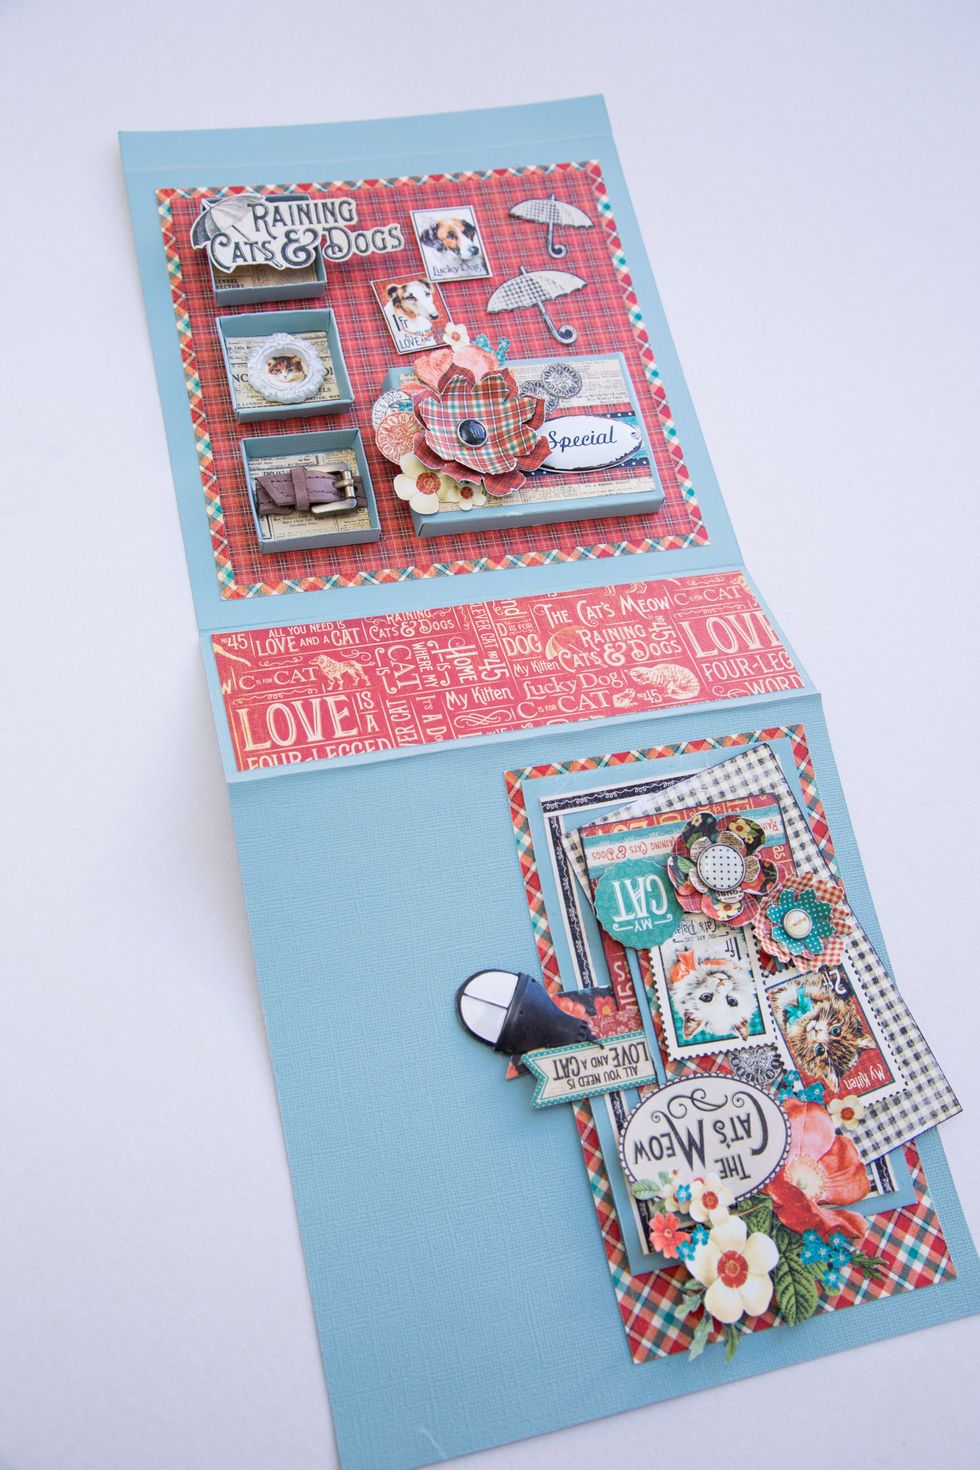
Here's what happened!
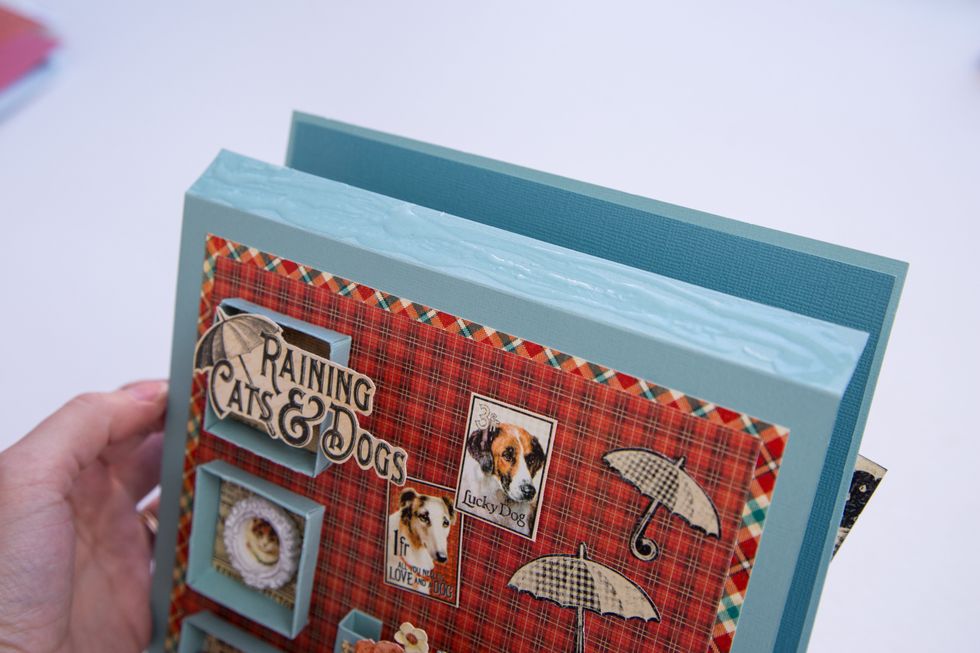
Glue the parts on the top and the Planner is ready!!!
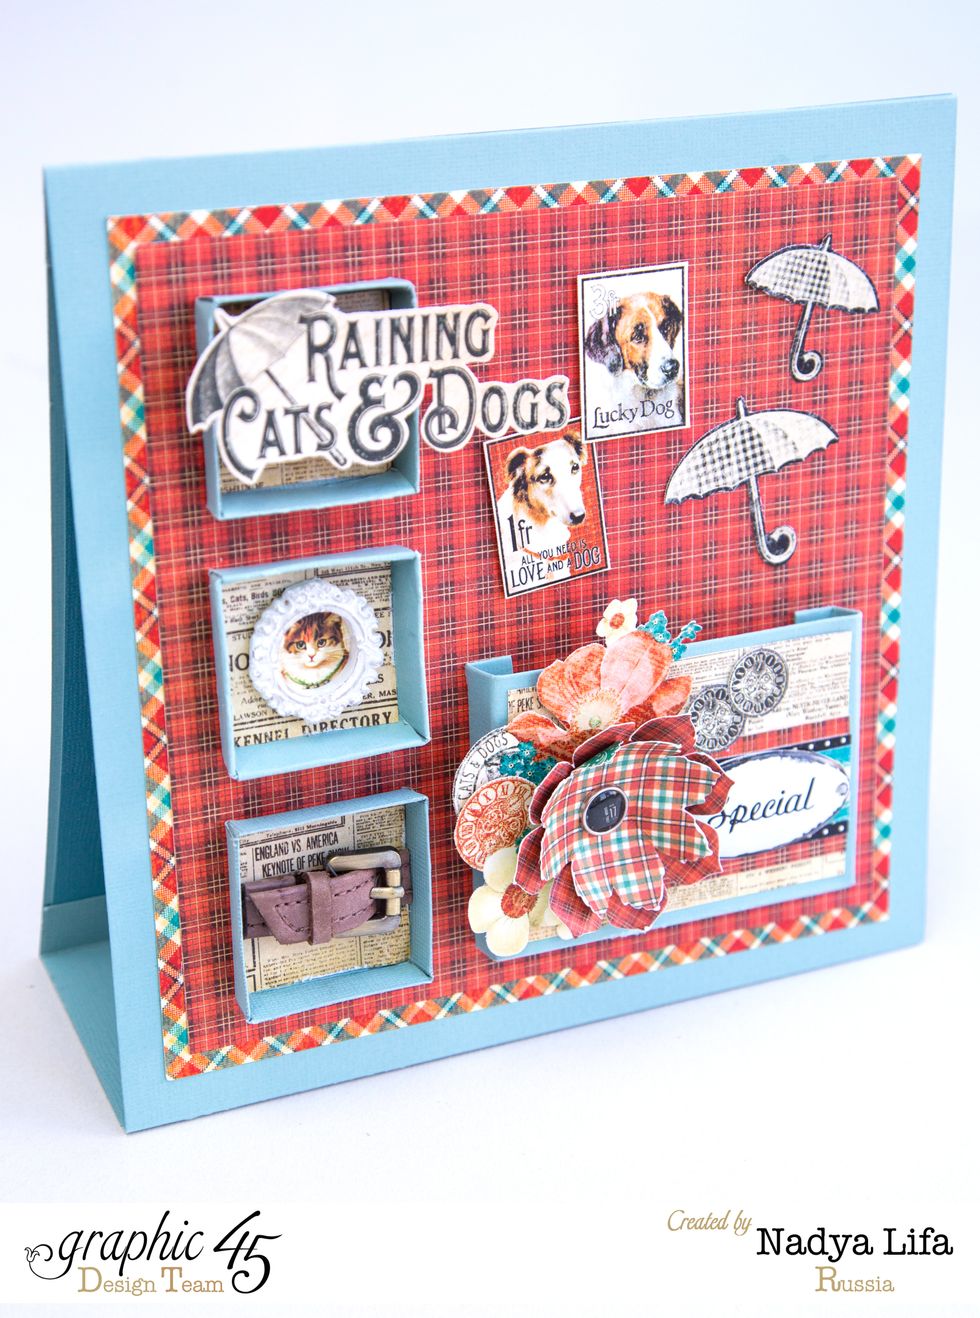
In shadowboxes you may add a photos!

In your pocket put the stick or important notes!
On this side you can place the calendar!
Have fun with my tutorial and Graphic 45 "Raining Cats and Dogs Сollection"!!!