The Conversation (0)
Sign Up

Start with a 10" x 5" sheet of plain card stock. I'm suing Kraft card stock for my base as I love that it goes with everything.
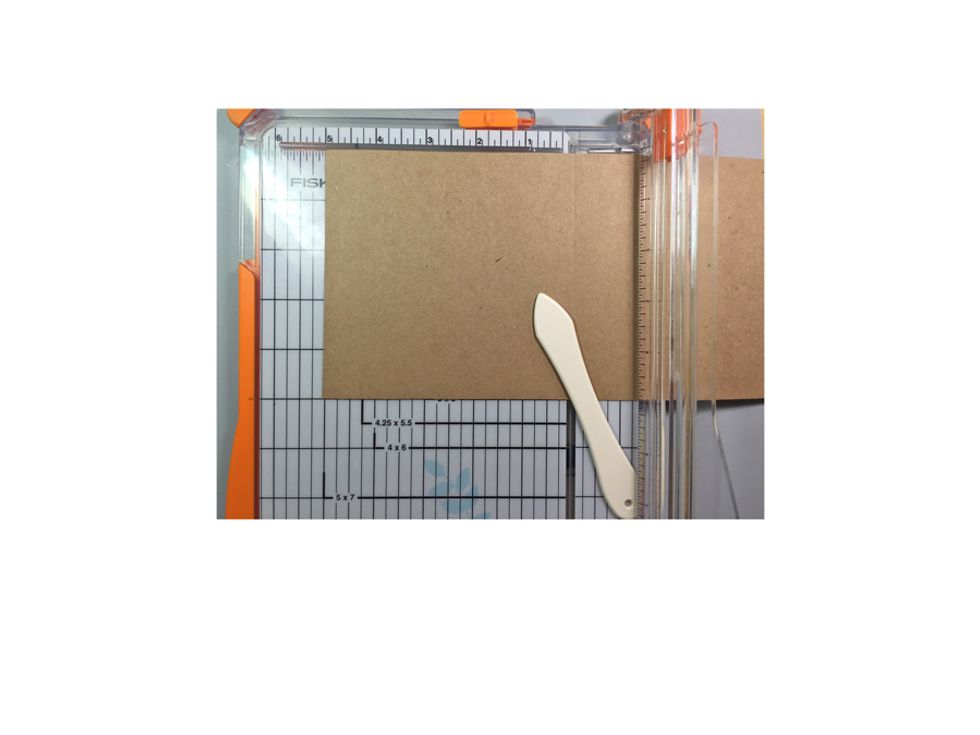
On the 10" side score at 5" and fold over to create the base card.
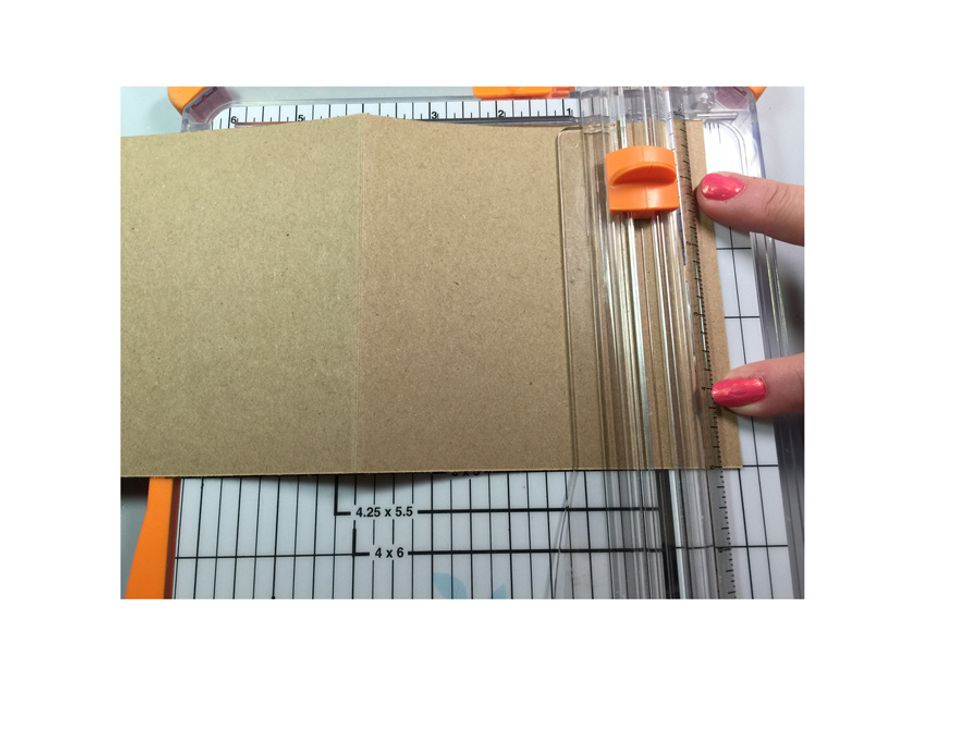
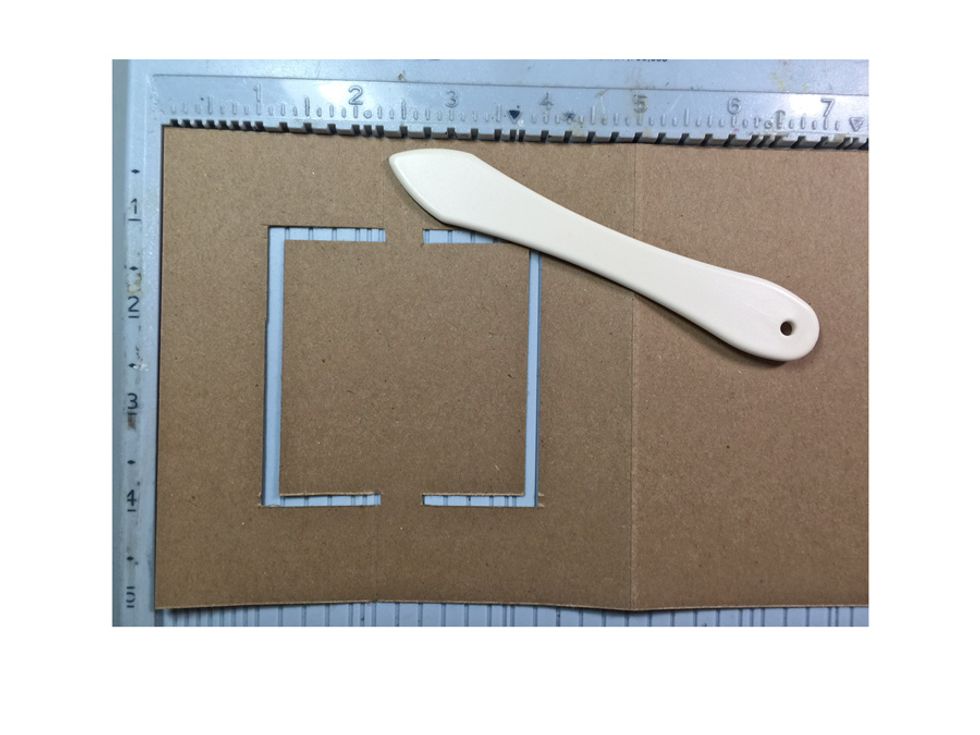
Line the edge of your card on the -1" mark as shown and cut from the 1" mark down to the 4" mark. Move your card over 1/8" and repeat the cut from the 1" to the 4 ".
Flip your card over so the cut edge is on the outside and then line up on the 4" line and cut again from the 1" to the 4", move over 1/8" and repeat.
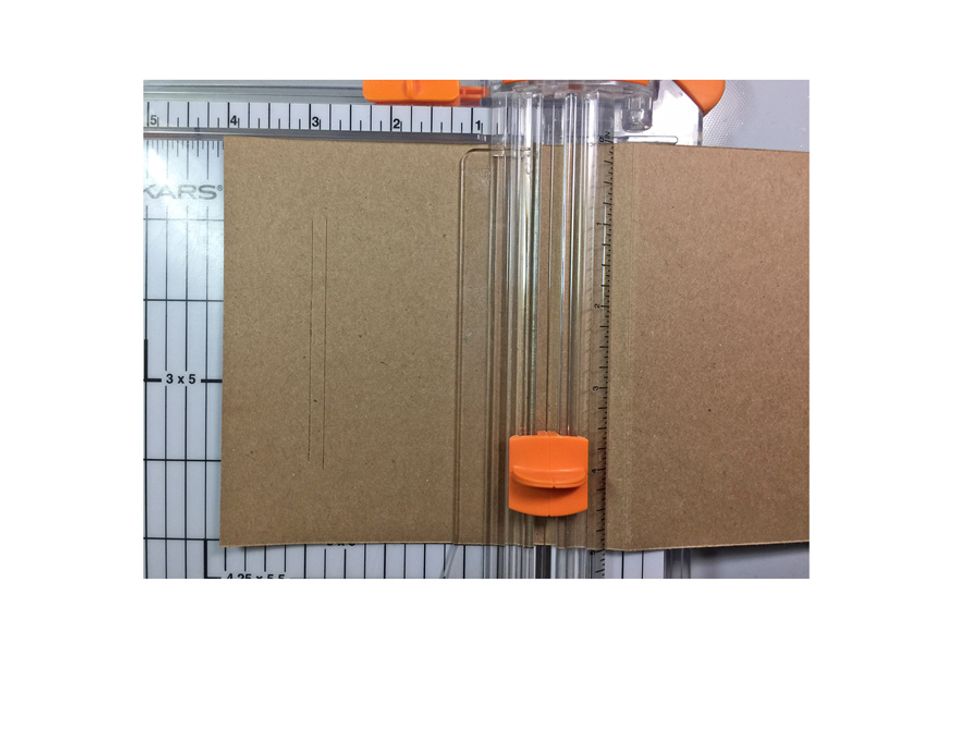
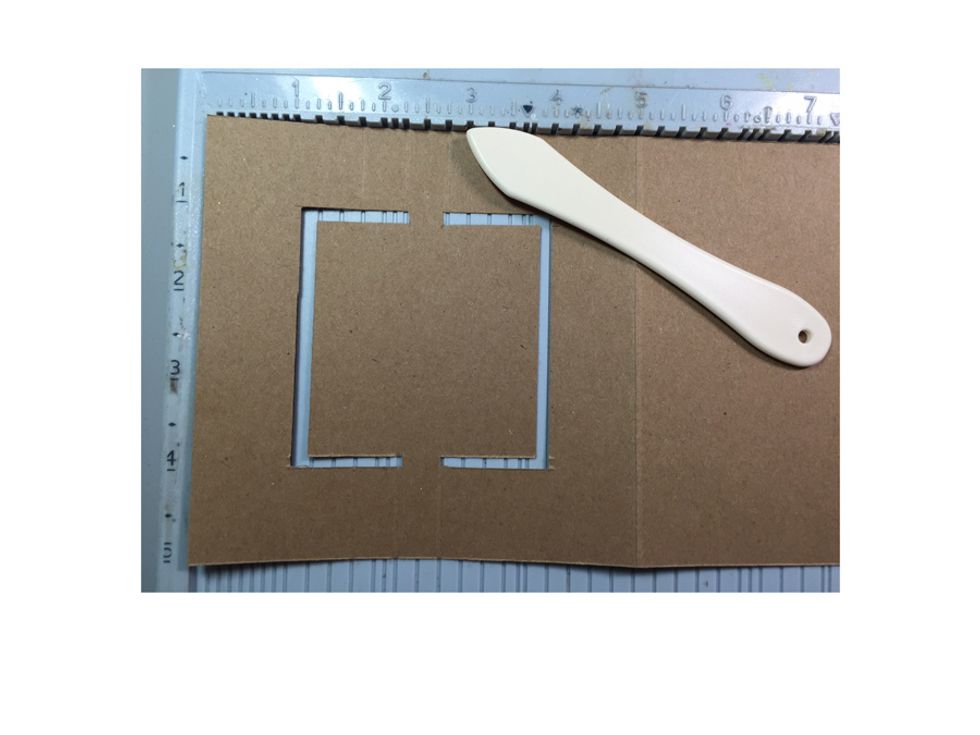
Flip card so the cut is on the 5" side, line up on the 4" mark & cut from the 1" to the 2 1/4" & then 2 3/4" - 4". Move card over to 3 7/8" & repeat previous cuts. Flip the card over & repeat.
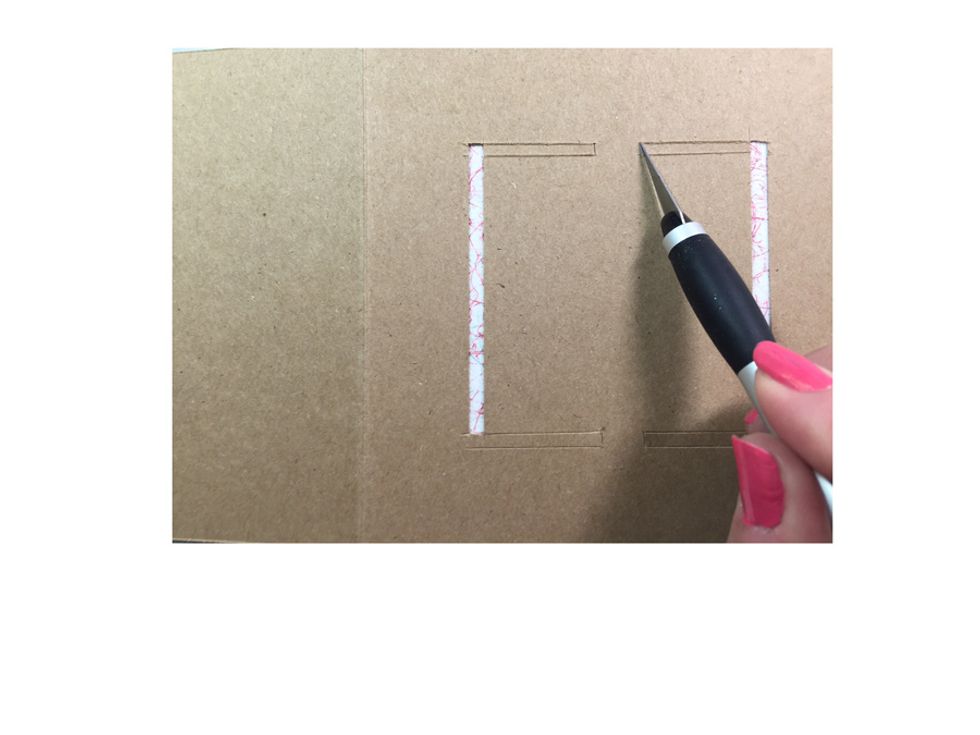
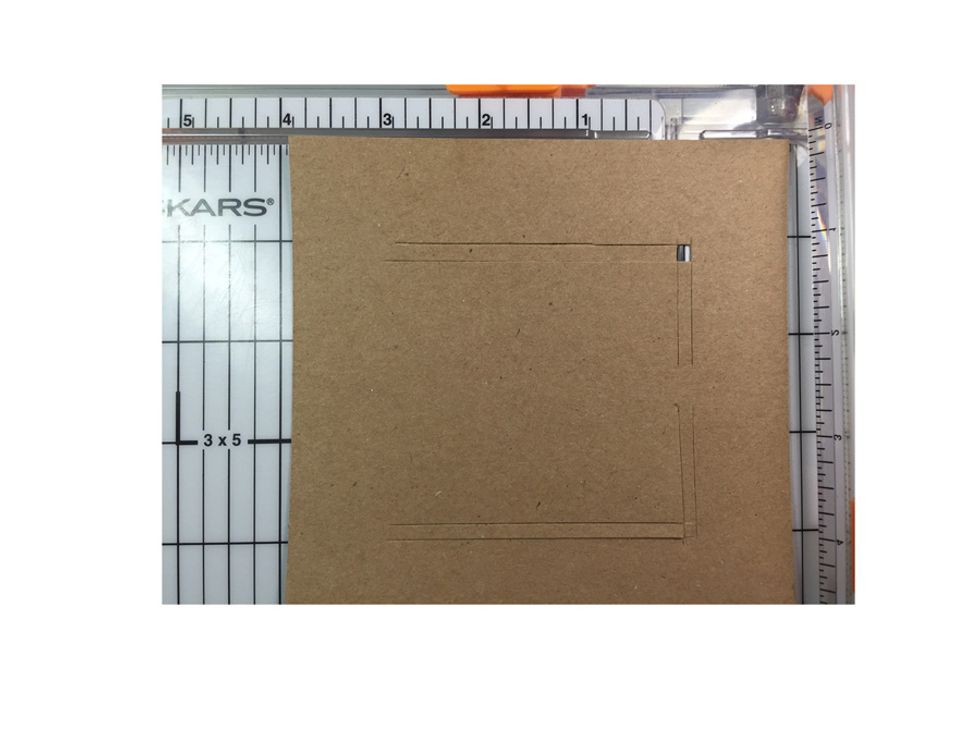
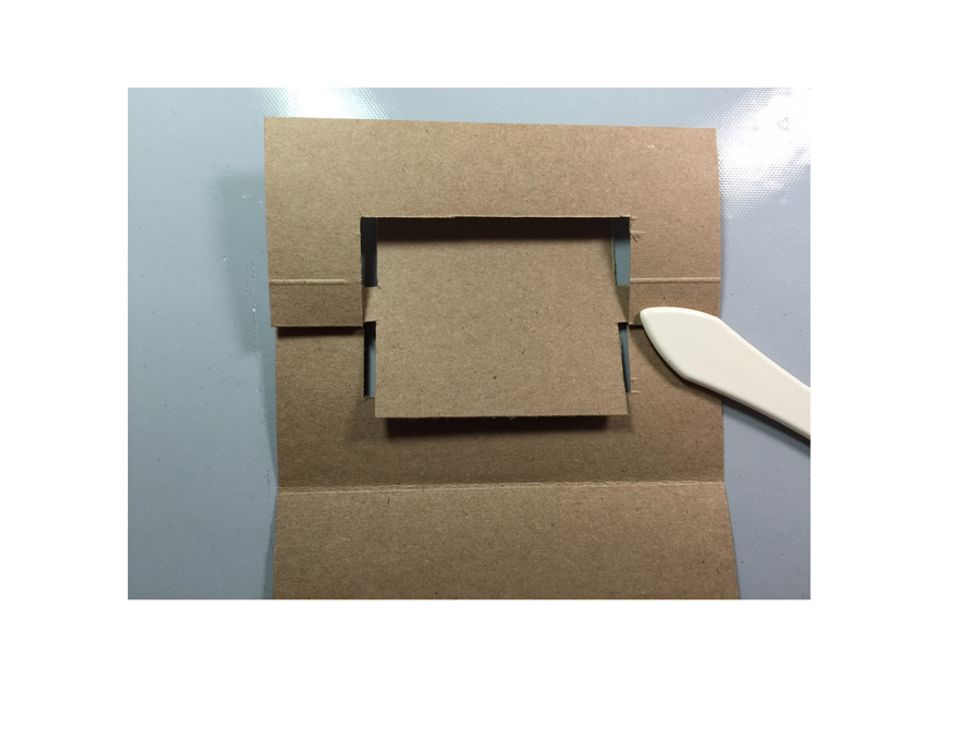
Using your X-acto tool cut the notch to release the side cuts as shown.
Using your score board score at the 1 3/4", 2 1/4" and 2 3/4" to the cut mark.
Score on the other side at the same marks. 1 3/4", 2 1/4", 2 3/4"
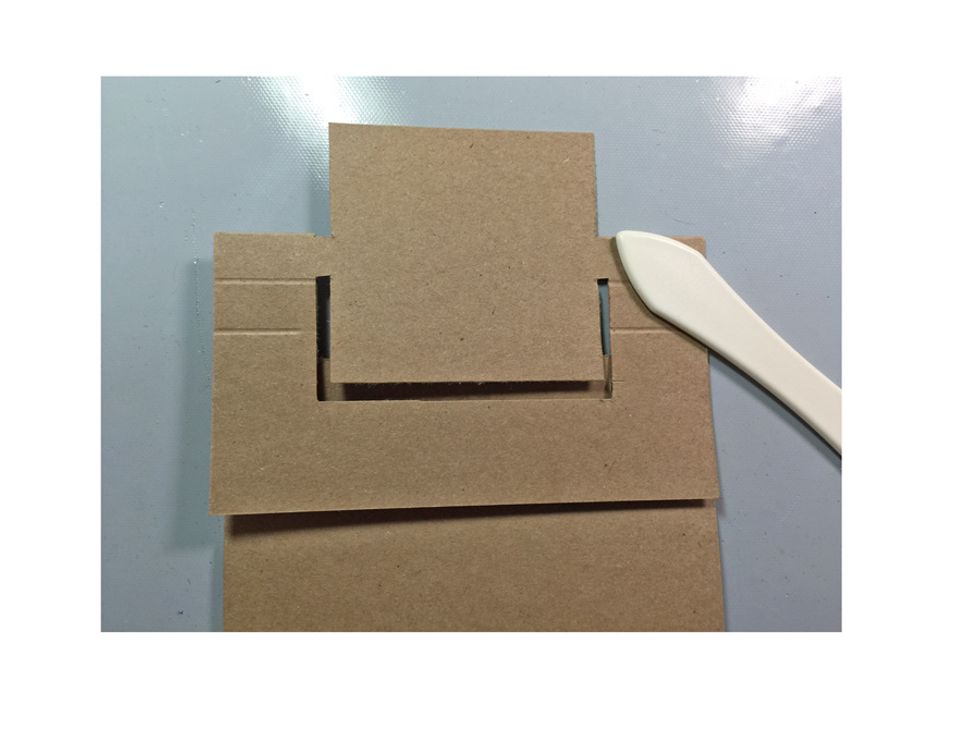
On the top score line fold down to create a mountain fold and crease with a bone folder for a sharp edge.
On the next line fold valley up and crease.
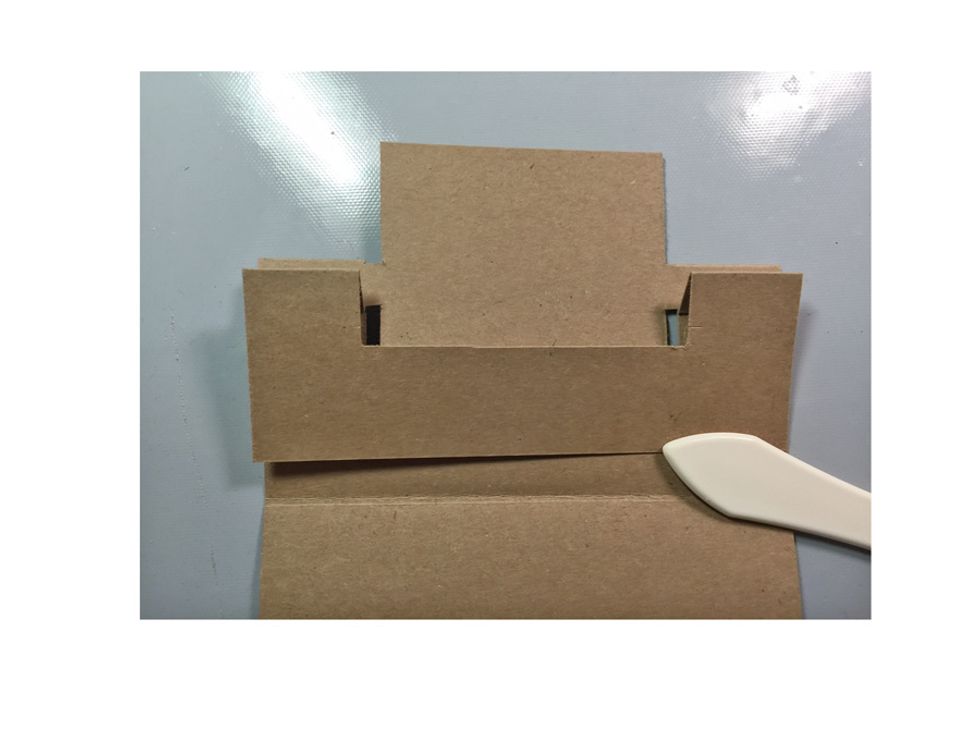
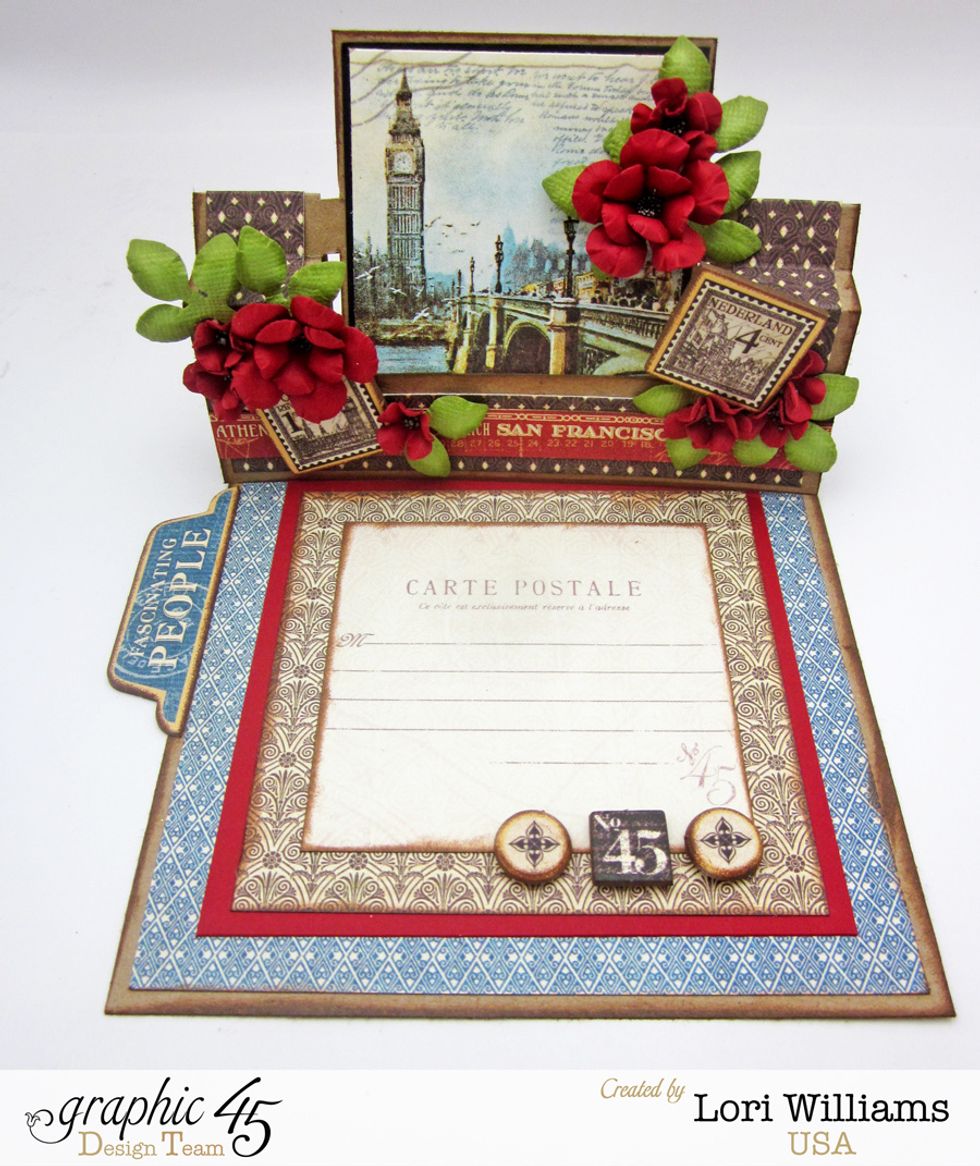
On the last line fold mountain down & crease. Now you are ready to decorate your card with wonderful Graphic 45 goodies. Don't forget your stopper on the inside of the card that will hold it open.
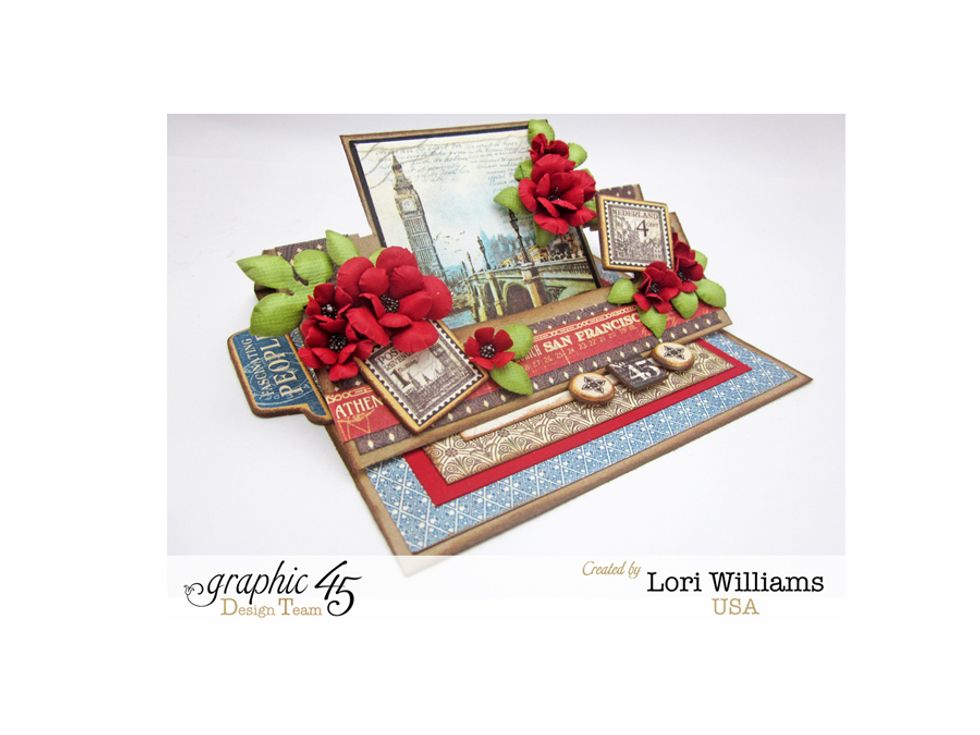
Here is a completed card. Notice the chipboard button on the bottom inside. They help to hold your card up with open. The nice thing is this card collapses flat to give to that someone special.
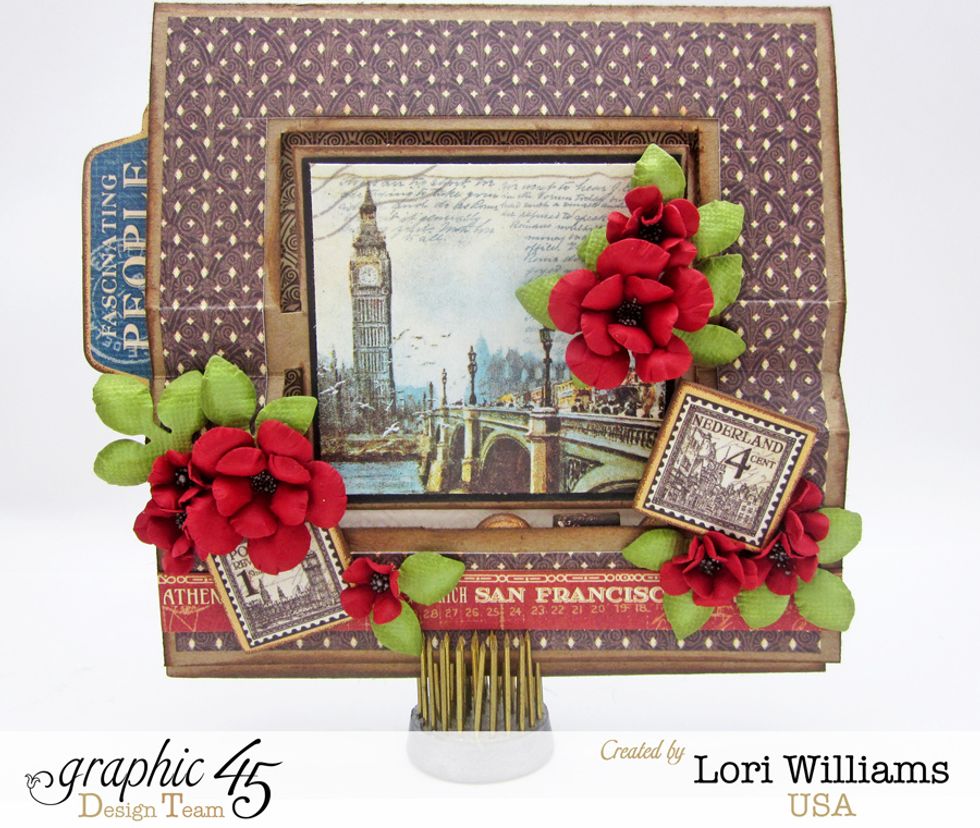
Here is the card closed and a front shot view.
Be sure to stop by Graphic 45's blog for more photos of this picture and lots more inspiration. http://g45papers.typepad.com/

My name is Lori Williams & I'm a design team member w/Graphic 45. See more of my work on my blog www.pinkcloudscrappers.blogsp… or on Graphic 45's Blog www.g45papers.typepad.com