The Conversation (0)
Sign Up
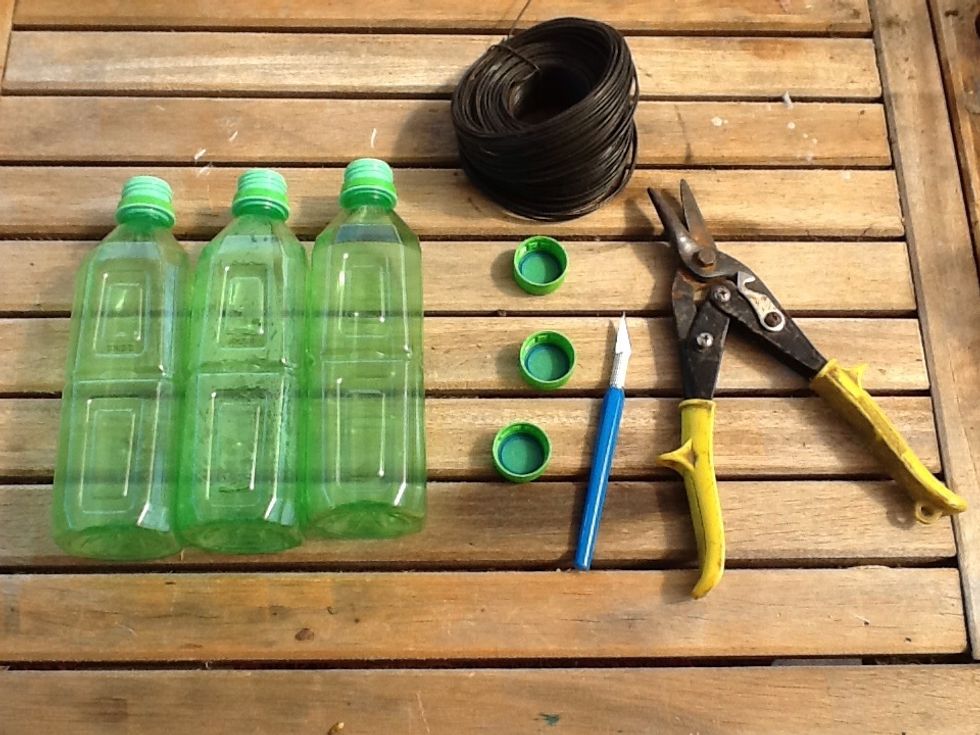
A look at the supplies I used ...bottles, x-acto, wire, wire cutters and pliers might be helpful to bend the wires in place.
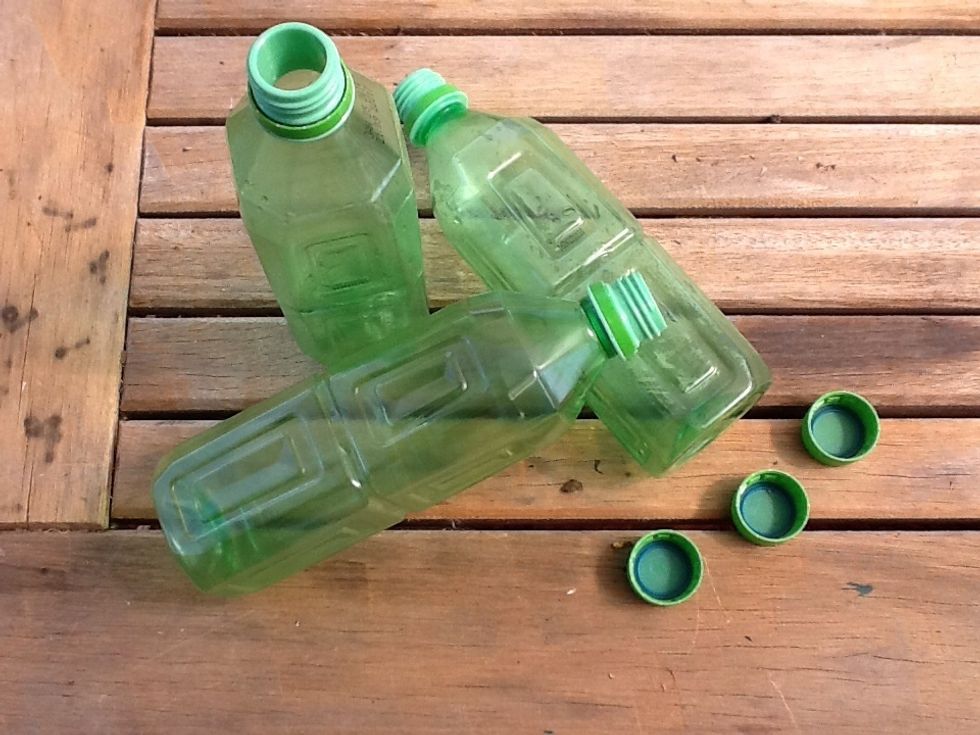
Remove the caps from your bottles, we will need to poke holes in them. This is for the drainage at the bottom of each container, so water flows in one and out to another.
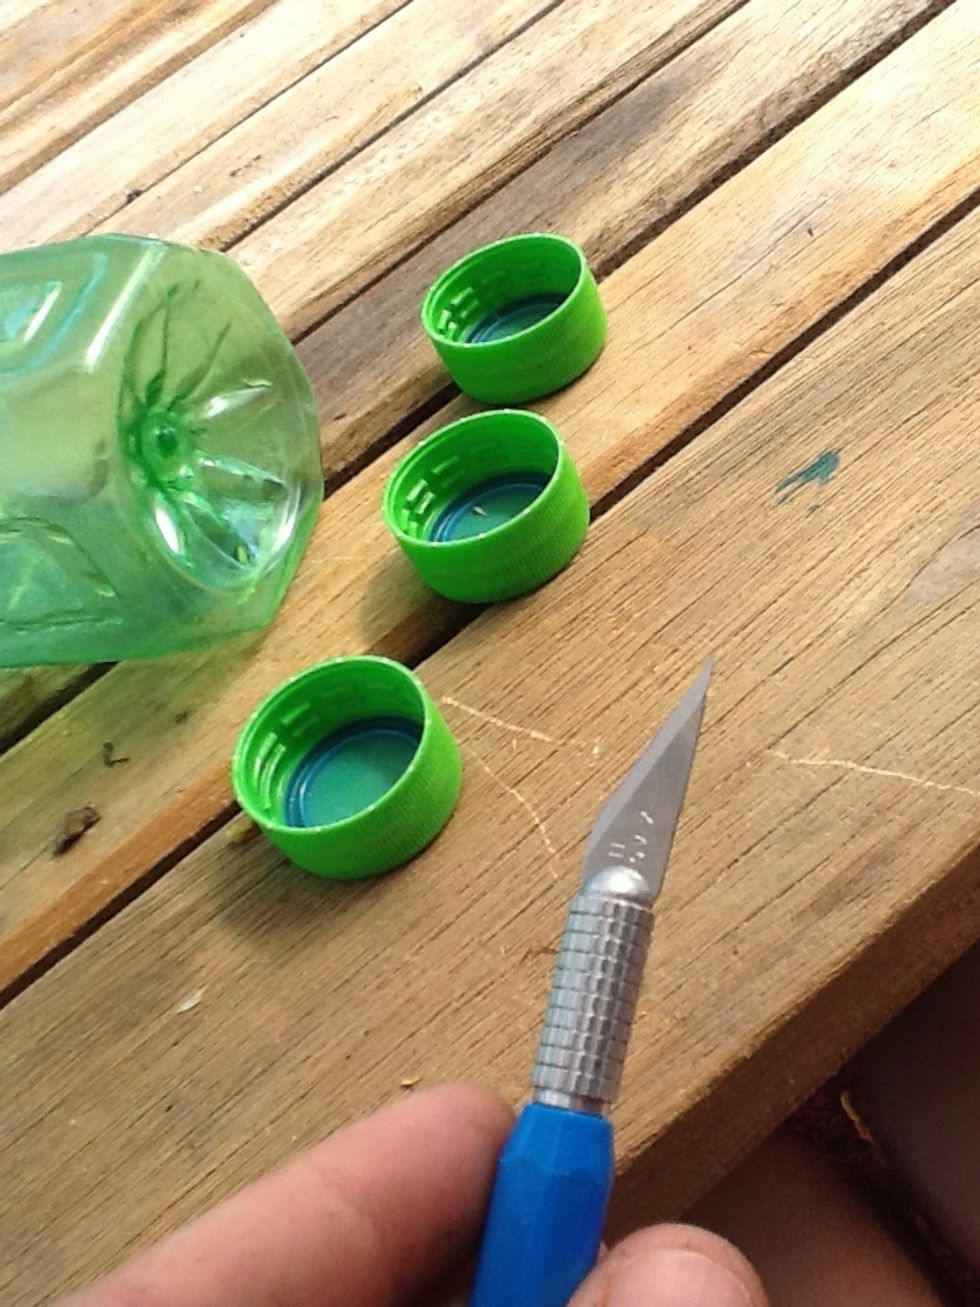
Grab your x-acto or hole poking utensil, perhaps a nail or thumb tack might work too. I just find this way the easiest for me.
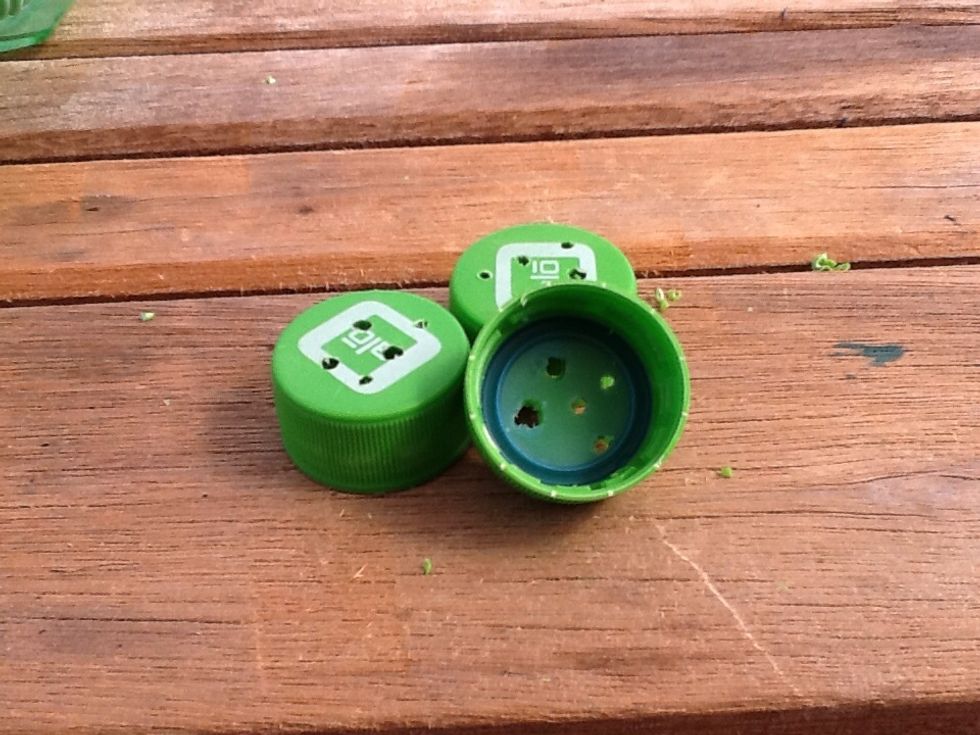
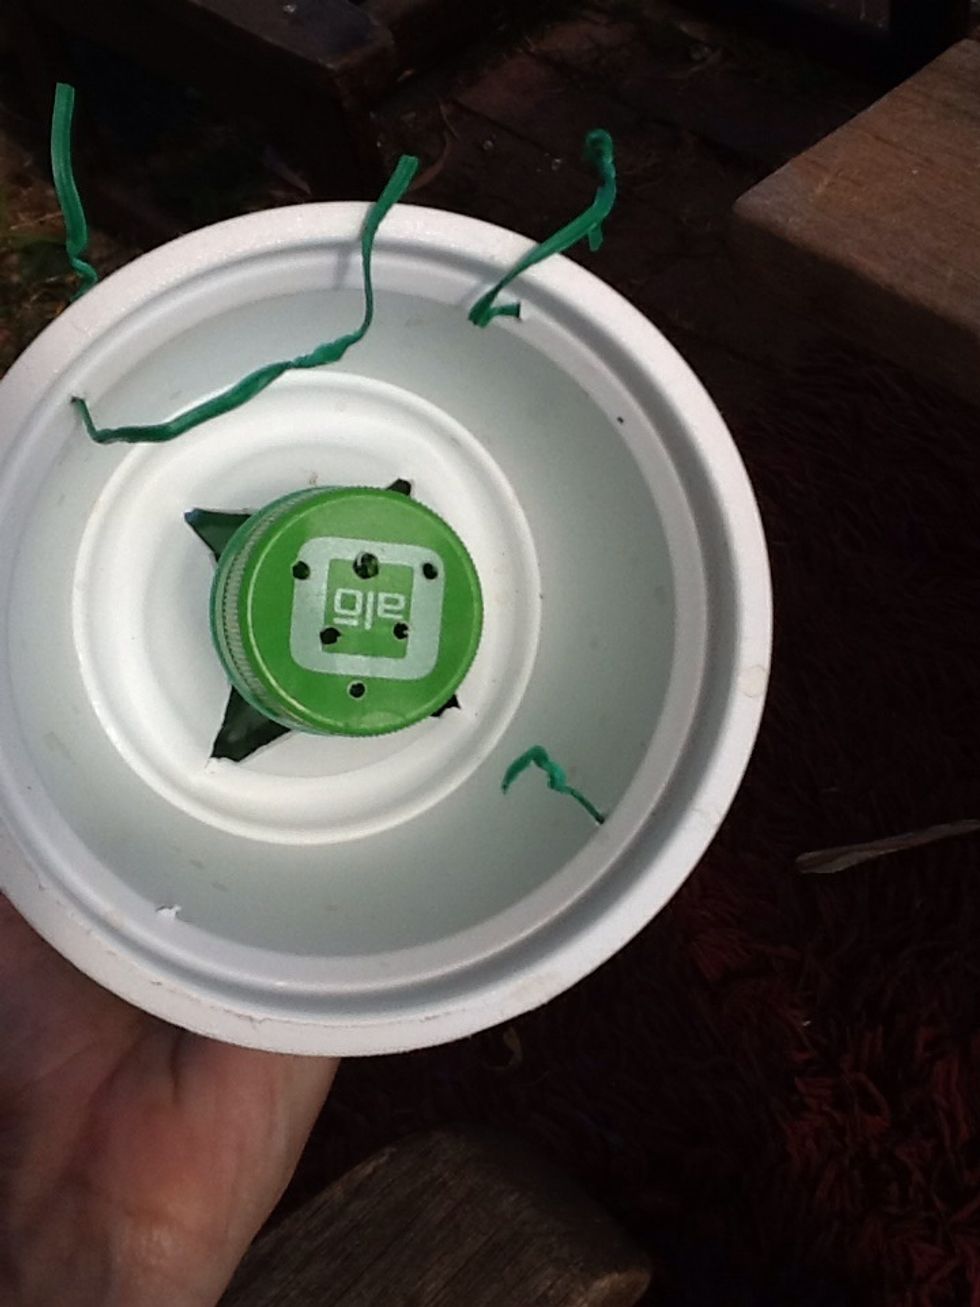
These are my finished caps, holes already poked. Now set these aside for now ...
The way we made holes in the caps, we now do to each of the bottles. Wherever you want to connect them, you need this hole to put the wire through. I just did two on each side of each pair.
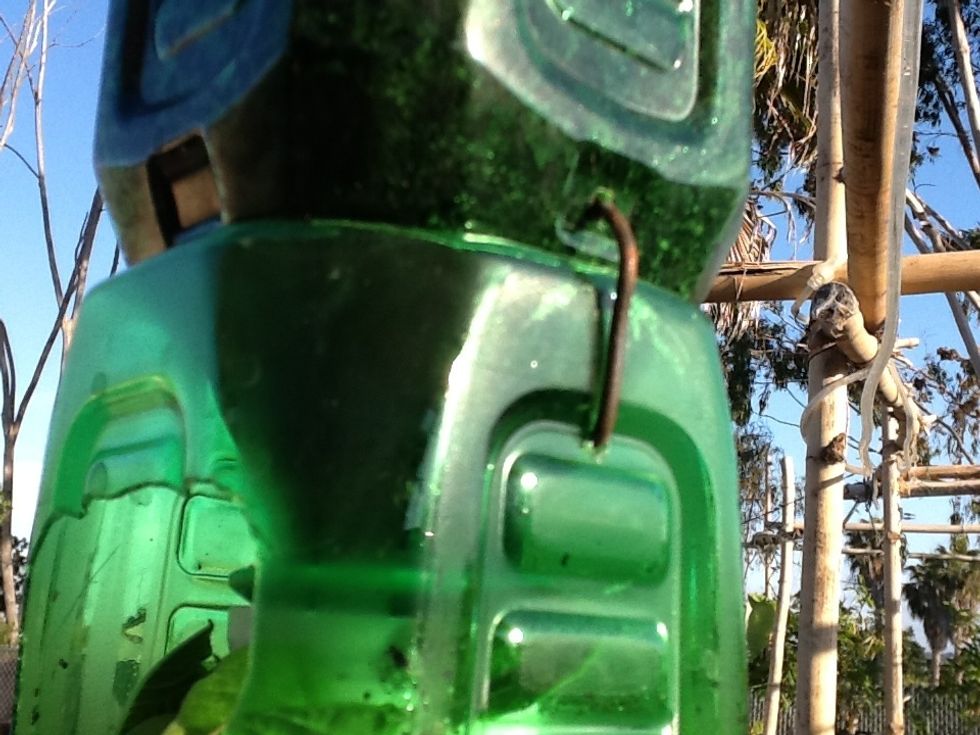
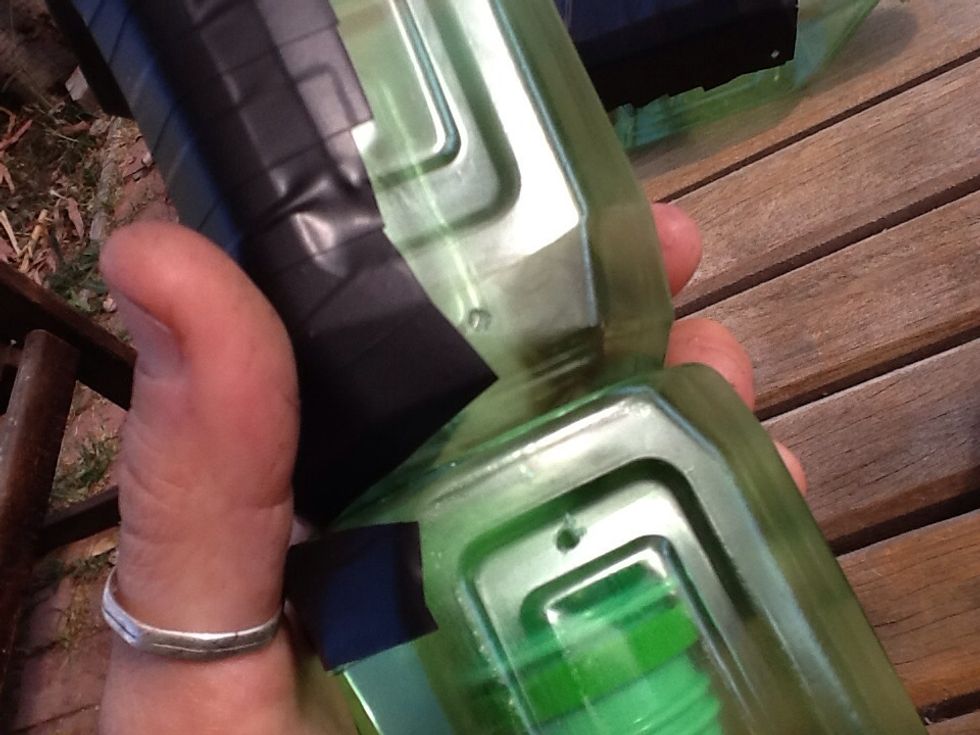
Here are a few shots of where I poked the wires into the bottle holes. Use pliers or fingers to bend in place. This might be difficult. Remember to place bottle caps back on each bottle before this.
The wires basically serve as a link that holds the bottles together. I supposed you could always use electric tape to connect them as well, or another kind of tape that takes weathering well.

I don't like to waste water, so I wanted to be able to catch the water at the bottom. I used two yogurt cups for the last part.

I kept one just the way it is. The other, I sliced two slits in an X formation, making this type of hole. This is where the bottom bottle will punch through, dripping used water into the catchment
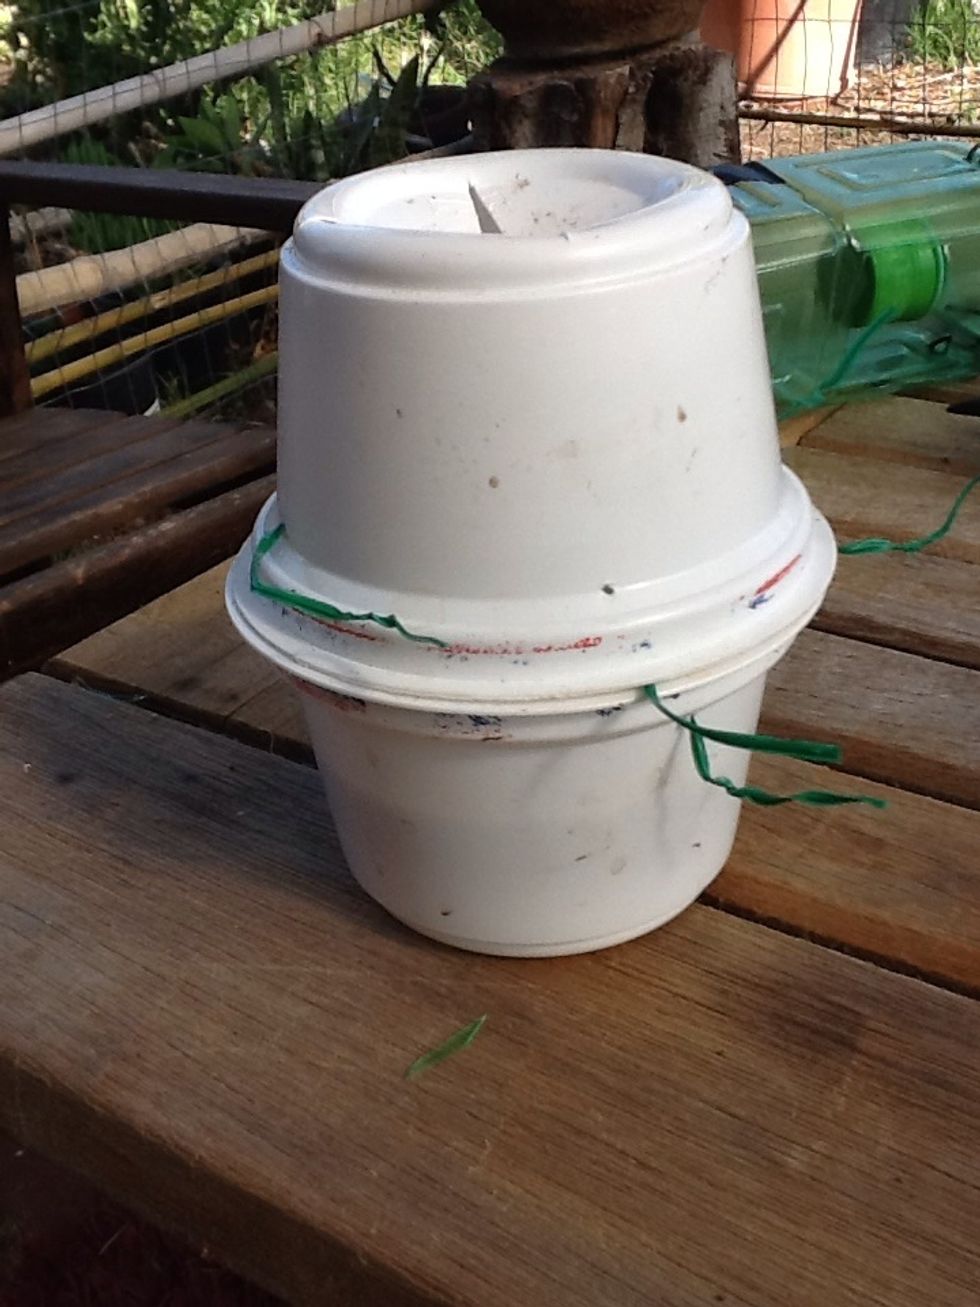
I poked holes on opposite sides of the cups, where I can run a string or tie through. This will hold the cups together at the bottom so water is not lost. To retrieve it just untie and use again.
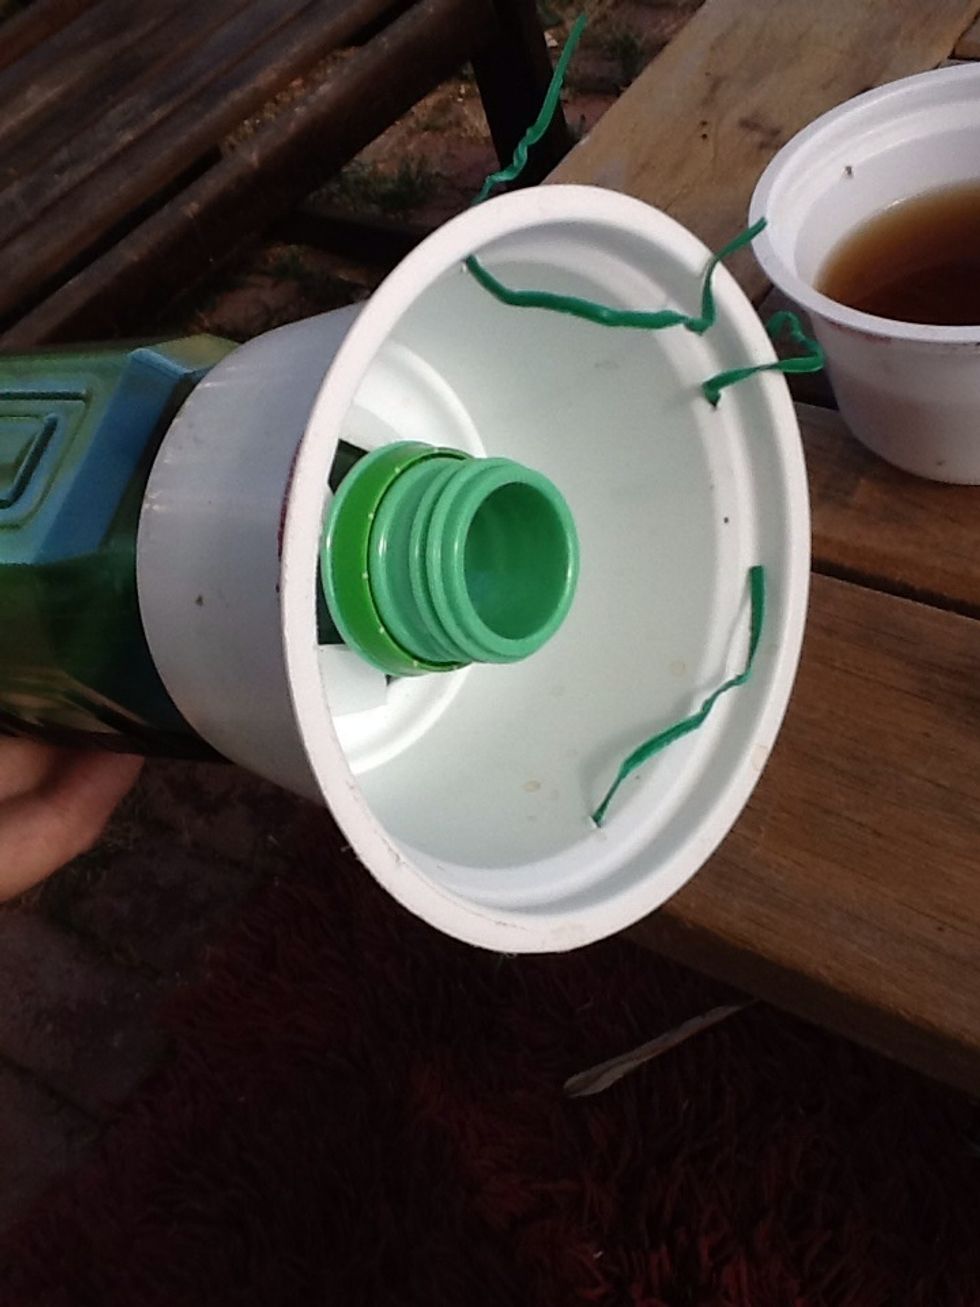
Grab the bottom bottle and take the cap off, put the head through the yogurt cup. The used water will filter out of here into the catchment cup once it's all completed.
Put the cap back on that bottom bottle, it serves as a filter so the soil doesn't fall through.

Now you can fill each container with your soil medium ...
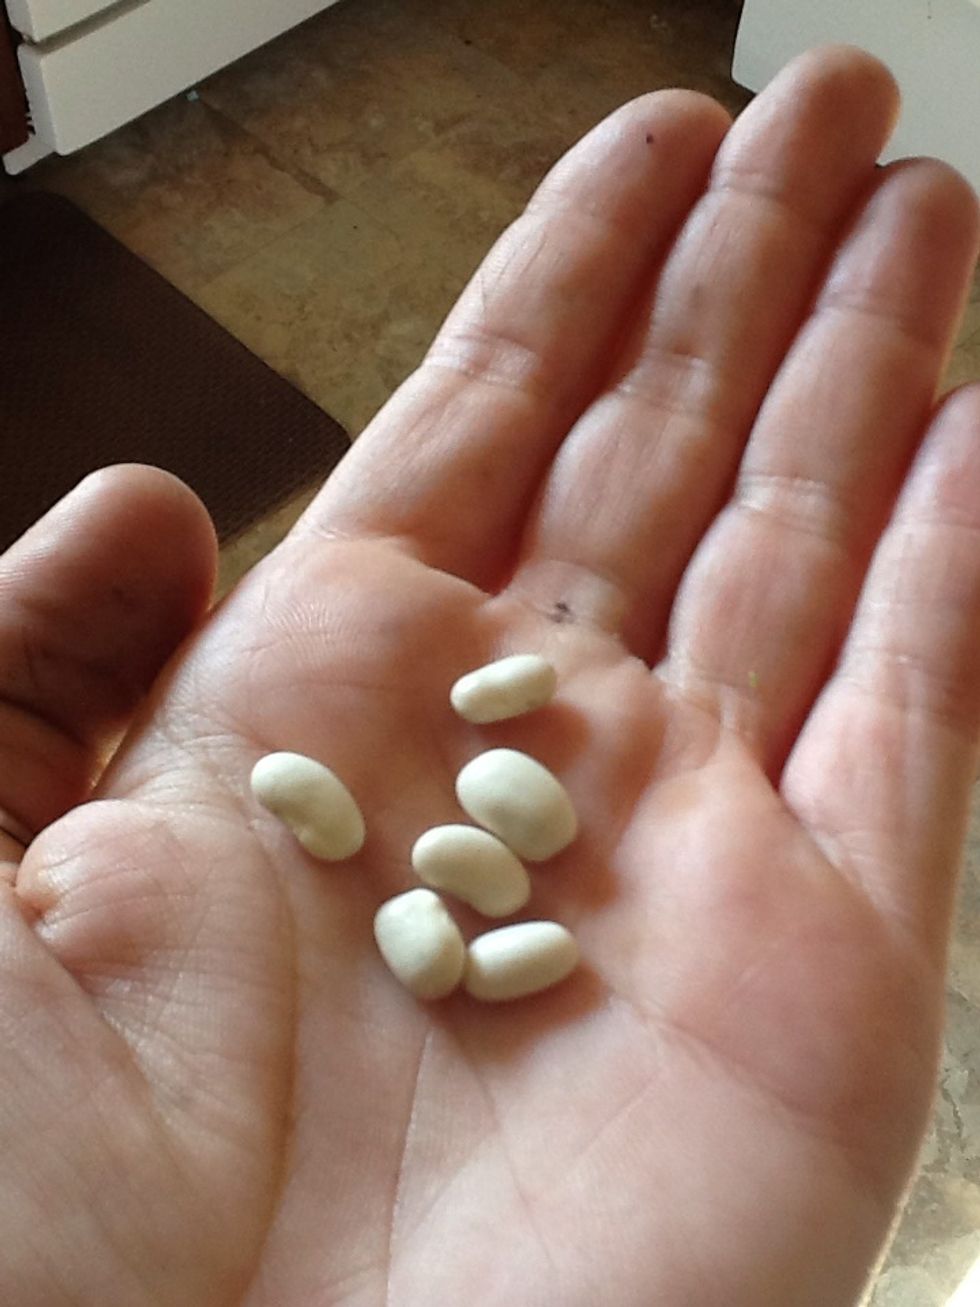
Pick your seeds, I chose some string beans.
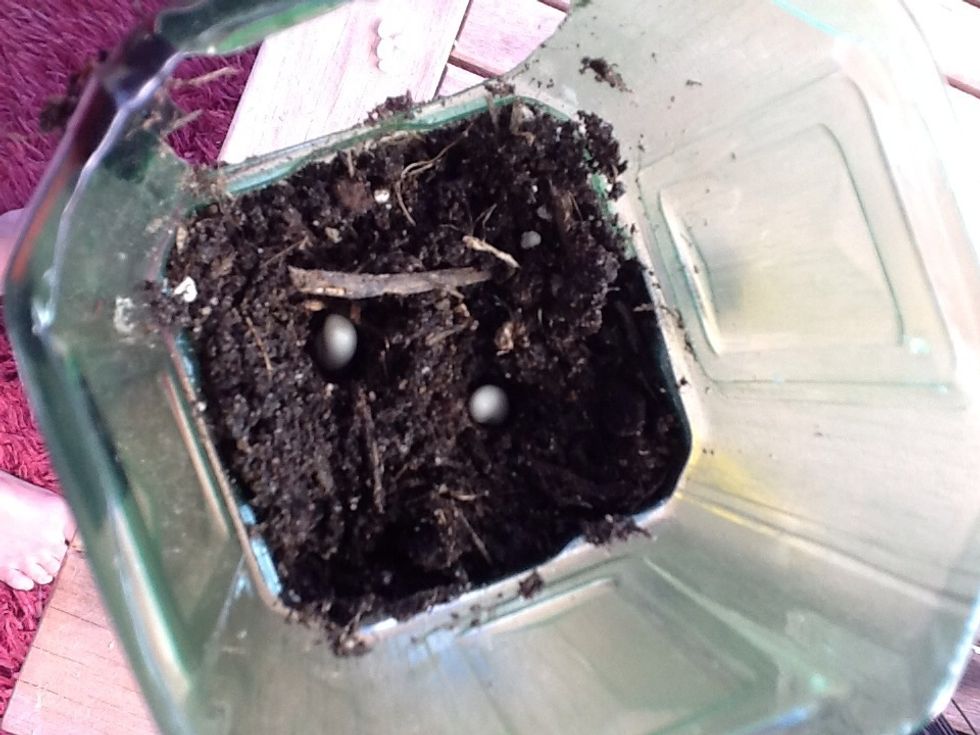
Place your seeds in holes and cover.

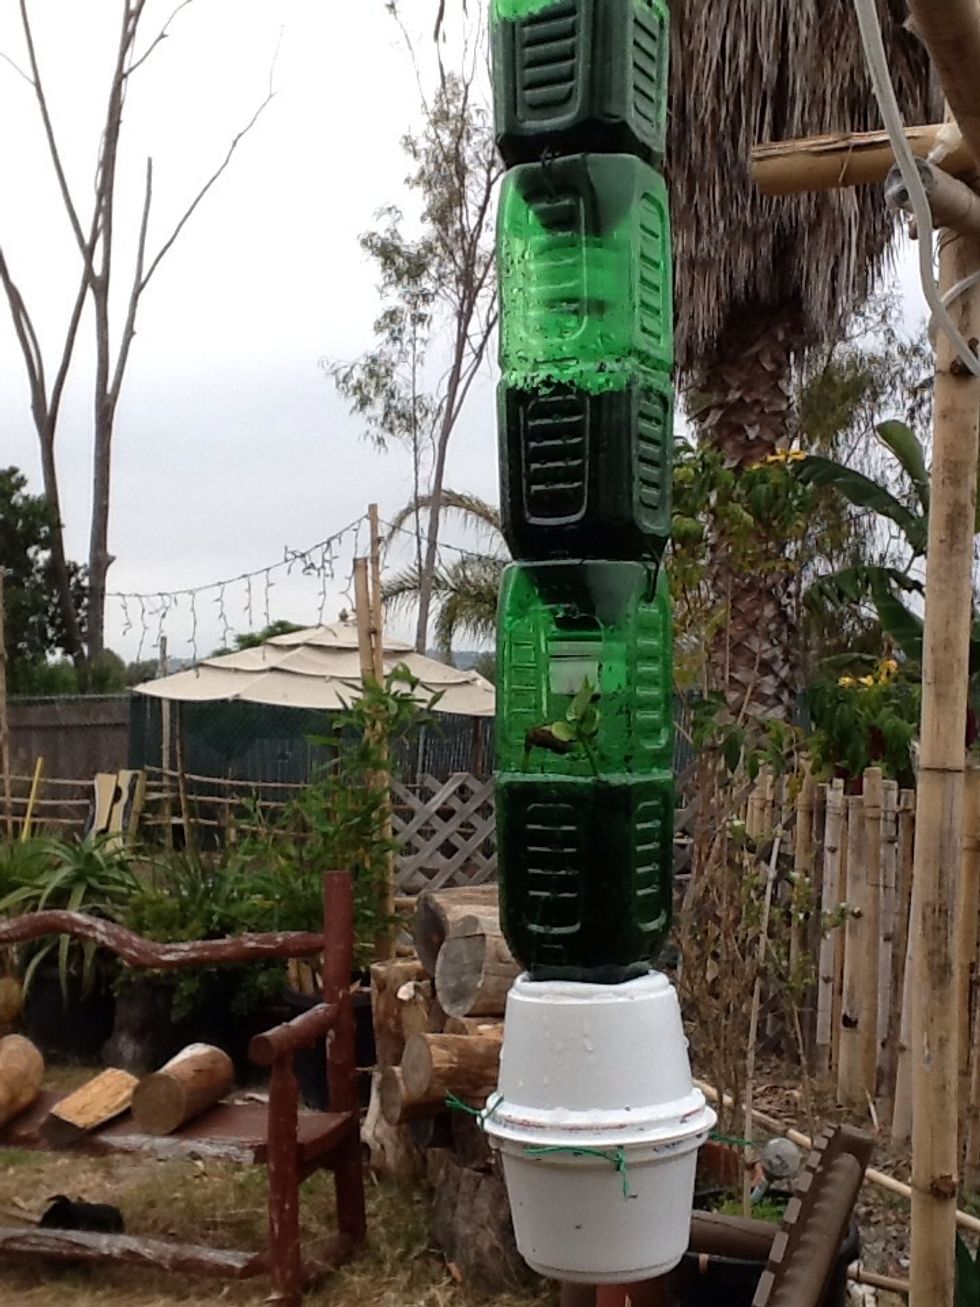
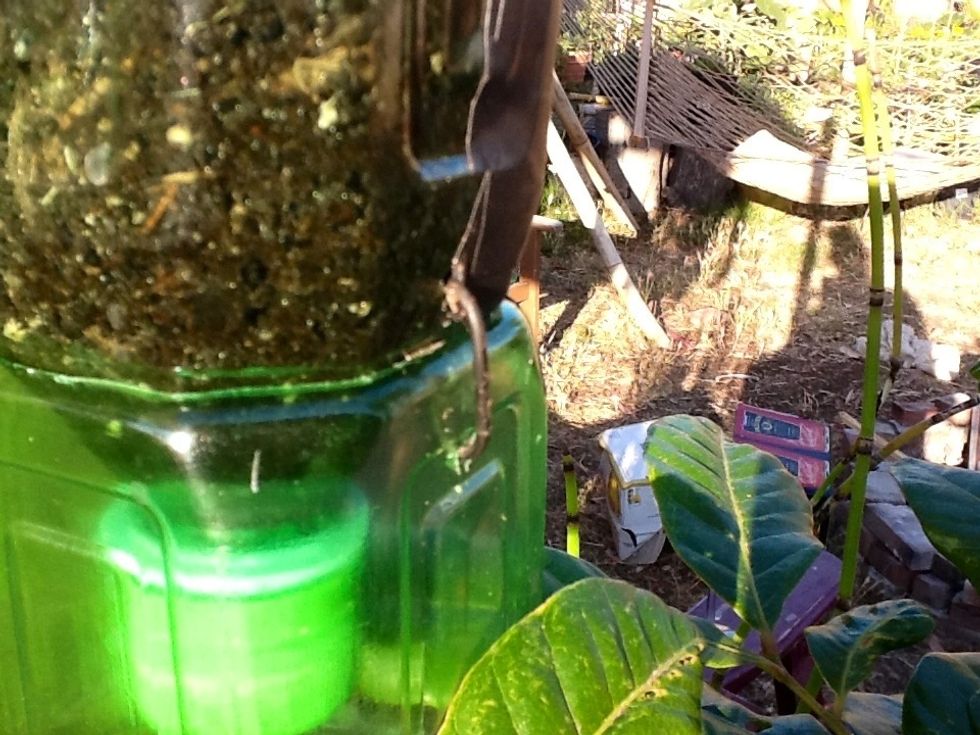
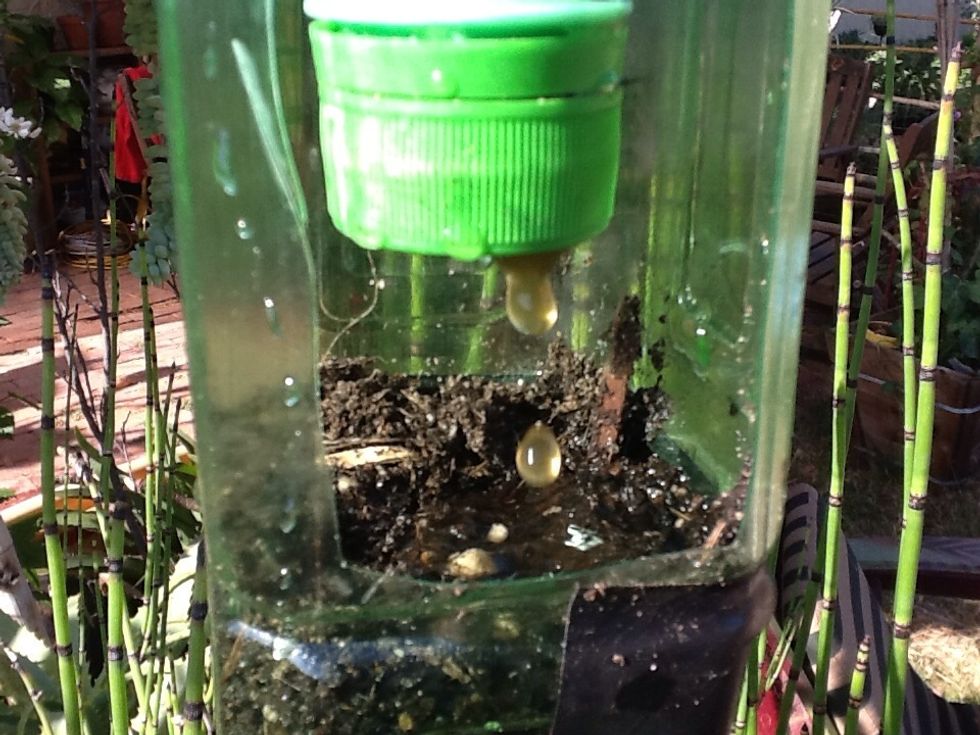
This is what mine looks like, I did six bottles. It doesn't matter how many you do. Pour water in the top or set irrigation on it, the water trickles through all plants & any extra collects below.
It should look something like this. If any water is left over in the bottom yogurt cup, it can be put through the whole cycle again at another time....recycle, reduce, re-use :)

My proof that it works! Have fun and happy planting :D