The Conversation (0)
Sign Up
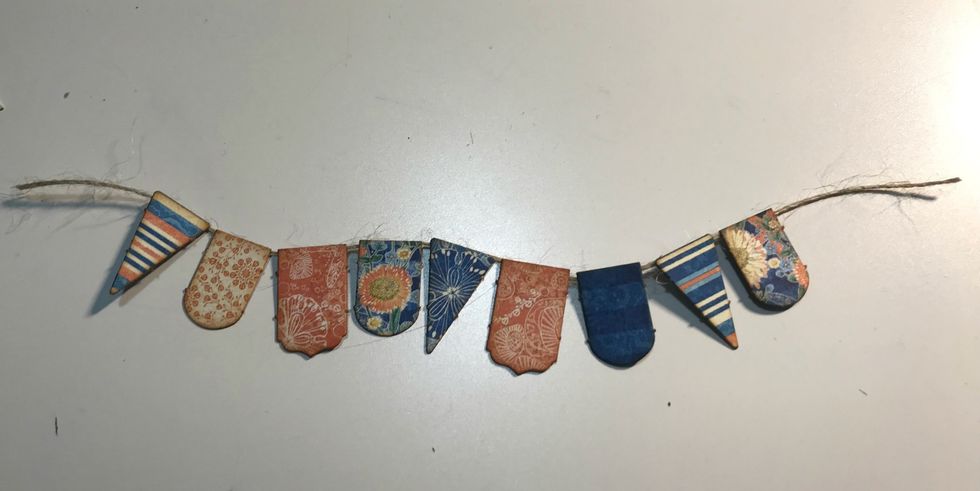
Take 9 banners off the banner sheet. Ink the edges of the banner using Vintage Photo Distress Ink and a blending tool with foam. Adhere the banners to a piece of twine.
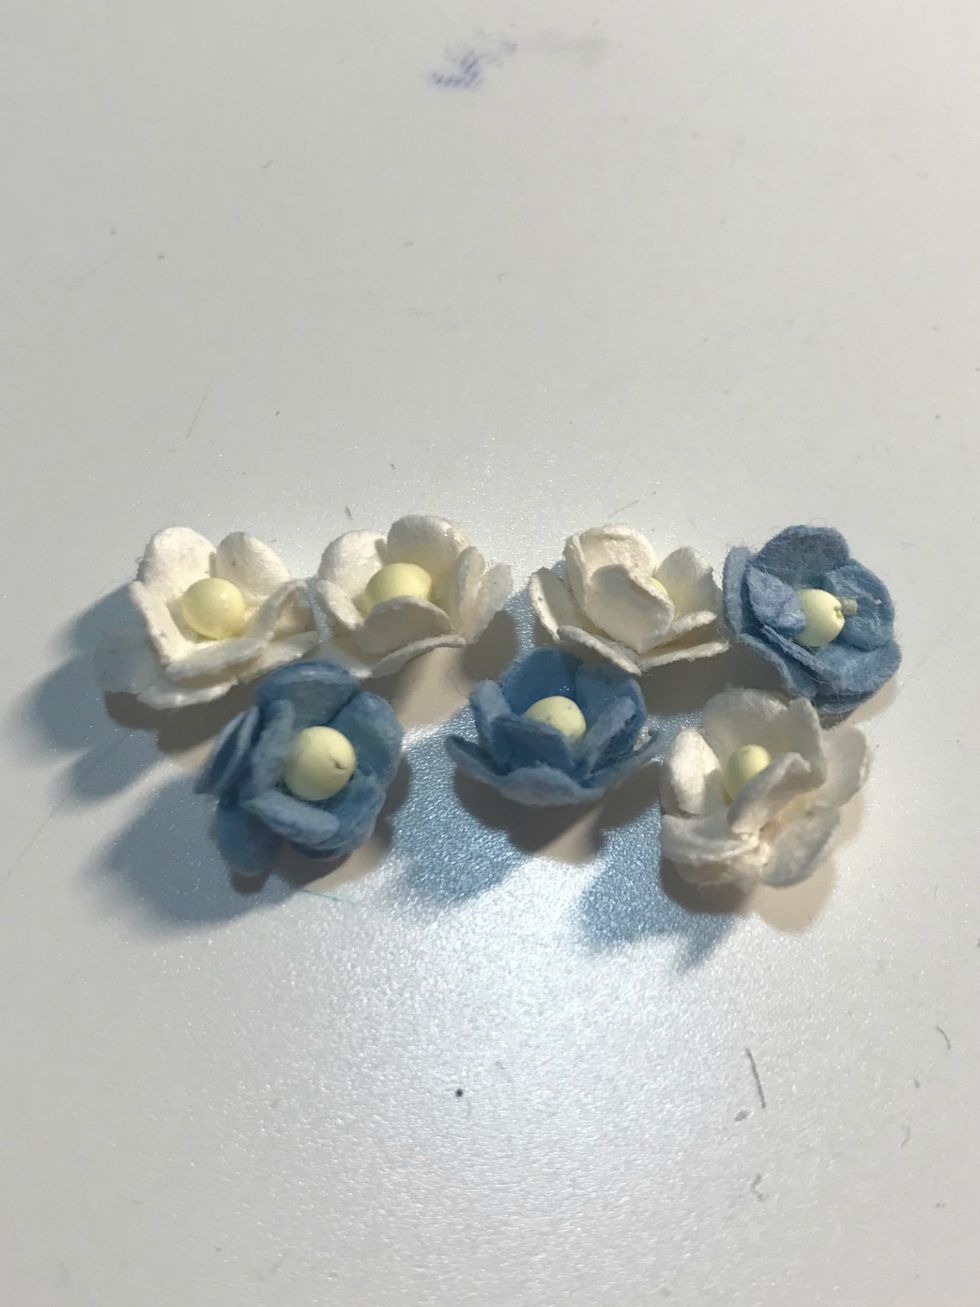
You'll need four white small flowers and three blue flowers.
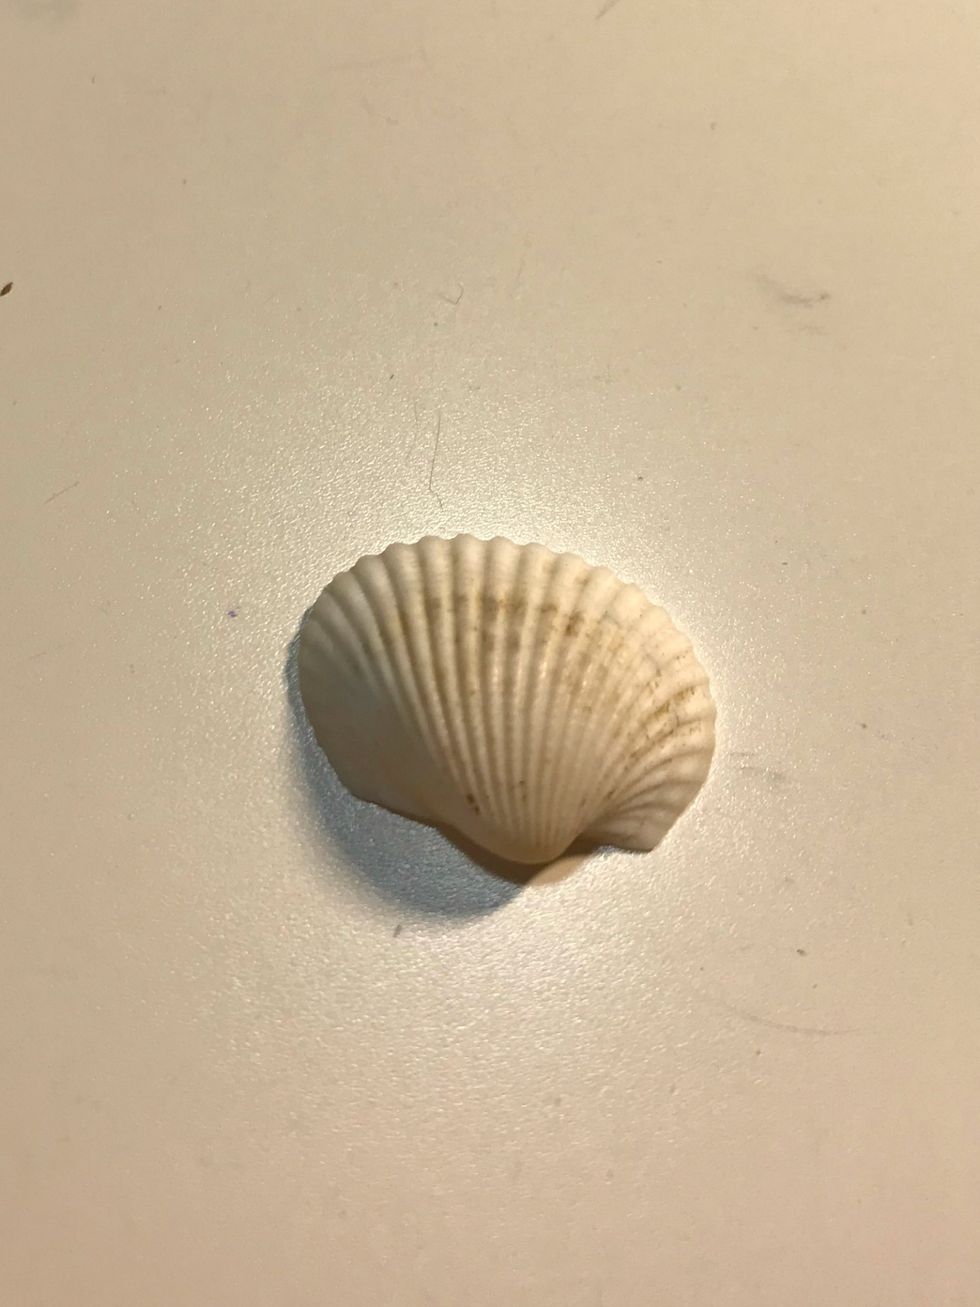
You'll need one shell.
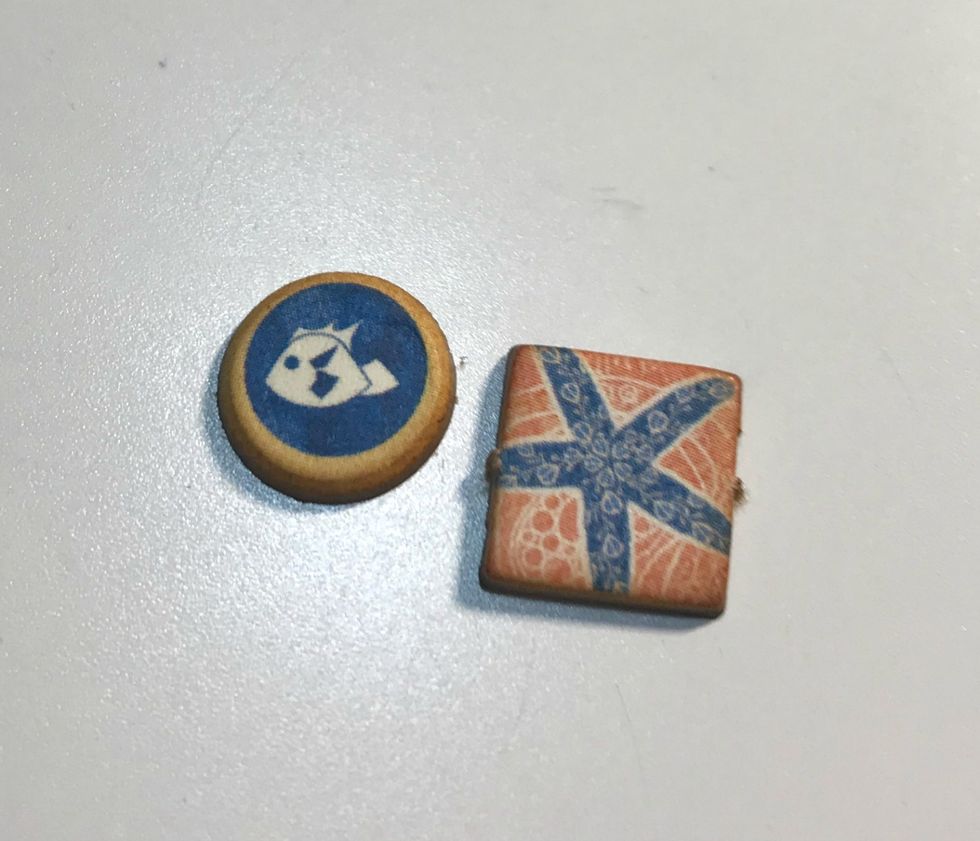
Pick two chipboard elements off of the chipboard sheet.
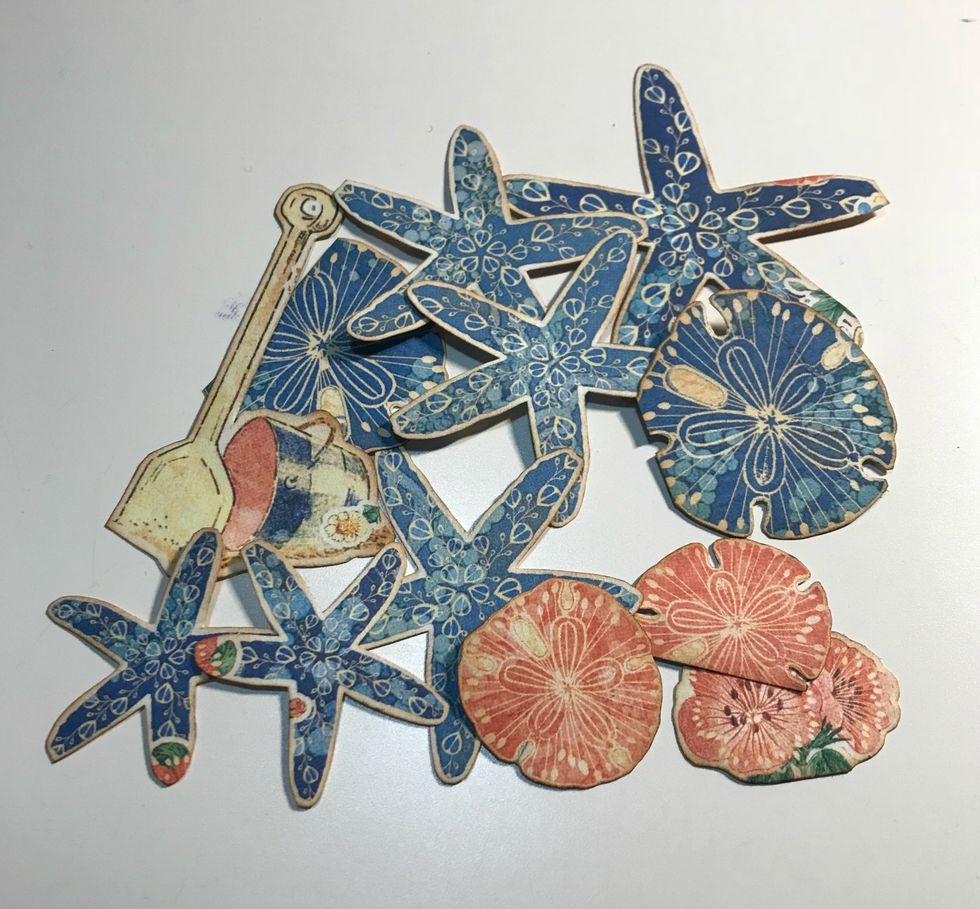
From the patterned papers, fussy cut 2 pick sand dollars, 2 sand dollar, 6 starfish and the bucket with shovel. Ink edges of the images using Vintage Photo Distress Ink & a blending tool with foam.
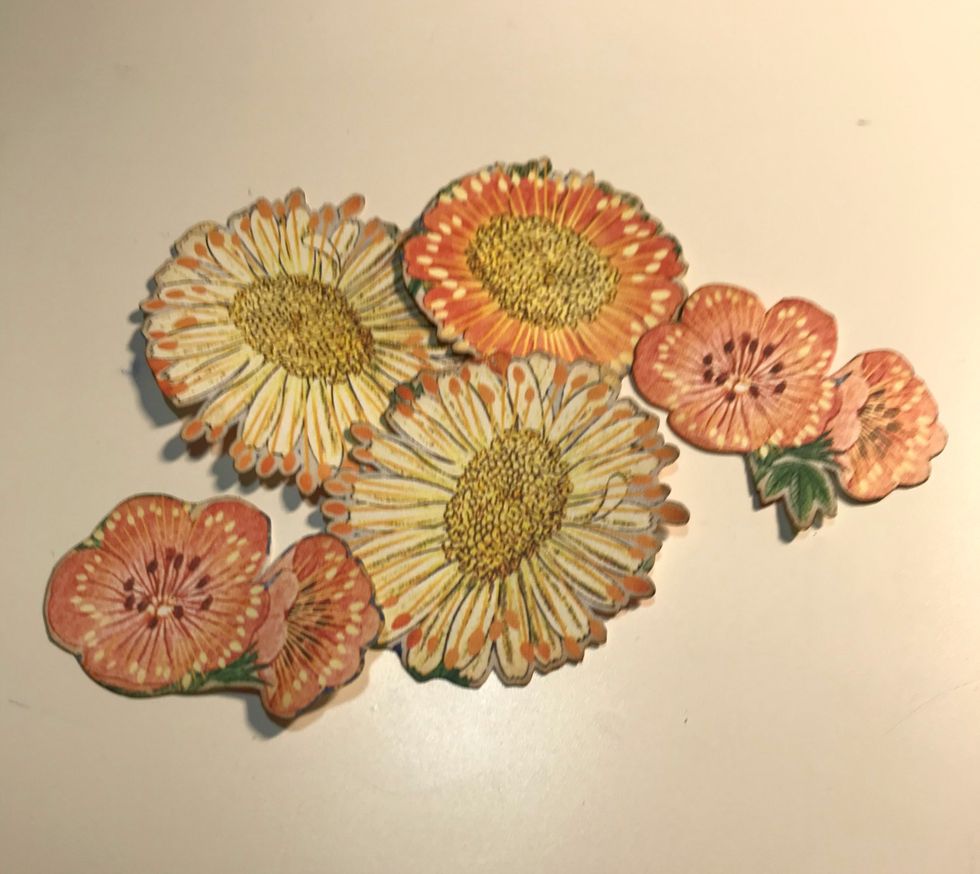
From the floral paper, fussy cut three daisies and two pink flower bunches. Ink the edges of the flowers with Vintage Photo Distress Ink and a blending tool with foam.
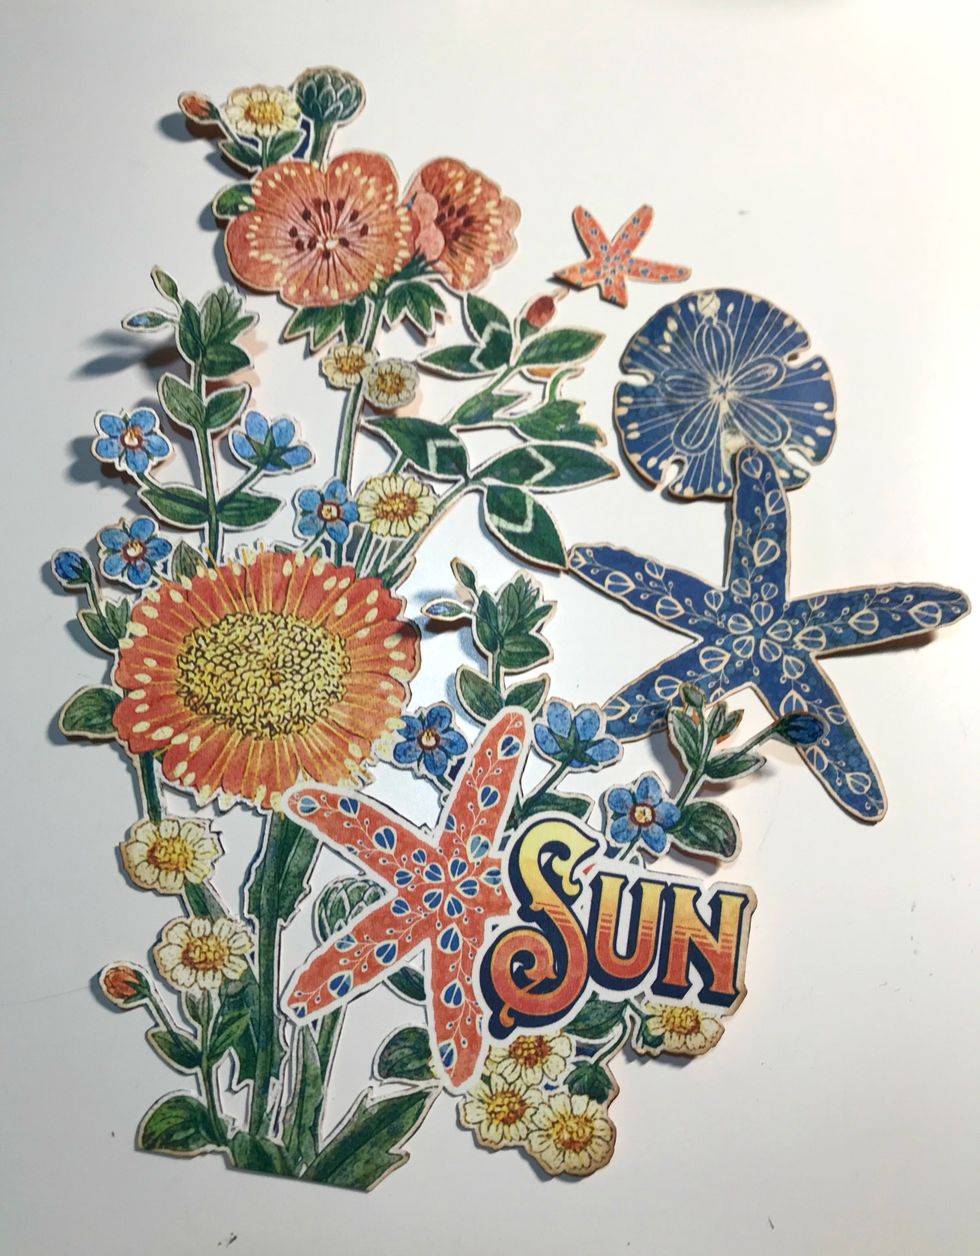
From the Sun Kissed paper, fussy cut the flower bunch, 2 starfish and 1 sand dollar. Ink the edges of the images using Vintage Photo Distress Ink and a blending tool with foam.
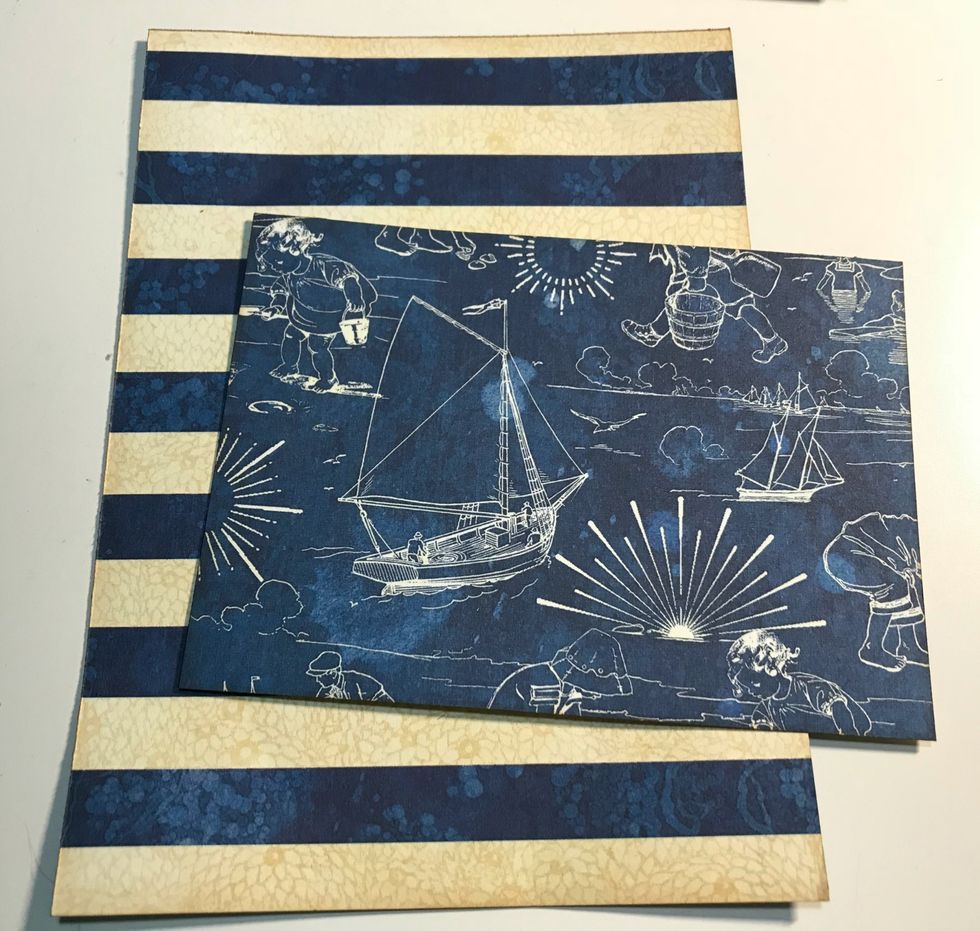
From the striped paper, cut the following pieces, piece #1 - 5" x7" and piece #2 - 3 3/4" x 5 1/4". Ink the edges of the papers using Vintage Photo Distress Ink & a blending tool with foam.
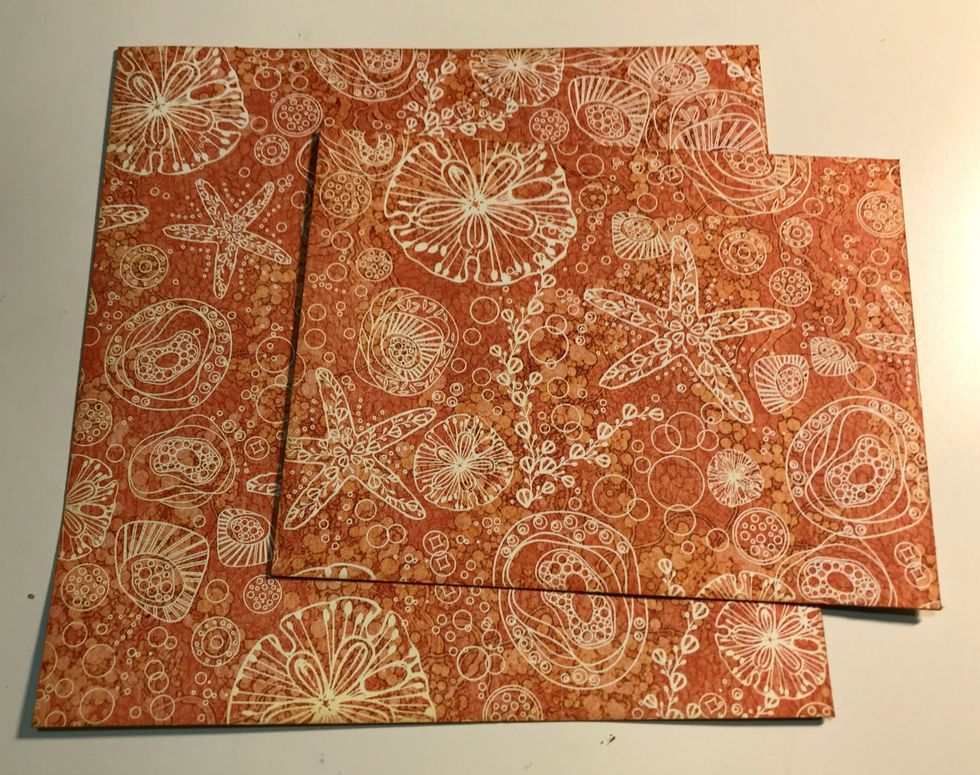
From shell paper, cut the following pieces, piece #1 - 6" x 6" & piece #2 - 5 1/4" x 4 1/2". Ink edges of patterned paper using Vintage Photo Distress Ink & a blending tool with foam.
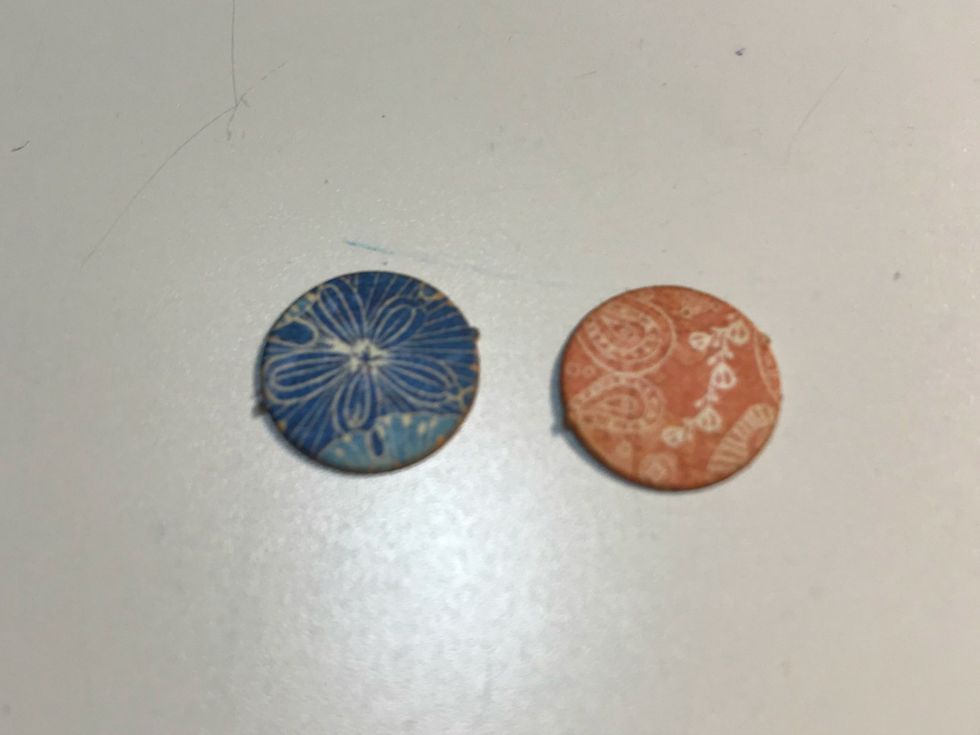
From the banner package, punch out two circles. Ink the edges of the circles using Vintage Photo Distress Ink and a blending tool with foam.
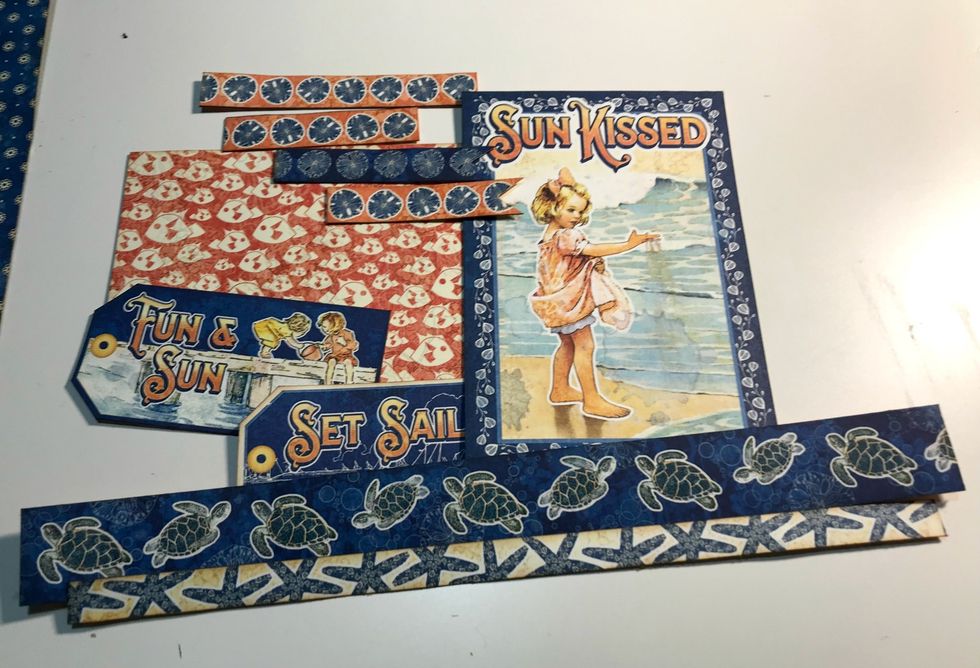
From border paper, cut 4 borders, 2 tags & 2 4x6 cards. Cut border 1 - 9", #2 - 8 3/4", #3 - 3", 3 1/2" & 3" - make a banner, #4 - 3 1/4" - make a banner. Ink edges with Vintage Photo Distress Ink.
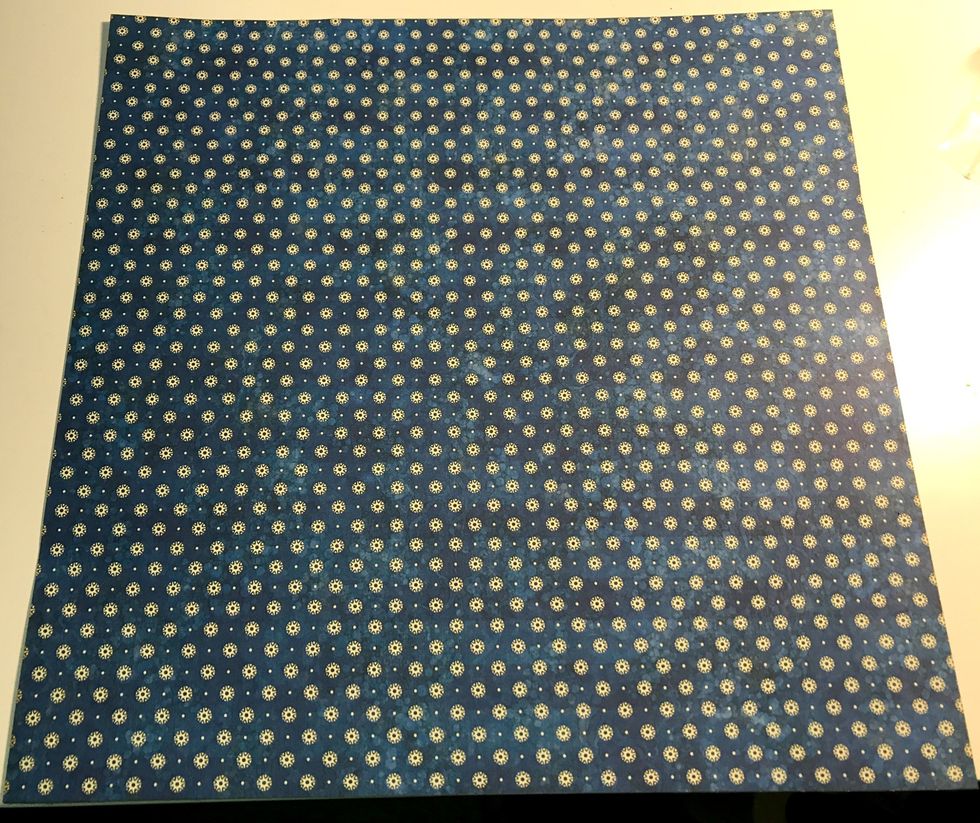
Cut the border strip off the navy patterned paper. Ink edges of paper using Vintage Photo Distress Ink and a blending tool with foam.
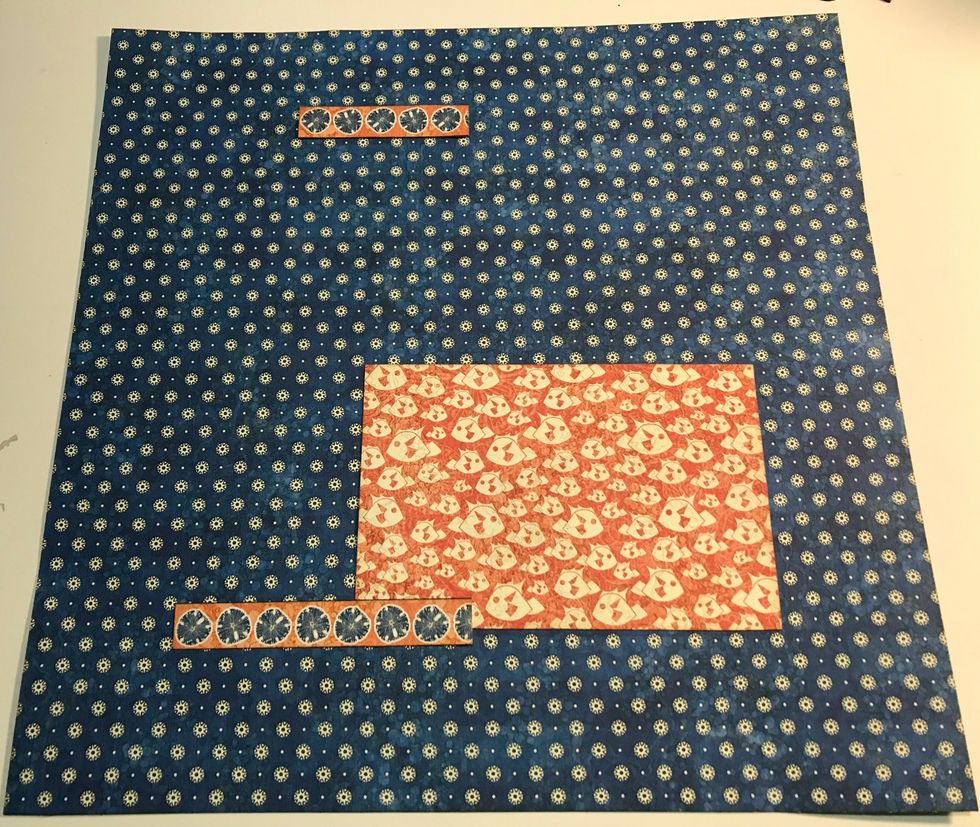
Adhere 4x6 card 1 7/8" from right & 2" from bottom of paper. Adhere short shell strip 1 3/8" from top & 2 7/8" from left & adhere short shell strip 1 3/4" from bottom & 1 3/4" from right of paper.
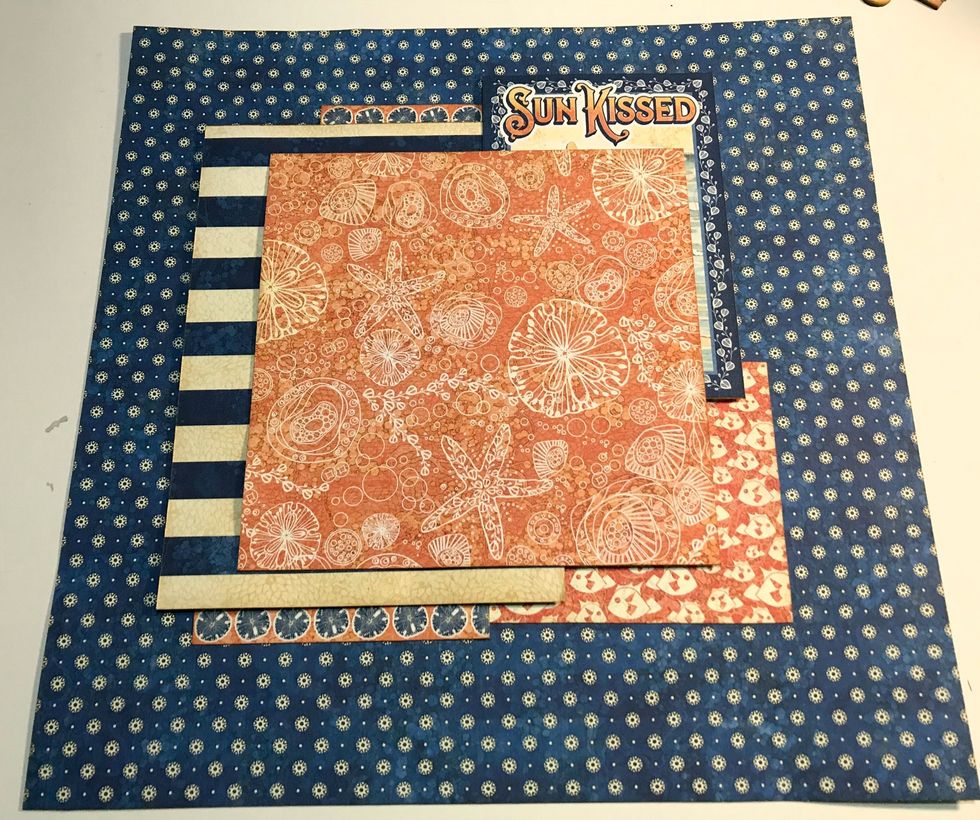
Foam square large striped paper 2 1/2" from left & 1 3/4" from top. Foam square 4x6 card 2 1/8" from left & 1" from top. Adhere 6" shell paper 2 1/4" from top & 2 3/4" from right of paper.
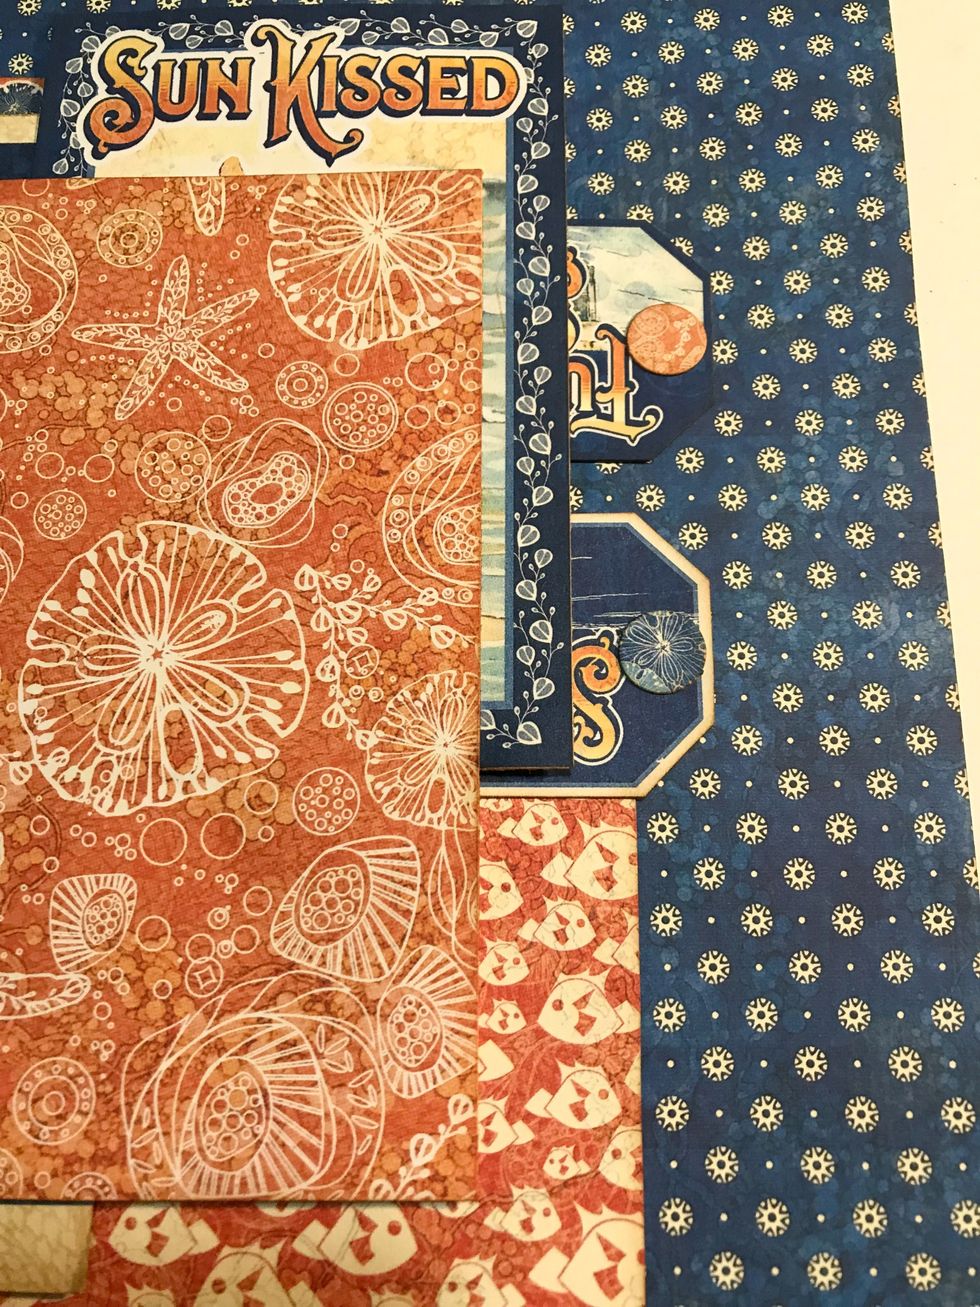
Adhere tag #1- 1/8" from right & 2 1/2" from top of paper. Adhere tag #2- 1 3/8" from right & 4 1/2" from top. Adhere the circles to the top of the tags.
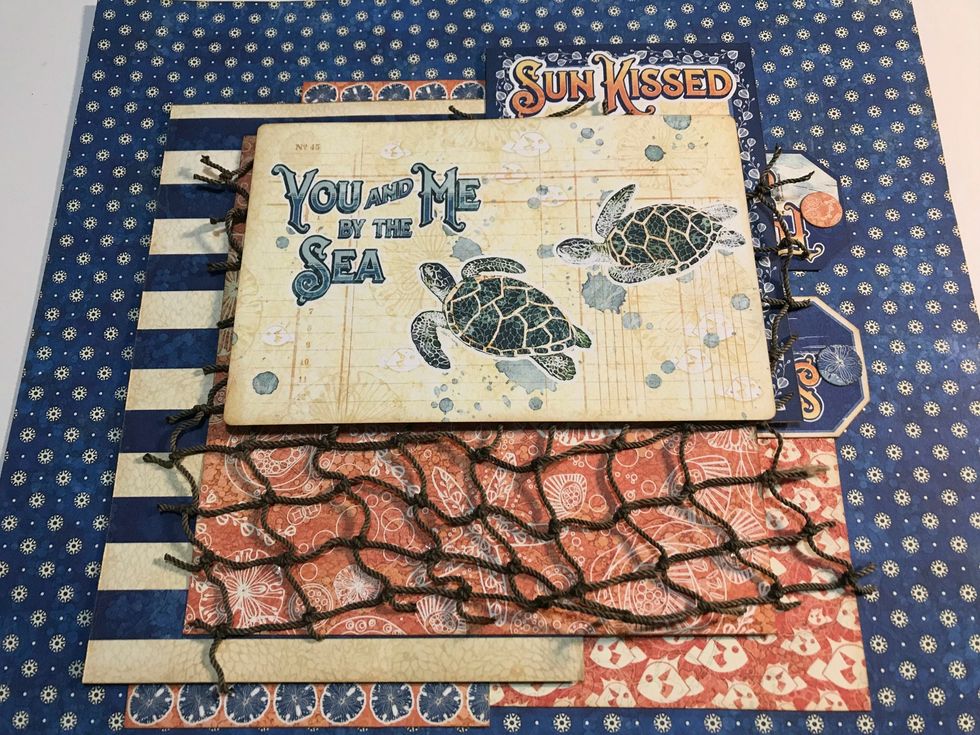
Adhere netting to the middle of the layered patterned paper. Foam square an ephemera card 2 1/4" from the top & 2 1/2" from the right of the paper.
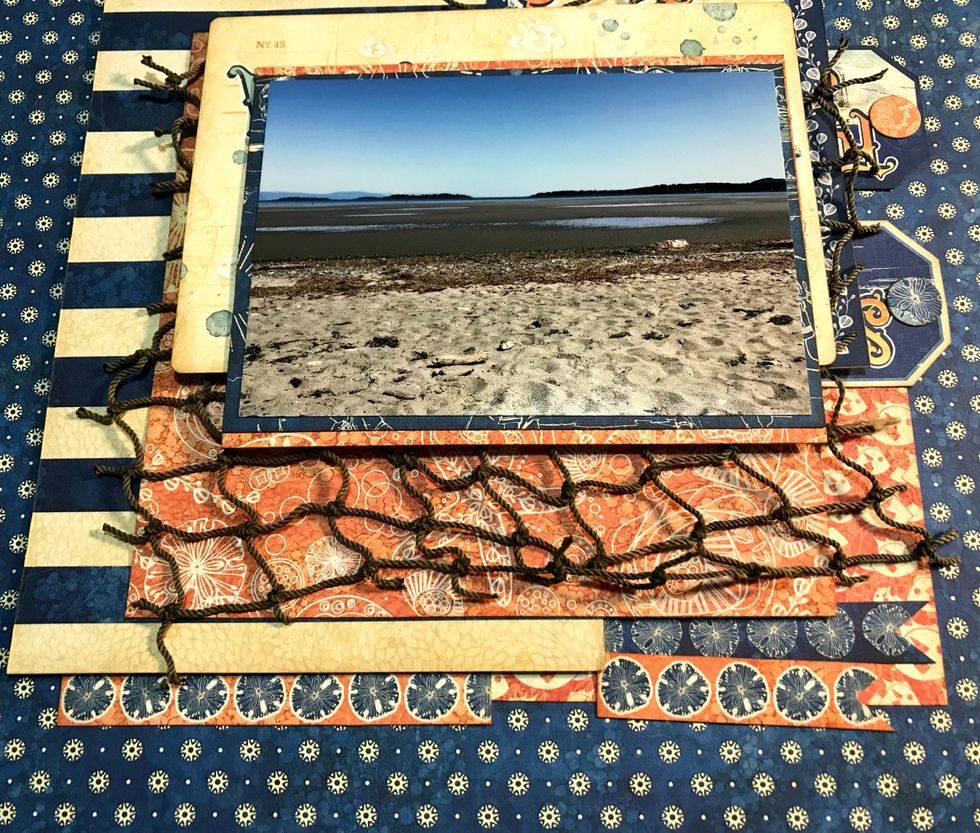
Adhere the small shell paper 2 3/4" from the top & 2 3/4" from the right of the paper. Adhere the small navy paper to the middle of the shell paper. Adhere your photo to the middle of the navy paper.
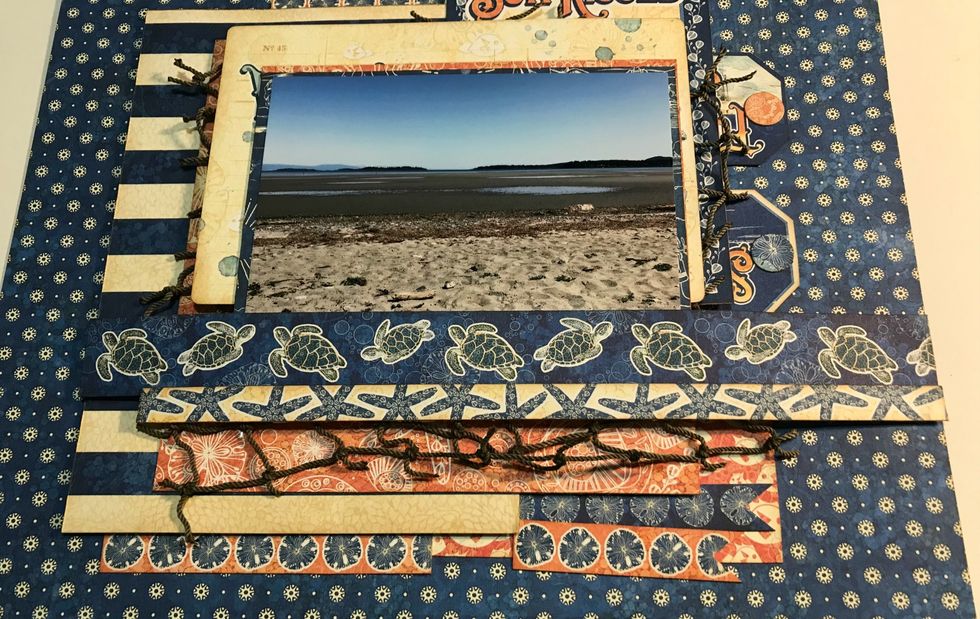
Adhere the 9" border 4" from the bottom of the paper. Adhere the 8 1/2" border 3 1/2" from the bottom of the paper. Adhere the two banners 4 7/8" from right & 2 1/2" from the bottom of the paper.
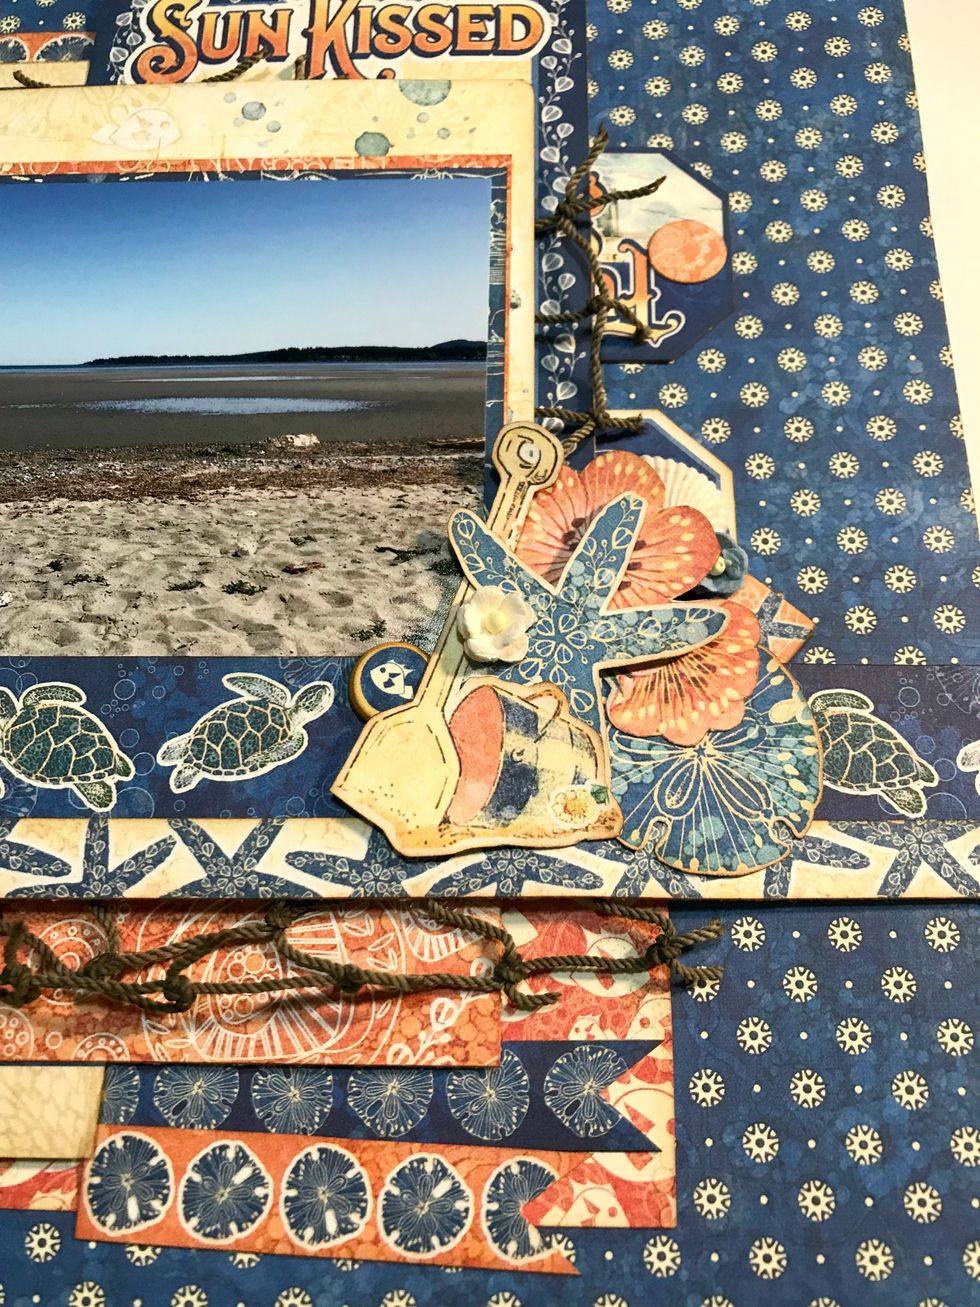
On the right hand side of the photo adhere the shell, both chipboard elements, 1 pink flower bunch, 1 sand dollar, 1 starfish, bucket with shovel, 1 white flower & 1 blue flower.
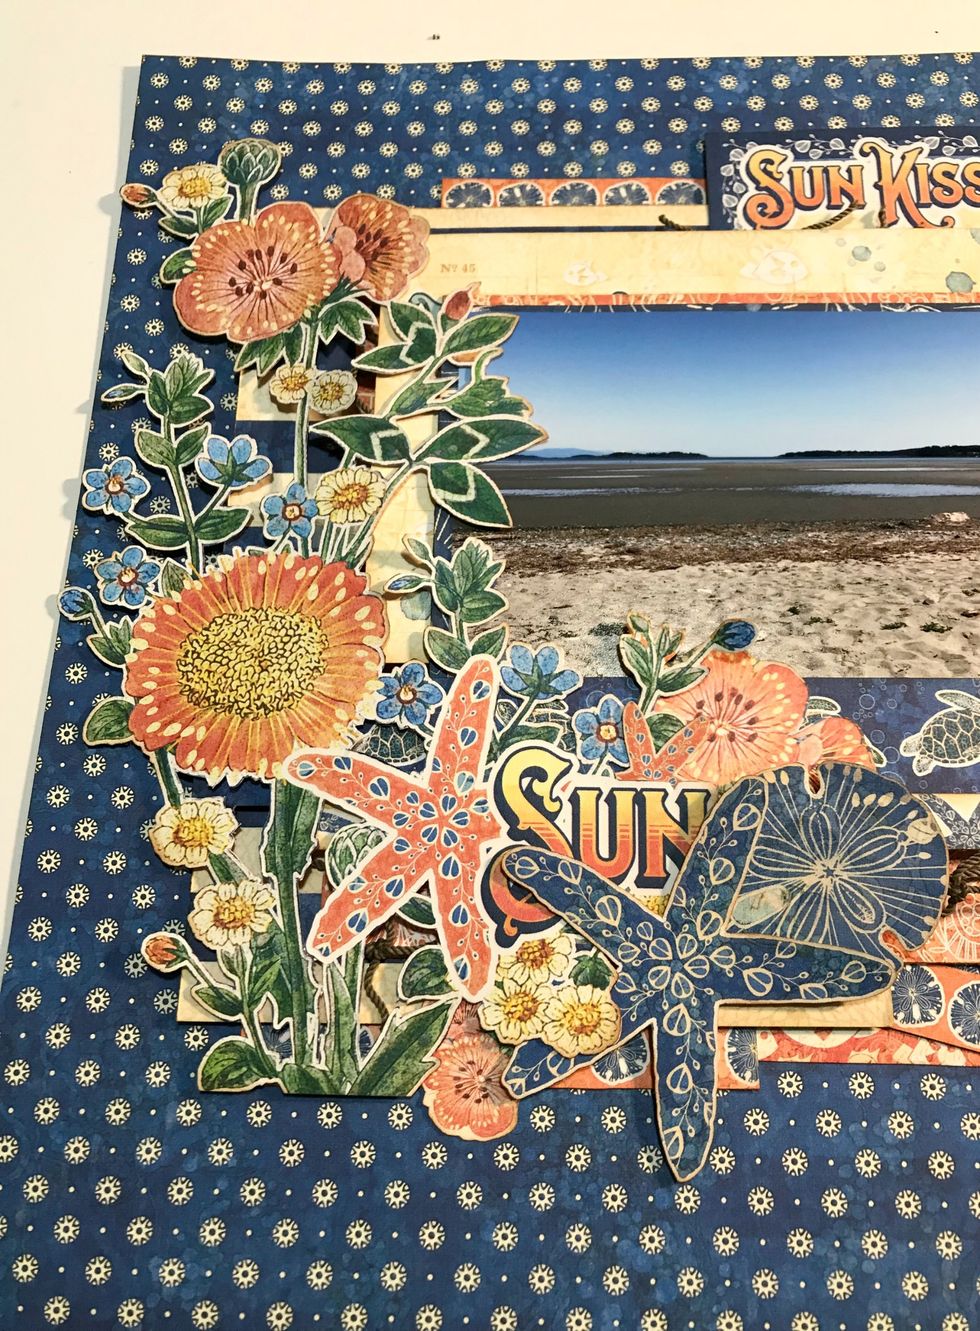
On the left hand side of the photo, adhere the flower bunch, 2- 2 pink flower bunch, 1 starfish & one sand dollar.
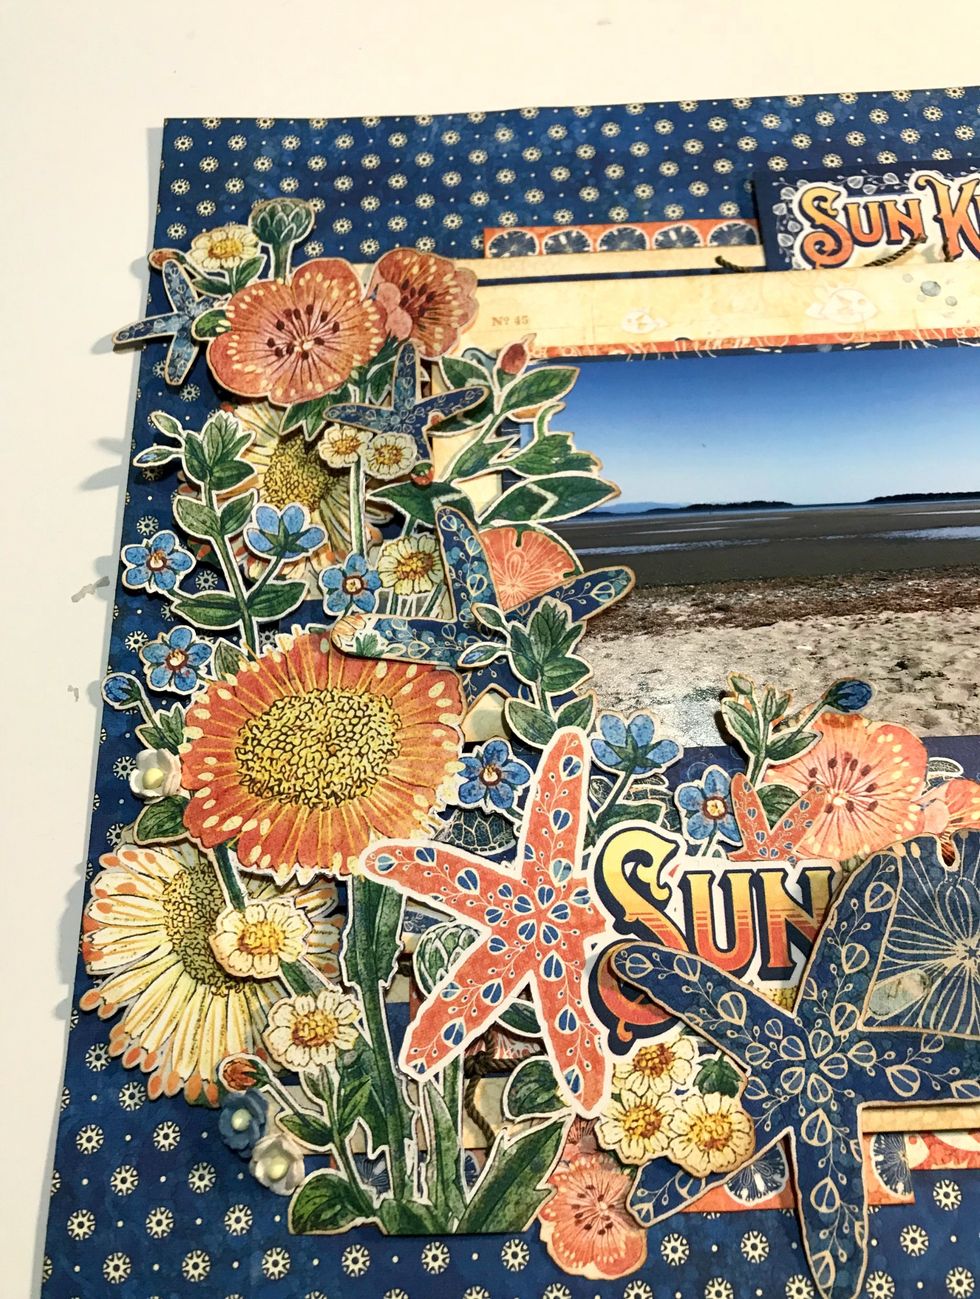
In amongst the flower bunch, adhere 3 starfish, 2 daisies, 1 pink sand dollar, 2 white flowers and 1 blue flower.

To the right of the starfish, adhere 1 pink sand dollar, 2 blue flowers and 1 whiter flowers. By the pink flower bunch, adhere 1 coral starfish.
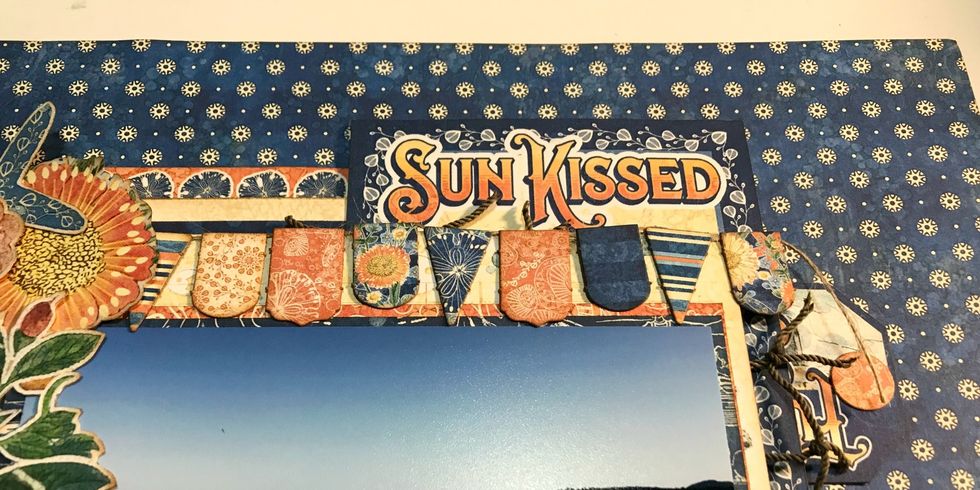
Overtop of the photo, adhere the banner.
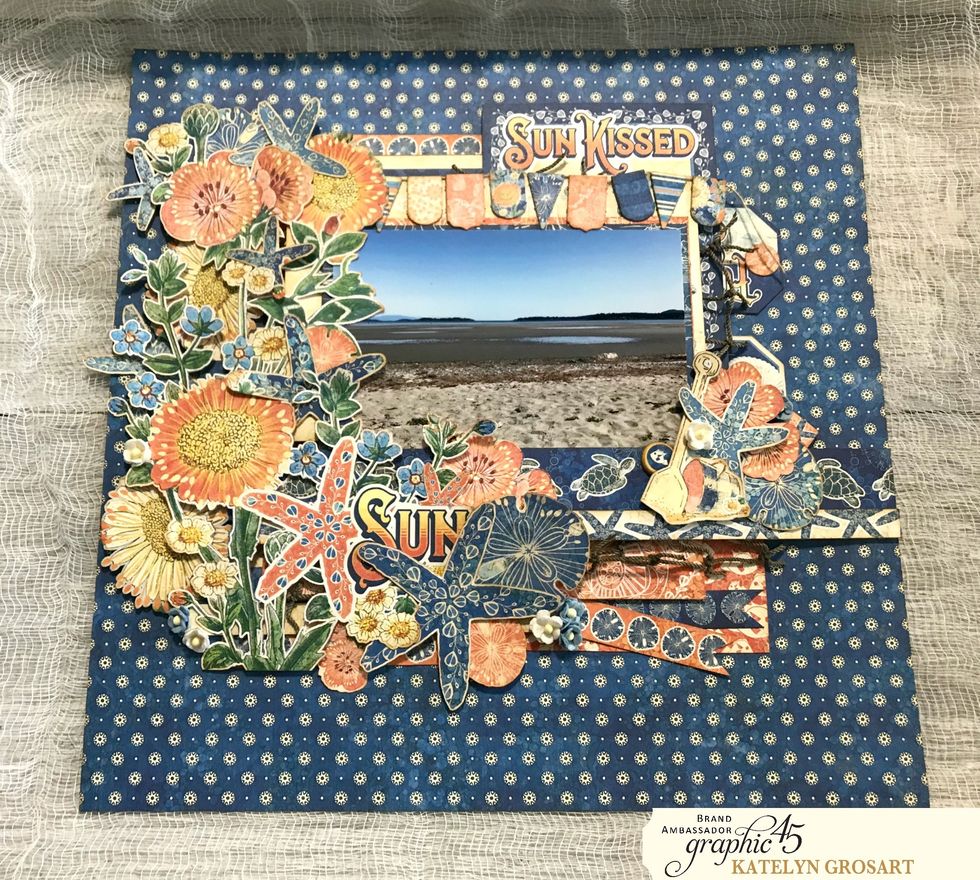
Your layout is now complete!