The Conversation (0)
Sign Up
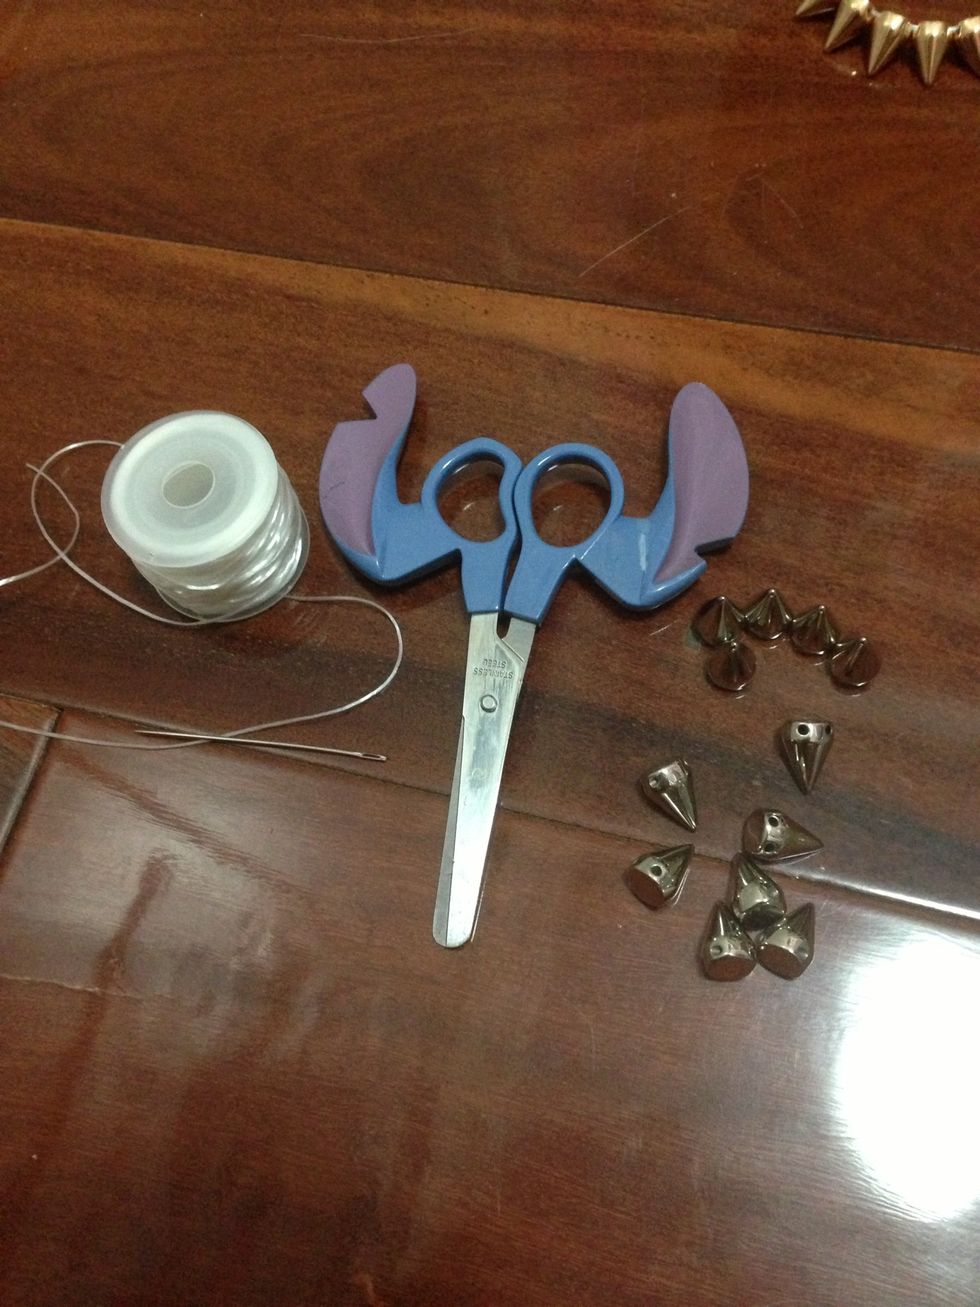
Collect your supplies.
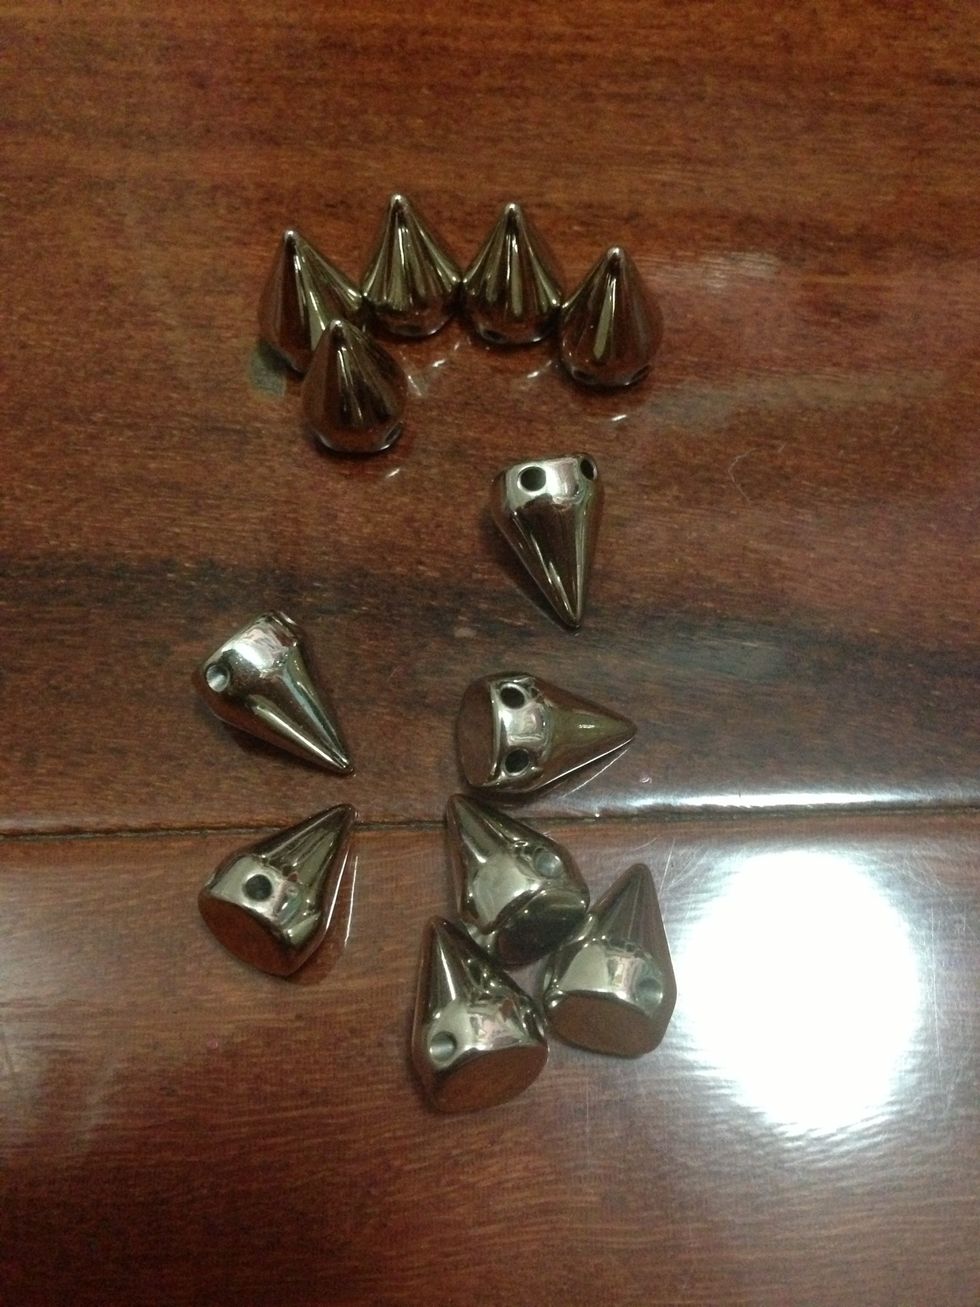
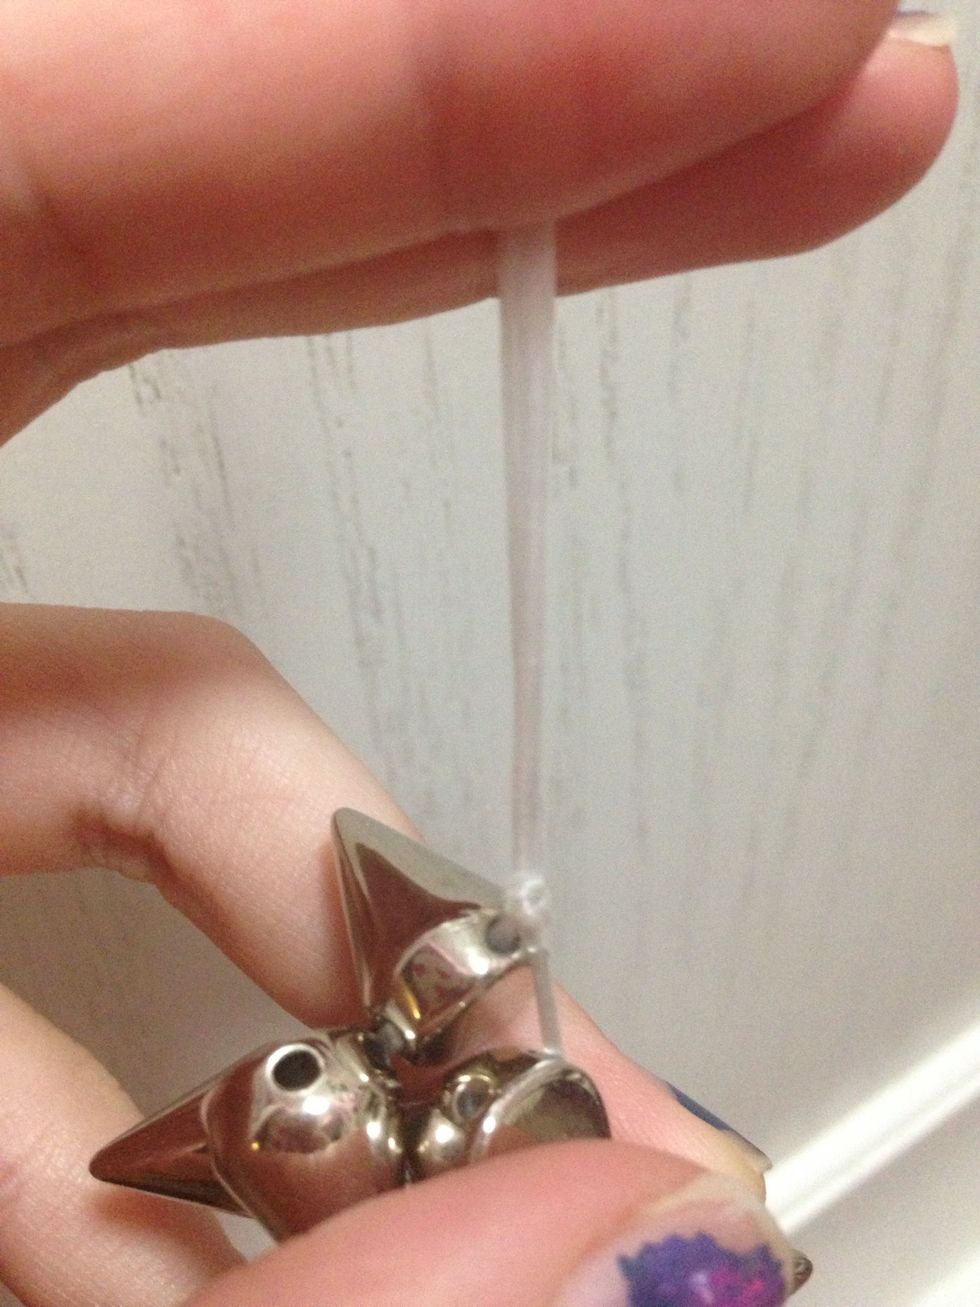
These are the studs you need. They have 4 holes at the bottom of the stud - one on each side.
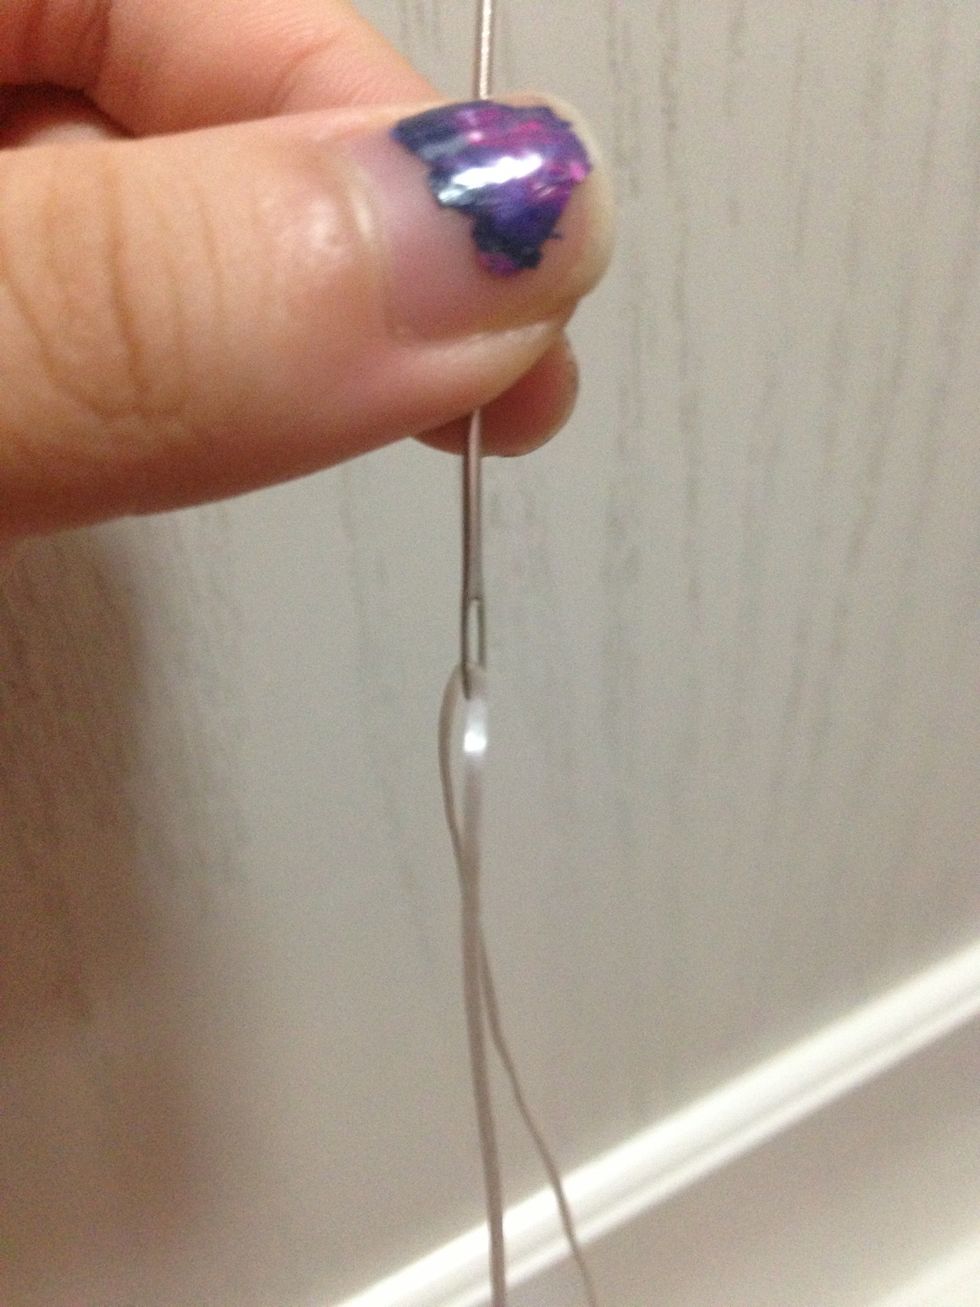
Take a needle and insert the fishing line into the hole - like how you prepare a needle before you sew.

Make sure it's doubled (picture one) and isn't just a single string (picture two) because it may snap easily.

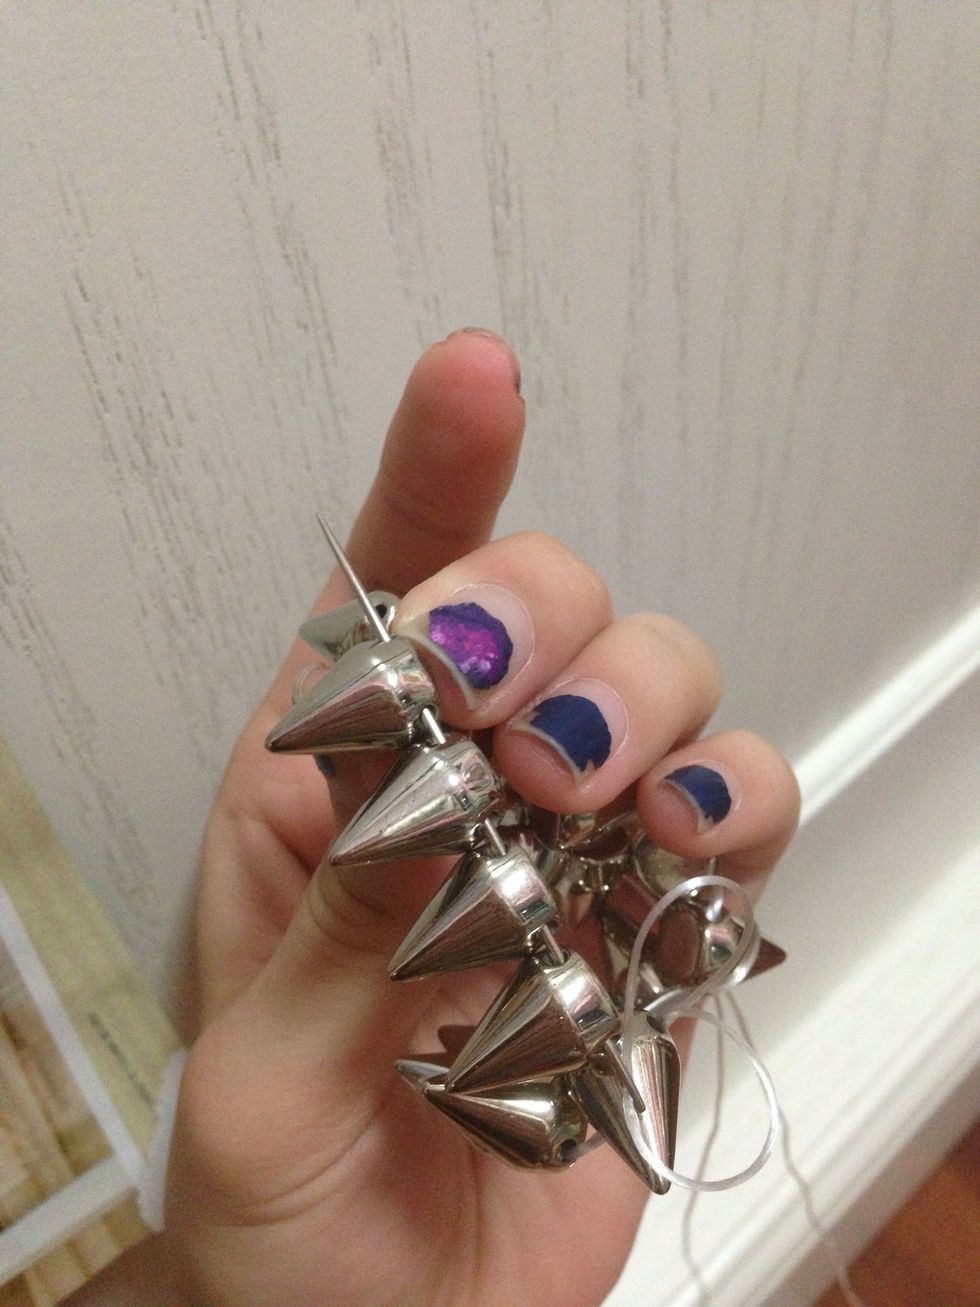
Insert each stud one by one.
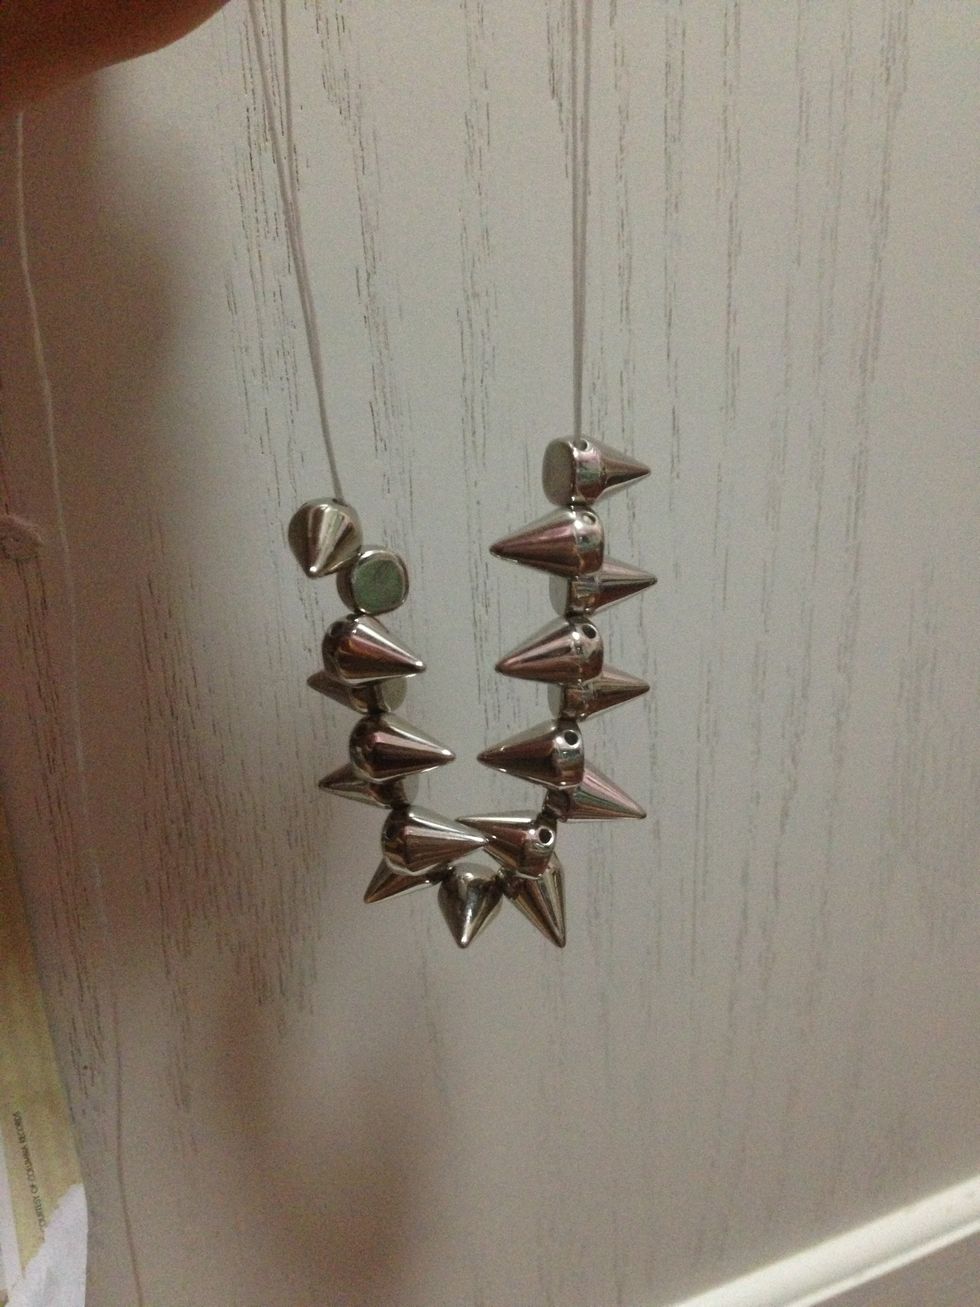
You have to make sure they're facing the same direction, or else your bracelet wouldn't look nice.
Make sure the bracelet is the right size, then secure it by tying a knot.

Muse your scissor and cut off the remaining fishing line.
My studs have two holes on each side so I decided to double the fishing line so my bracelet wouldn't snap.
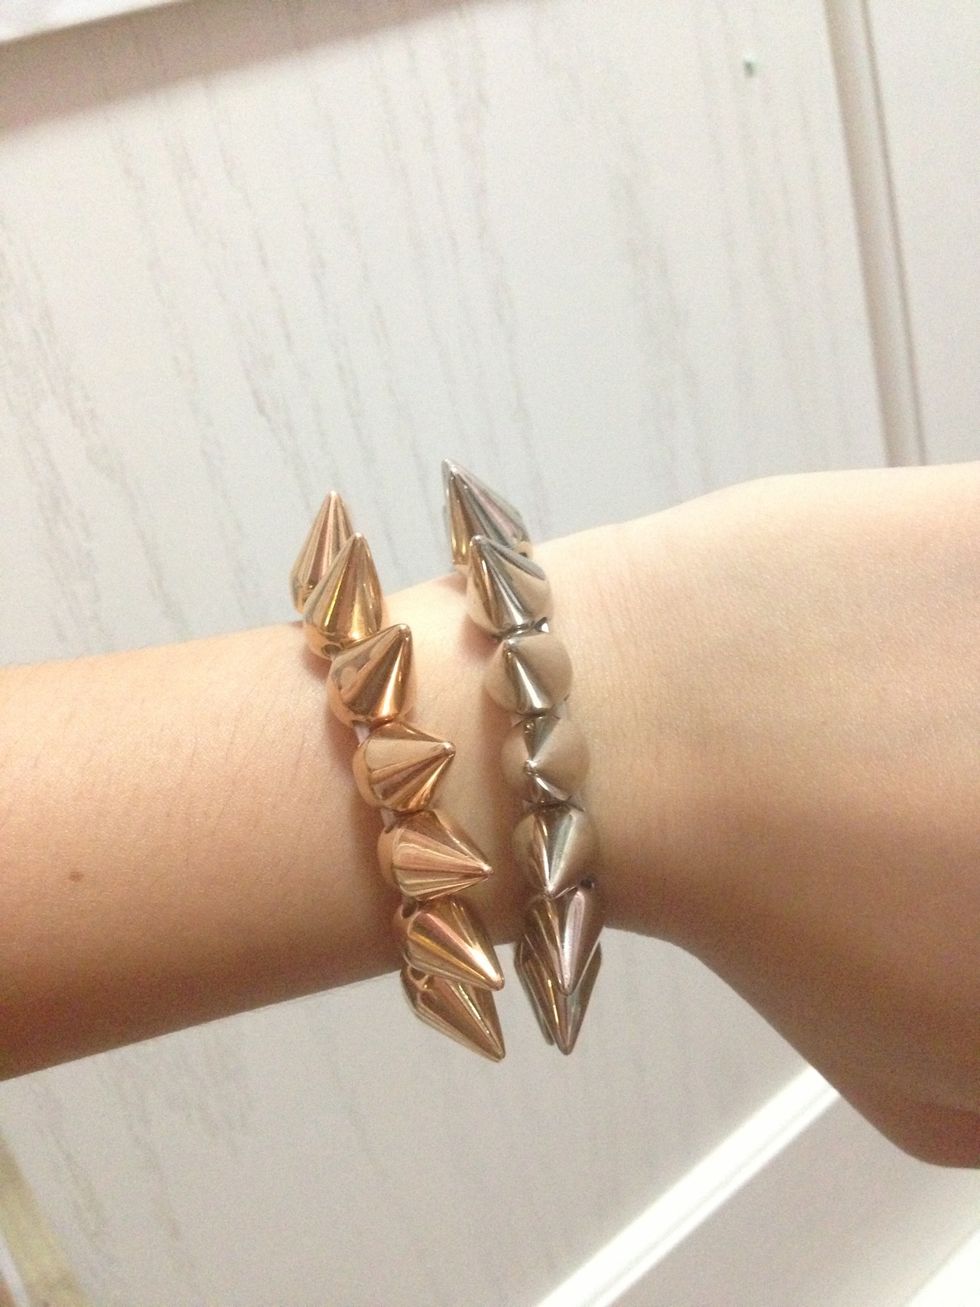
This is the finished product!