The Conversation (0)
Sign Up

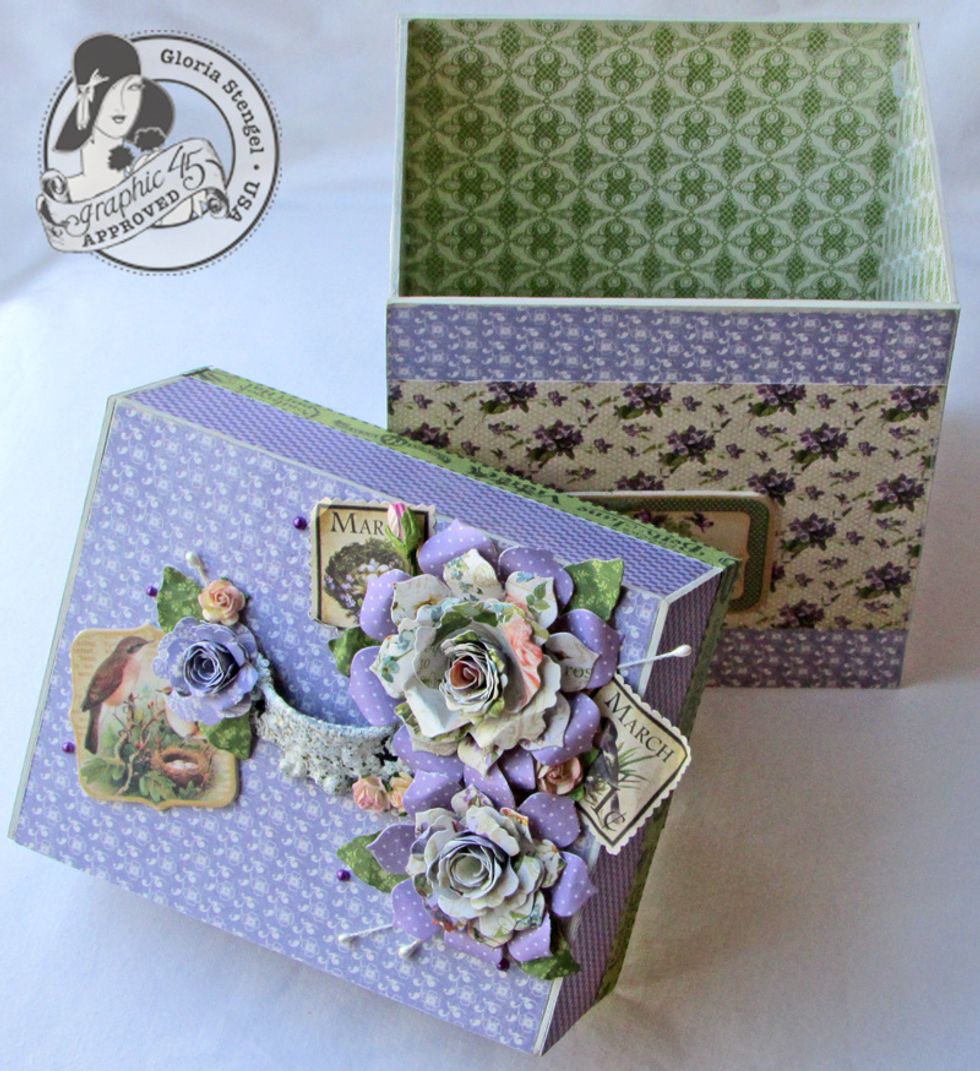
The finished box is approximately 5 1/2 x 5 1/2 x 4 1/2 inches and can hold more than twelve 5 x 5-inch cards.
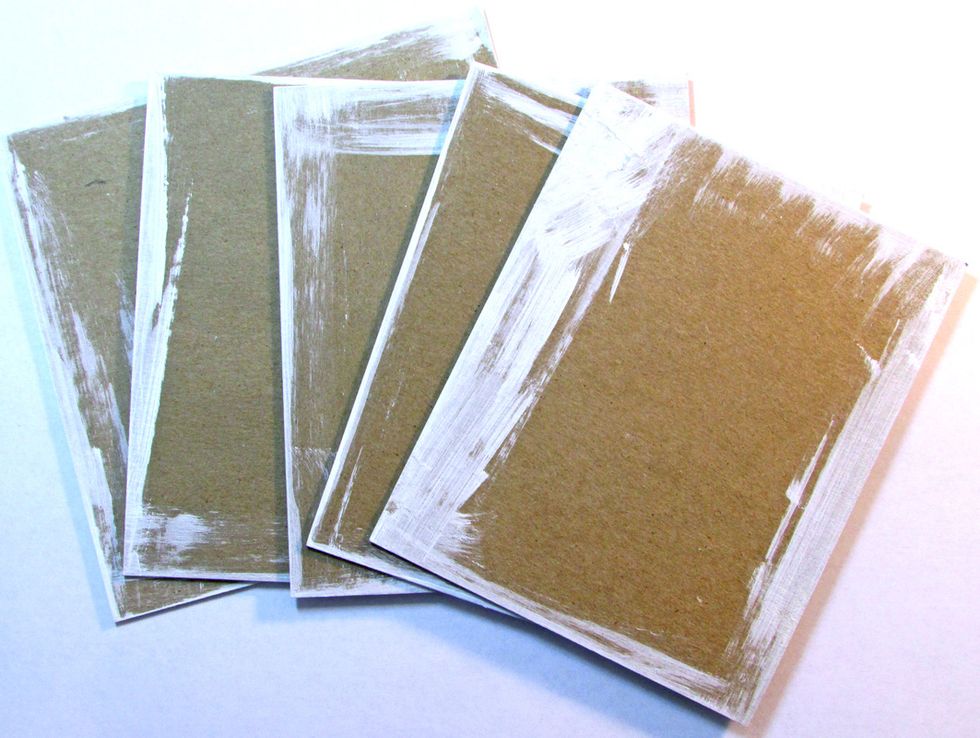

For the box lid cut one piece to 4 5/8 x 5 5/8 inches, two pieces to 2 1/8 x 5 5/8 inches, two pieces to 2 1/8 x 4 5/8 inches. (Measurements are approximate. You may have to adjust.) Paint all edges.
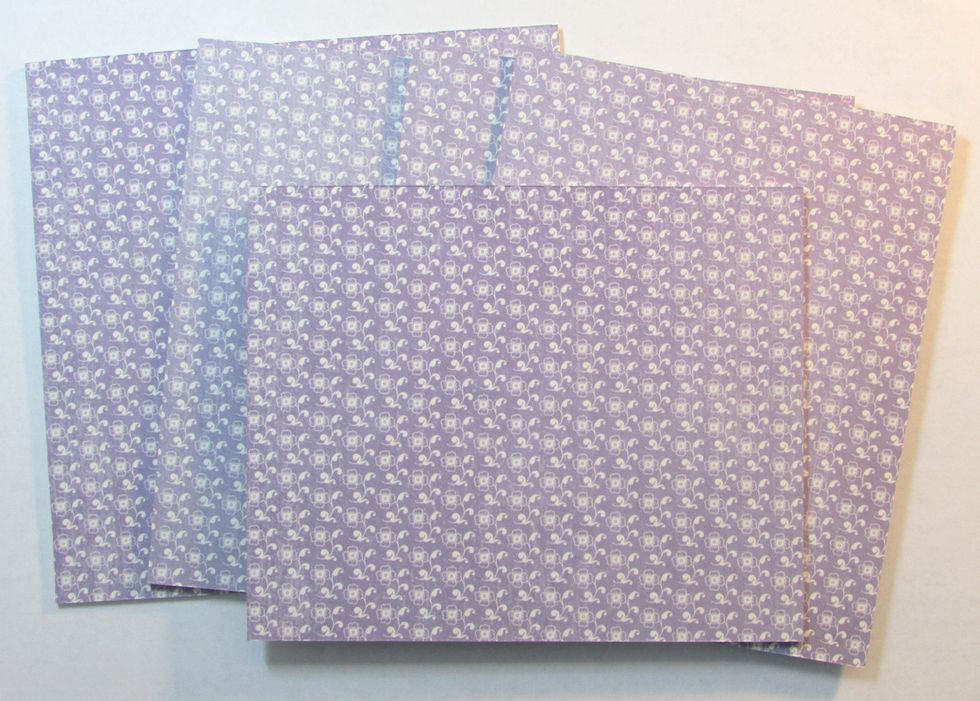
Cover all sides of the chipboard pieces with paper. I used a combination of papers from the Graphic 45 Secret Garden and Place in Time Collections.
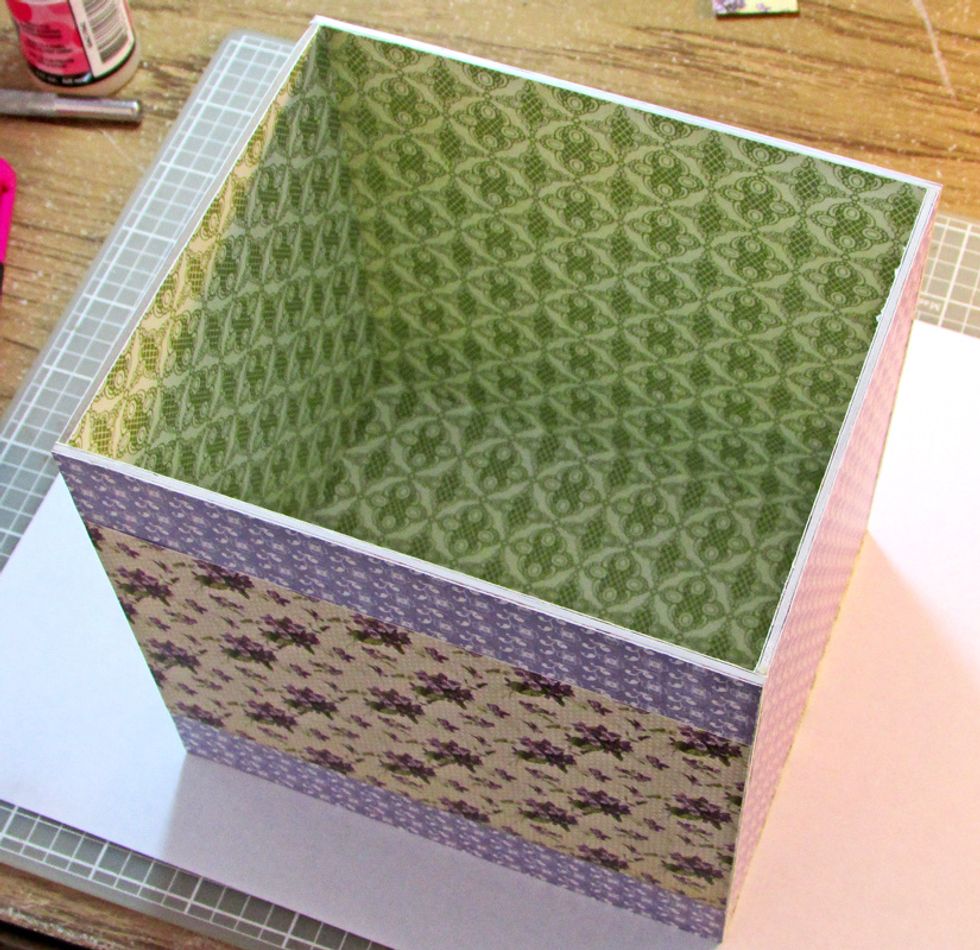
Once all sides of your box and lid are covered with decorative paper, use a strong glue to assemble the pieces. I chose Ranger Glossy Accents. (Use painter's tape to fit your box & lid before gluing.)
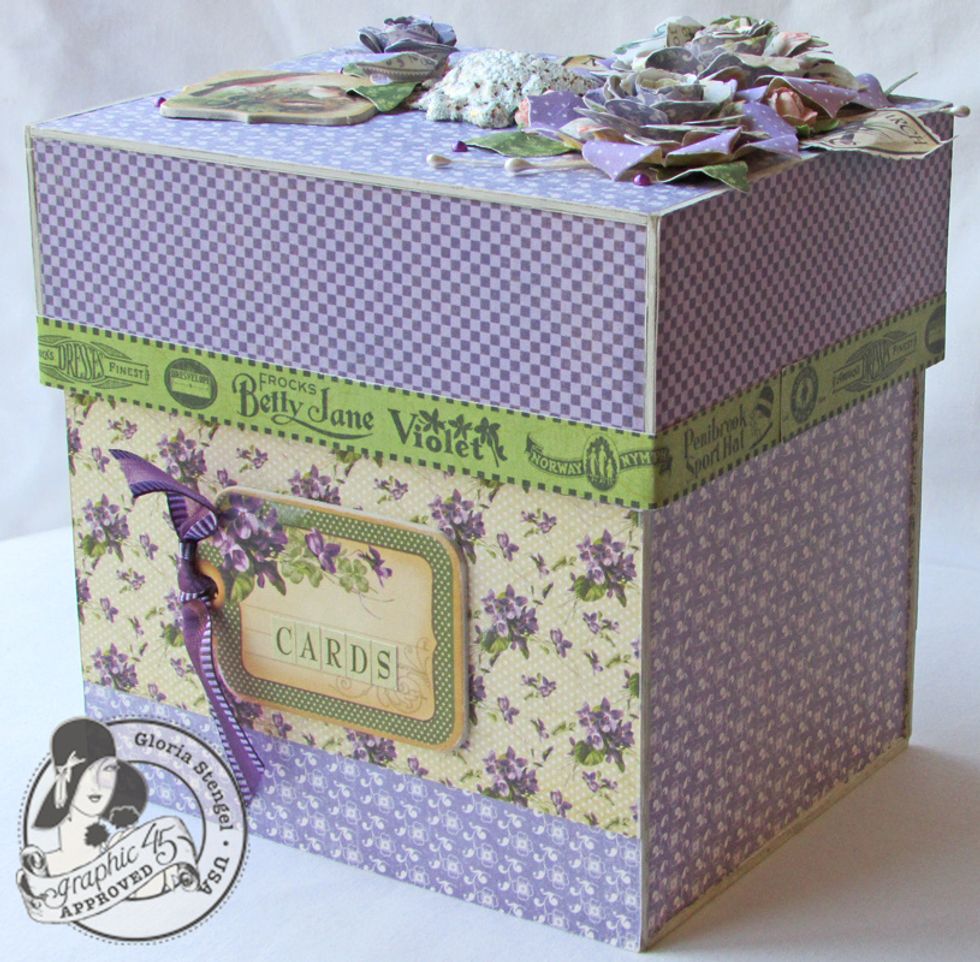
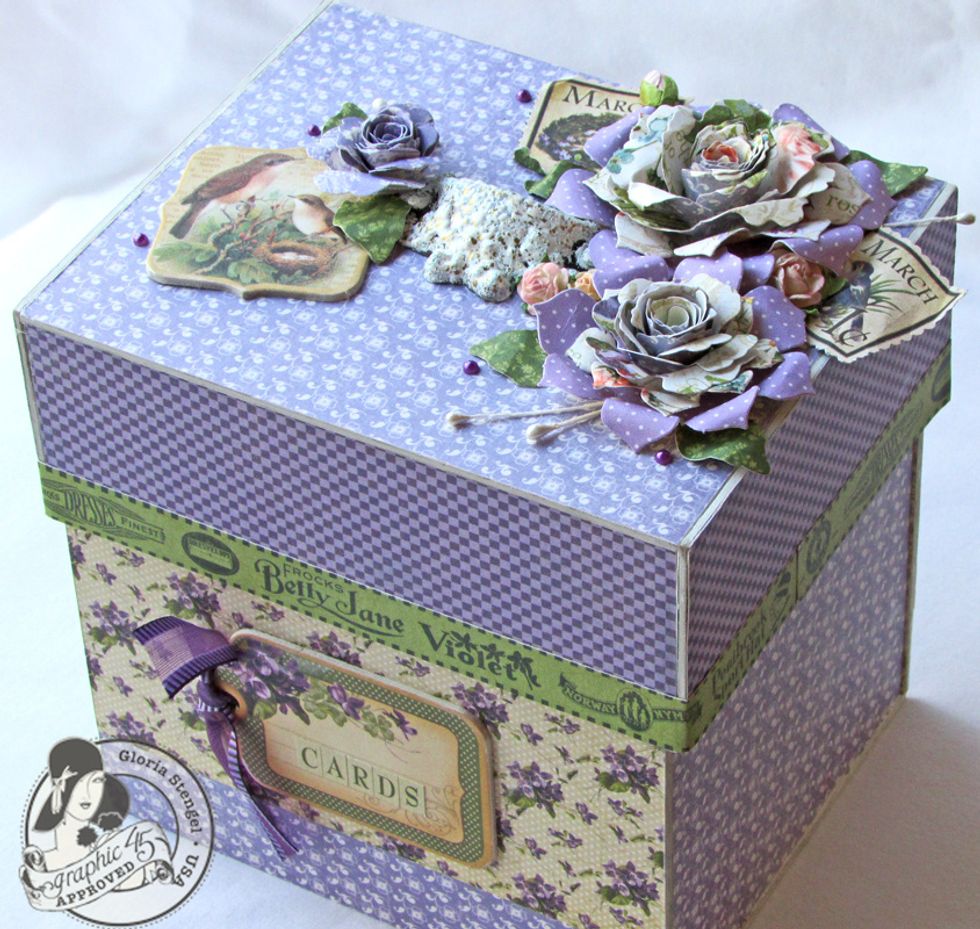
Use elements from the Graphic 45 Place in Time and Secret Garden Collections to decorate your box as desired.
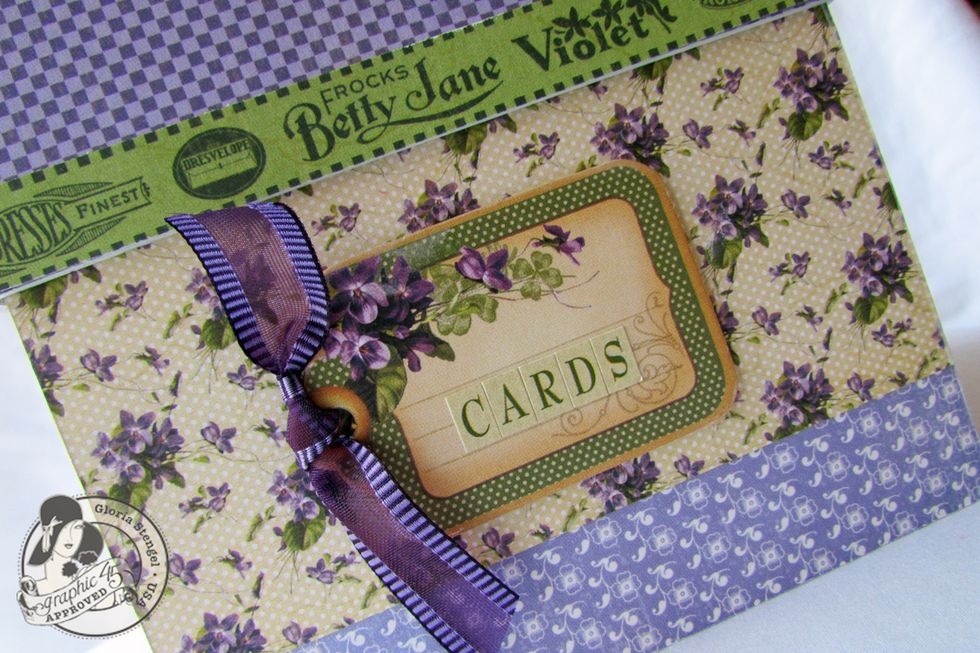
Use one of the Place in Time Chipboard elements and the Secret Garden Cardstock Stickers to create a label for the front of your box.
Use embossing enamel to alter one of the Graphic 45 Antique Metal Door Pull Staples and attach it to the lid as a handle. (I will create a new Guide to describe how to alter the metal.)
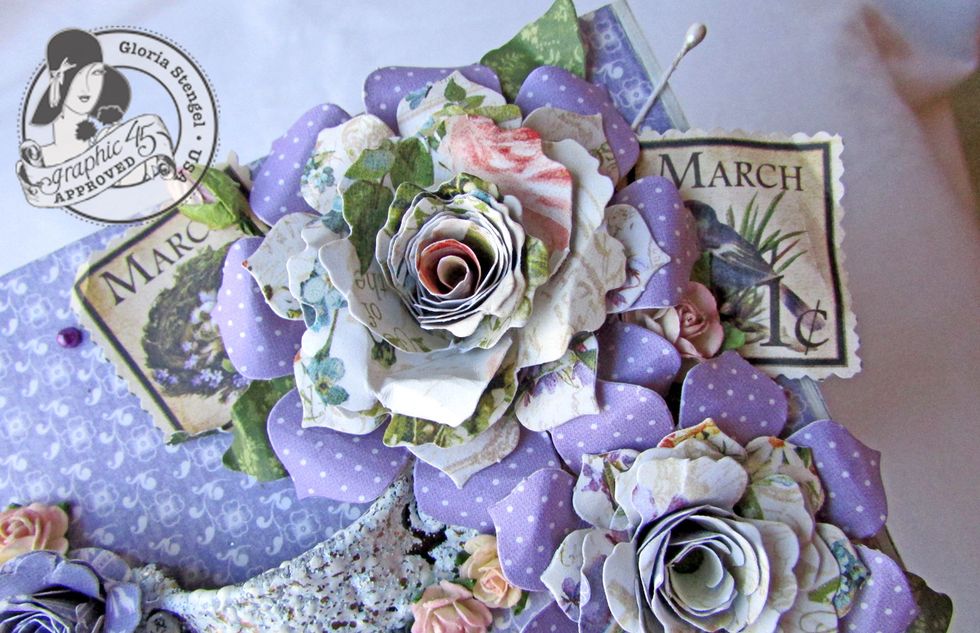
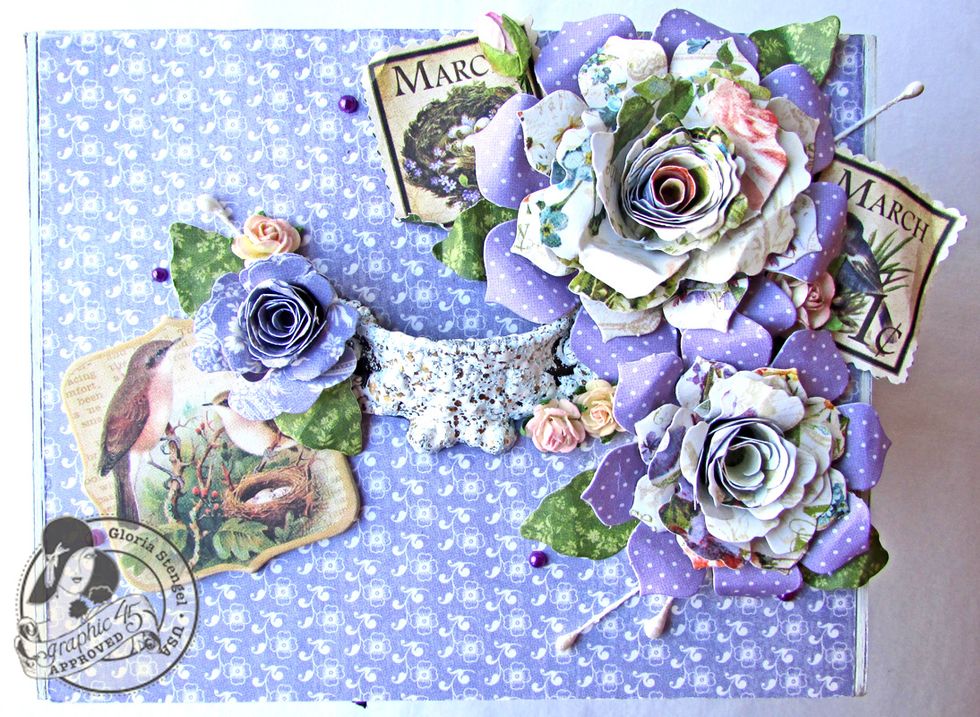
Create flowers from a combination of pre-made flowers and handmade flowers created from die cut shapes. Add other decoration on the box top and around the rim of the lid.
Your box is now ready to fill with cards and envelopes!
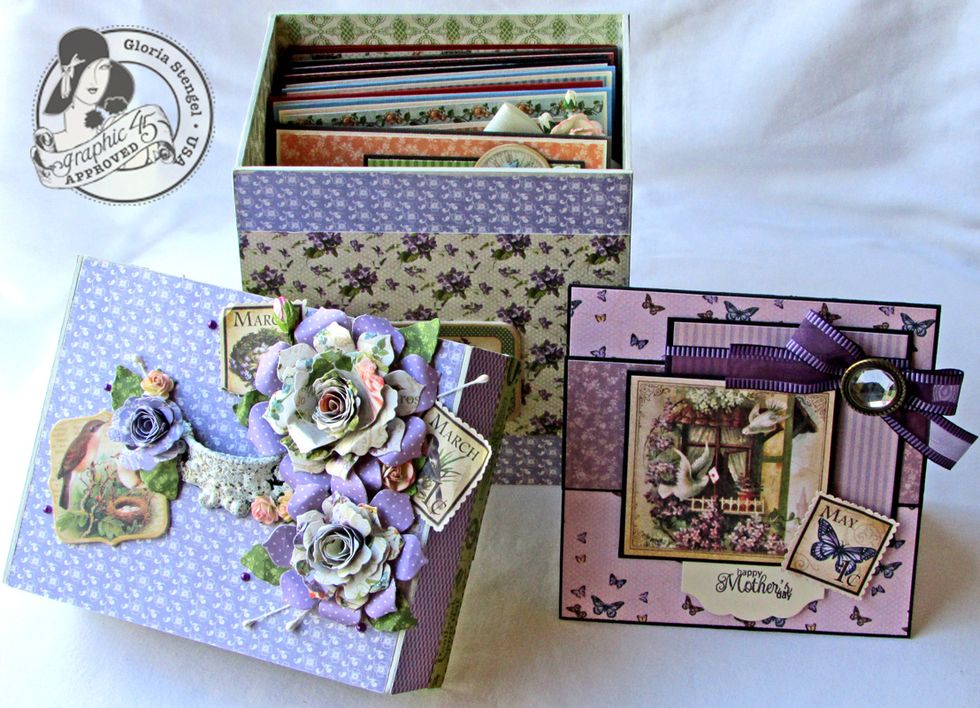
For more information on this project, or to make the cards, visit my blog: http://gloriascraps.blogspot.com/2013/04/graphic-45-place-in-time-card-series.html