The Conversation (0)
Sign Up
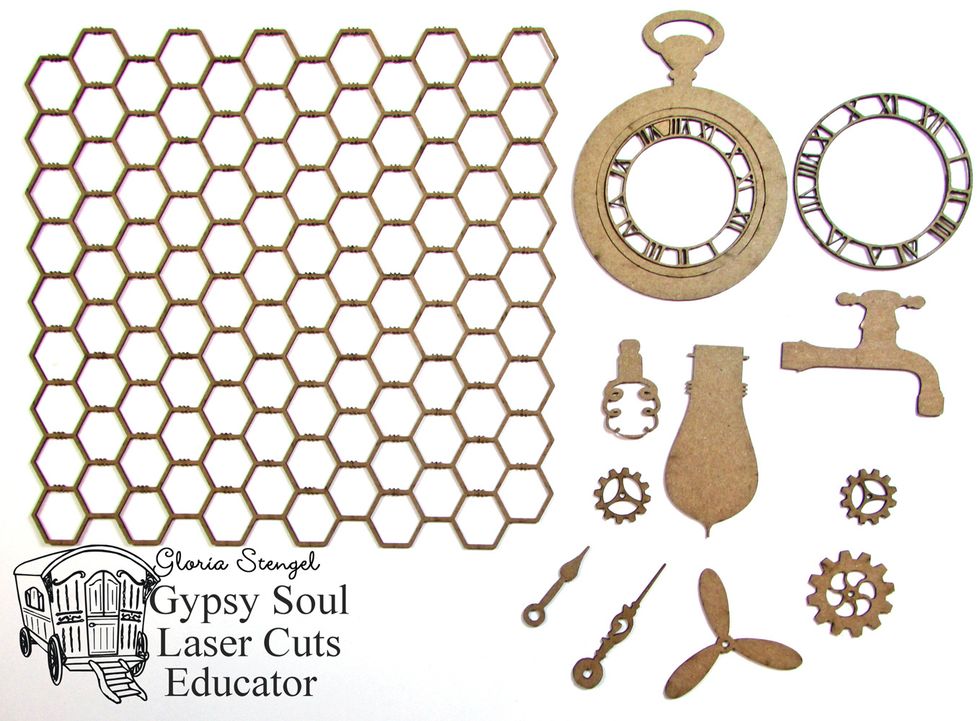
Select various steampunk GSLCuts Chipboard items listed in the supplies.
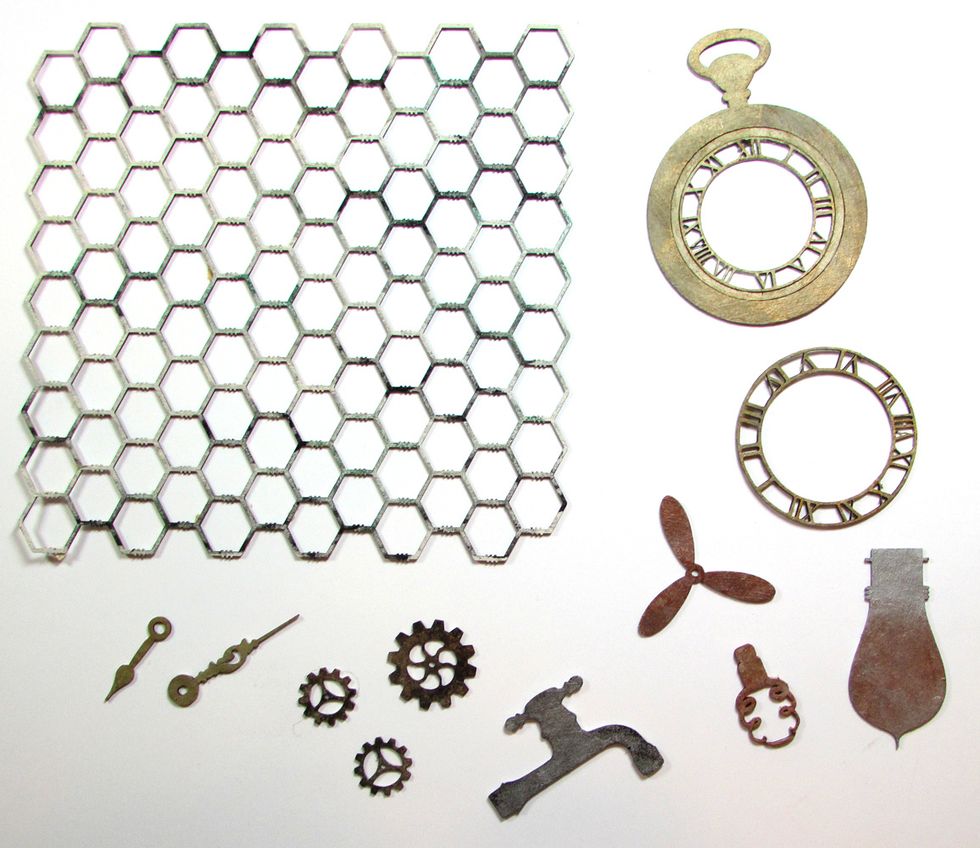
Use gesso and various metallic inks and paints to color the chipboard. Allow to dry.

Use black ink to stamp the Muse Time images onto ivory cardstock. (I stamped the images twice, just in case I made an error when cutting them out.)
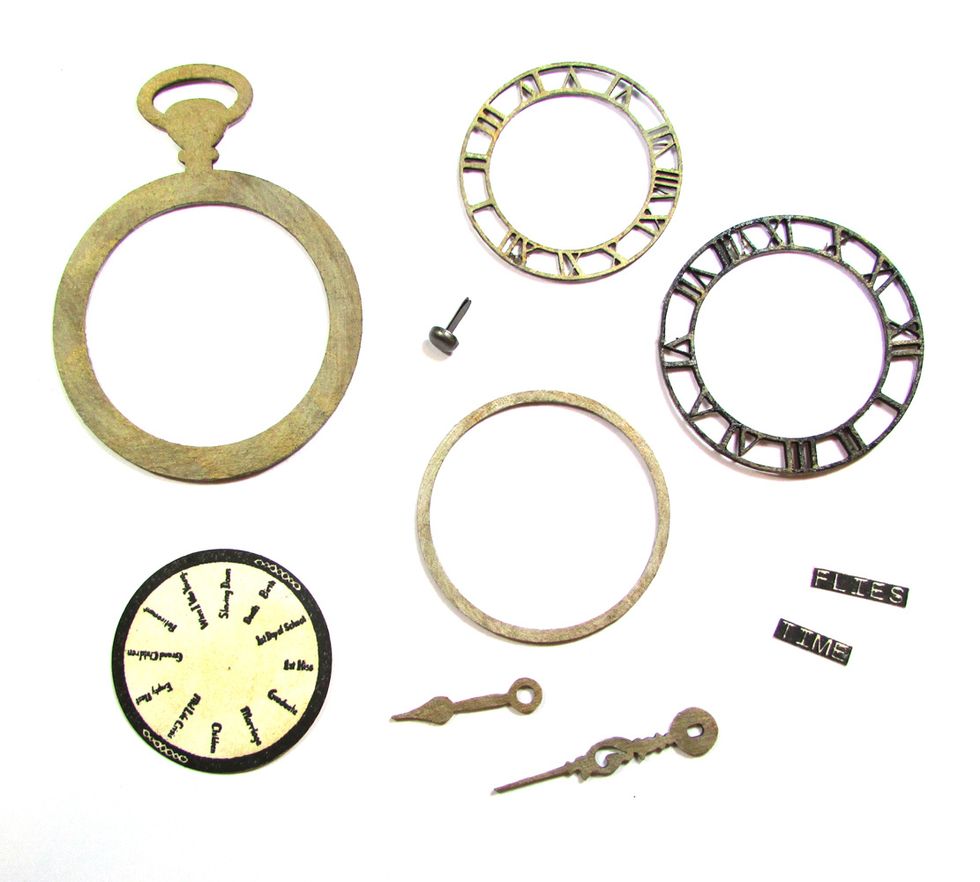
Select the items needed to assemble the pocket watch embellishment.

Assemble the pocket watch.
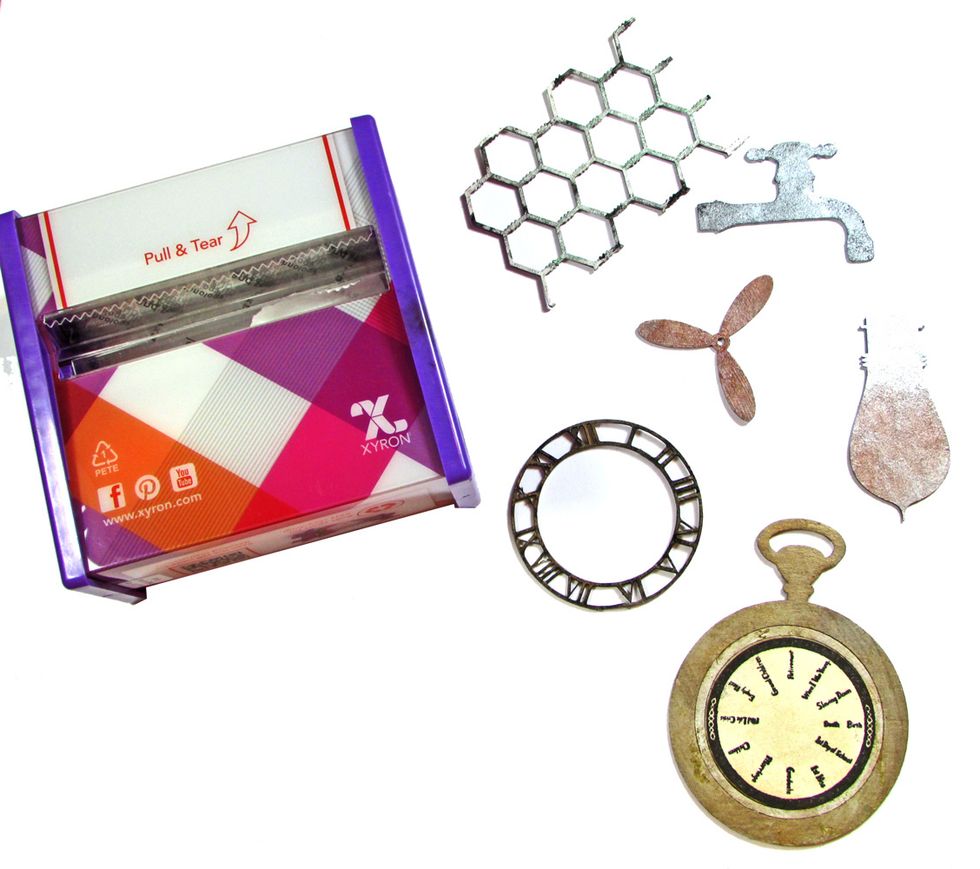
Use the Xyron 3" Sticker Maker to add adhesive to the chipboard pieces.
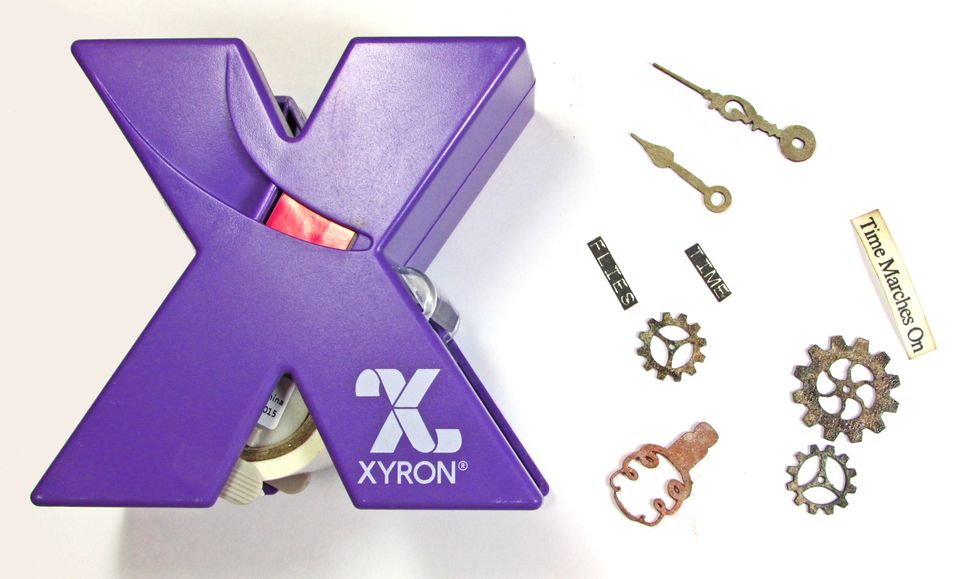
Use the Xyron 1.5" Sticker Maker for the smallest pieces.
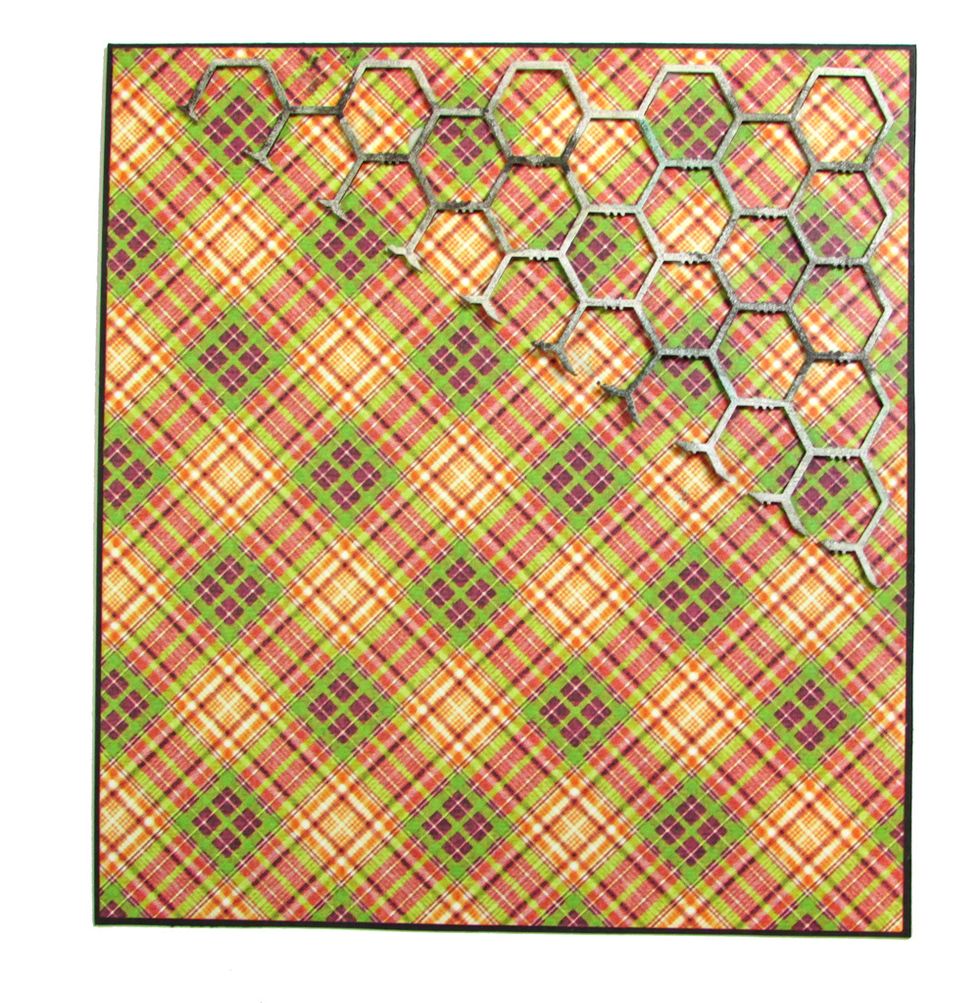
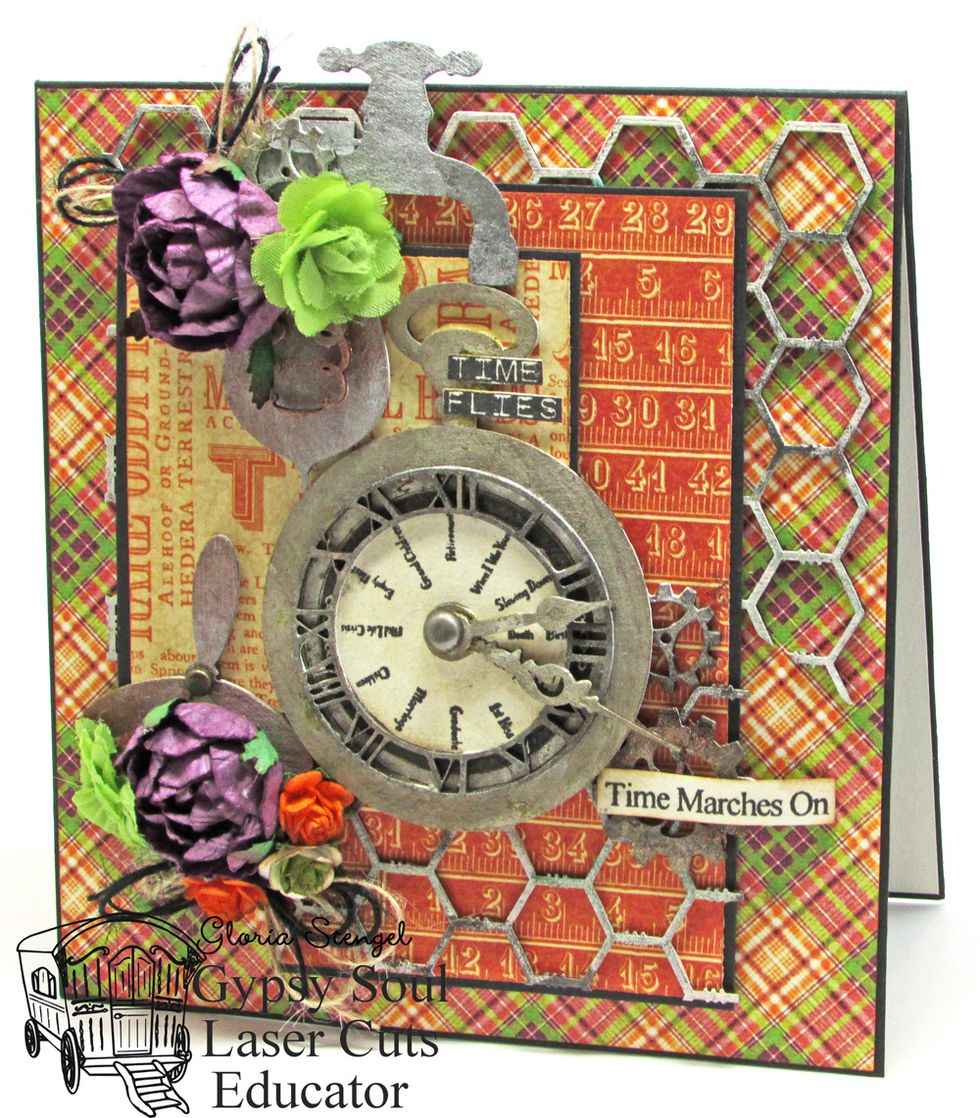
Cut black cardstock to 5 1/2" x 12" and score at 6" on the long side, fold. Cut G45 Rare Oddities paper to 5 3/8" x 5 7/8" and attach to the card. Cut apart chicken wire and attach to the corner.
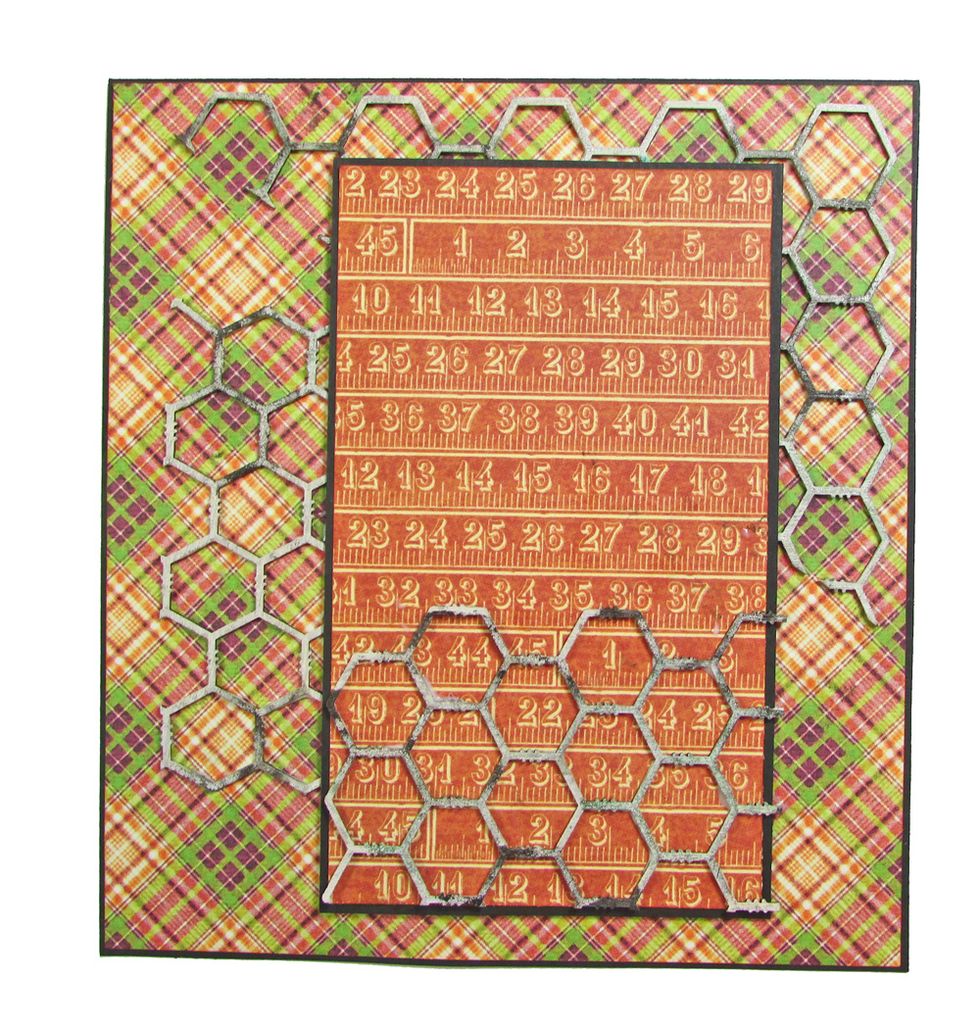
Cut G45 ruler paper to 4 7/8" x 2 7/8" and mat with black cardstock cut to 5" x 3". Use foam tape to attach to the card, just right of center. Add more chicken wire pieces to the card as shown.

Cut G45 text paper to 2 7/8" x 2 7/8" and mat with black cardstock cut to 3" x 3". Use foam tape to attach to the left side of the card.

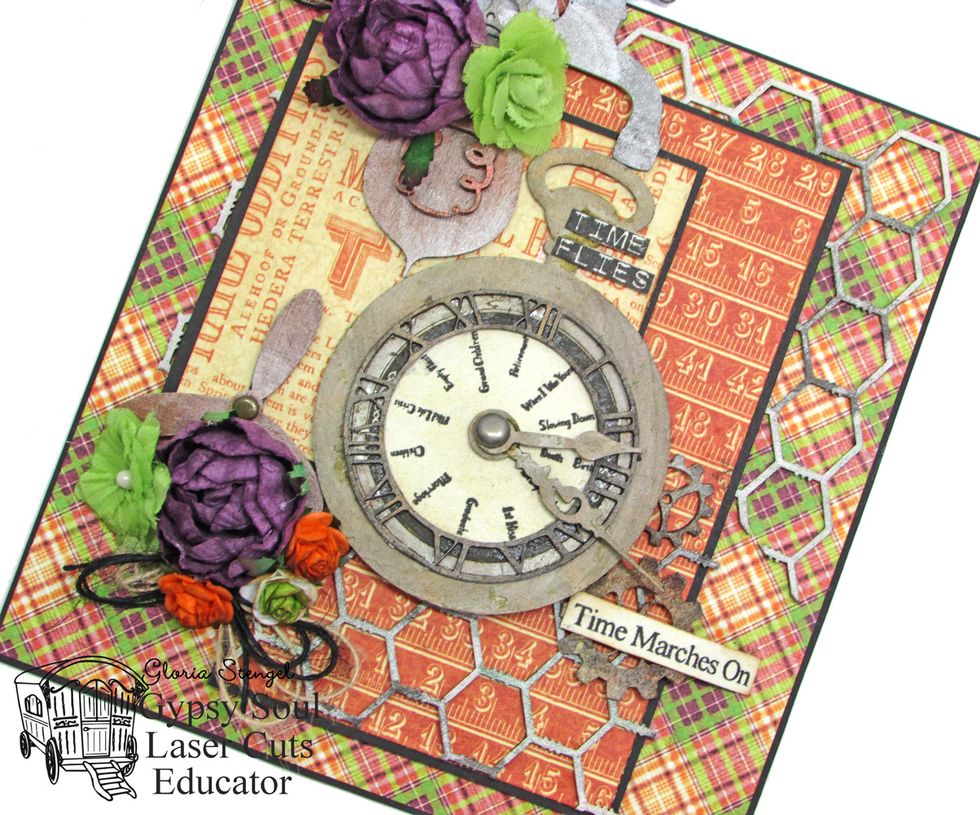
Attach the pocket watch embellishment as shown.
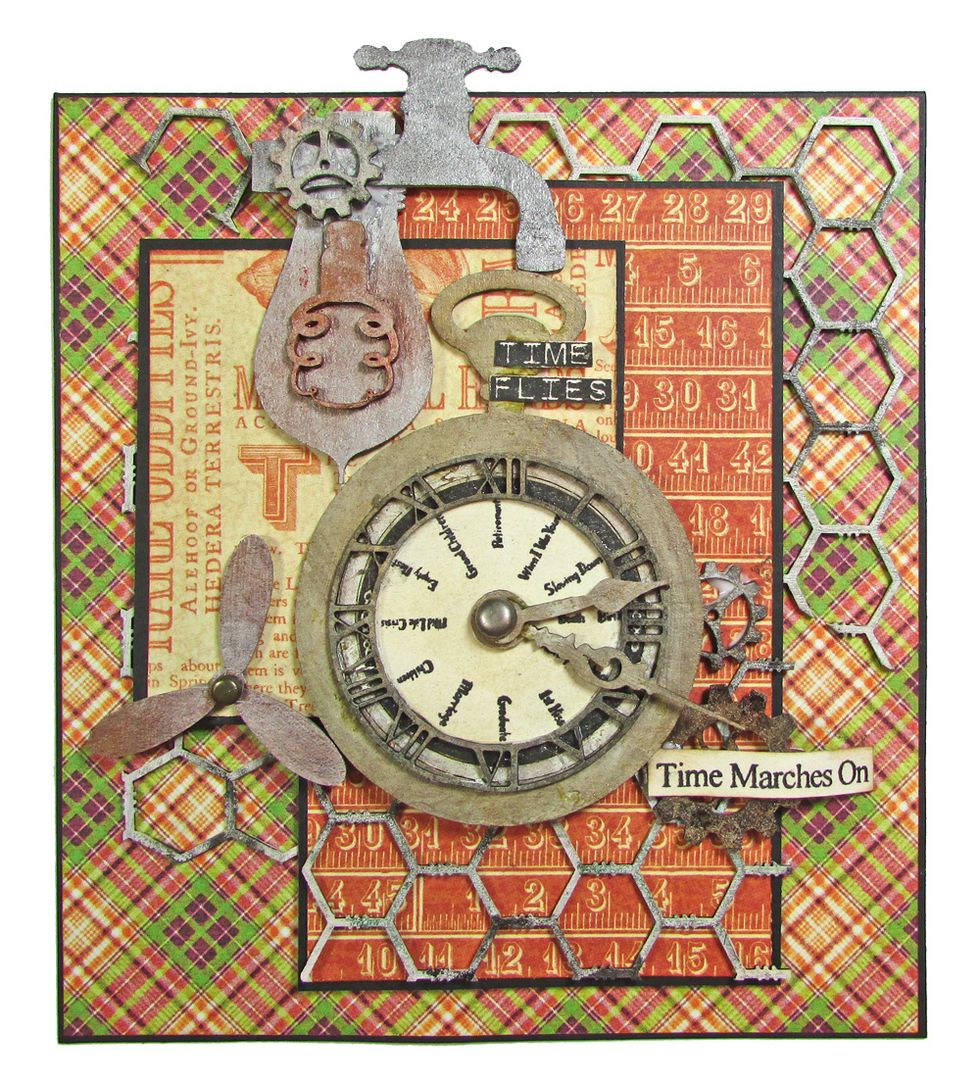
Add more steampunk embellishments to the card, around the edges of the pocket watch. Place the Time Flies and Time Marches On sentiments as shown.
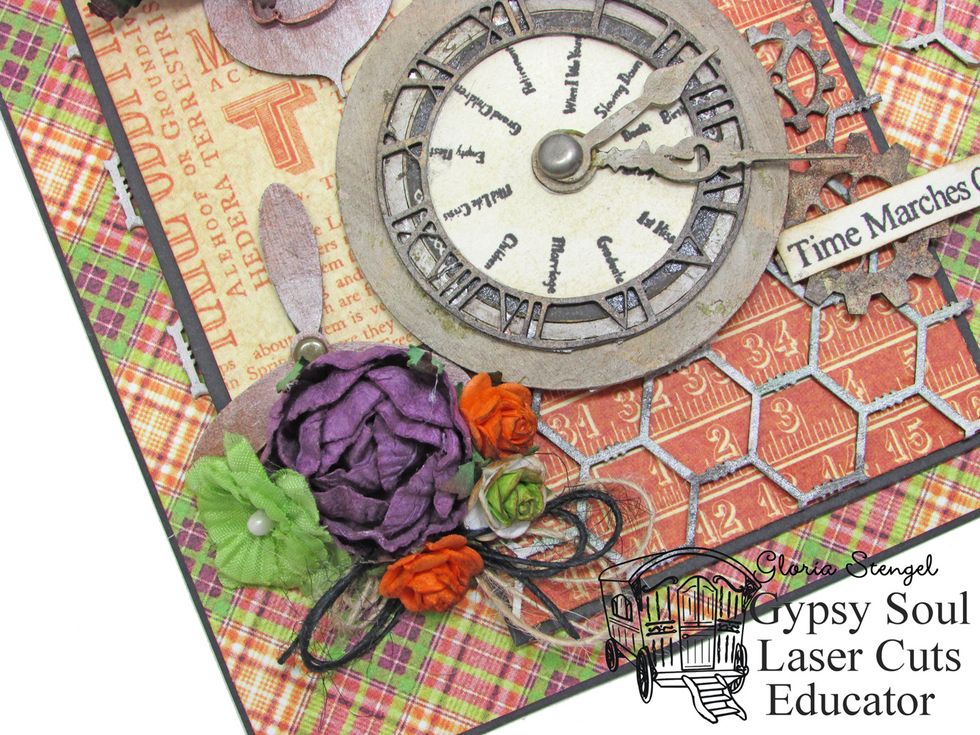
Glue twine and flowers to the lower left corner of the card.
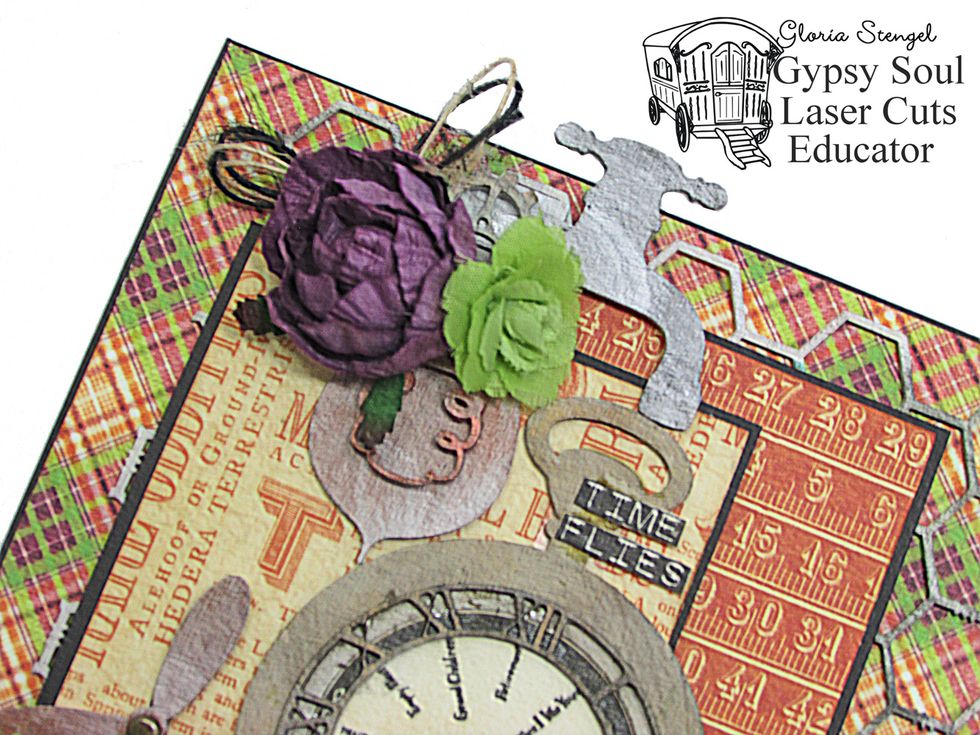
Glue twine and flowers to the upper left corner of the card.
Line the inside of the card with ivory cardstock and add a birthday sentiment.
Thanks for looking!
Visit Gypsy Soul Laser Cuts for the chipboard pieces: http://www.gslcuts.com/Store/. Visit http://www.scrapbook.com/ for your Graphic 45 Collections.
For clickable links to supplies, visit my blog. http://gloriascraps.blogspot.com/2016/07/time-flies-card.html