The Conversation (0)
Sign Up
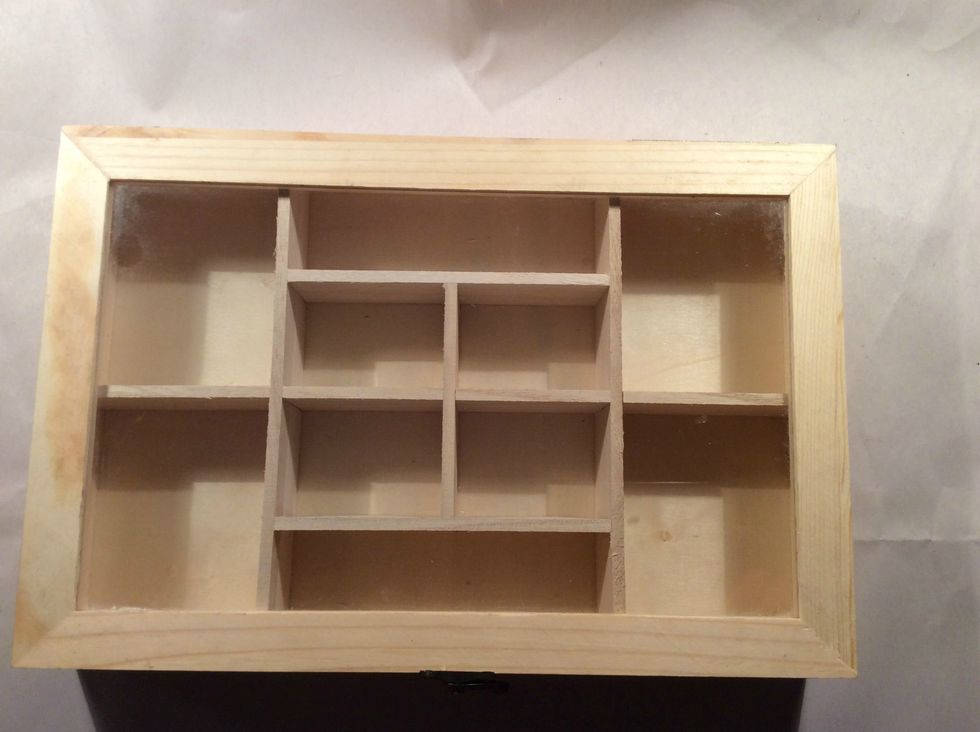
I found this pine box at Hobby Lobby for $6.99 and had a 40% coupon so this was a great buy. I knew it would be fun to create something to hold all my steampunk embellies.
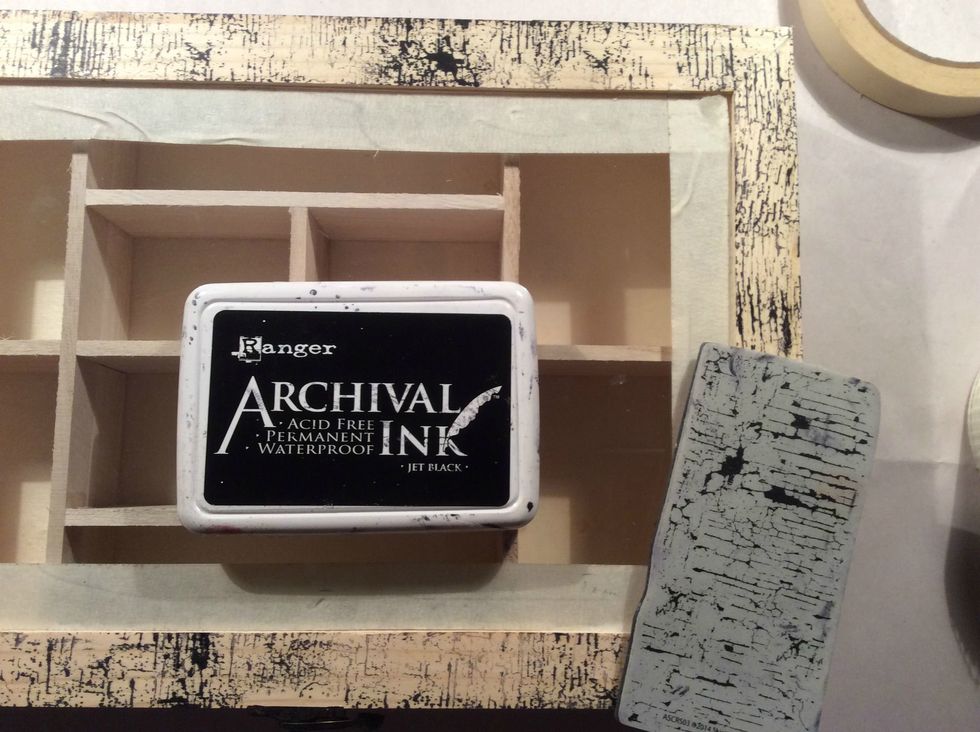
I masked off around the glass to protect it then using Andy Skinner Industrial Set Stamps I stamped all over the entire box and inside using Archival Ink.

These Deco Art paints are perfect because they are transparent and allows you to see the texture acquired from the stamped image below. This color is Transparent Yellow Iron Oxide.
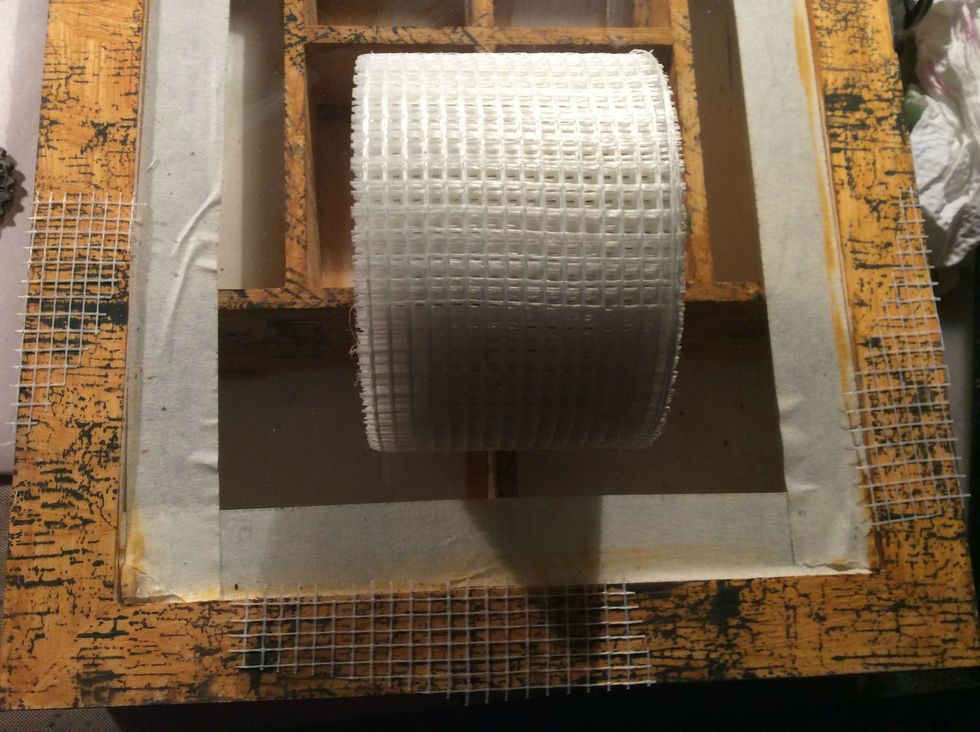
I wanted to add texture so I cut snips of this mesh tape I got at the hardware store and applied it in random spots. I also added Art Basics Graphite Texture Paste (not pictured).
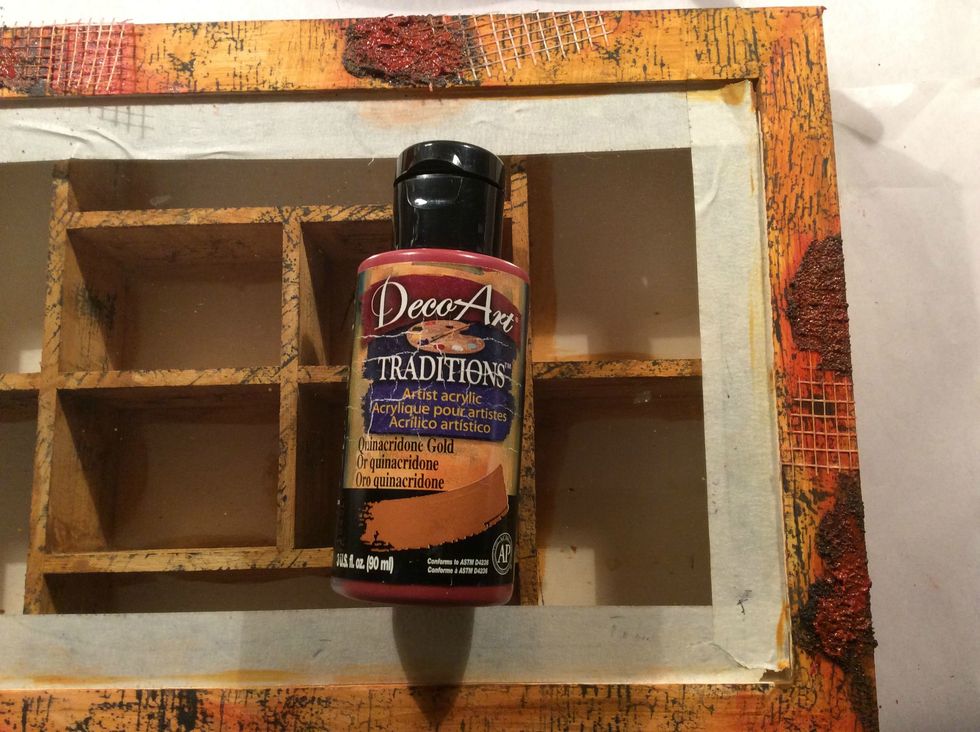
One of my favorite paints , also a transparent Quinacridone Gold provides a wonderful rusty look. Here you can see this paint ontop of the Graphite Texture Paste gives that corrosion look.
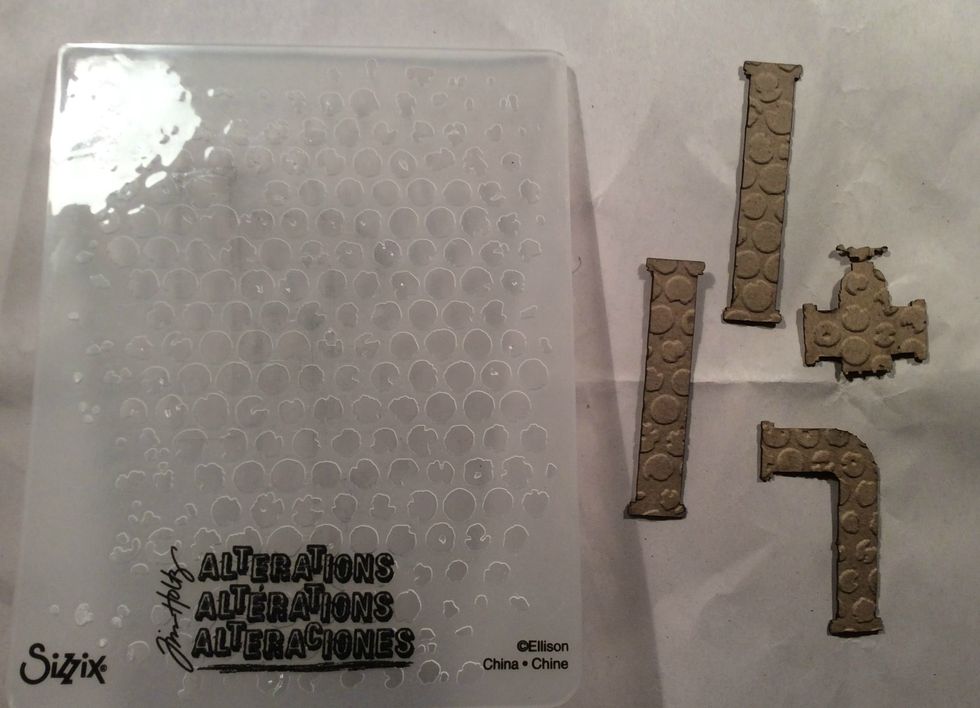
I wanted my chipboard pipes to have texture so I ran it through the Vagabond using a texture fade. You can use whatever fade you might have that will provide the texture you like.
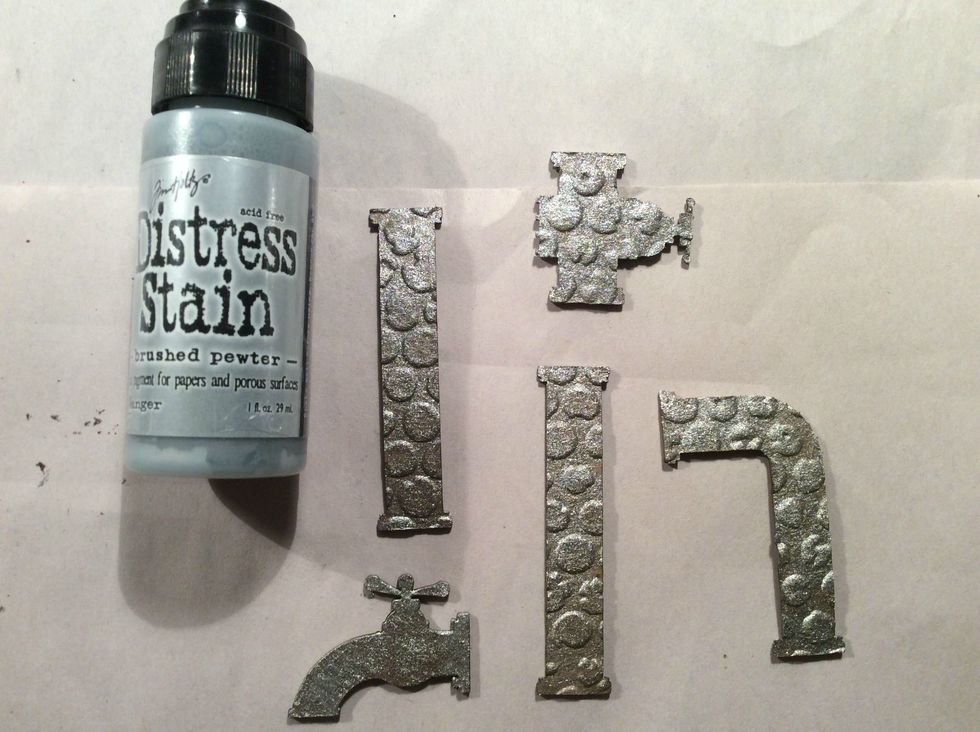
I used DI Stain in Brushed Pewter and once dry I dry brushed black gesso, or you can use blace acrylic lightly over the top.
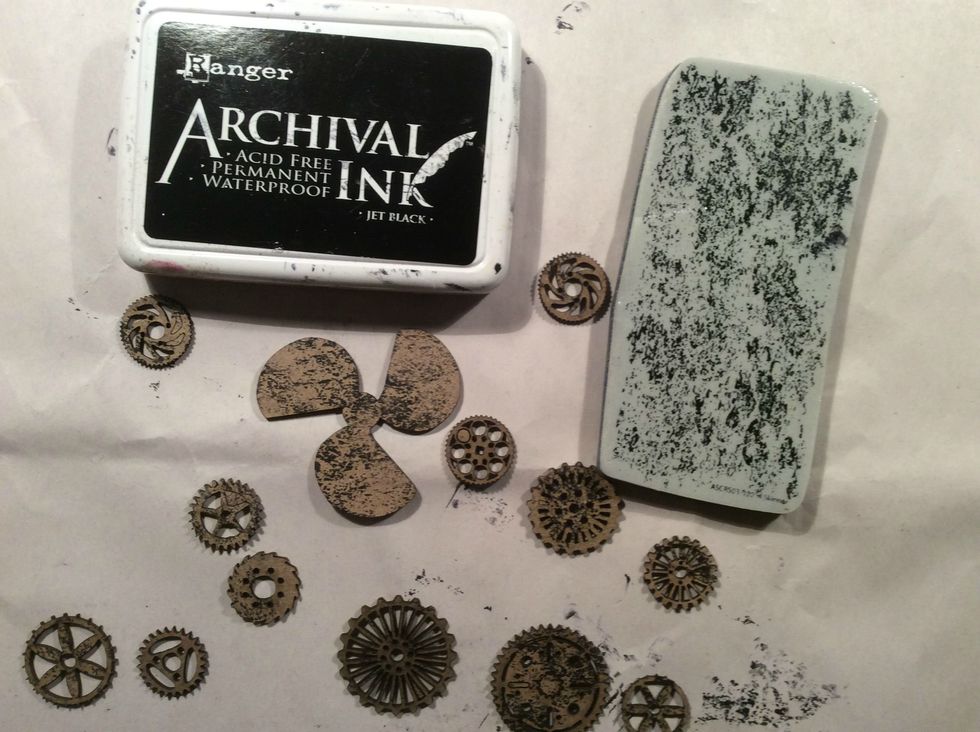
My chippies got stamped with the Rust stamp from Andy Skinner's collection. Be sure to use Archival Ink so it won't bleed when you apply the acrylic paint.
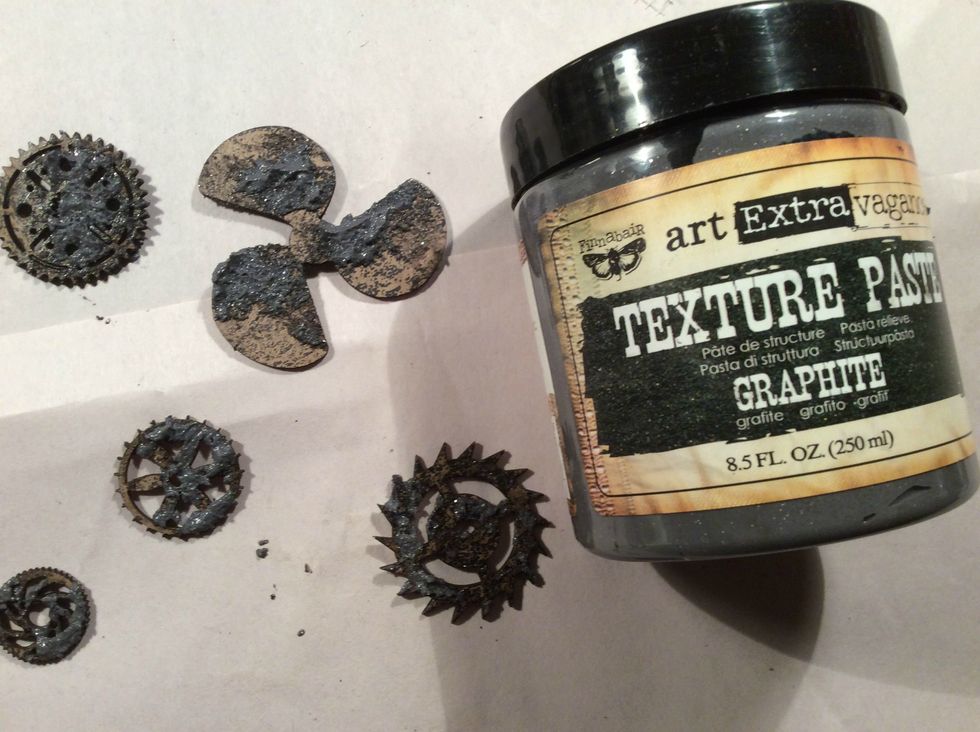
More texture please ! Let's add Art Basics Graphite Texture Paste. Love Love Love this stuff. When dried it has a pretty sparkle. Just glob it on, don't be careful.
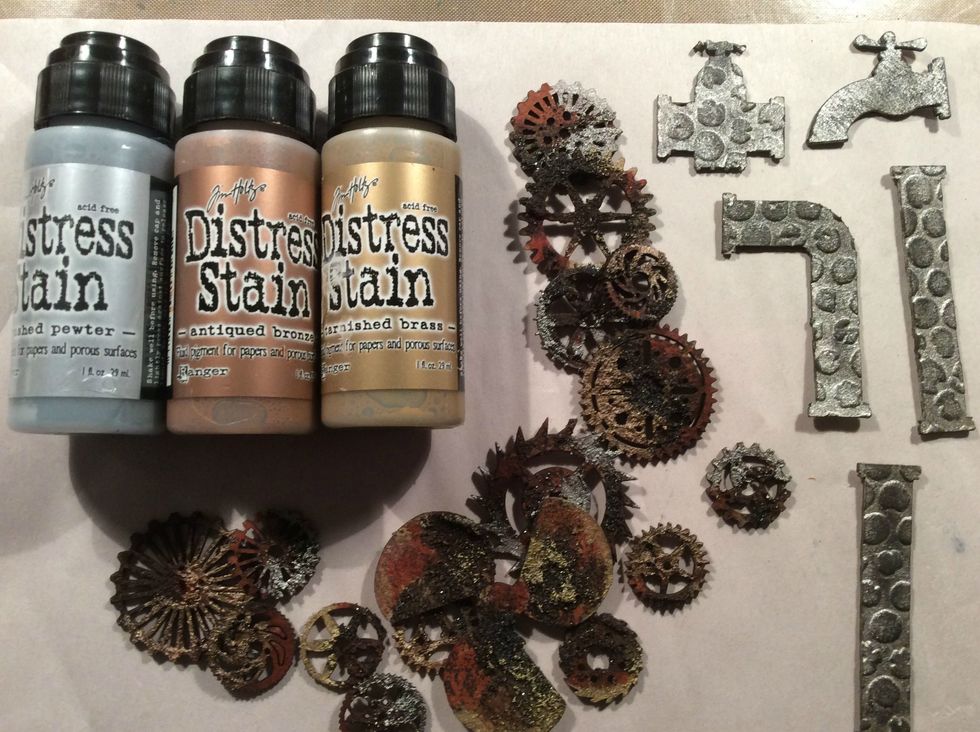
Using DI Stains I added touches of Antique Bronze, Tarnished Brass, & Brushed Pewter. And in the photo are my pipes with the black gesso dry brushed on.

I wanted a different element of metal on my box, so this plumbers metal tape (bought at the hardware store) was ran through the Vagabond using another texture fade.
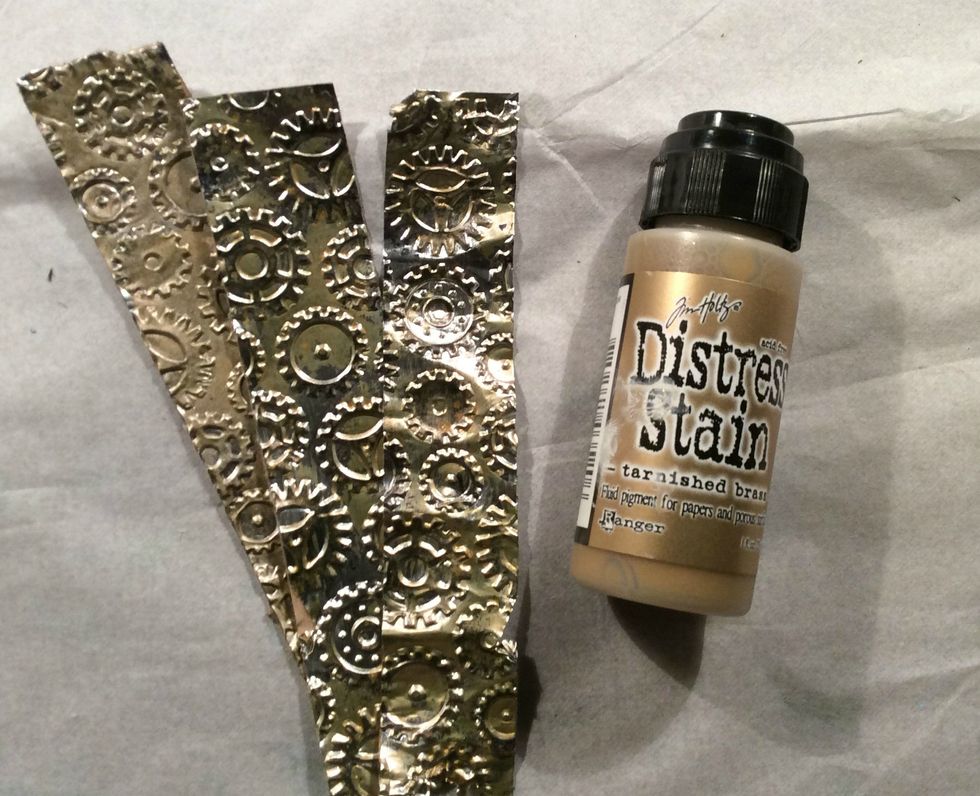
Tarnished Brasss DI Stain was then applied. This will be added to the sides of the box.
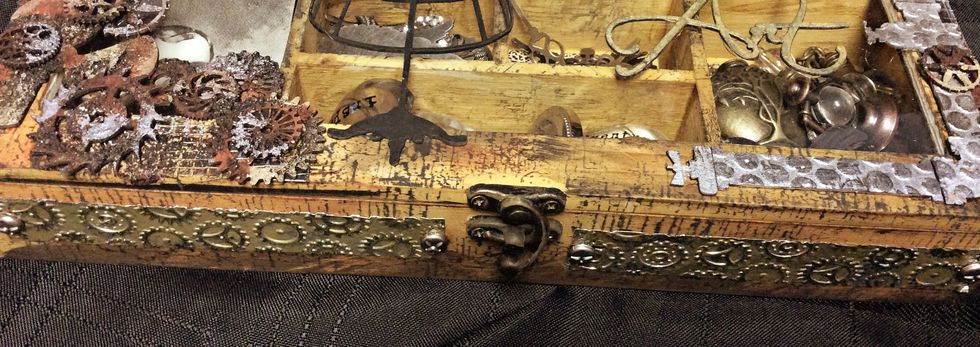
Here is closeup and I added little brads that looked like screws to the ends.
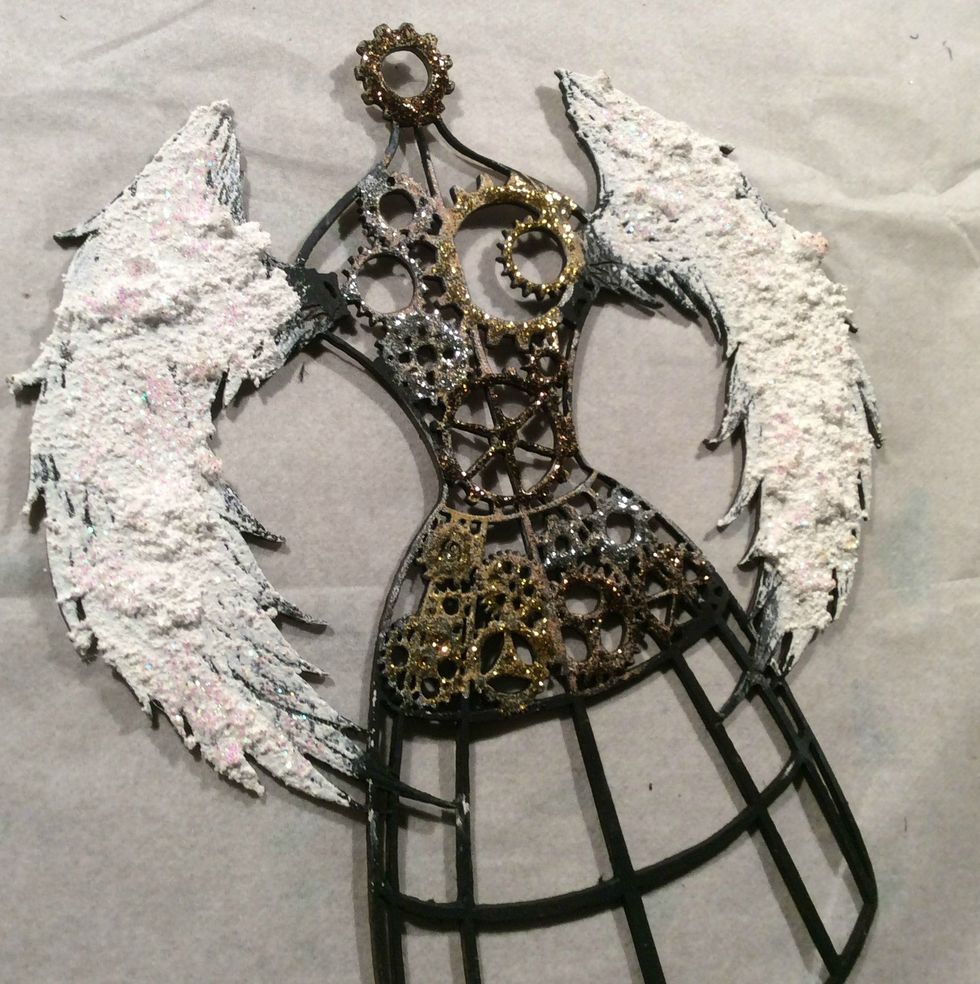
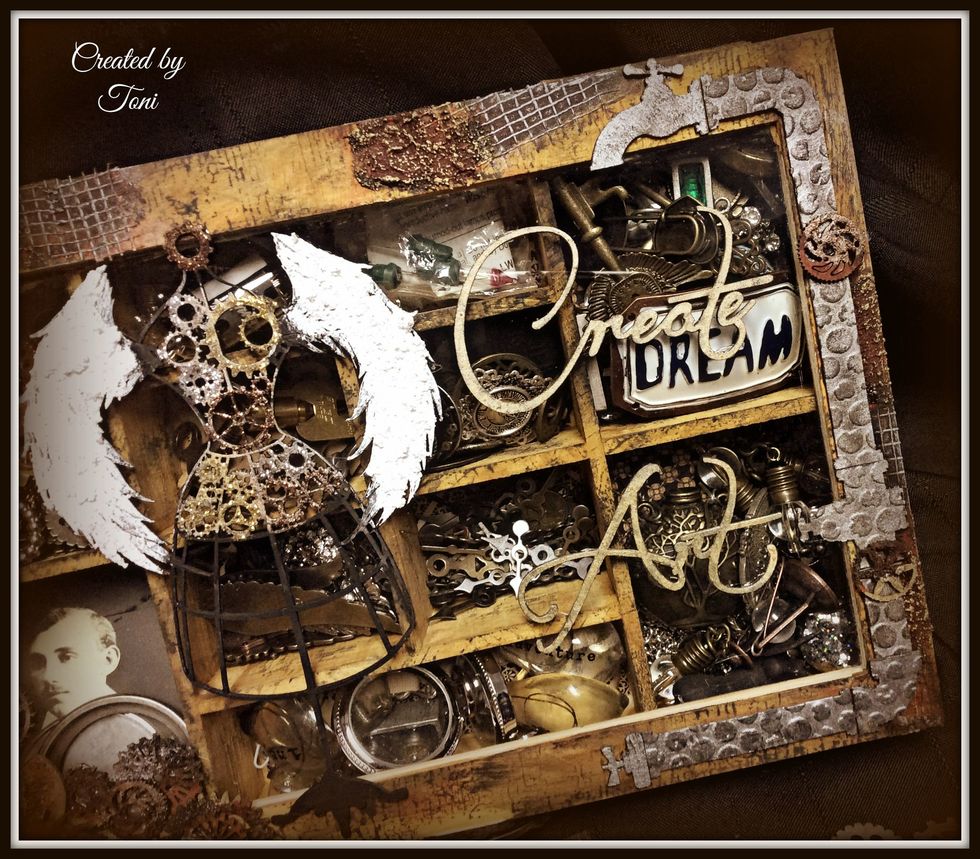
Our steampunk lady was painted black first, then SnowTex was added to the wings, then topped it with Crystal Stickles. The bodice of gears were stickled with gold, silver & copper.

Here is a closeup of her in all her glory. The SnowTex added just that bit of texture I wanted to the wings.

Here is the inside of the box filled with wonderfulness. I completely forgot to photograph each compartment before filling, I lined each compartment with G45 Steampunk Spells paper and adhered.
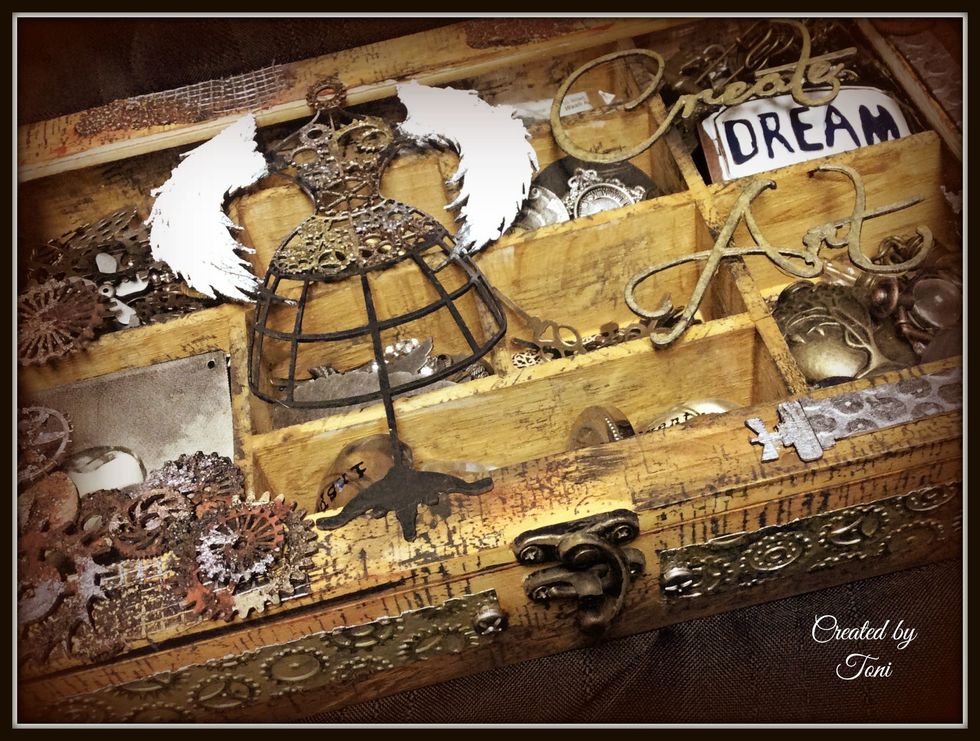
Here is another closeup that allows you to see how nice those Andy Skinner stamps give that cracked vintage look. The title was also painted with DI Stain Tarnished Brass.
So get out your Steampunk thinking hat and add some fantasy and industrialize a trinket box to hold all your goodies in.
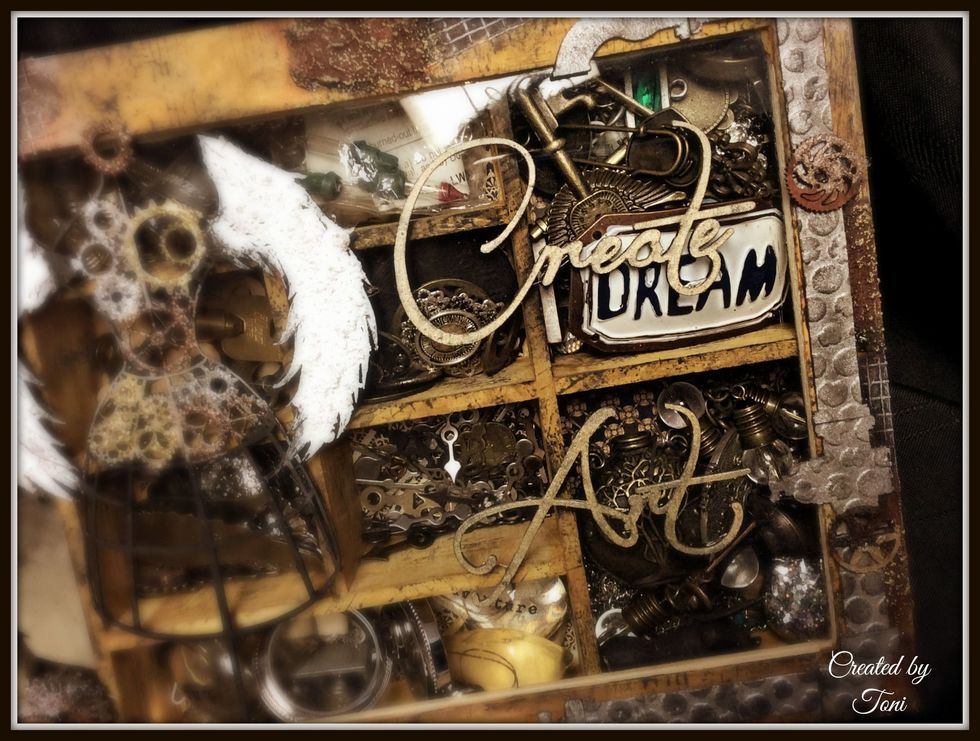
Hope this has inspired you to go and Create Art... Have a spectacular day. For more inspiration see my blog @ www.toni-burks.blogspot.com
The chipboard pieces used in this project were from Creative Embellishments which can be found here: http://creativeembellishments.com/wholesale-account.html