The Conversation (0)
Sign Up

Fold one of your 5x5 squares in half. Make sure corners match up. Rub straight edge over folded edge to create a more defined crease.
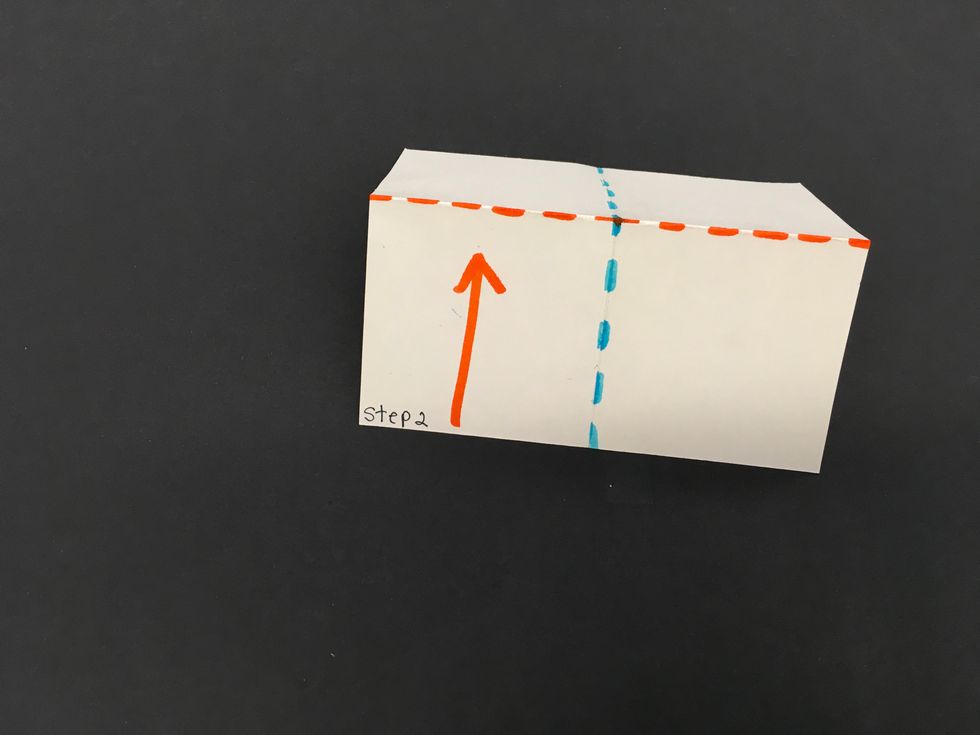
Open up square and now fold it in half again but the other way. Remember to use that straight edge to create a defined crease.
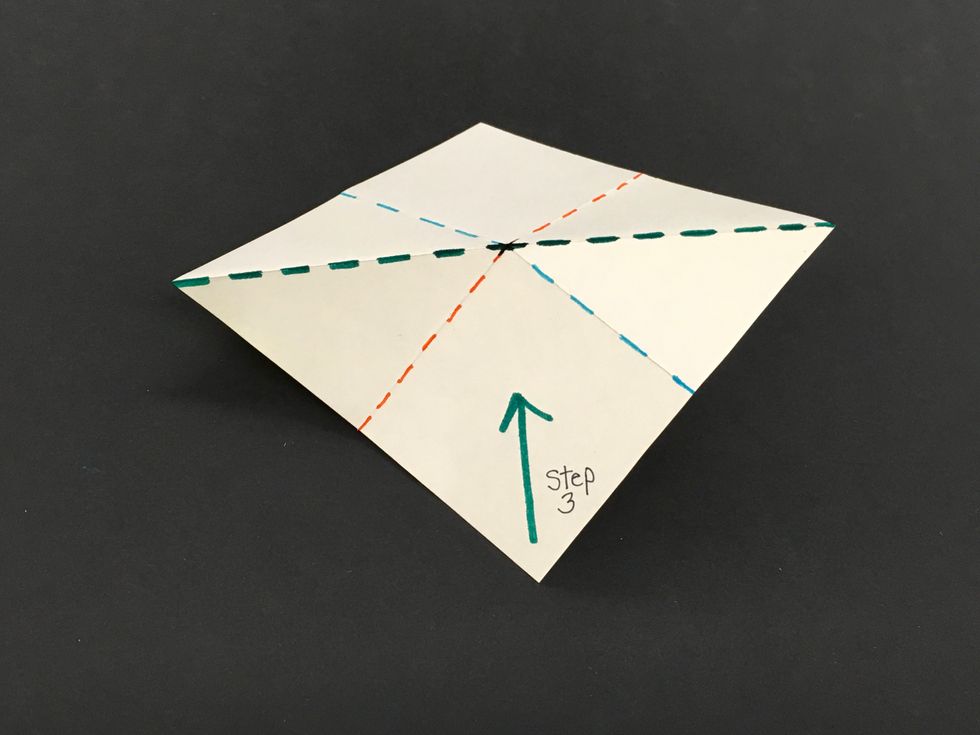
Open up square and fold it in half so you create a triangle. Be sure the edges match up before pushing down to create your crease. Use your straightedge to define your crease more.

Do this for all 5 of your pieces of paper.
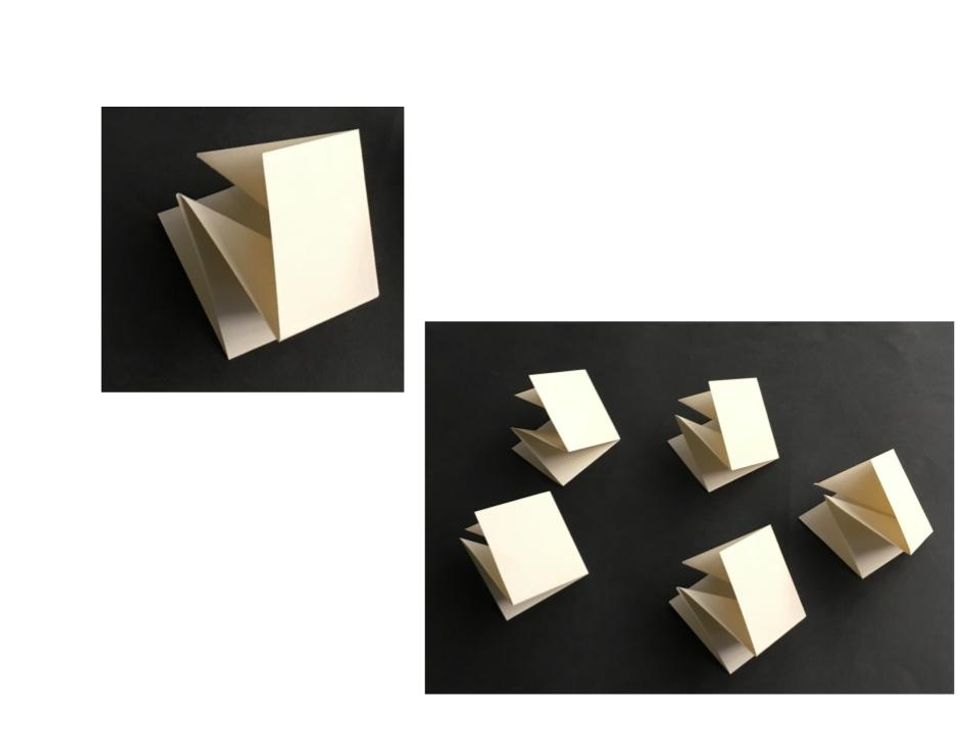
Fold all five squares (individually) so that the tips of the each corner meets. Use your straightedge to further define creases.
Now we are going to spend a little time working on the cover of our Star book.
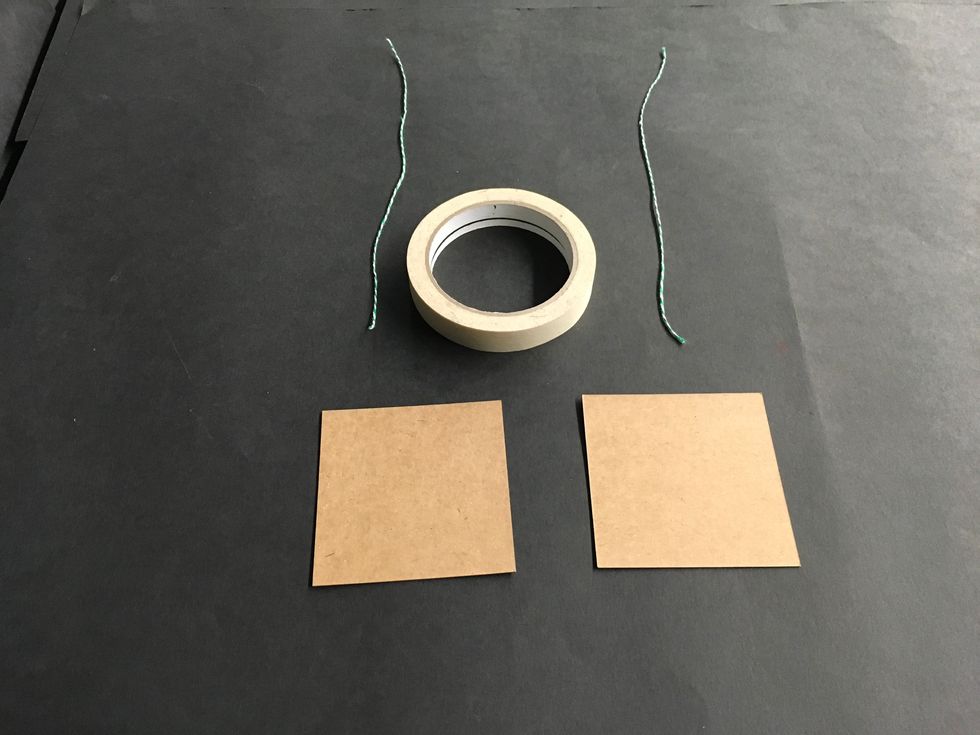
To begin working on your cover you will need tape, two 6" strings and your two 2.5" cardboard squares.
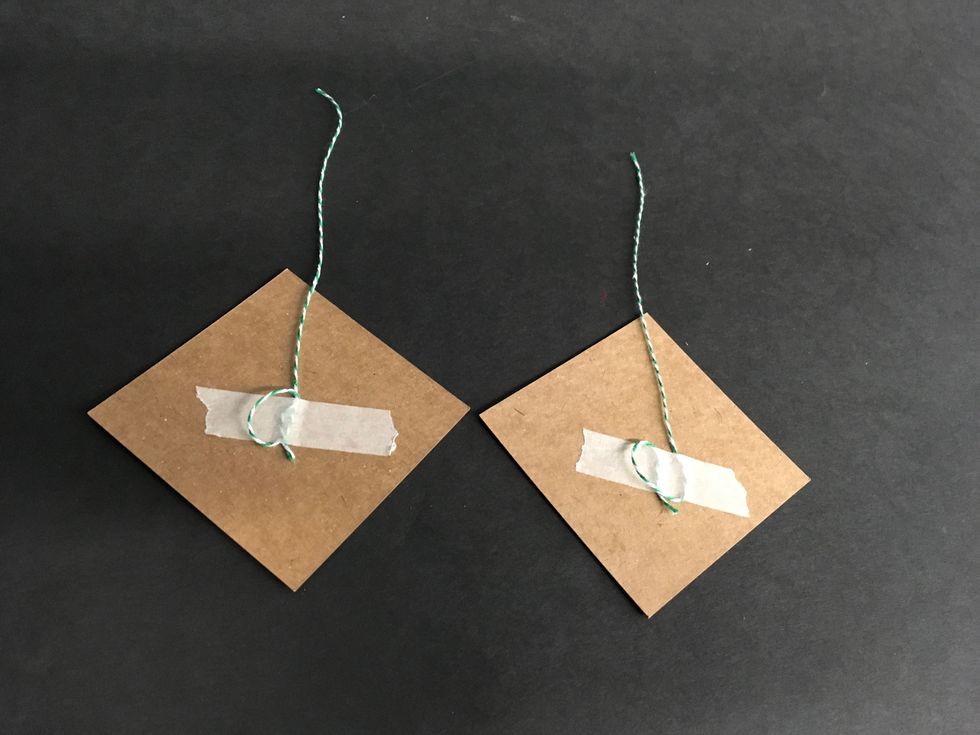
Take a piece of tape and wrap your string around it. (This is important. Don't just tape it down.) Then tape the string down on the board so that a long piece is pointing toward one of the corners.
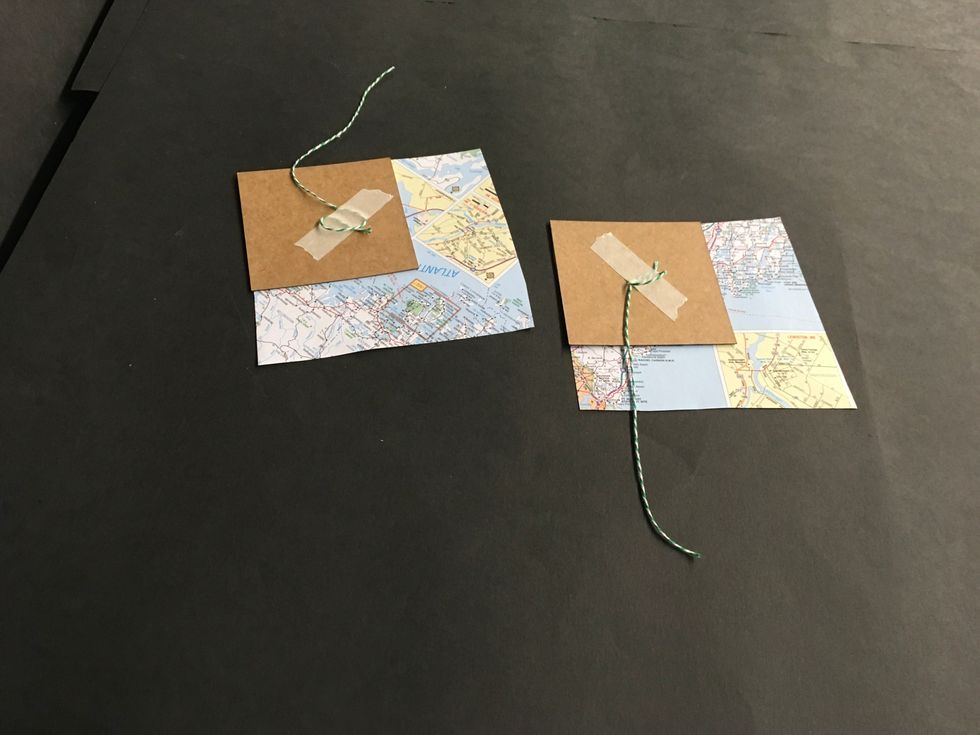
Now you will take your two pieces of decorative paper and glue them onto the opposite side of your covers. (the side without the string)
The covers are a little bigger than each folded up piece to your book. When you glue one piece to a cover be sure to put the corner that does not open at the opposite corner of the string.

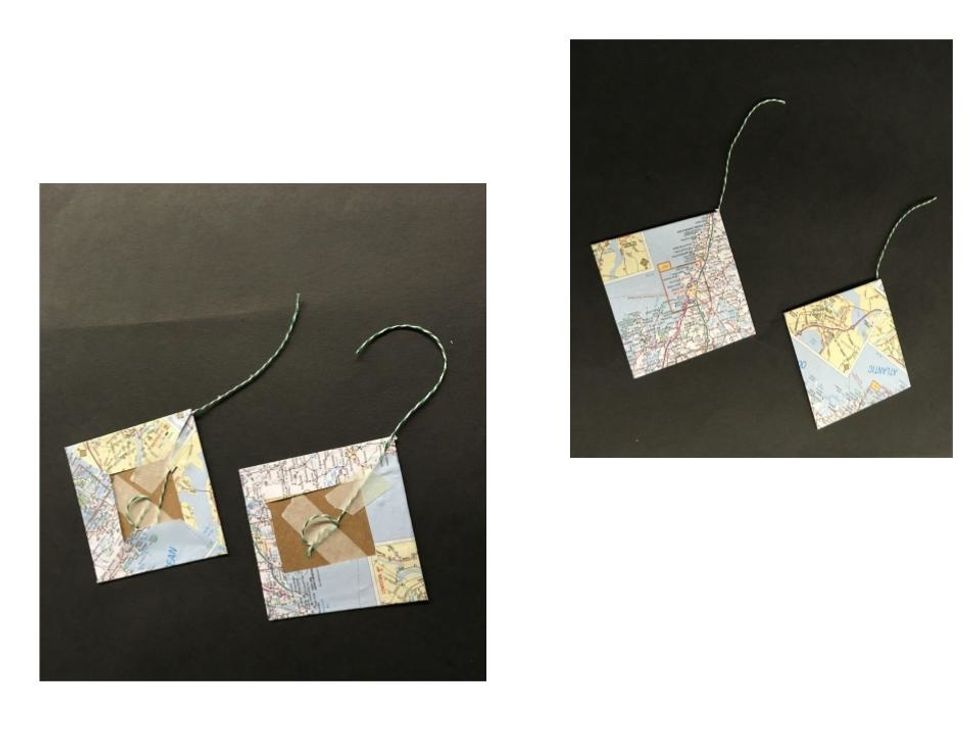
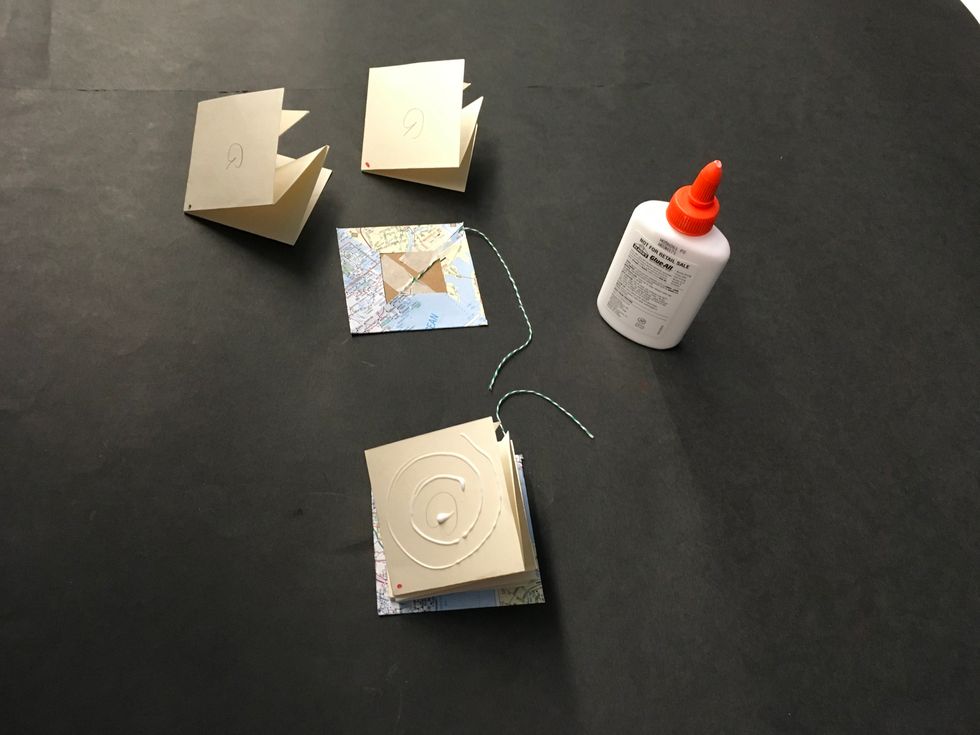
It is important to not let your glue run over the sides. If if does just wipe it off. Also be sure to put the corner that does not open of each page on top of each other when you glue.
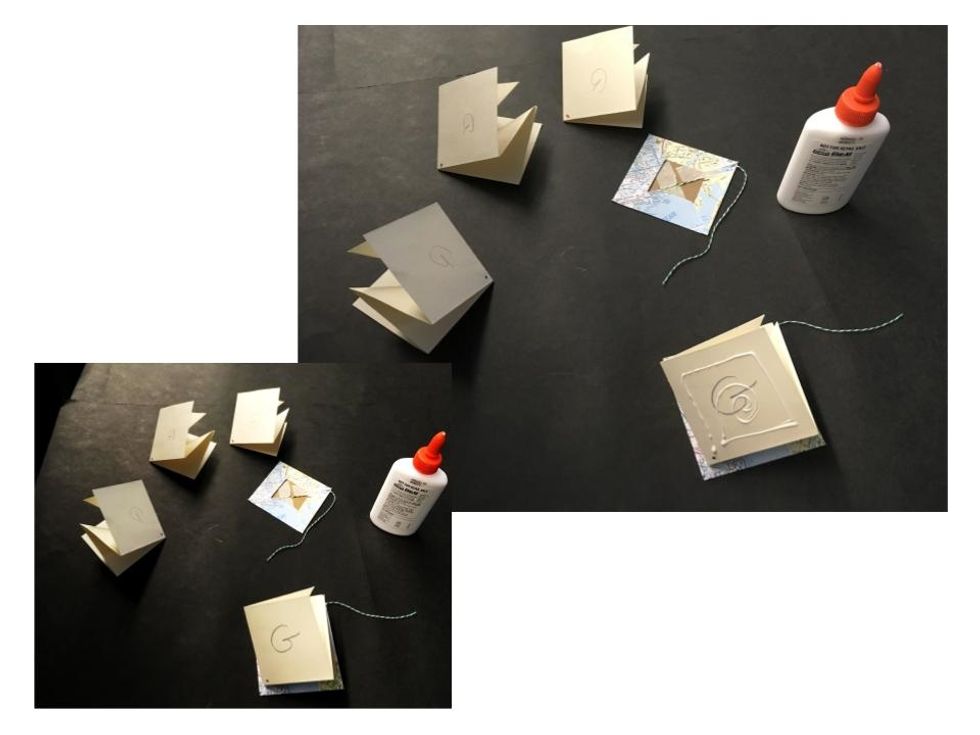
cover + 2 pages
cover + 3 pages
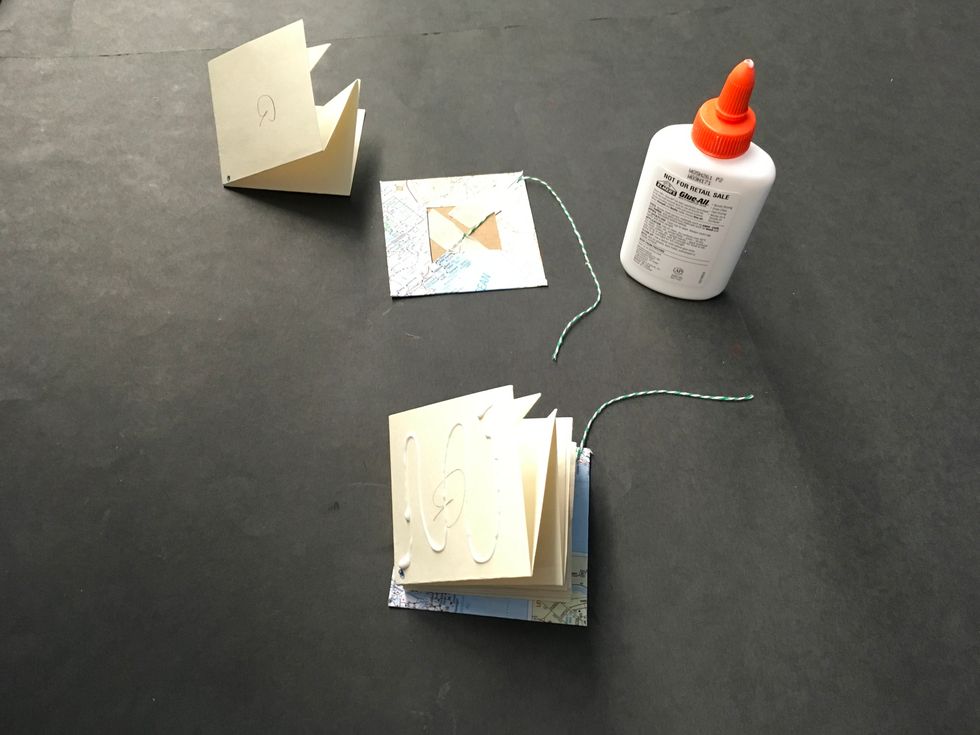
cover + 4 pages
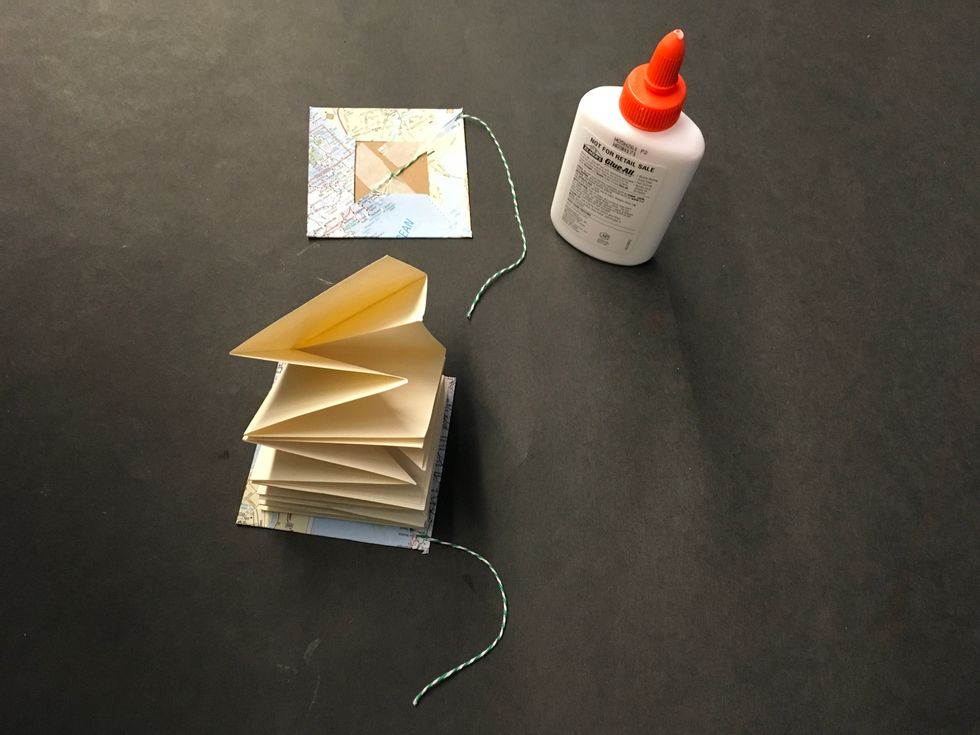
cover + all 5 pages

When you go to put your last cover on remember to have the string coming out at the corner where all of the pages open up.

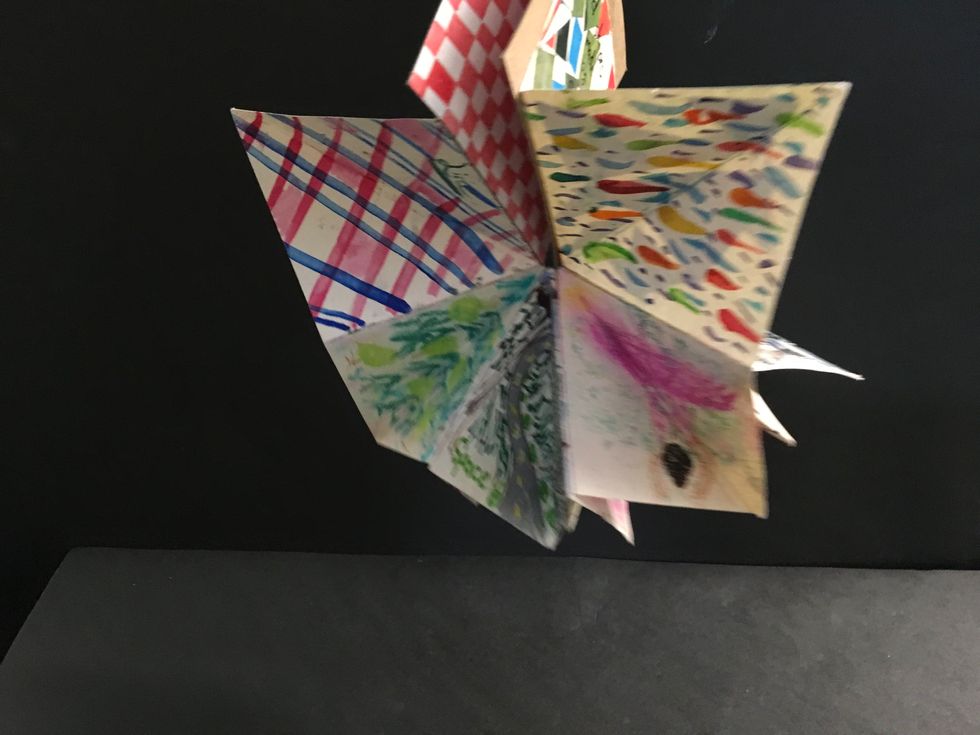
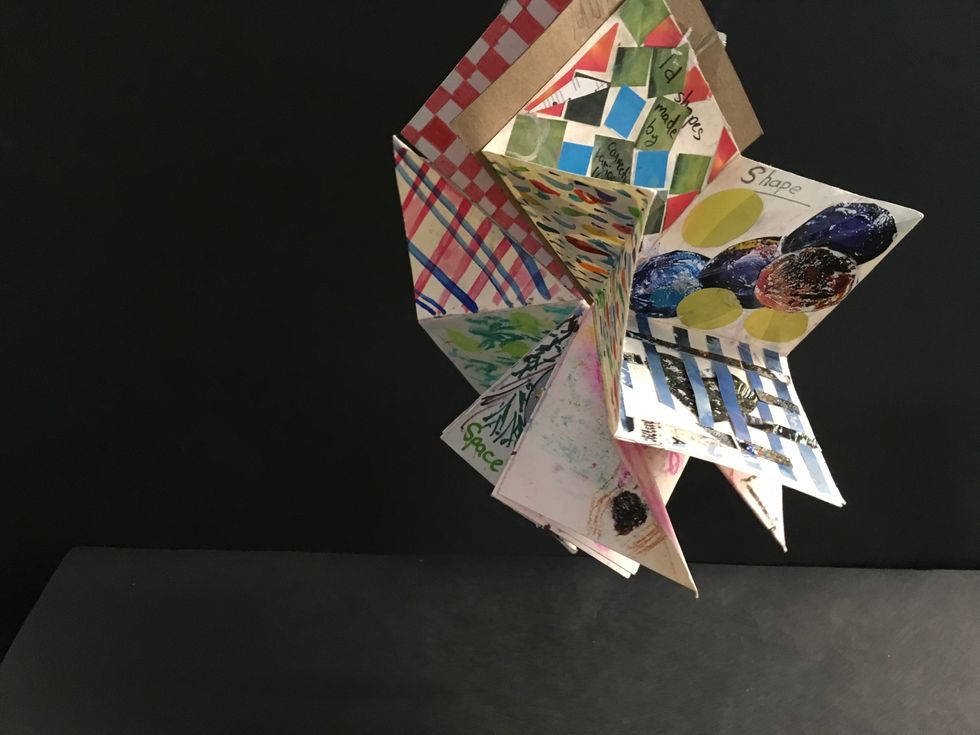
If glued correctly you should be able to open each cover and lay them flat on the table and the pages will open and look something like this.
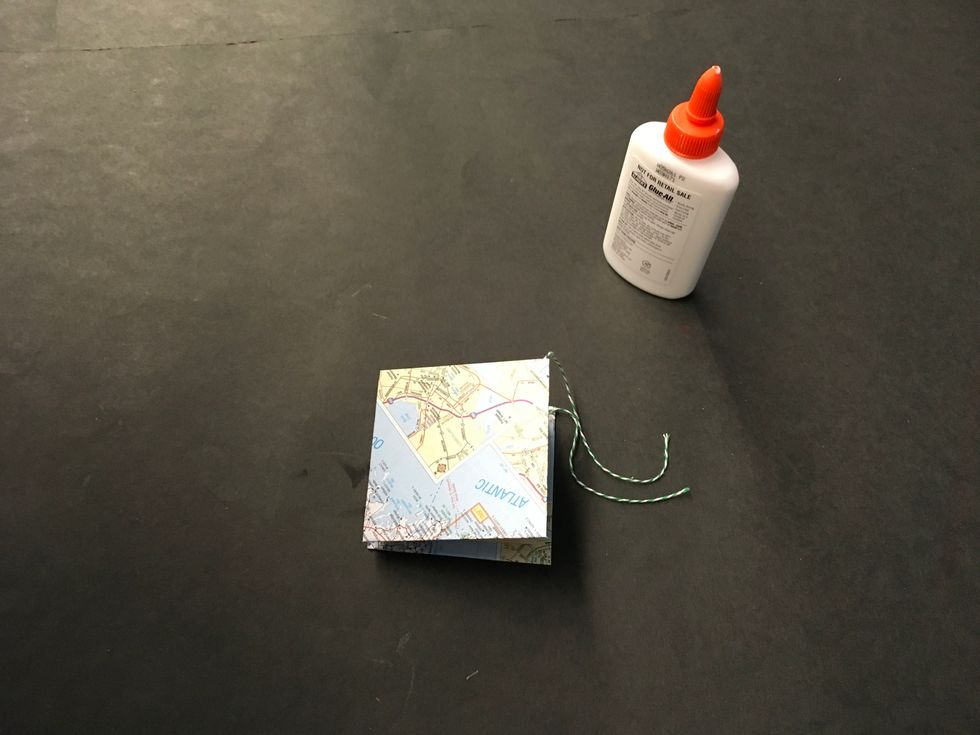
Now go ahead and close it back up. Double check to be sure no extra glue has squeezed out of the sides.
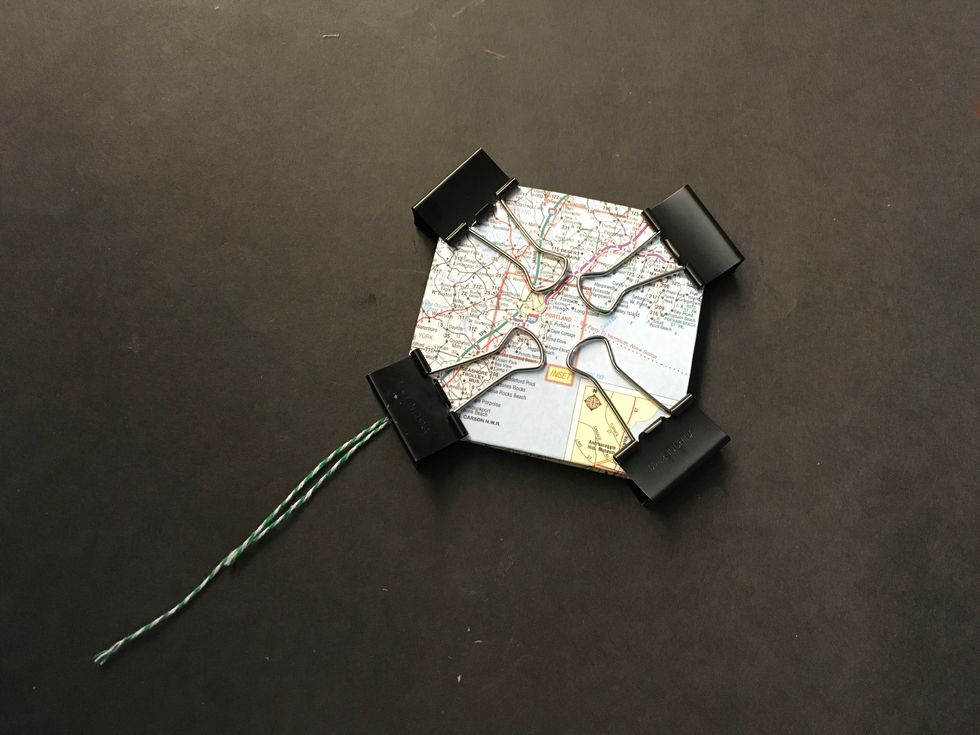
Over night secure each corner with binder clips to really make sure the glue dries properly.

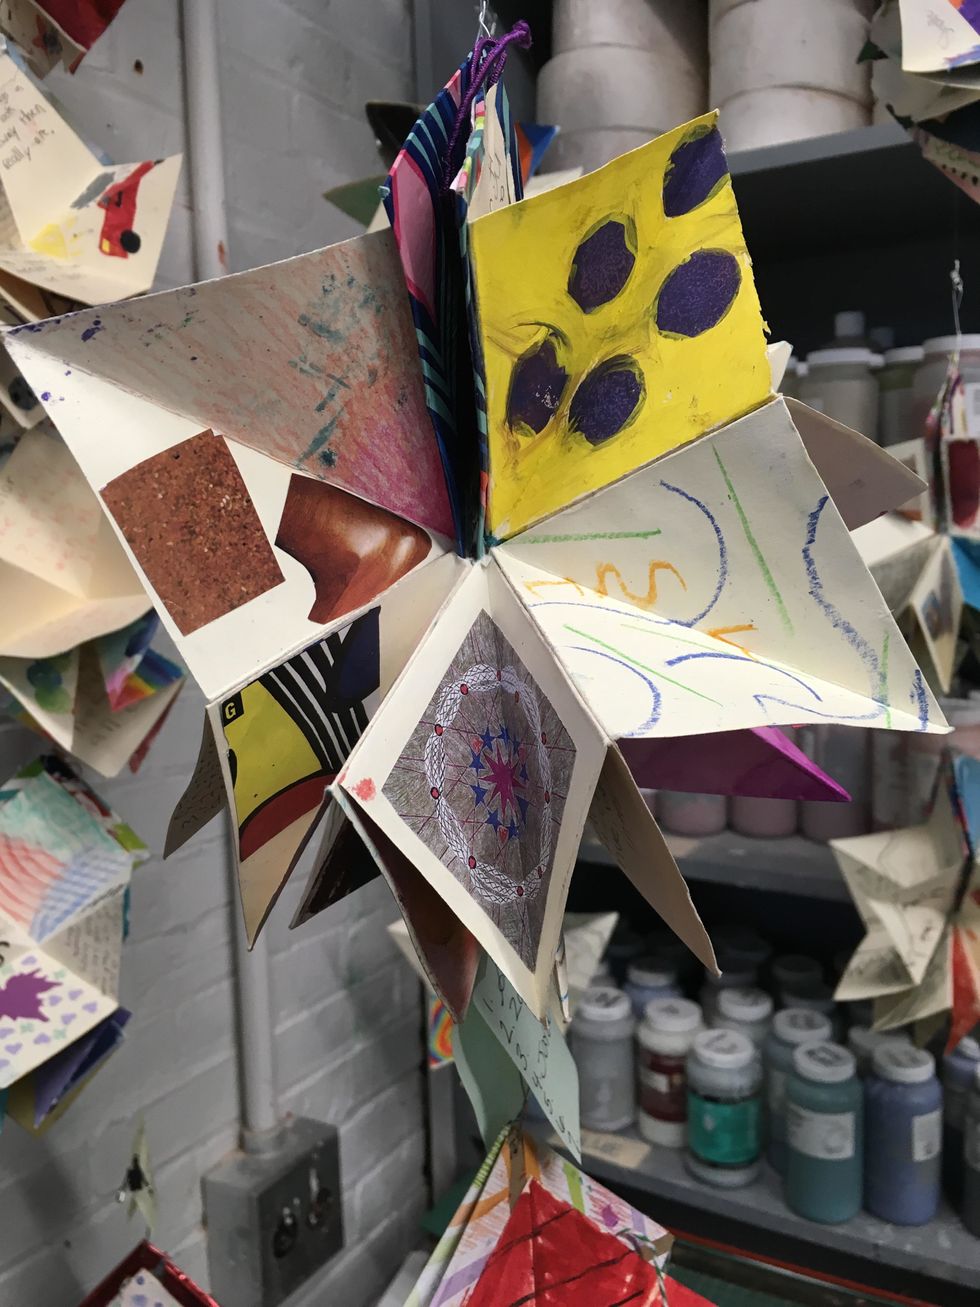
Once the pages dry open it up and decorate each side!
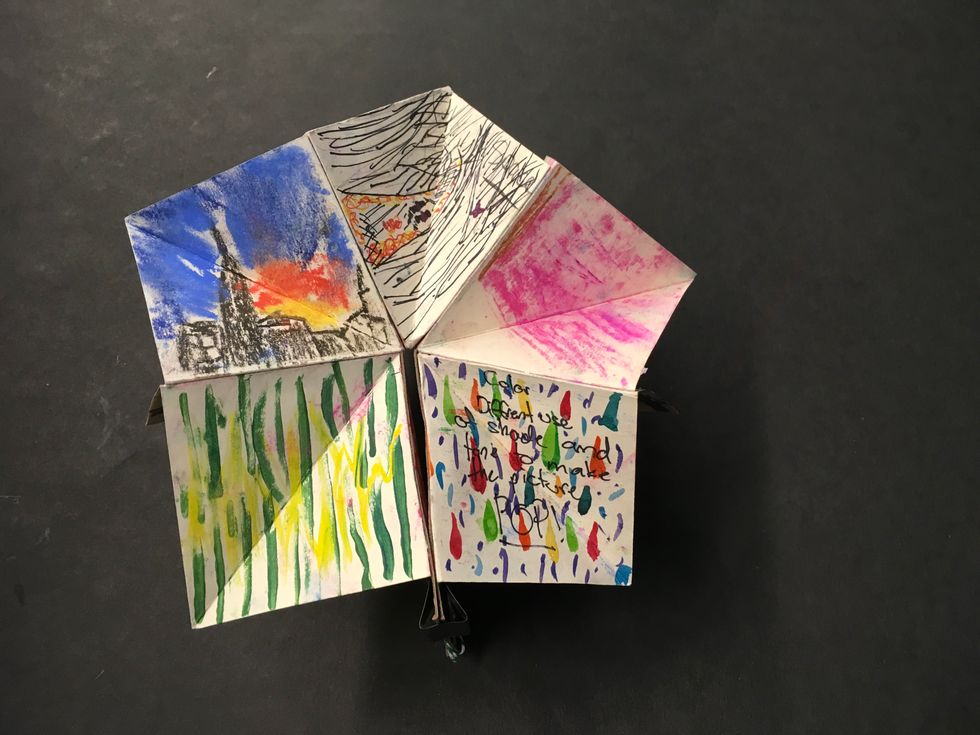
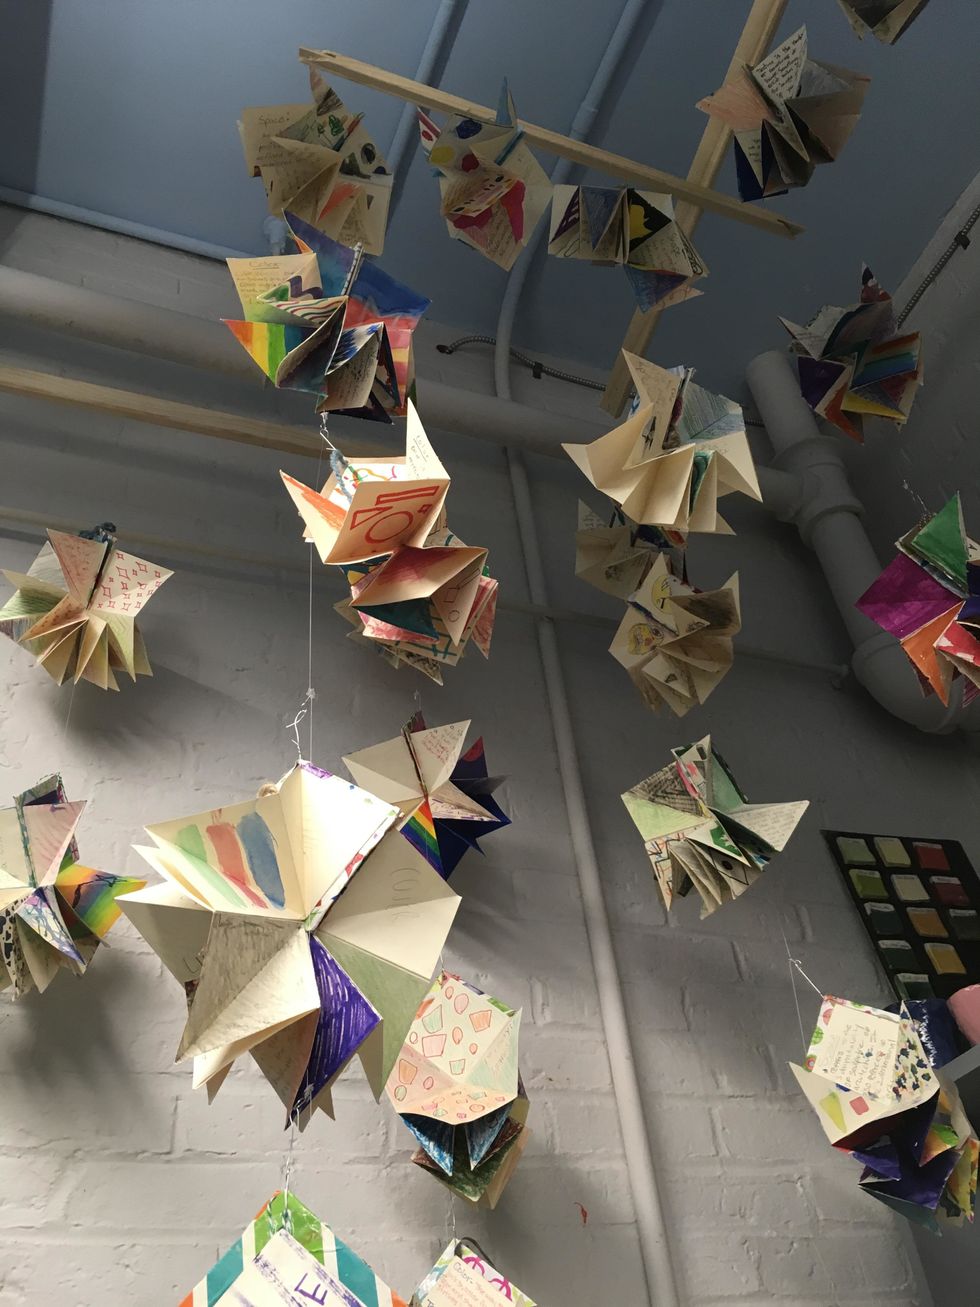
I hope you enjoy your new Starbook.