The Conversation (0)
Sign Up
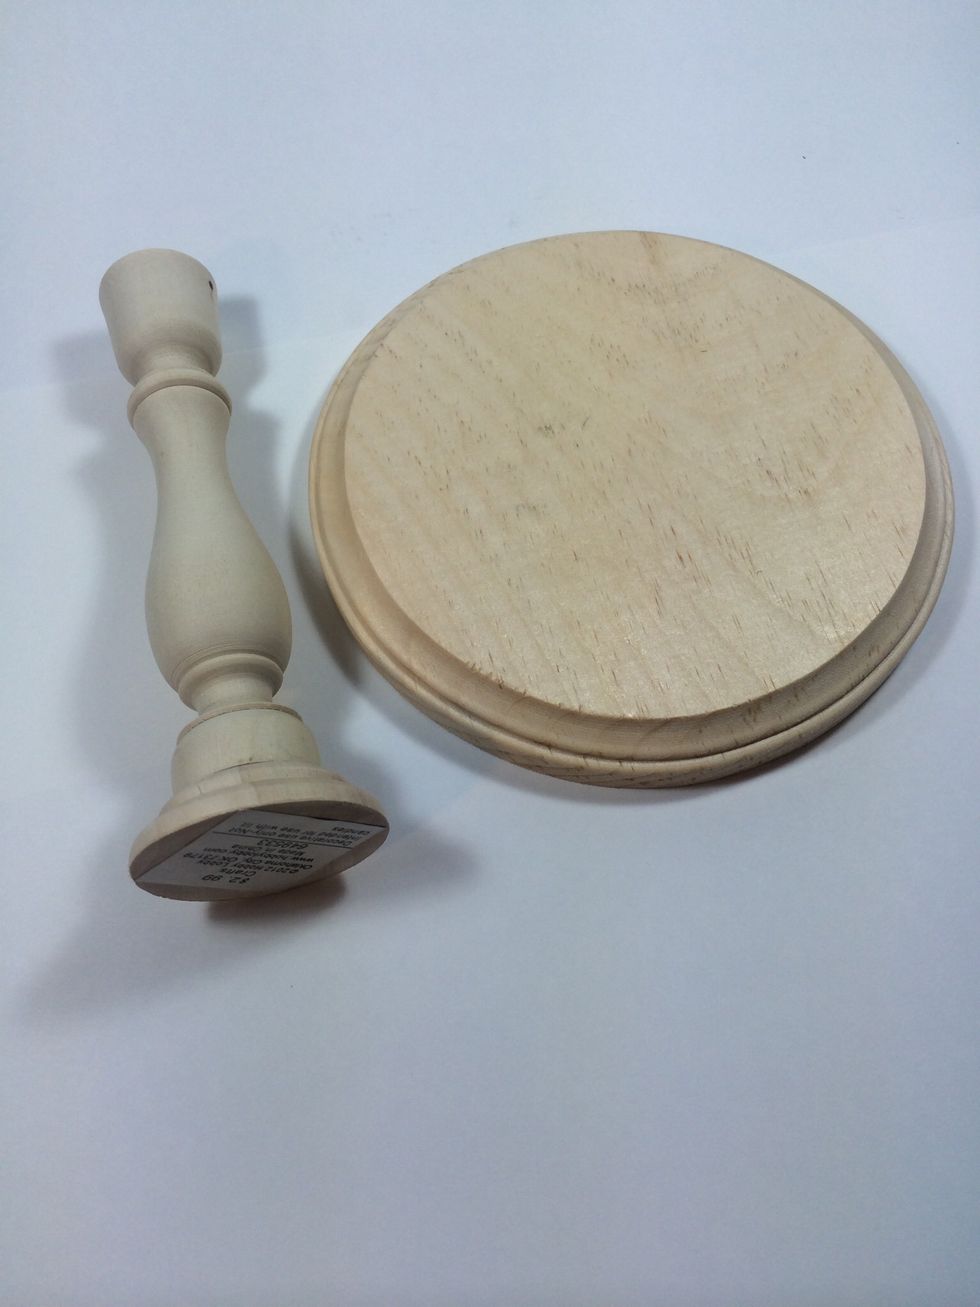
Start with wood pieces like these from the craft store. Sand any rough areas, as necessary.

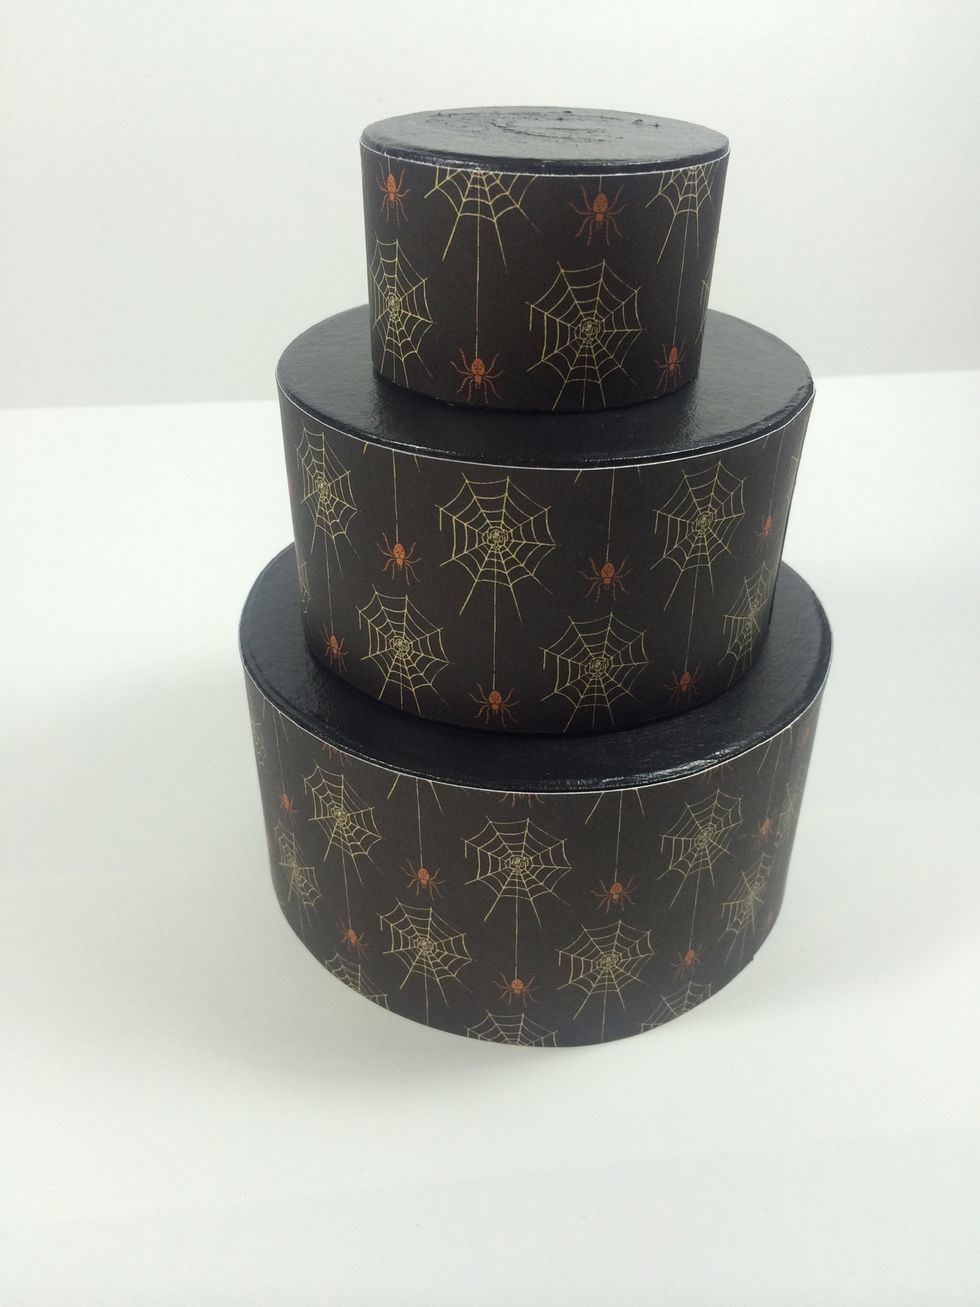
You'll need three small papier mâché boxes from the craft store as well. Mine measure 2 1/2", 4" and 5" in diameter.
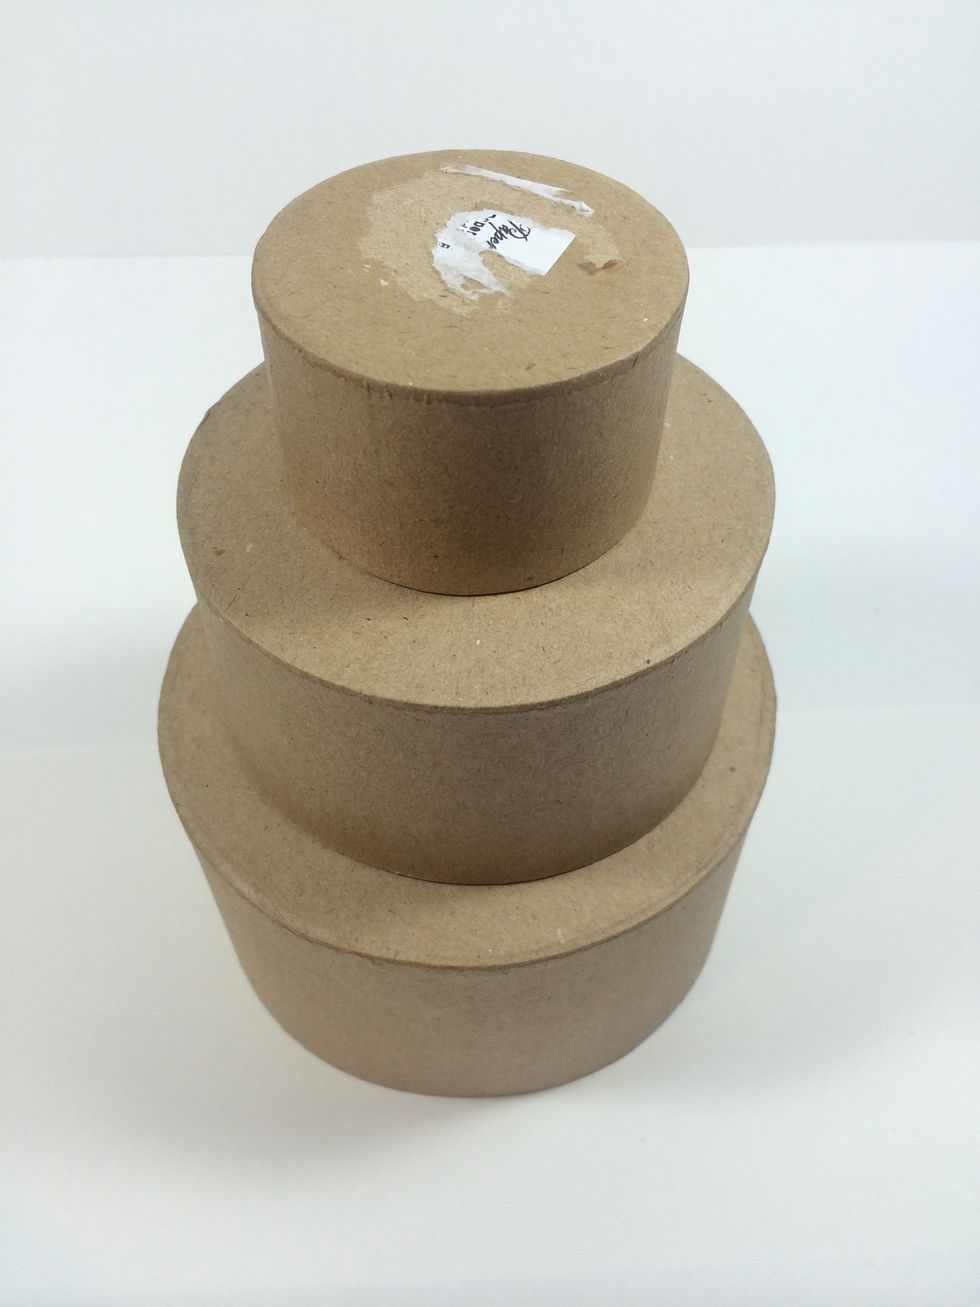
You'll be stacking them upside down like this, so you won't need the lids anymore.
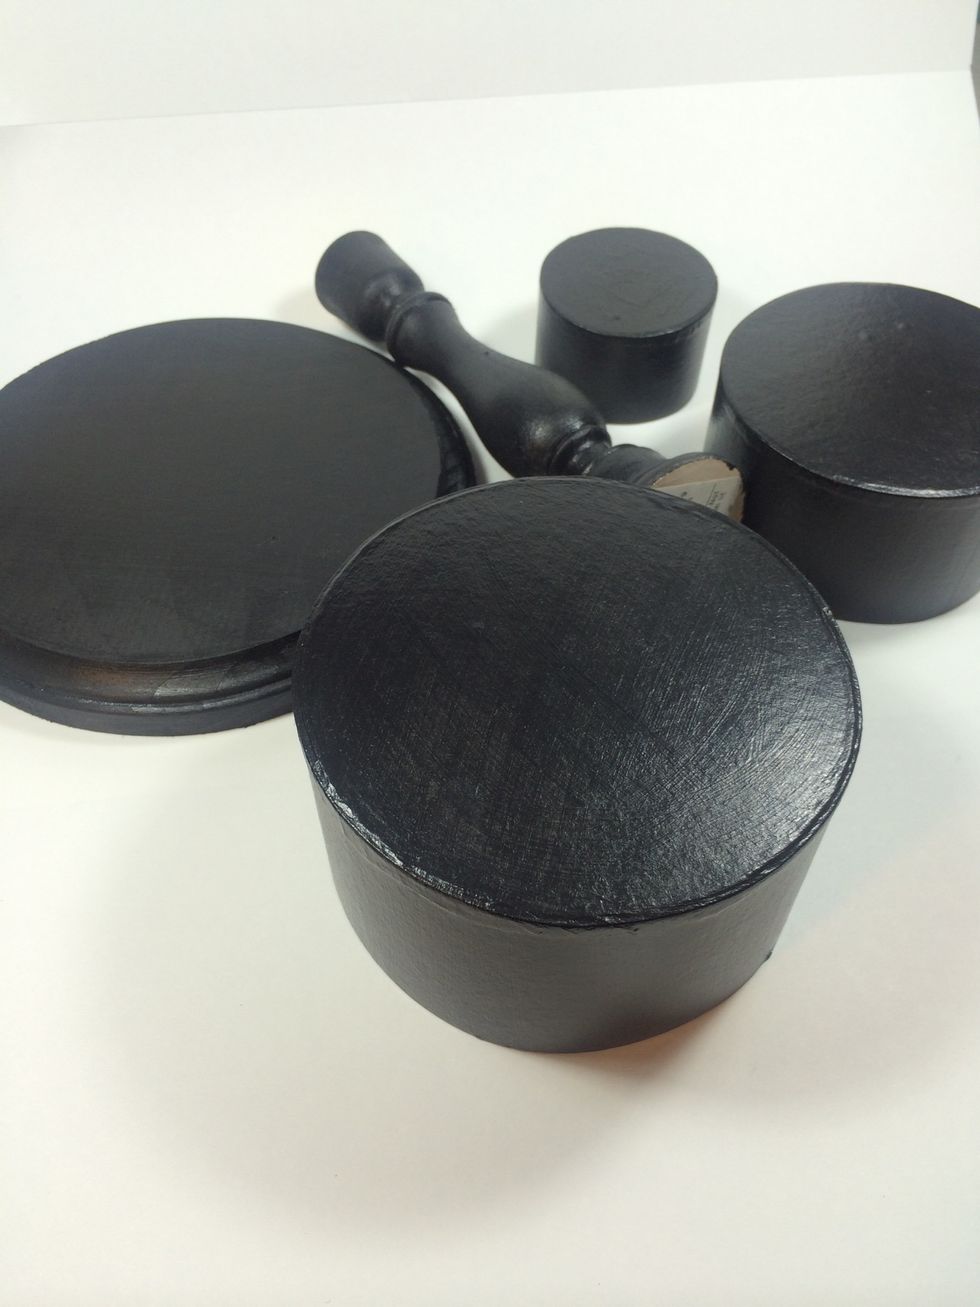
Paint wood pieces and boxes with black acrylic paint. It took two coats. I used a Satin finish.
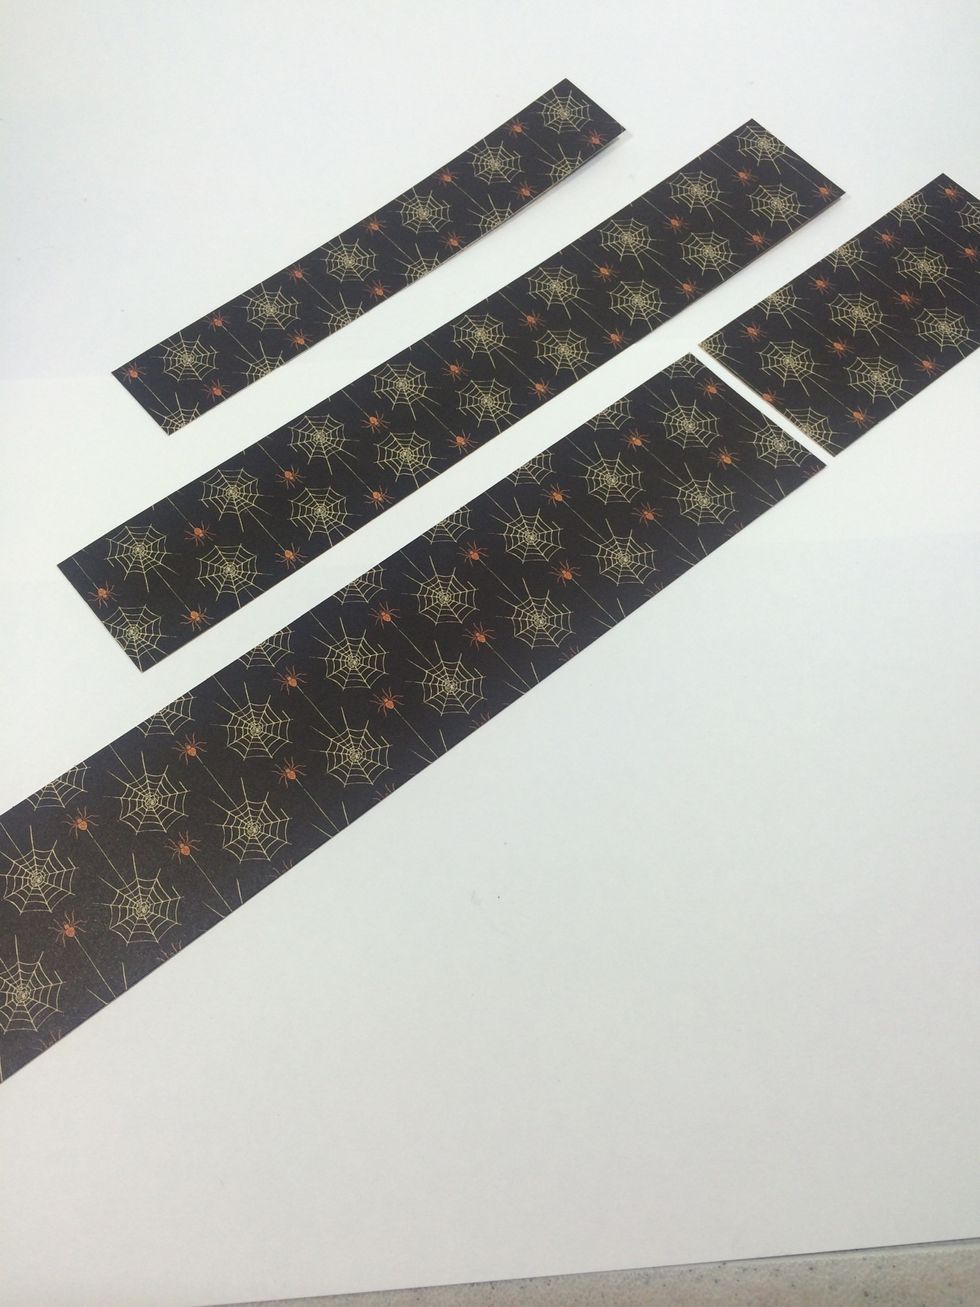
Cut papers to wrap around each box. I used "Run & Hide." Simply measure the height of each box, then use a tape measure for the circumference. I had to cut a little extra for my biggest box.
Use strong glue stick or Mod-Podge to adhere papers to boxes. Don't glue the boxes together yet.
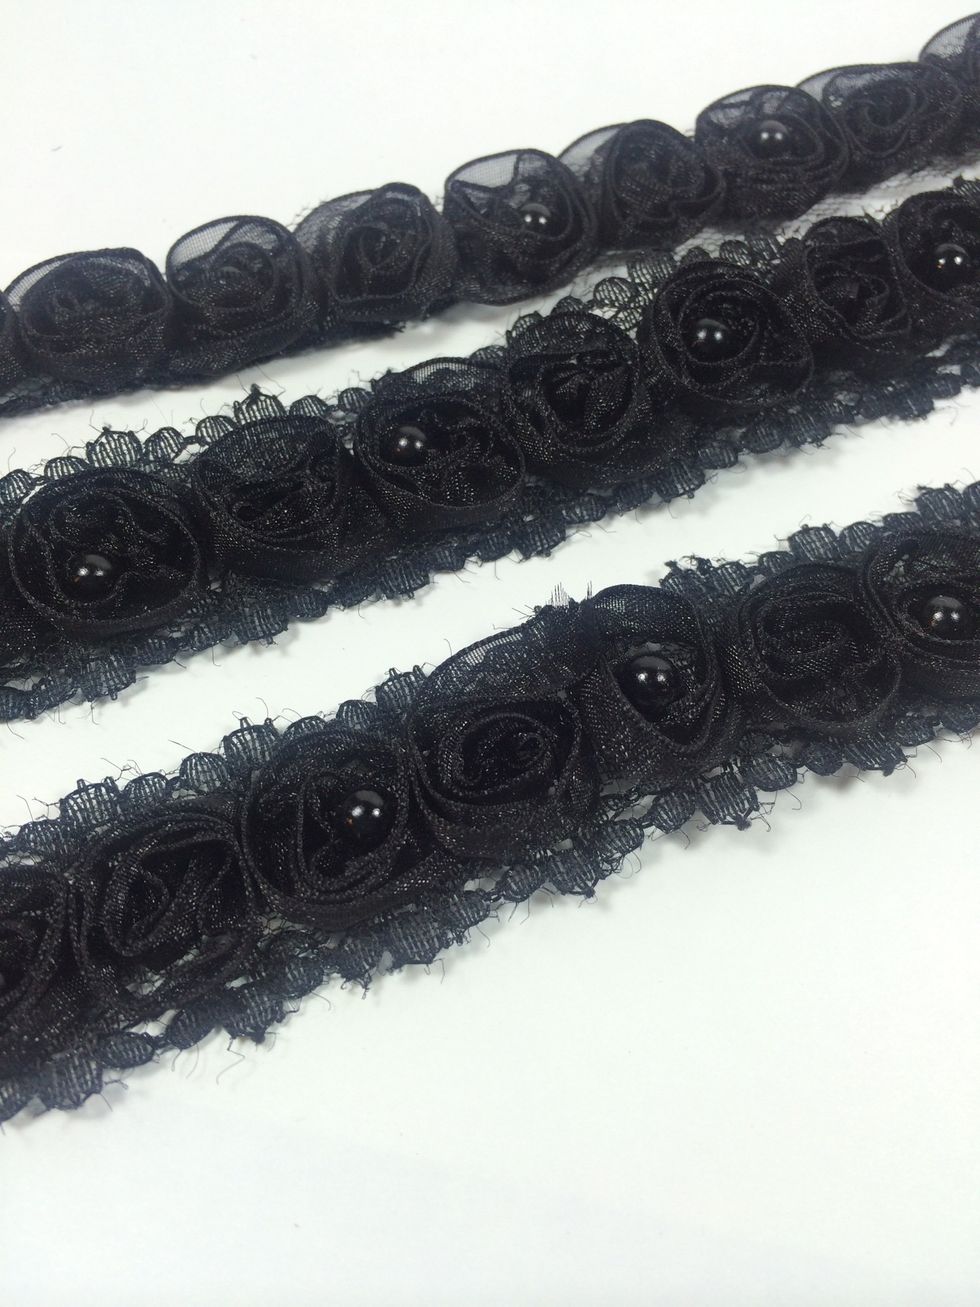
Cut lengths of rosette ribbon to go around each box. I got this pretty black ribbon from Hobby Lobby. I trimmed the extra lacey stuff off the shortest one to allow more room on the small box.
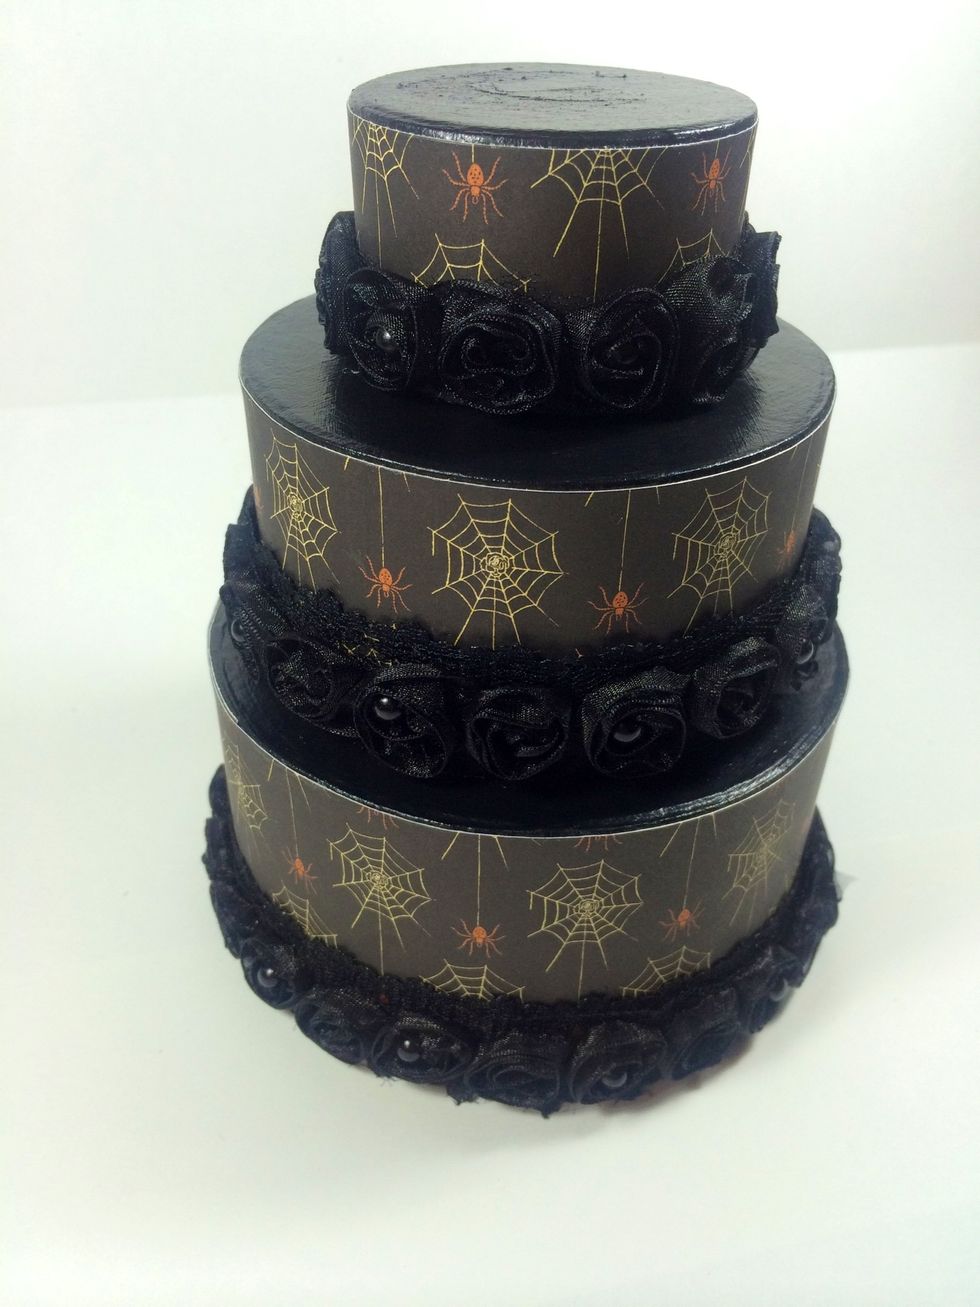
Adhere rosette ribbons to boxes. Wait to adhere boxes together. It's much easier to work with when they are individual pieces.
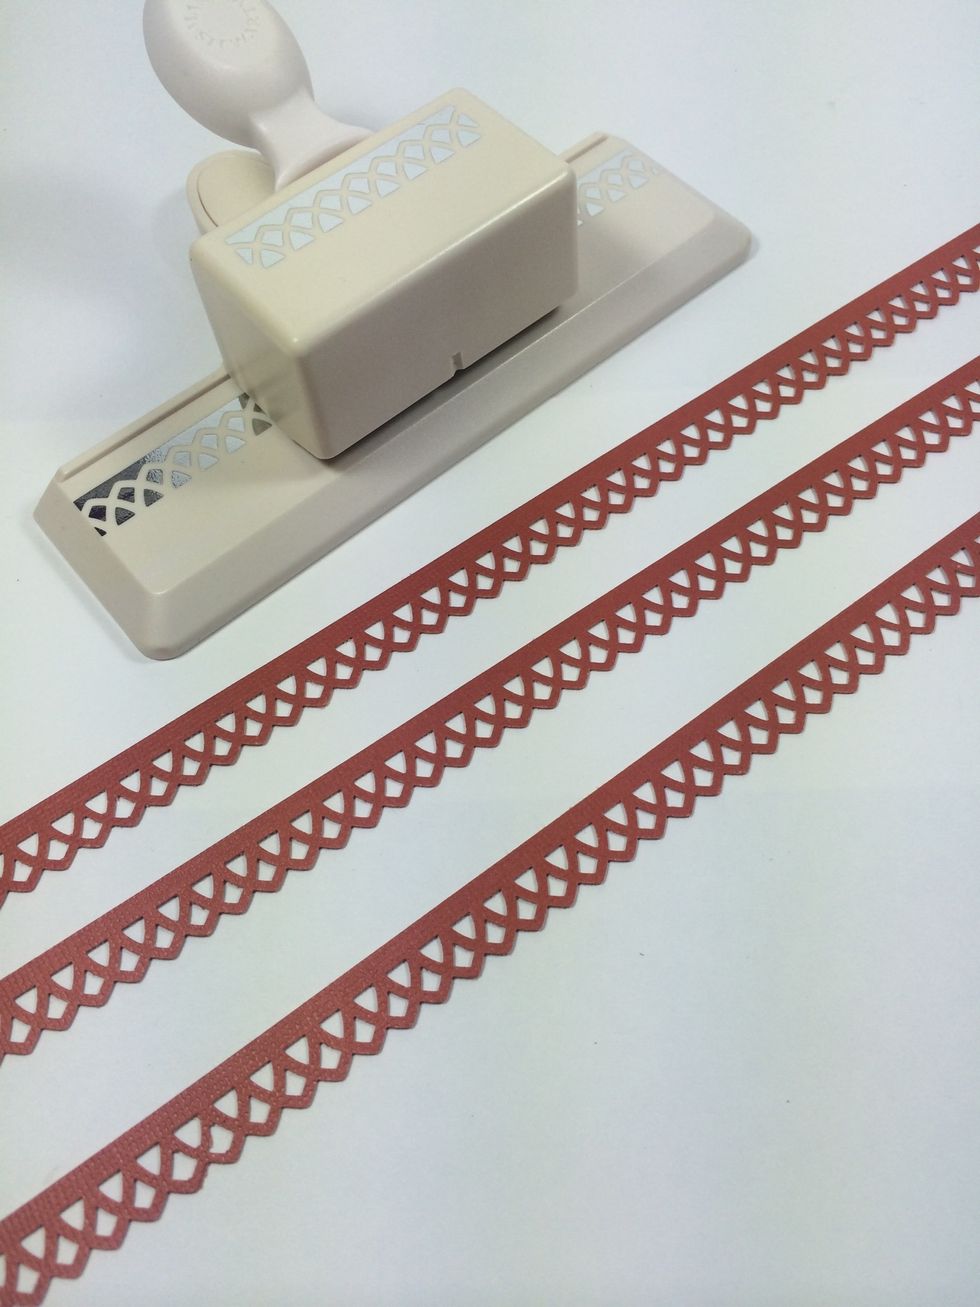
Use your favorite border punch to make some trims for each box. I cut from a deep orange color.

Adhere these border strips to your boxes. Okay, now you can adhere the boxes together. I used a hot-glue gun.
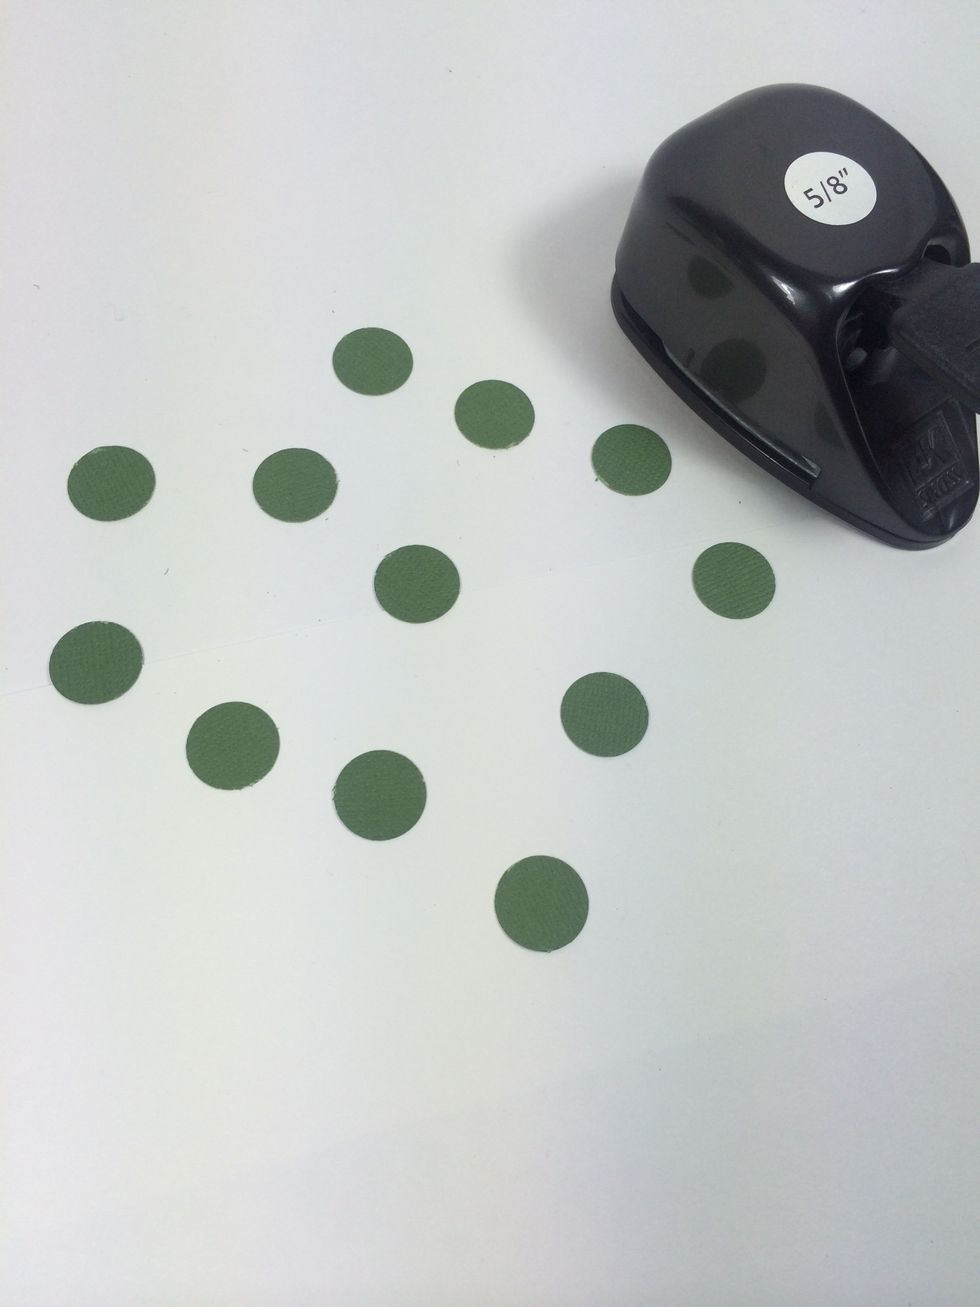
Let's make a little Happy Halloween banner for the cake. Start by punching 5/8" circles from green cardstock.
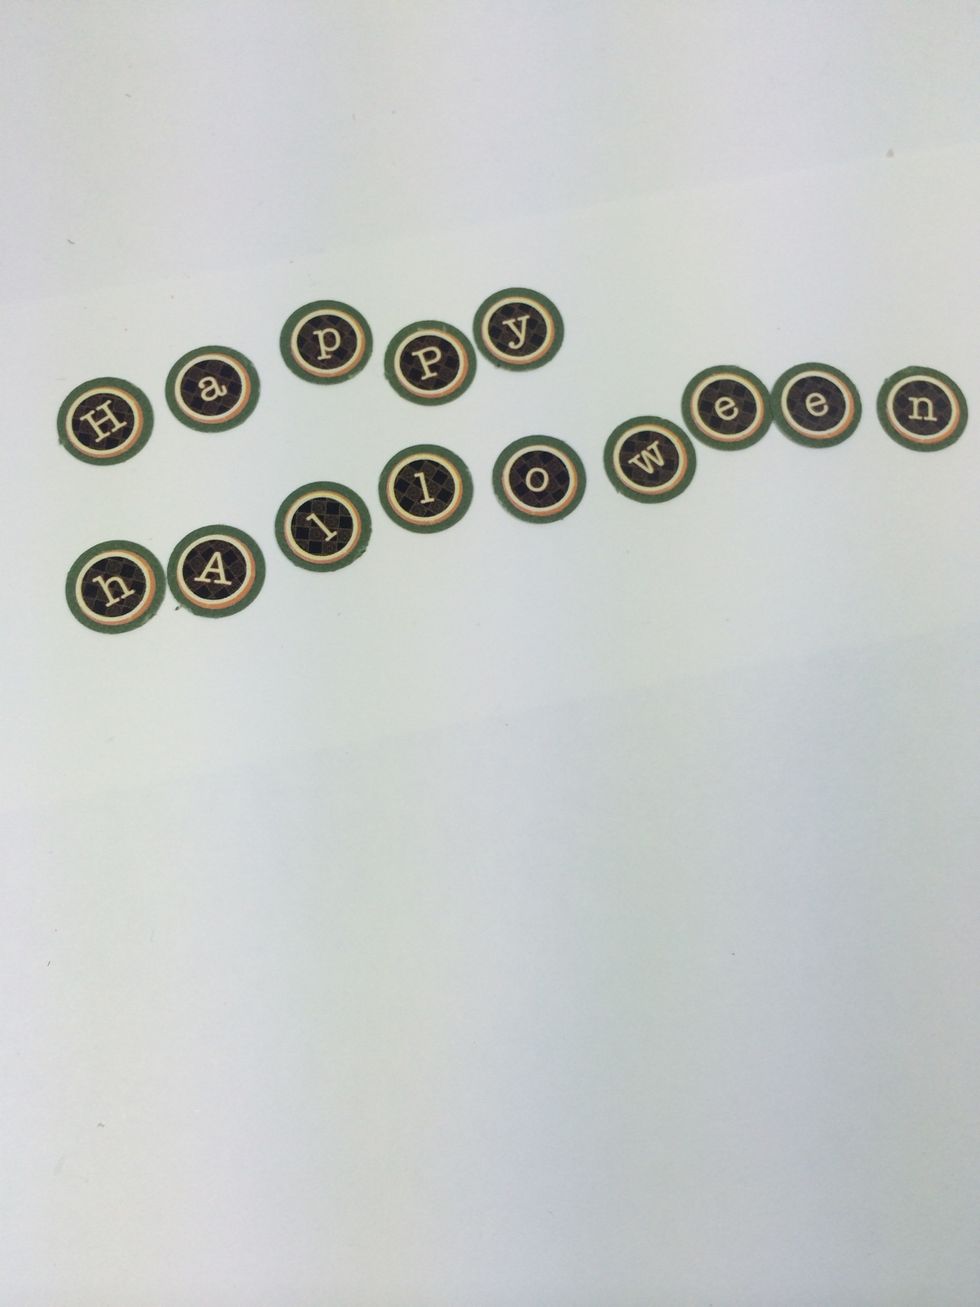
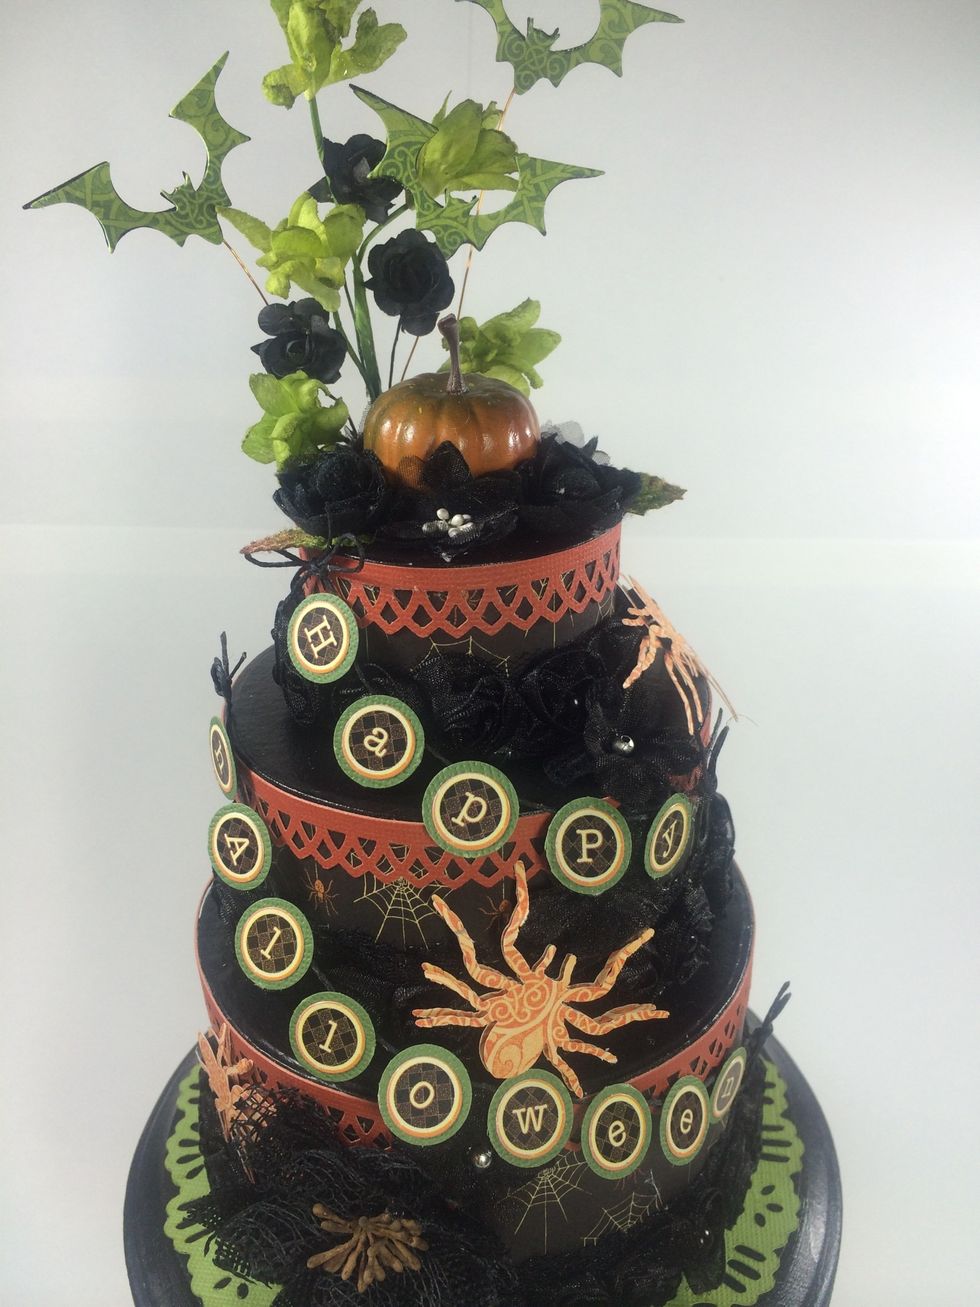
Adhere An Eerie Tale alphabet stickers to the circles.
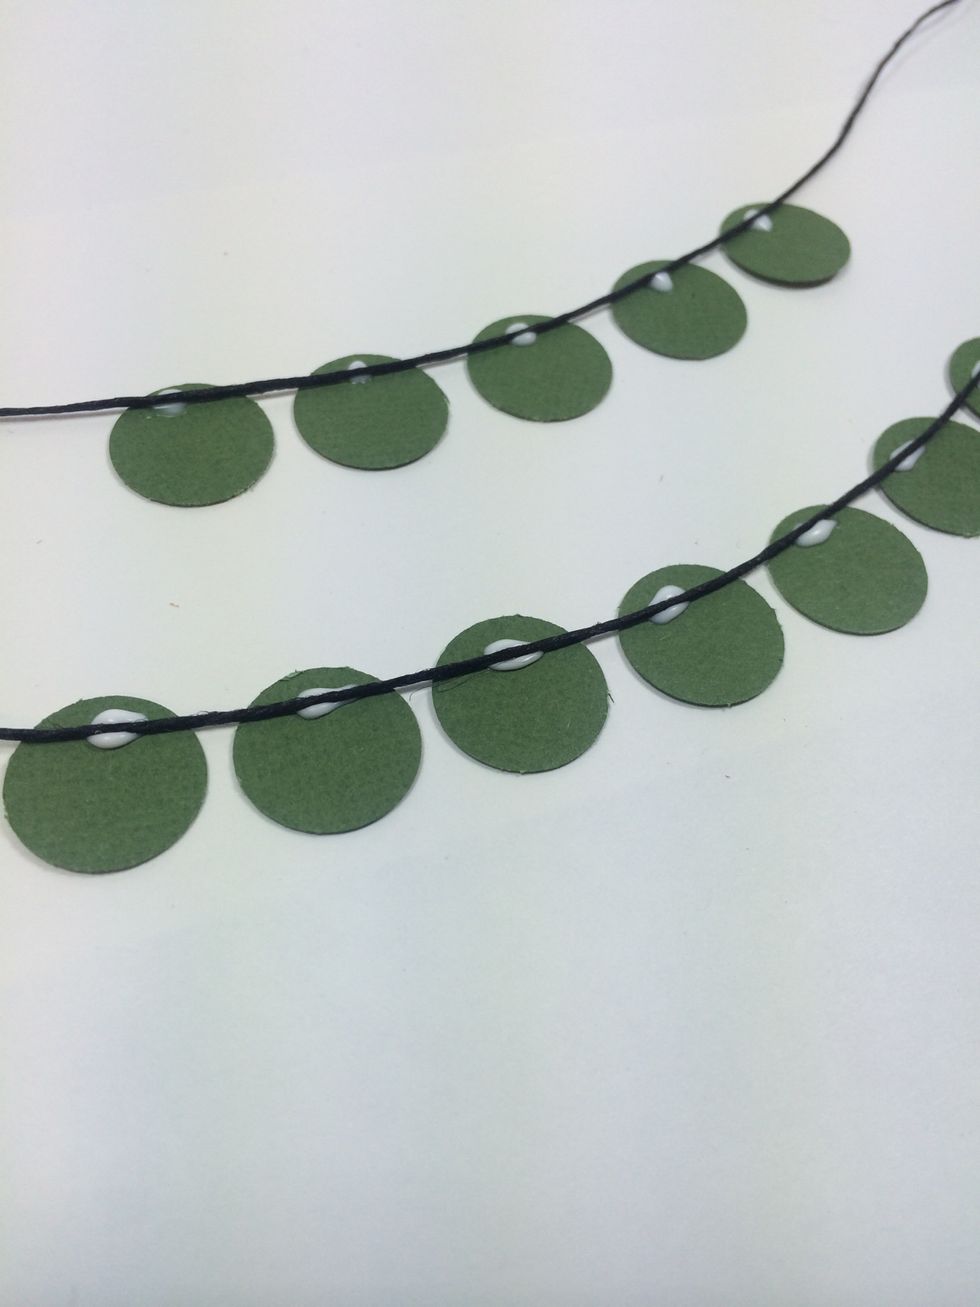
Lay the letters face down (be sure they are in the correct order when flipped back over) then place a dot of strong liquid glue to the top areas and then lay some twine across as shown. Let dry.
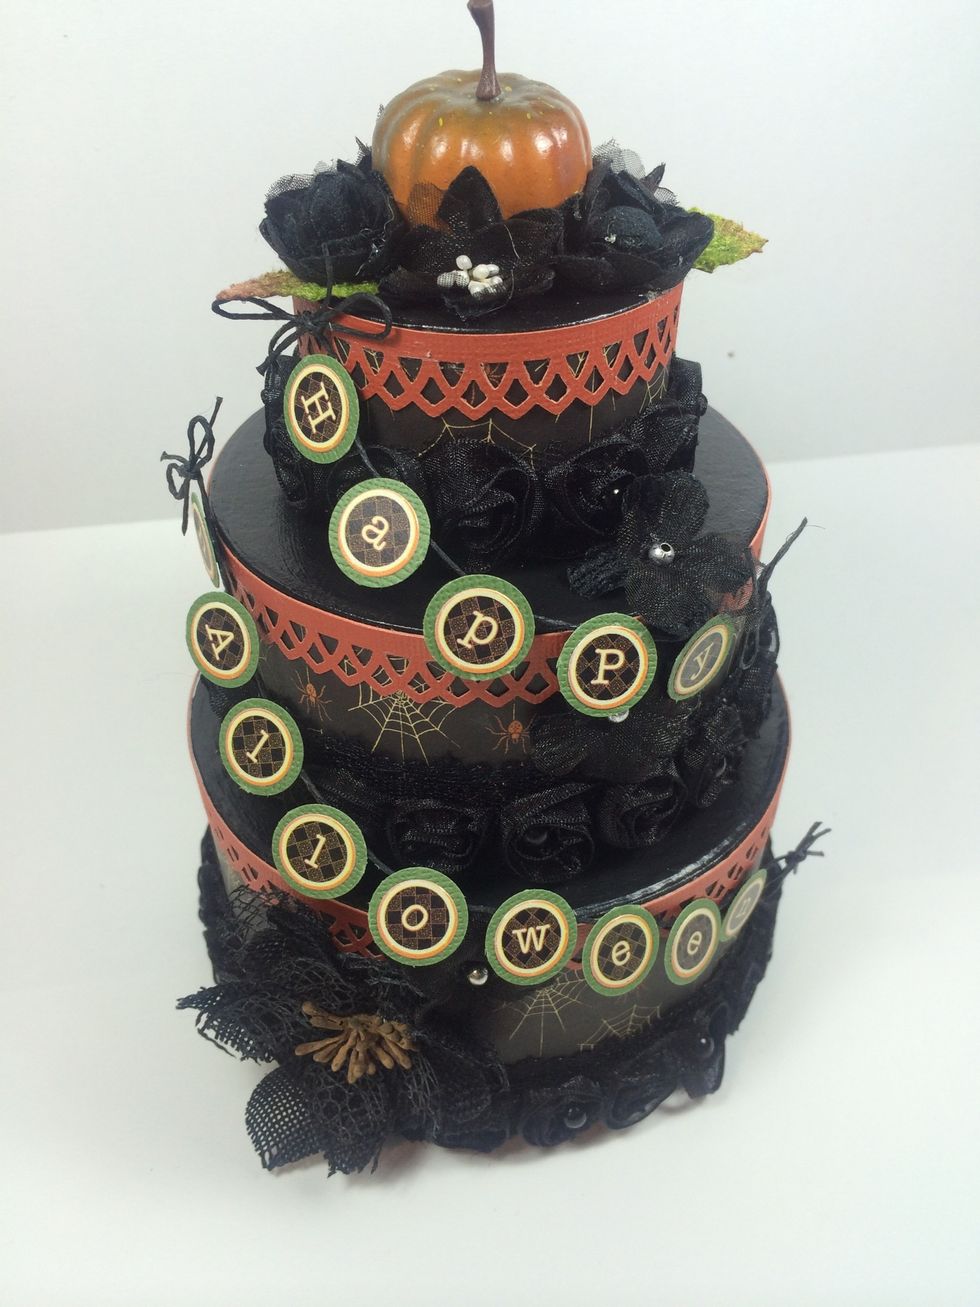
Before you add the banner, hot glue some flowers to your cakes. These black flower mixtures from Petaloo worked perfectly! Tie bows on the ends of each banner and adhere to the cakes with hot glue.
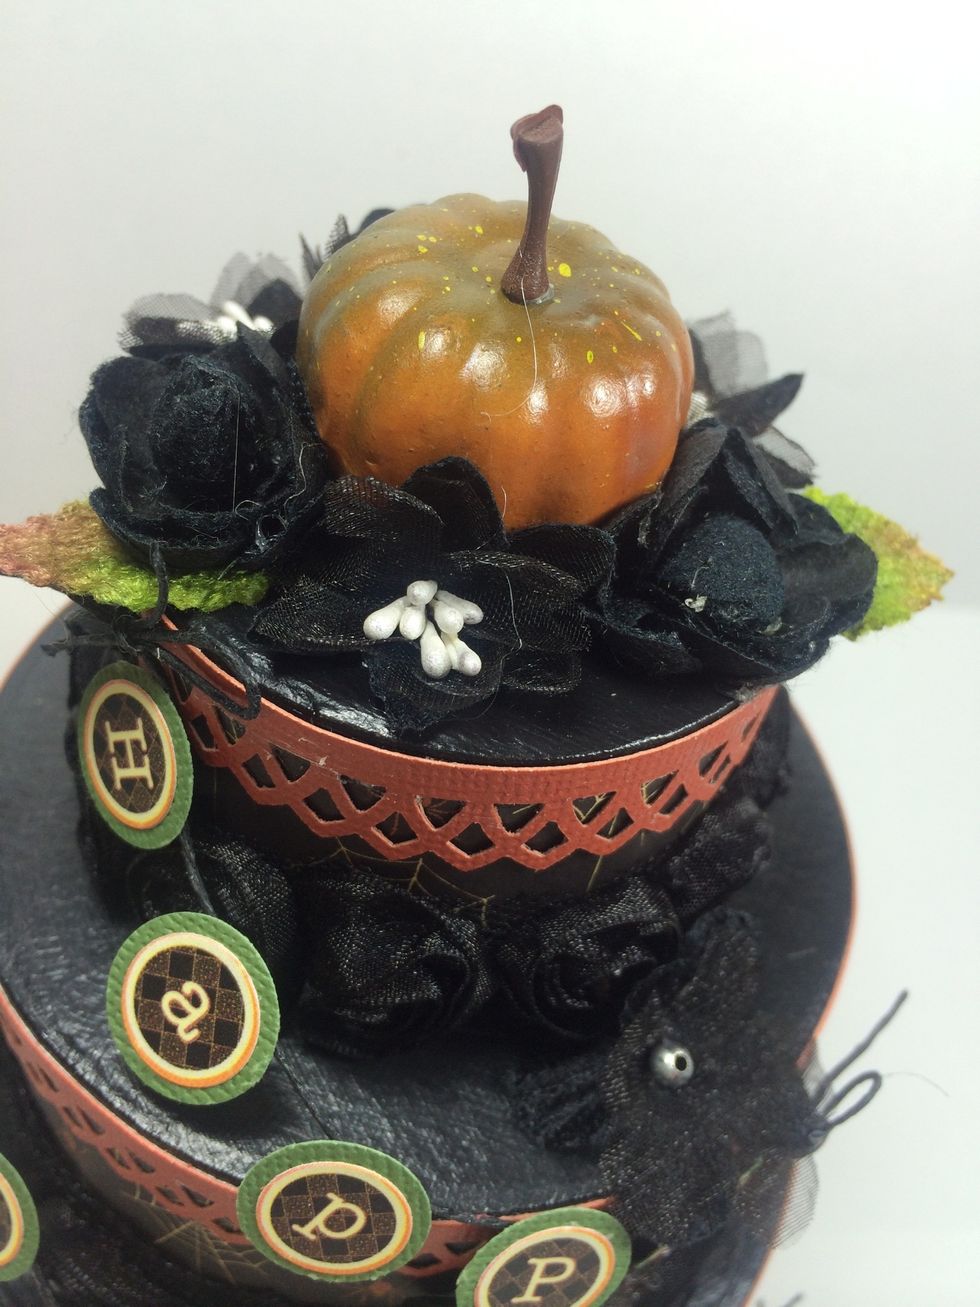
I added a tiny pumpkin from the craft store to the top of my cake, then more black flowers.

Let the banner hang loosely or secure it with more hot glue if you like.
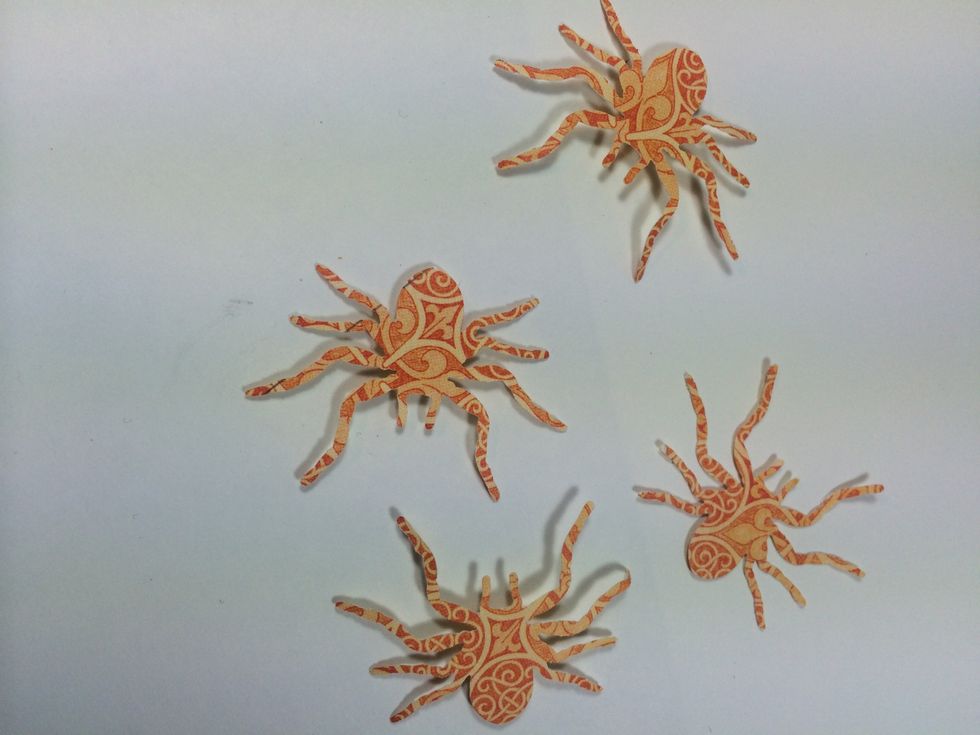
Punch some spiders or other fun shapes. I cut from the Grand Illusion paper. I layered two spiders using foam tape between them.
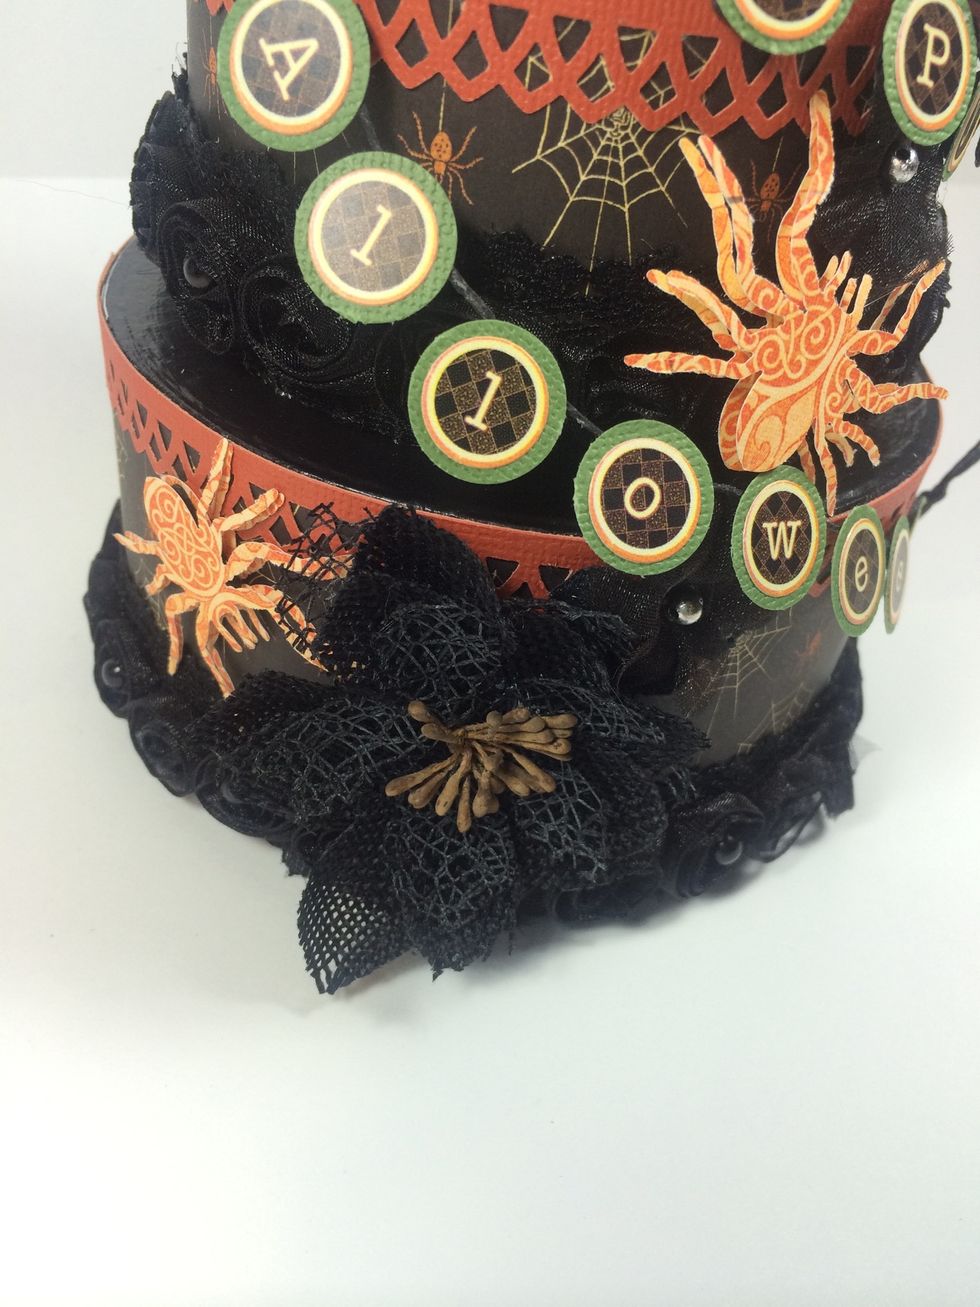
Adhere the spiders to your cakes with hot glue.
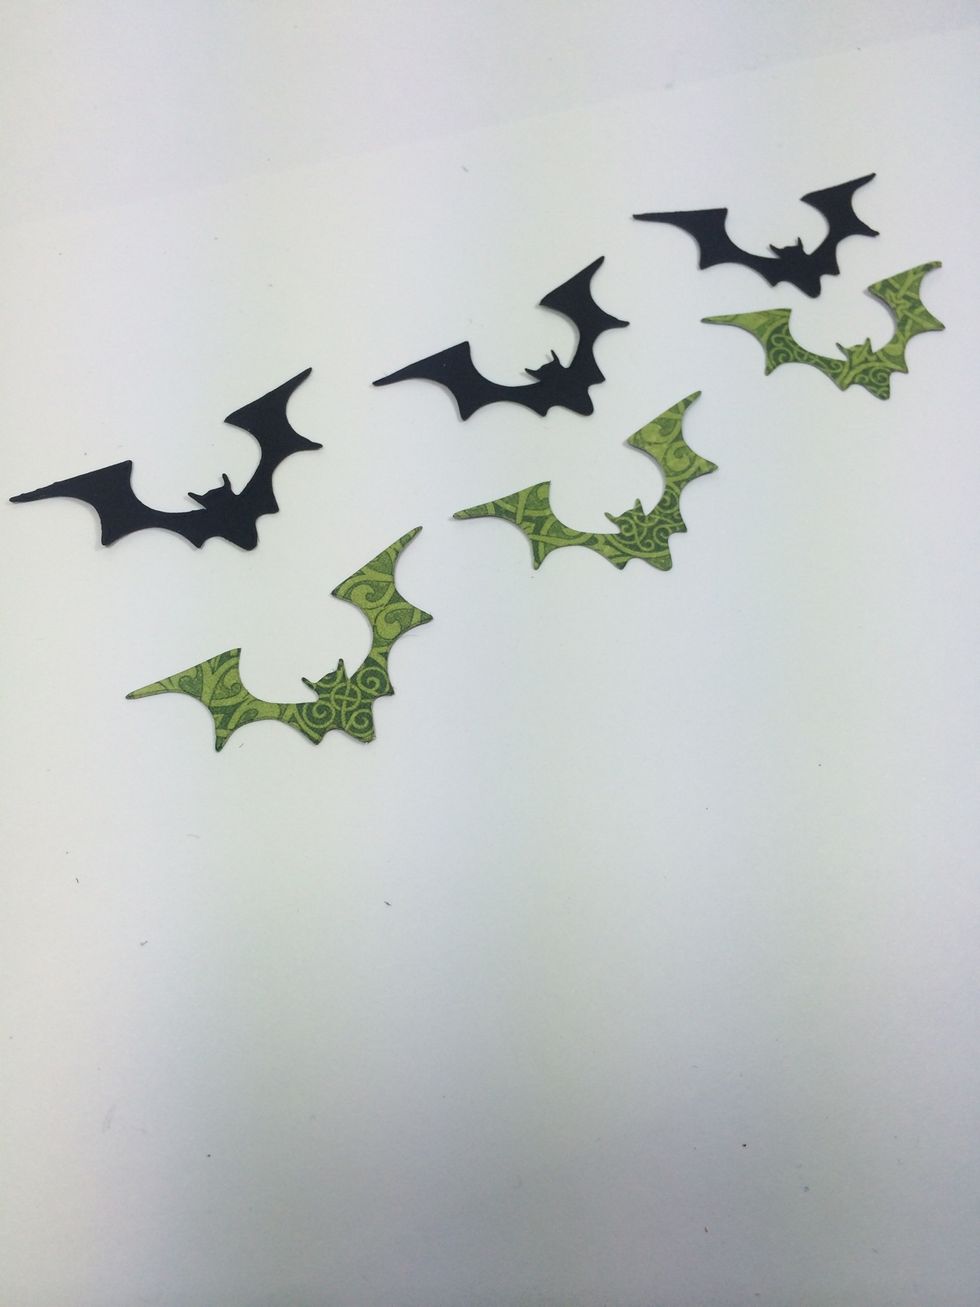
Die cut three bats from Gone Batty paper and three more from black cardstock.
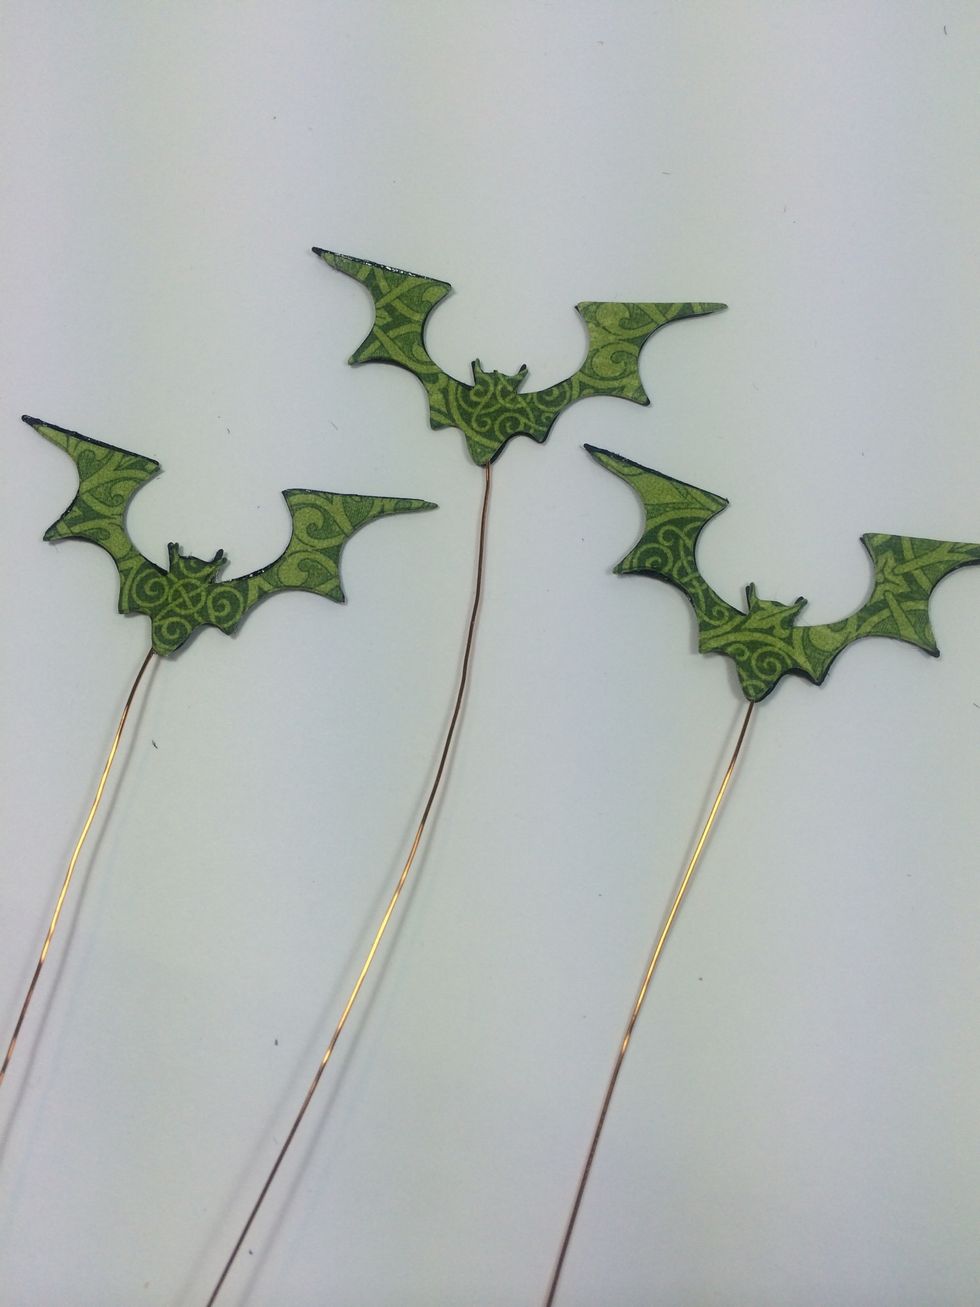
Sandwich a piece a craft wire between each as you adhere them together.
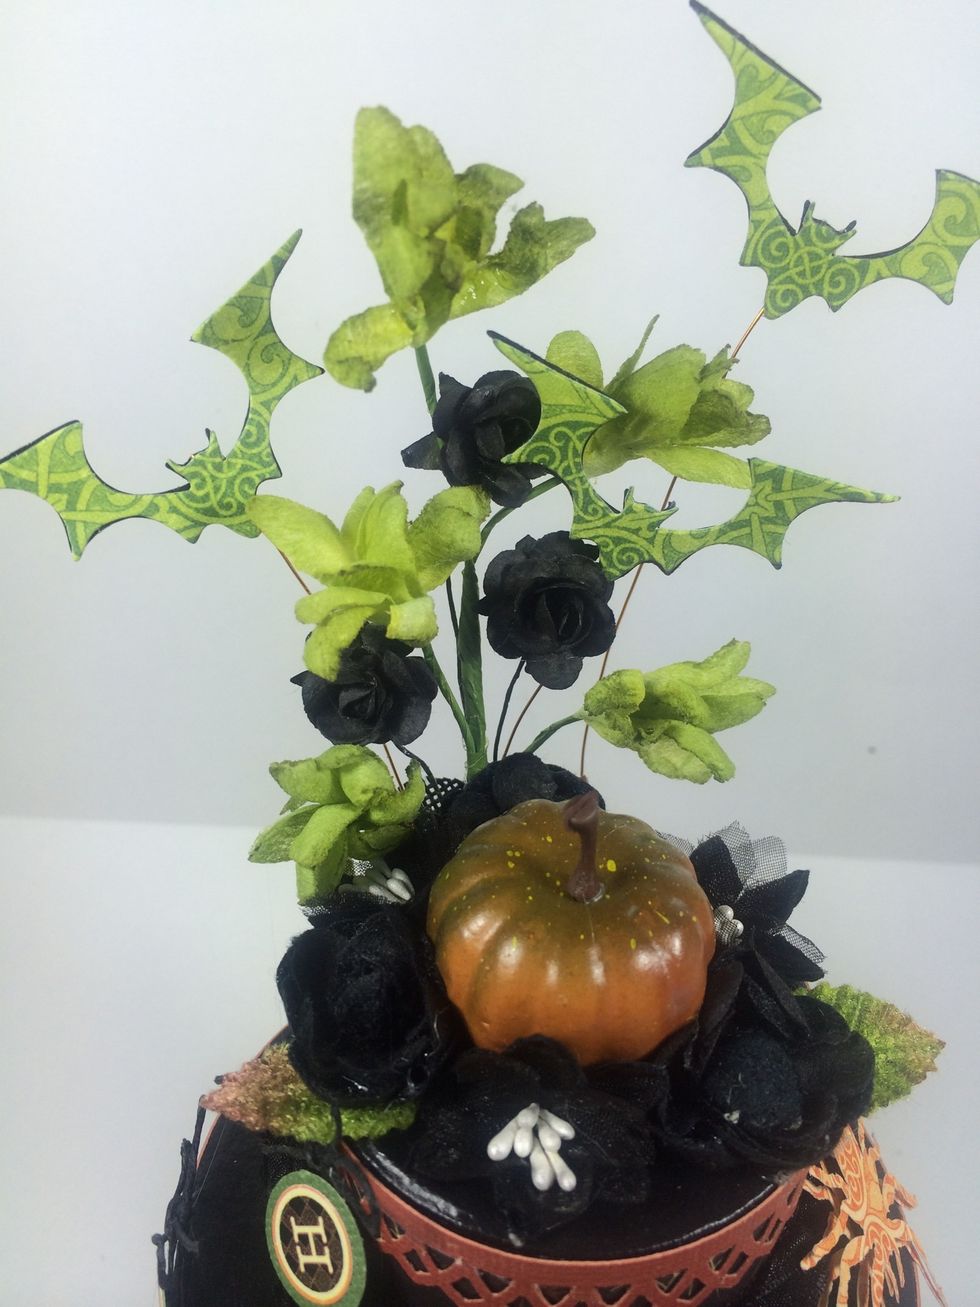
Adhere stemmed flowers behind the top tier of your cake. Then hot glue the bats in place. (Tip: stage them first and cut the wire before adhering). You can cover the glued items with more flowers.
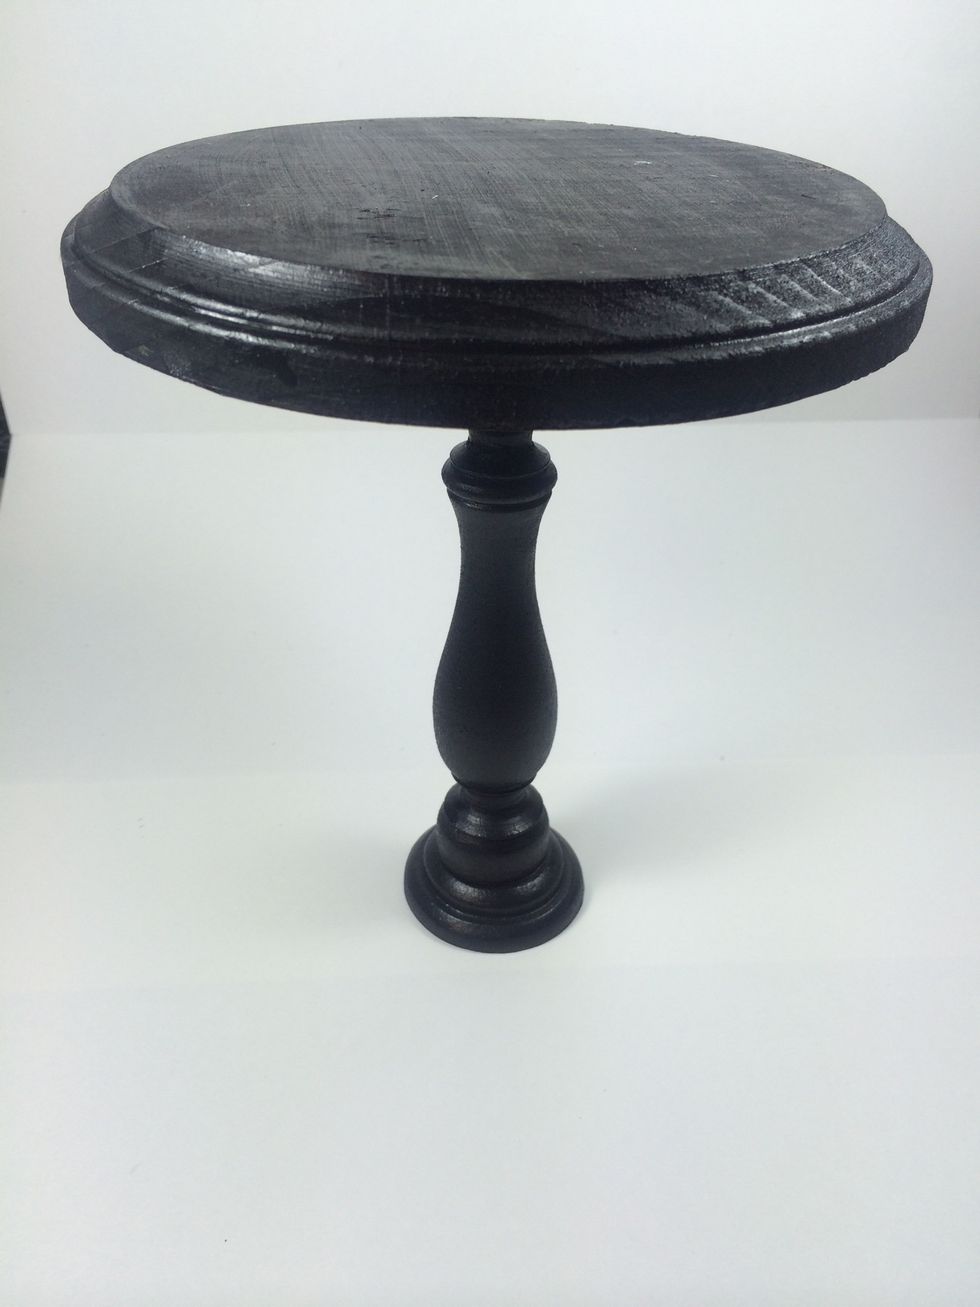
Adhere the round plaque to the candlestick holder using strong wood glue. Let dry to set well. This will be your cake stand.

Cut a doily-shaped piece (or paint a real doily) from green cardstock. I used the Art Philosophy Cricut cartridge to cut this 6" doily. Adhere to cake stand.

Adhere the 3-layer cake to the cake stand with hot glue.

You can dress up the base with ribbons and more flowers if desired. (I did this after I already took this photo)
I hope you'll give this a try. Such a fun and easy project for ANY occasion! For more ideas & inspiration, visit my blog AnnettesCreativeJourney.blogspot.com