The Conversation (0)
Sign Up
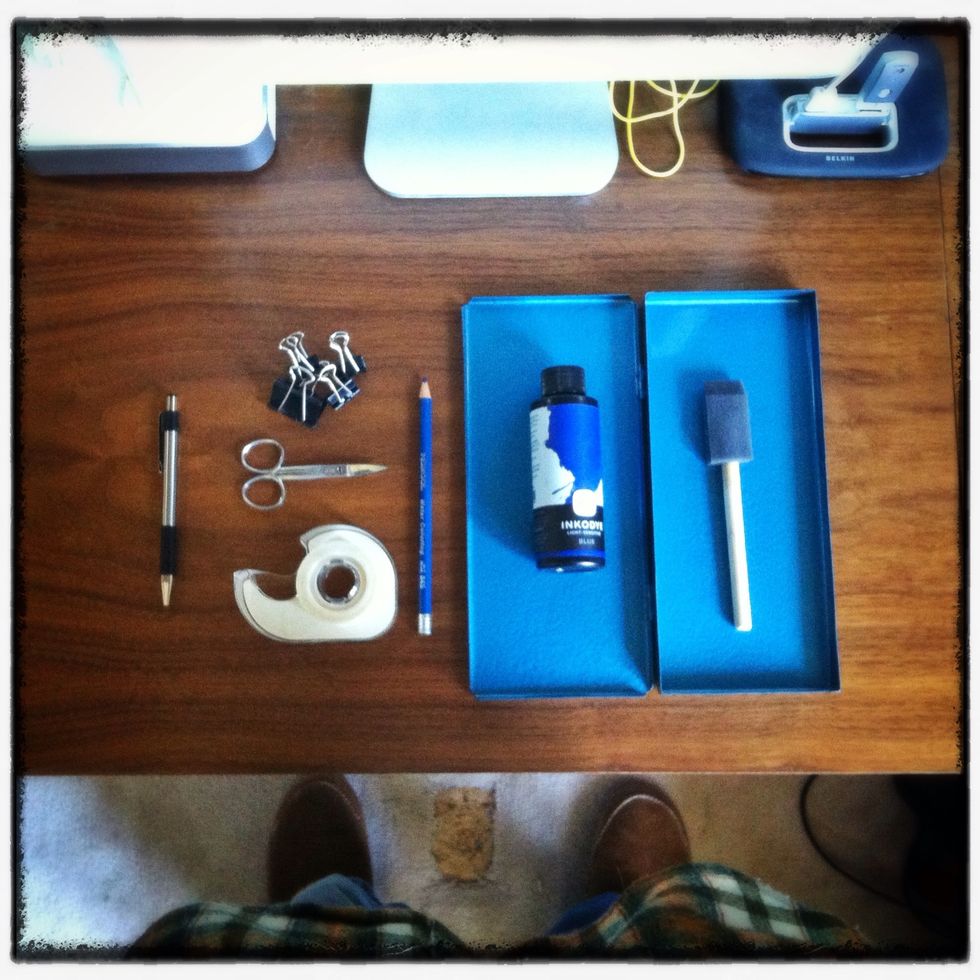
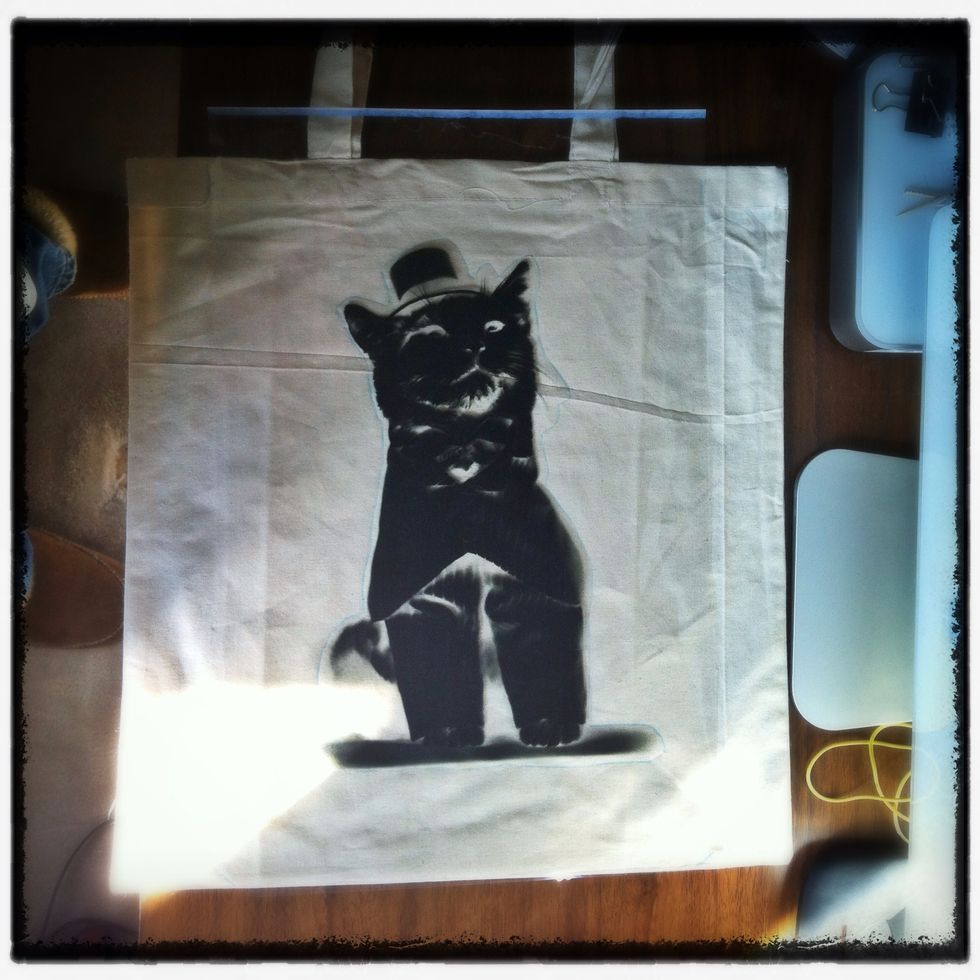
Gather your supplies and find a suitable surface to perform the transmogrification. Depending on the season, it is advisable to adjust your attire. I've donned slippers and wool plaid for Autumn.
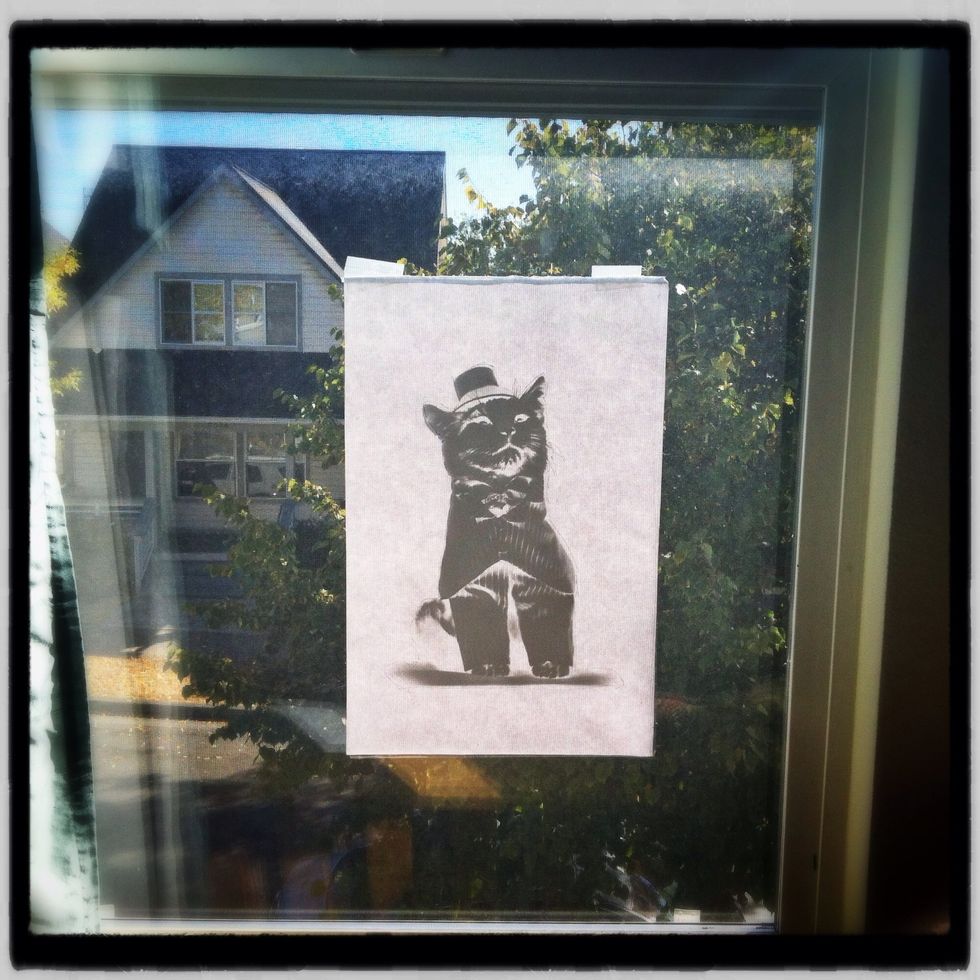
On the back of each INKOFILM transparency is a protective sheet of paper. Tape it to the front and put it on a window. Roughly trace around the image.
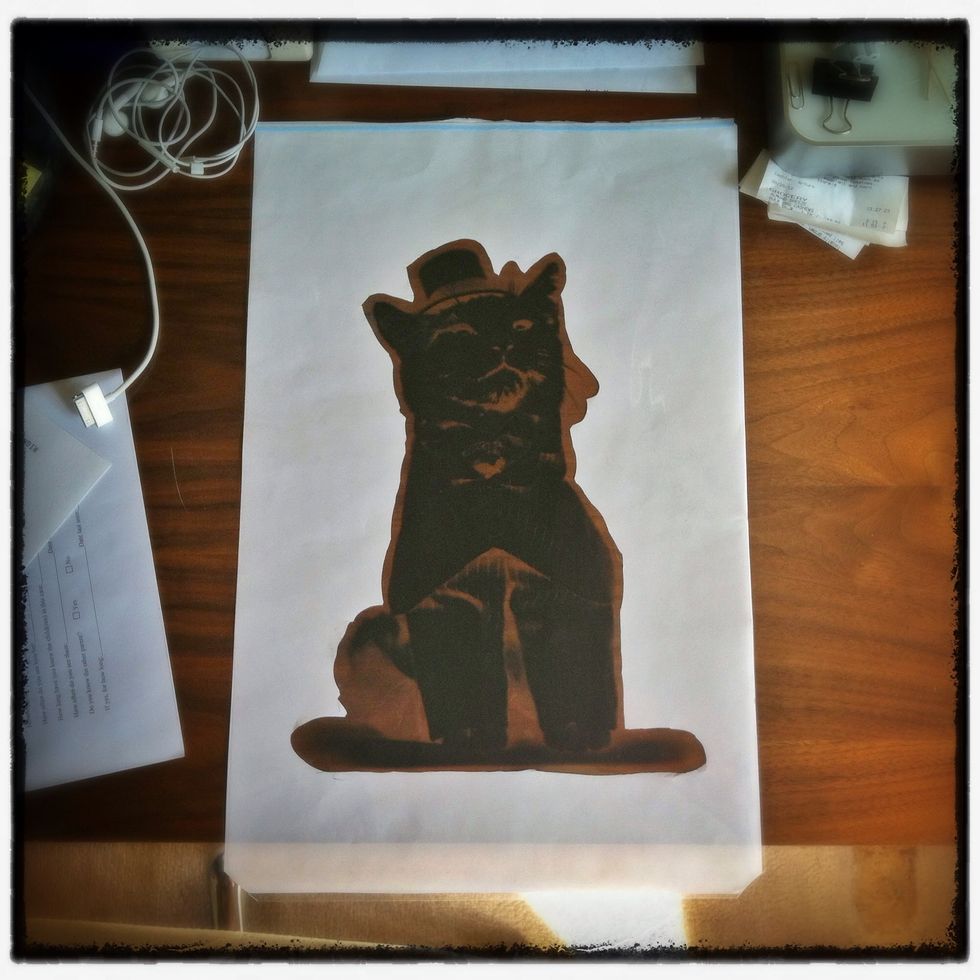
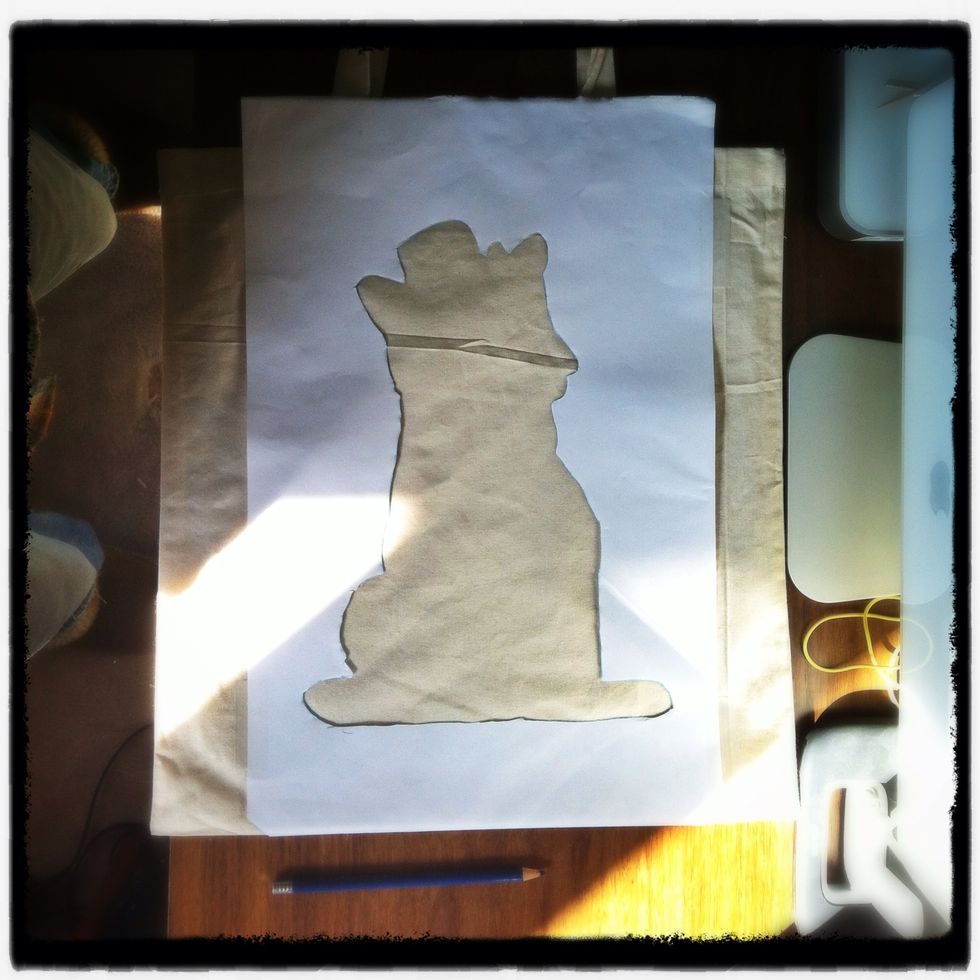
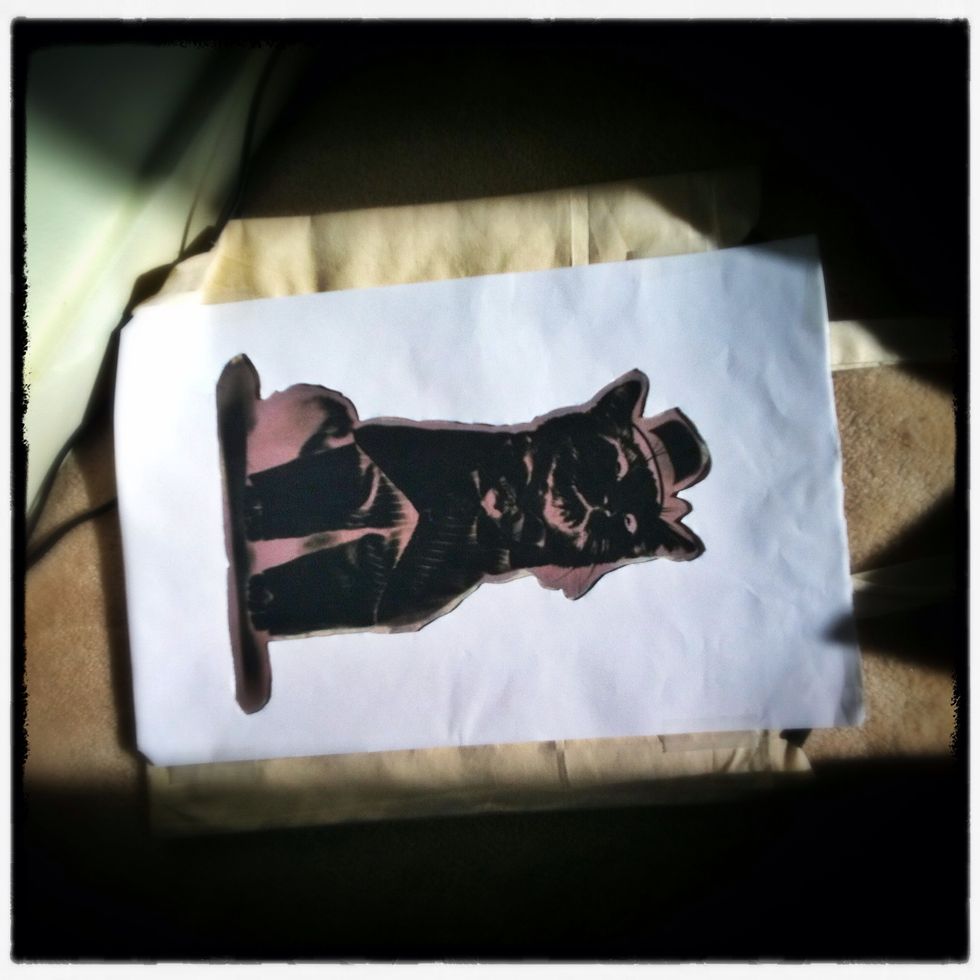
Cut out the shape to make a stencil. This will also be used as a mask during the exposure. Compare it to the negative. Make any adjustments. Register the two sheets by snipping the corners together.
Place the stencil and use a watercolor pencil to draw the shape. This is your guide to paint on the INKODYE. Performing this step helps save precious dye so you can make more and more images.
Compare the negative to the outline and make registration marks. Apply the dye using the outline as a guide. Be sure to evenly saturate inside the line and then lightly brush some around the outside.
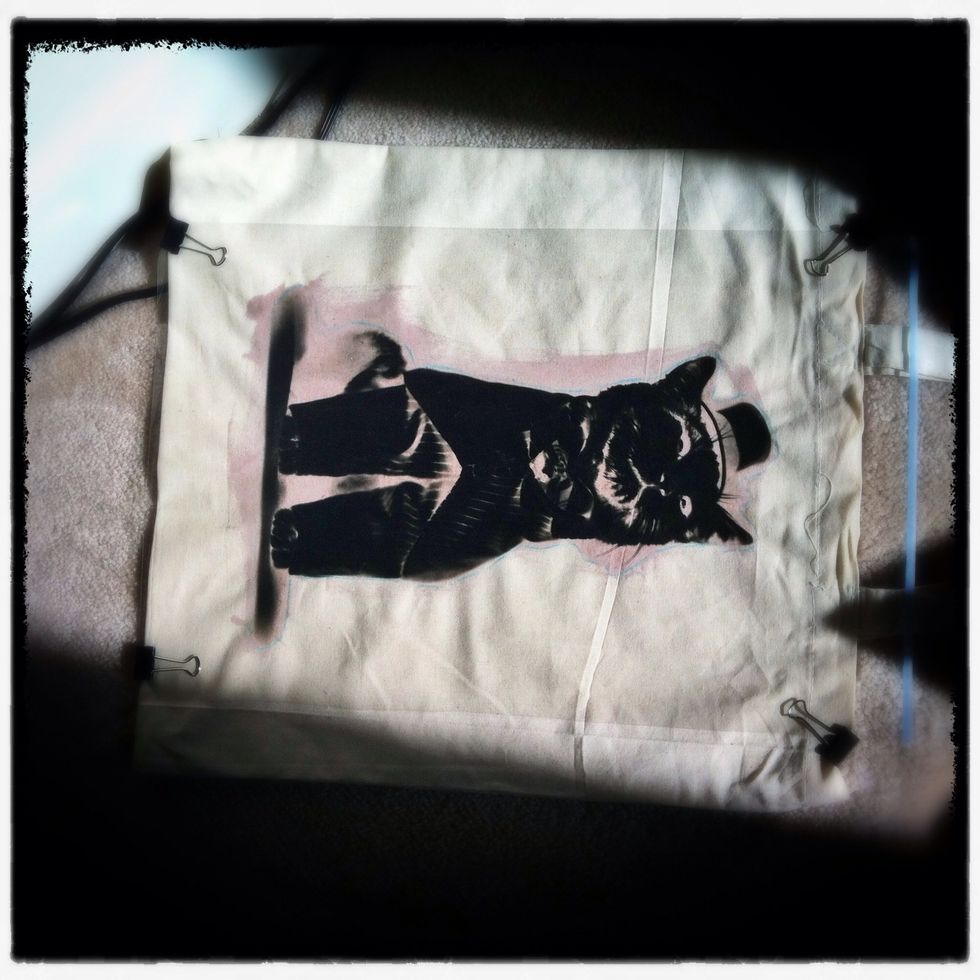
After painting on the dye, clip on the negative and begin the exposure. (Refer to the bottle for specific exposure times. Also, cruise the Lumi website for tips and info.)
After a couple minutes you can place the stencil over the negative to create a border effect by masking the lightly brushed area around the image. Leave the mask in place for the rest of the exposure.
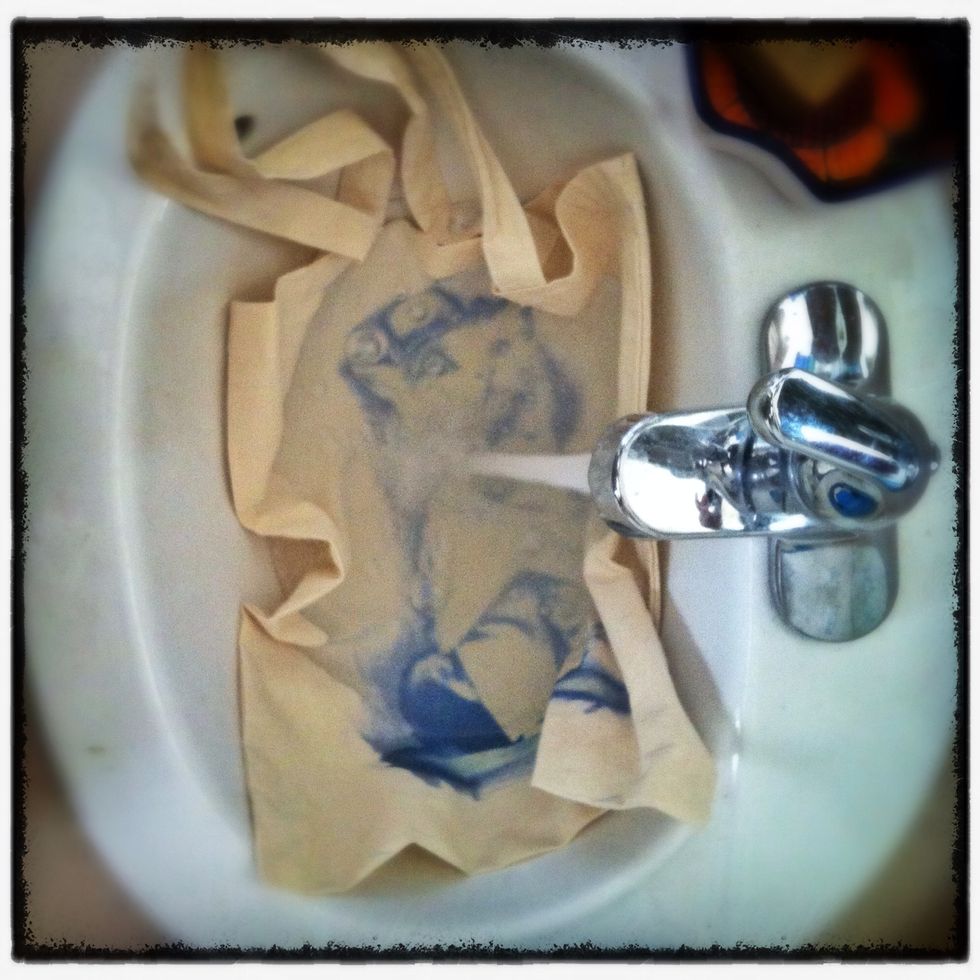
Next, rinse with HOT water and soap for longer than you think you should. Like, TEN freaking minutes! I'm sure there's other ways to do this. The key is to get all the dye out.
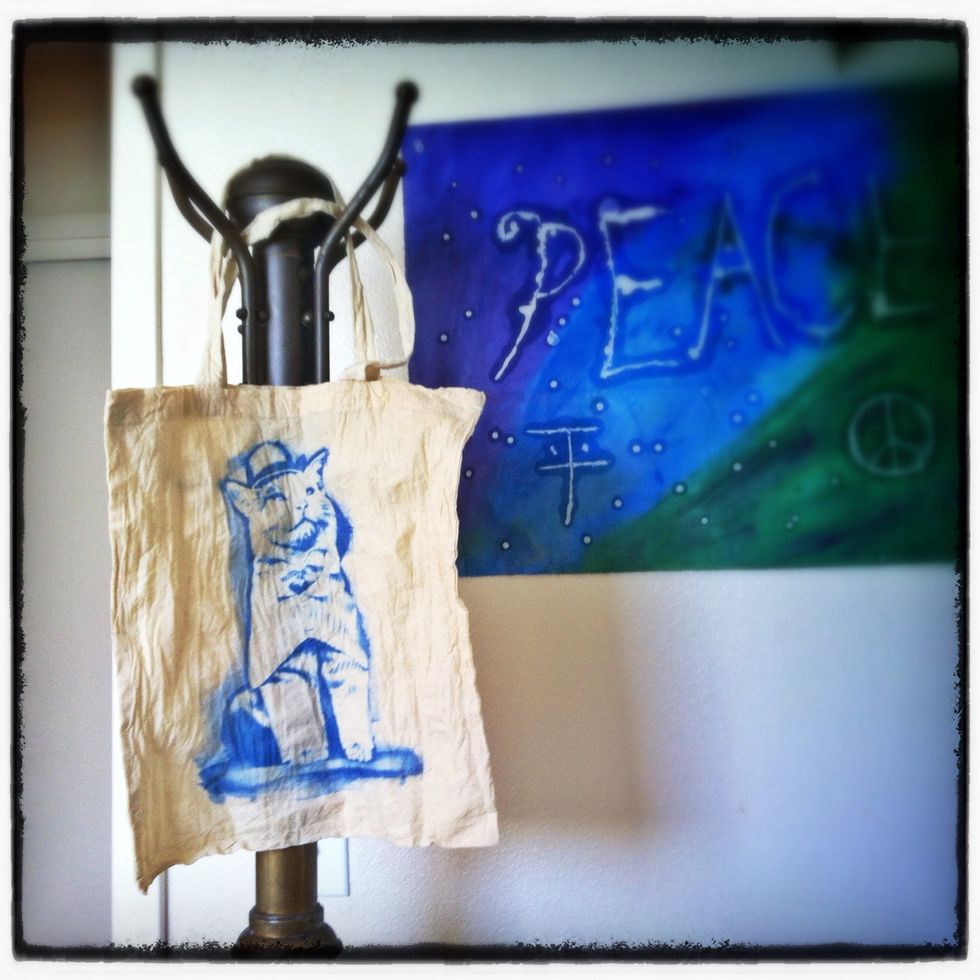
Hang 'er out to dry...