The Conversation (0)
Sign Up
This is a Slip knot used for many things. I use it most for knitting and crocheting. It's an adjustable knot for different sizes, so let's get started!
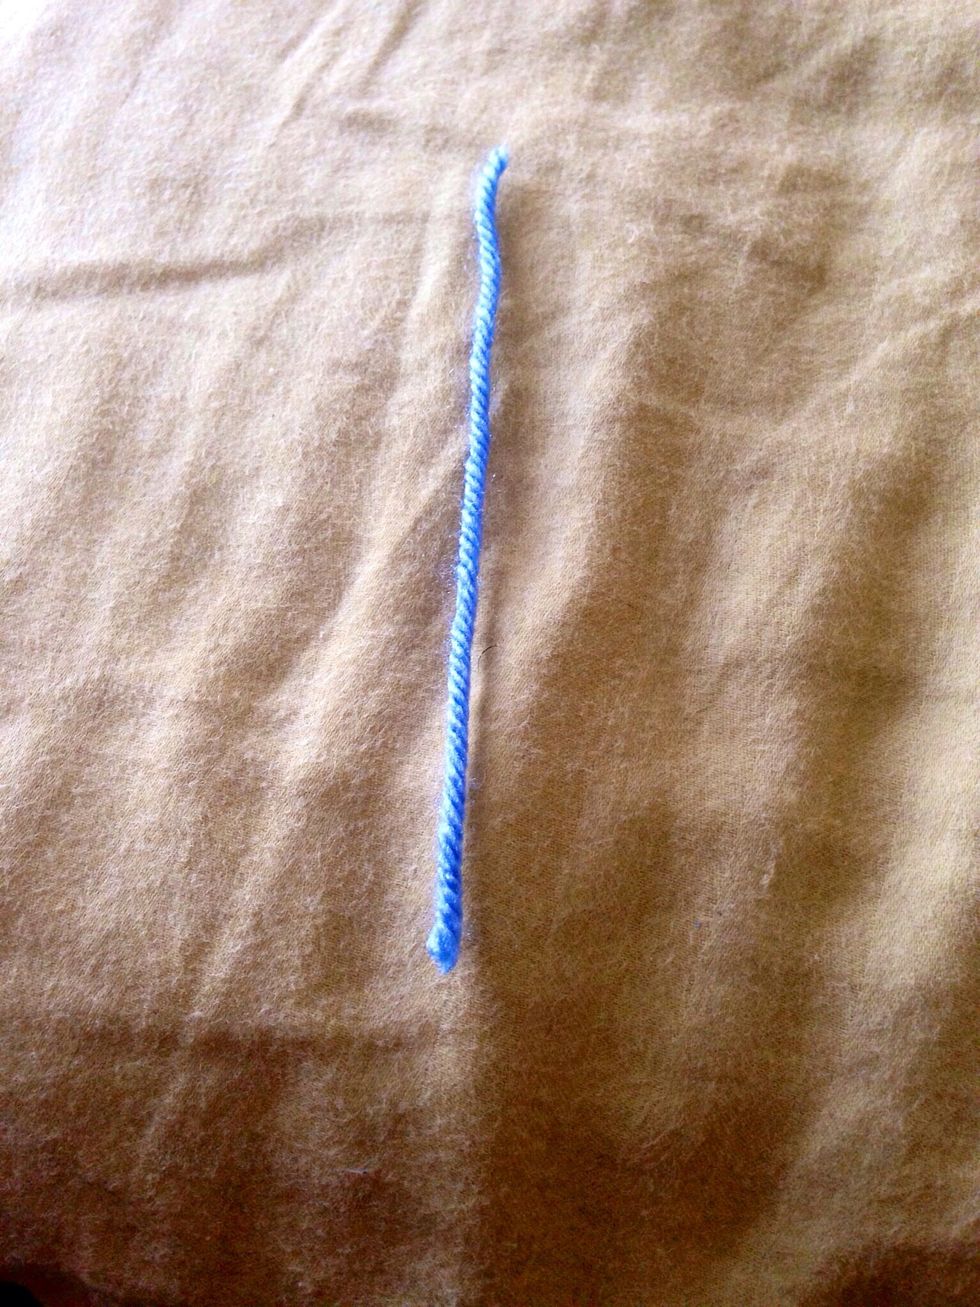
Grab your yarn. I'm using a small piece of yarn for the guide, but you can use yarn that is still connected to the yarn ball.
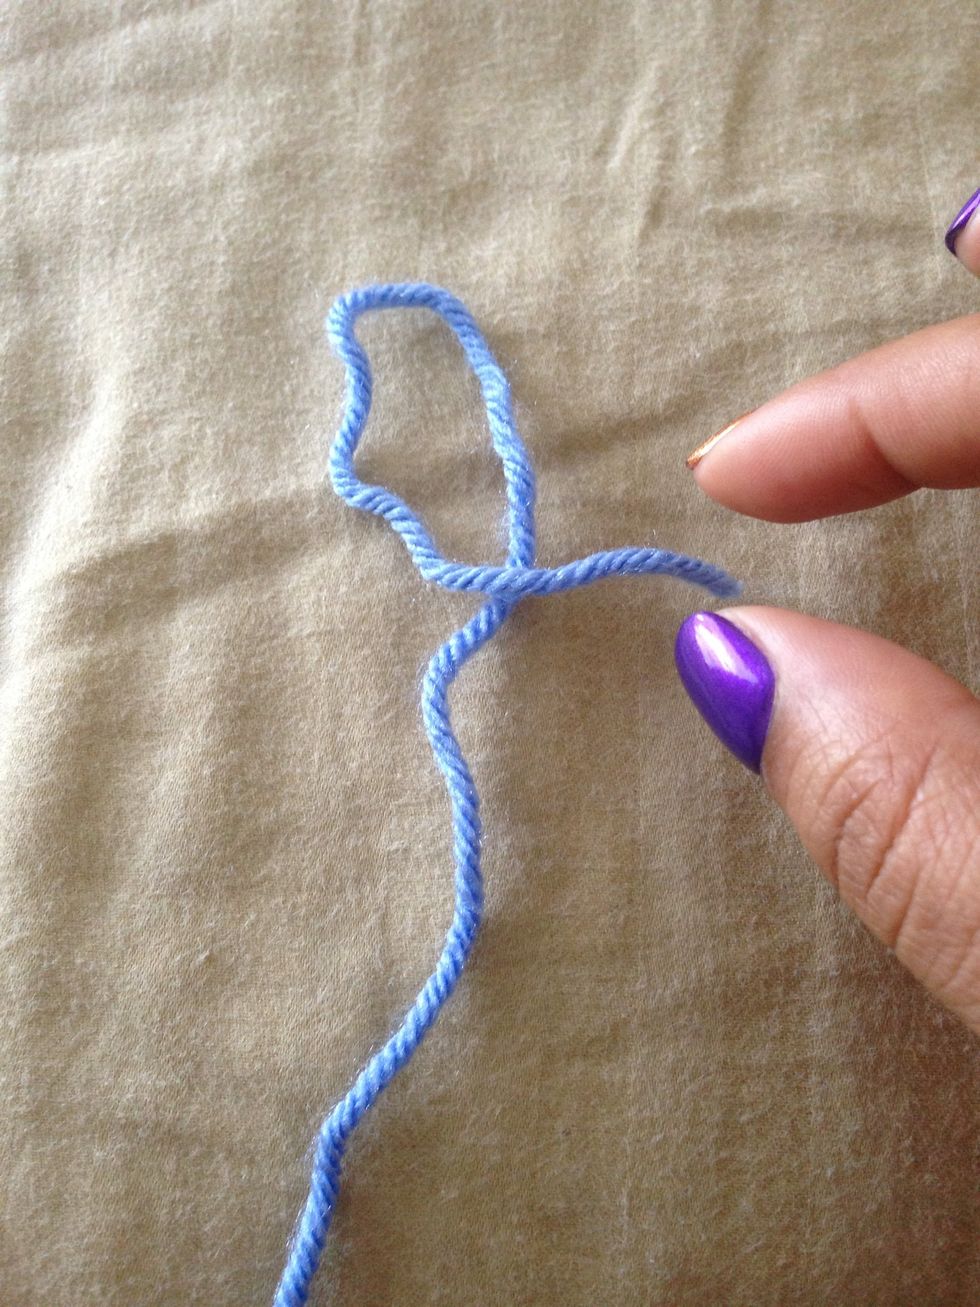
Take your yarn and fold one end of the yarn over the front and leave it there. Ready for the next step?
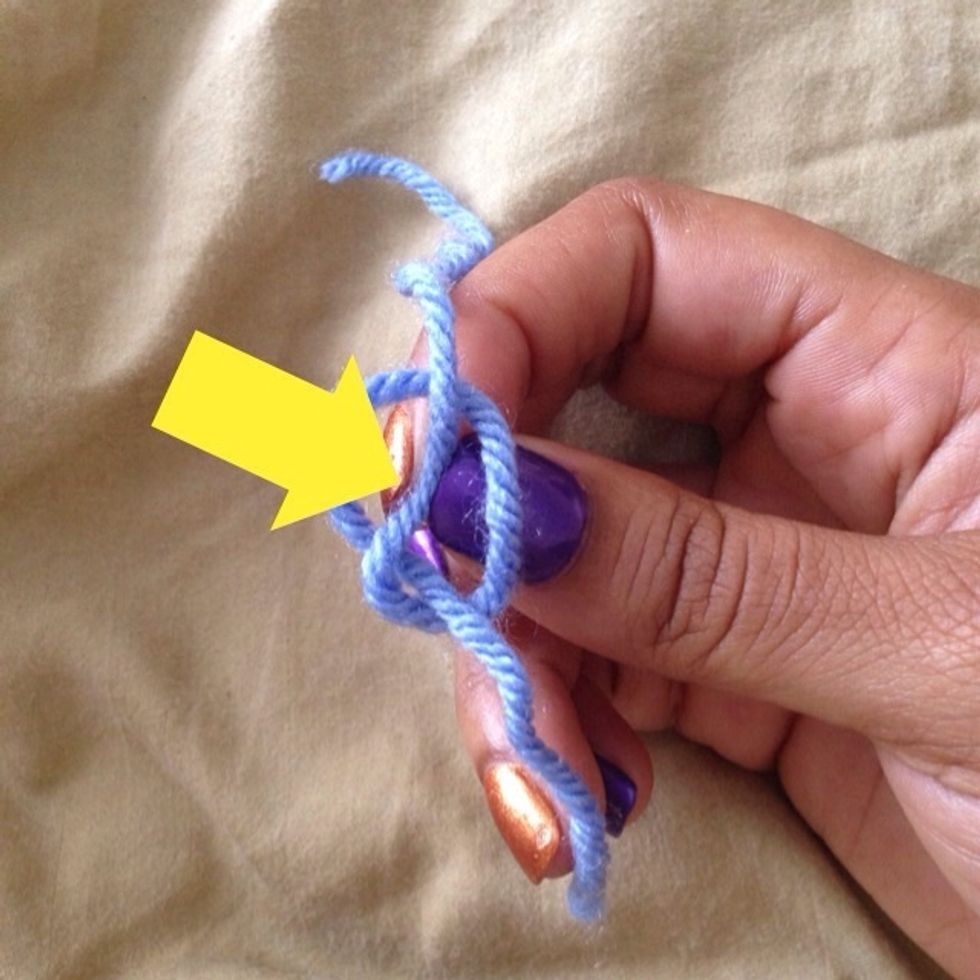
Pull your long tail or the connected end of your yarn and pull through the loop. You're almost done! Next pic!
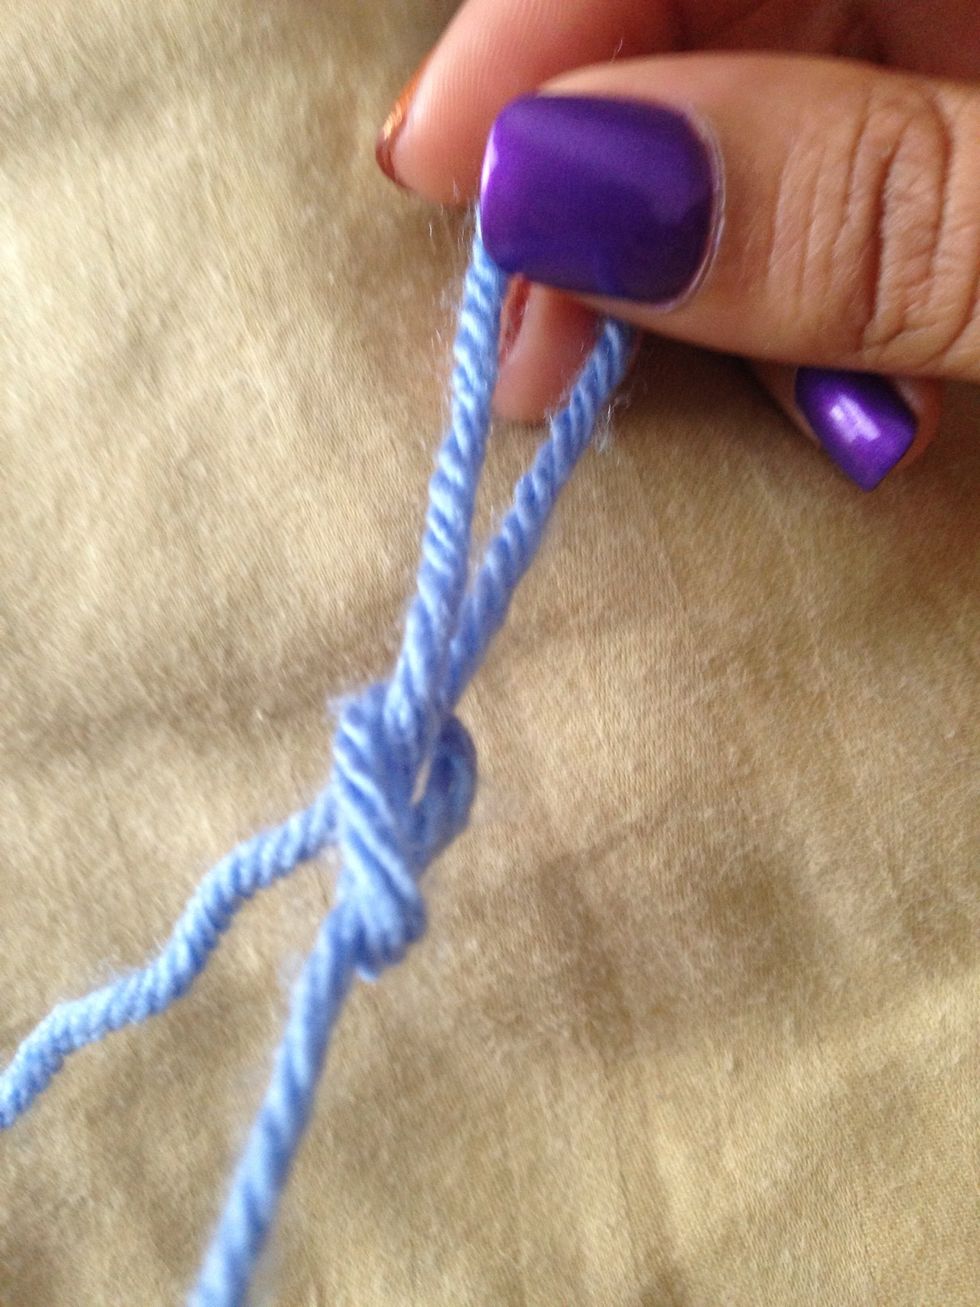
Pull the tail and the loop until your knot is created. Voila! You have just created a slip knot! Congrats!👍👏👏👏👍