The Conversation (0)
Sign Up

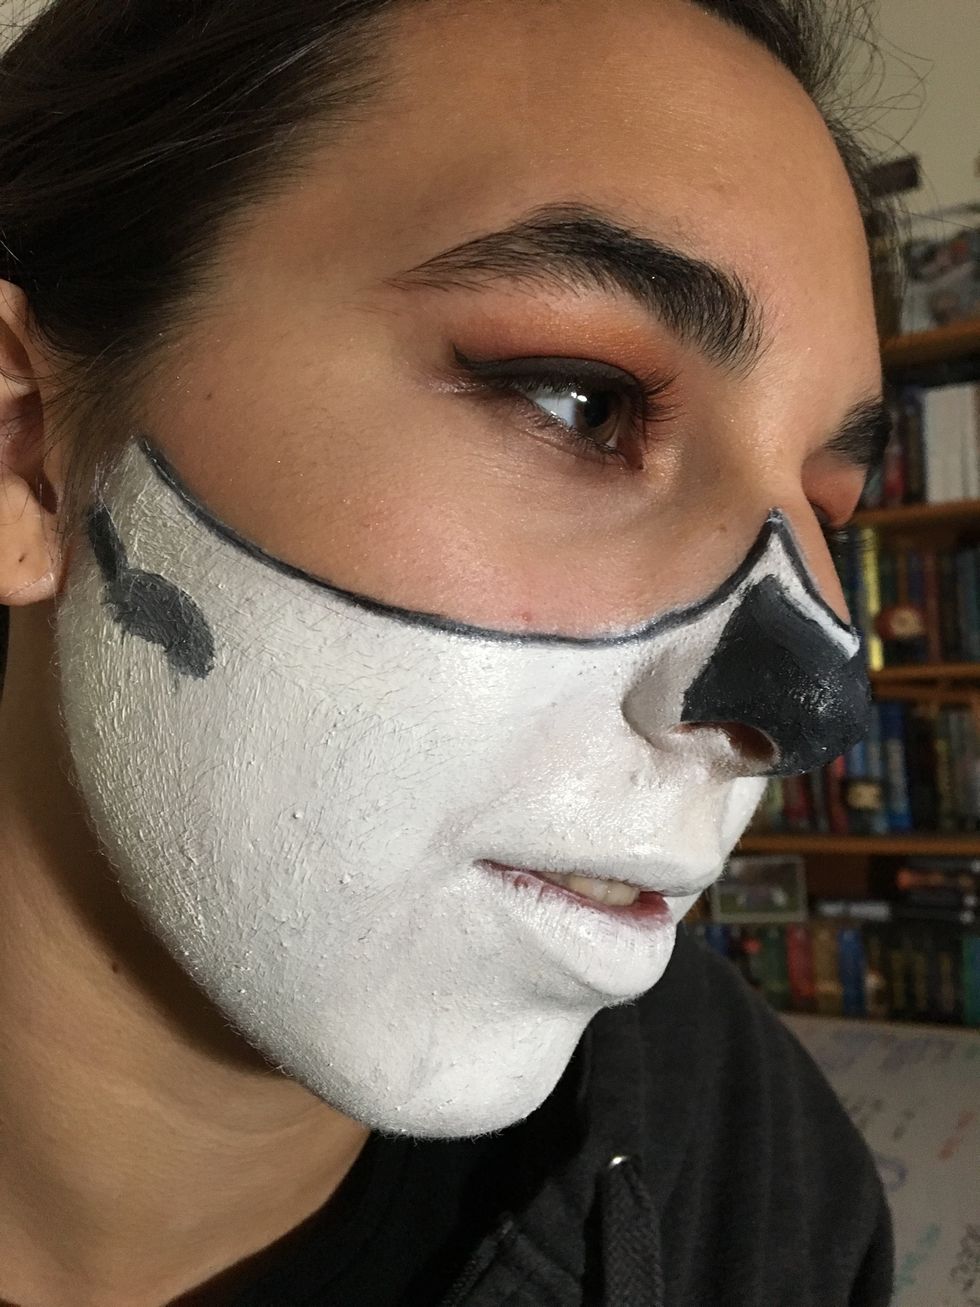
Firstly, paint a white line under the cheek bone gradually curving down, than back up meeting with the upper crease of the nose. Additionally connect the previous line to the side bridge of the nose.
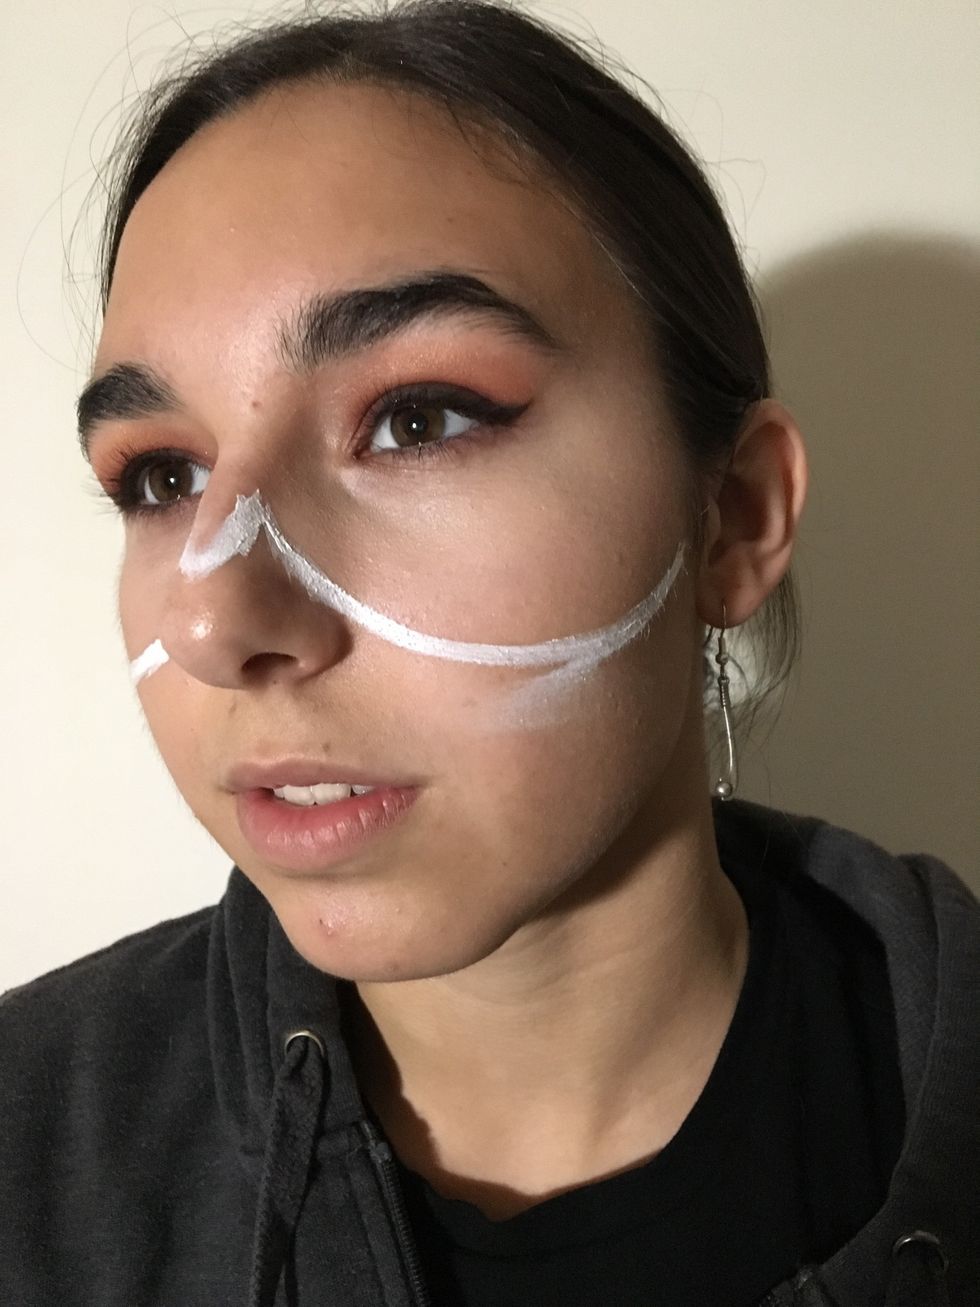
Continually, start from the previous line, adding a thumb nails length stroke downward ending in the middle of the nose. Repeat last steps on the other side of the face to create a symmetrical design.

Next, fill in underneath the lines previously drawn while stopping just under the jaw.
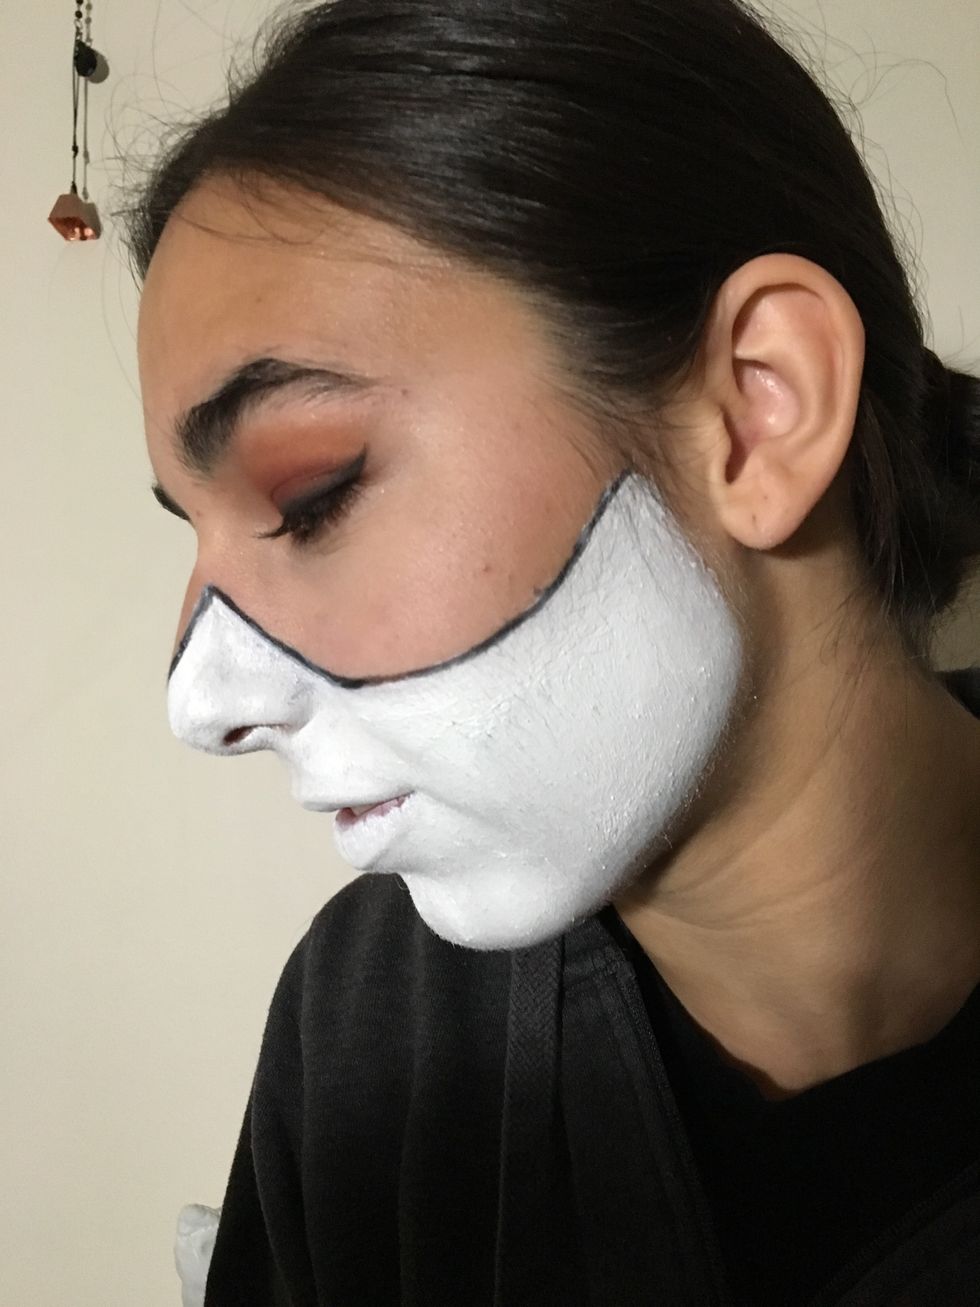
Furthermore, trace the top outer edge of the white area with black paint. One may use a fine tip brush if it is wanted.
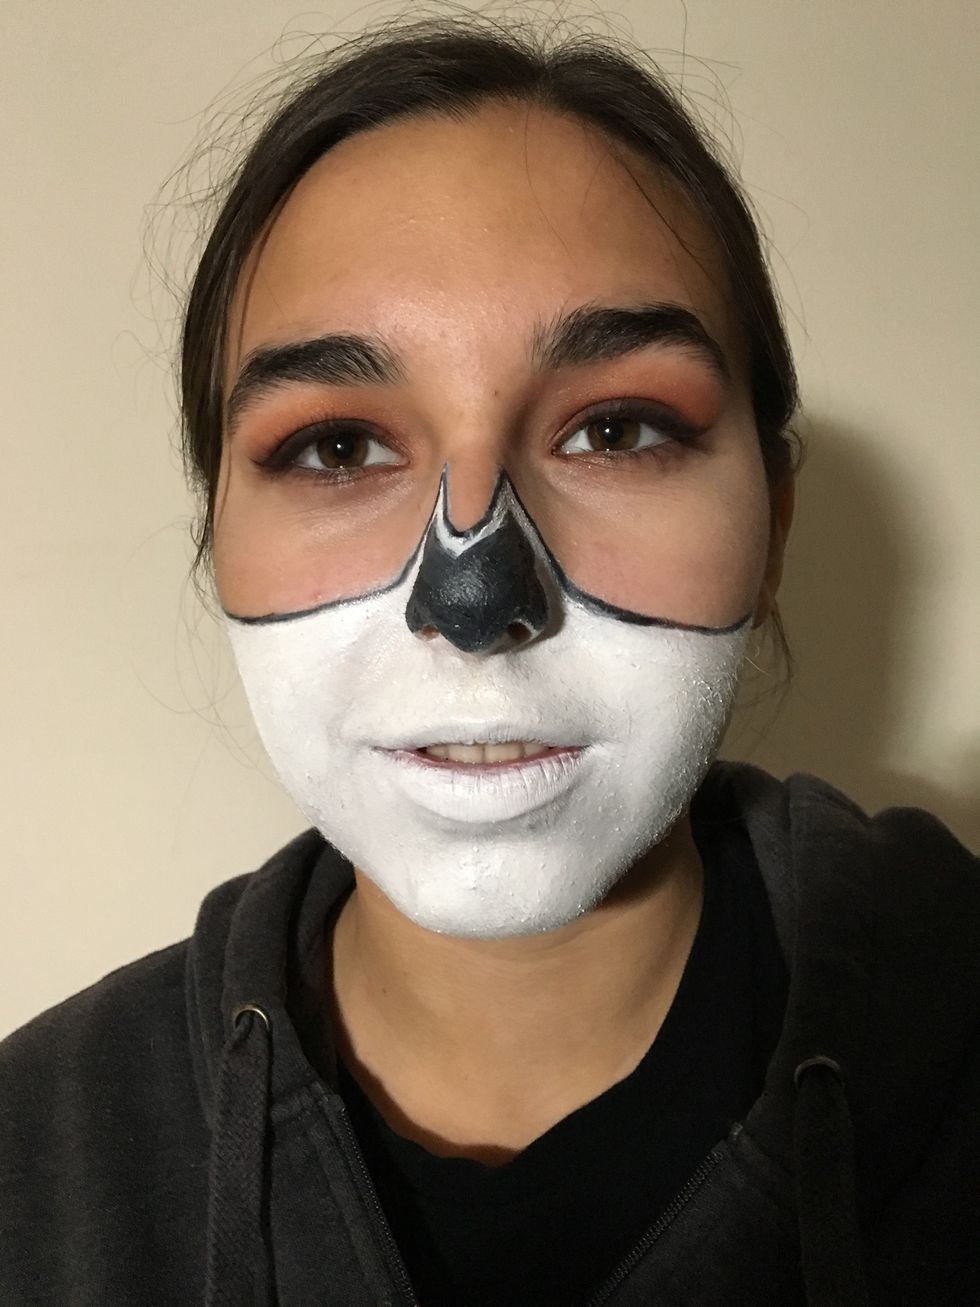
Moreover using black paint and a fine tipped brush, fill in from the nose creases to the centre of the nose. Leave a small space between the outer black line from the last step and this step.
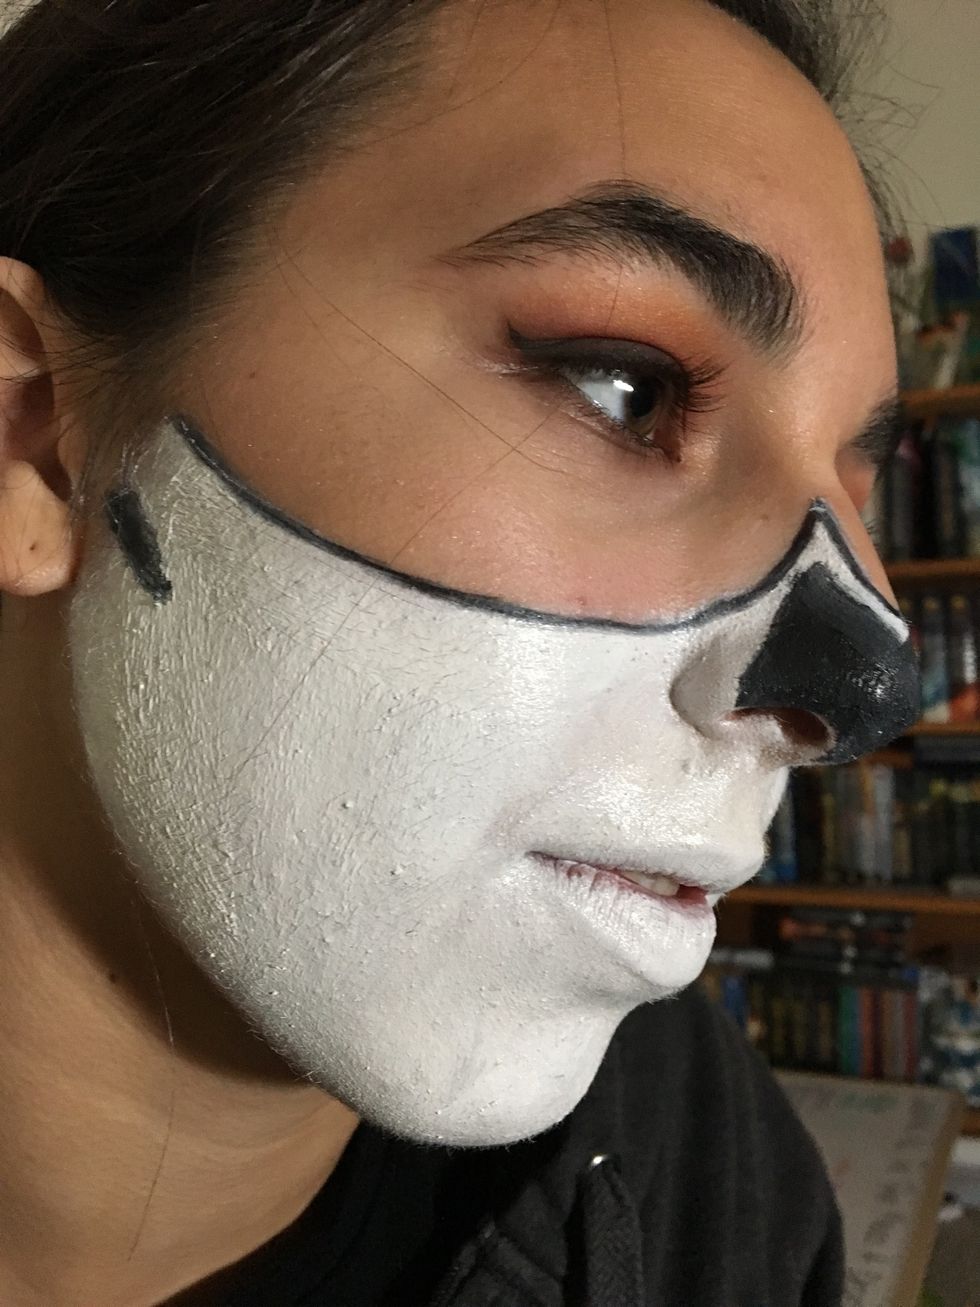
Furthermore the following steps will all be using black until otherwise instructed. Paint a thumbnails length line in the hollow of the cheek.
Following the last step, add a small thumbnail length curve towards the cheekbone.

Adding to the last curve, paint a slight dip toward the jaw, then curve up ending just above the corner of the lip. The full three curves should follow the general anatomy of the cheek bone.

Next, paint from the bottom corner of the lip down and slightly away from the centre of the chin. Than on the same line, paint a small curve that runs horizontally to the jaw bone.
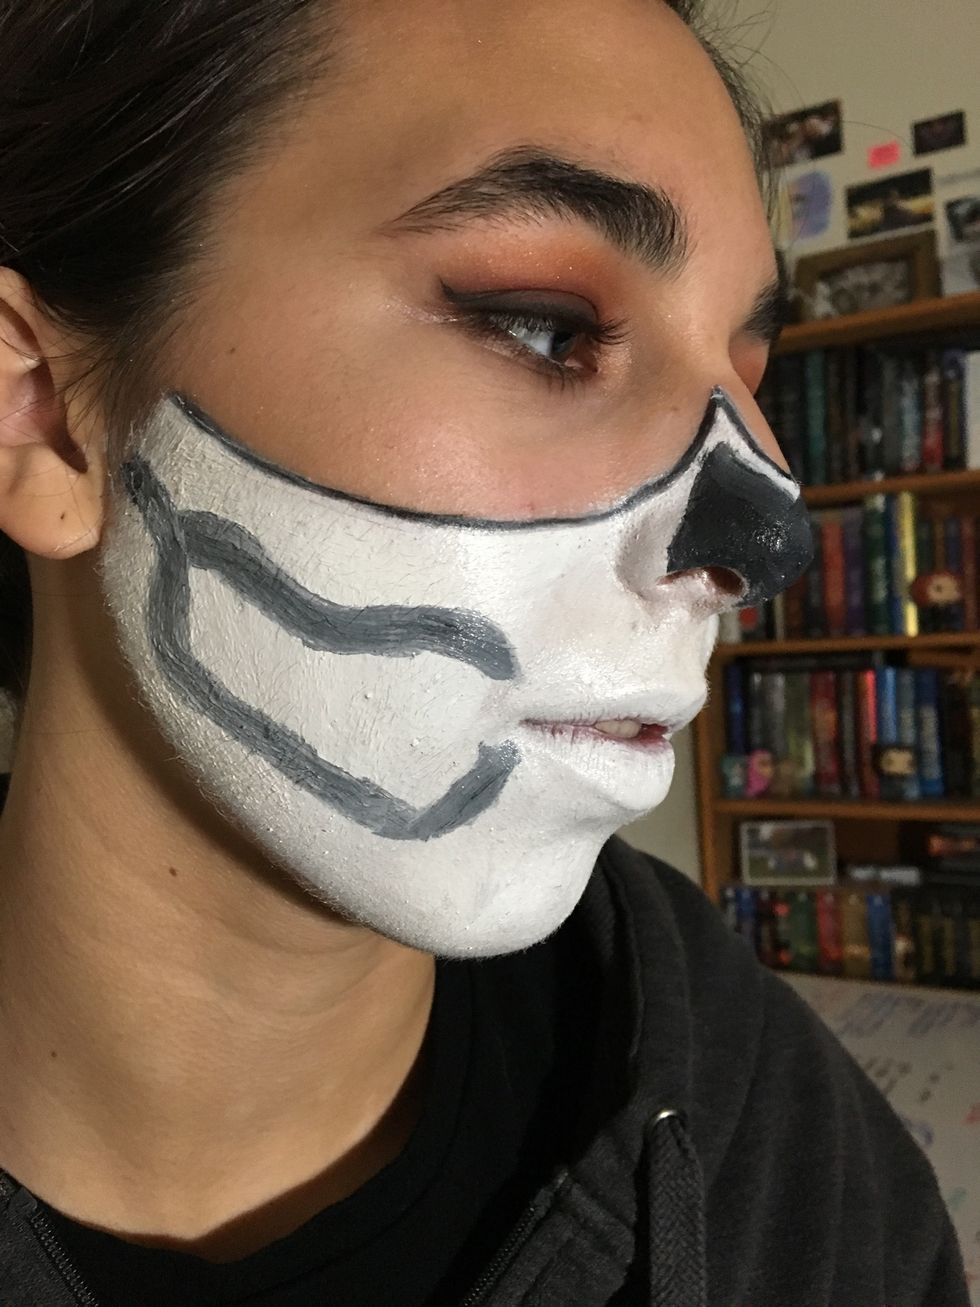
Following that, lengthen the horizontal line until it vertically meets the first stroke drawn in the hollow of the cheek. Than connect the horizontal and vertical lines together.
Furthermore fill in the outlines previously draw on the cheek with black.

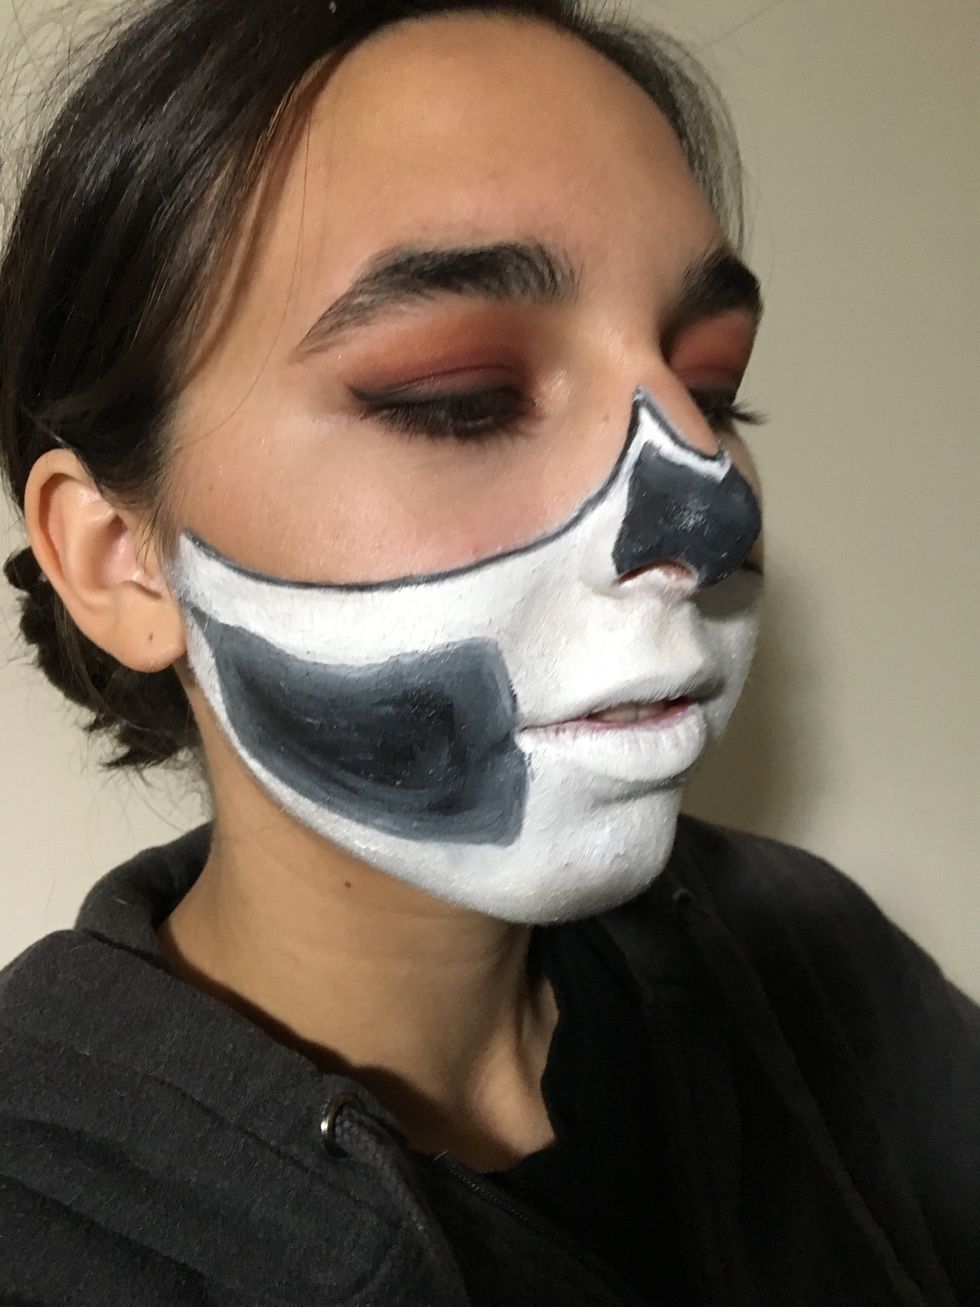
Next you may use a fine tipped brush. Paint a black line in the middle of the lip starting just under the nose, and ending just after the crease under the bottom lip.

To continue, paint three equally spaced lines on both sides of the lips middle. The lines should get shorter the farther from the centre they are.

To begin the white teeth, draw an upside down diamond shape over the black, close to your upper lip. Mimic what your teeth look like size wise, and add two more slightly smaller ones beside the first.

Lastly for the teeth, paint four diamond shapes in a slight upward curving line. The first one will start underneath and between the first two top teeth.

Finally after 15 steps you're done and ready to rock your new look for Halloween!