The Conversation (0)
Sign Up
Light boxes can be expensive and most photographers just starting can't afford one. This guide was made to encourage those beginners to be creative using what the have to get what they want. :)
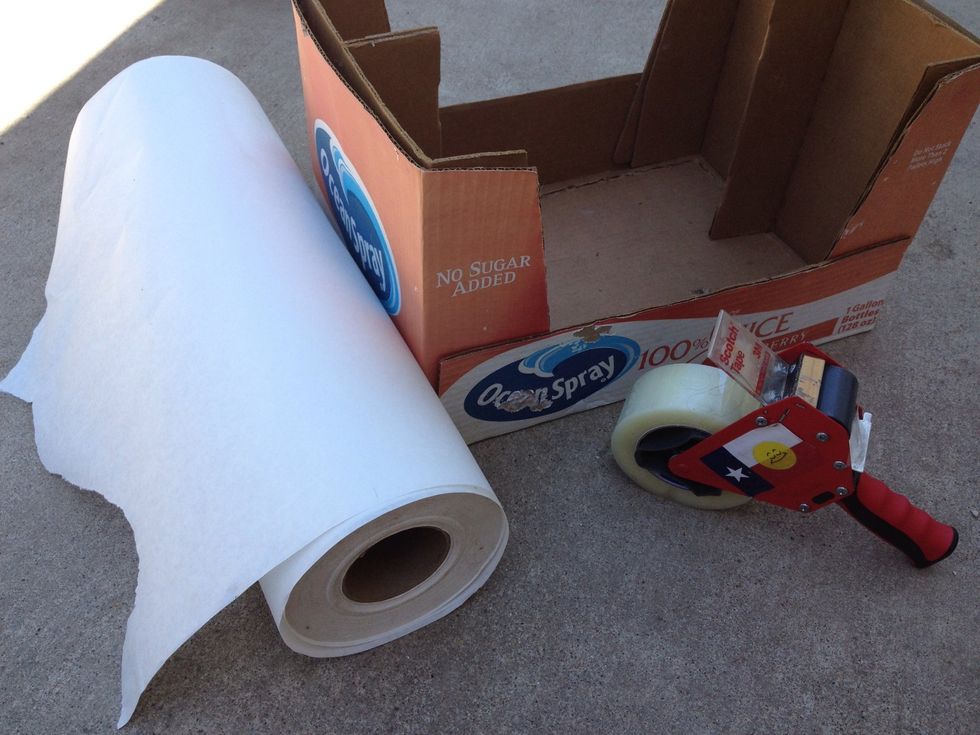
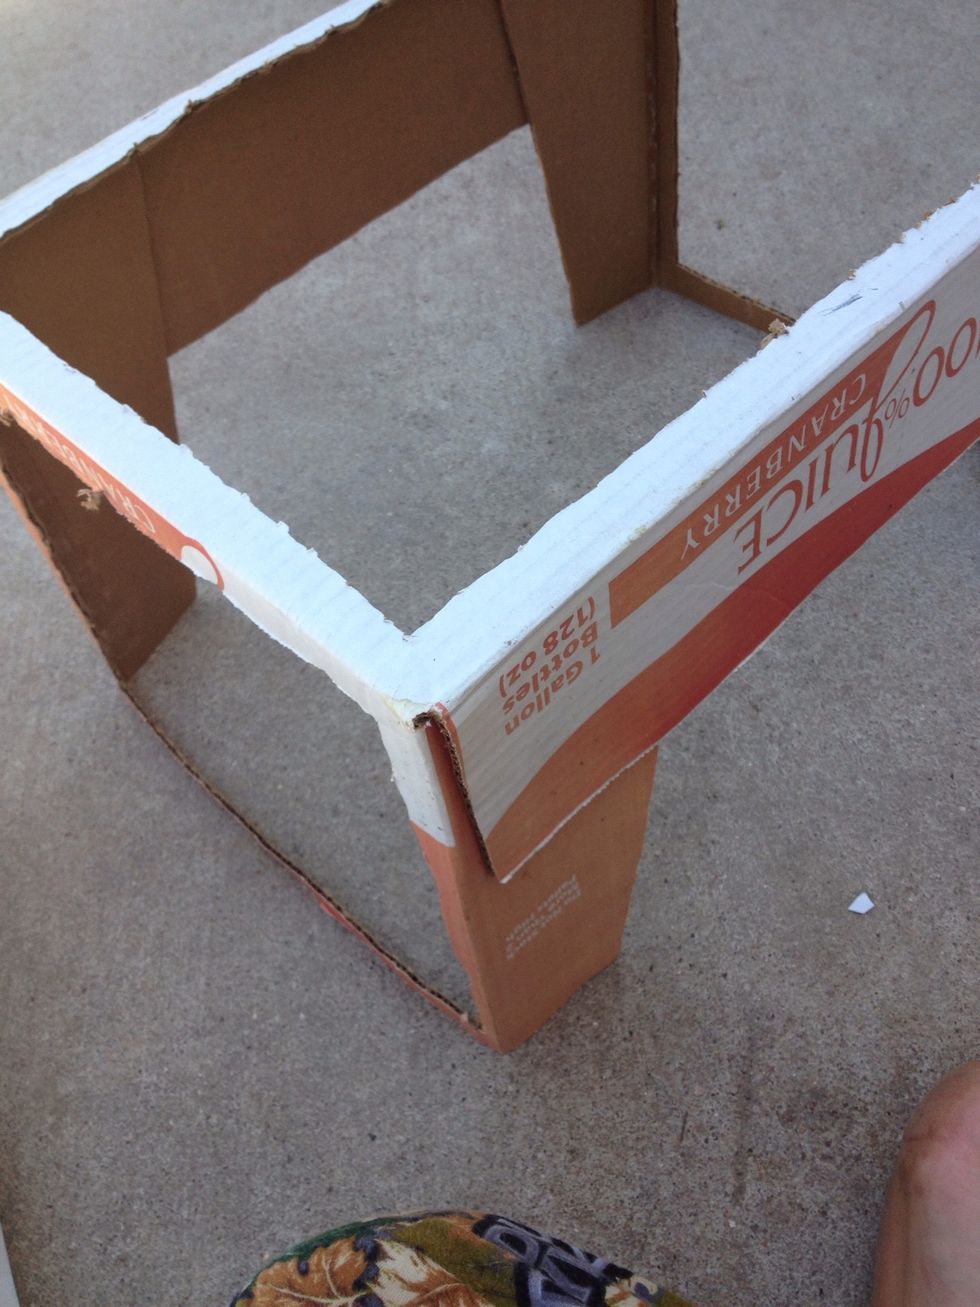
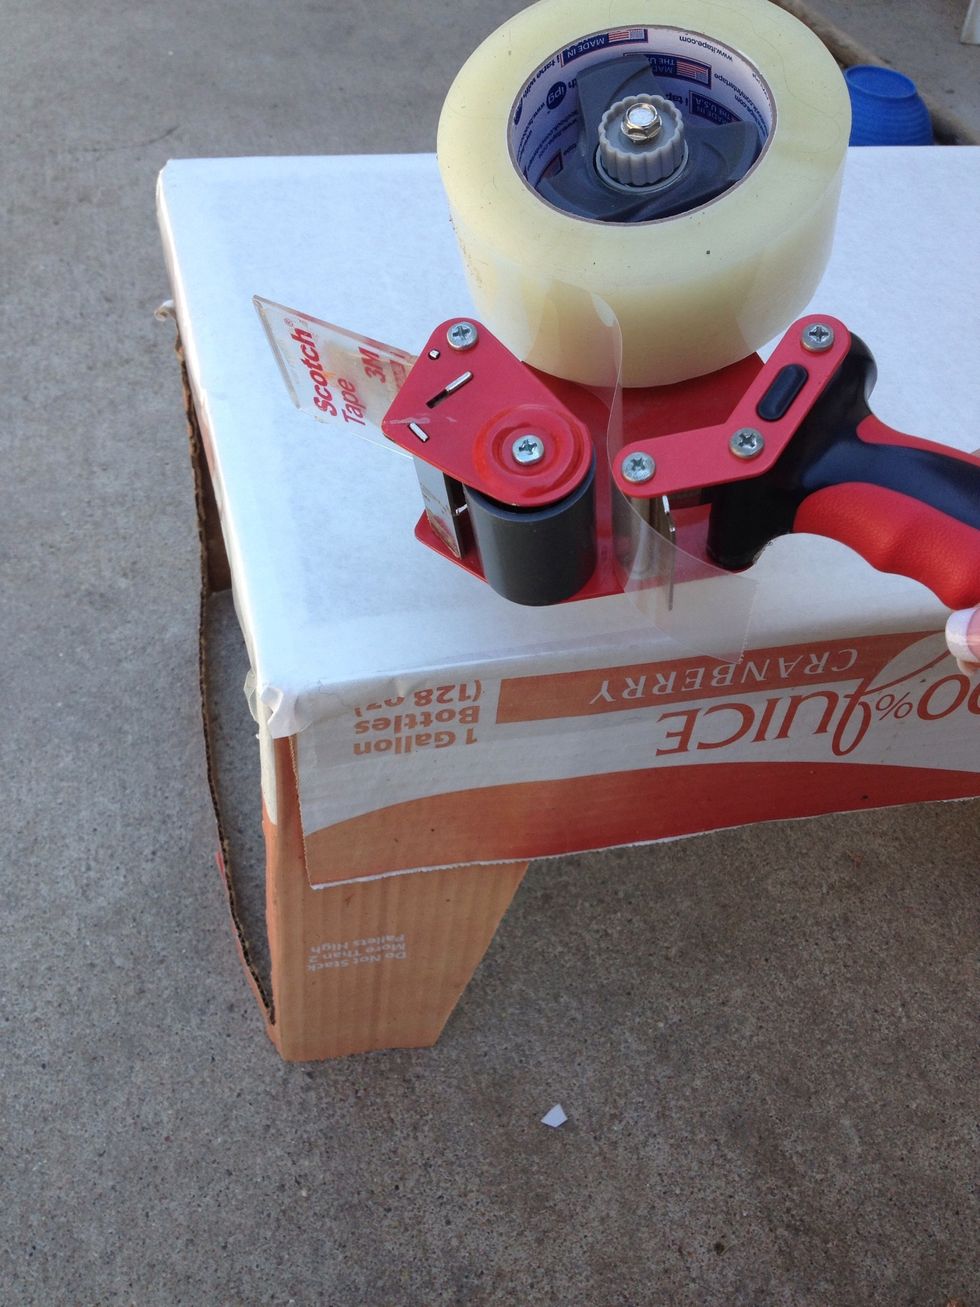
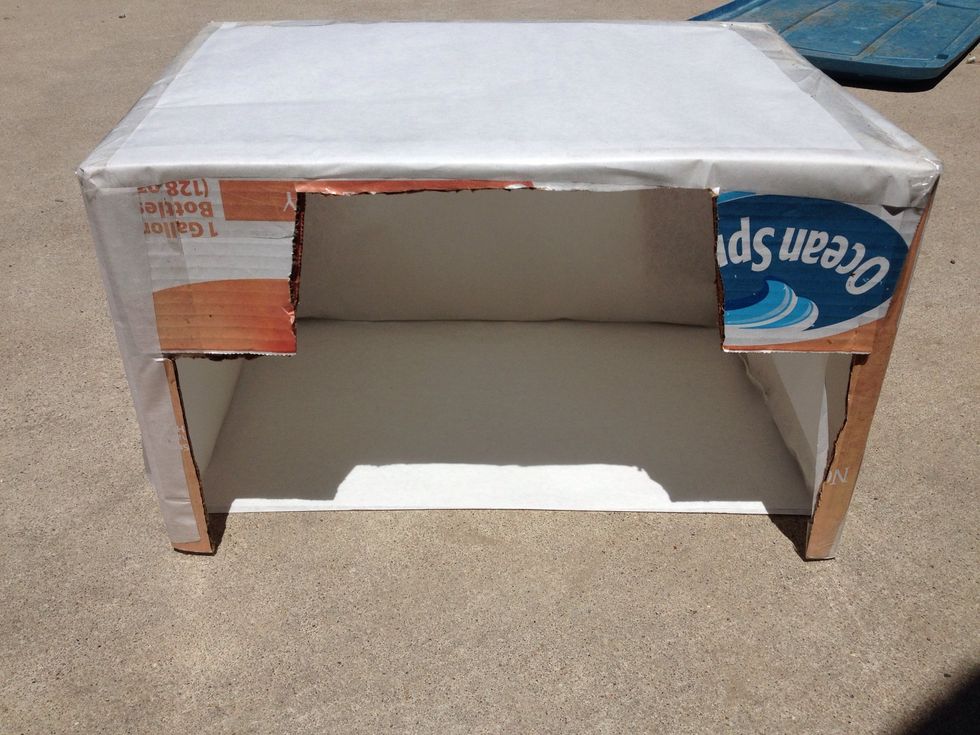
Gather your supplies. I used an old faded juice box I got from Sam's Club.
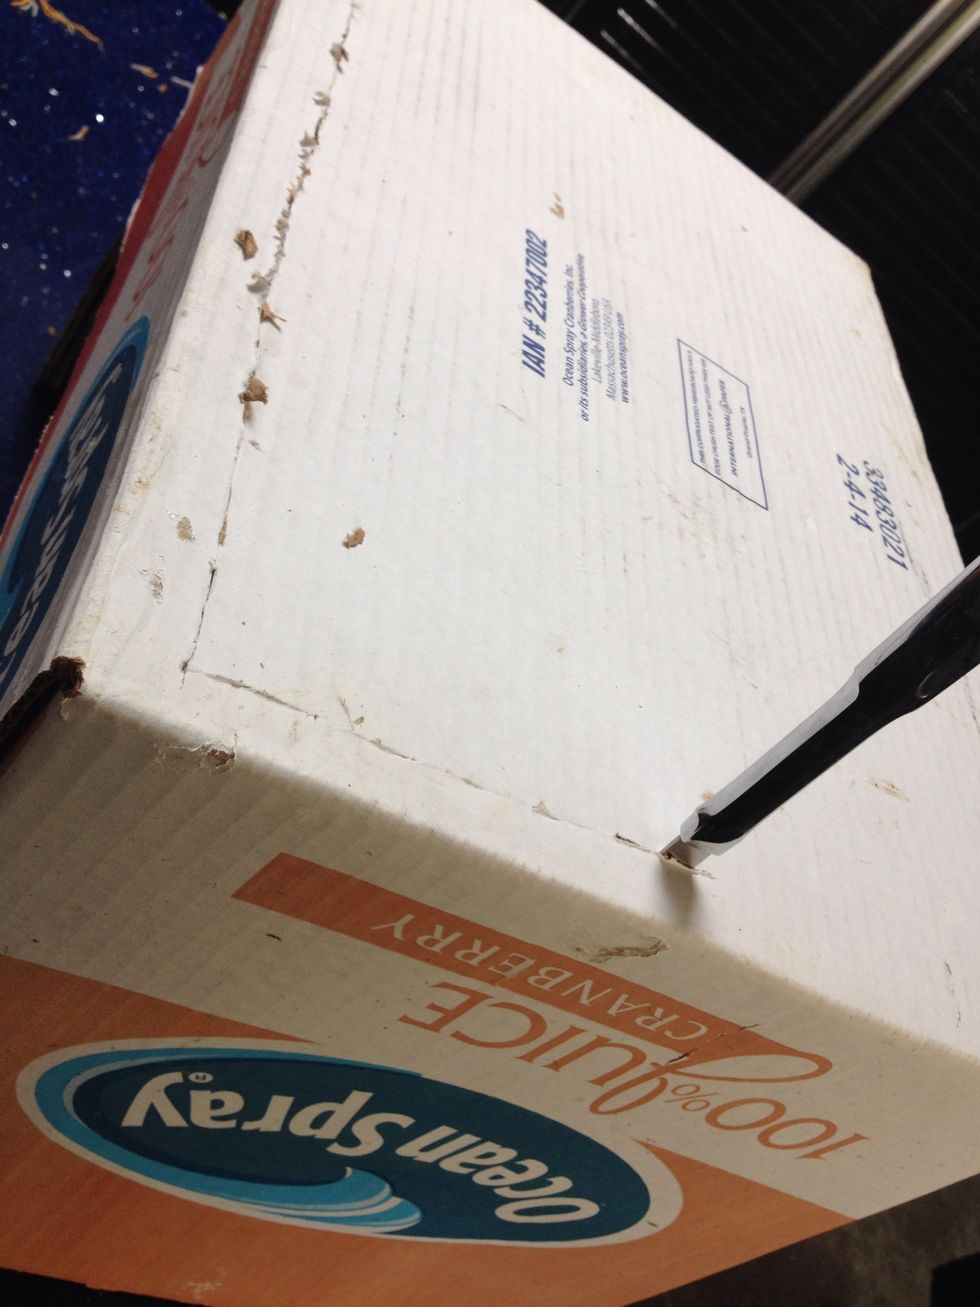
Cut out the bottom of the box, leaving a one inch frame.
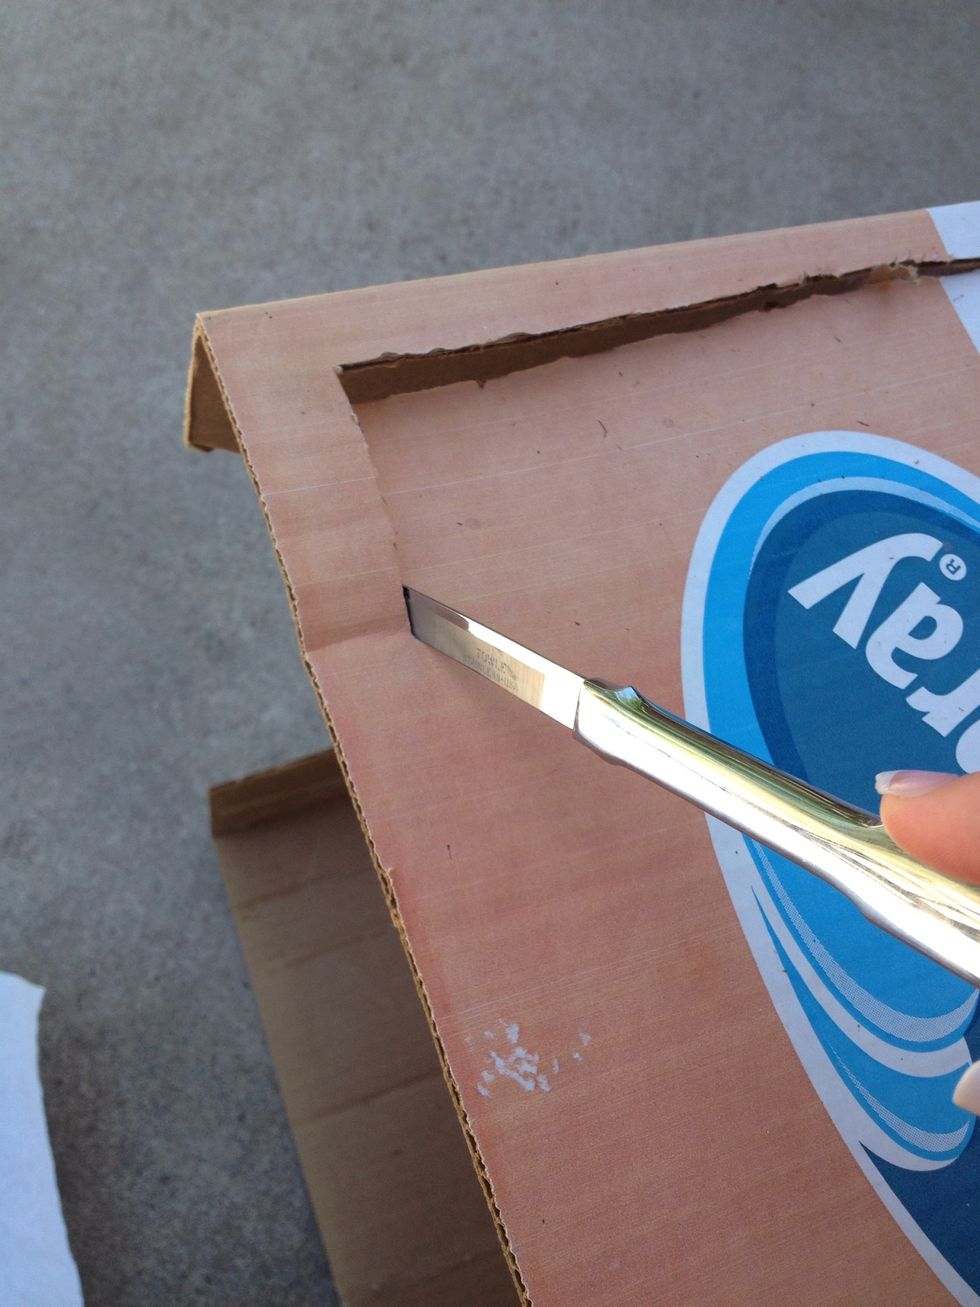
Top cut out all the way! Make SURE you leave a frame for your tape to hold on to.
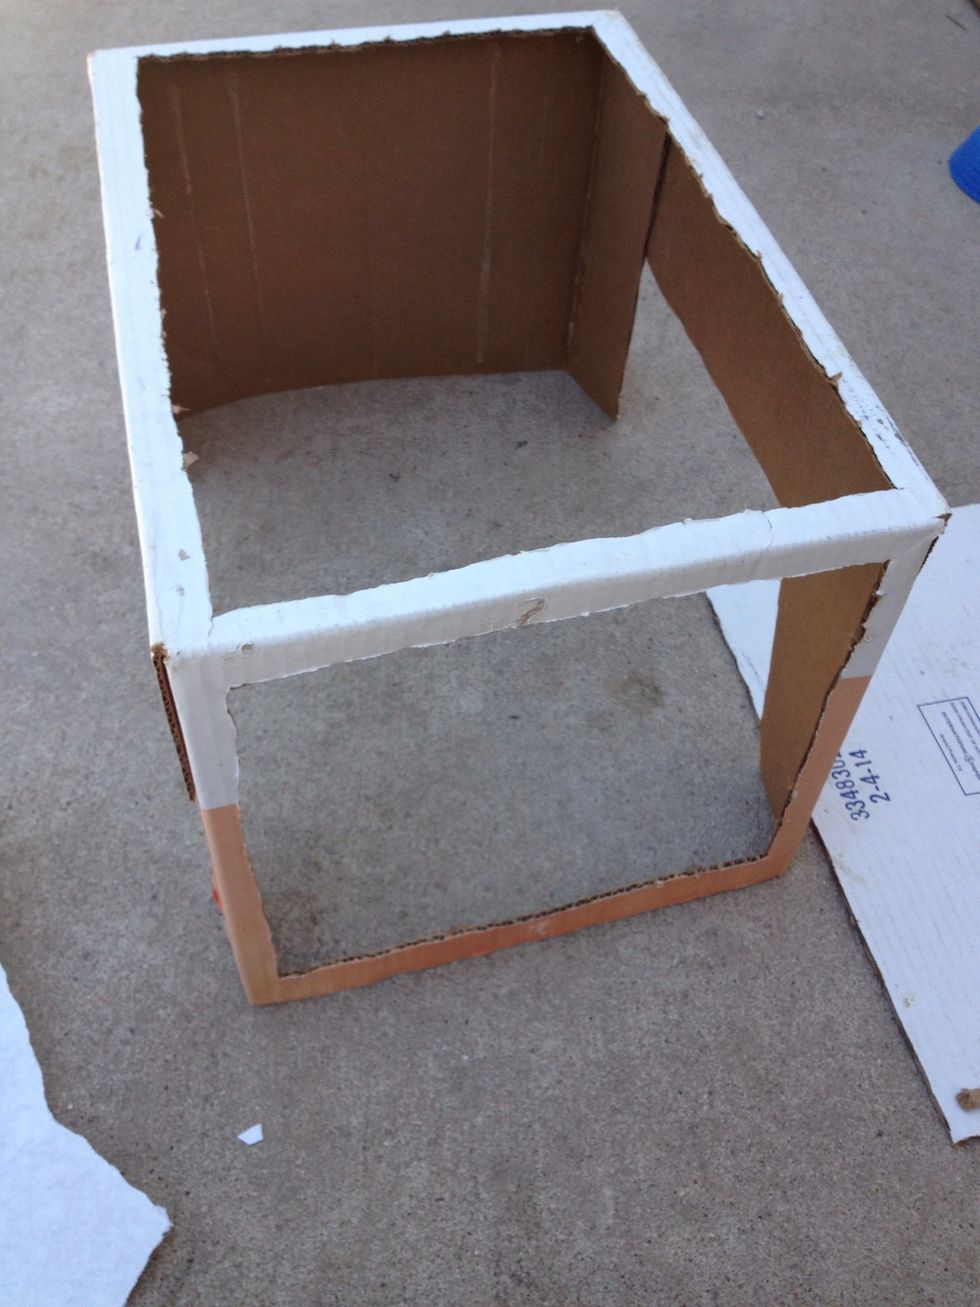
Do the same with all the sides.
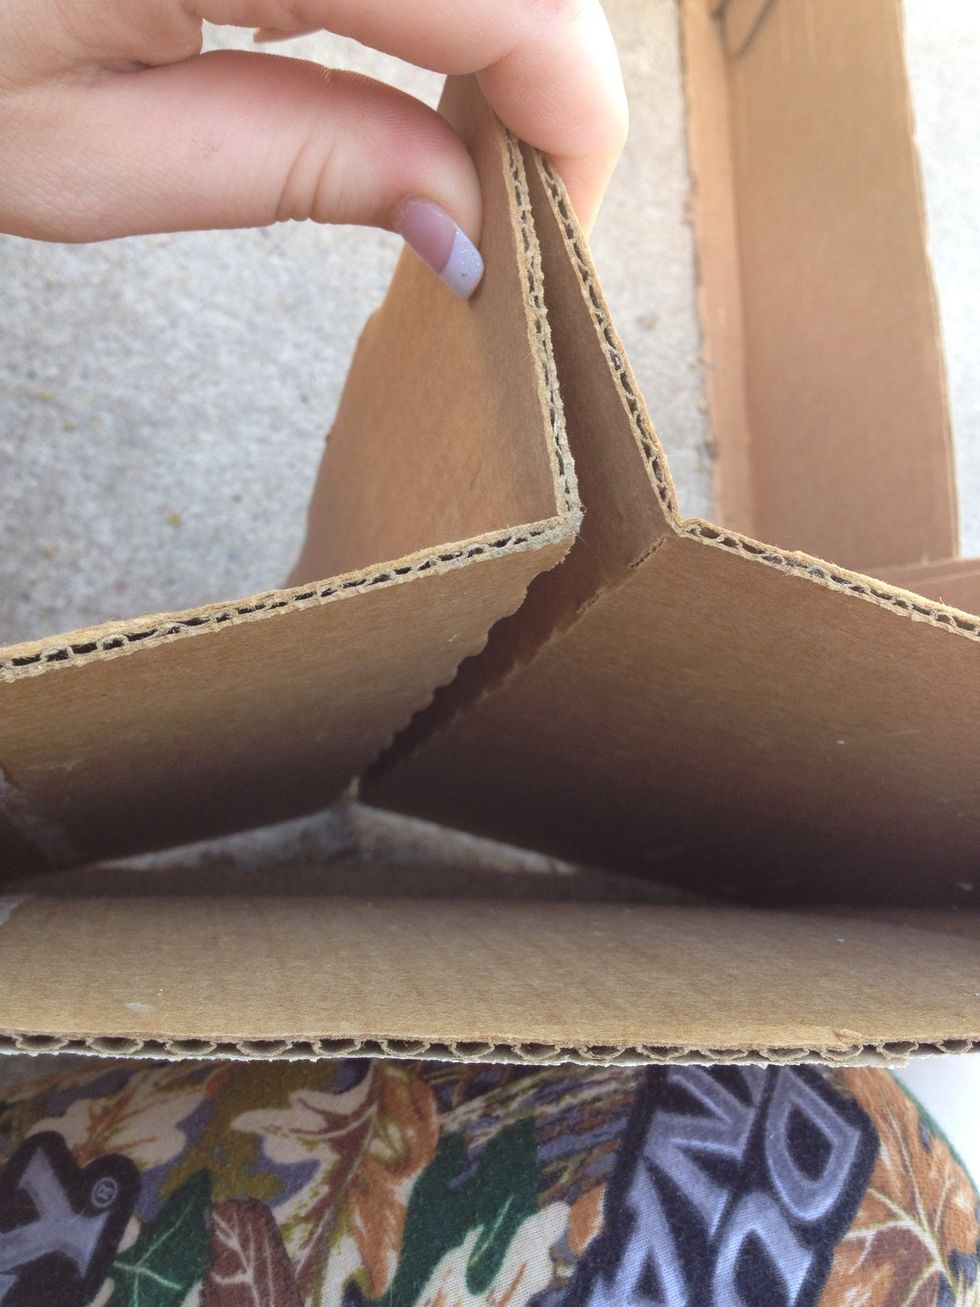
If the sides are reinforced, tear out the second layer.
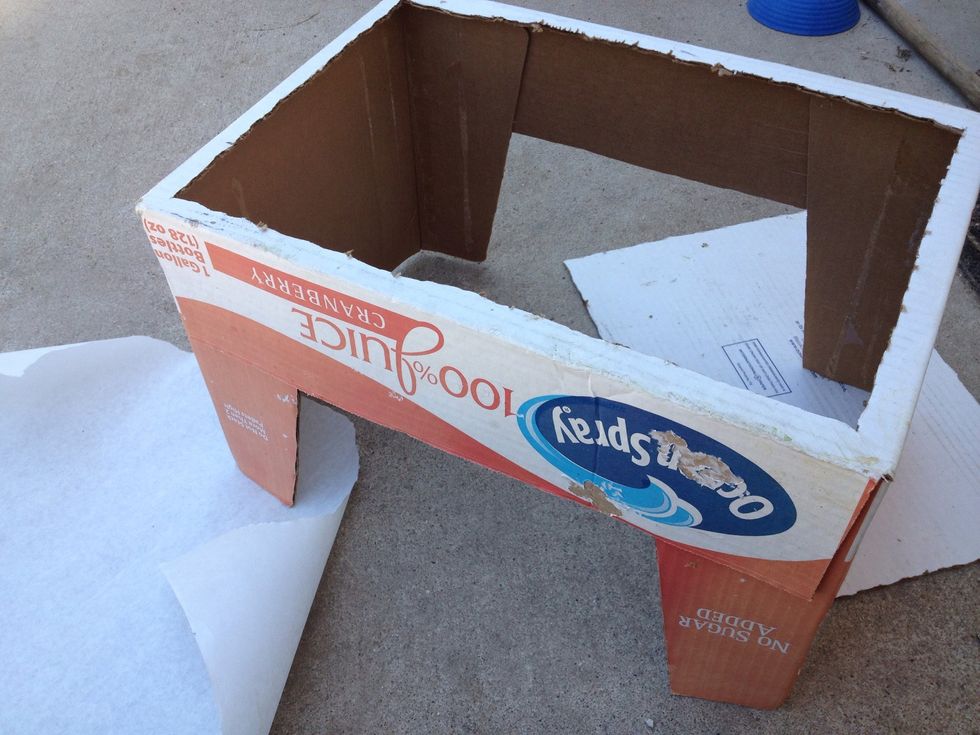
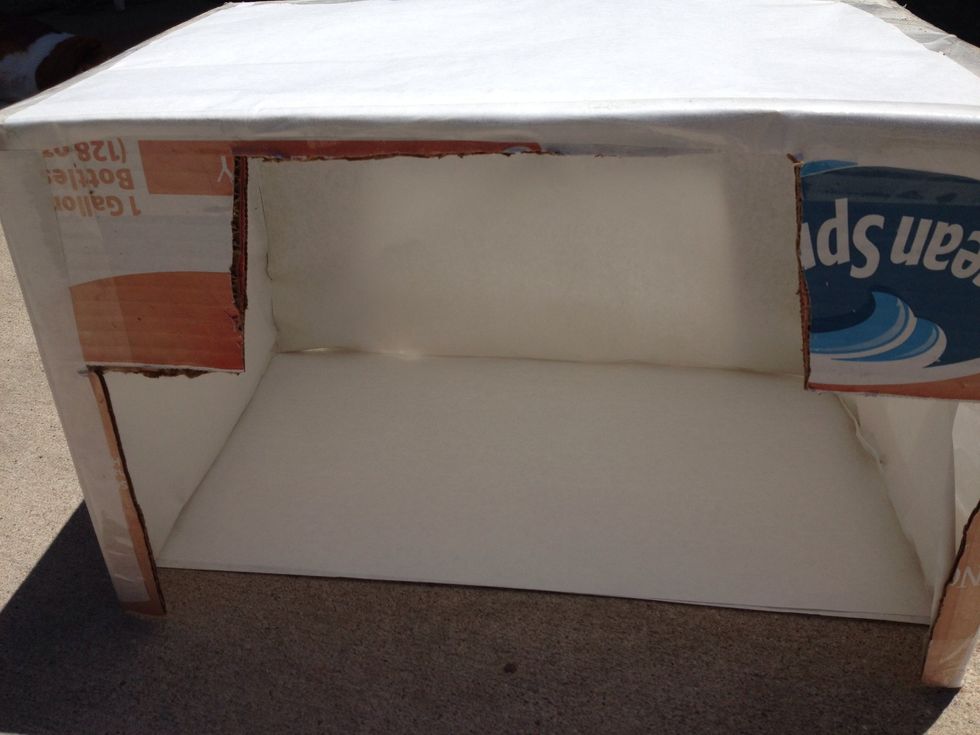
What your side should look like
All sides cut out!
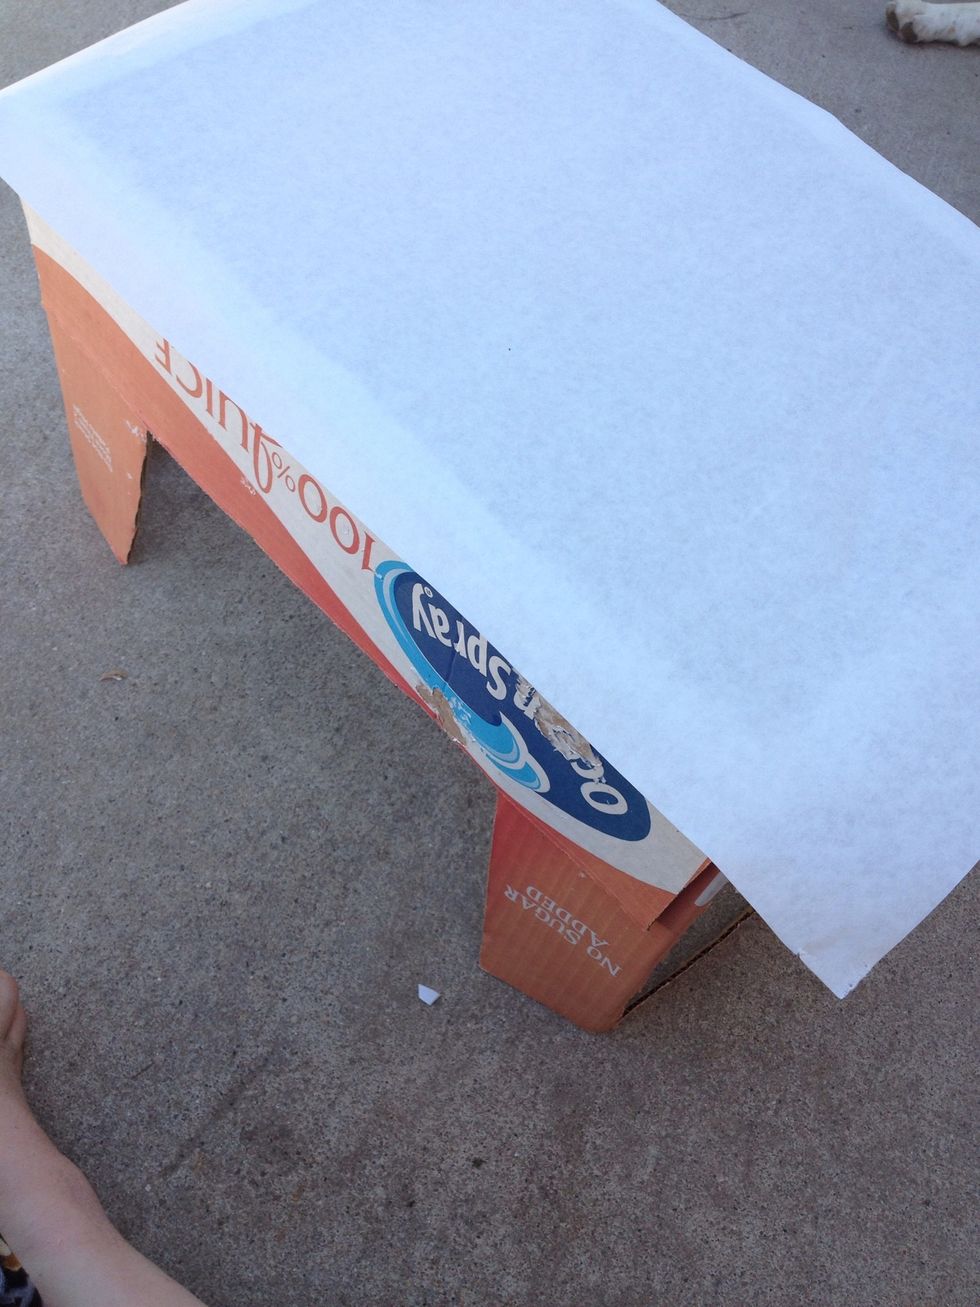
Measure and cut a piece of paper to go over all the edges of your top by an inch.
Tape securely.
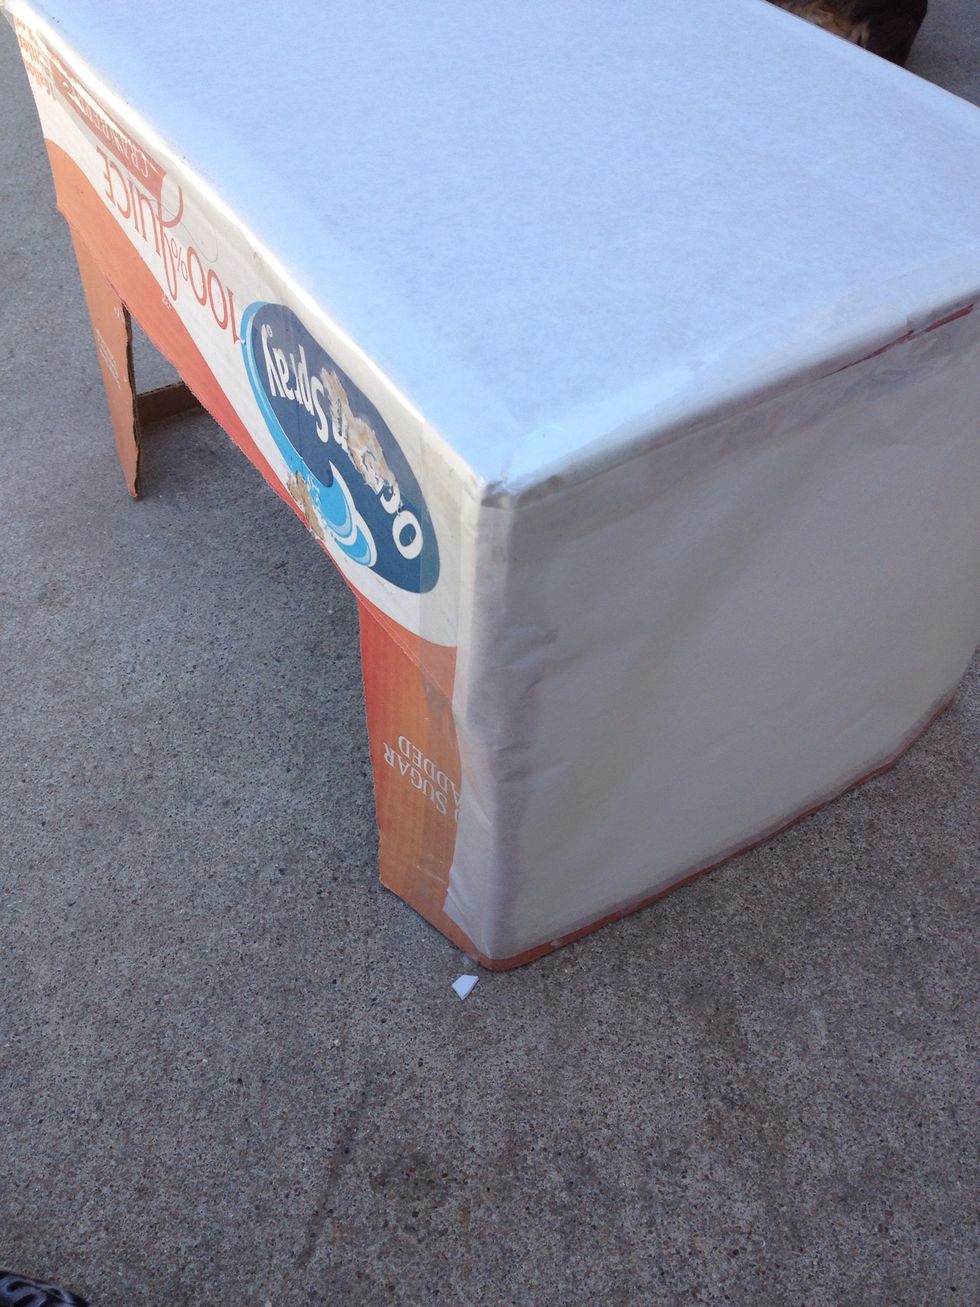
Do the same for the back and both sides!
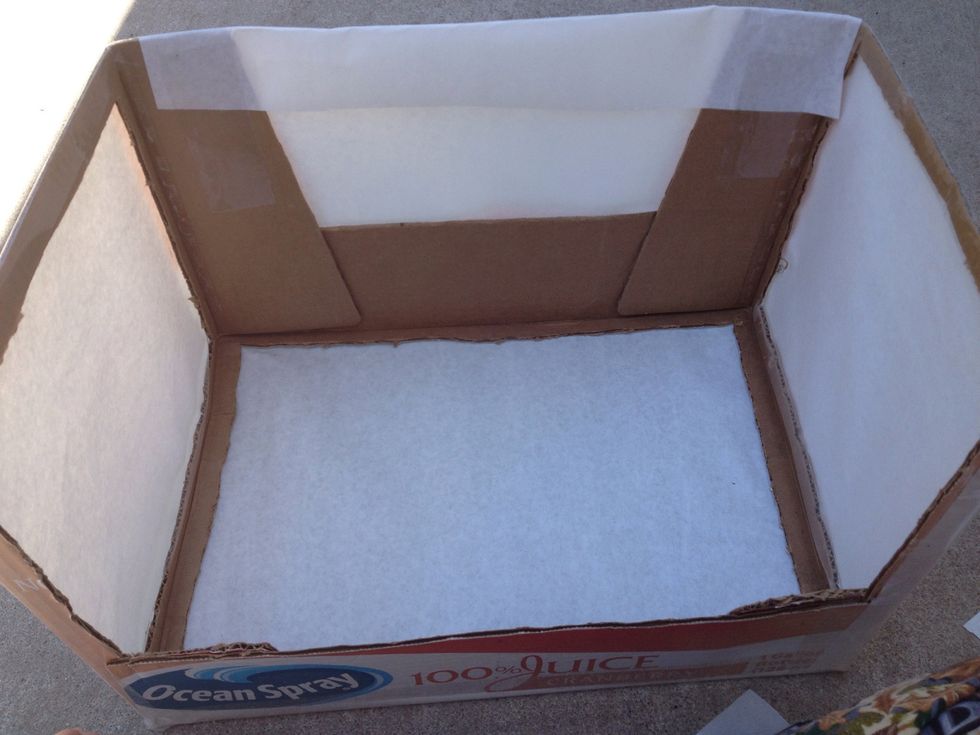
Now cover up the cardboard showing on the inside...
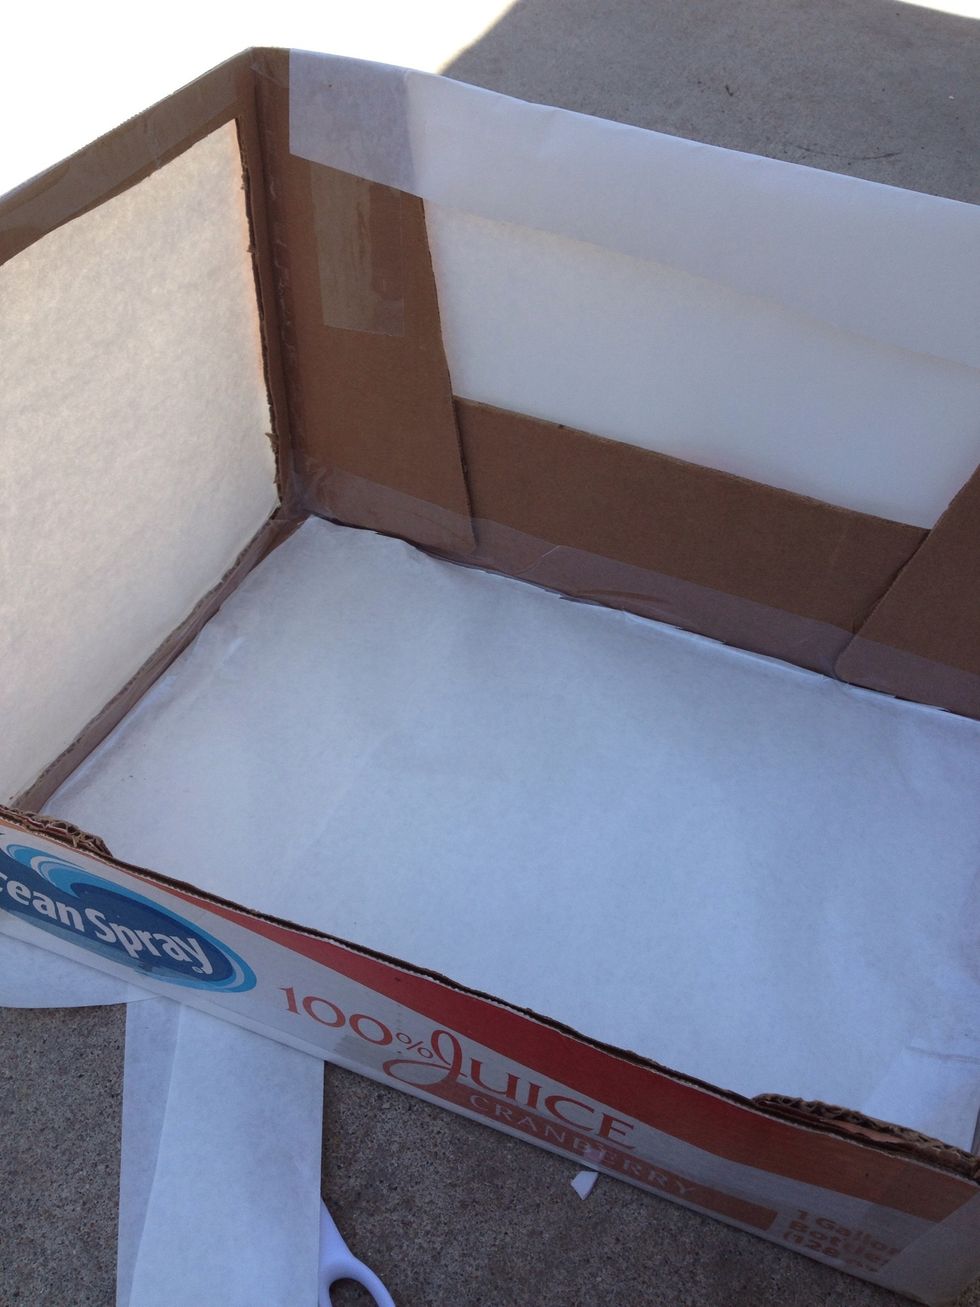
Measure and cut a piece of paper to cover the frame you left around each edge.
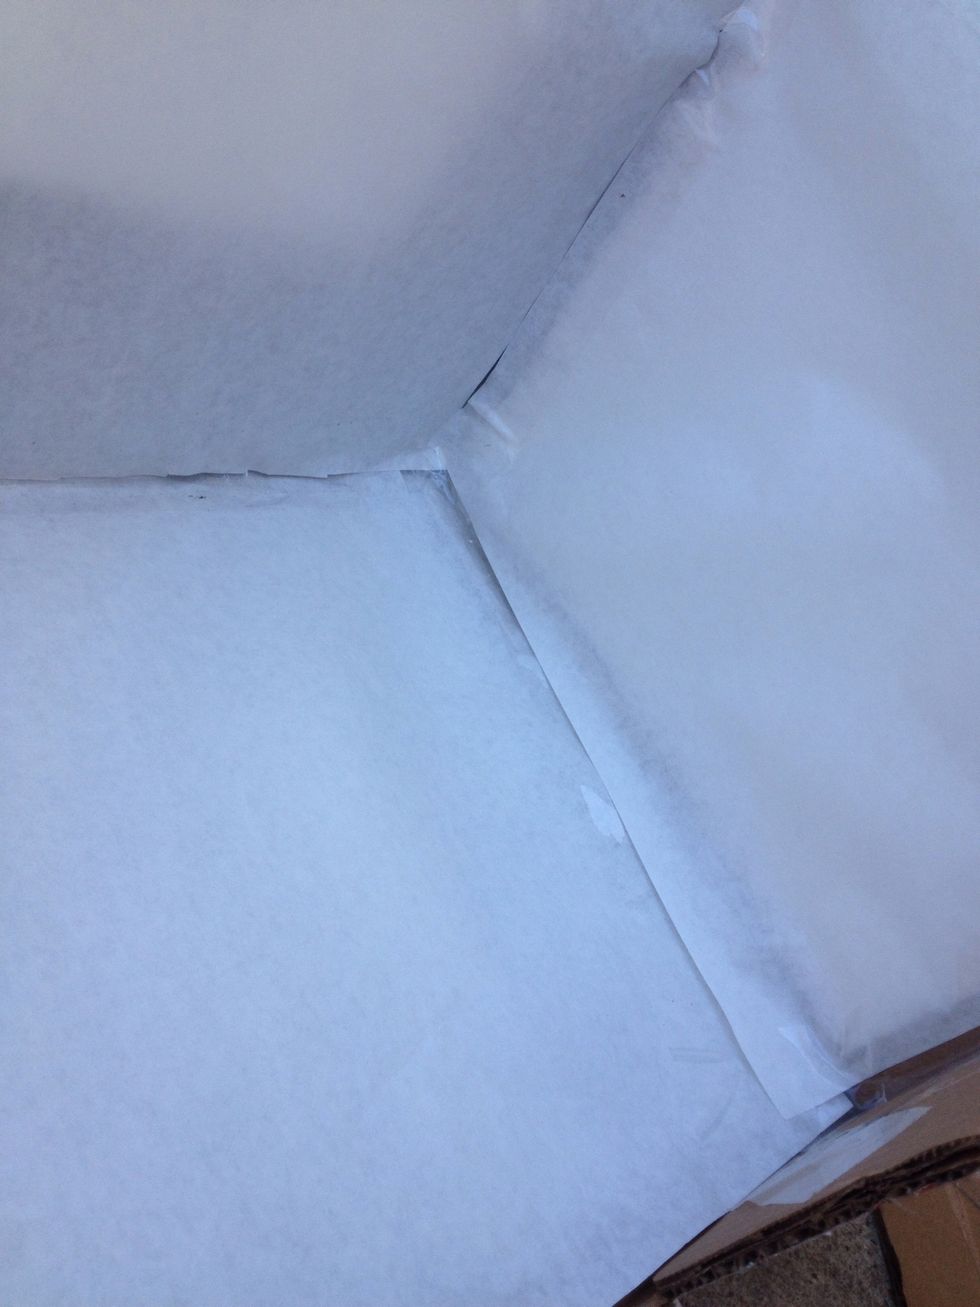
Repeat with every side, covering up any cardboard!
I also cut out a notch in the open side so I could get pictures from an up angle.
Tada! Examples to follow. (All photos are untouched, RAW images)
Place your box in direct sunlight. Shoot away!
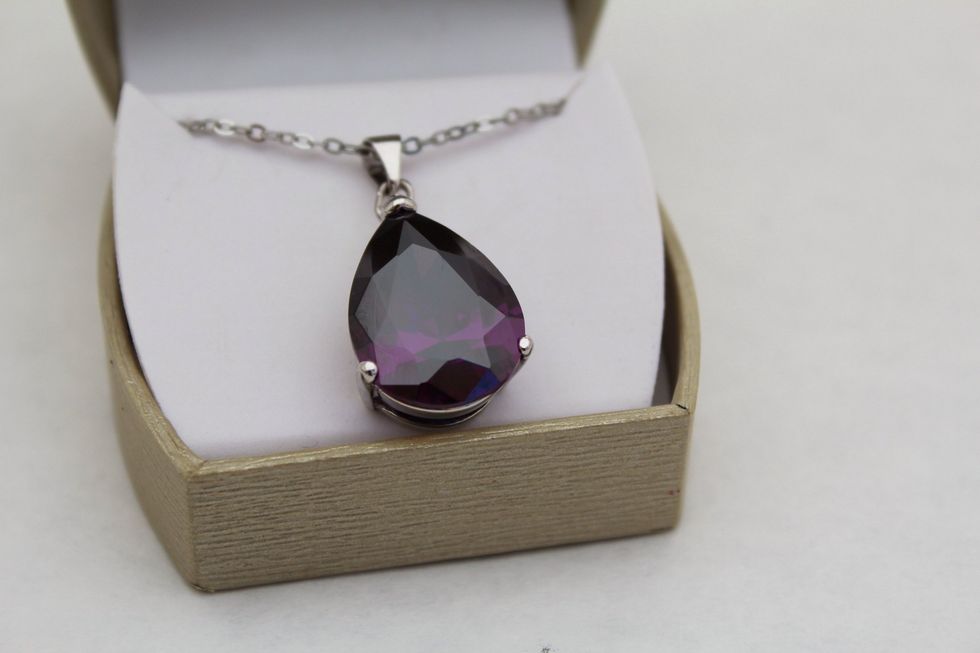
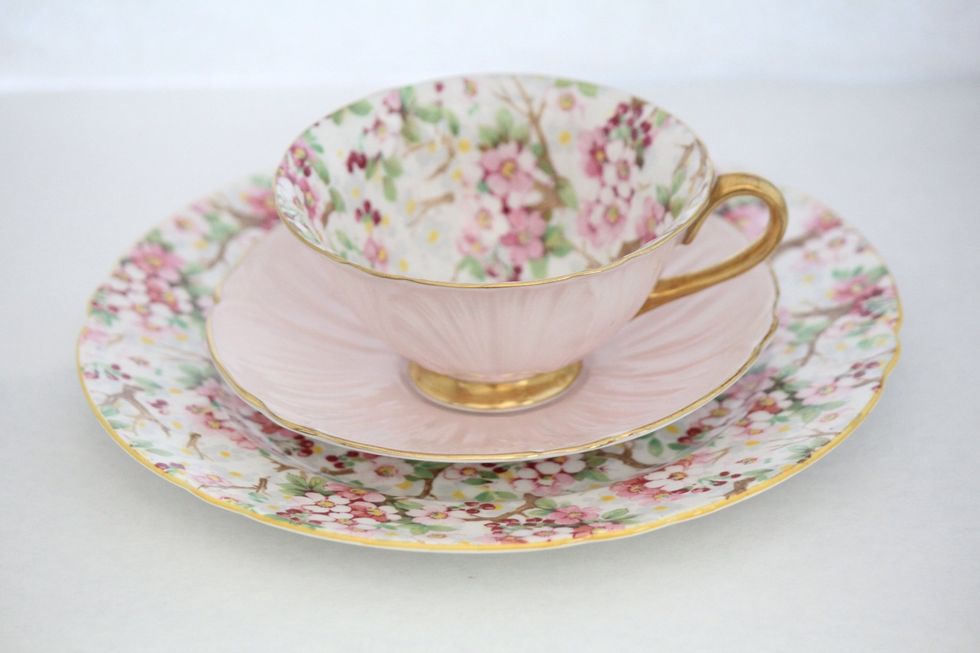
Example 1
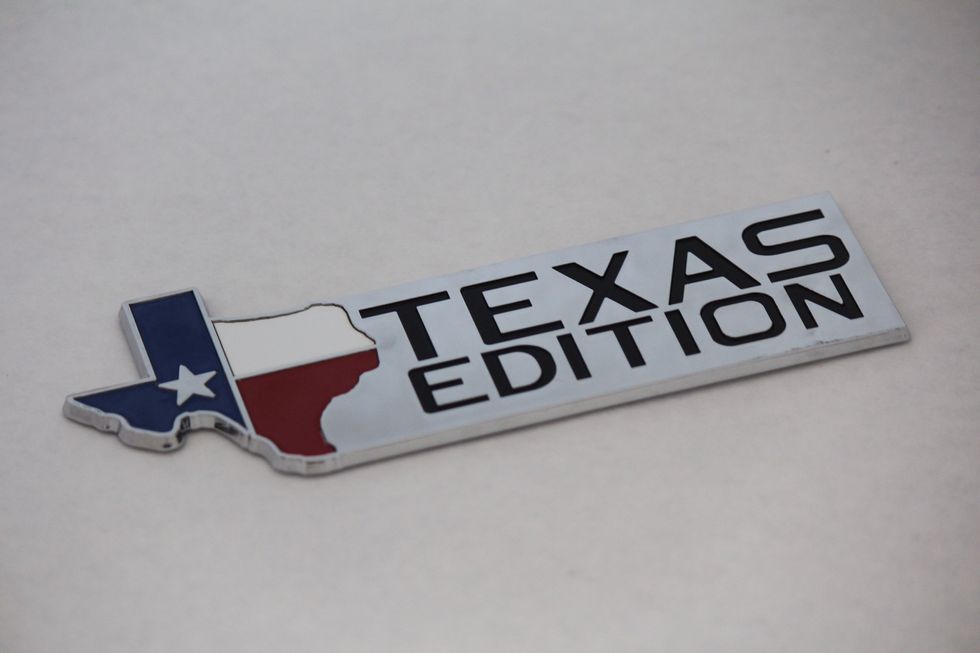
Example 2
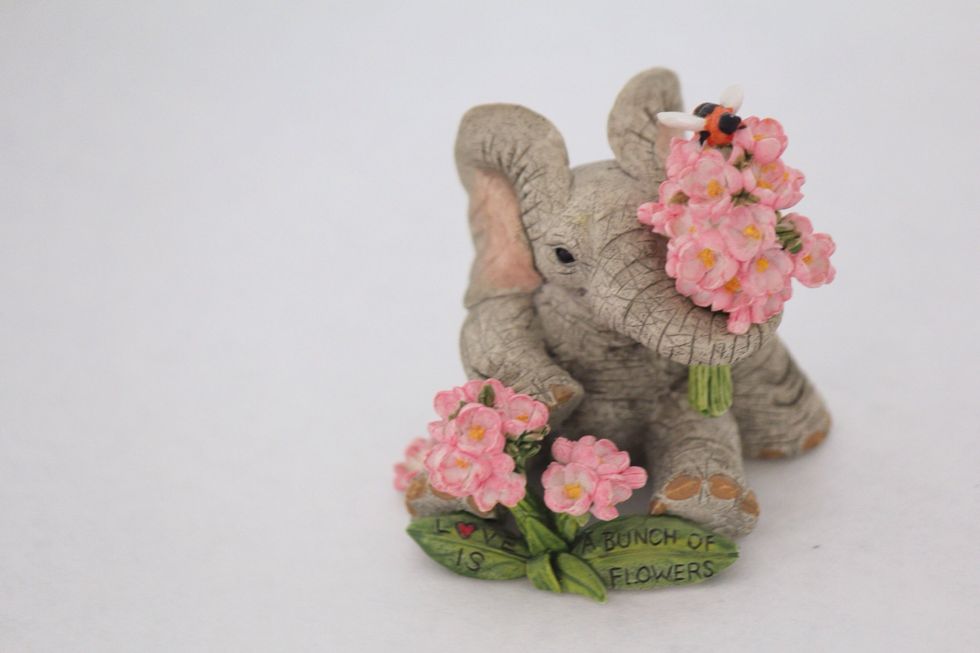
Example 3 (click photo and zoom out to see full image)
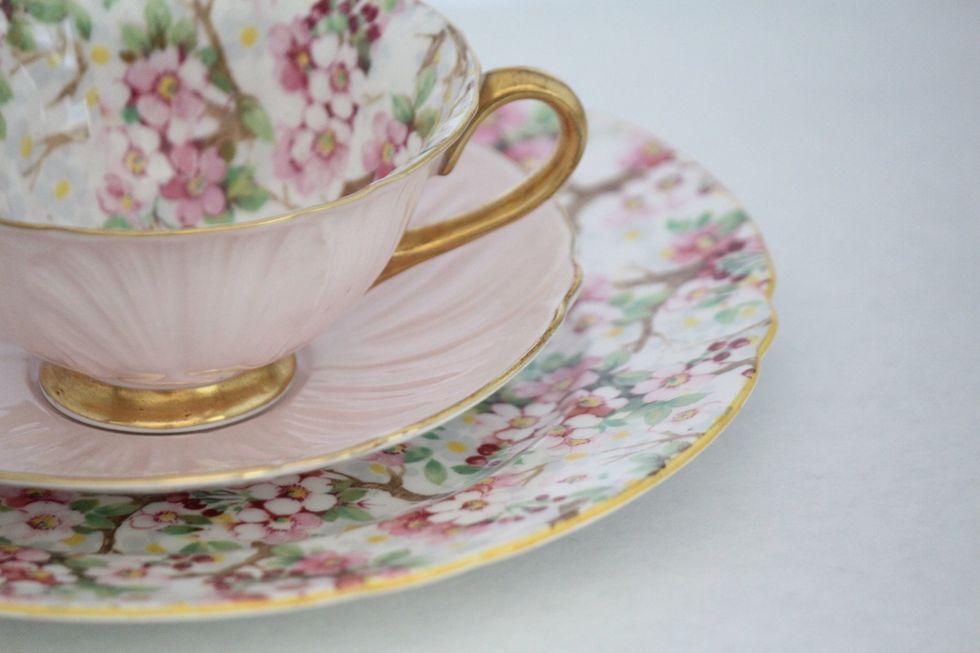
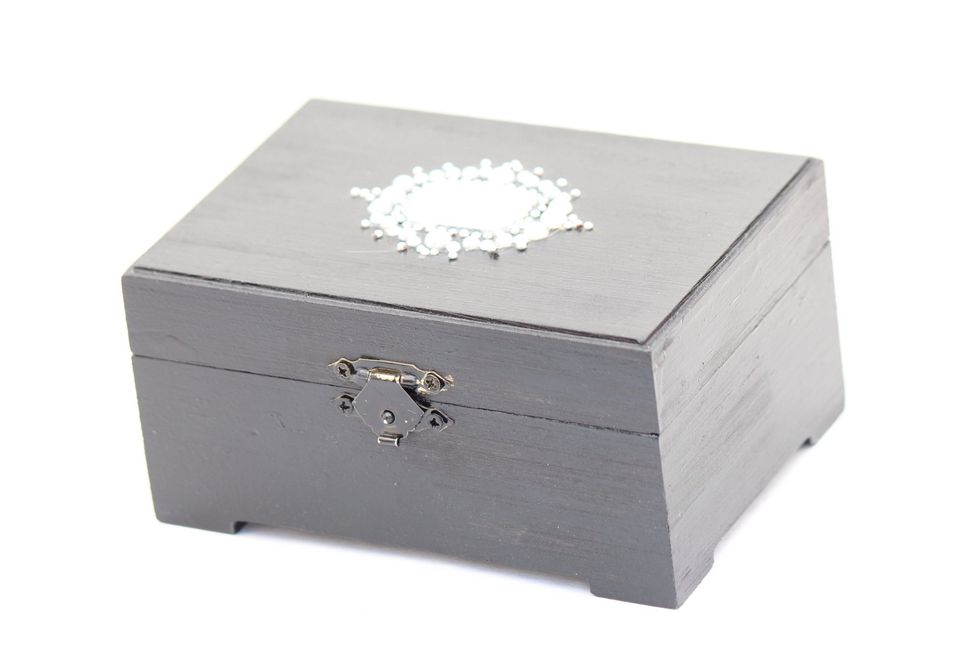
Example 4
Example 5
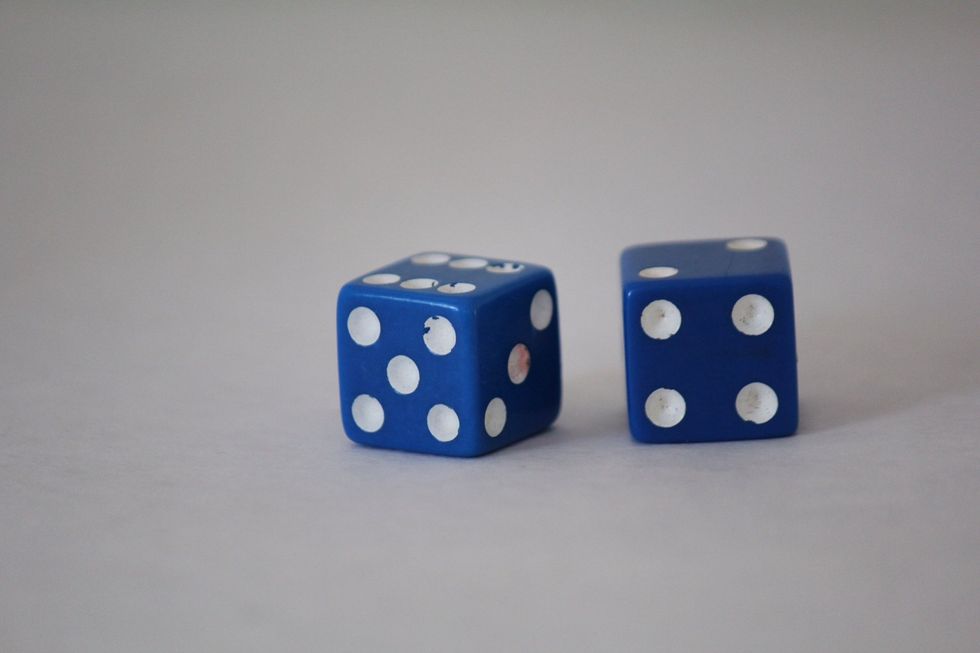
Example 6 (my little brother insisted I take photos of his dice)
Example 7
Example 8. Overexposure is not always bad. ;)
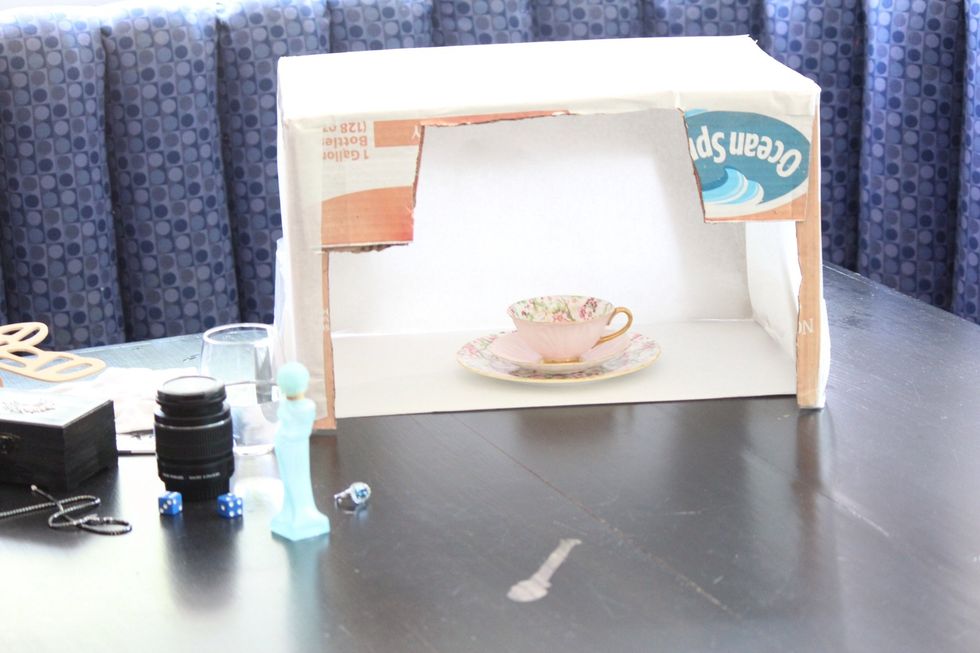
Behind the scenes!
Hopefully you enjoyed, and this guide encouraged you to be creative in making your own light box! Please comment with questions, thoughts, suggestions!