The Conversation (0)
Sign Up

Take a paper in the 8x8 pad. Cut 1 inch off on one side. You should have 7x8 (inches). At the 8inch-side: Score at 1, 2, 5 & 6in. At 7in-side, score at 2 and 5 inches. Cut of the 4 corners.
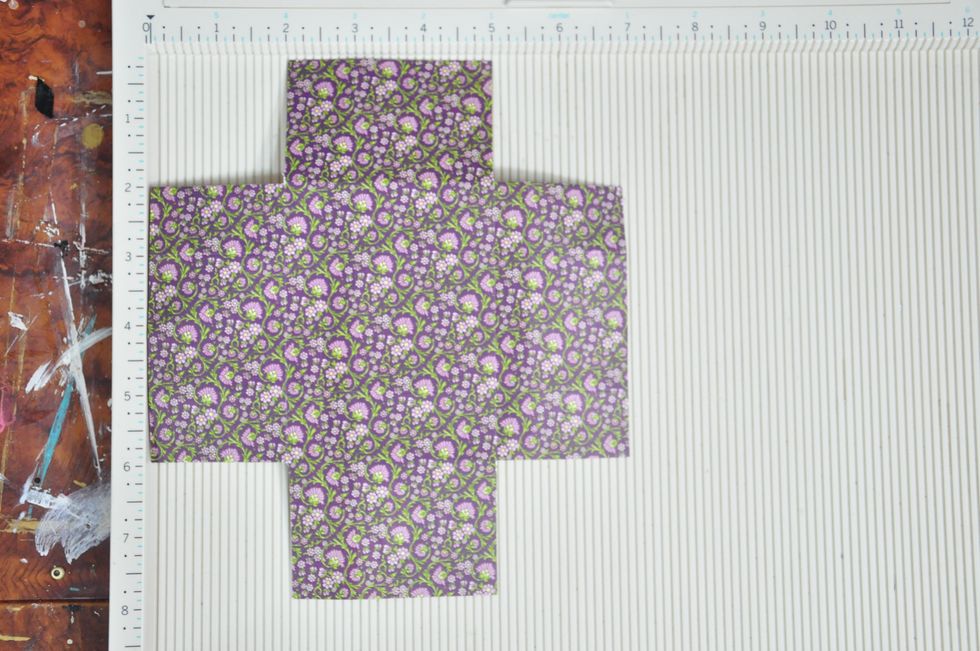
This is the paper I chose for one of my treat bags.

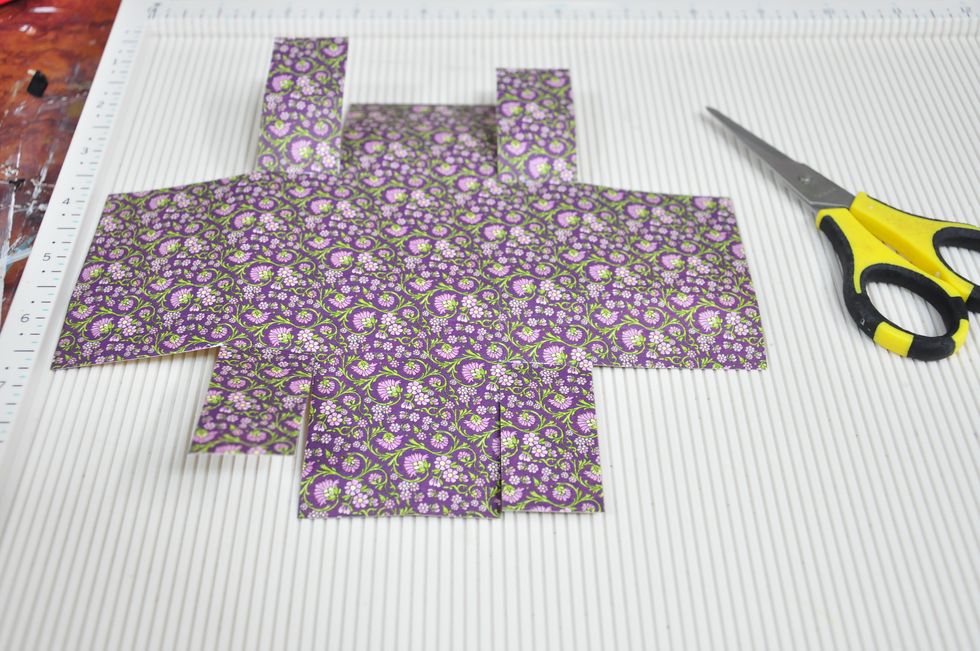
Cut the corners as seen in the image. Then cut a slit at 2, 3 and 5 inches. Do the same to the opposite side. Fold the scored lines.

Put adhesives to the flaps as seen in the image
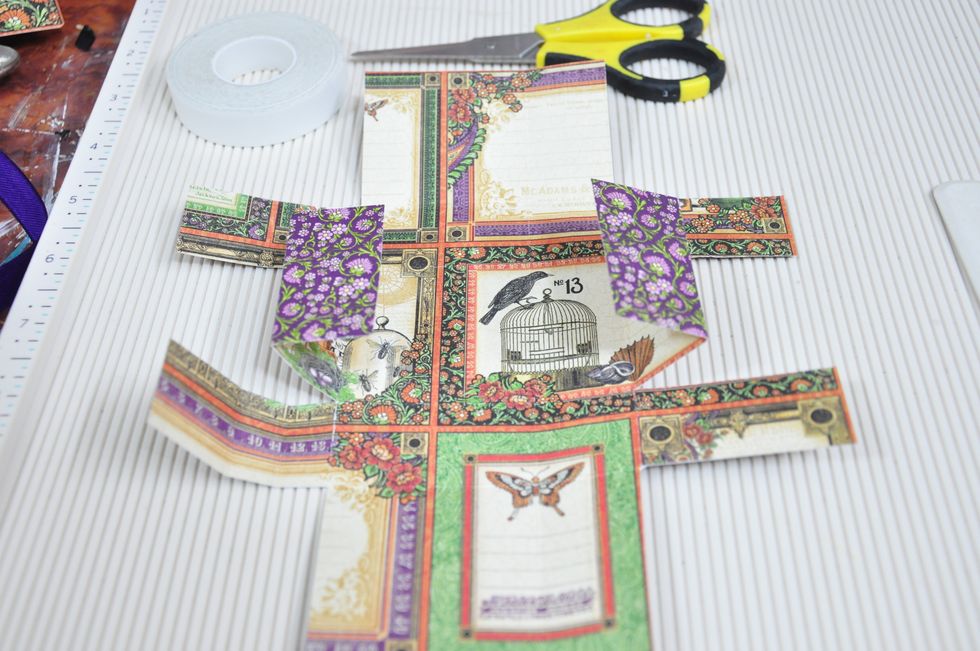
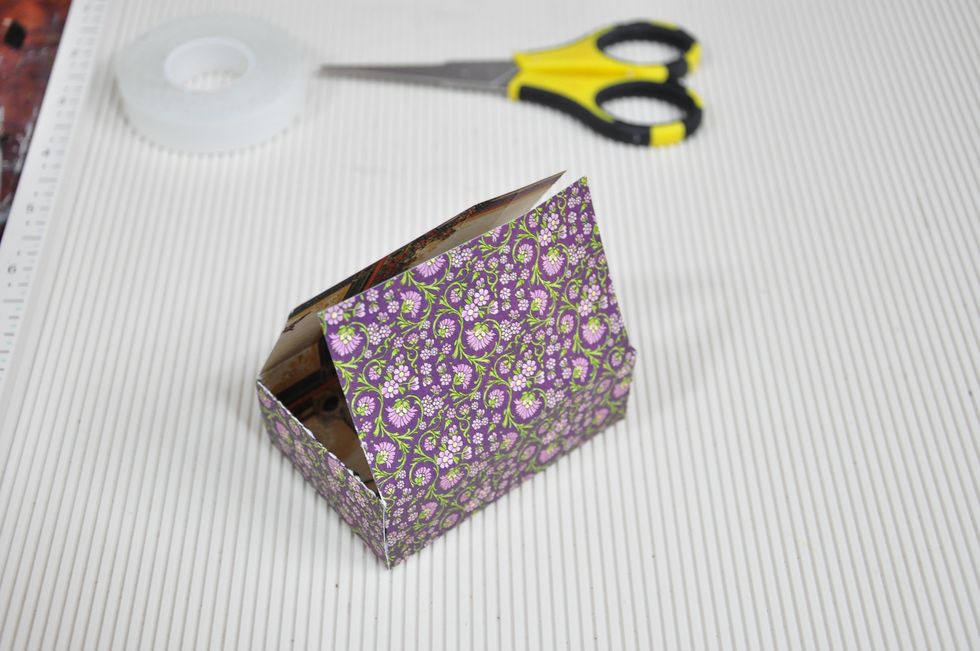
Fold inwards to adhere.

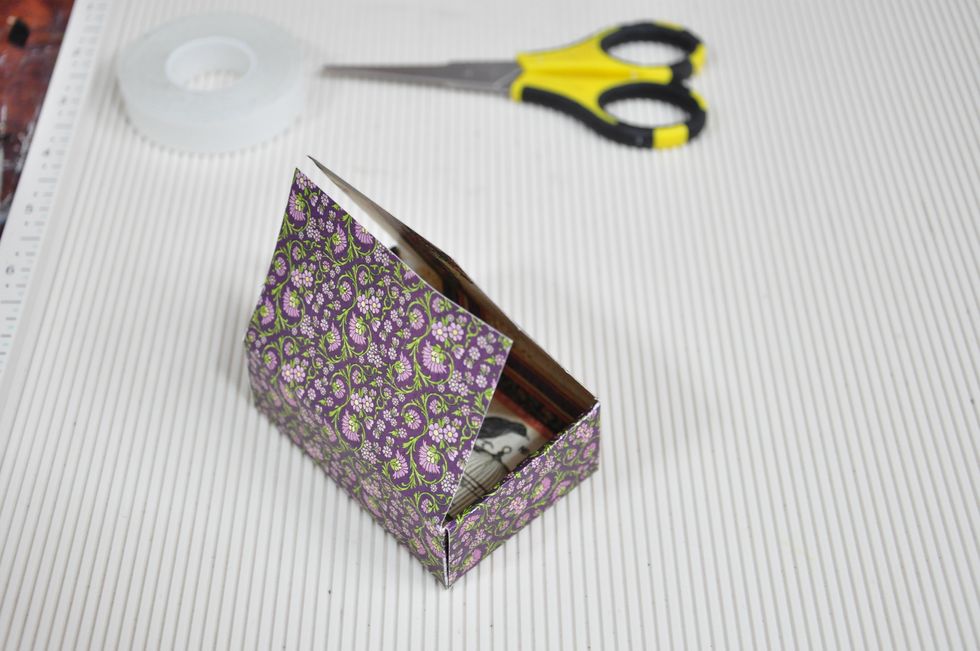
This is how the bag should look like when the flaps were folded
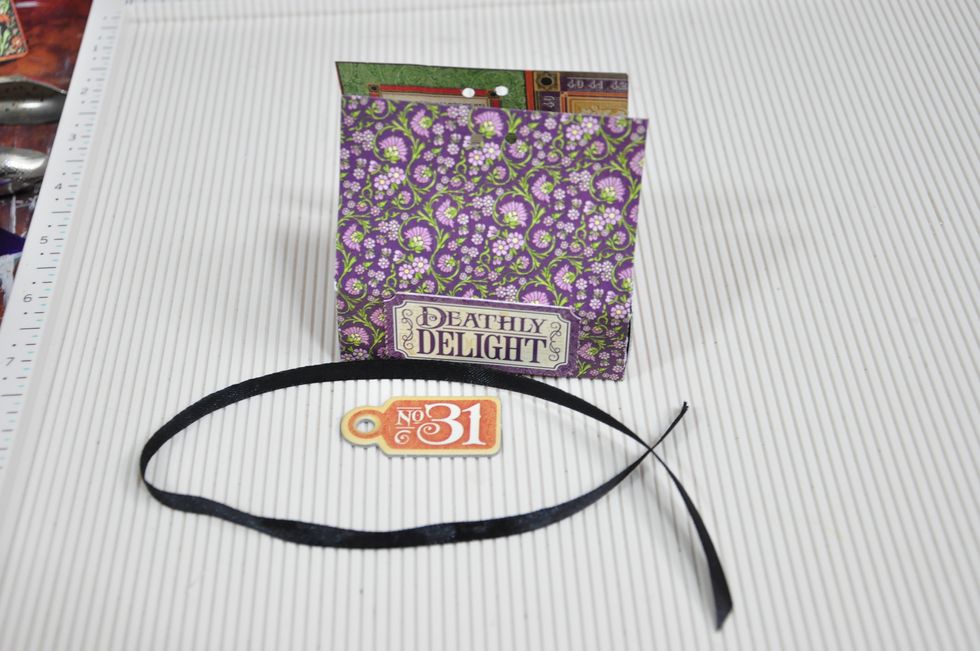
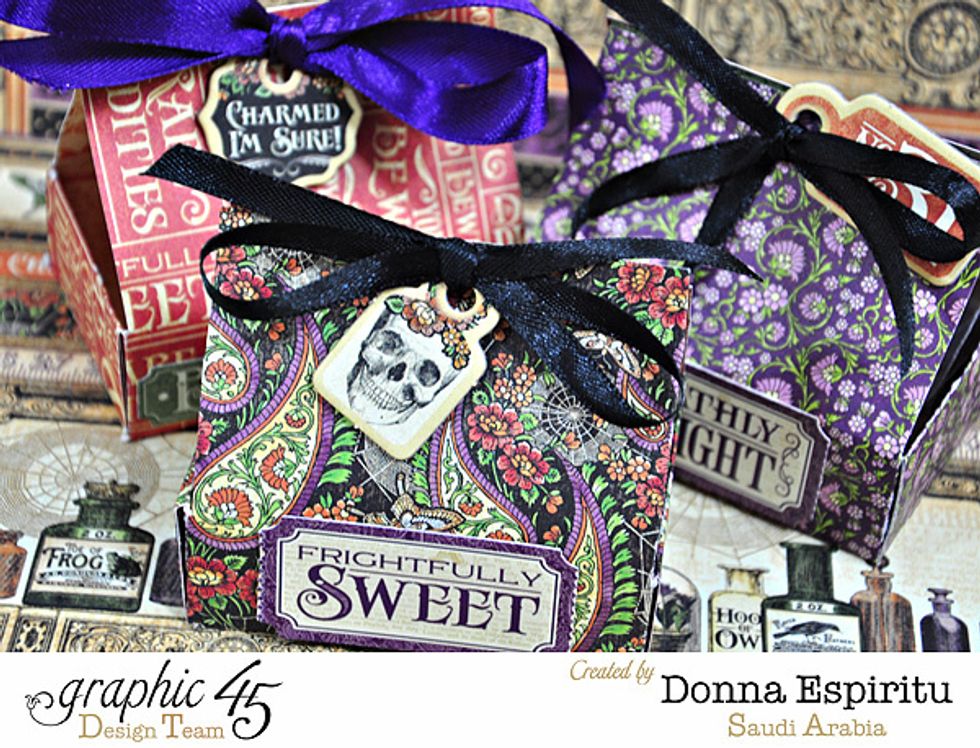
Add chipboards, stickers and tie a ribbon for embellishments
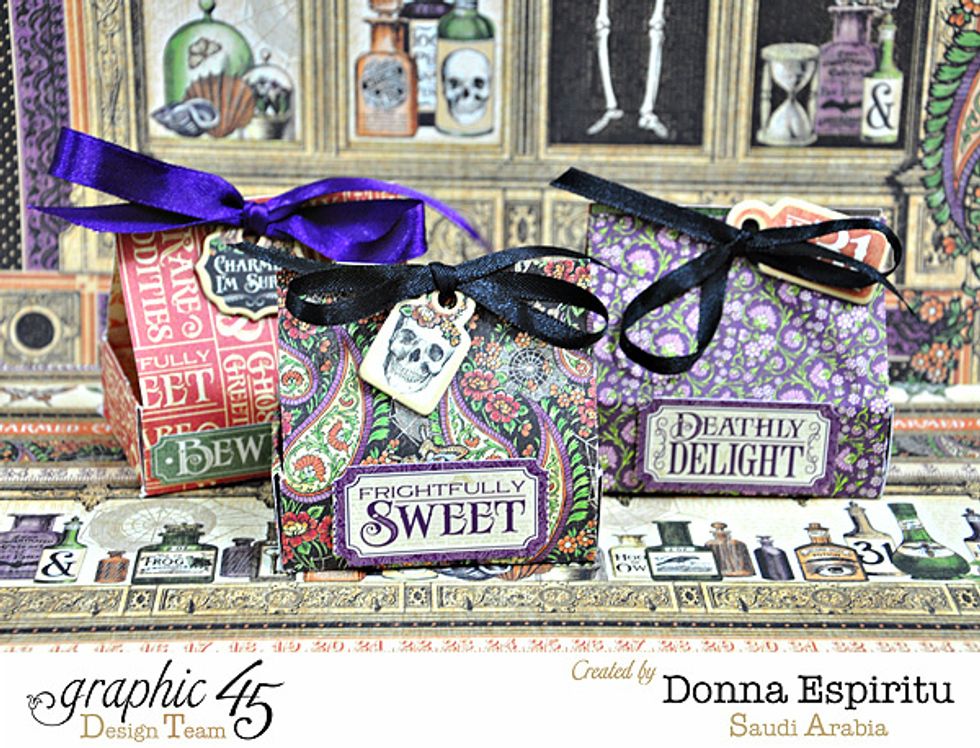
Finished treat bags
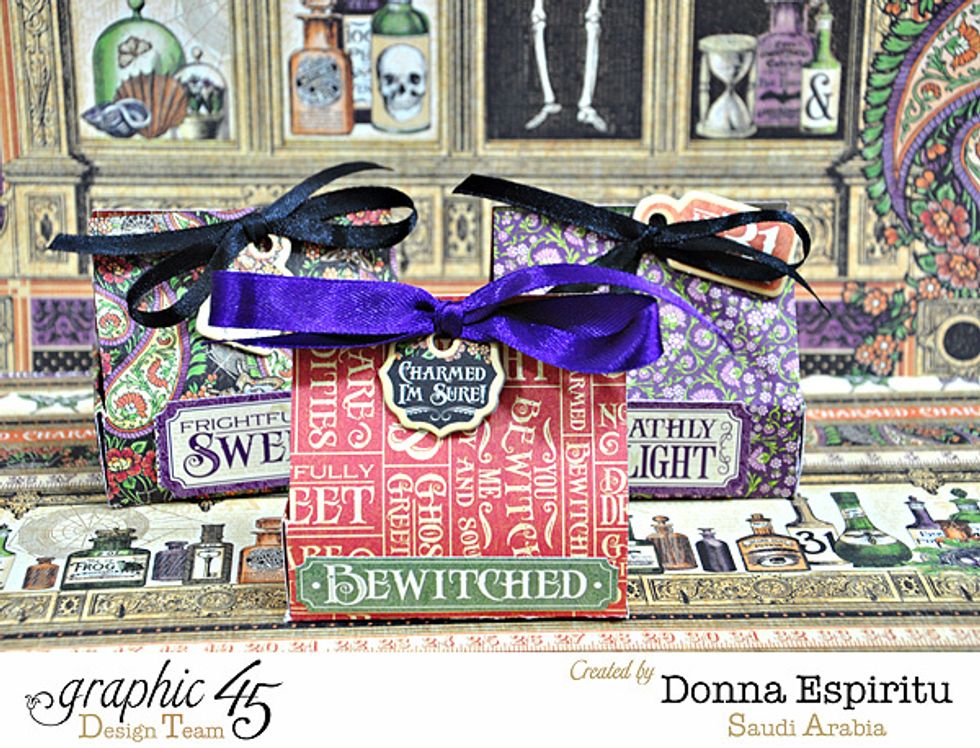
Change the colors of ribbons
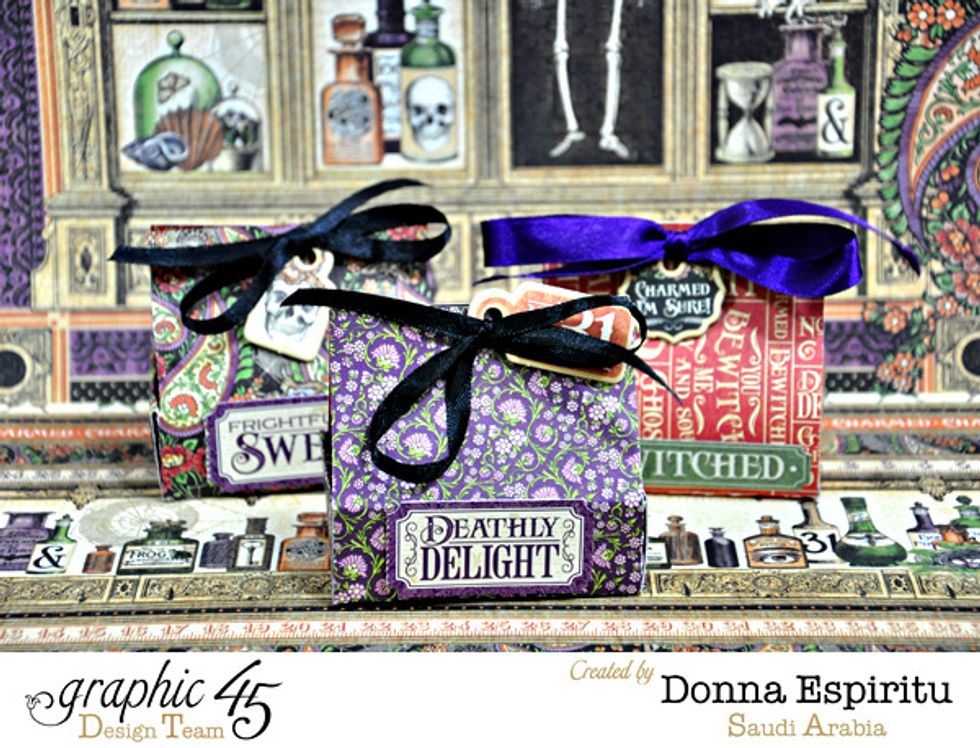
Simple treat bags done in few minutes
Thanks!