The Conversation (0)
Sign Up
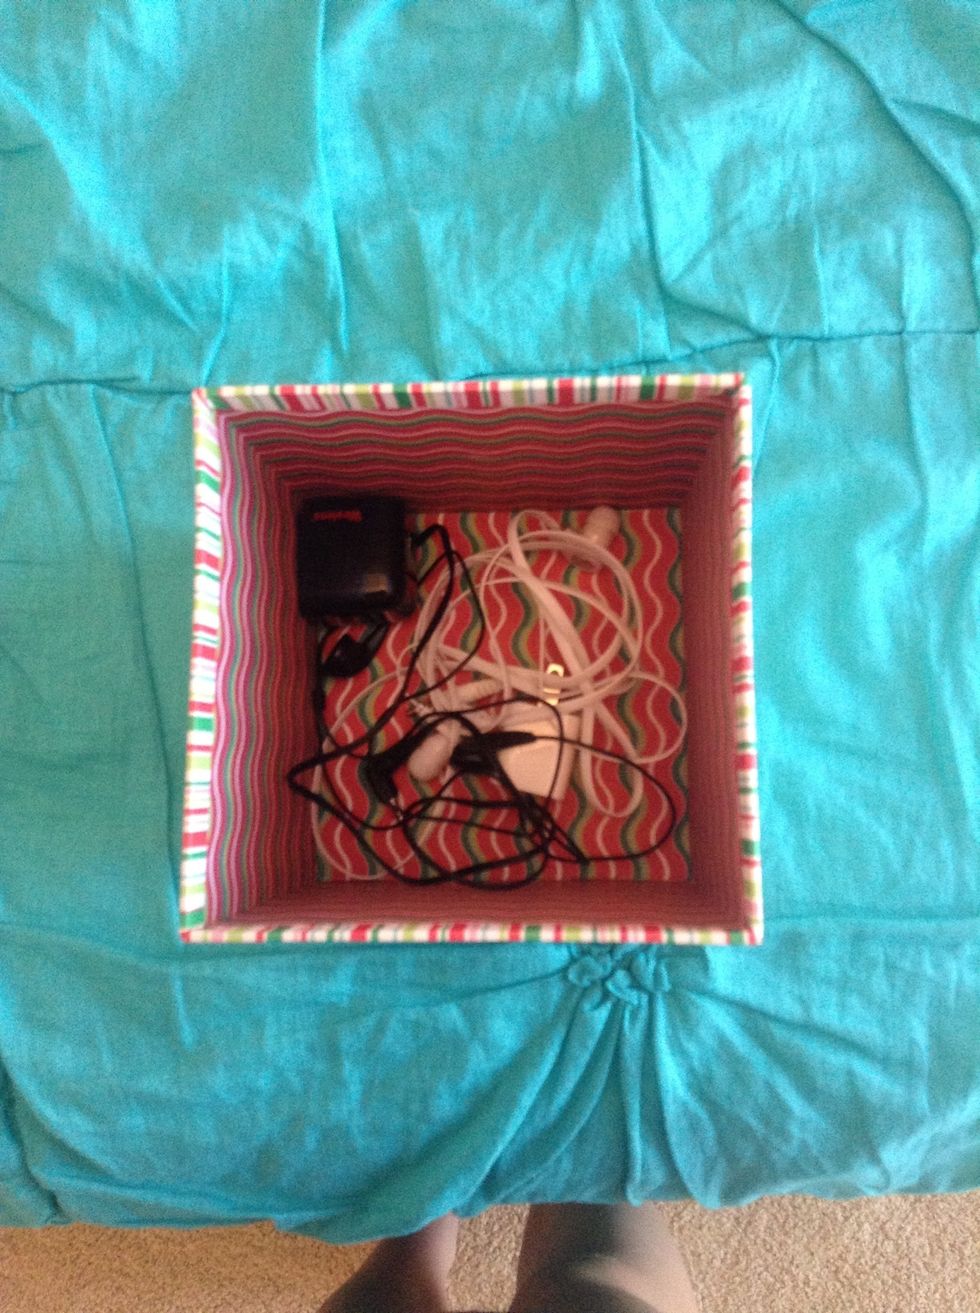
Above is what your area may look like. It's cluttered and tangled. It will make a mess and look bad in a clean room, so lets fix it!😄
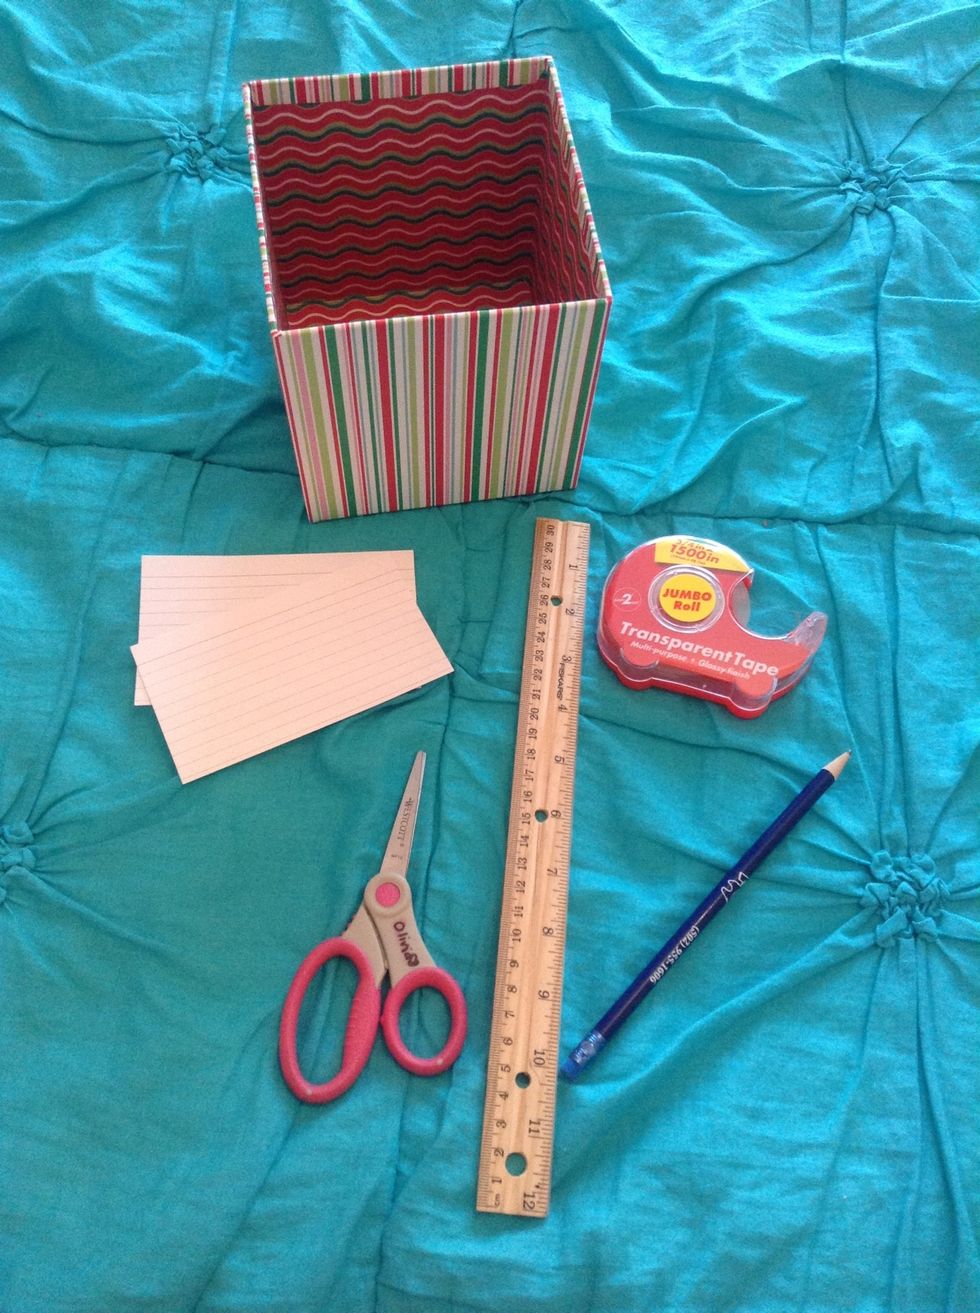
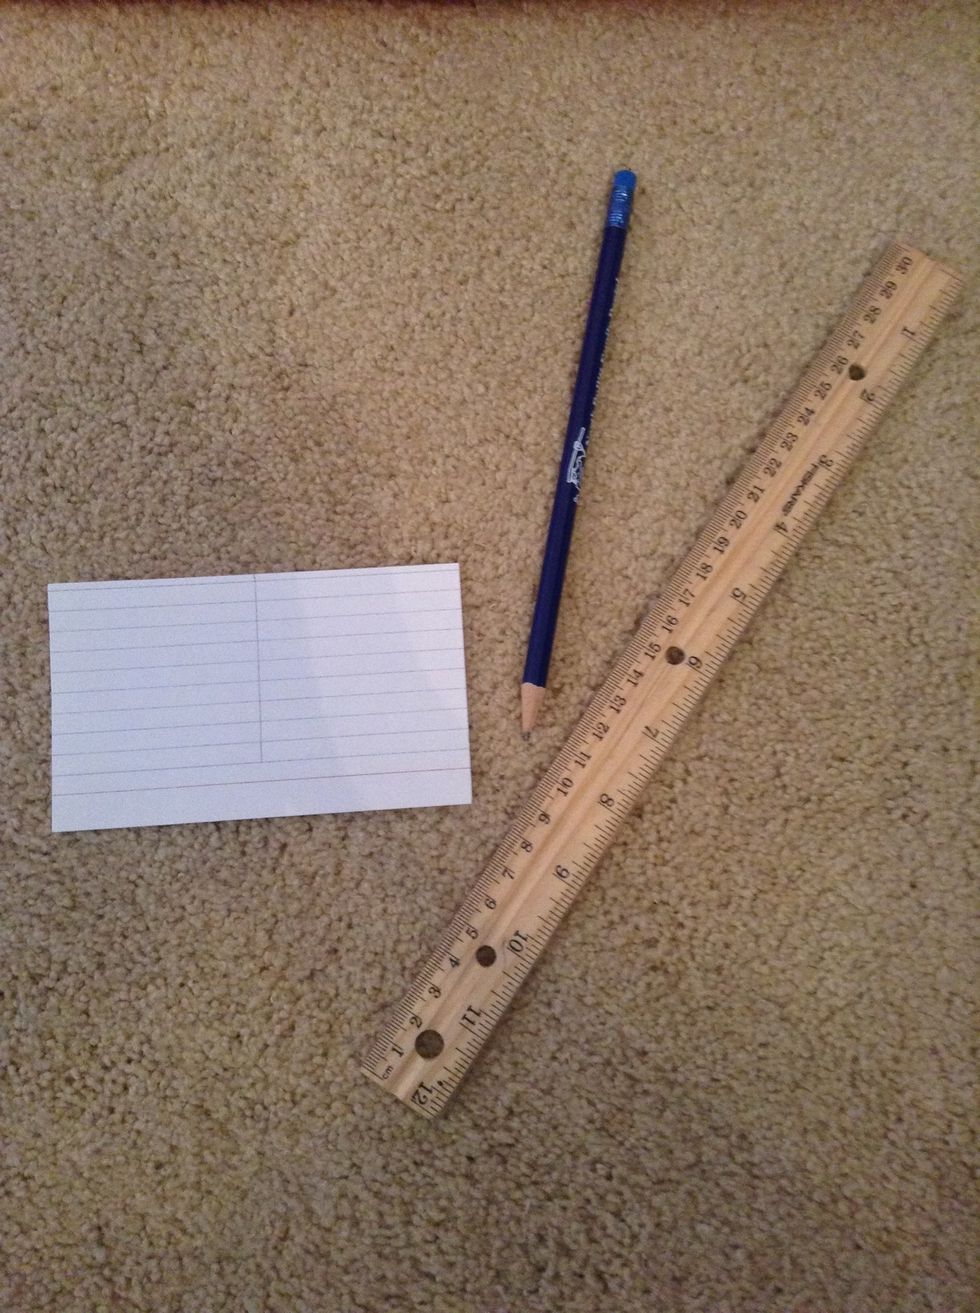
First, gather your supplies. You will need a tall box, 2 index cards, a ruler, tape, scissors, and a pencil.
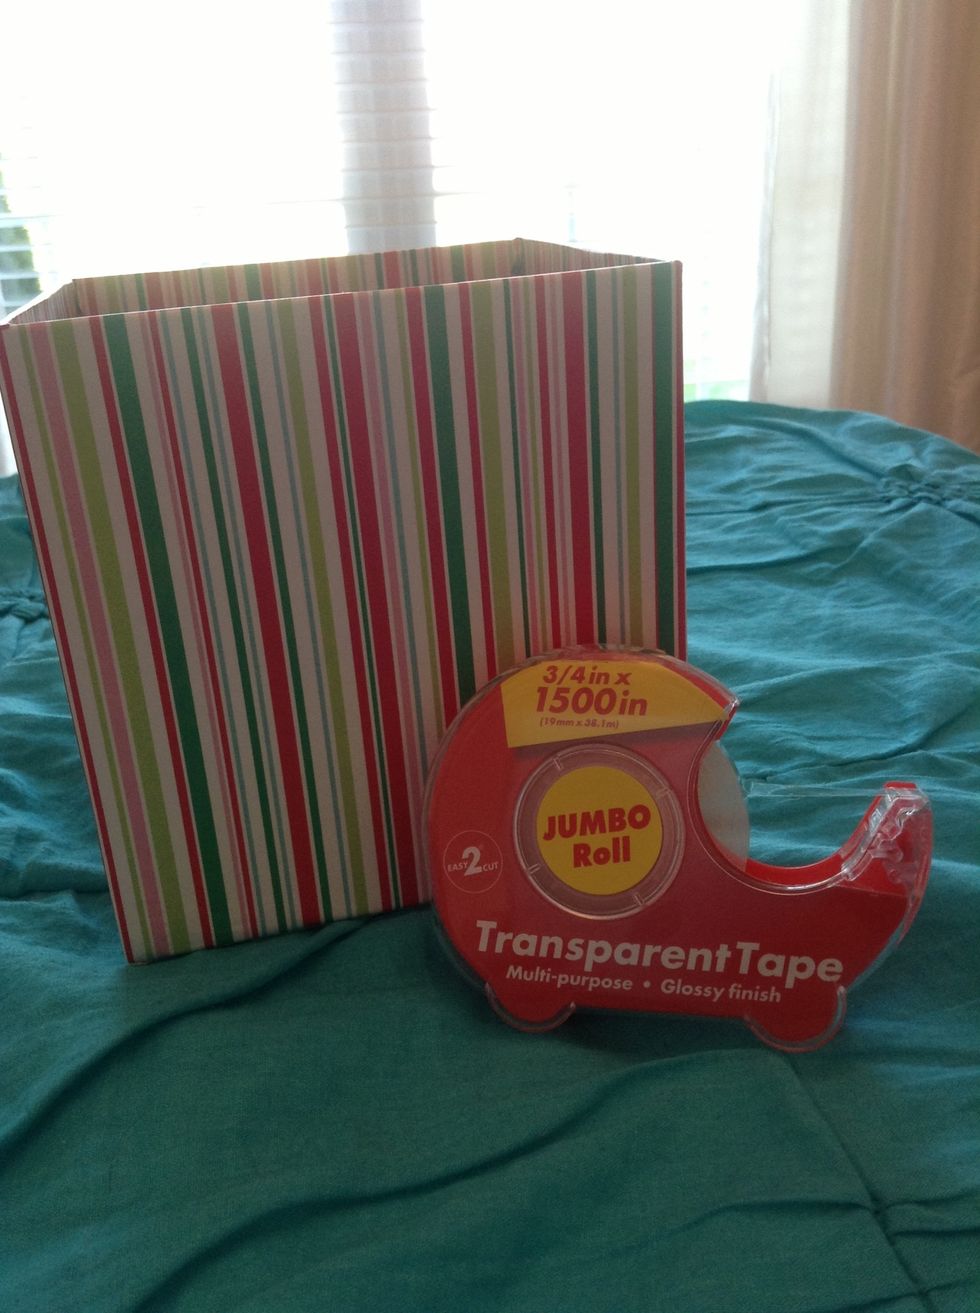
Now that you have gathered your materials, you are going to start with your tape.
To do this I recommend double sided tape for a neater appearance. I didn't have any so I am stuck folding it over. I apologize!
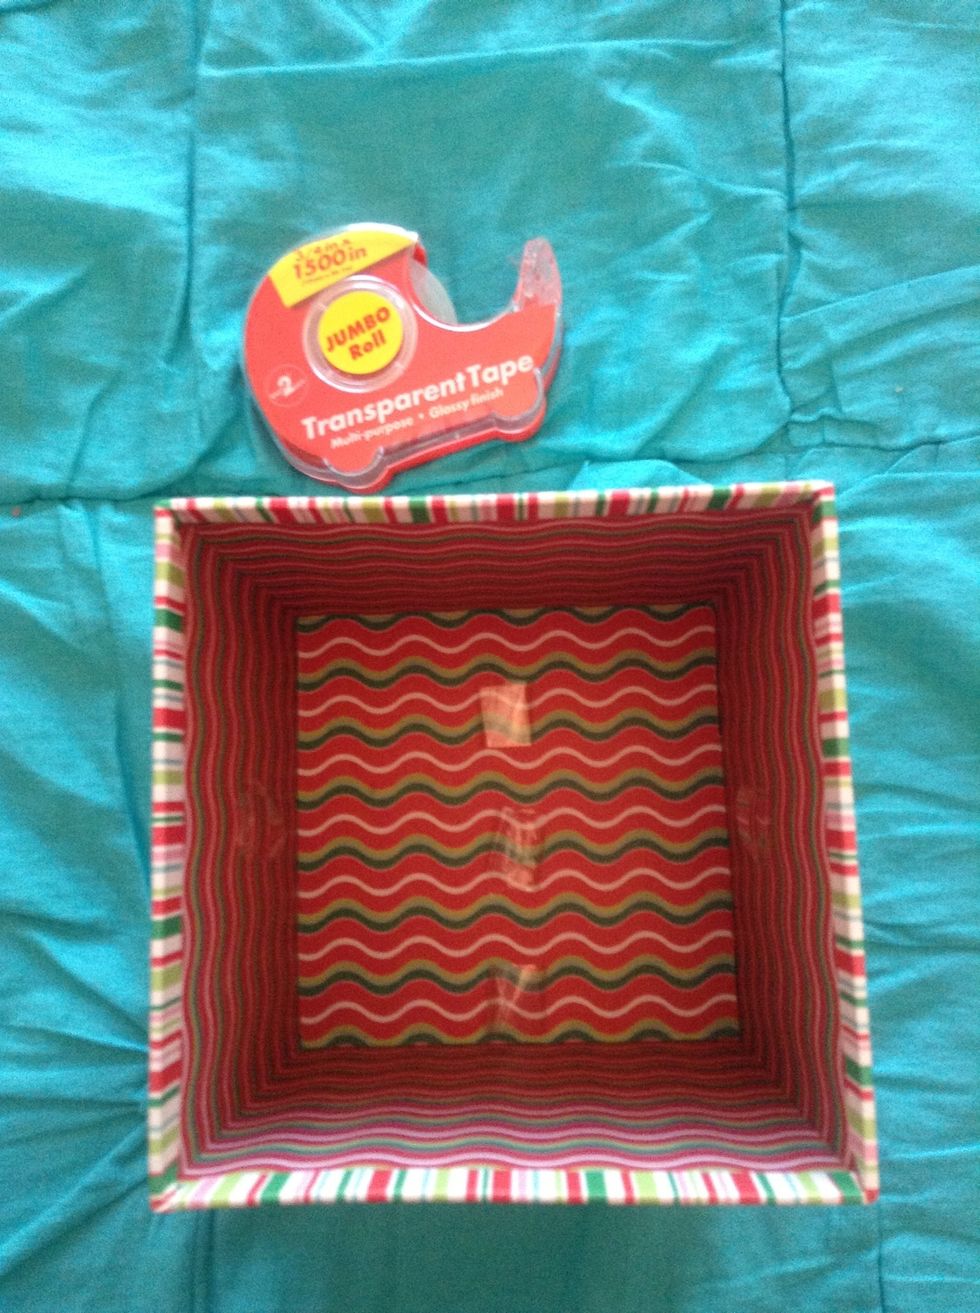
With your tape, put three pieces on the bottom of the box and two pieces of tape on the opposite side of the other tape. This will help the index cards stay up.
Next, you'll need your pencil, ruler, and one index card. With your ruler, mark a line in the middle of the card using the ruler as a straight edge. It should go to about one line before the red line.
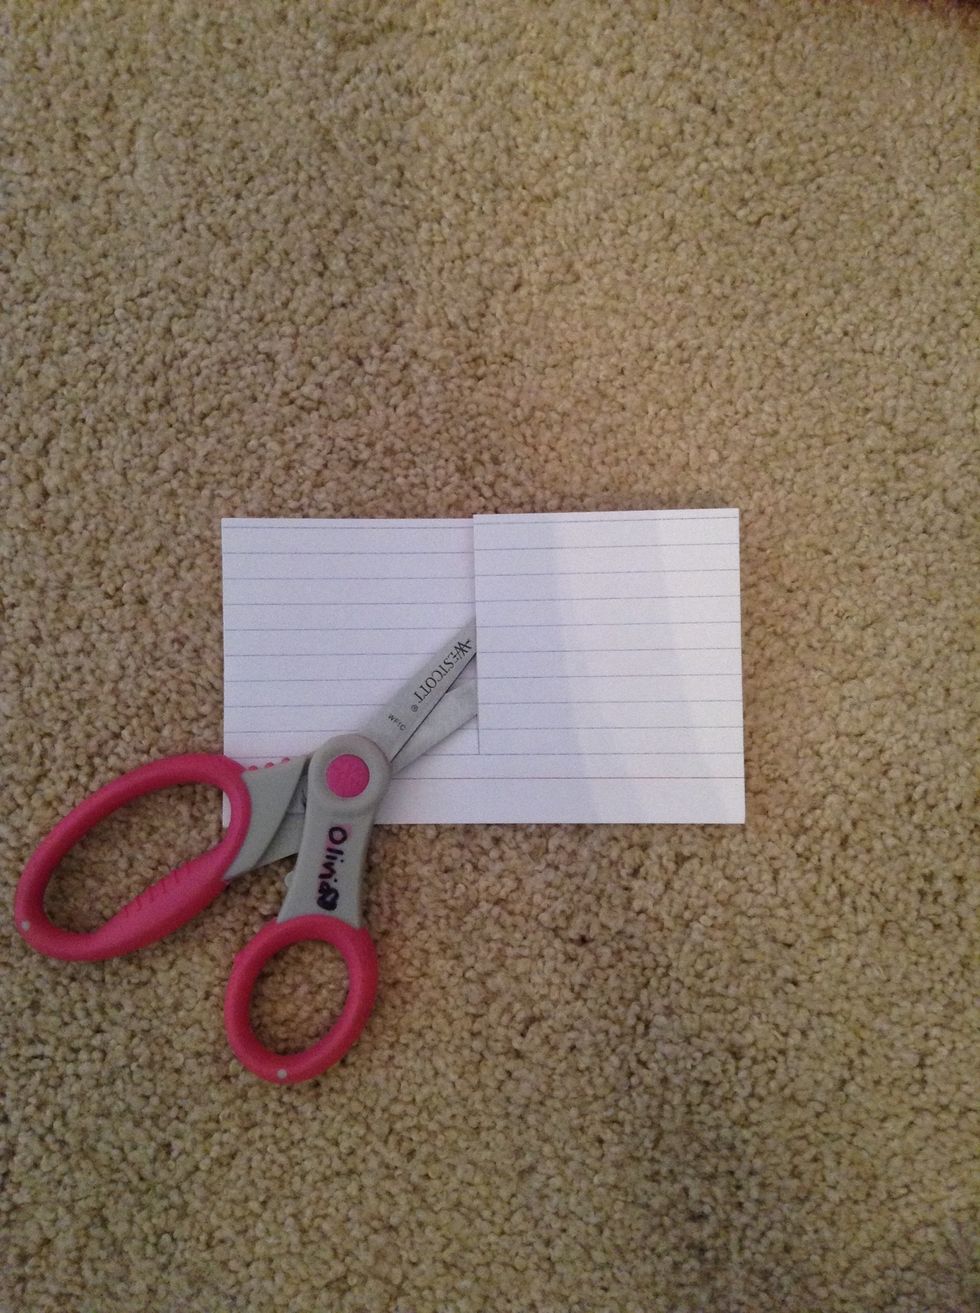
Now, very carefully cut the index card using your previously drawn line as a guide.
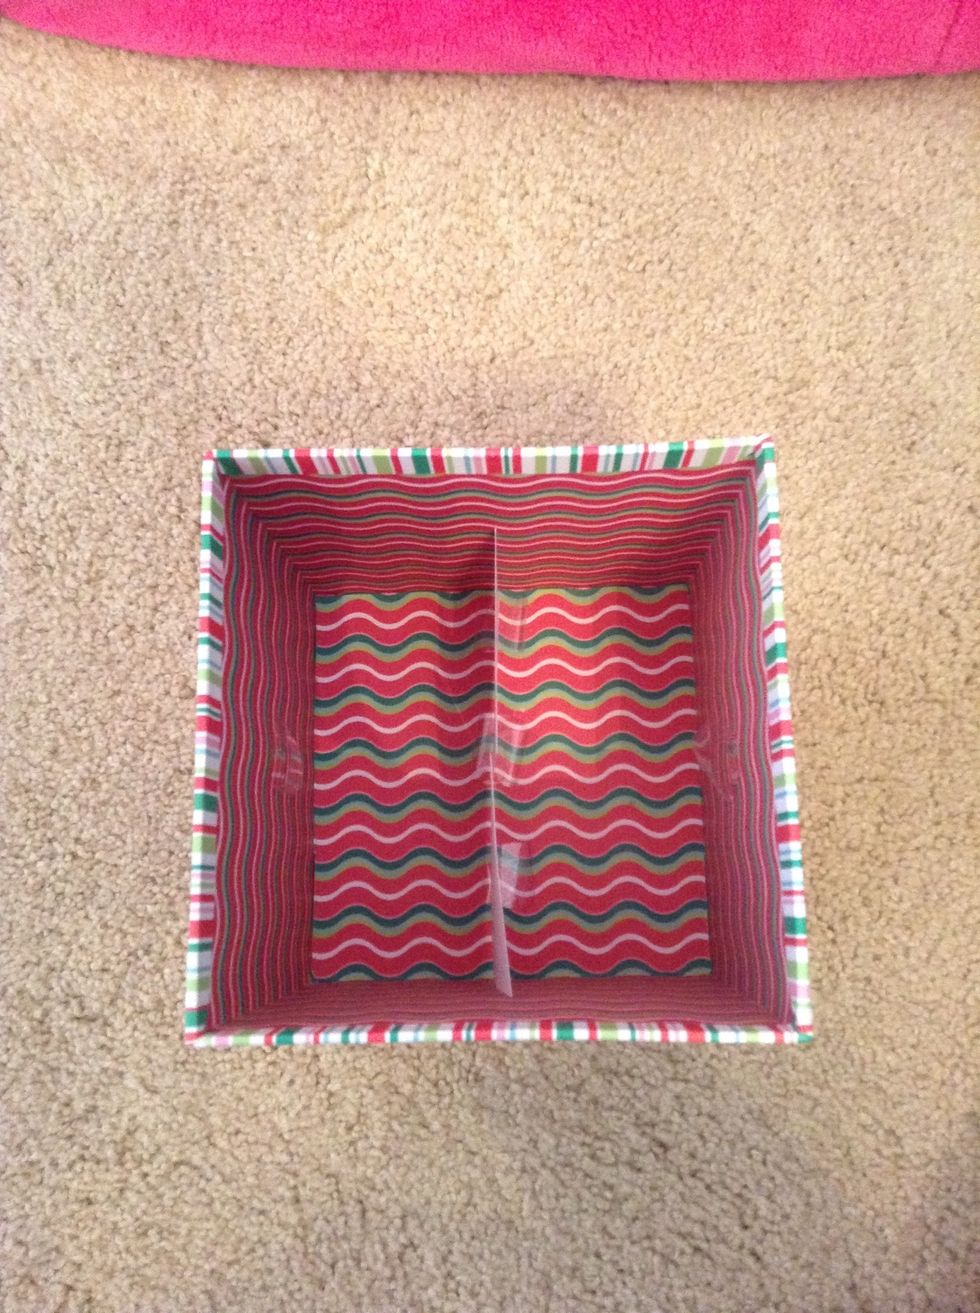
After that, place the index card in the box with the slit facing upwards. If it isn't stable or falls, place tape on the sides of the box and secure the index card to them.
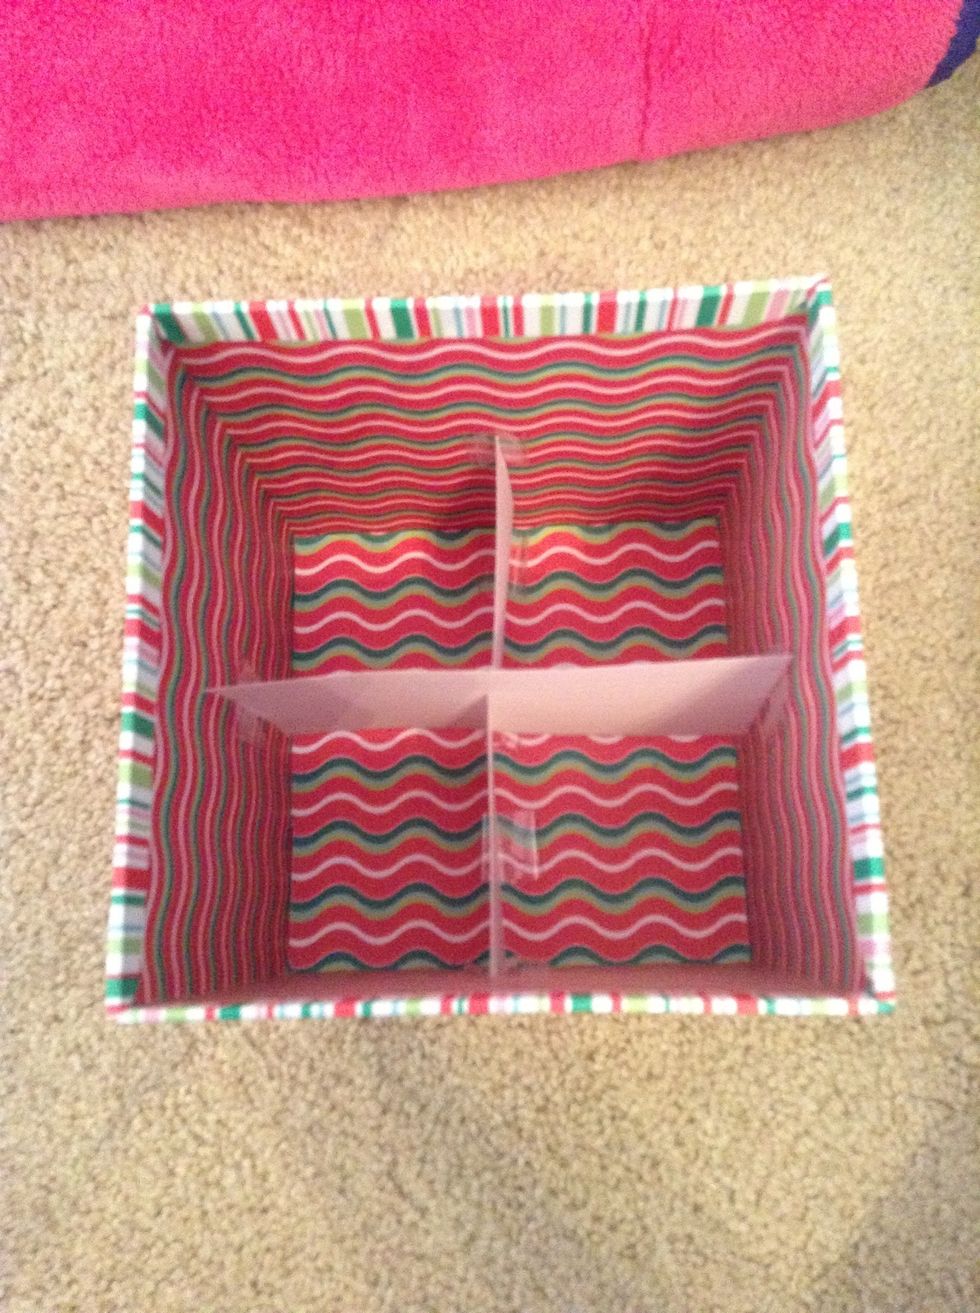
Then, taking your other index card, you want to insert it in the slit carefully and let it rest on the tape. Make sure your card is inserted all the way.
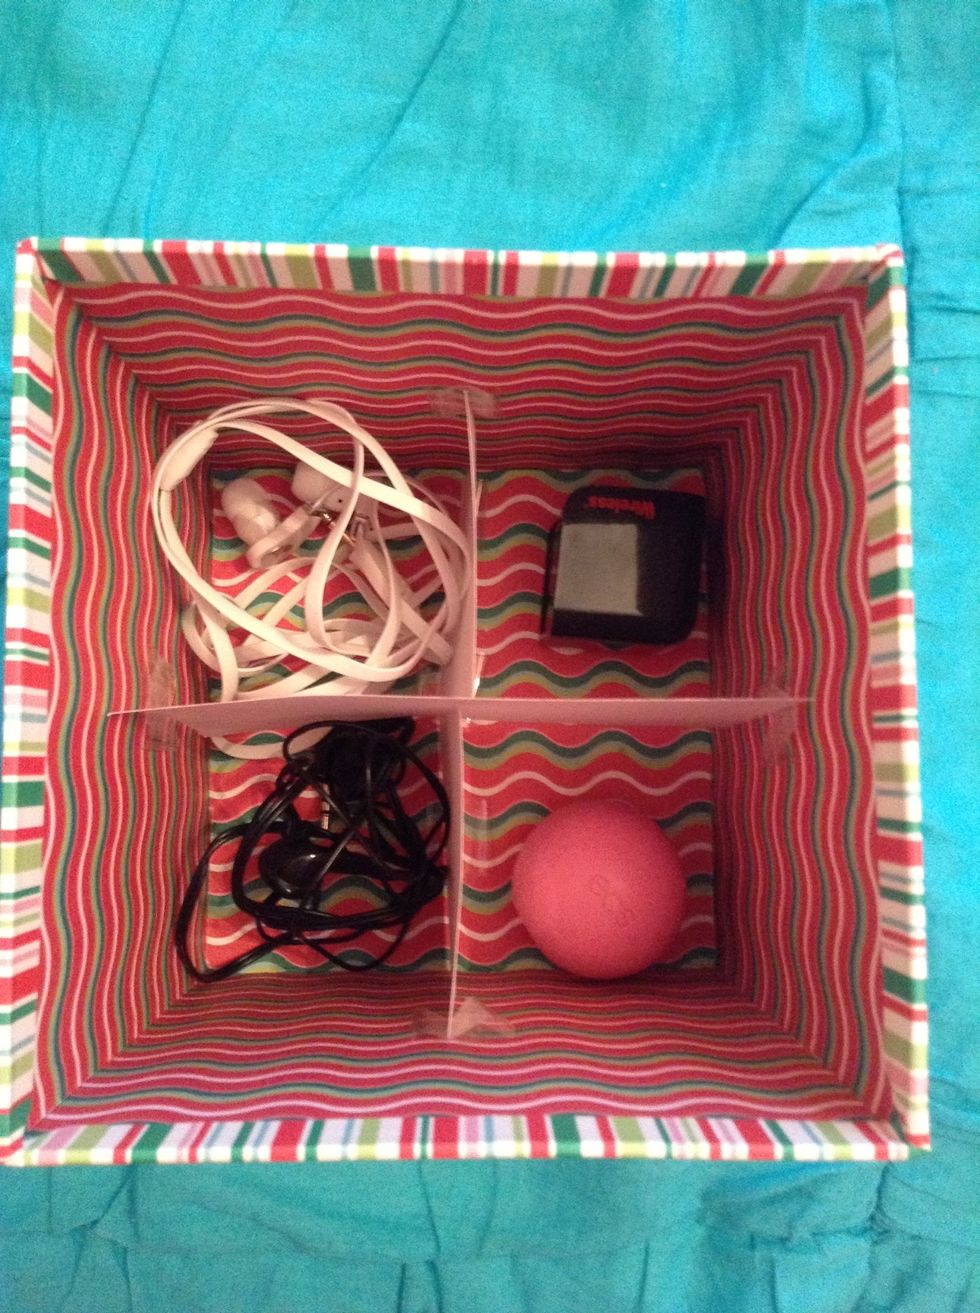
Now that you are finished making this handy little holder, insert your items into the slots.
An optional thing that you could do is only use one index card instead of two to allow more space for bigger items.
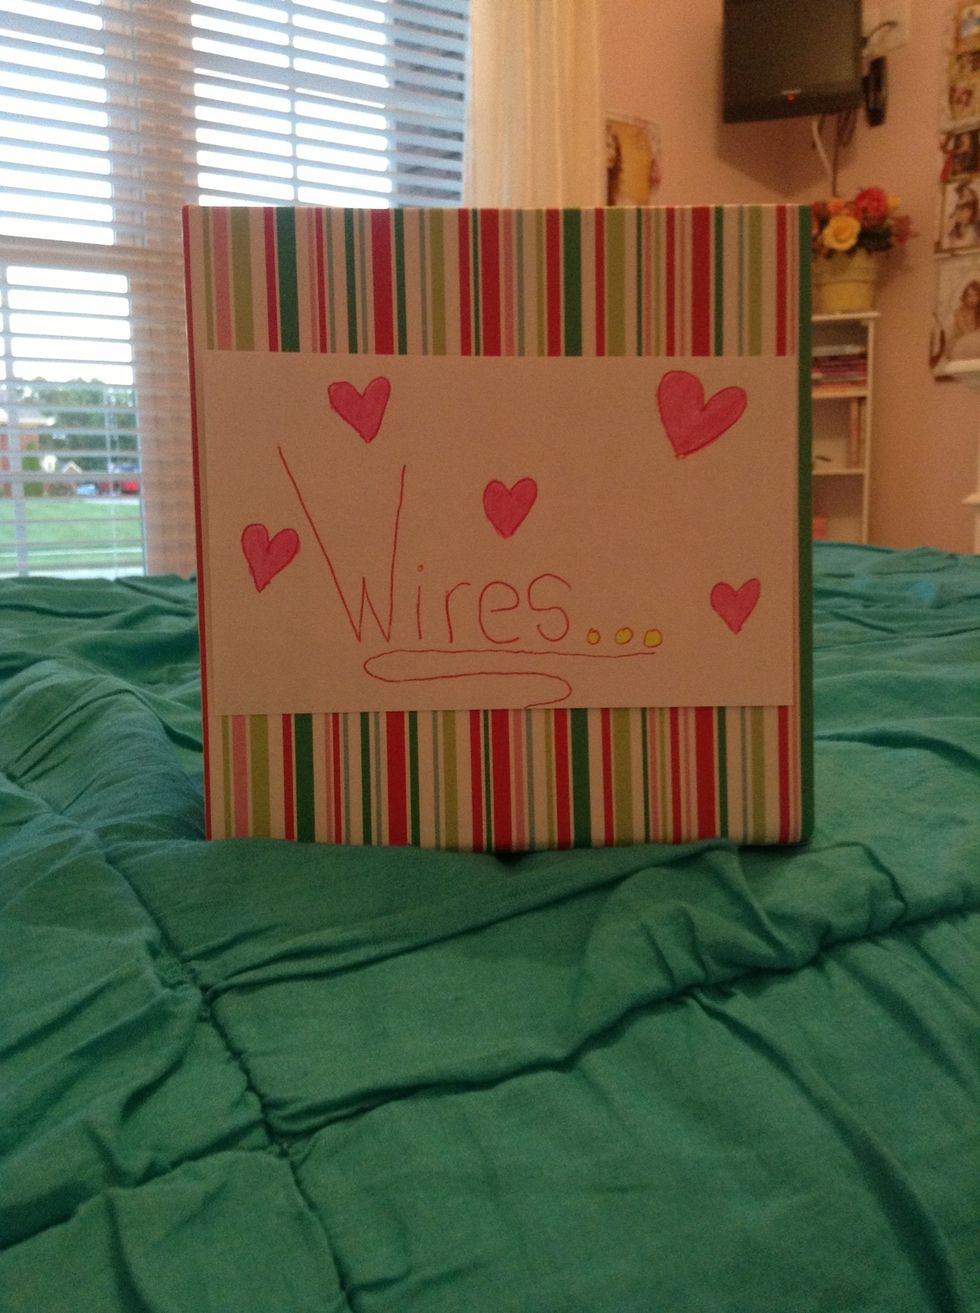
Another optional step is to use the back of the index card to label your box. Then, tape it to the outside. This is great if you use multiple boxes. You can remember which one holds which things.
Thank you for viewing my guide on creating this handy little basket! Comment down below what you would put in your basket for more ideas! I hope you enjoyed and have an amazing day!☺