The Conversation (0)
Sign Up
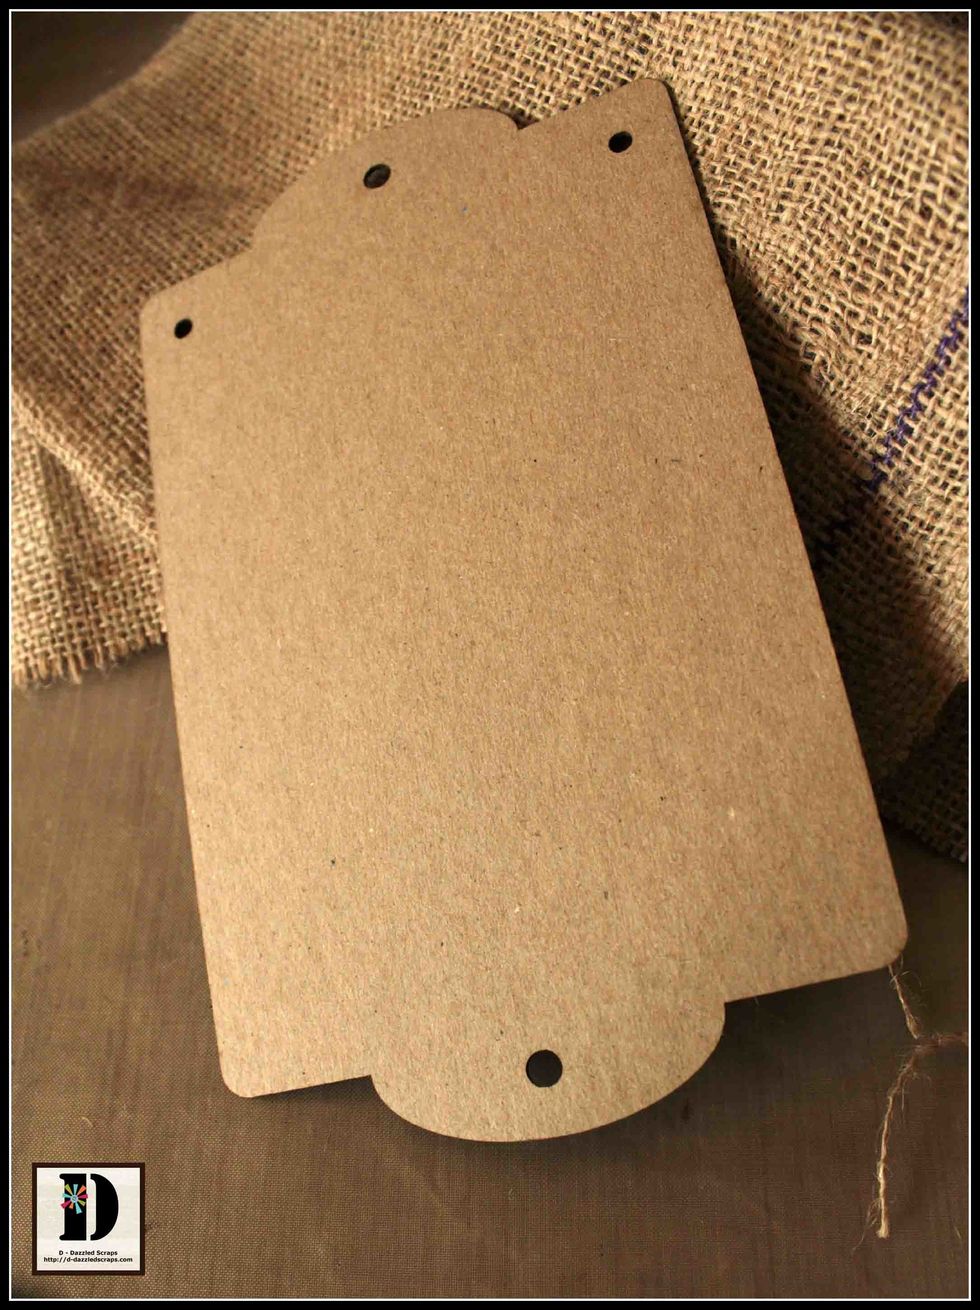
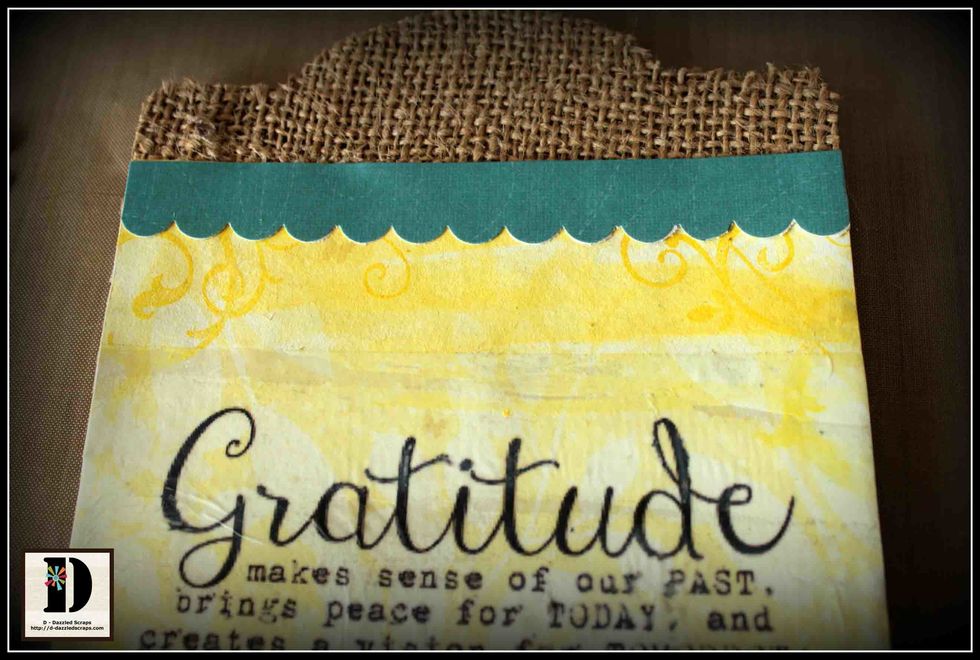
Start with collecting supplies, such as your chipboard banner panel and the burlap.
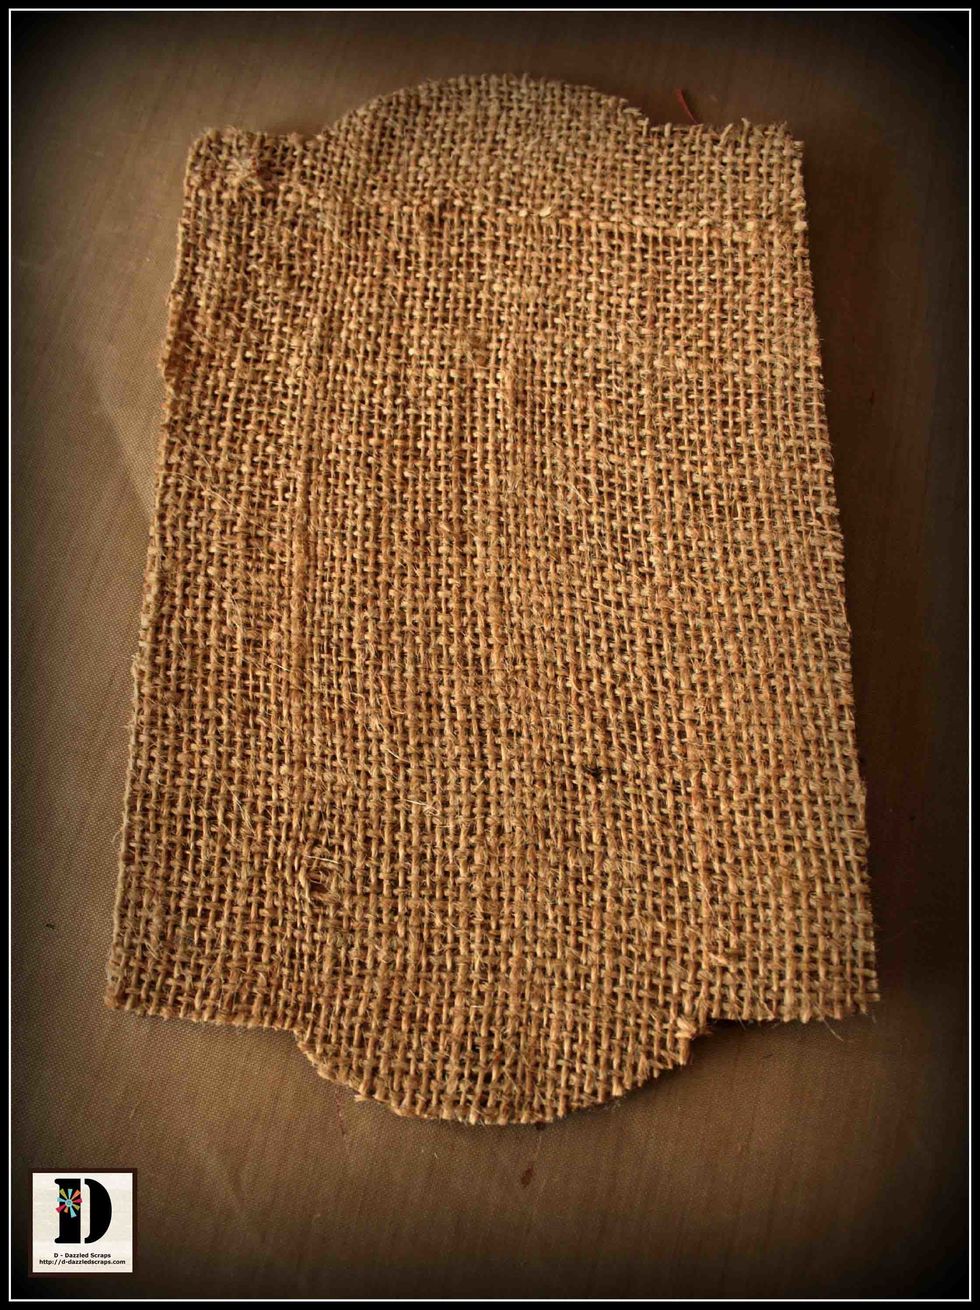
Glue a piece of burlap to the chipboard banner panel and trim around the edges.
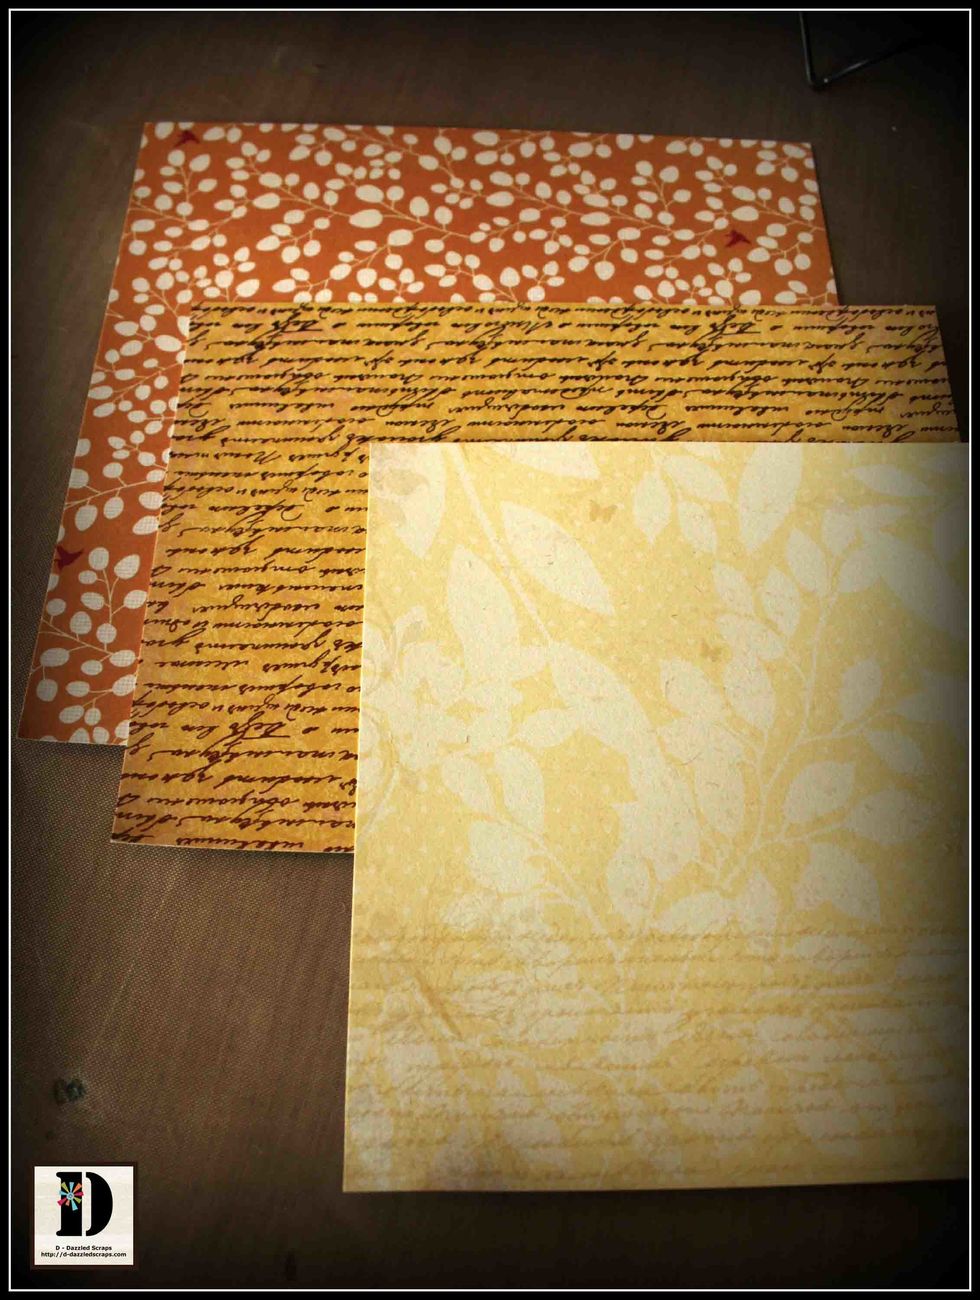
Choose the papers you want or think you might use. I am using papers from Kaiser Craft Hummingbird and Botanical Odyssey 6 x 6 paper pads.

Choose or type out on your computer your sentiment/quote. I am using a digi sentiment. Following the manufacturers instructions print it out on Craft Attitude Printable Film in reverse.
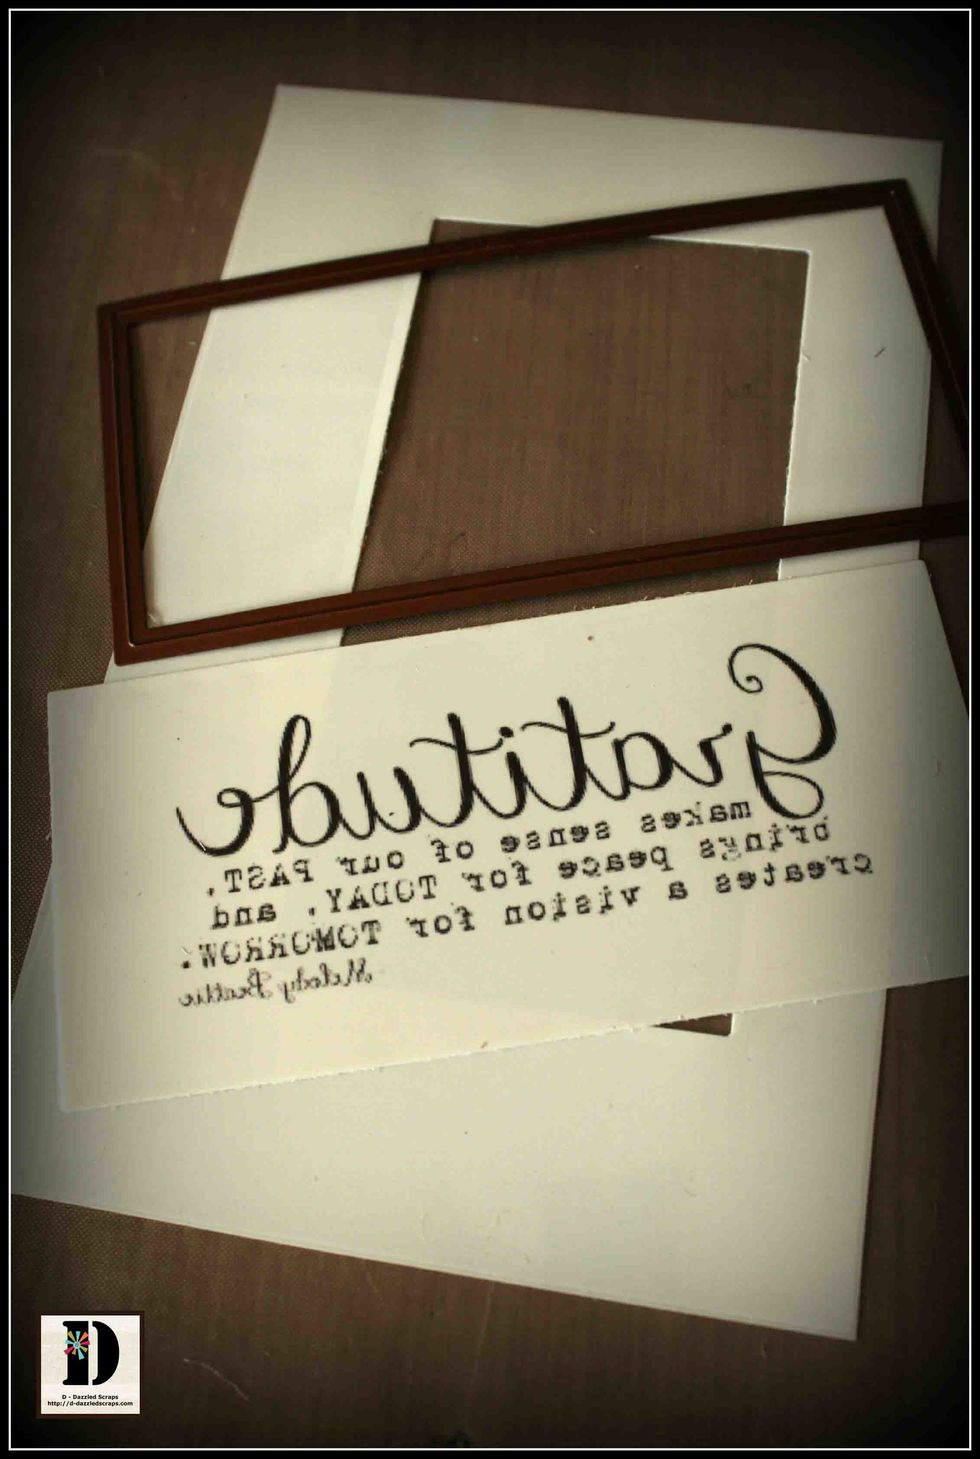
Once dry cut down your sentiment while still attached to the backing to a more appropriate size. I have used a Spellbinders Rectangle Die to do so.
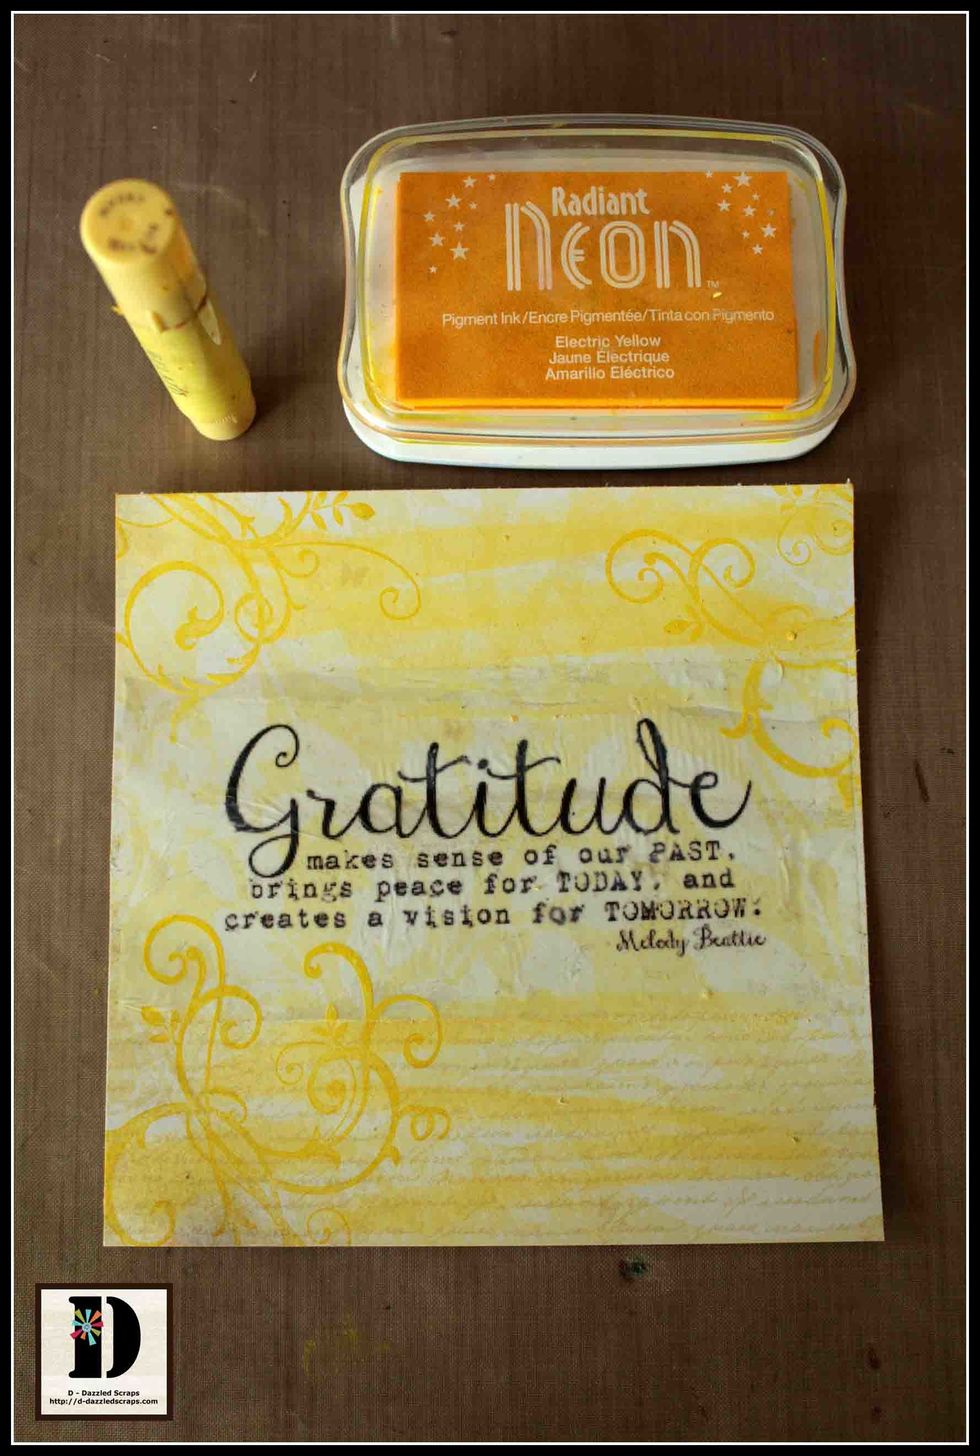
Adhere your sentiment following manufacturers instructions to your chosen paper. Then using a Gelato and Ink add interest such as scribble and some stamping with a flourish stamp.
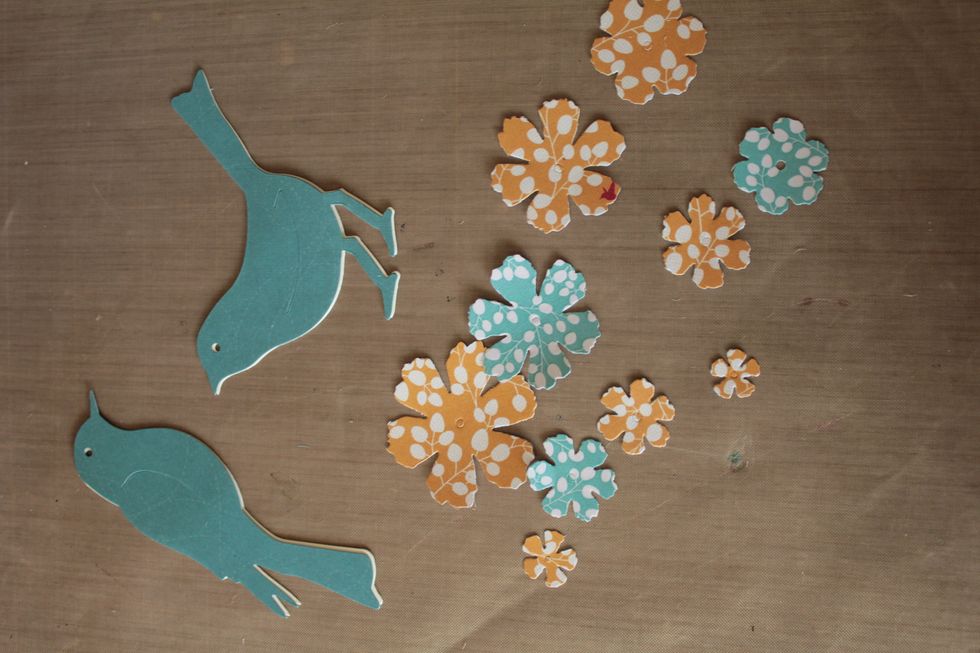
With your other coordinating papers that you have chosen to use, cut out some die cut shapes such as flowers and birds. Ink edges as desired. (See the supply list for the dies used for my project.)
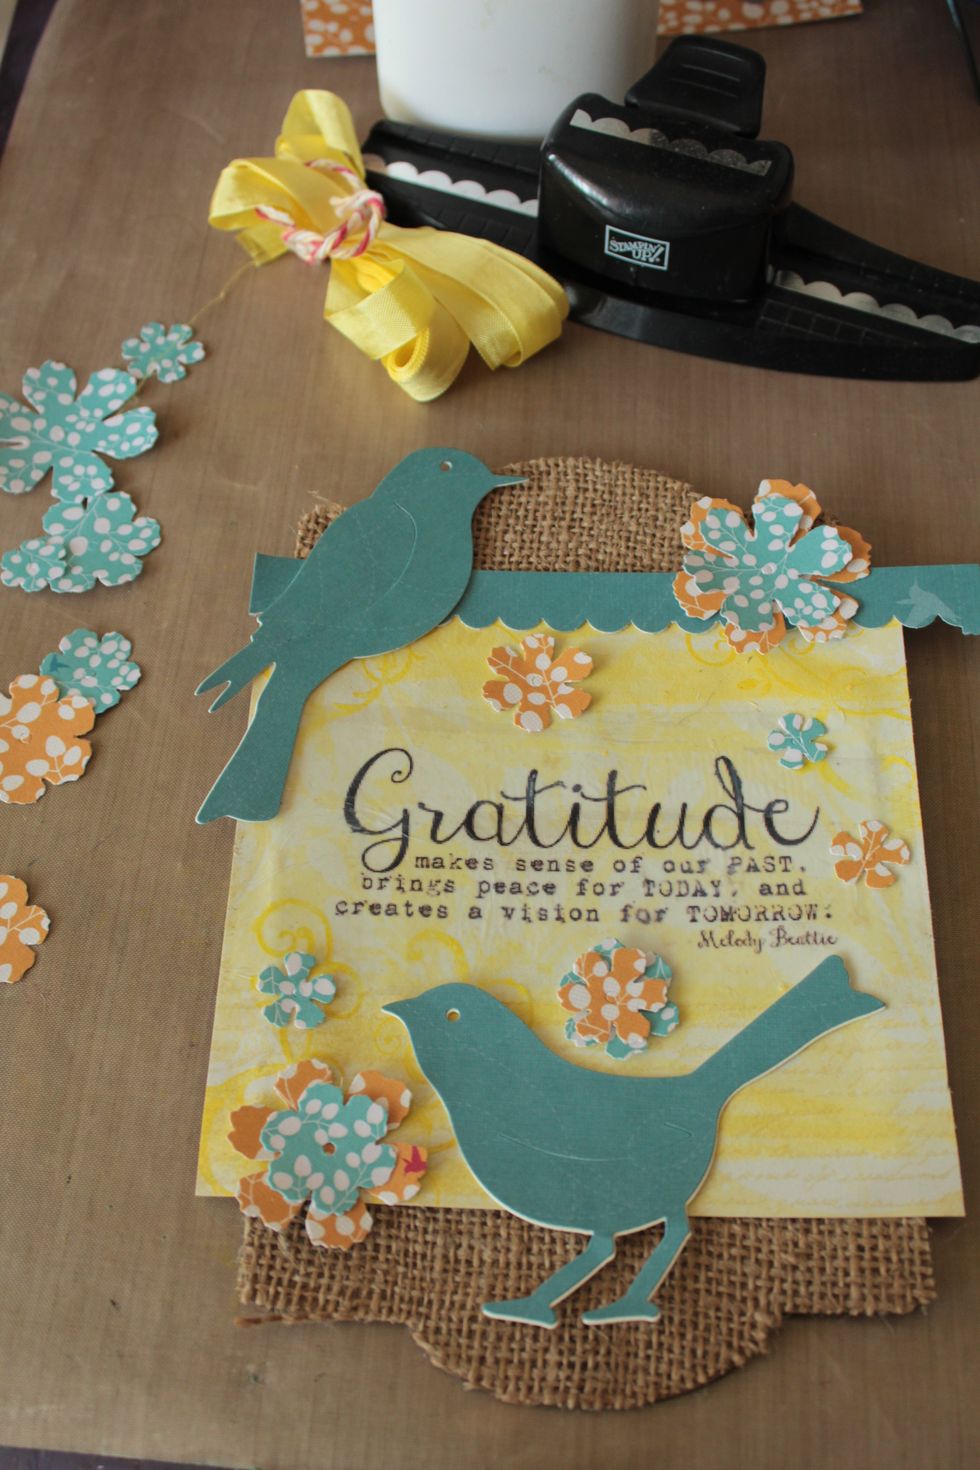
I also used a border punch to punch out a decorative strip. Play around with where you wish to place your die cuts to decorate your panel.
Start gluing everything to your panel, starting with your sentiment piece and decorative border strip using PVA Glue.
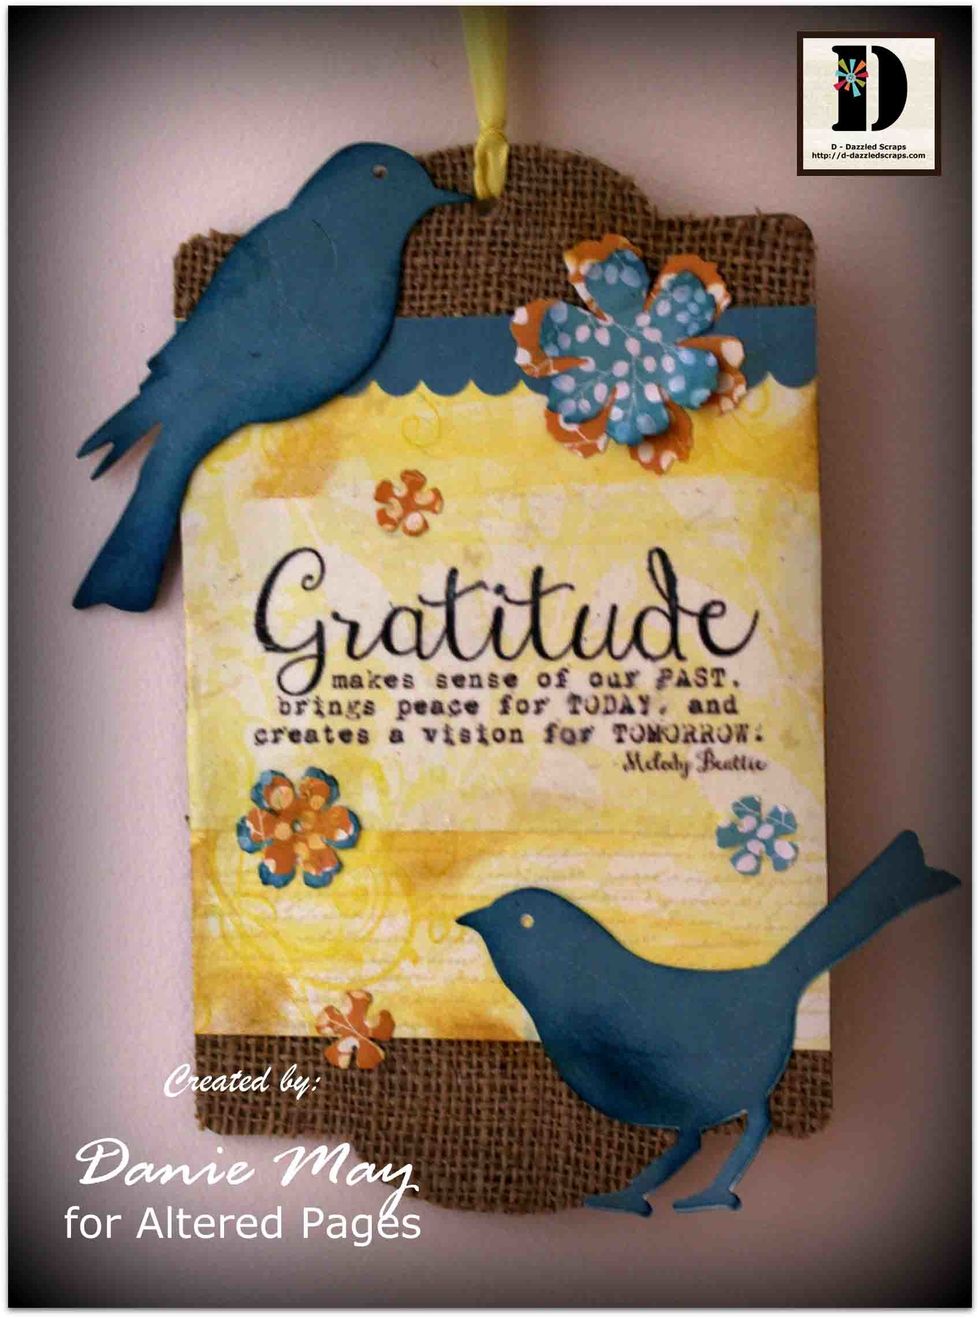
Once decorated your plaque is ready to hang. Tie a piece of coordinating seam binding through the center of the top of your panel. And your project is finished.