The Conversation (0)
Sign Up
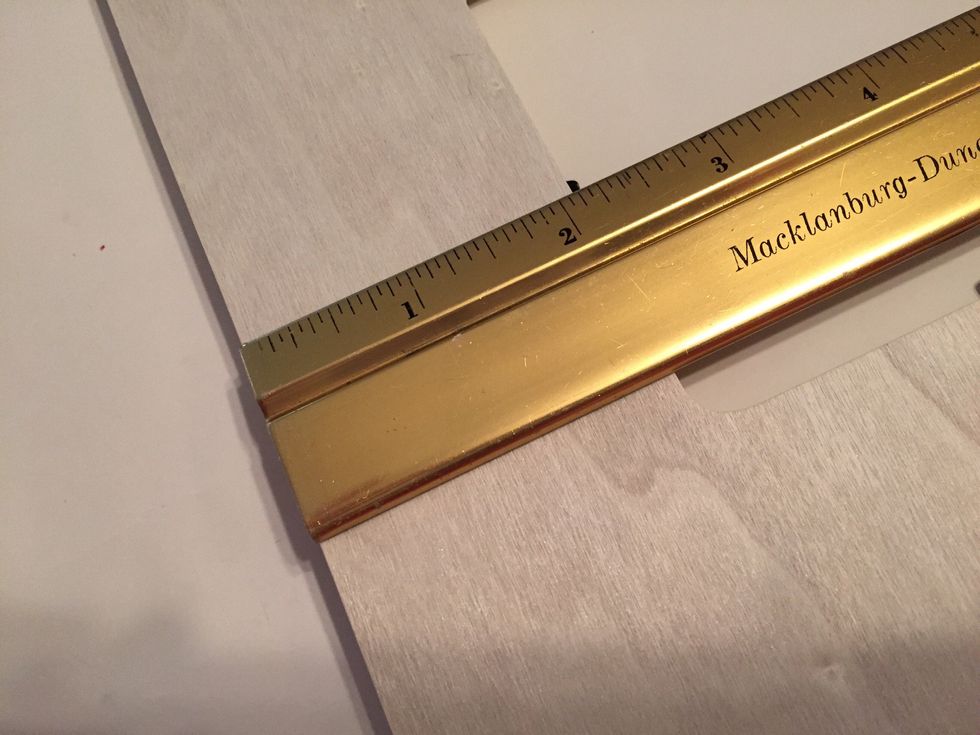
you need to determine how many tiles you need to cover your frame. for this project, i'm making 1" square tiles to use. start by measuring the width of your frame.
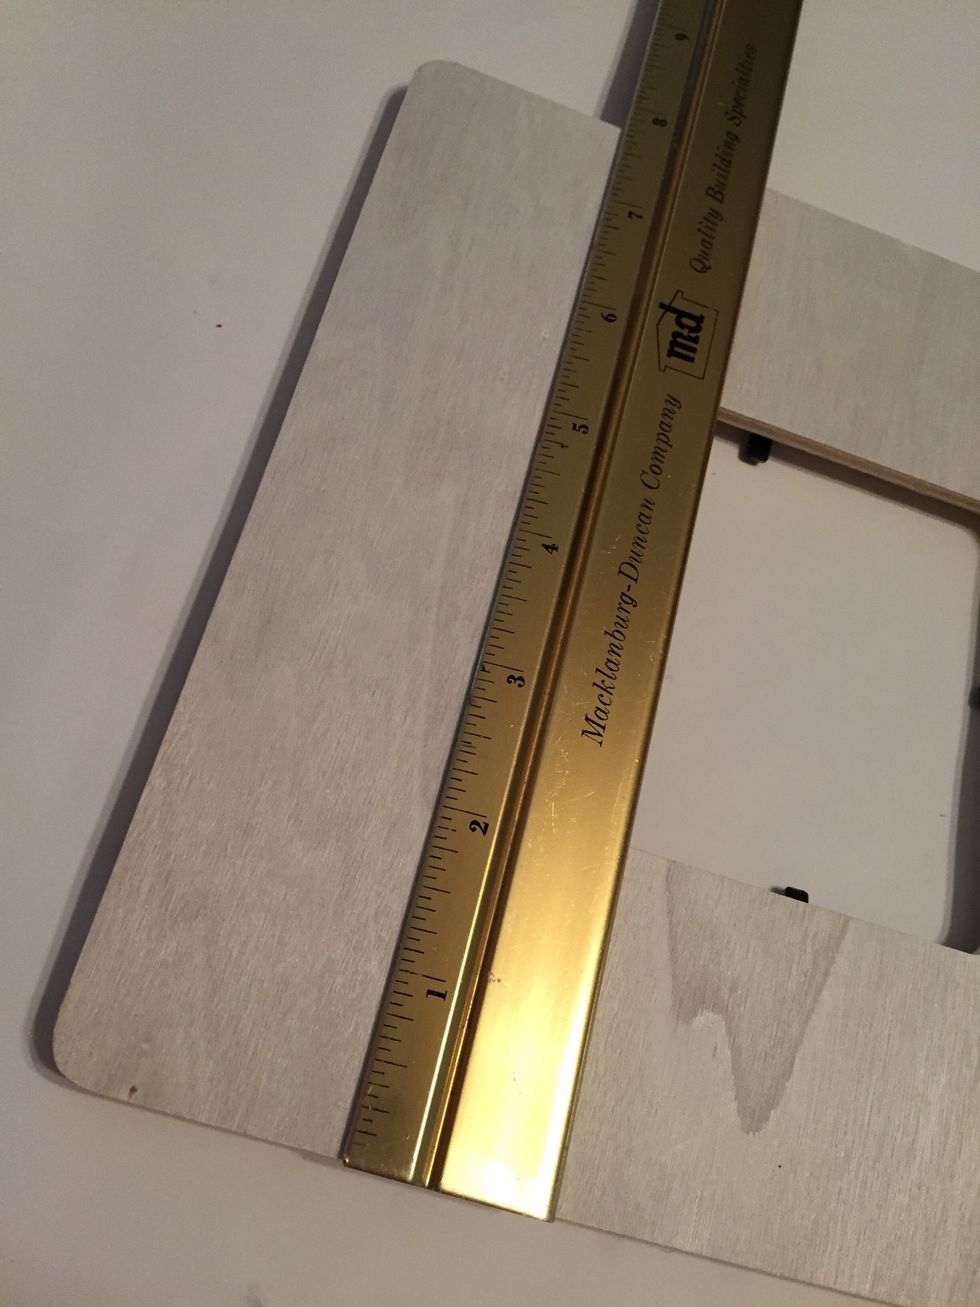
next, measure the height of your frame. use these measurements to determine how many tiles you need.
shrink film reduces by about half after baking, so since i want to use 1" squares to embellish frame, i will need to cut 2" squares from film. for this project, i will need to ink 3 sheets.
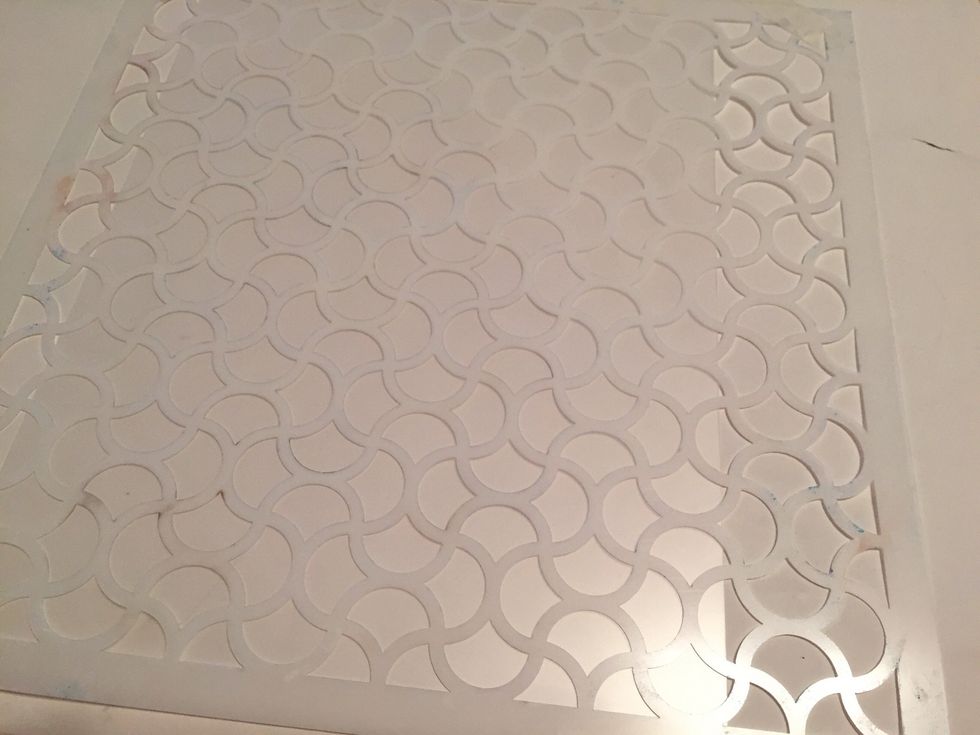
prep first shrink film sheet for inking by first taping sheet to work surface, then placing and taping stencil over it. RIPPLES stencil.
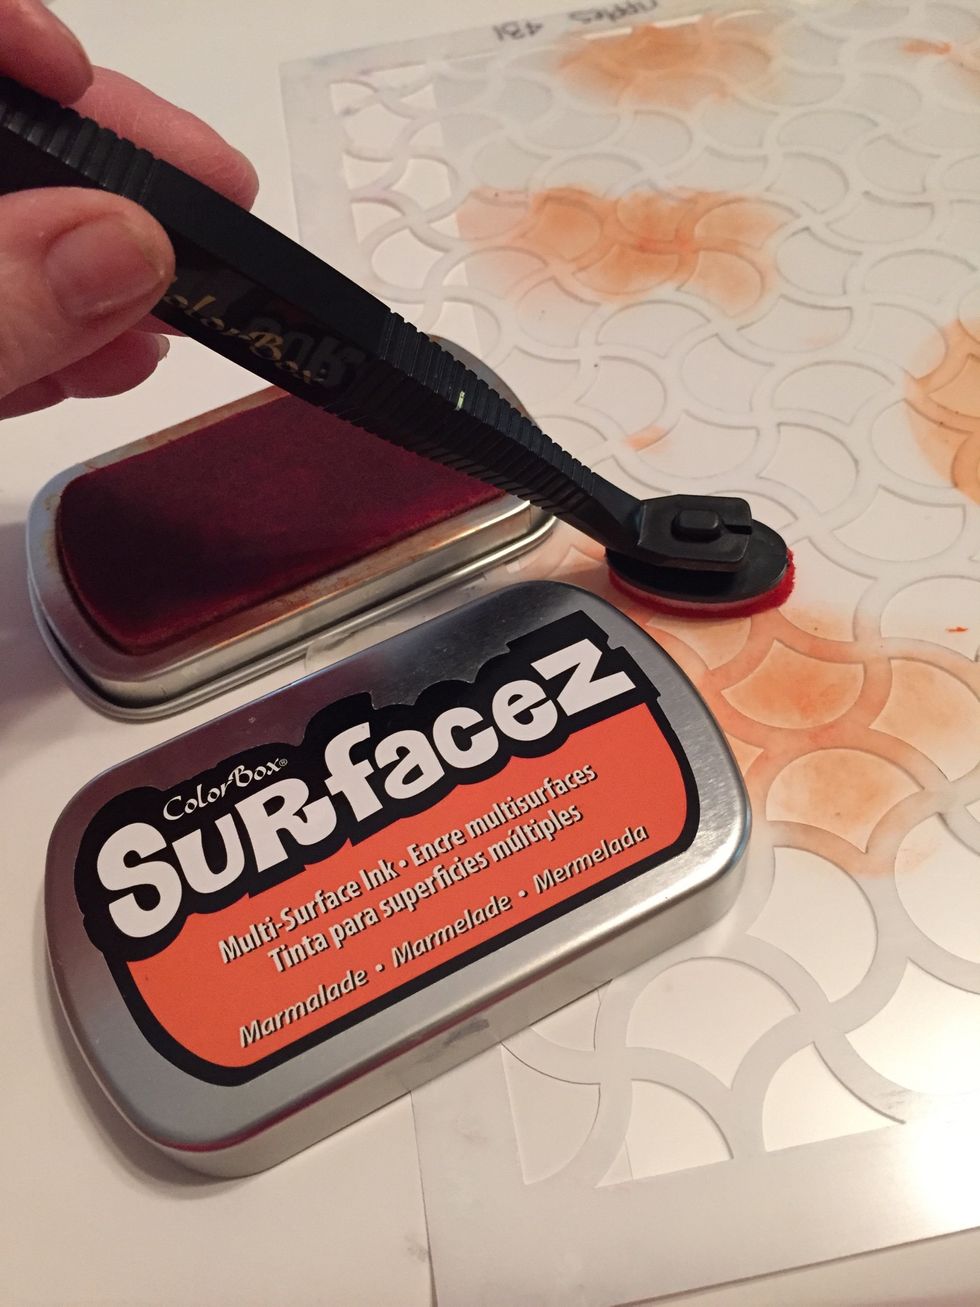
begin inking areas of the stencil using Marmalade Ink applied using Stylus & Tip *** HINT: make sure inkpads are well inked to make the application easier. if you have refill bottles, you can ink tip.

use a clean tip and begin to apply Safari ink to areas of the sheet, overlapping some previously inked spots slightly.
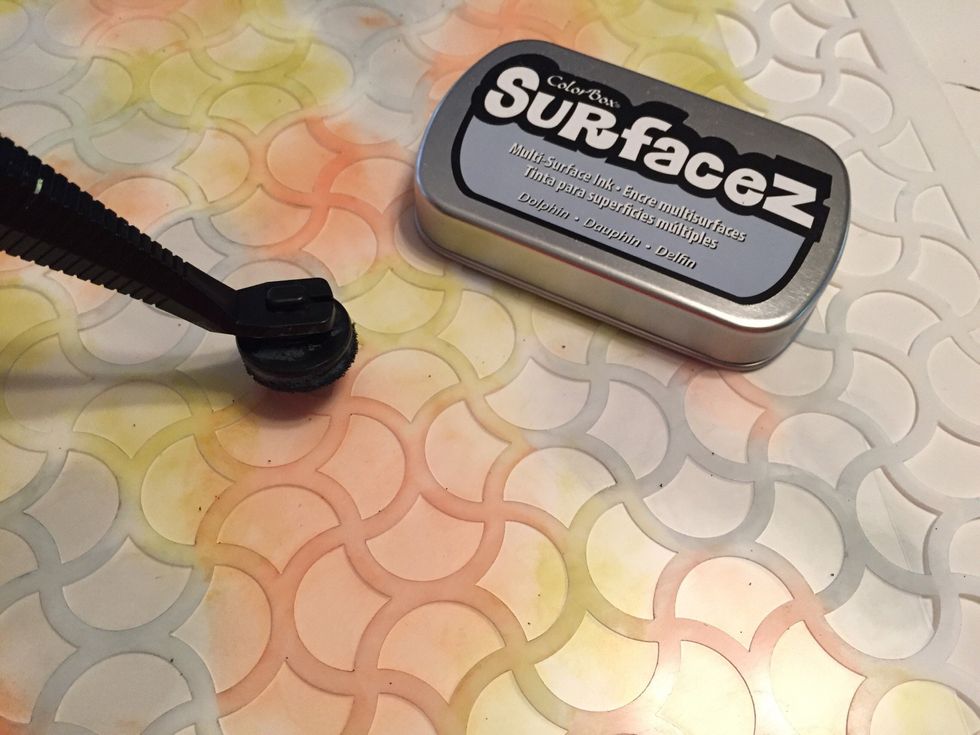
switch tips again, and ink remaining open areas using Dolphin Ink, again overlapping previously inked areas slightly to blend colors.
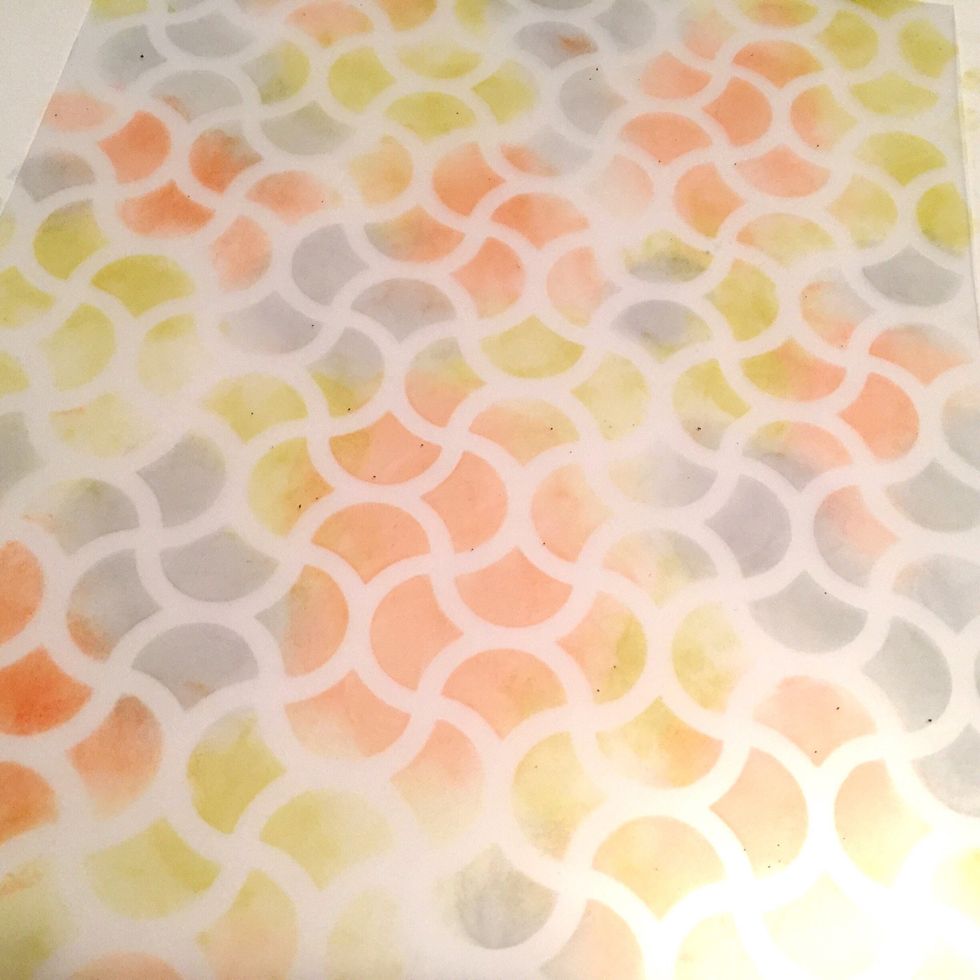
sheet after Ripple stencil was inked and removed.

add another stencil - BEADED CURTAIN - and ink using Berry Ink. apply ink heavier in some areas and lighter in others.
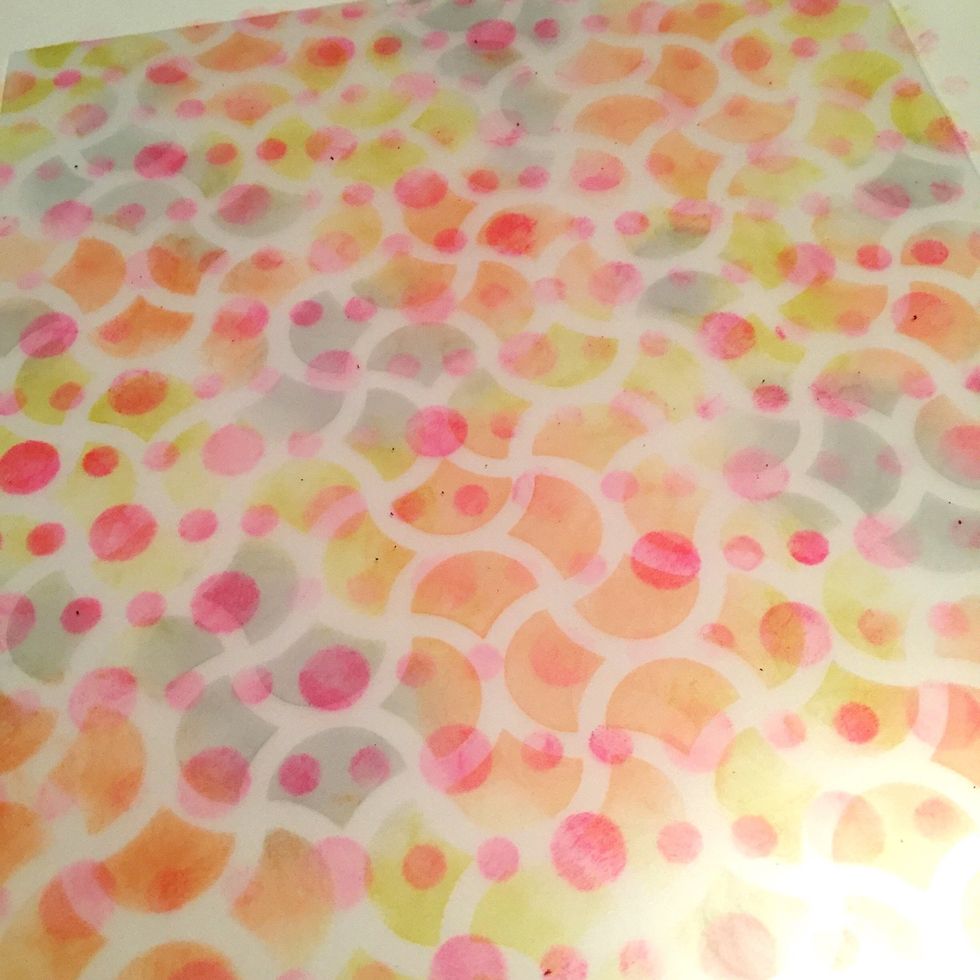
finished sheet. colors will deepen after baking.
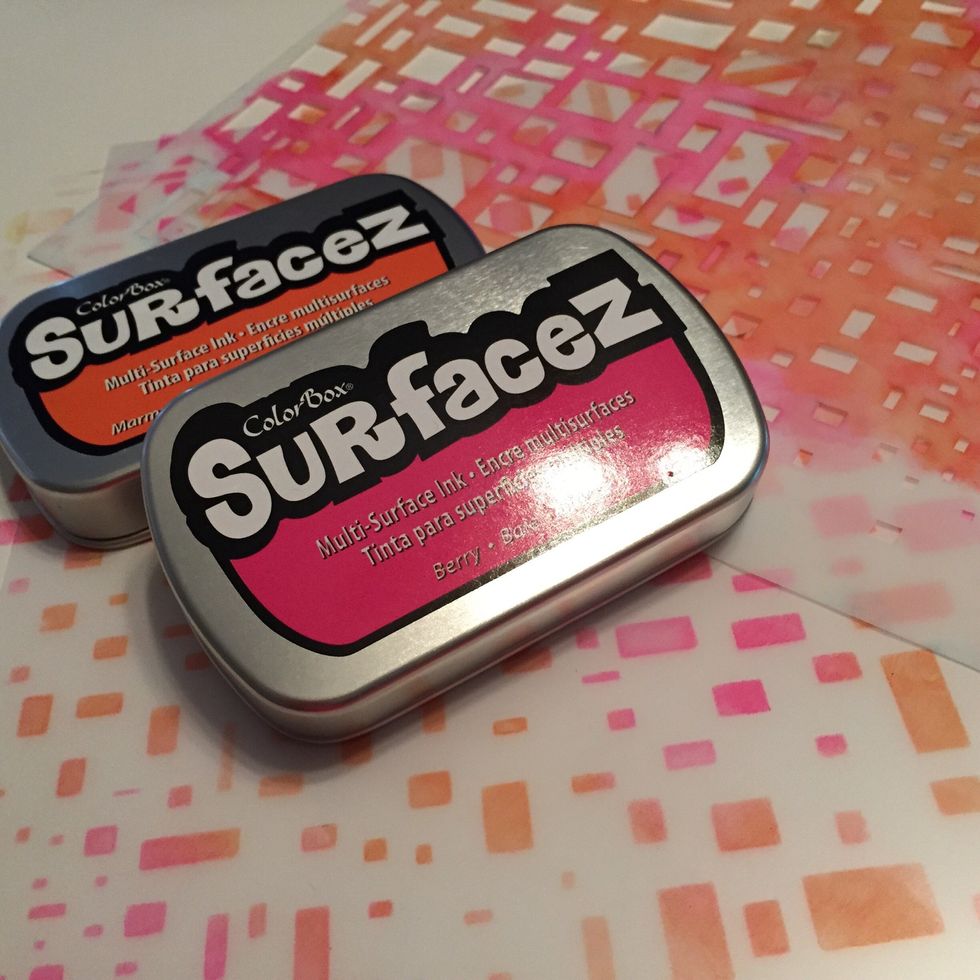
start next sheet using CUBIST stencil. ink using Berry and Marmalade.

remove previous stencil and tape NETTING stencil over sheet. ink using Safari and Bluebell.
for next sheet, start with CHEVRONS stencil and ink using Safari, Berry and Marmalade inks.
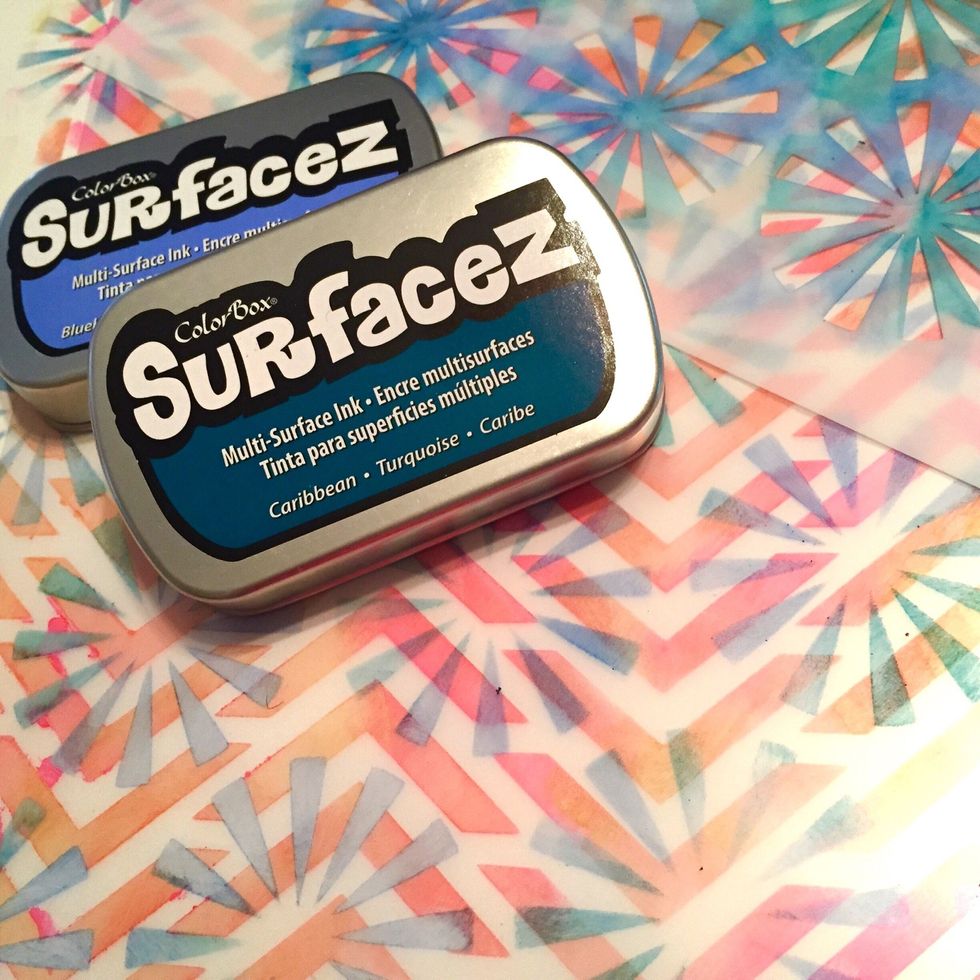
remove previous stencil, tape down RETROBURSTS stencil and ink using Bluebell and Caribbean inks.
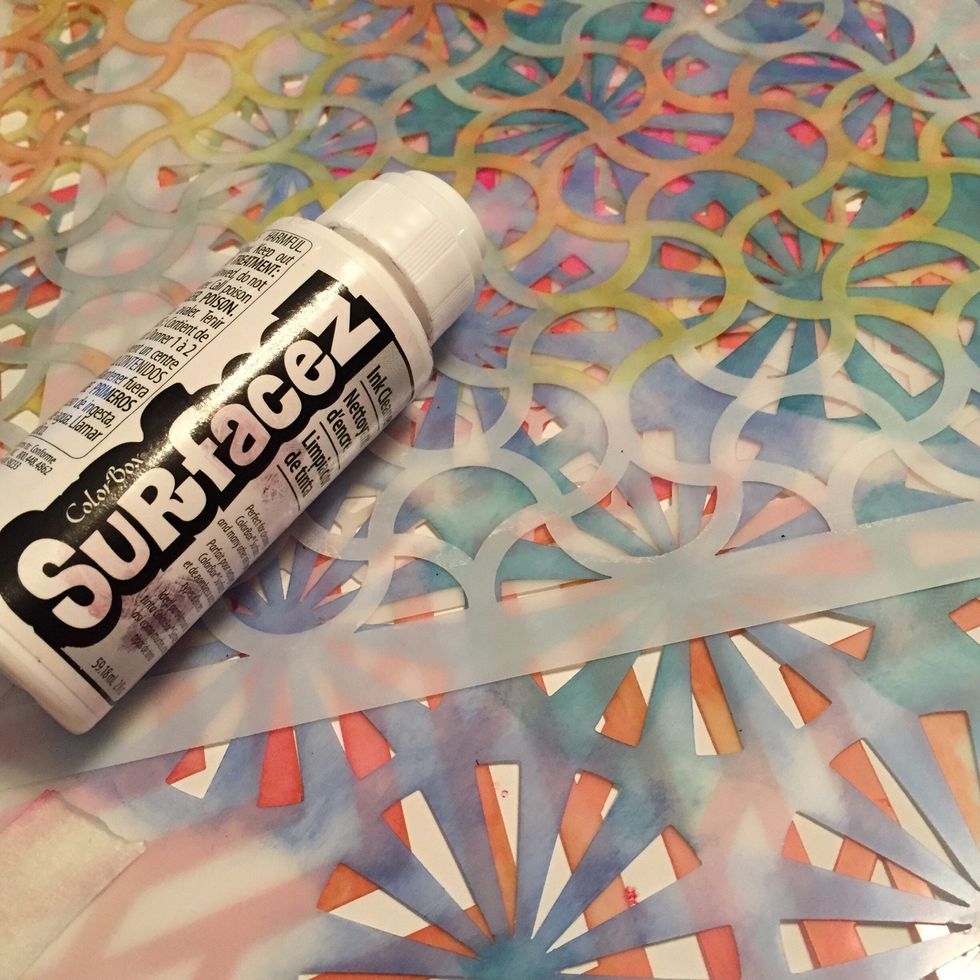
since Surfacez Inks are permanent, your stencils will be prettily inked. the ink won't come off with paints or other inks except permanent types, so you can leave them or clean with Surfacez Remover.
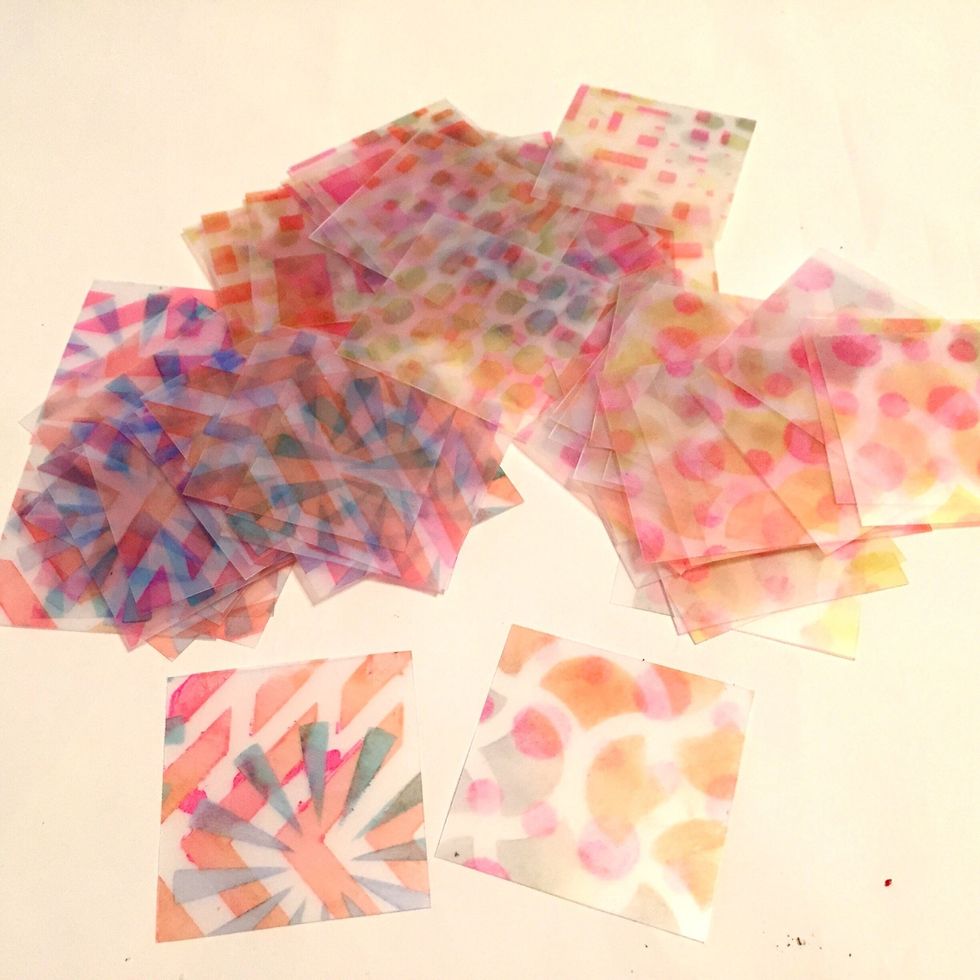
cut sheets into 2" squares.
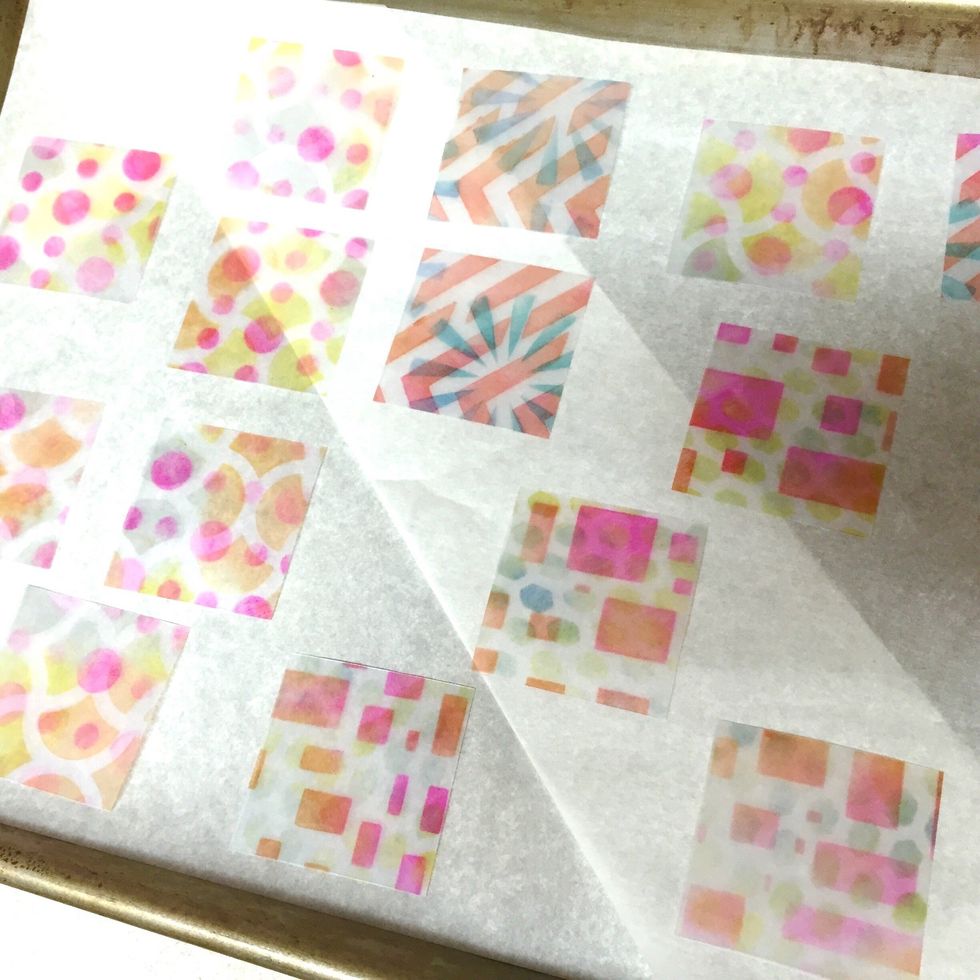
place pieces on baking sheet lined with parchment paper and bake according to package directions.

they come out so cute and TINY! let cool and harden a little while before removing pieces from sheet. be careful! sheet and pieces will be HOT!
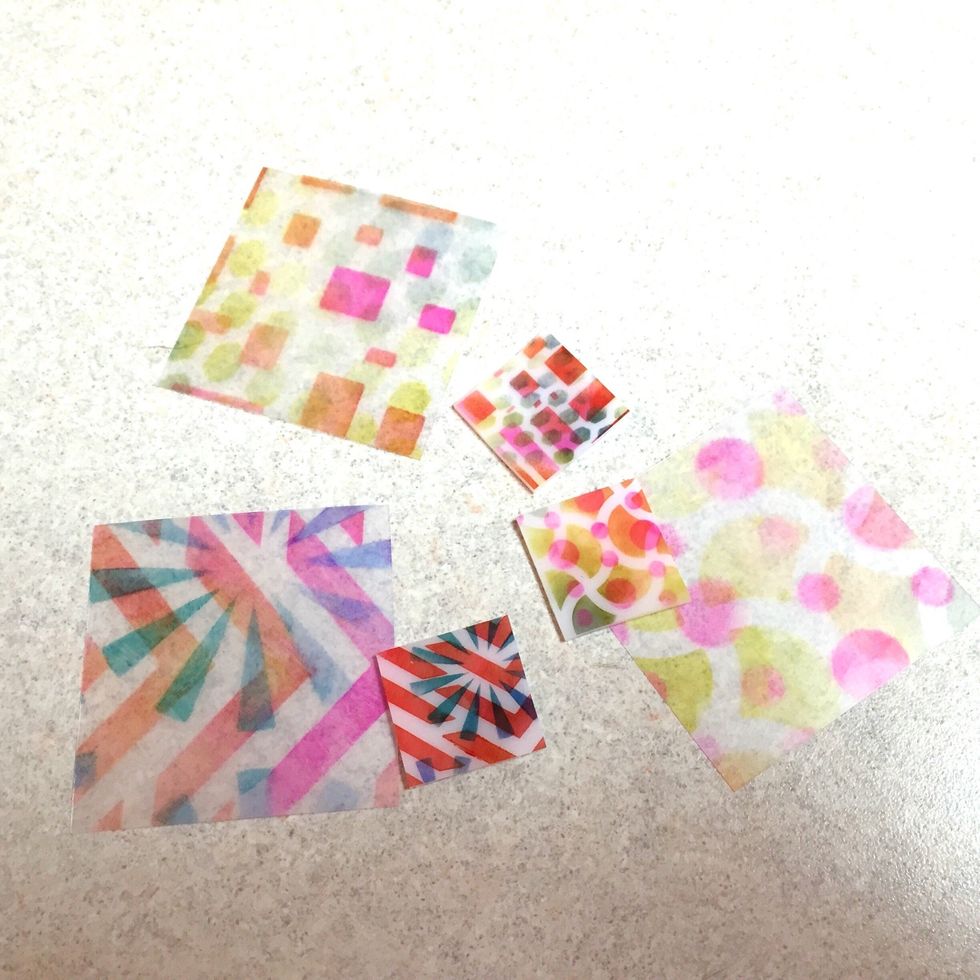
here are "after" pieces beside their "before" pieces. you can see how the colors change.
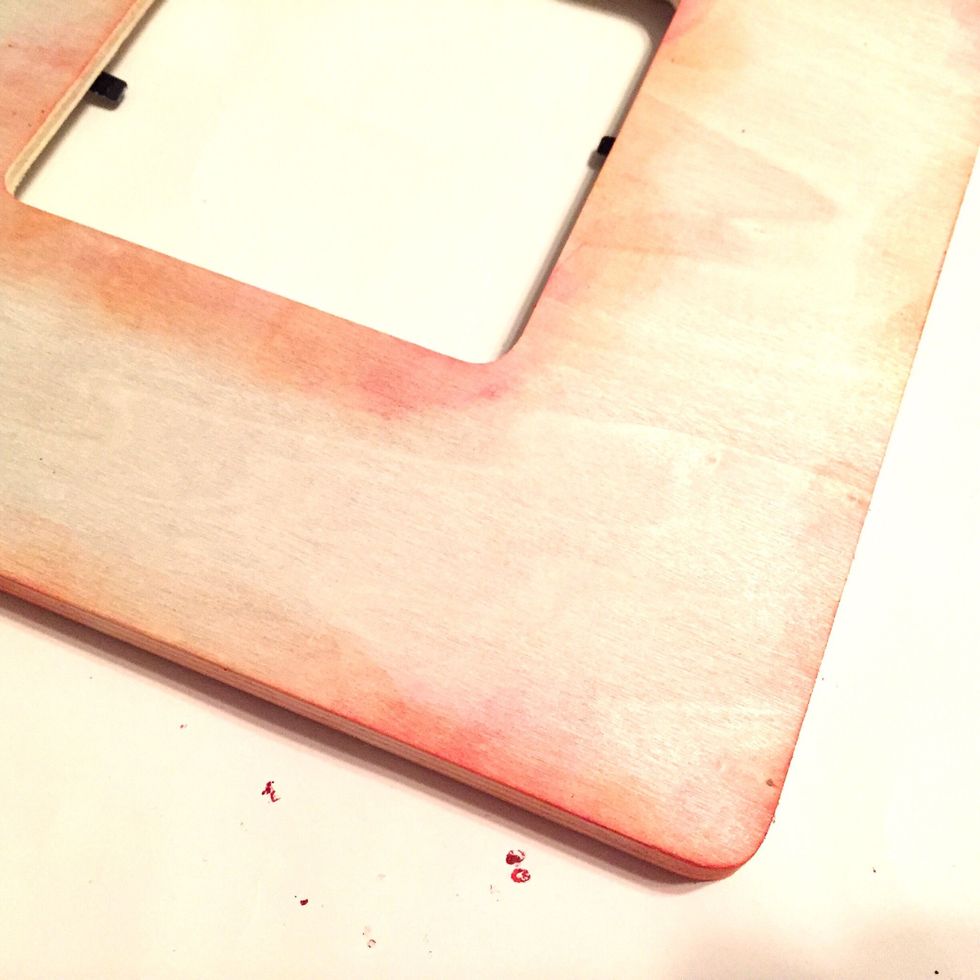
distress edges of frame using Berry and Marmalade Inks applied using Stylus & Tips.

layout pieces on frame; mixing colors and designs. adjust spacing as you work. tiles don't always shrink "exactly" square, so try turning pieces to correct any spacing issues.
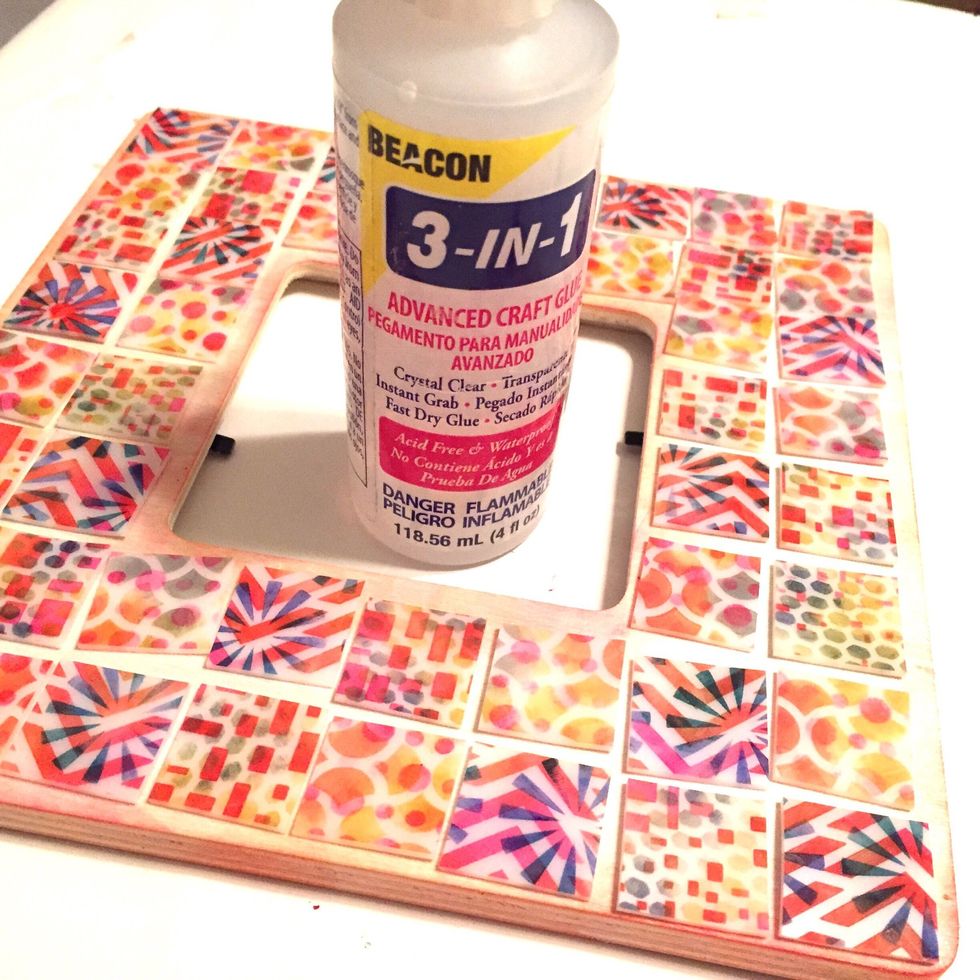
once you're happy with spacing and layout, begin adhering the pieces. i like using a quick tack glue like 3-in-1. pieces may not all be flat, so to adhere, put a dab of glue on center back and place.

for center quote piece. cut a piece of white cardstock to size. tape to work surface, then tape Mini Netting Stencil over it.

use Bubble Blue Pigment Ink, applied using Stylus & Tip in areas around outside of cardstock piece. then use Bubblegum and Tangerine Inks to fill in, overlapping and blending slightly where inks meet.
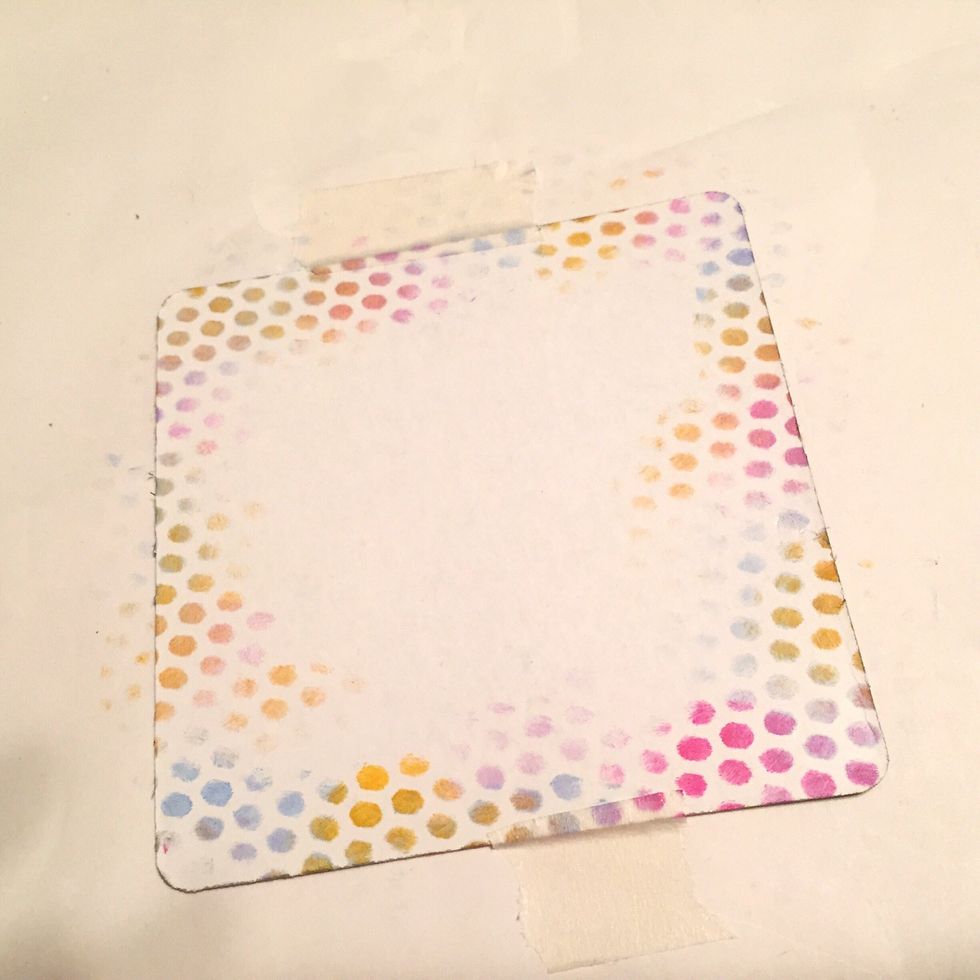
outside border of cardstock piece inked.

heat set.
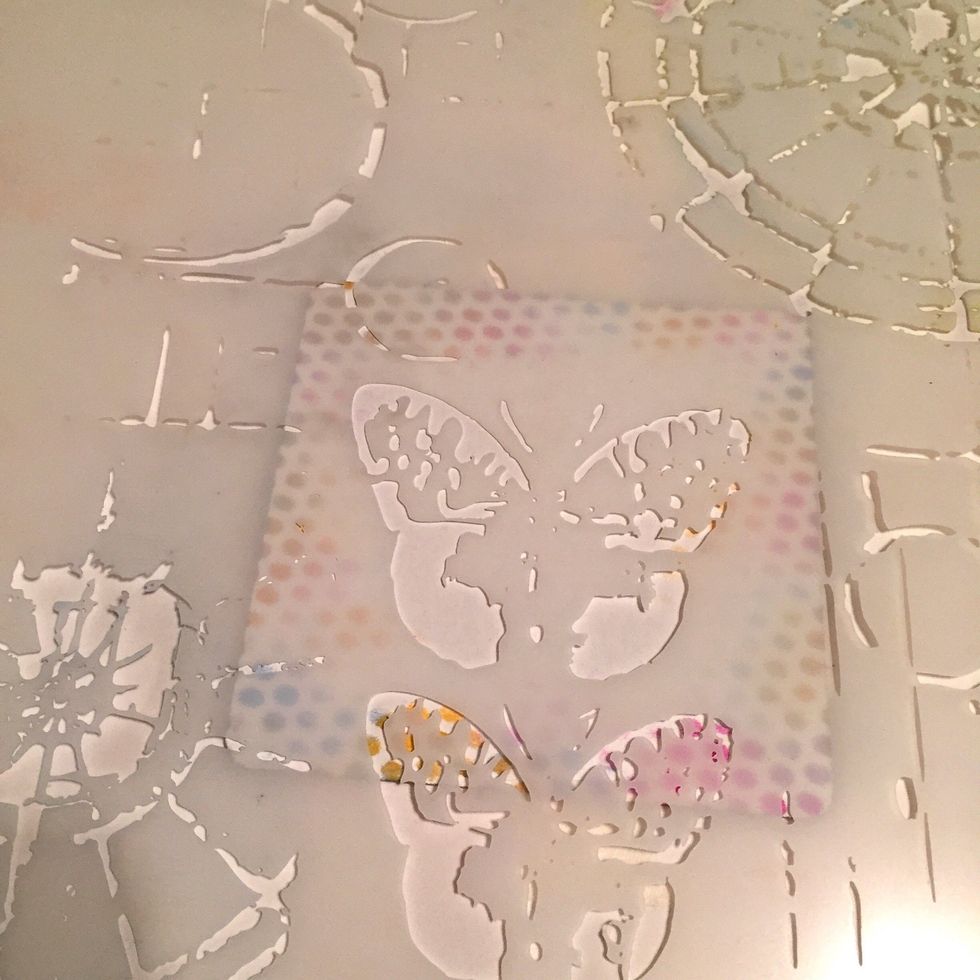
using SPECIMEN stencil, place butterfly at center of cardstock. ink butterfly with Bubblegum, Tangerine and Bubble Blue Inks. tape off or be careful NOT to ink open areas of stencil around butterfly.
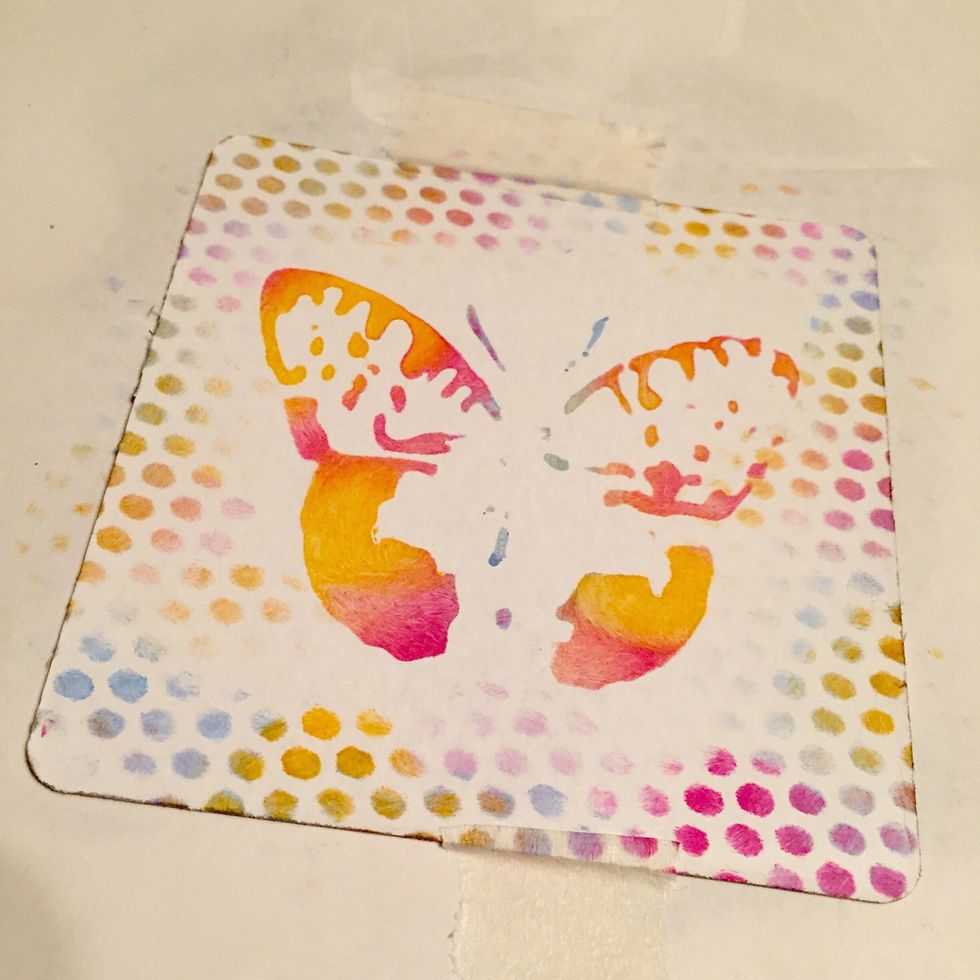
heat set butterfly,
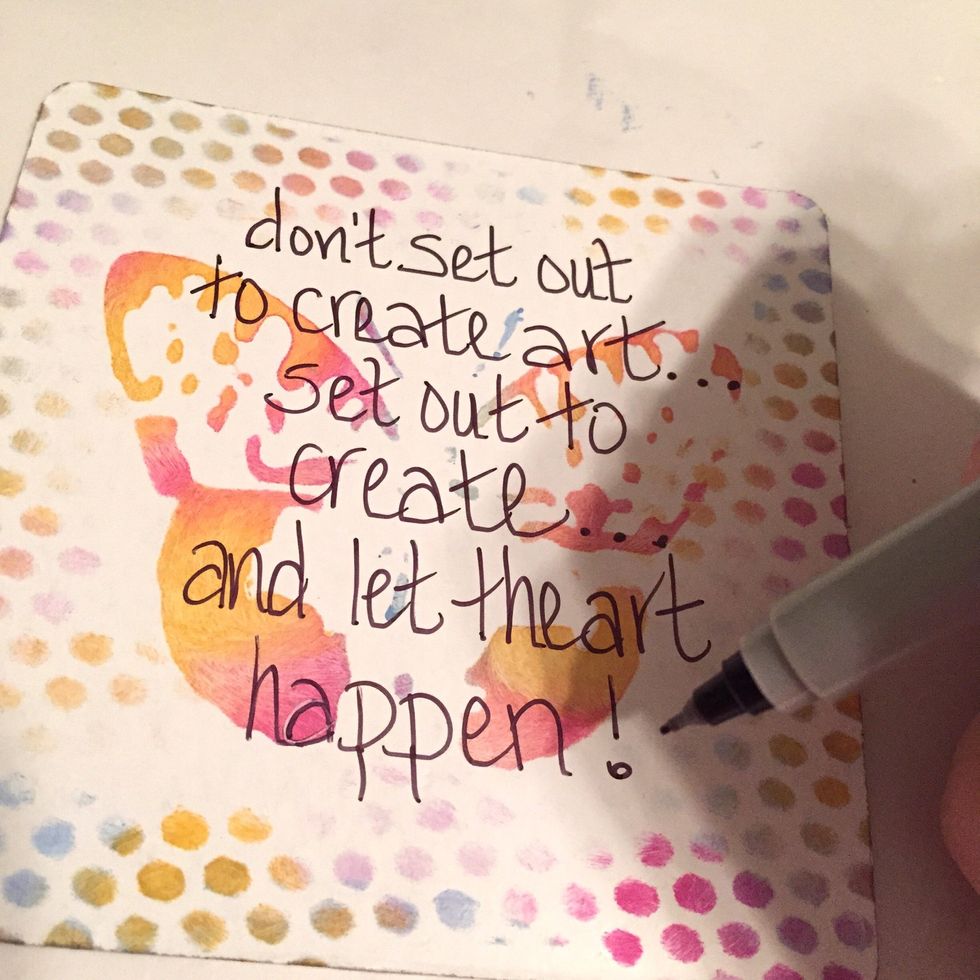
use sharpie to add quote. insert cardstock piece in frame.
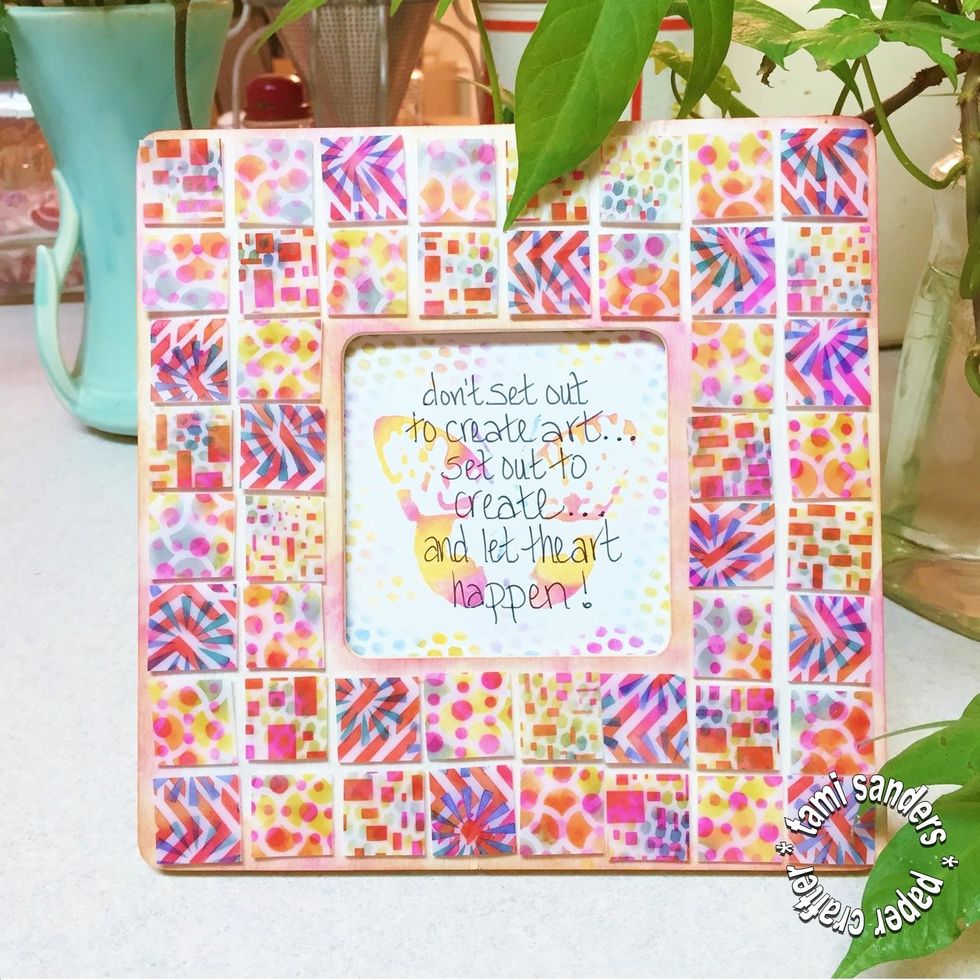
finished frame! *** please visit the TCW BLOG @ http://www.thecraftersworkshop.com/blog for more great projects! find me at www.tamisanders.com *** tami sanders * paper crafter