The Conversation (0)
Sign Up
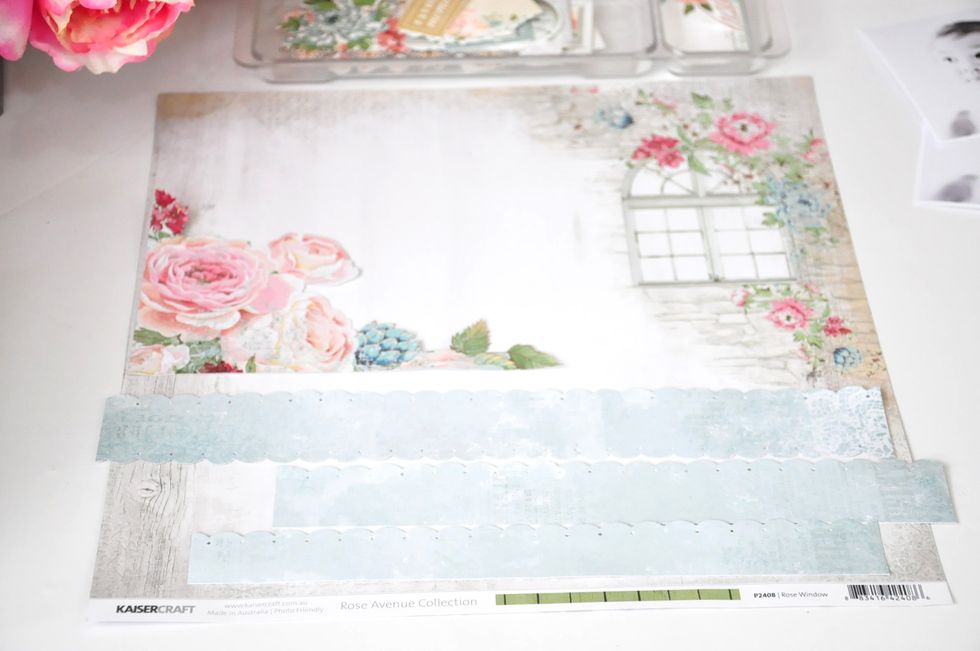
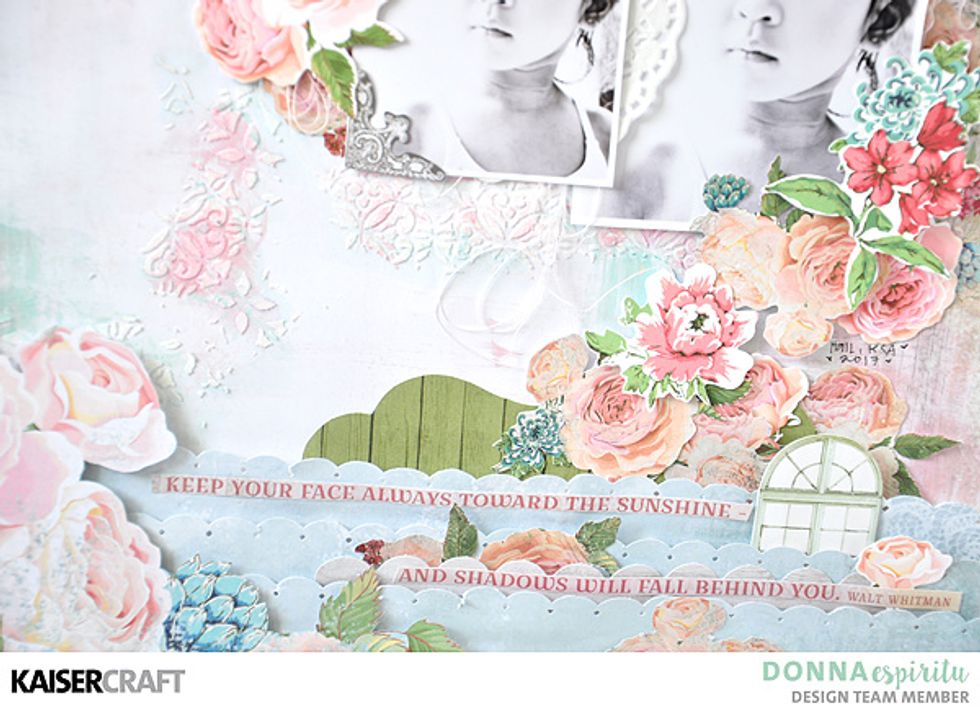
Cut 3 strips of paper (Suite). Use a border punch for a decorative edge. Fussy cut the florals as well (Suite).
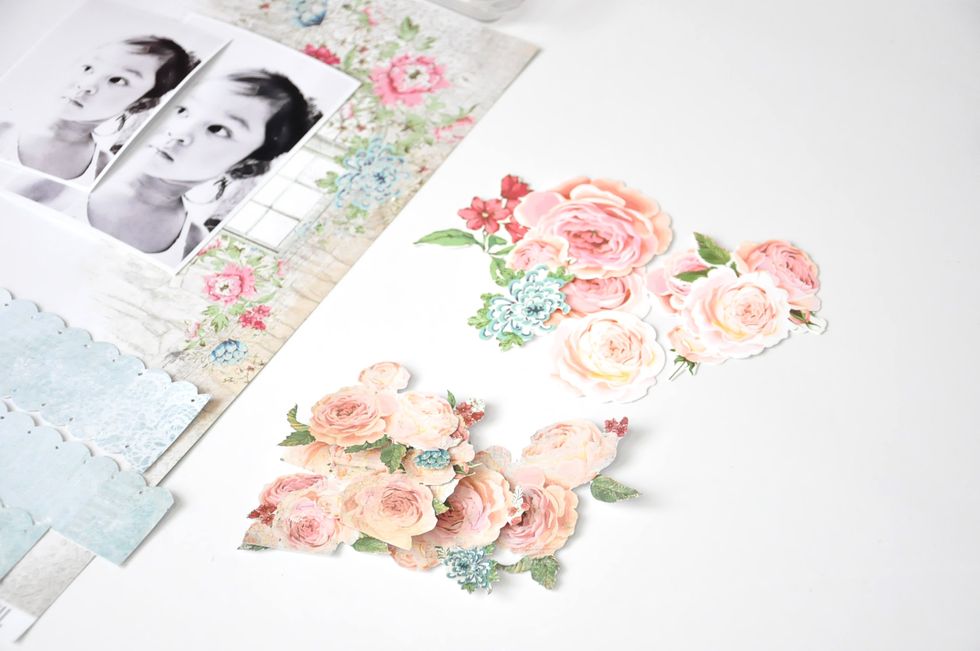
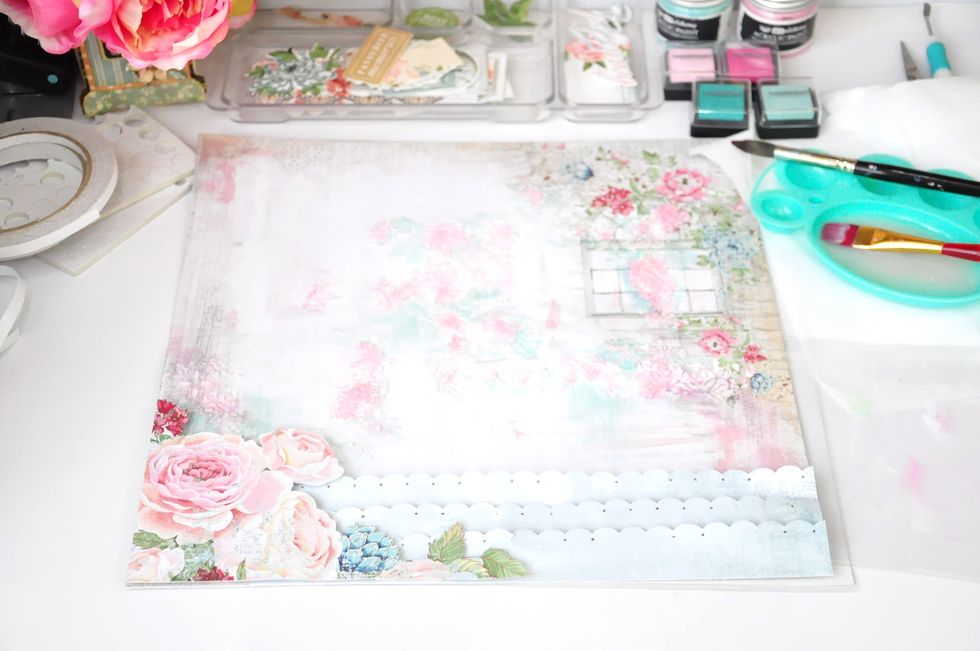
Add more florals/flowers by fussy cutting one of the papers in the 6 1/2 x 6 1/2 paper pad
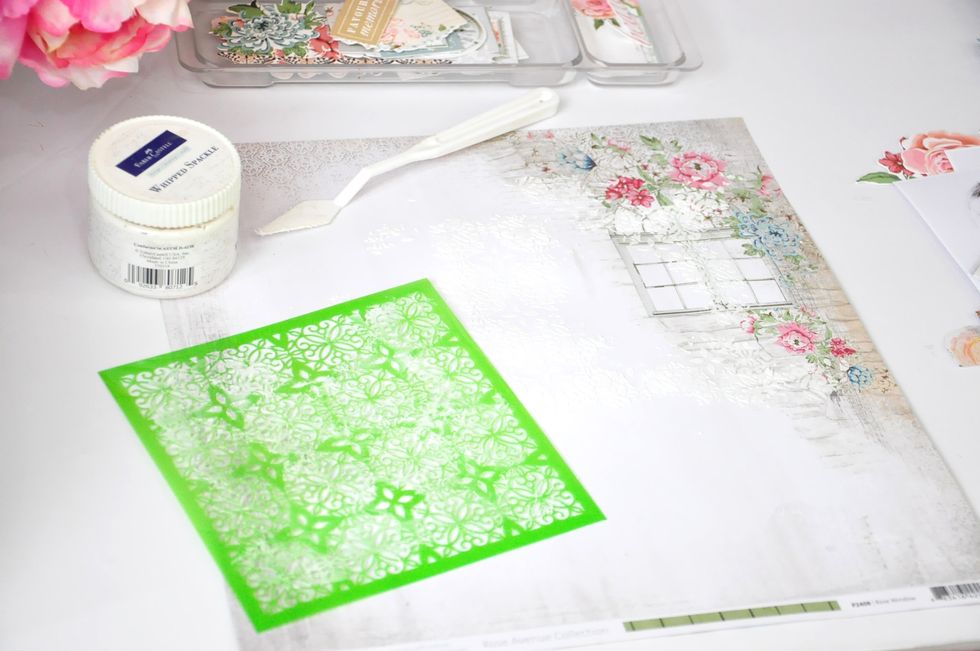
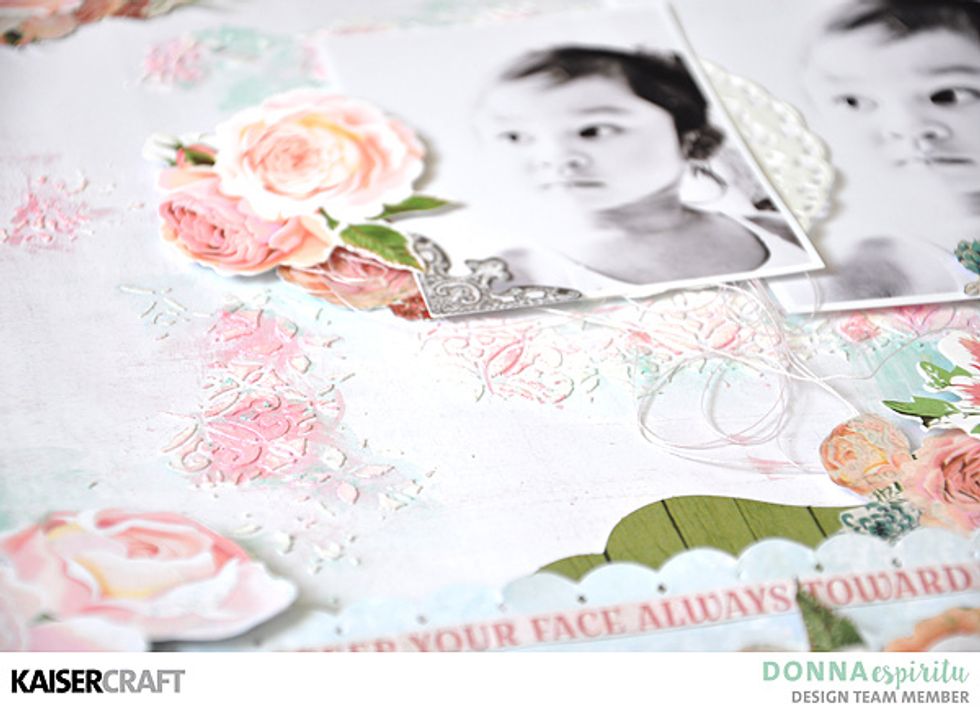
Add texture using a modeling paste (Tile Pattern stencil)
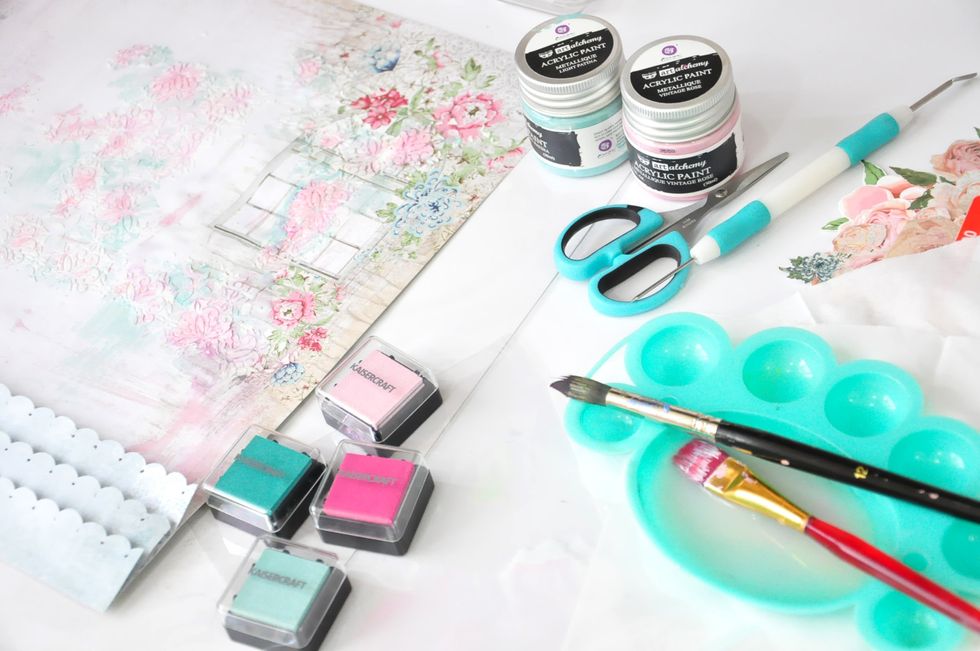
Use metallique acrylic paints and inks to add colors to the background. Rub the ink pad onto a piece of plastic surface. Pick up the ink with a brush dipped in water to help it spread easily.
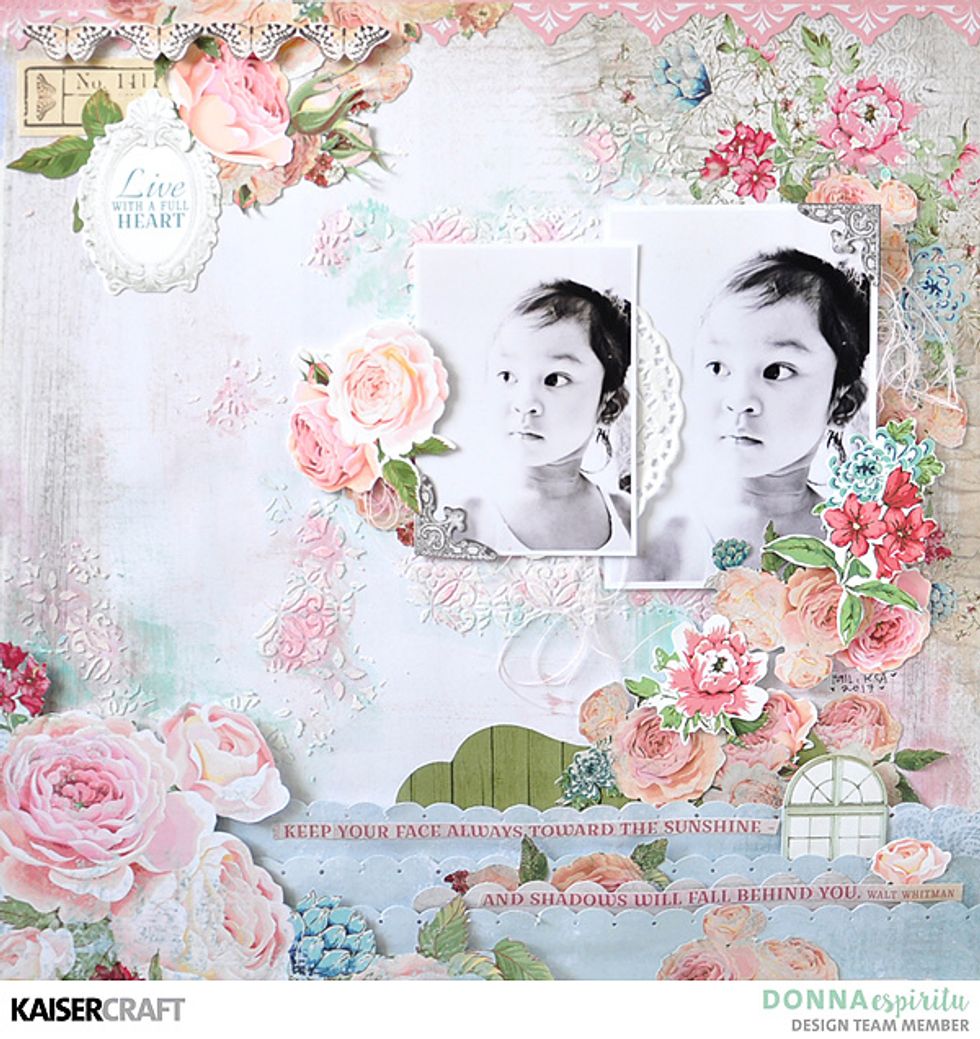
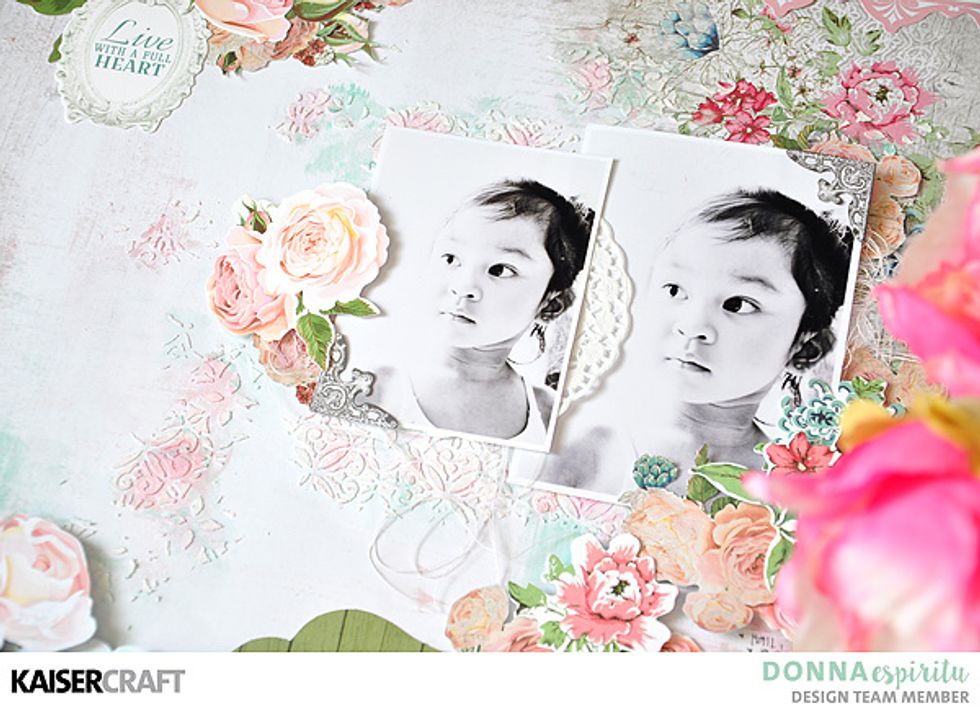
Make sure to bear in mind where you are placing your photo/s and embellishments so as not to cover most of the texture on the background. After this, you can start adding the photo/s & embellishments.
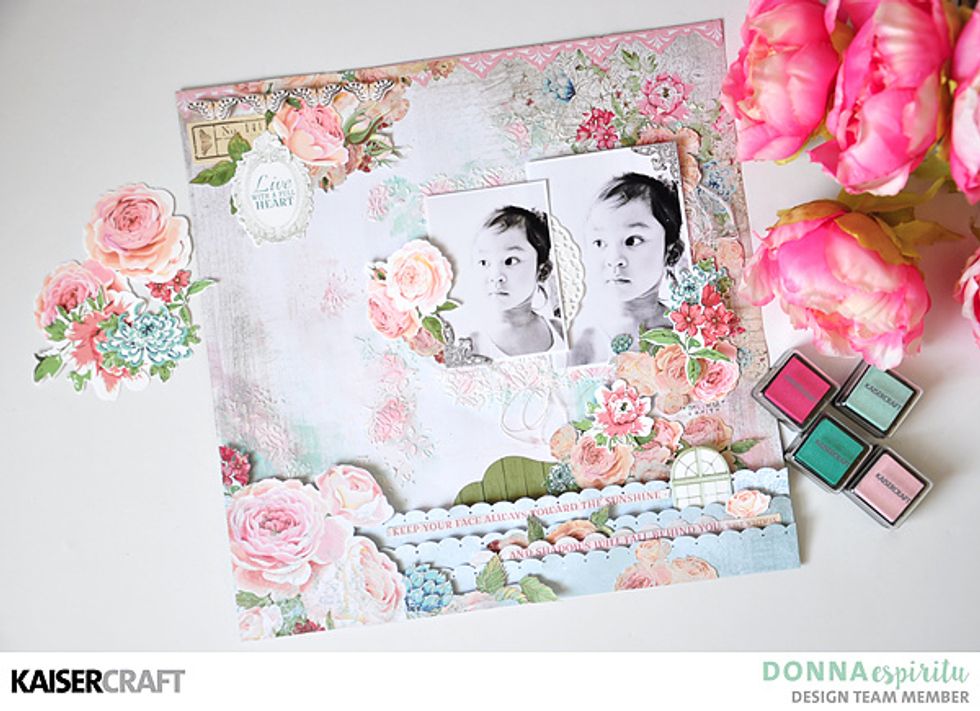
And here is the finished layout
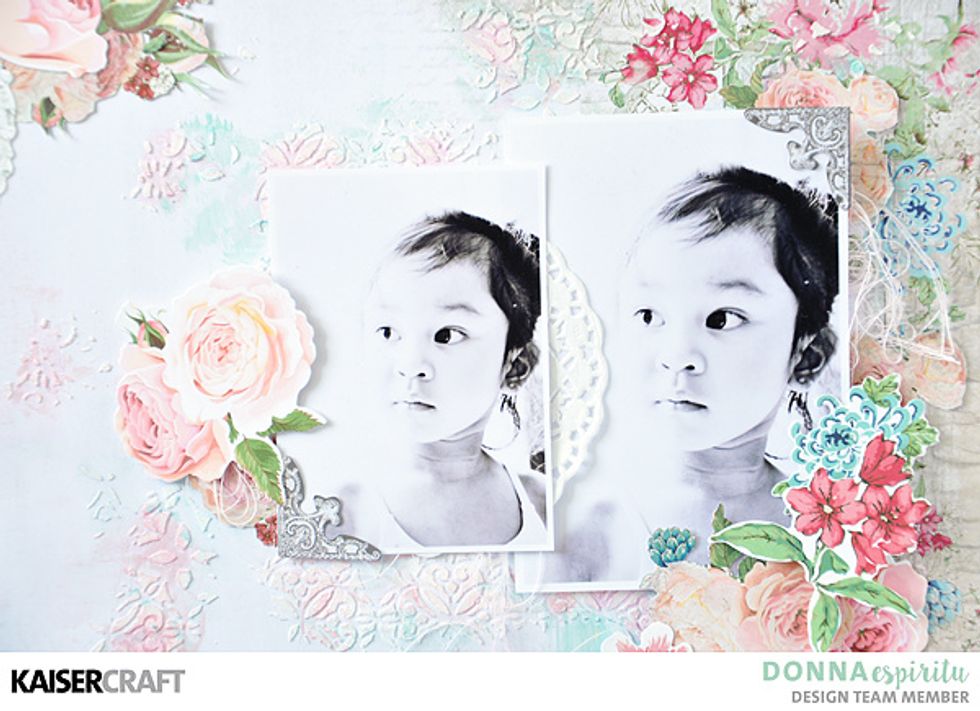
More detailed shots of the layout

Thank you and I hope you enjoyed my project! Happy crafting!