The Conversation (0)
Sign Up
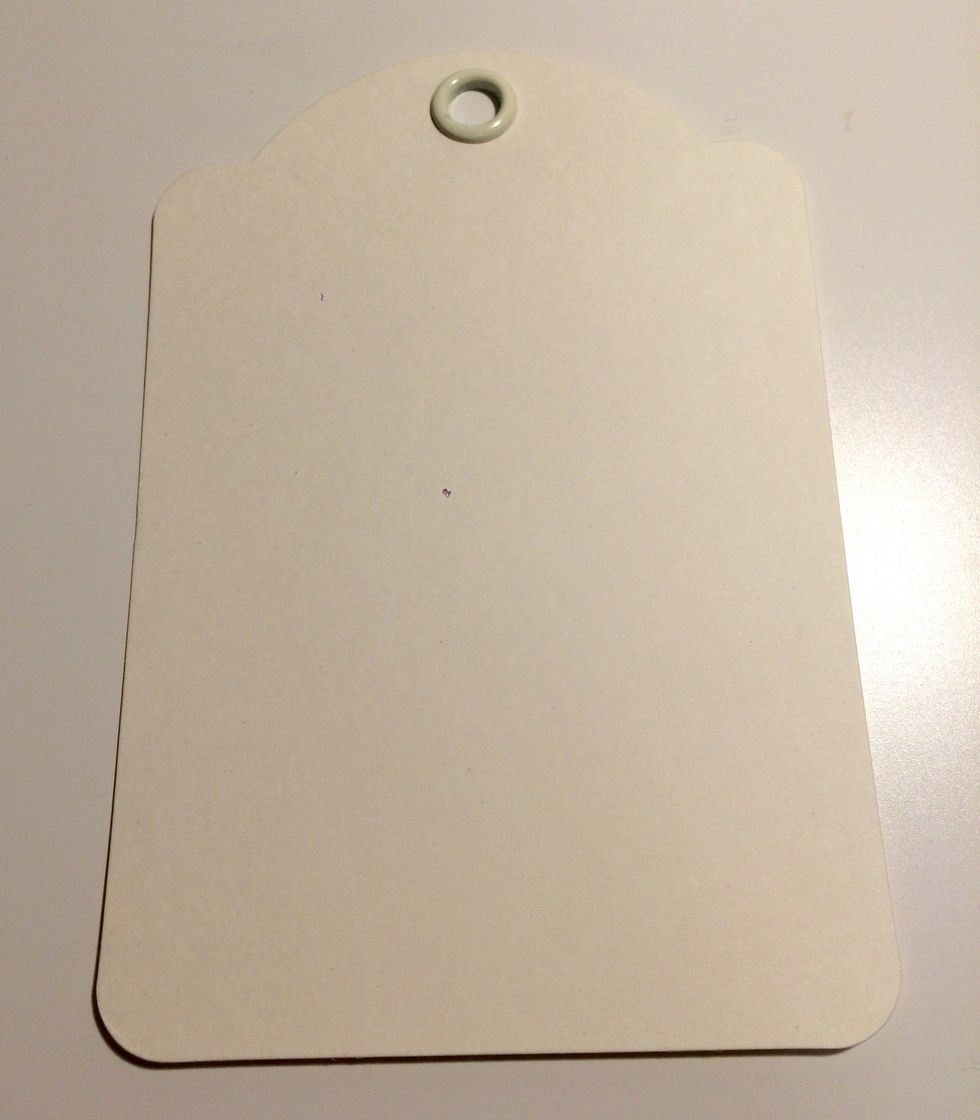
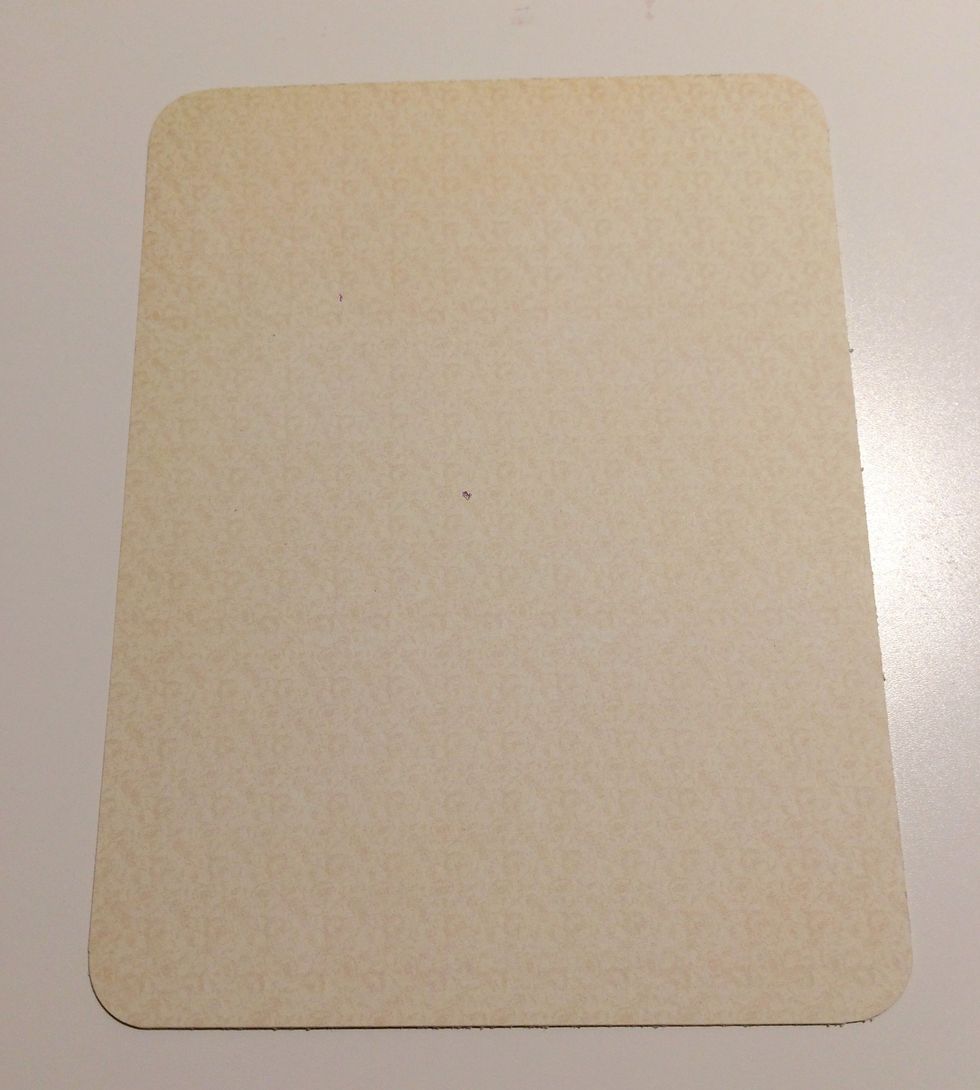
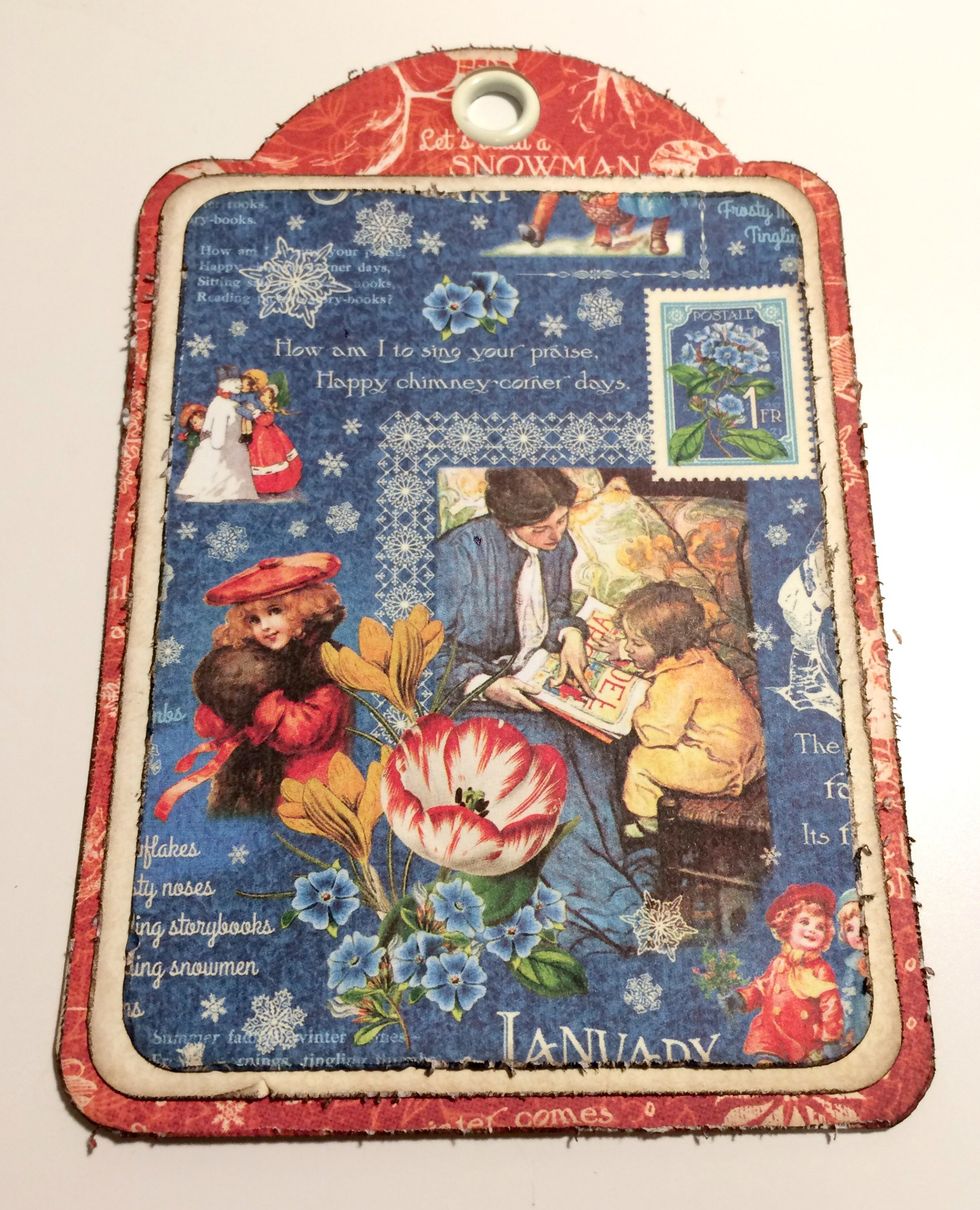
You'll need to pull out 1 Ivory Regular Tag to start your first Winter Tag.
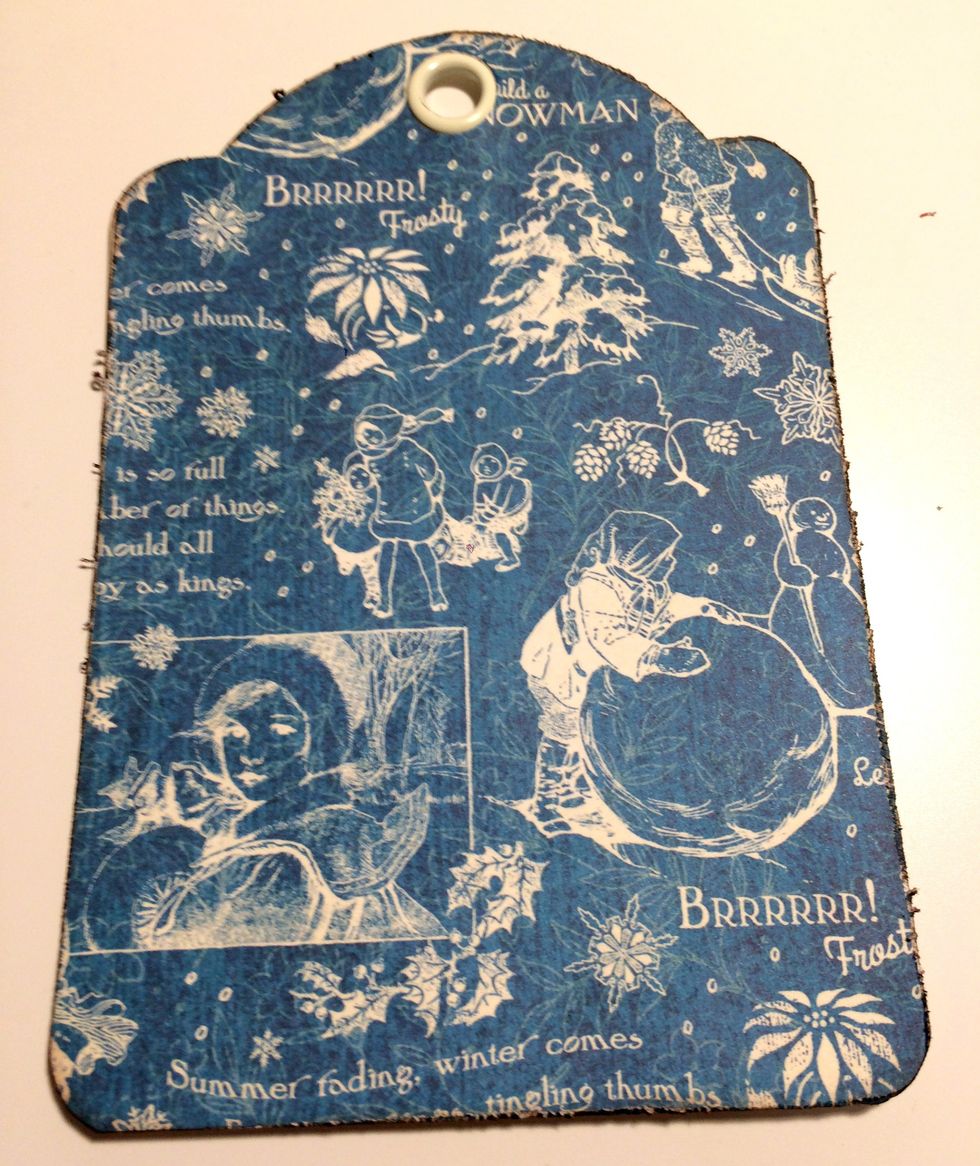
Trace the tag around January Calendar page. Once the tag is traced, cut the tag out. To finish the tag, use a 1/2" circle punch and punch a hole at the top of the tag. Round all four corners.
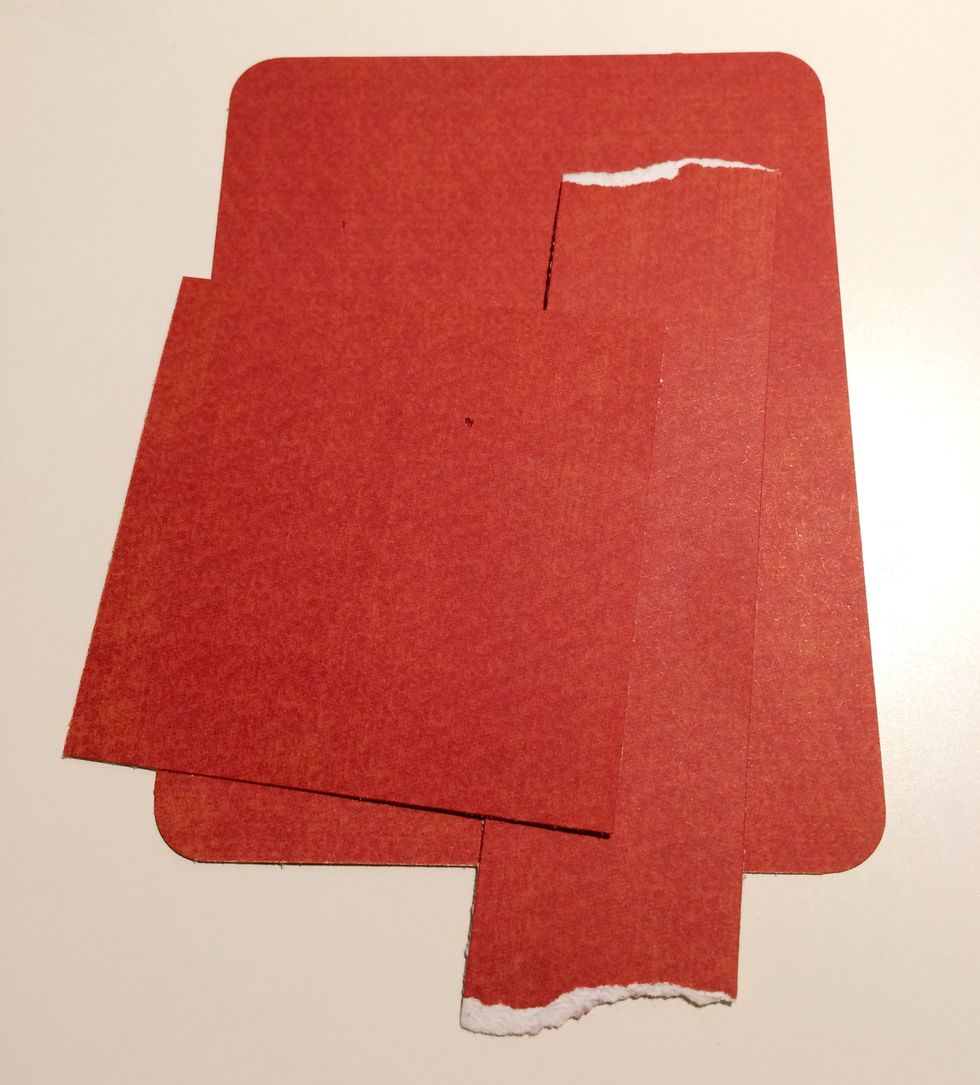
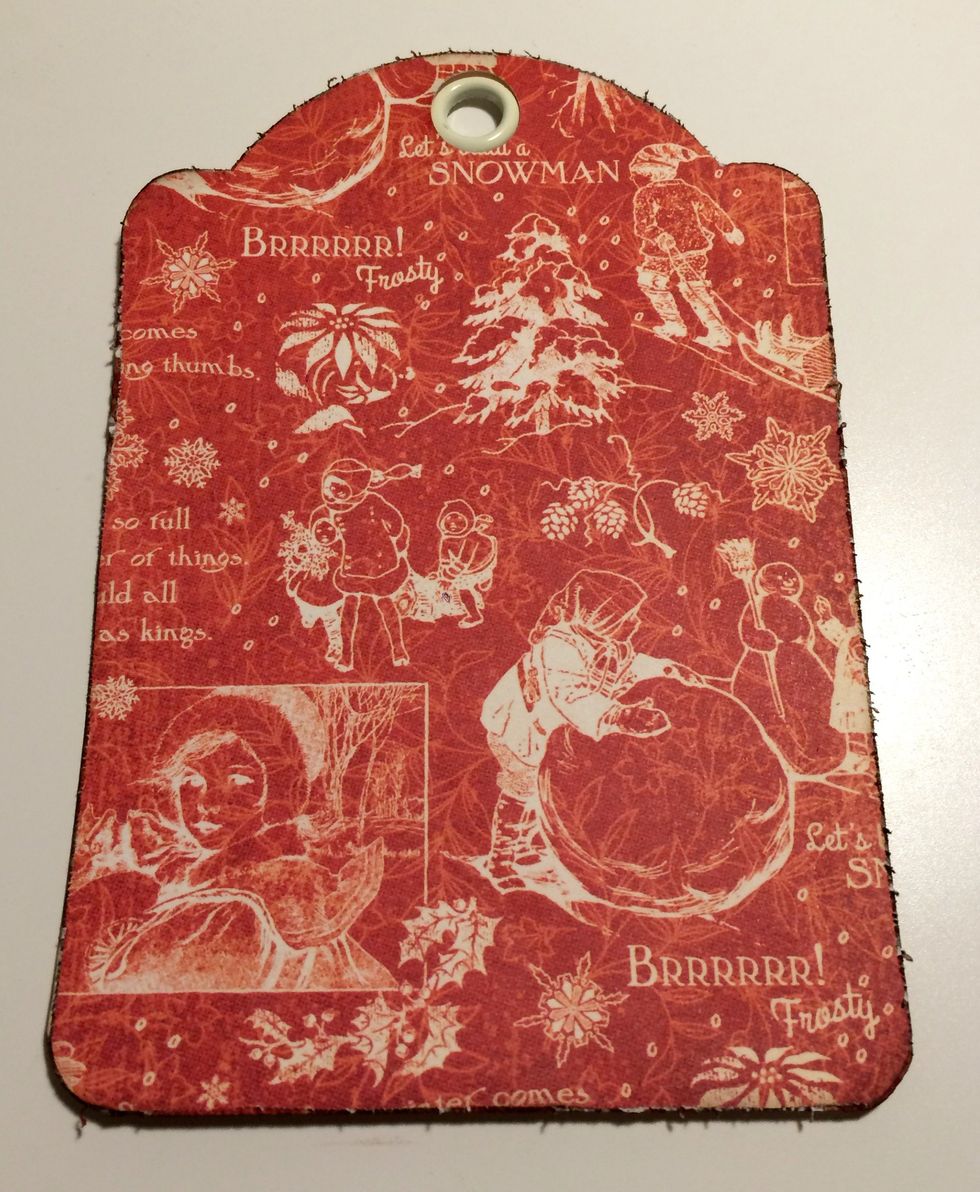
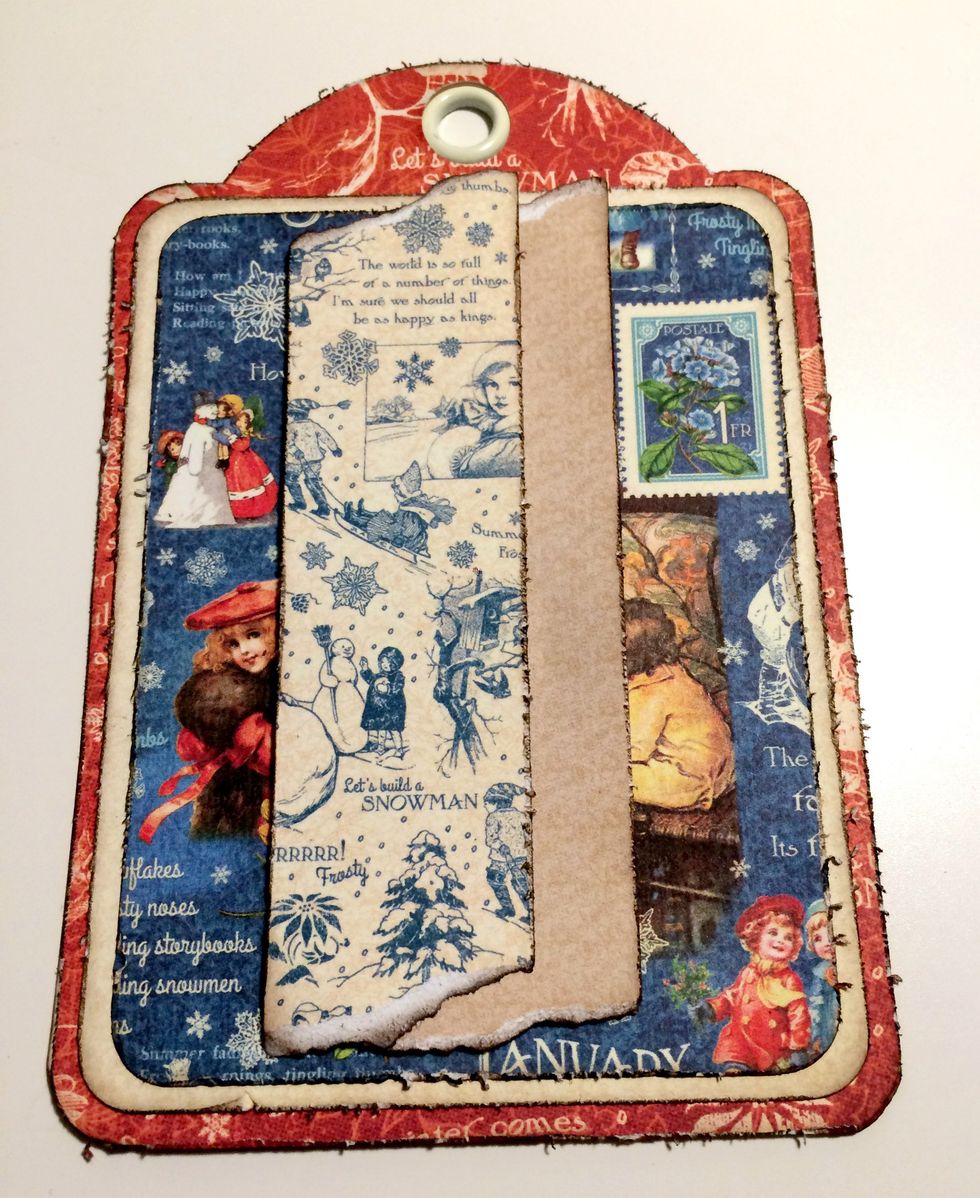
Use the red paper from the solids pad. Cut out these 3 pieces: 3 5/8" x 4 3/4,1 1/4" x 4 7/8" & 2 3/4" x 3 1/8". Tear a bit off the top and bottom of 1 1/4" paper. Round all corners on large piece.
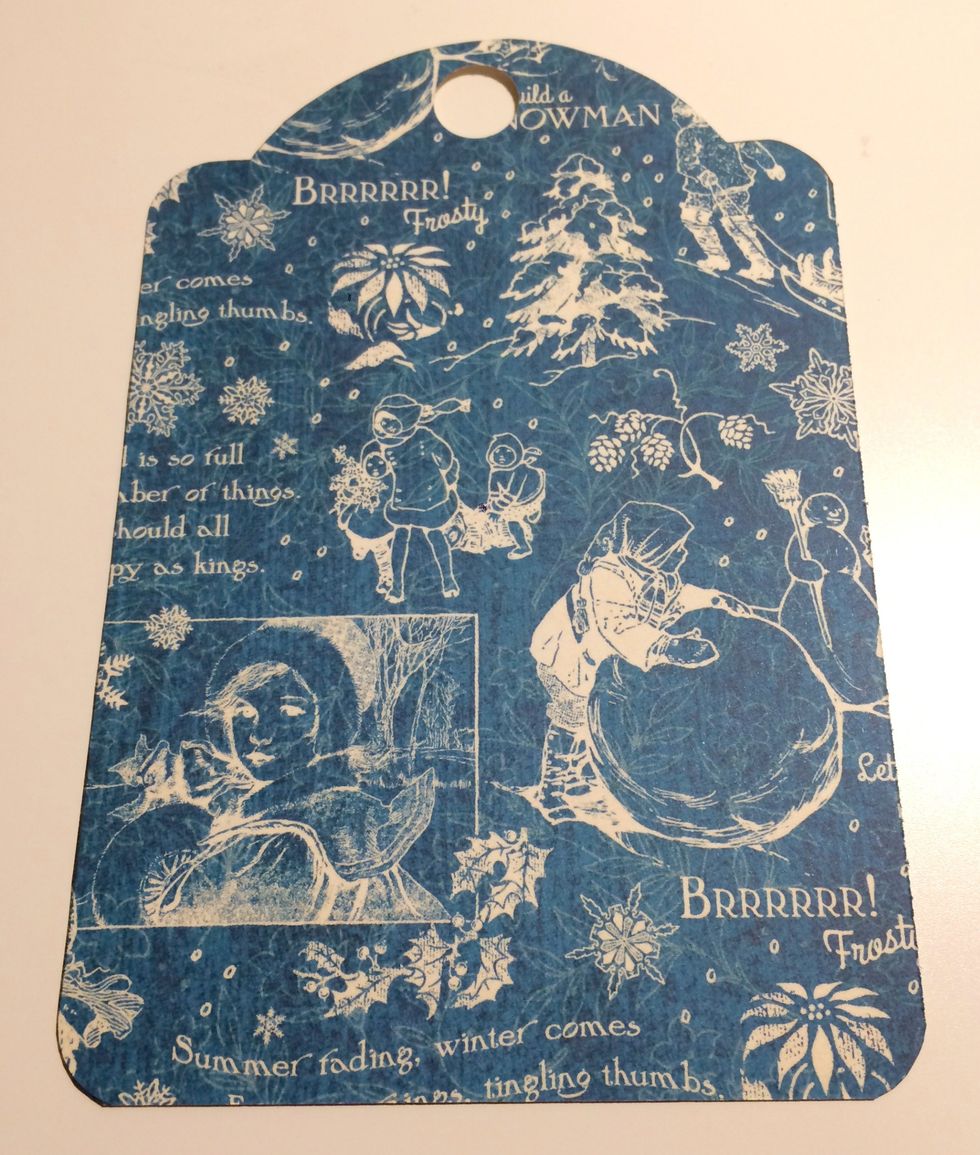
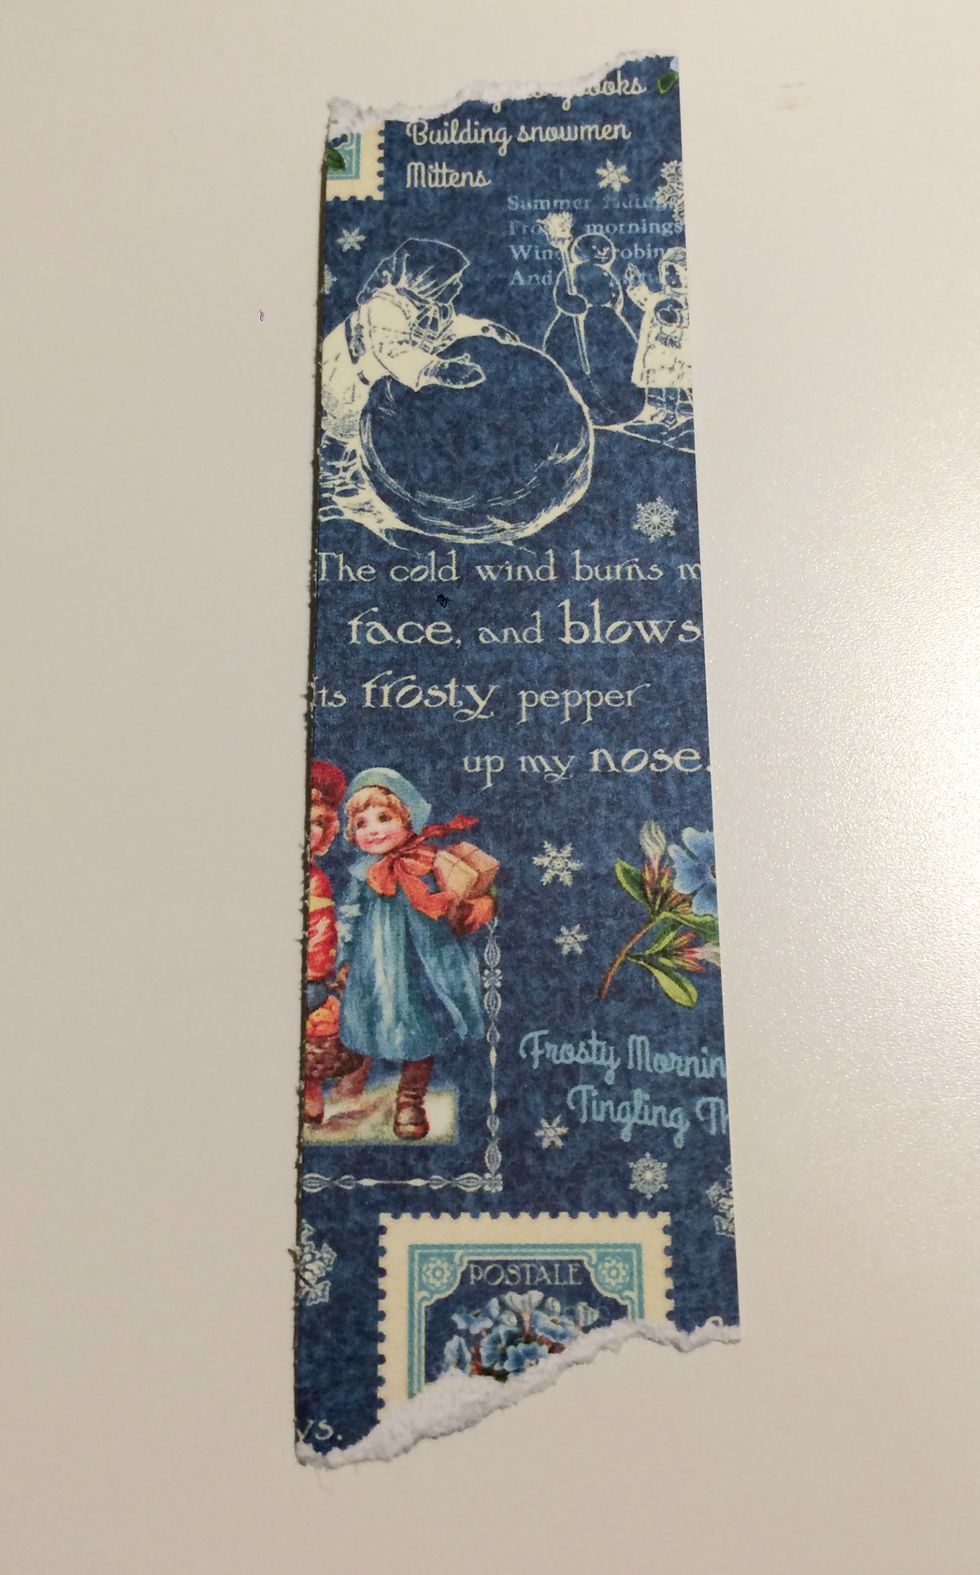
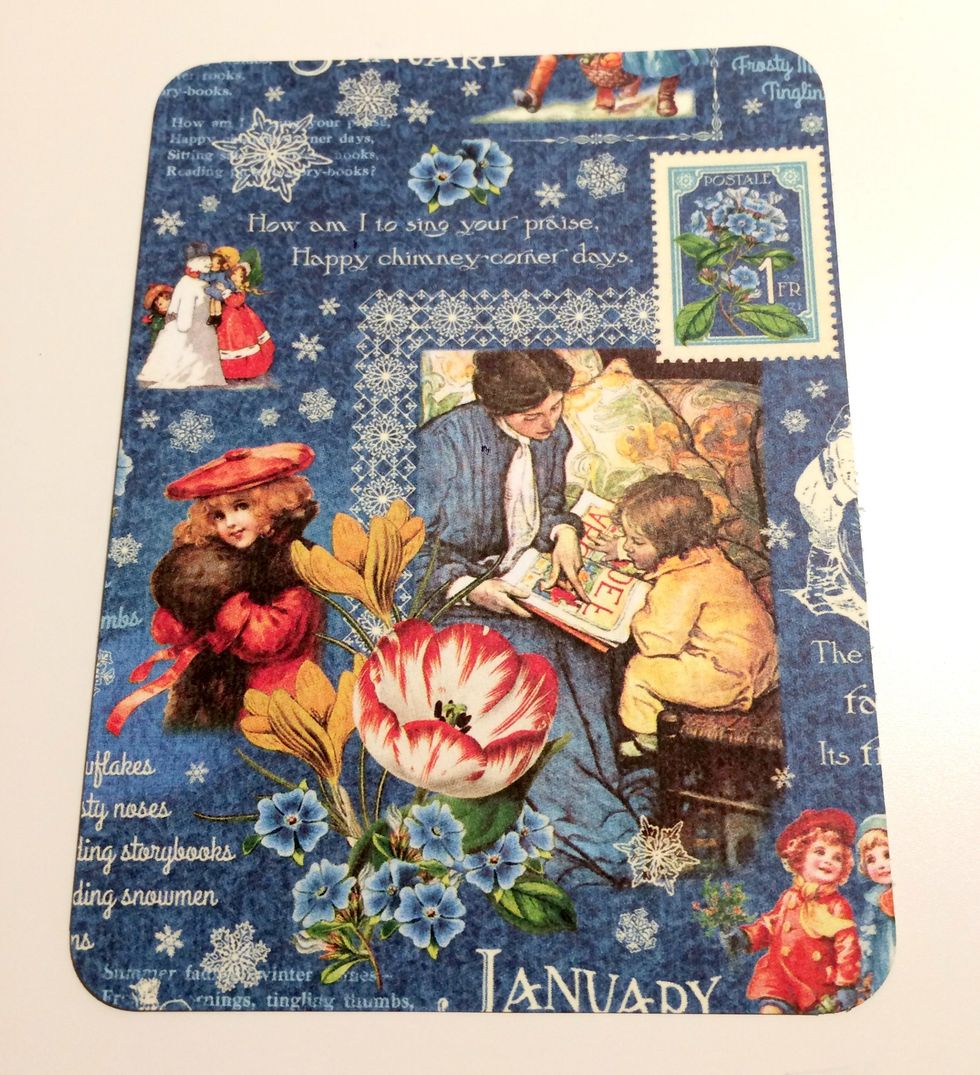
From the solids and patterns pad, take out the winter patterned paper. From the paper, cut out a piece that measures 3 3/8" x 4 1/2". Round all four corners of the paper.
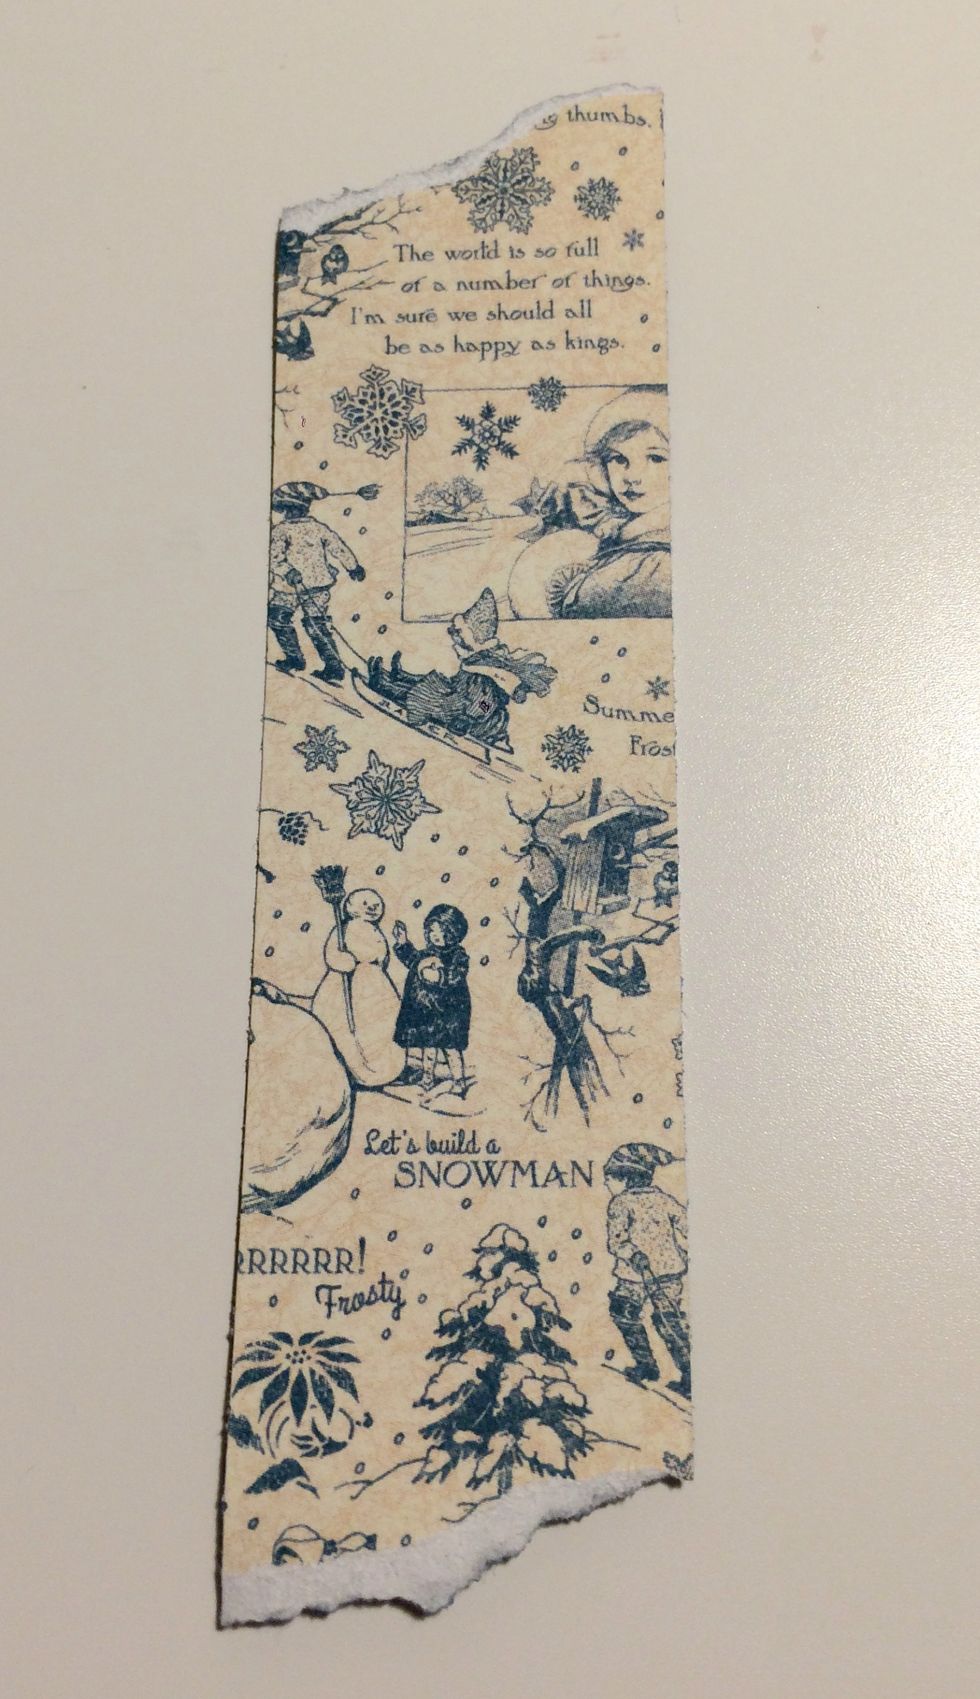
From the Children's Hour January Montage paper, cut a piece that measures 1 1/4" x 4 7/8". Tear a bit off the top and bottom of this paper.
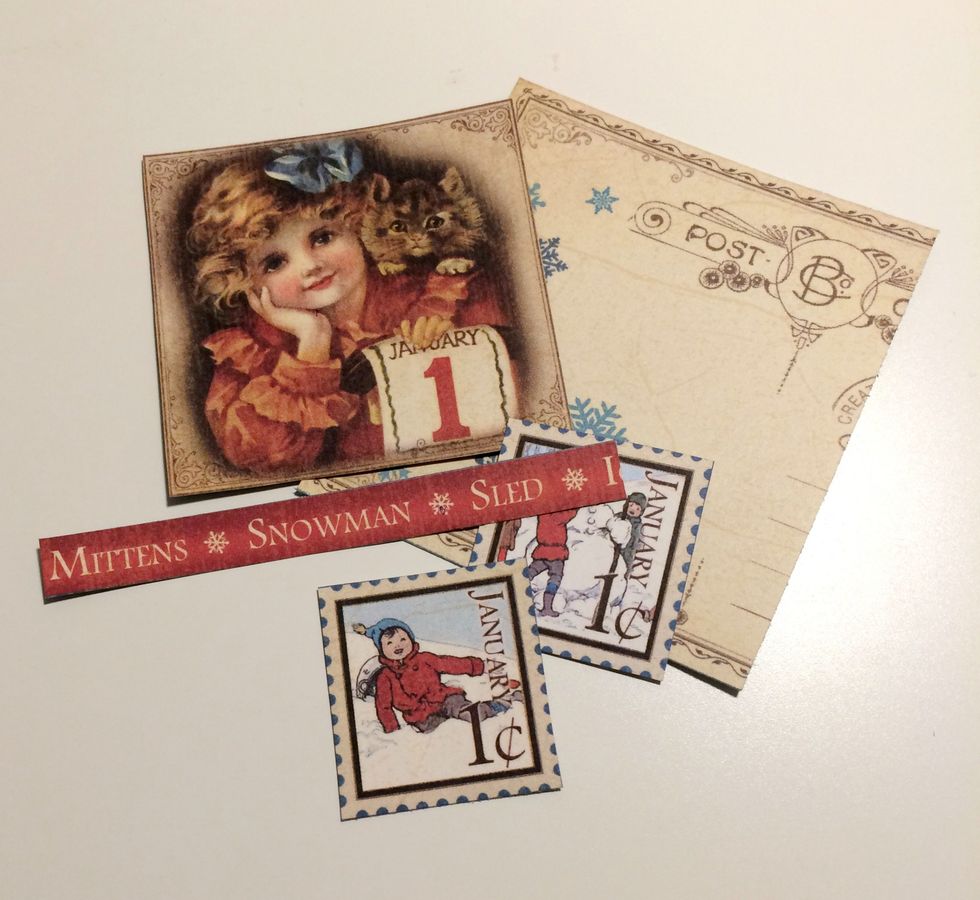
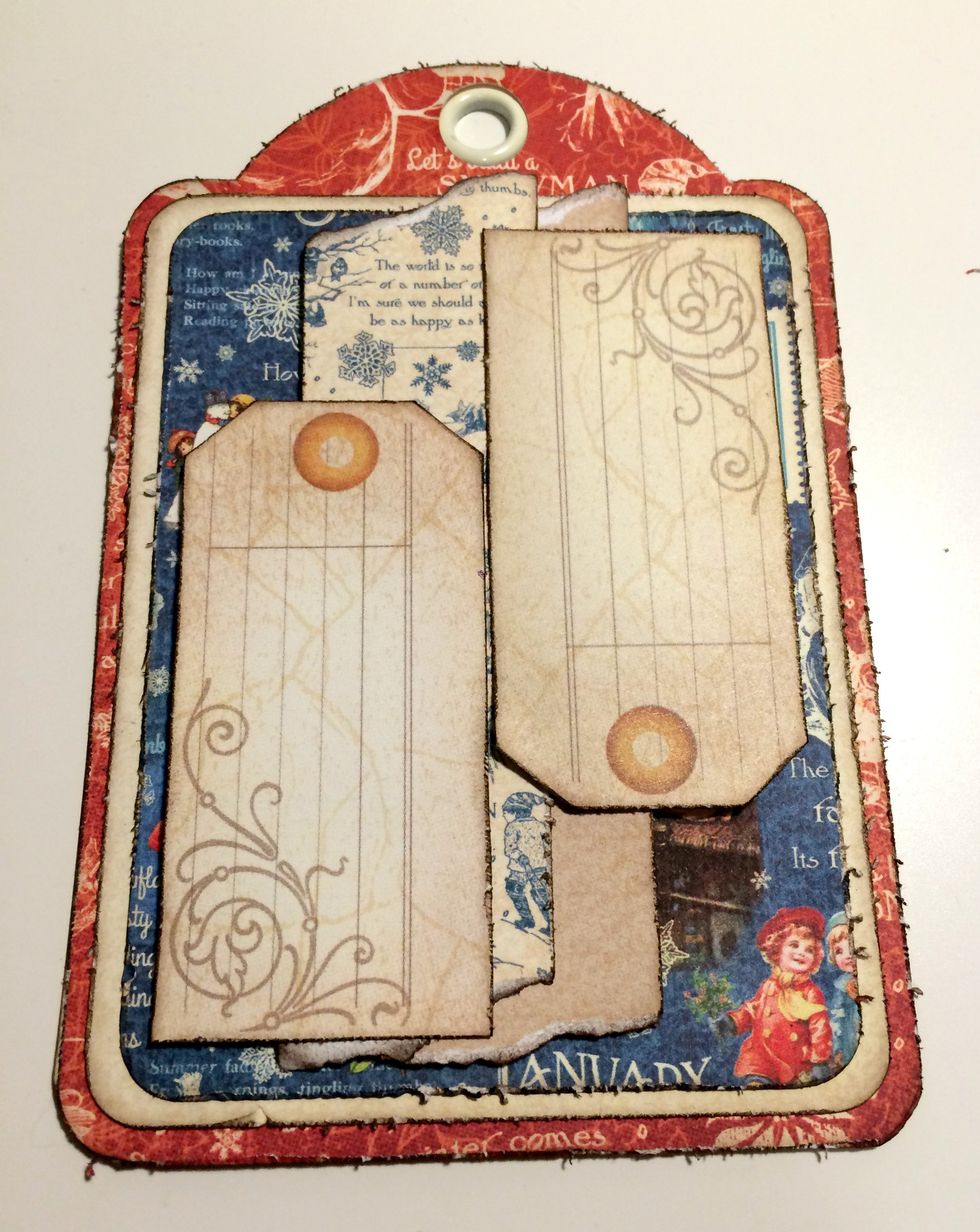
From the Place in Time - January Cut Aparts, cut out two stamps, the postcard, the girl with Jan.1 and the Mittens border. Cut the postcard to 3". Cut the border to 3 5/8".

From the 8x8 January Collective paper, cut out the Wishing you a Fabulous New Year cut apart.
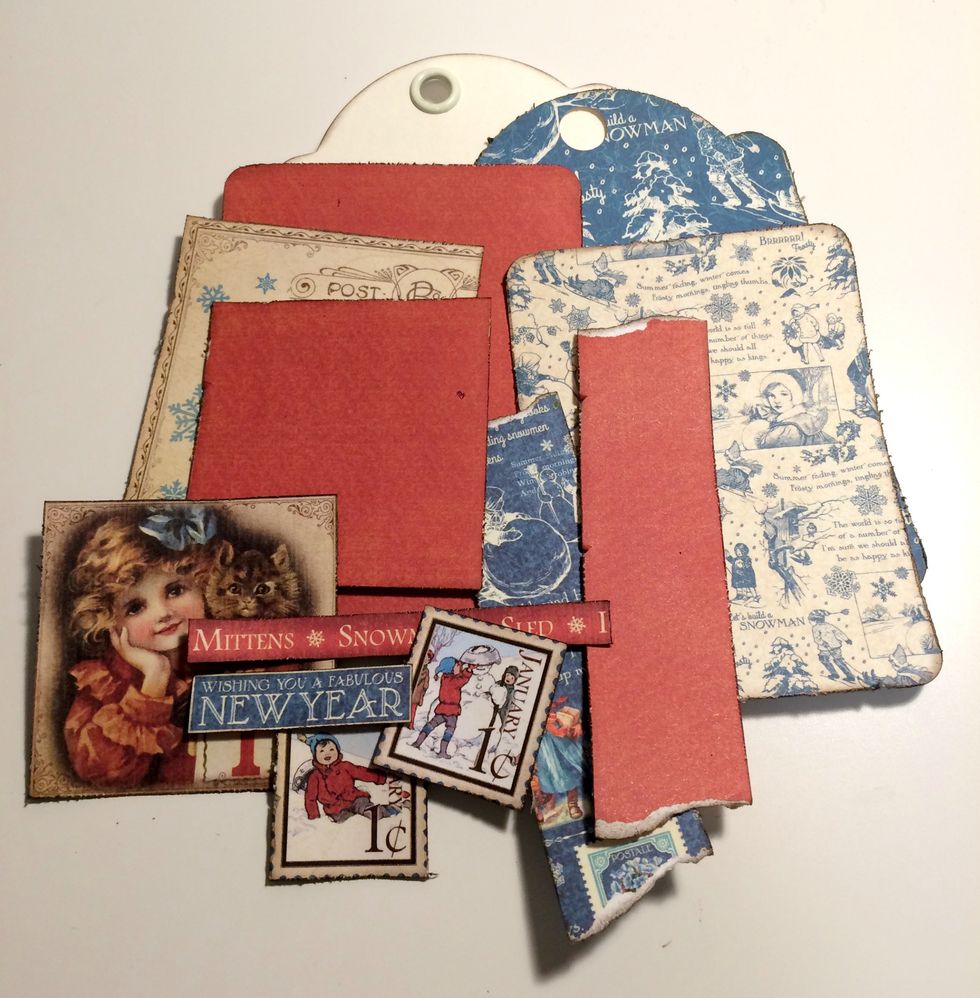
Edge distress all of the edges of the patterned papers and cut aparts. Once the edges have been distressed, ink the edges using Walnut Stain Distress Ink and a blending tool.
Adhere the patterned paper tag to the Ivory tag.
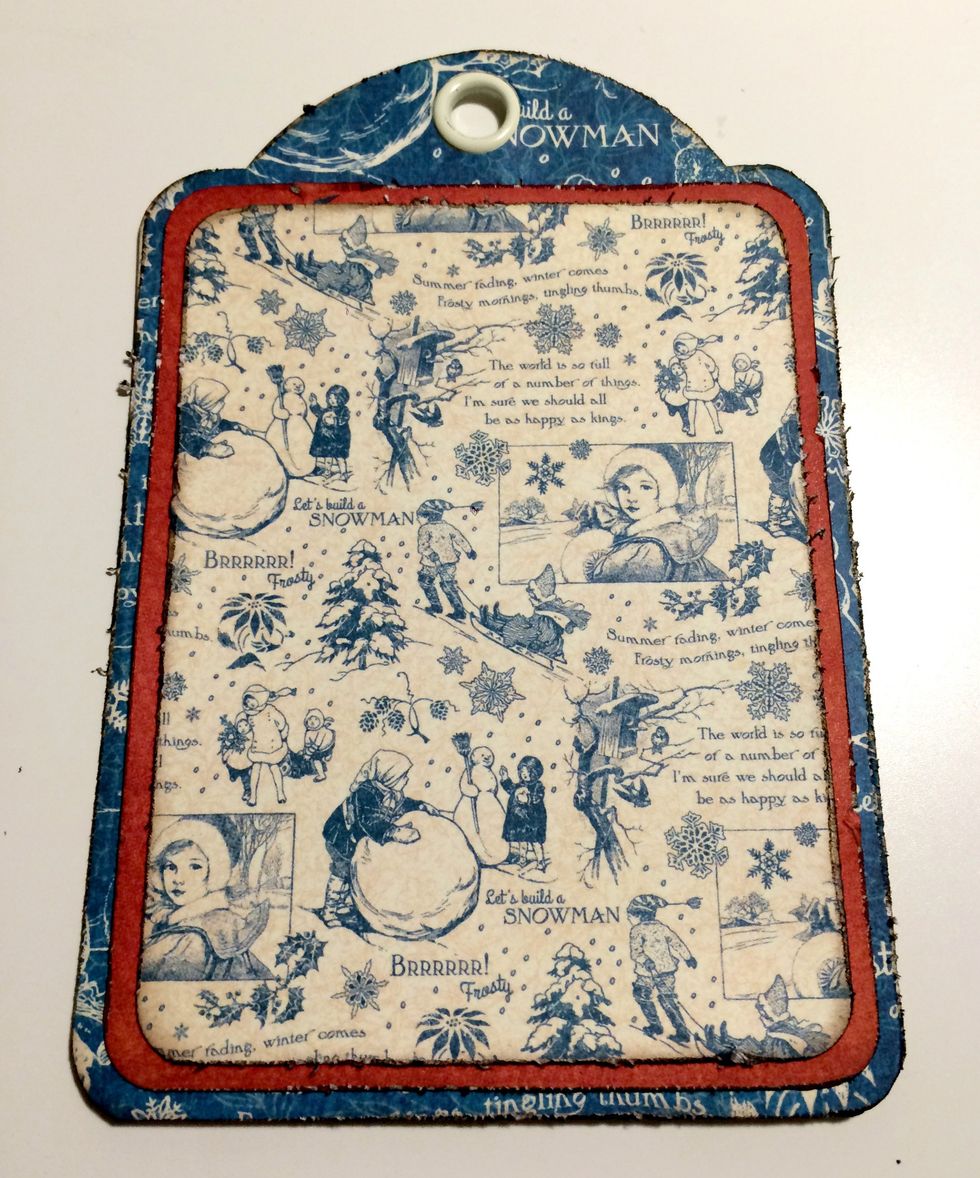
Adhere the red paper to the blue patterned paper tag. Adhere the cream and blue patterned paper to the red paper.
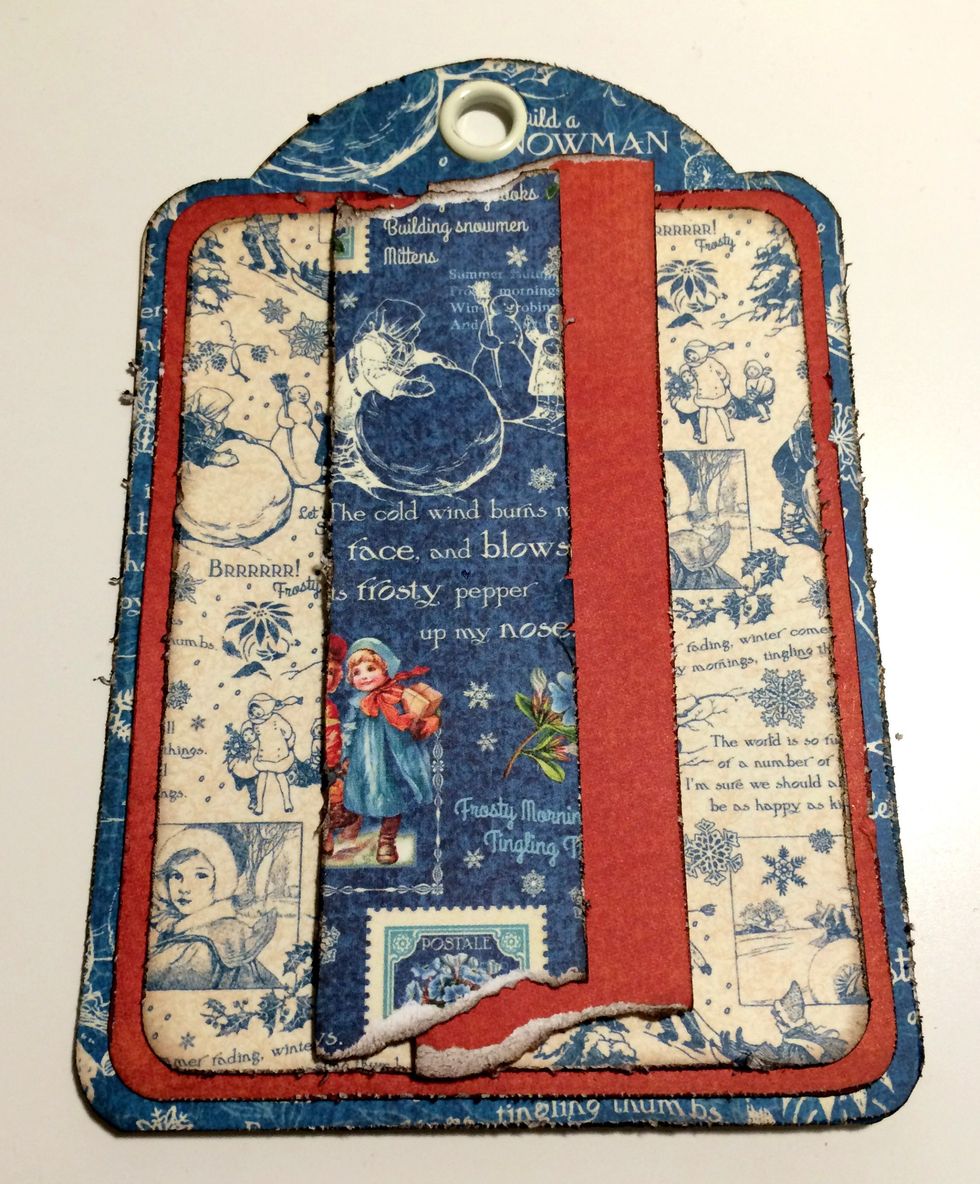
Foam square the red strip of paper 1" from the right and 1/2" from the bottom of the tag. Foam square the blue patterned paper 1" from the left and 1/2" from the bottom of the tag.
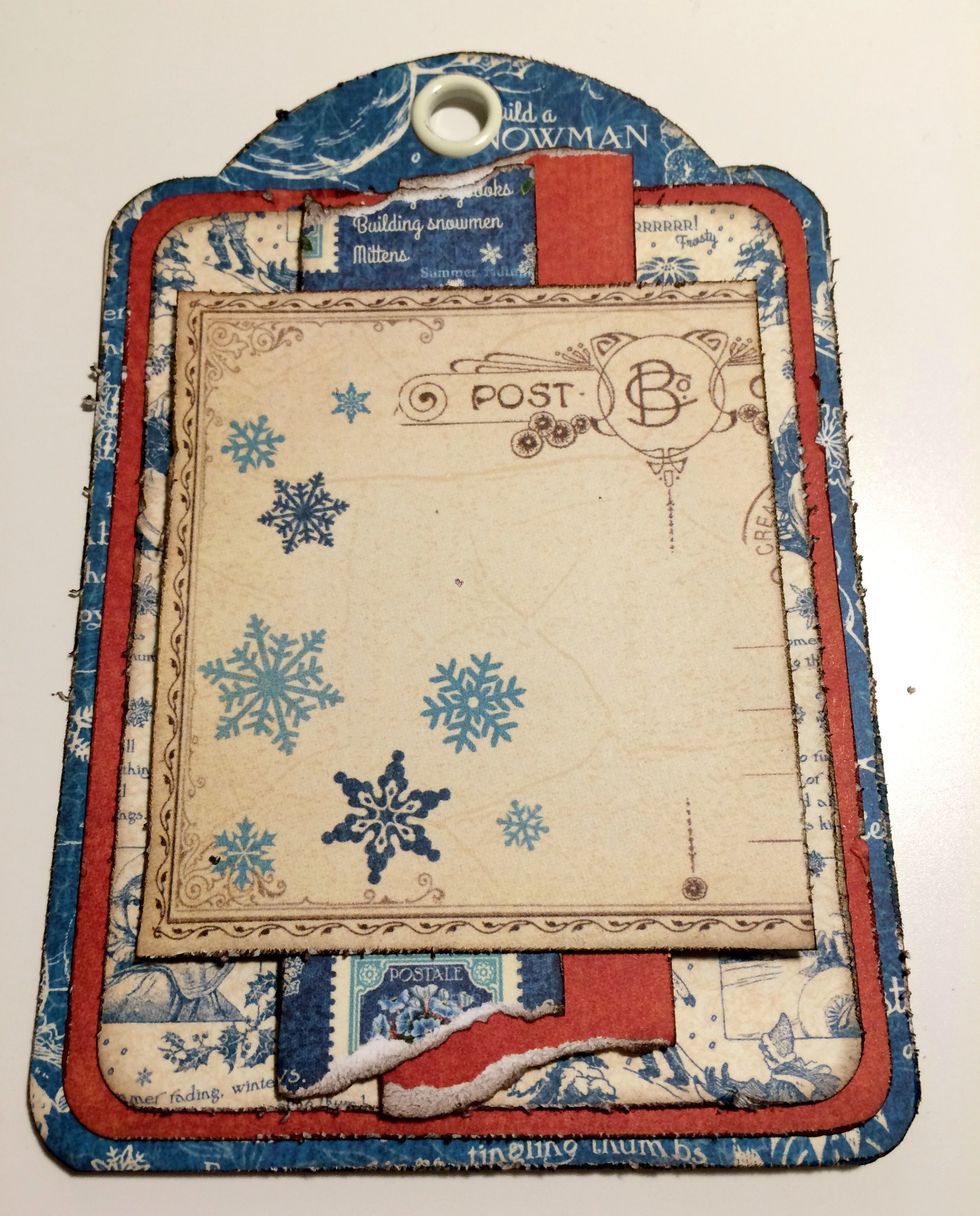
Adhere the postcard to the middle of the tag.
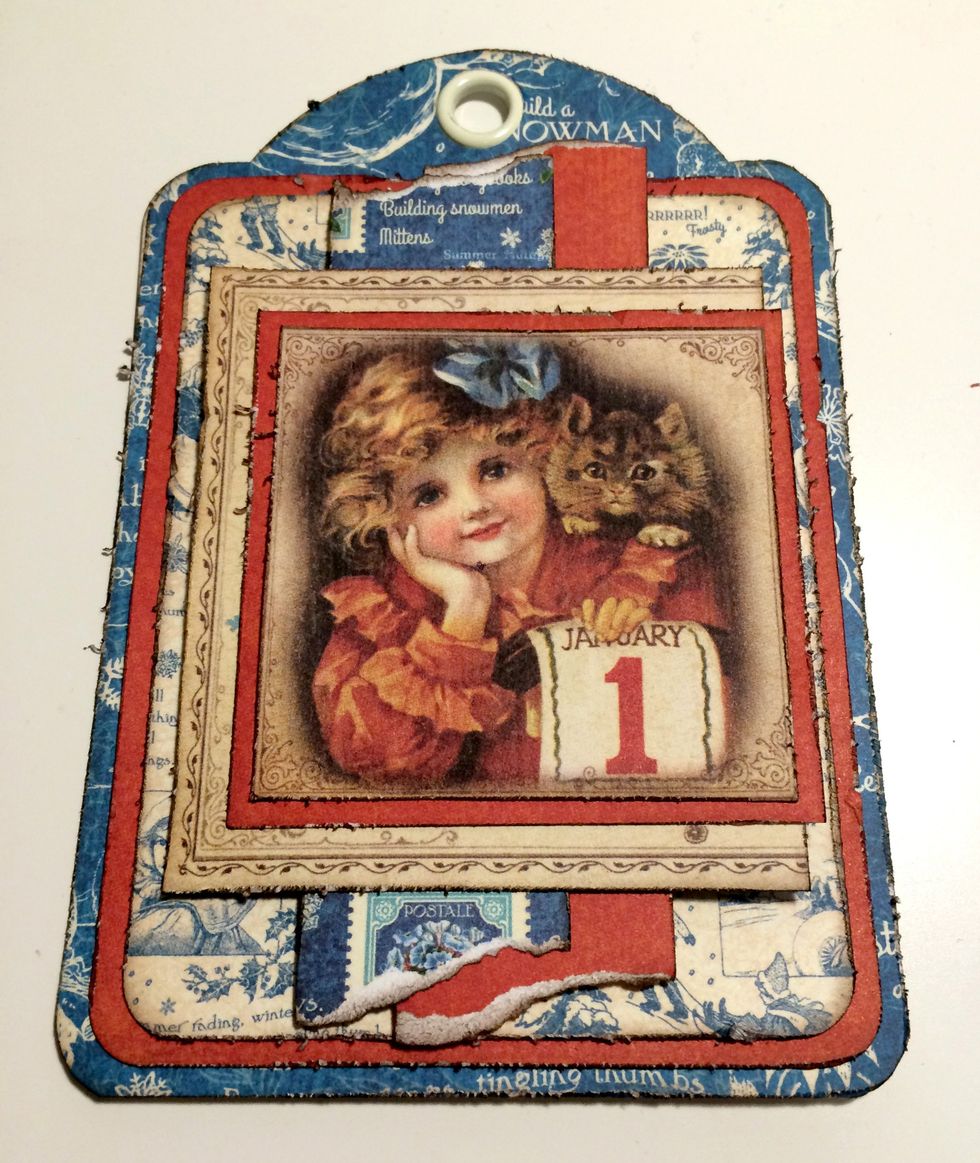
Adhere the girl with cat to the last piece of red paper. Adhere the red paper 1/4" from the left of the postcard.
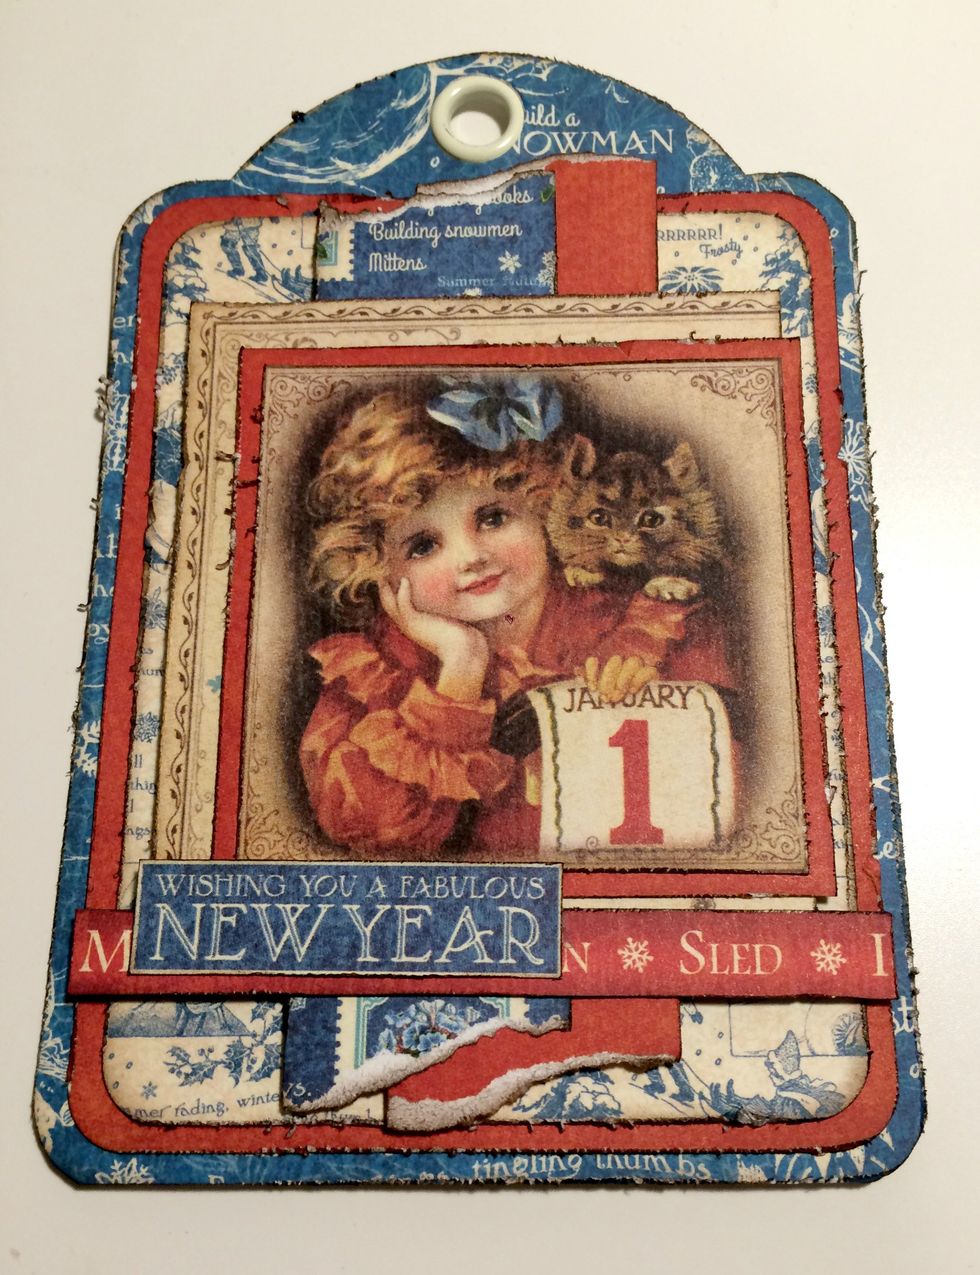
Adhere the mittens border 1 1/2" from the bottom of the tag. Adhere the Wishing you cut apart 3/8" from the left of the tag.
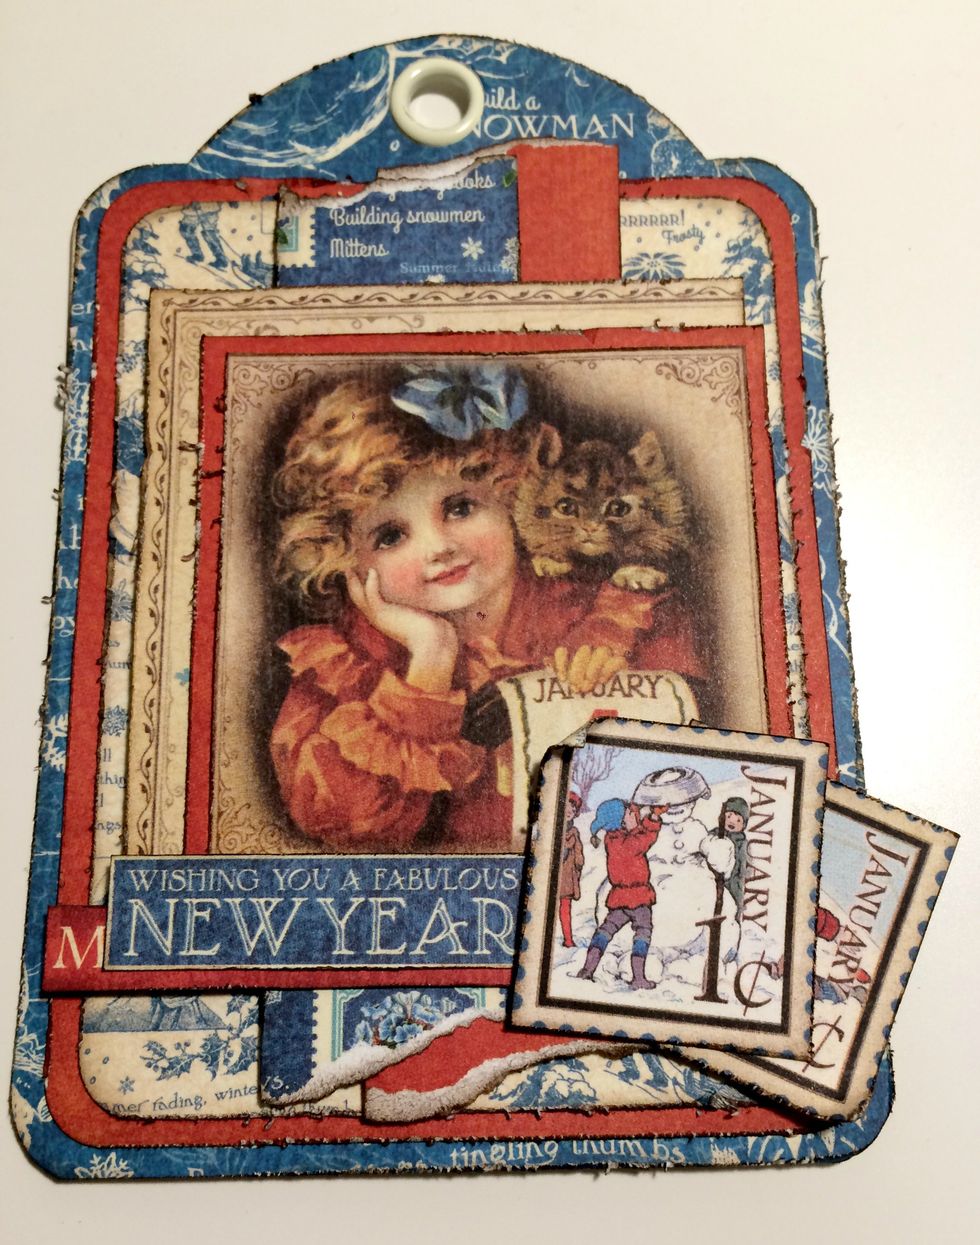
Foam square one postage stamp to the bottom right hand corner. Adhere the second postage stamp slightly overtop of the first stamp. Roll the corners down and up on the postage stamps.
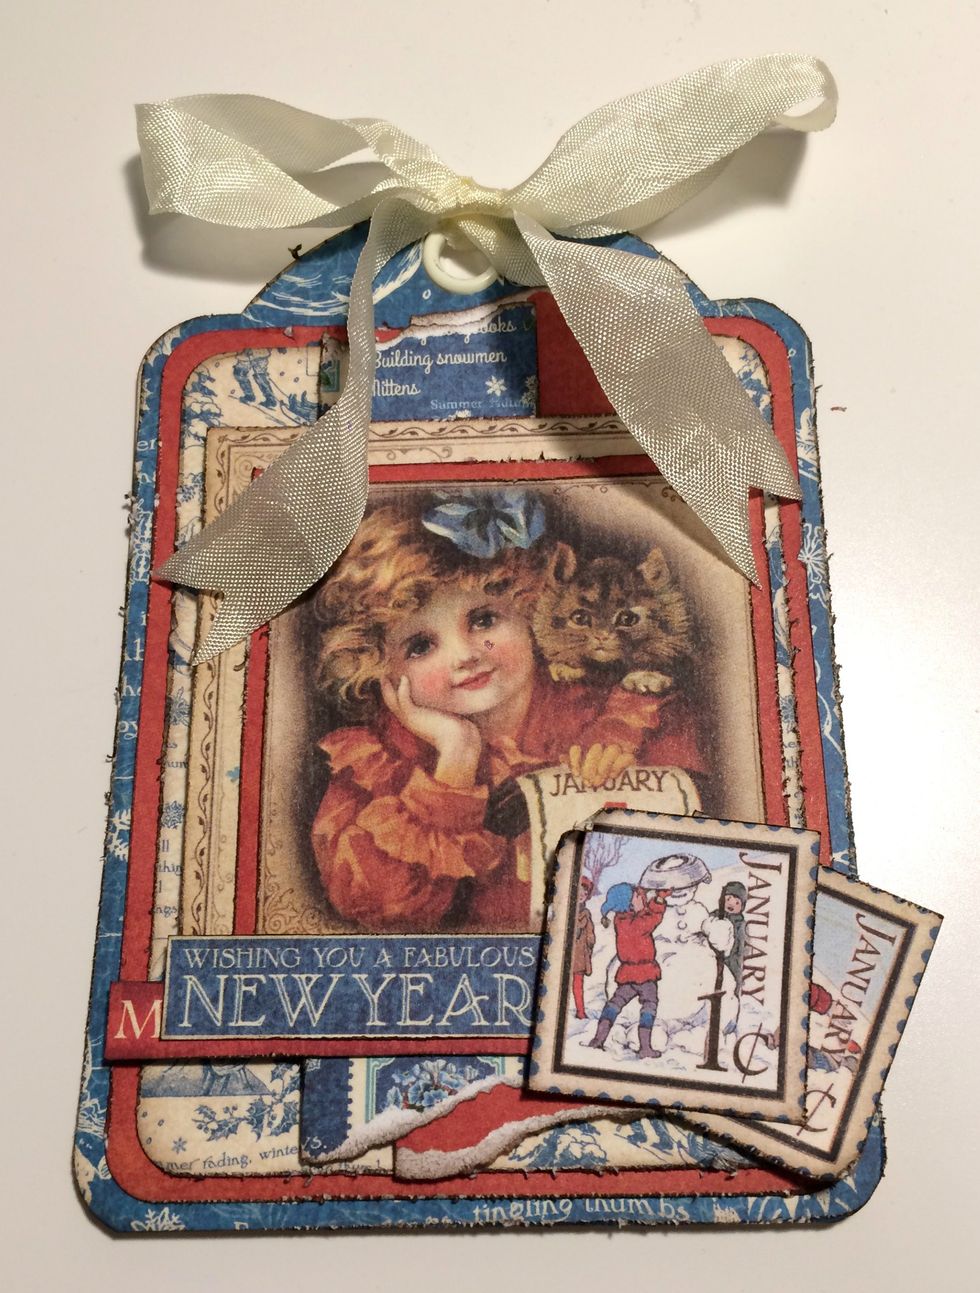
To finish your first winter tag, add a cream bow at the top of the tag. Your first winter tag is now complete.

You'll need to pull out 1 Ivory Regular Tag to start your second Winter Tag.
Trace the tag around February Calendar page. Once the tag is traced, cut the tag out. To finish the tag, use a 1/2" circle punch and punch a hole at the top of the tag. Round all four corners.
Use the cream paper from the solids pad. Cut out a piece that measures 3 5/8" x 4 3/4". Round all four corners.
From the solids and patterns pad, use the rest of the winter patterned paper. Cut a piece that measures 1 1/4" x 4 7/8". Tear a bit off the top and bottom of this paper.

Use the rest of the cream paper from the solids pad. Cut a piece that measures 1 1/4" x 4 7/8". Tear a bit off the top and bottom of this paper.
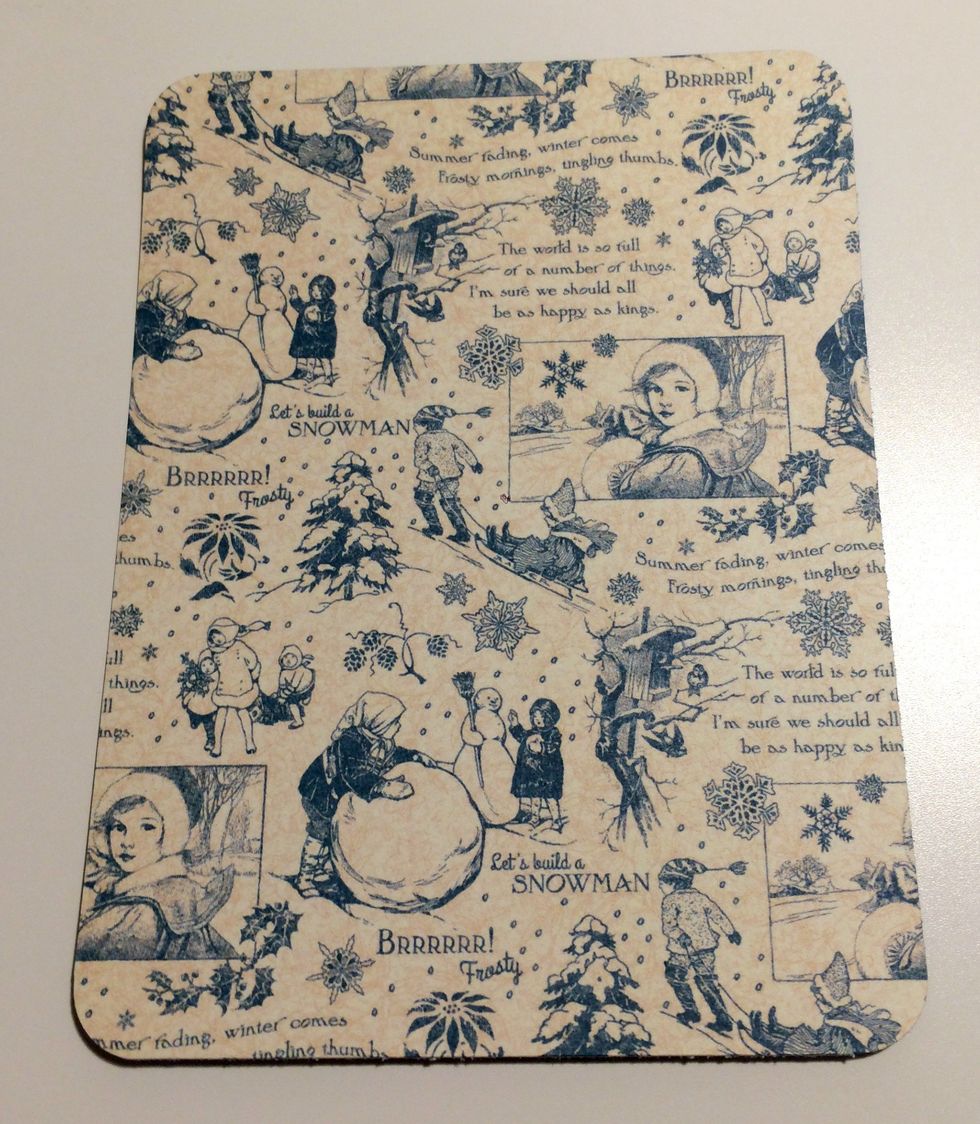
From the January Montage paper, cut out a piece that measures 3 3/8" x 4 1/2". Round all four corners of the paper.
Take a blue piece of paper out of the patterns & solids paper. Cut a piece that measures 2 3/8" x 3 1/2".
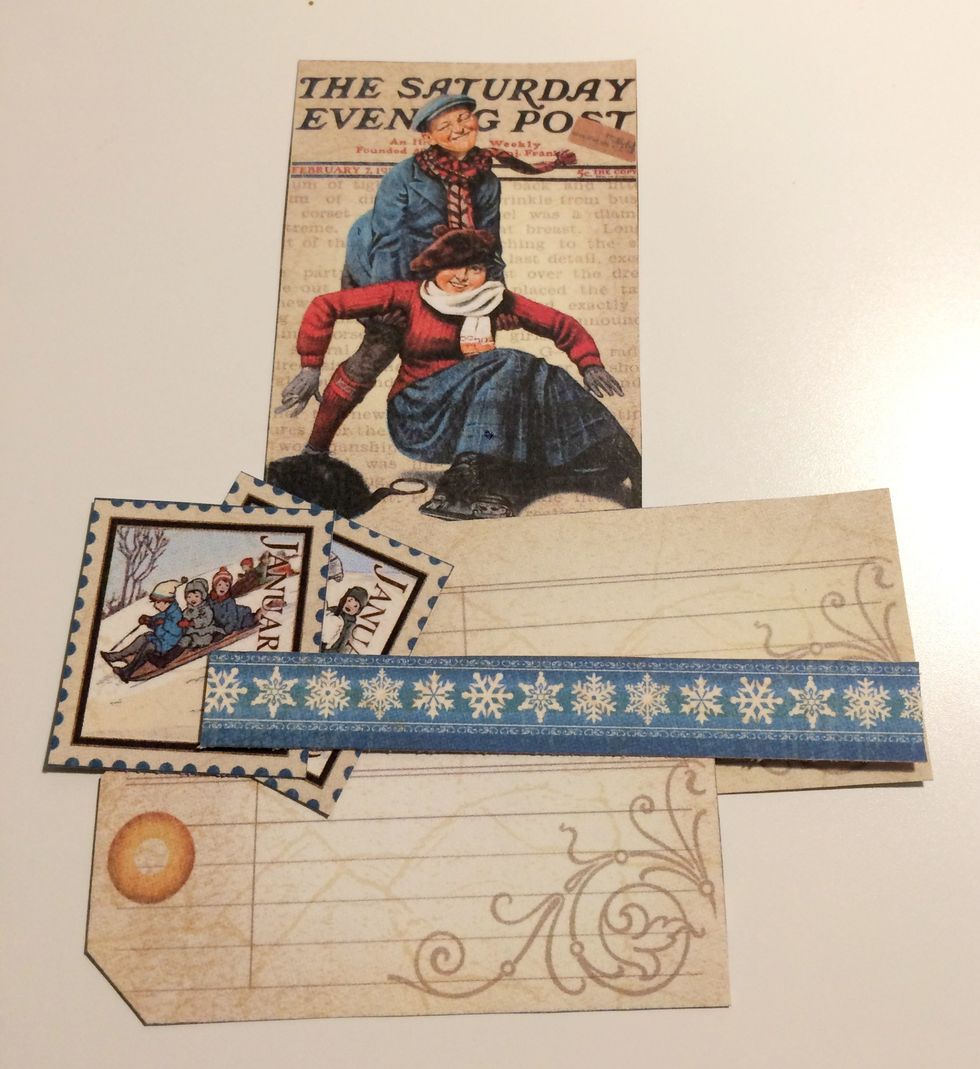
From the Place in Time - January Cut Aparts, cut out two stamps, two tags, the Saturday Post image and the snowflake border. Cut the border to 3 5/8".
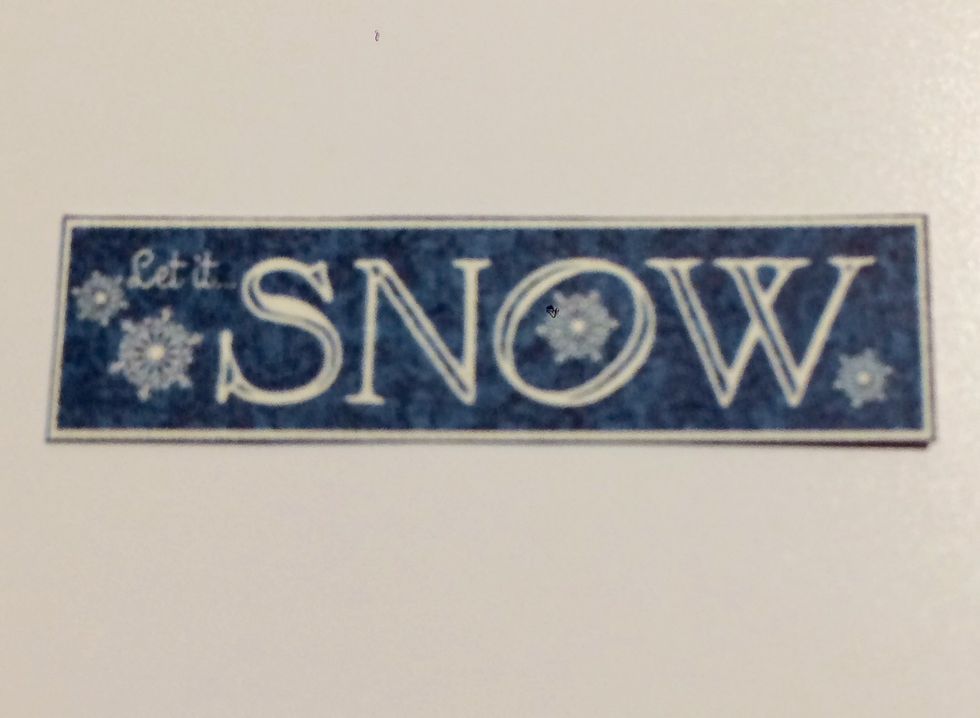
From the 8x8 January Collective paper, cut out the Let It Snow cut apart.
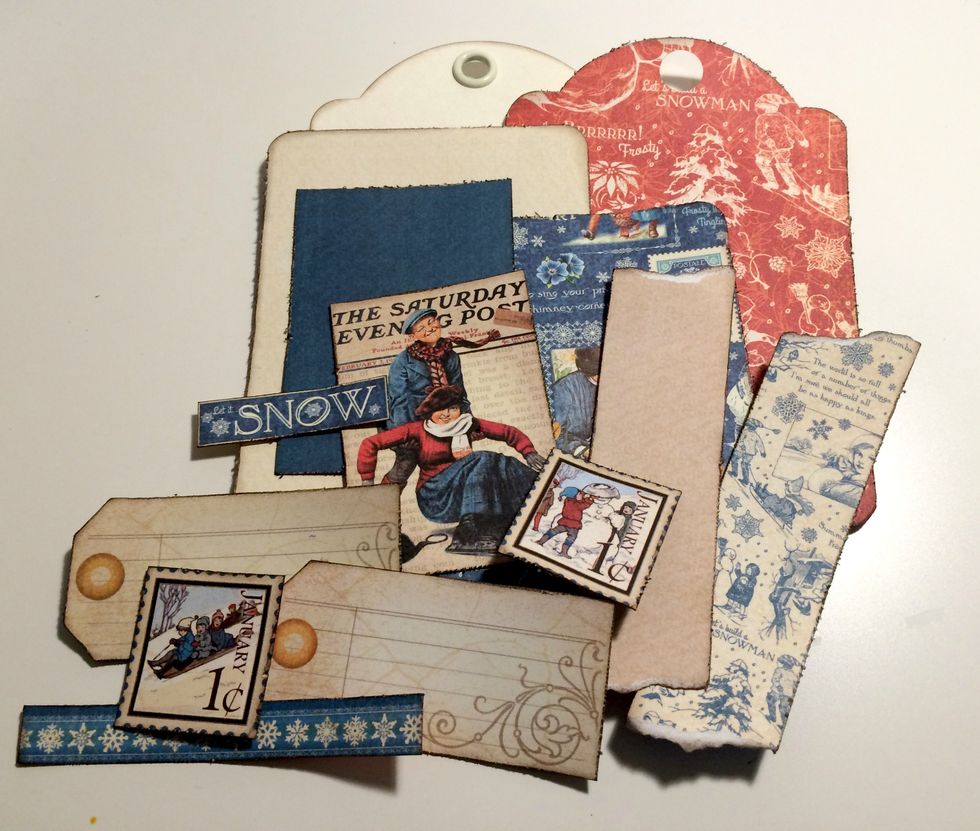
Edge distress all of the edges of the patterned papers and cut aparts. Once the edges have been distressed, ink the edges using Walnut Stain Distress Ink and a blending tool.
Adhere the patterned paper tag to the Ivory tag.
Adhere the cream paper to the red patterned paper tag. Adhere the blue January patterned paper to the cream paper.
Foam square the cream strip of paper 1" from the right and 1/2" from the bottom of the tag. Foam square the blue/cream patterned paper 1" from the left and 1/2" from the bottom of the tag.
Foam square one tag 3/8 from the right and 1/4" from the top of the tag. Foam square the second tag 3/8" from the left and 1/2" from the bottom of the tag.

Adhere the Saturday Post image to the blue paper. Adhere the blue paper to the middle of the two tags.
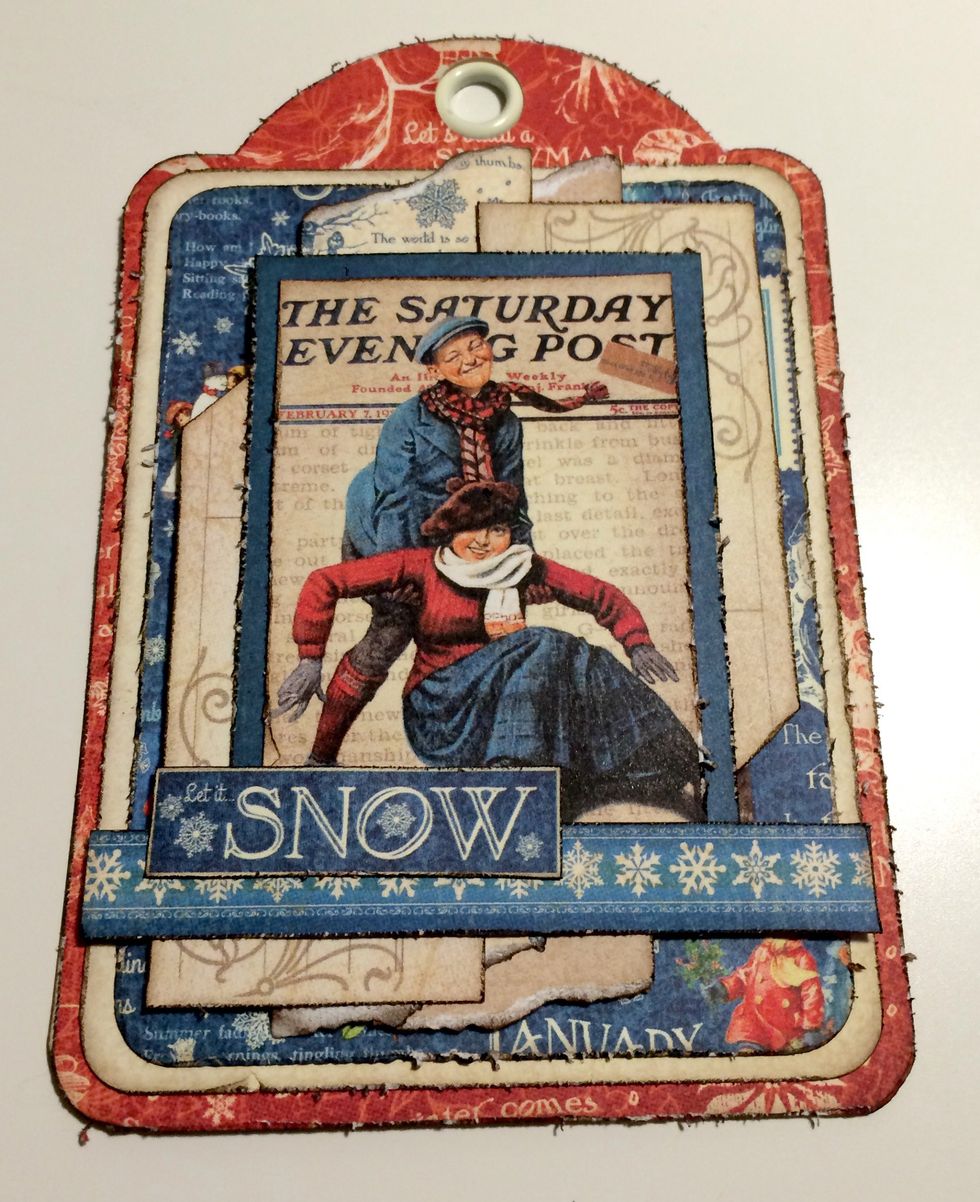
Adhere the snowflake border 1 3/4" from the bottom of the tag. Adhere the Let It Snow cut apart 3/8" from the left of the tag.
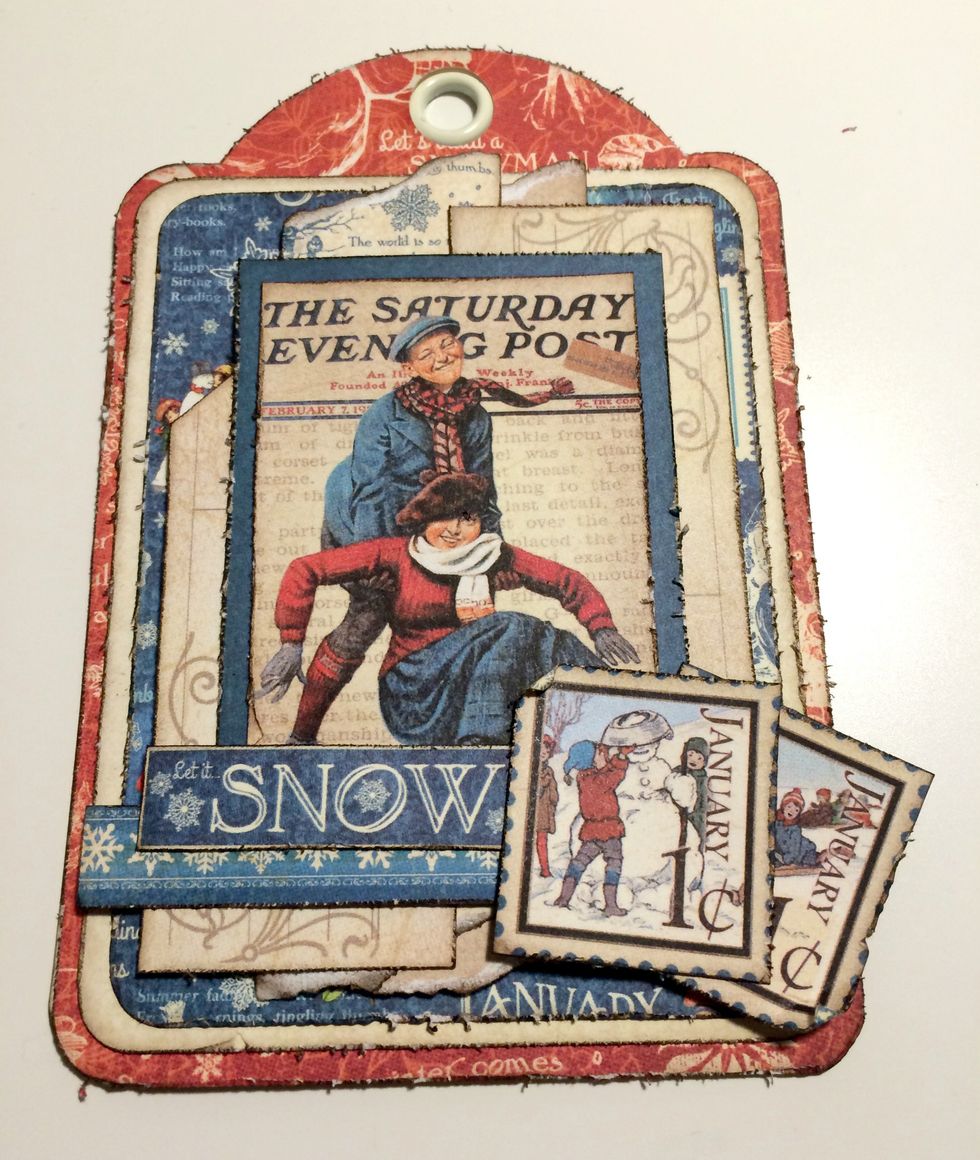
Foam square one postage stamp to the bottom right hand corner. Adhere the second postage stamp slightly overtop of the first stamp. Roll the corners down and up on the postage stamps.
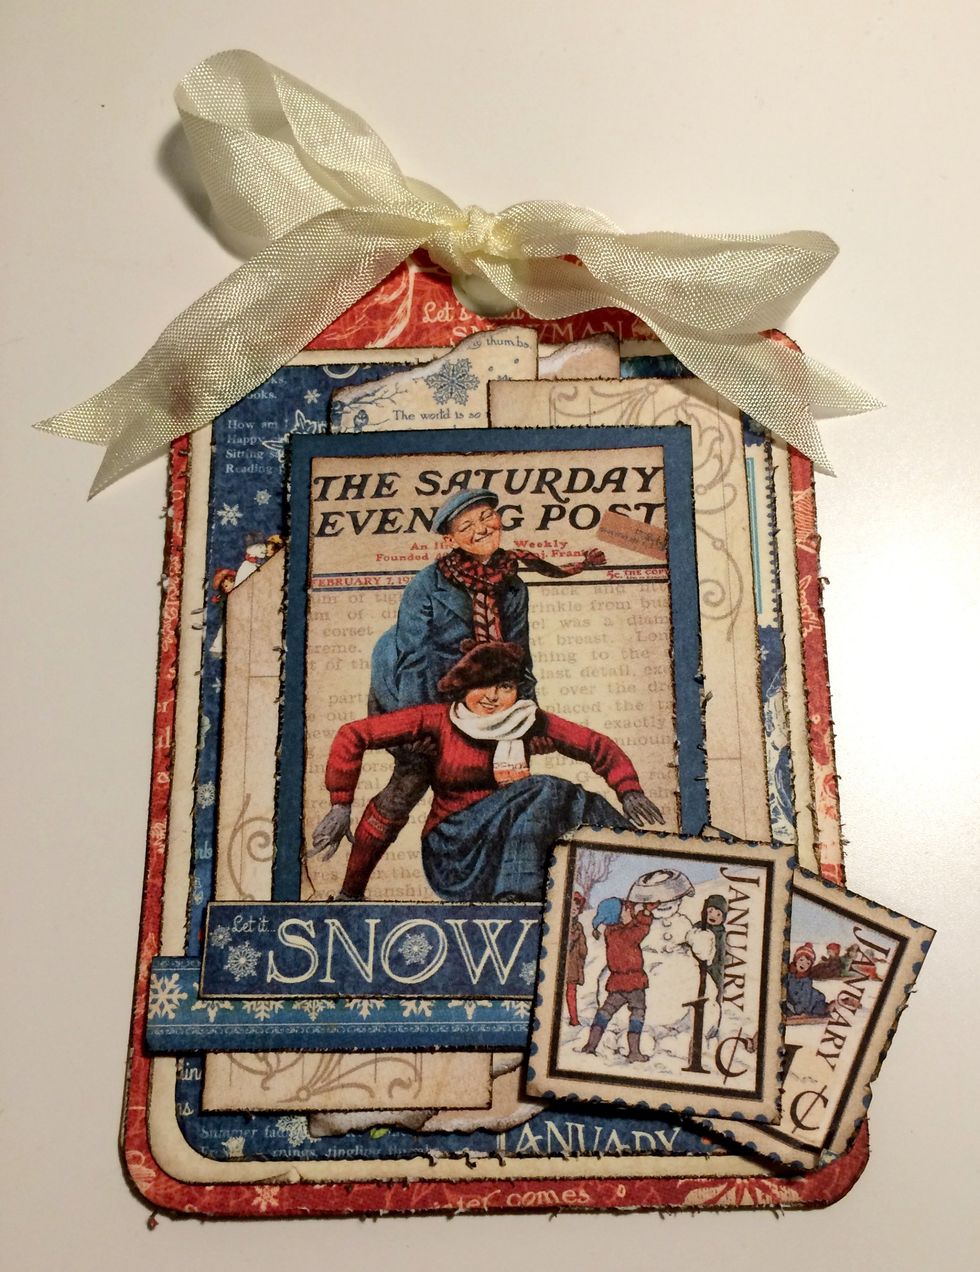
To finish your second winter tag, add a cream bow at the top of the tag. Your winter tags are now complete.