The Conversation (0)
Sign Up
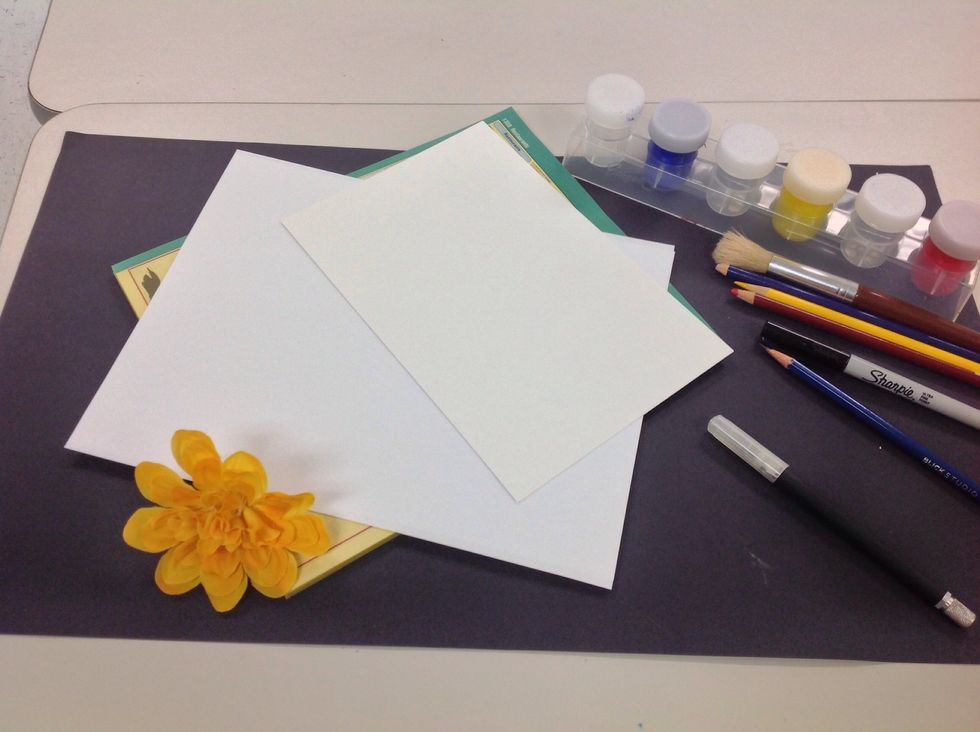
Supplies needed.
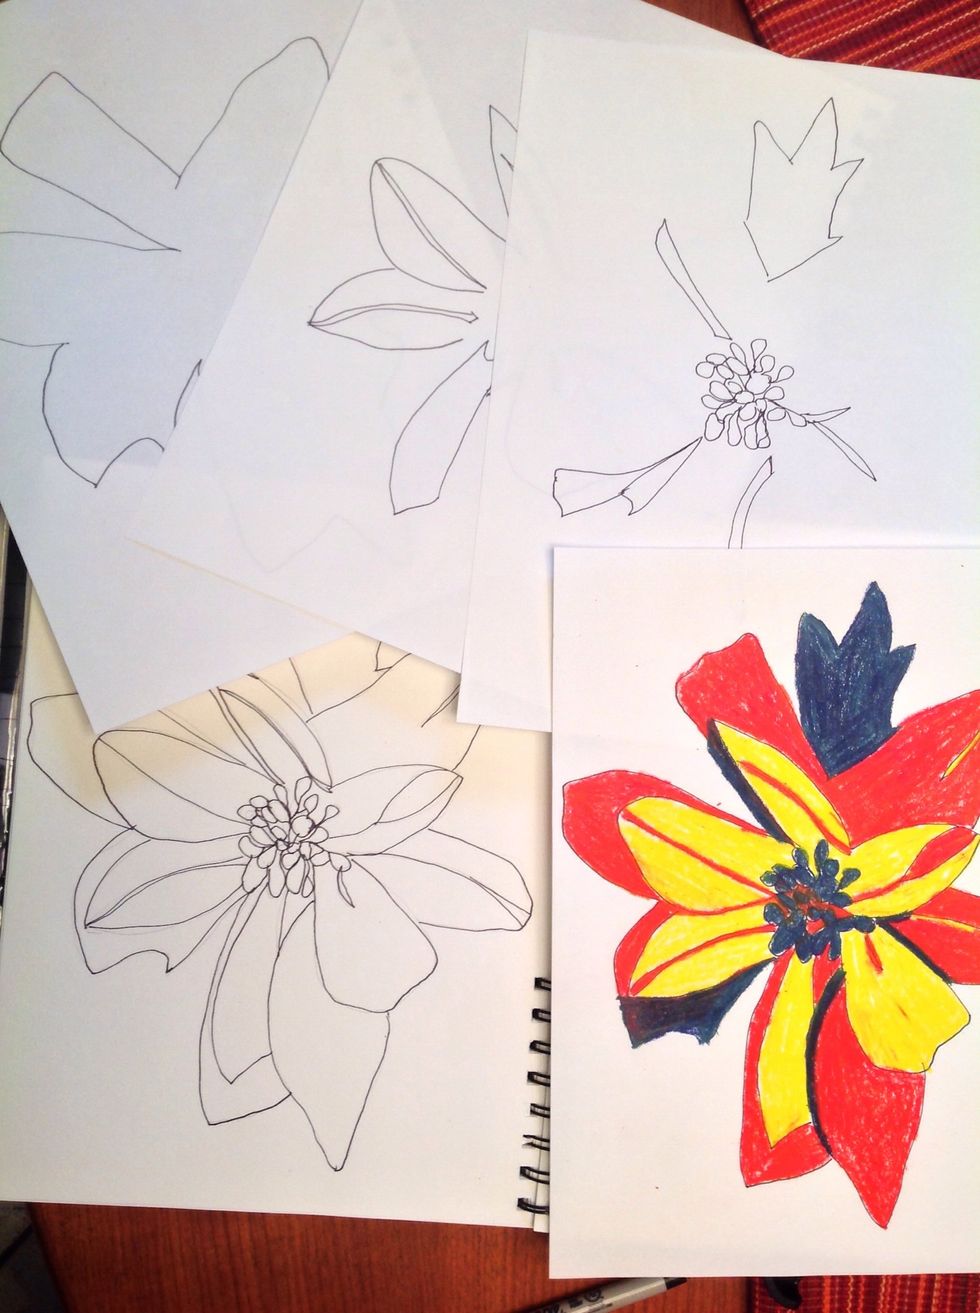
Look up the work of Georgia O'Keeffe to get an idea of how an extreme close up of a flower looks in a drawing/painting. Then look up Andy Warhol and his screen print projects.
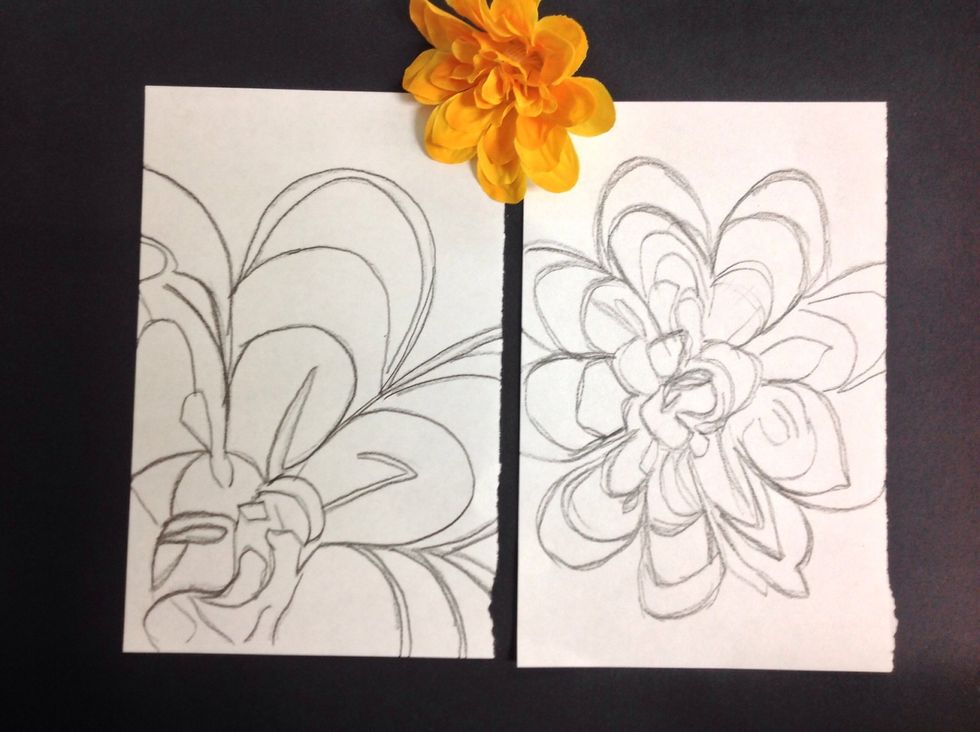
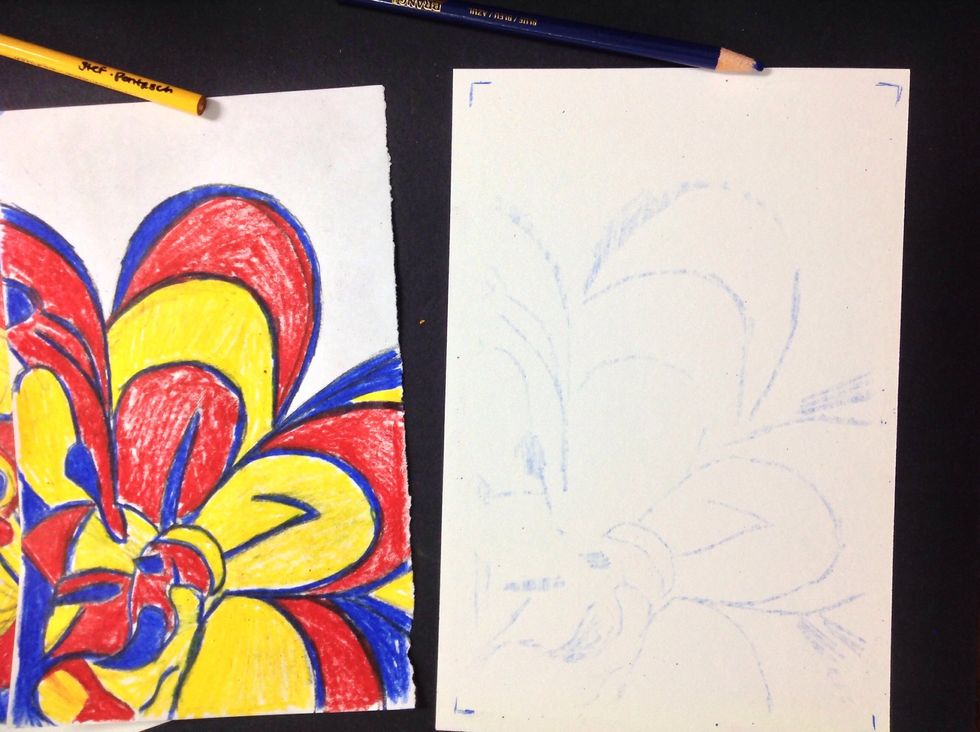
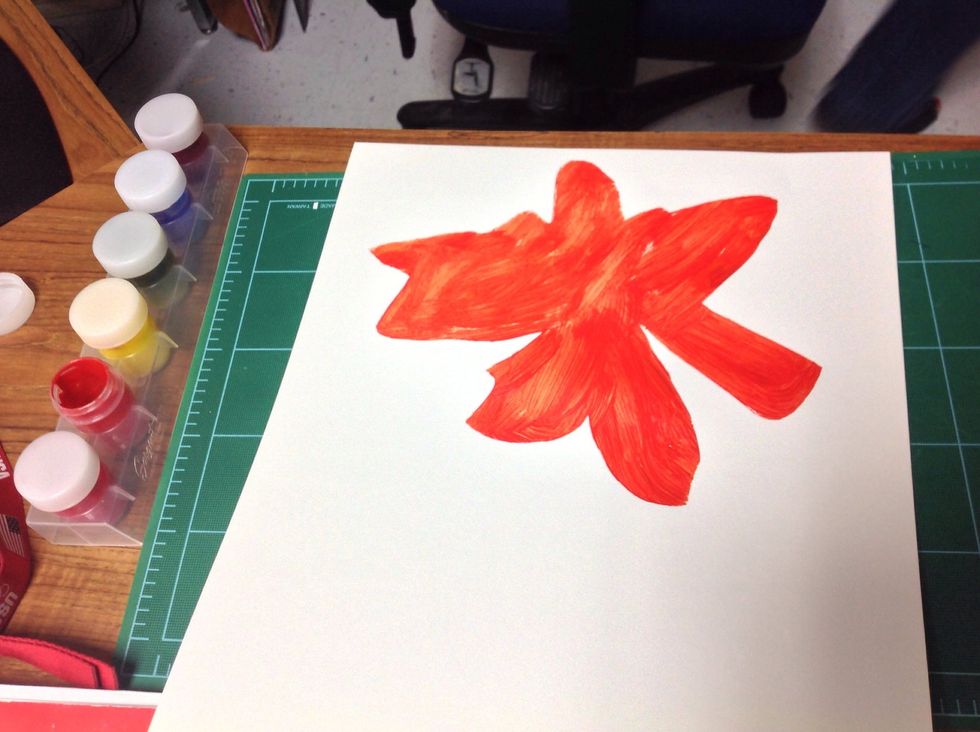
Looking at the flower, draw the flowers as accurately as possible. No shading ! You are focusing on a contour line drawing. Do a few drawings so that you can decide on a flower to further work on.
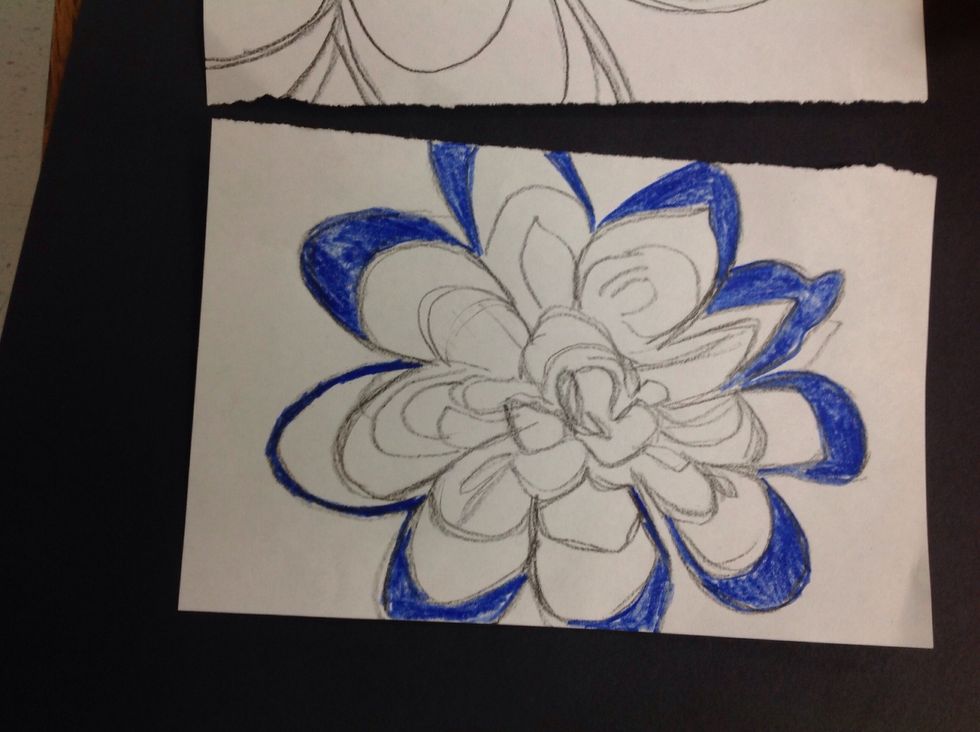
Choose 3 colors to work in. Only 3! I chose red, yellow and blue for the sample drawing.
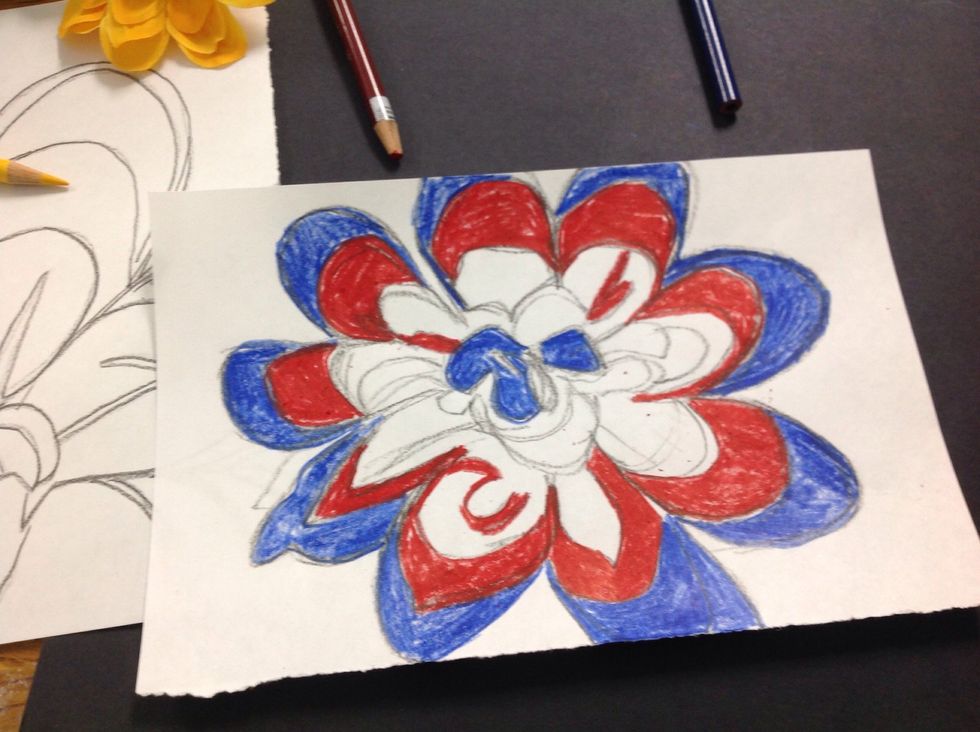
Completely color the flower using the 3 colors. No gradients, just solid color.
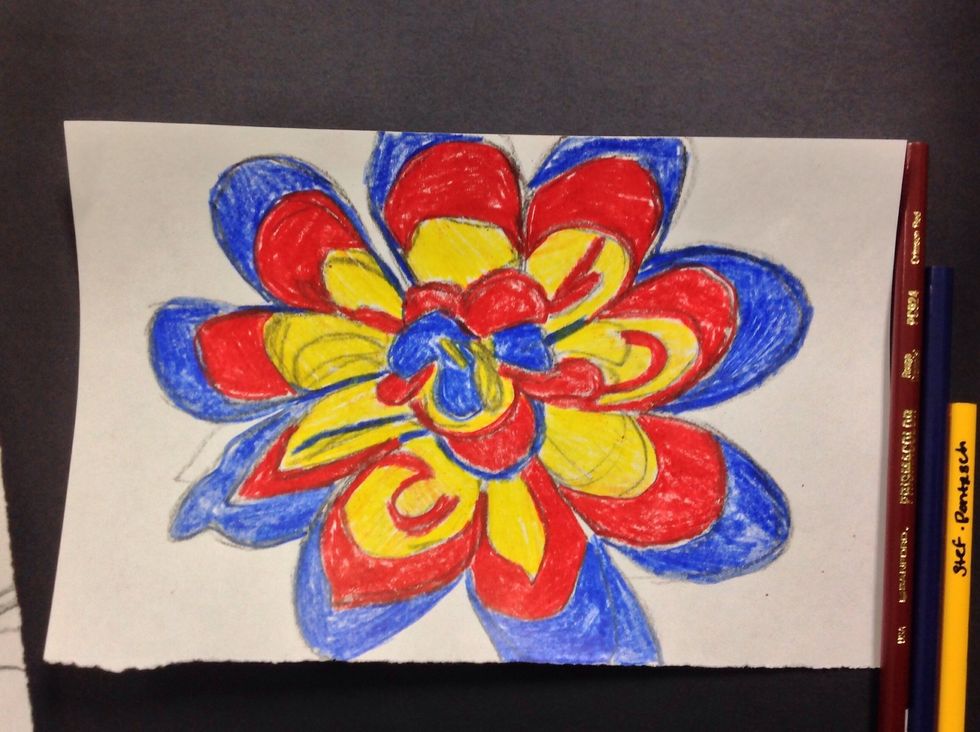
This is a working sample, I didn't worry about finishing the flower exactly like my original drawing.
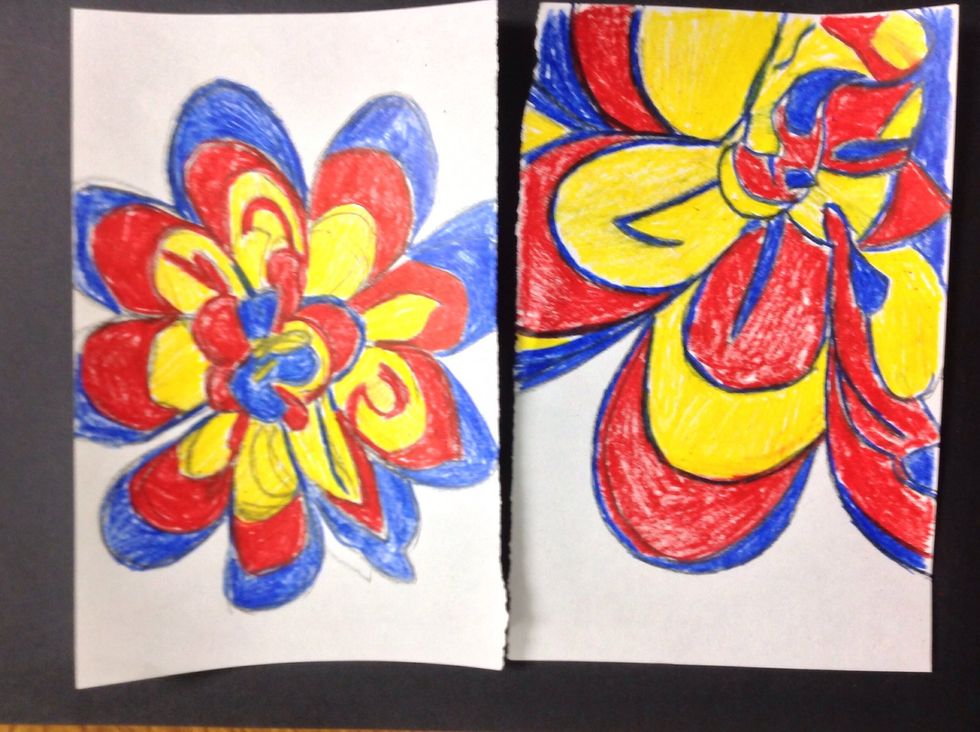
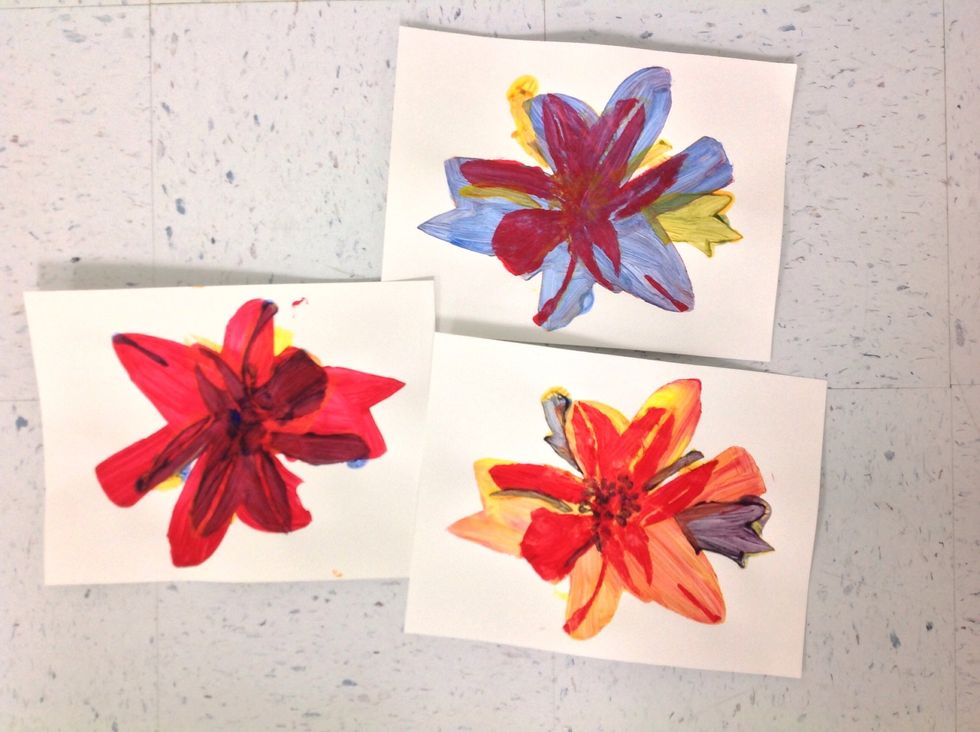
Here are two samples.
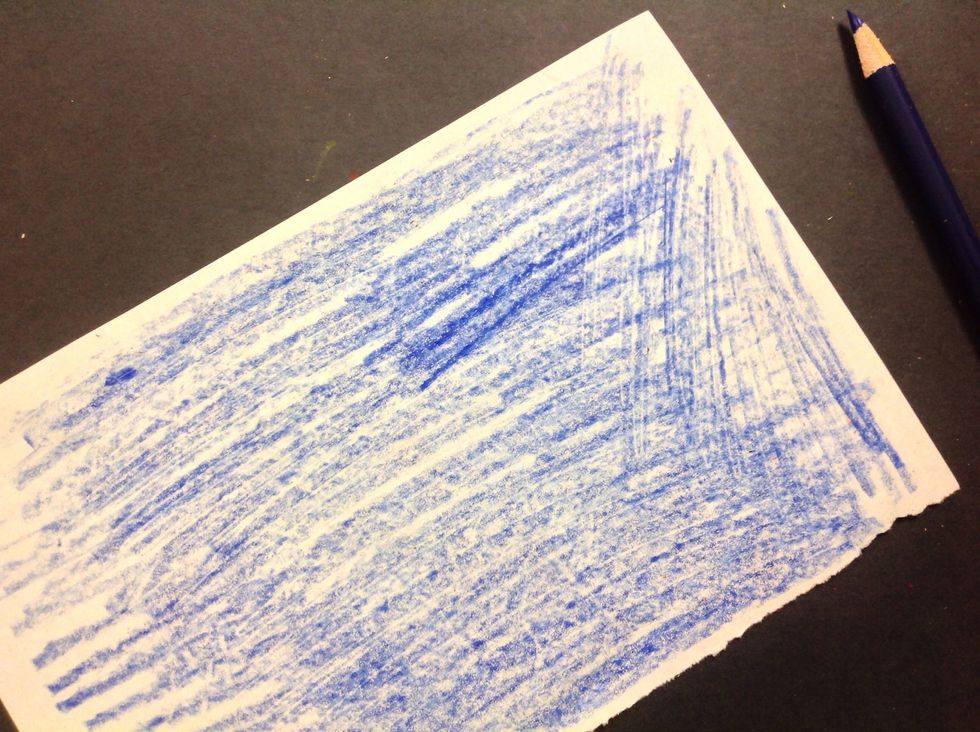
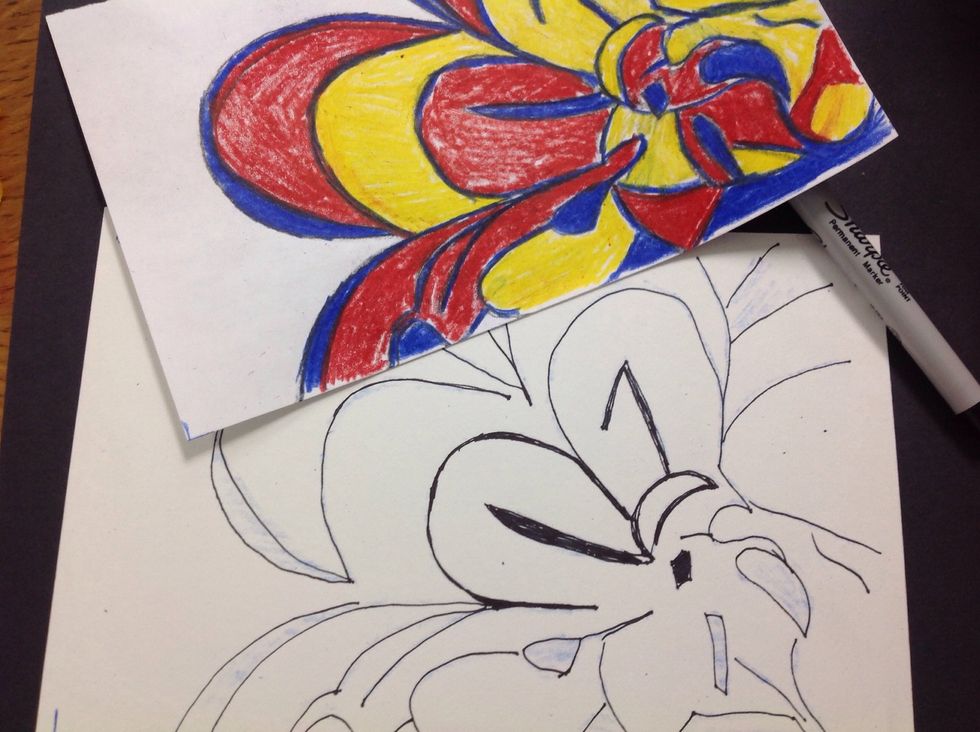
Now choose one flower to further work on and flip the drawing over and color the back loosely so that you can trace the flower.
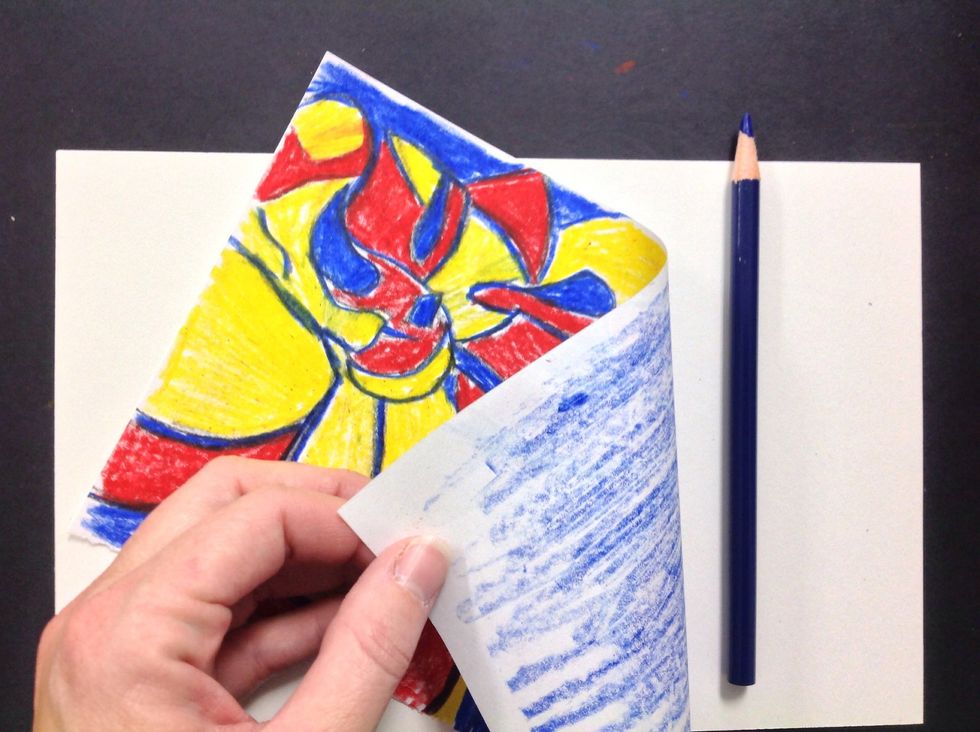
Get a piece of tag board and trace the flower onto the white tag board. The color from the back of the flower will transfer to the tag board.
Like this.
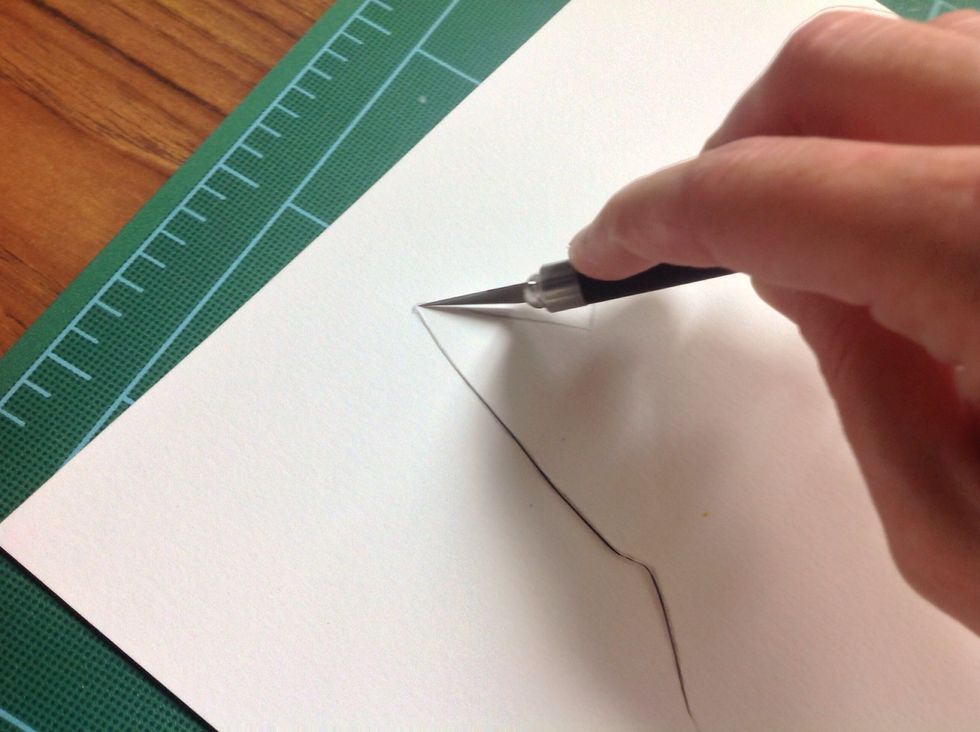
Now, if you desire, go back over the transferred lines with sharpie. At this point you can clean up your flower. You will be using these lines to cut your stencil.

Now, carefully cut out the black lines. Do this slowly, if you cut all of the lines out, you will lose the inside of your flower. It's best to take to slow and cut away the lines a little at a time.
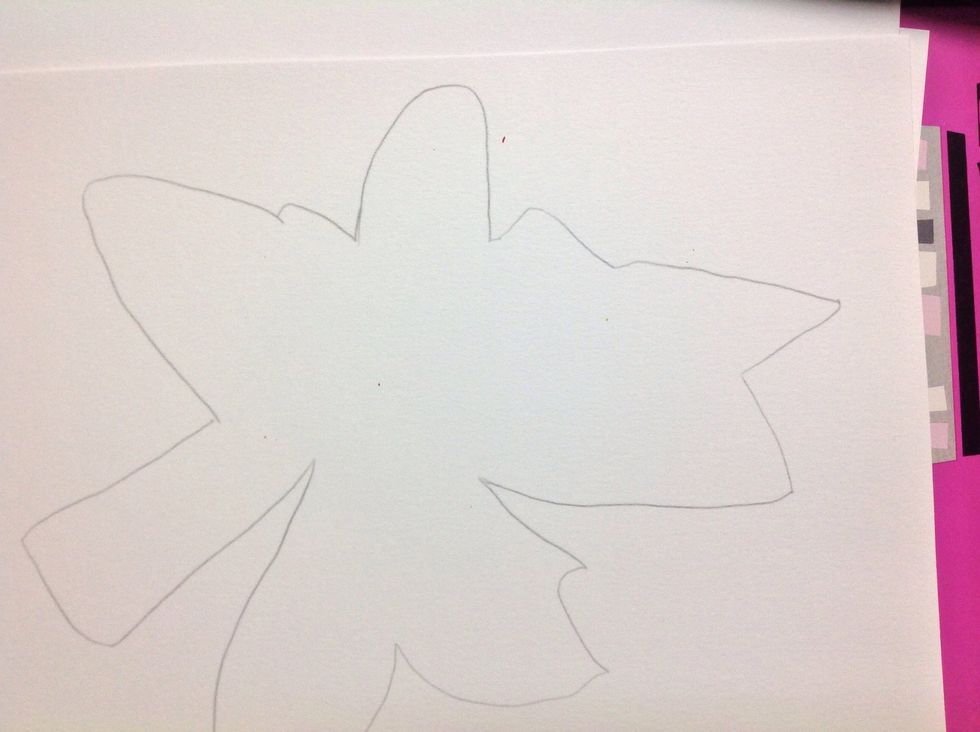
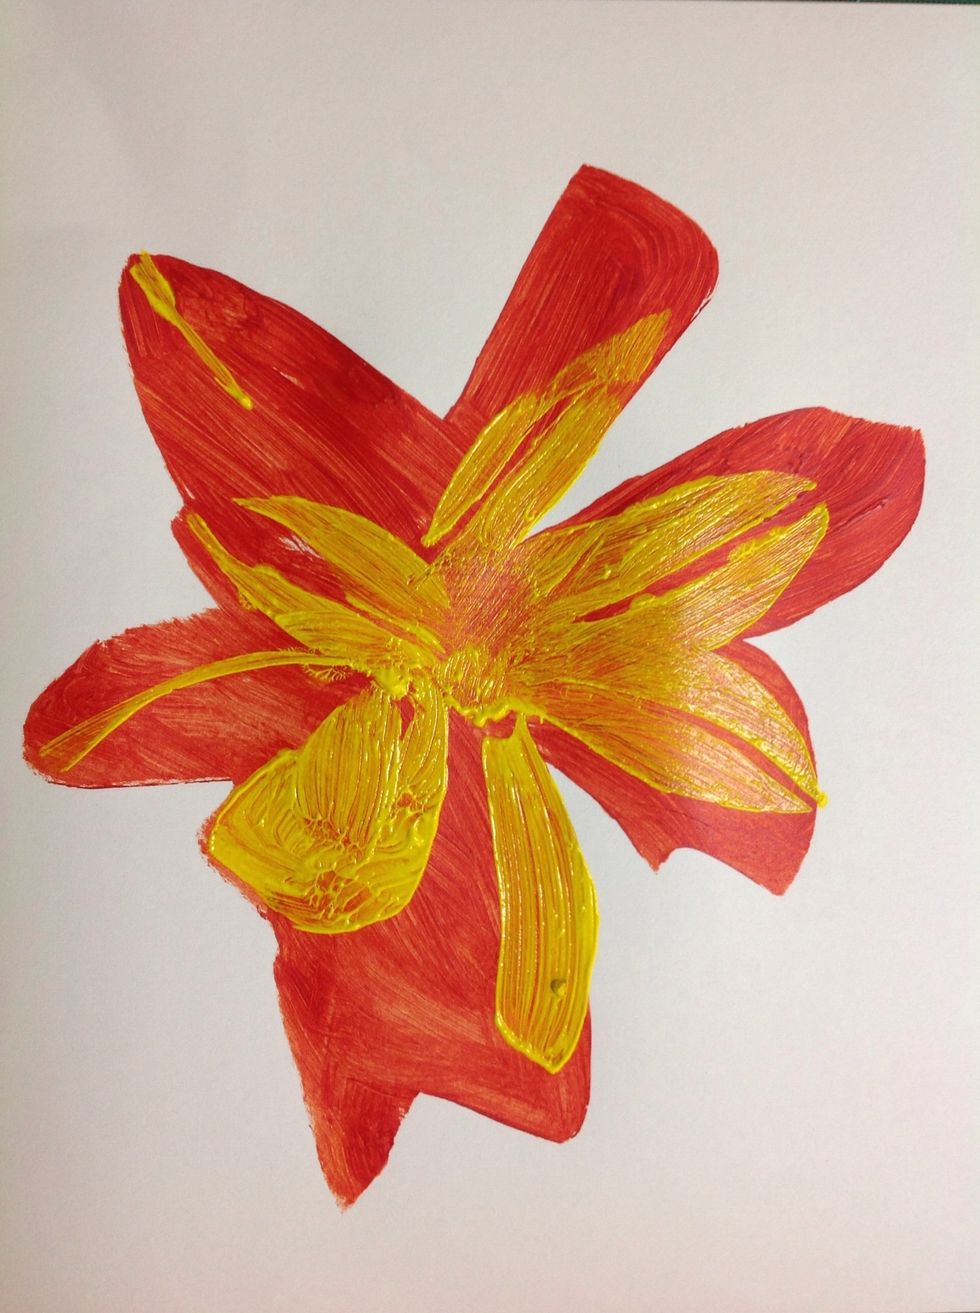
Here I've moved to a new drawing, but notice that while the flower shape changes, the process stays the same. I've also gone ahead and traced patterns isolating each color.
The bottom layer is very basic on this flower.
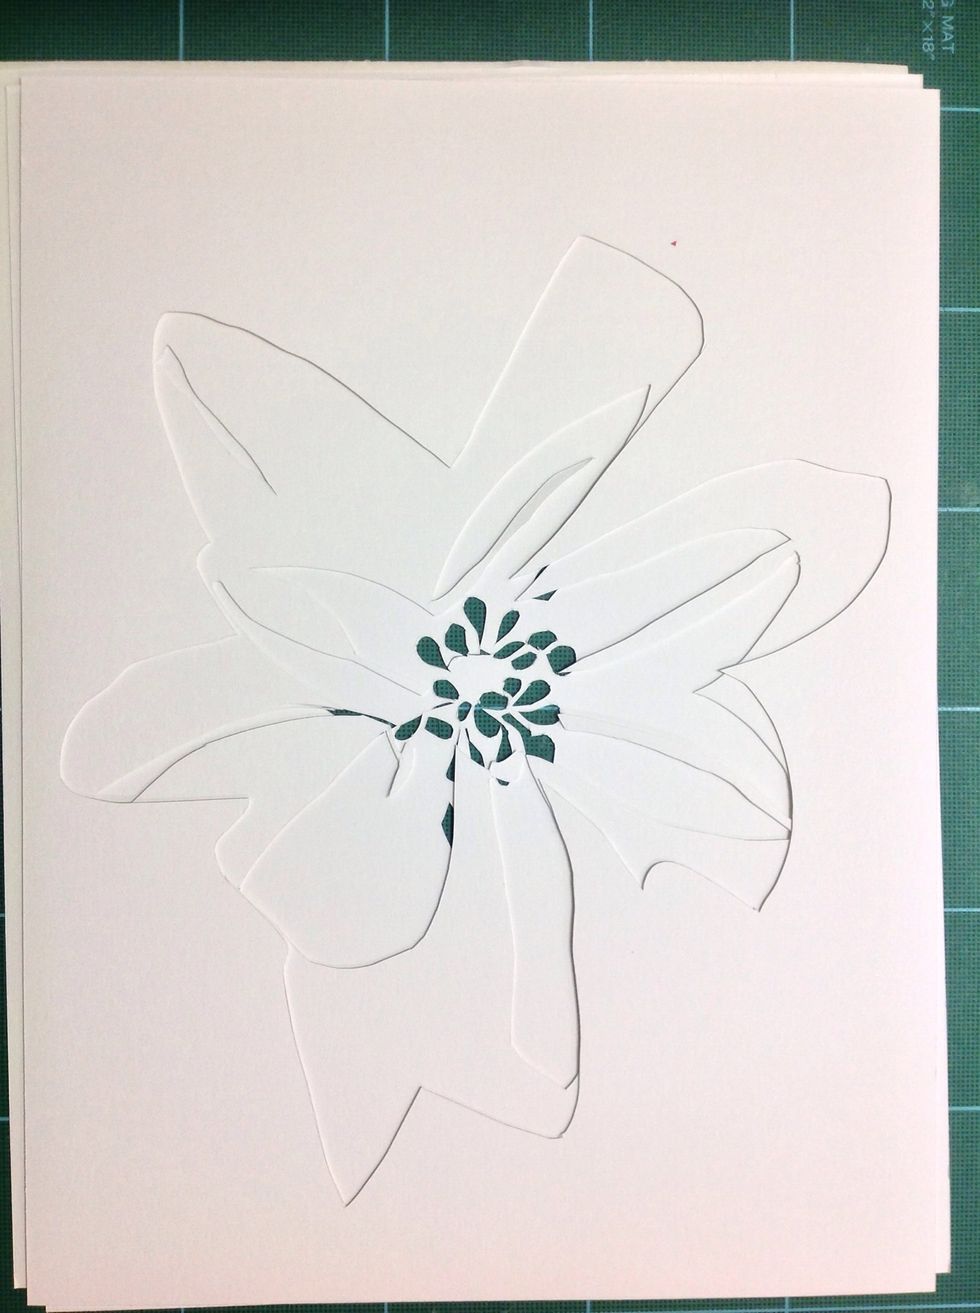
Cut it out with an exacto knife and a self healing mat. Or you can use part of an old phone book or magazine to protect your working surface.
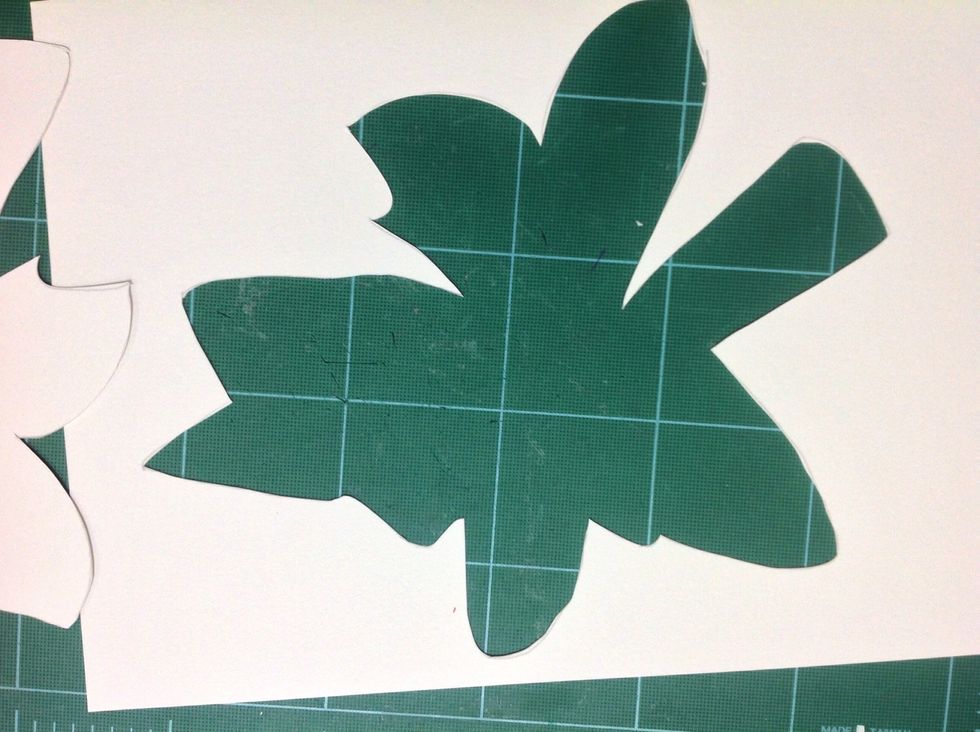
The tag board makes a nice stencil.
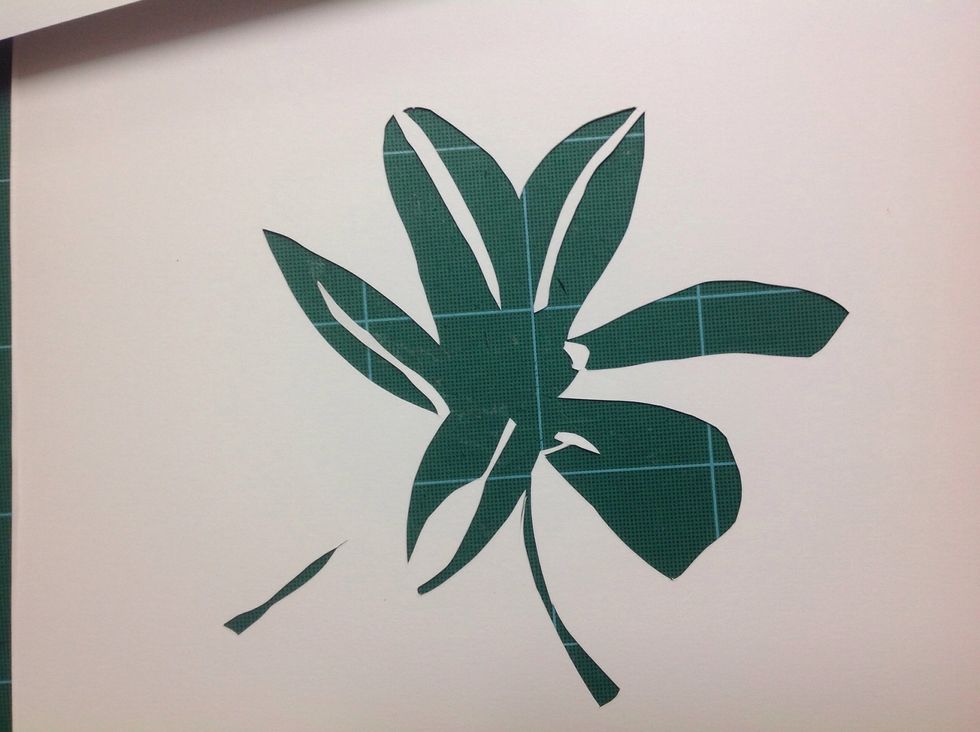
Layer two. Make sure that your details are connected to the larger area of the stencil or you will accidentally cut away all of your details!
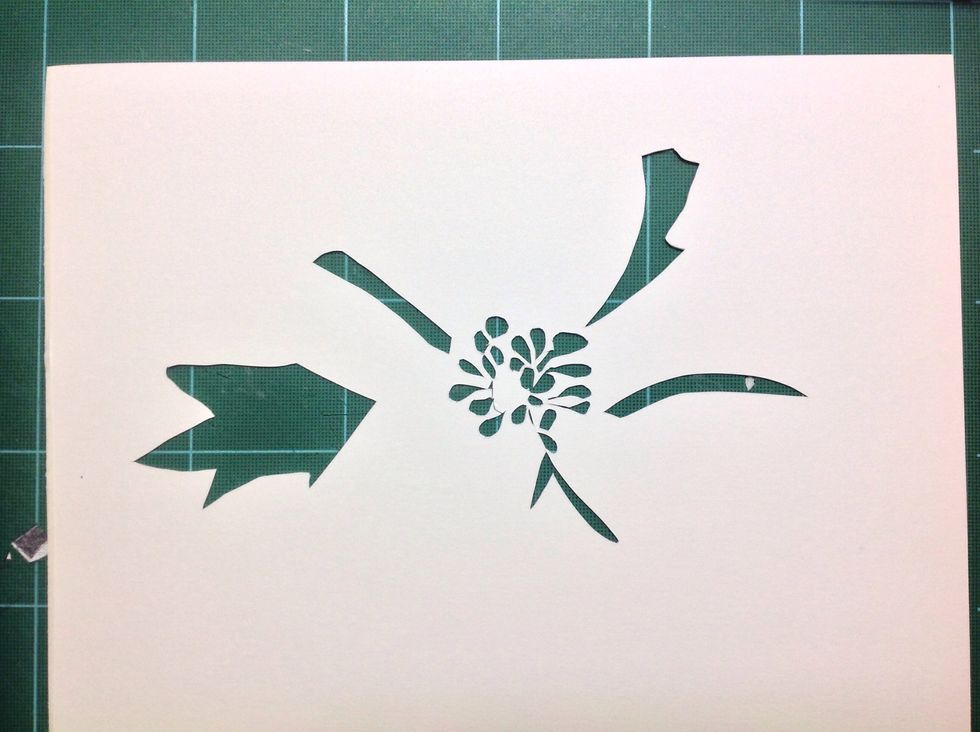
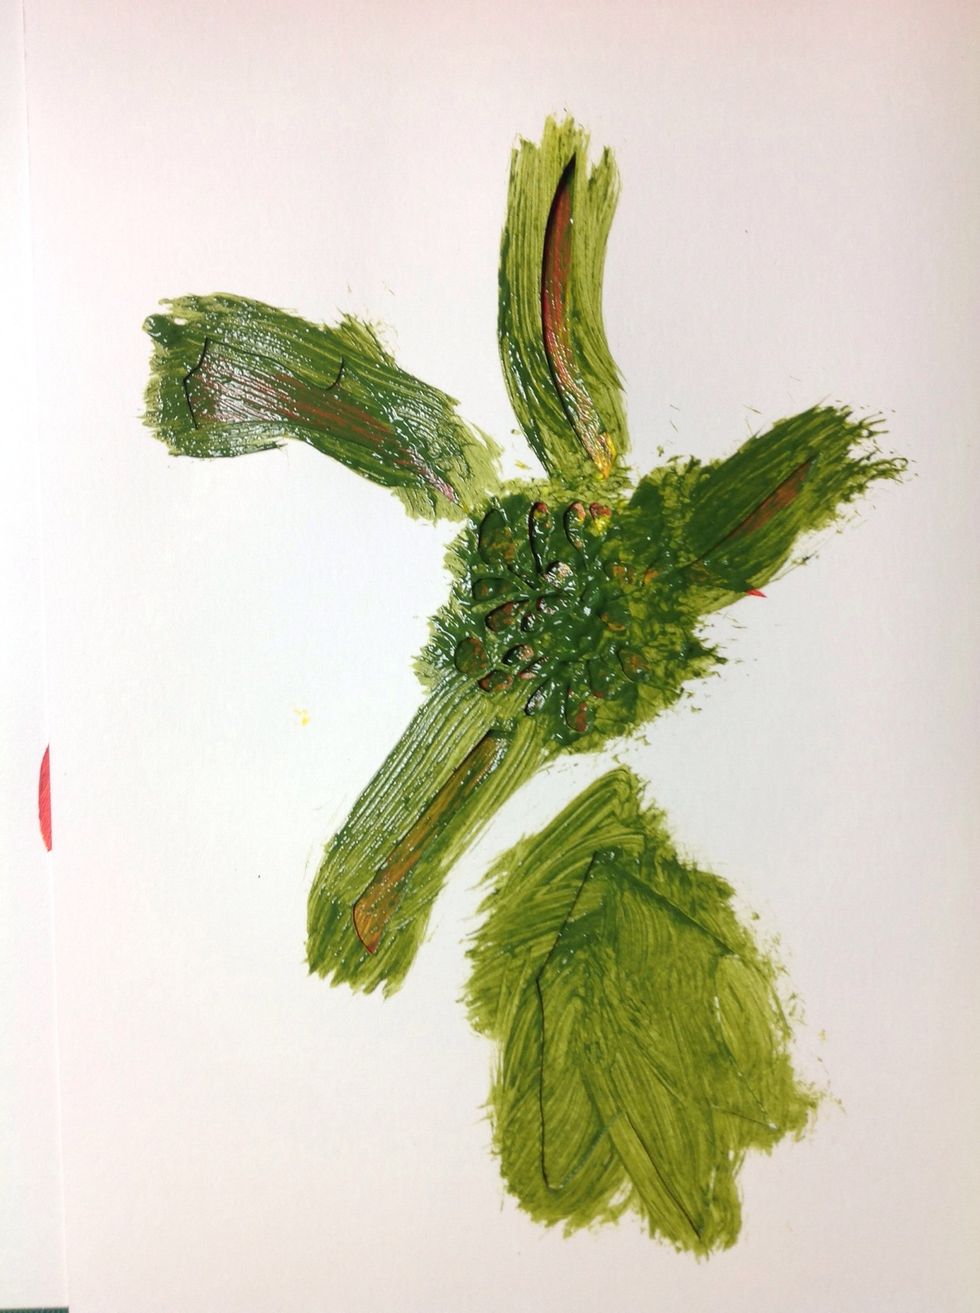
Layer three is mostly details.
Here are all three stencils layered.
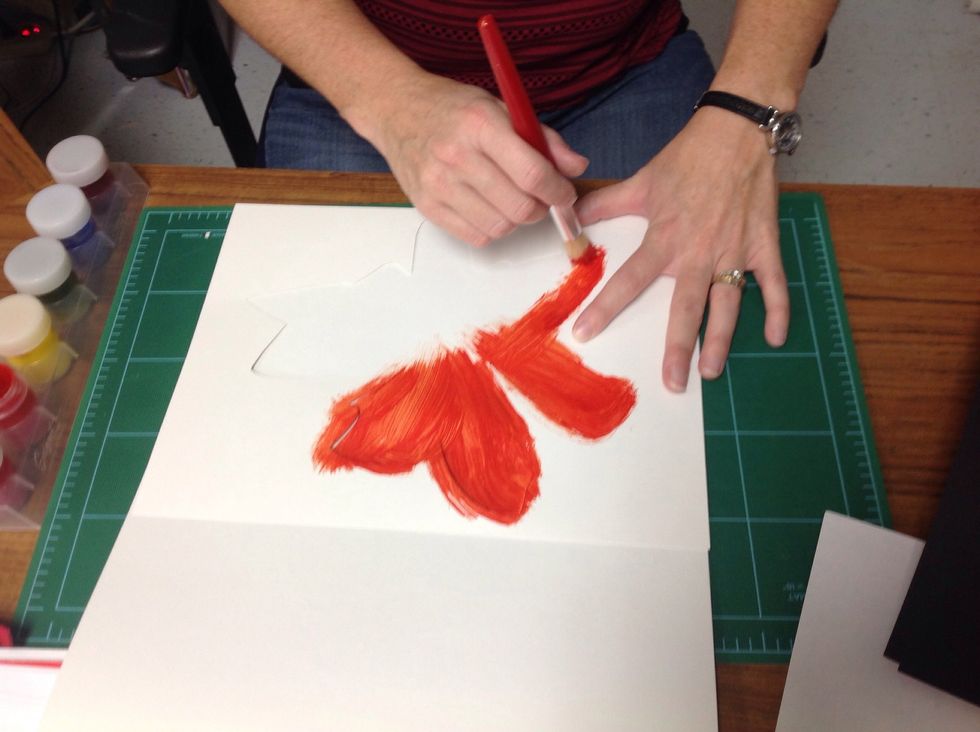
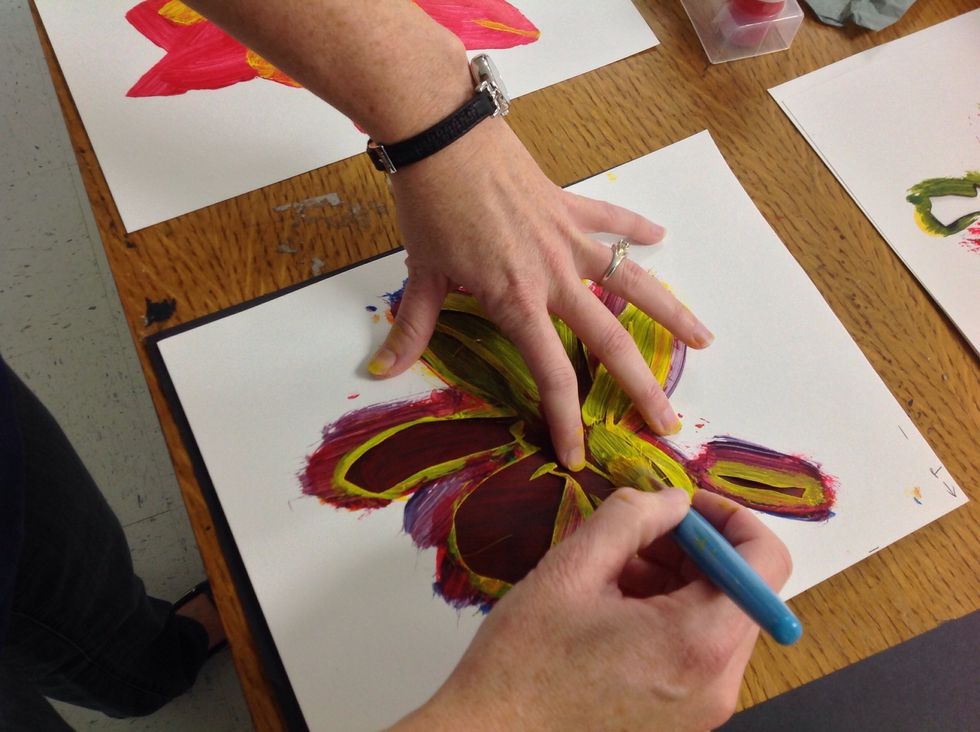
Now choose a base color and hold the stencil in place and paint away. Be careful to not push paint underneath your stencil.
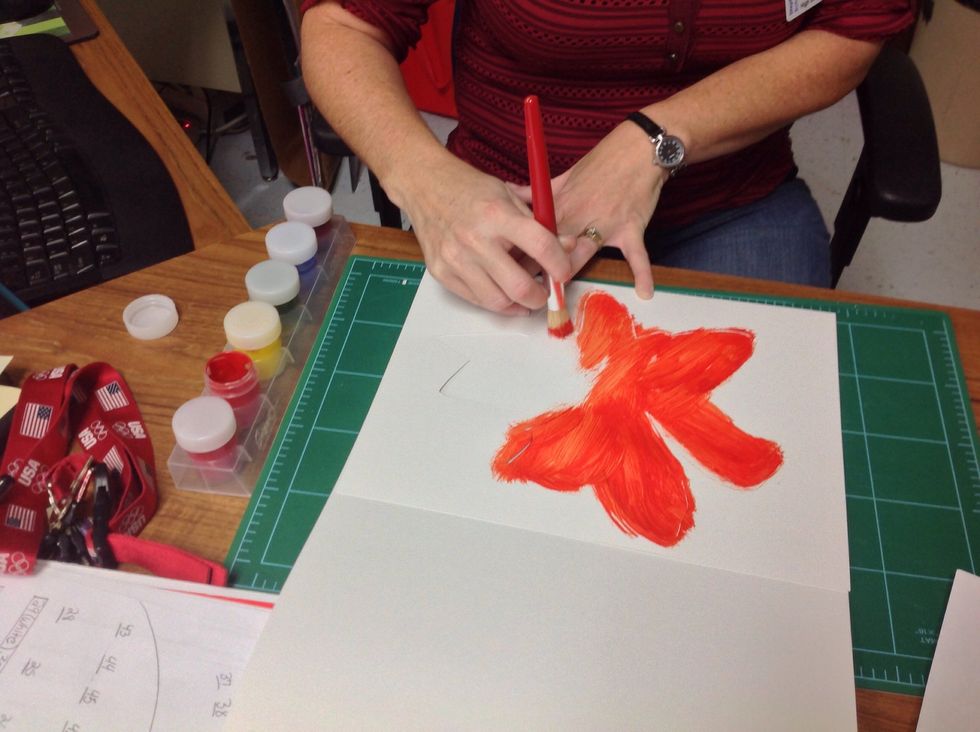
I use a cheap brush for this project.
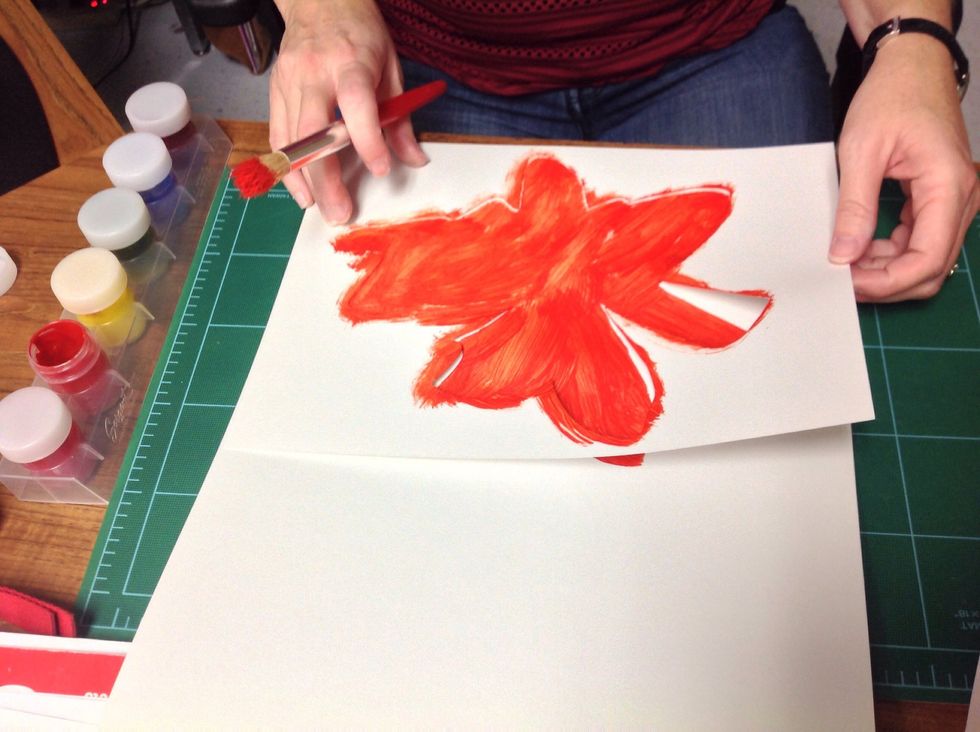
Pull the stencil off carefully and set on a scrap piece of paper.
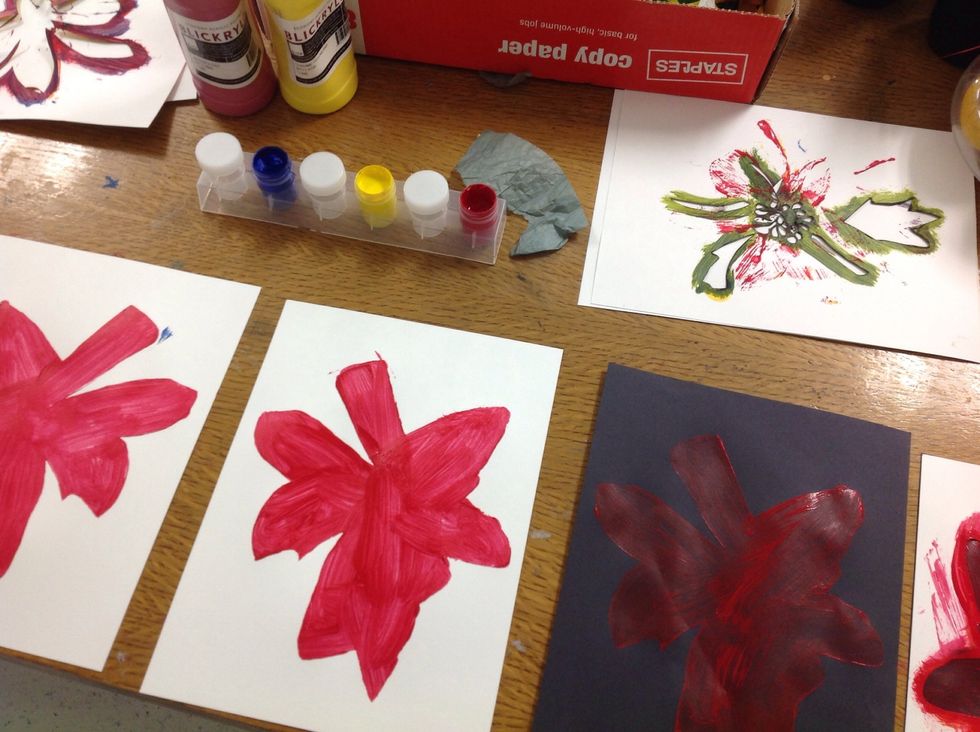
First layer. If you have time and space, paint all of your base layers first and let dry completely.
Here is the flower with the second layer. I don't let the paint dry completely as I like the blended look you sometimes get with the prints.
Third layer. For this set of prints my third color was green.
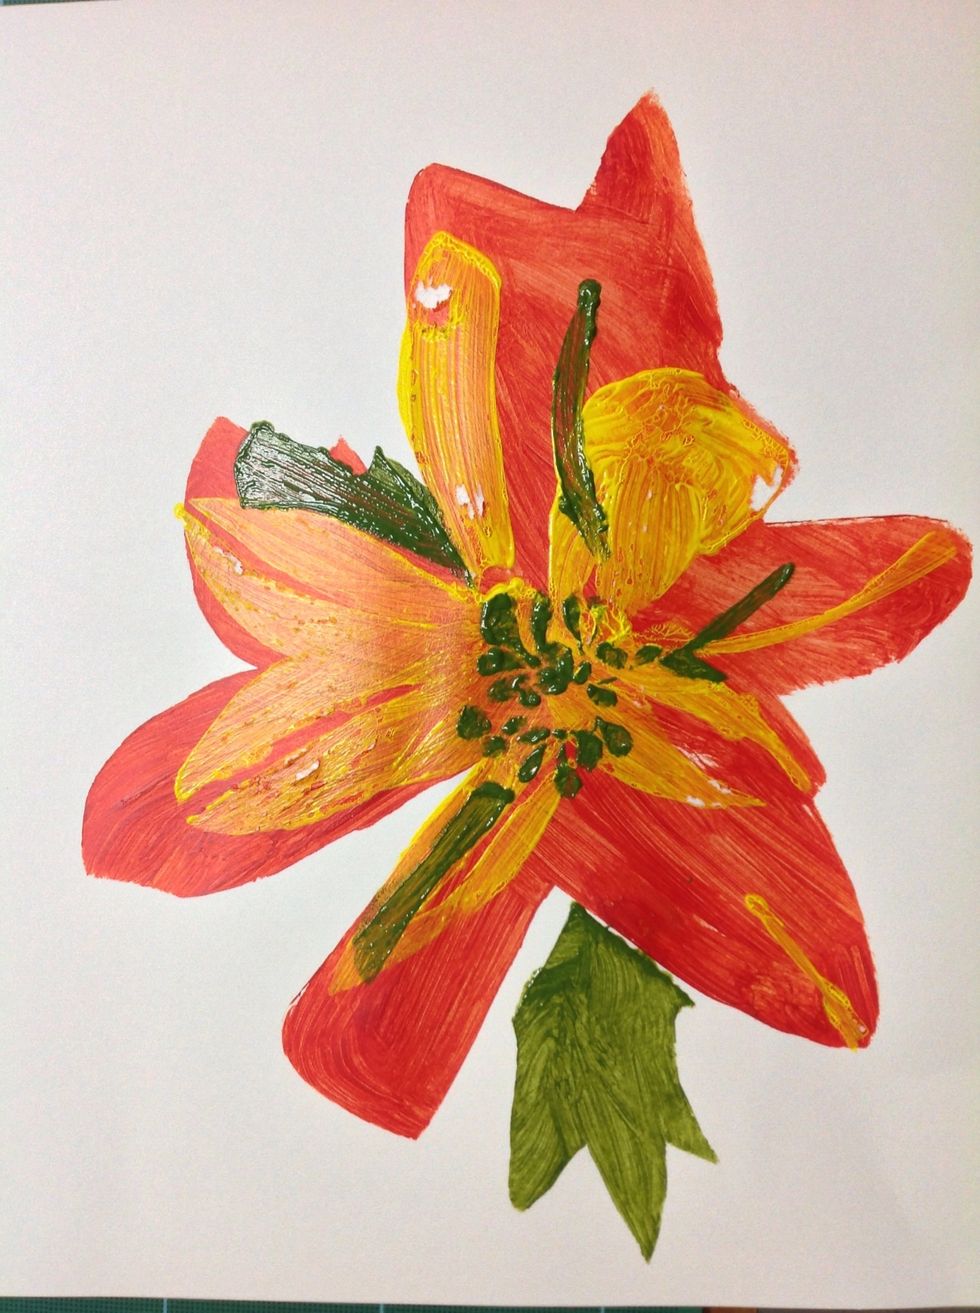
You can see in this picture that because the yellow paint was not dry and I was slow pulling off the third stencil,that it left a "bad" spot in the print.
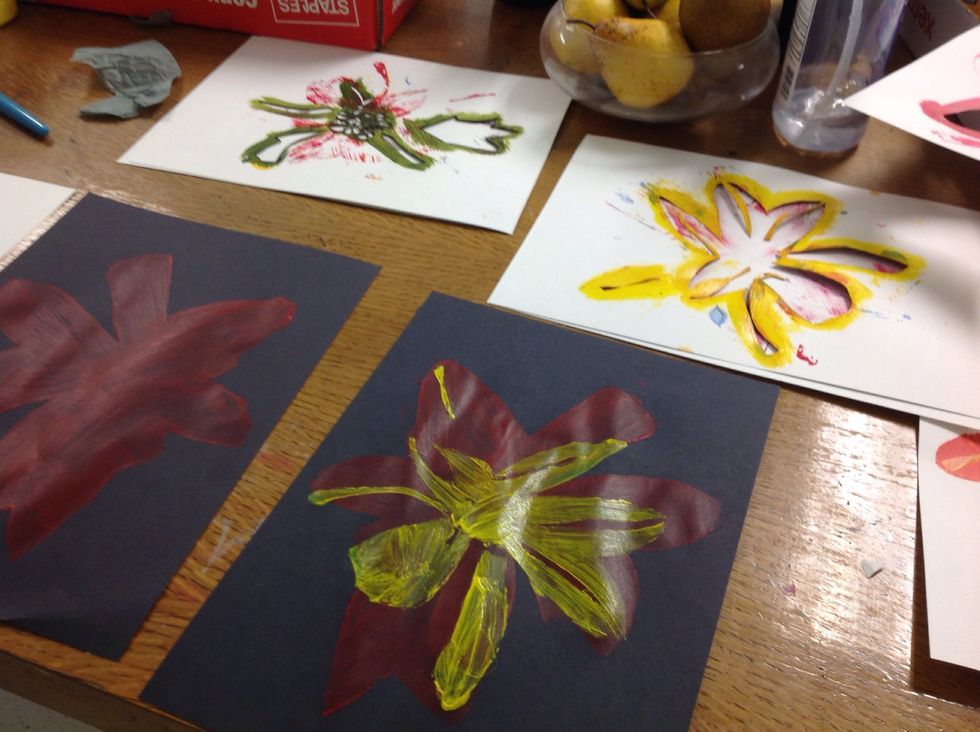
At this point I'm taking you back to the base layer so that you can see that you can print both sides of the pattern and how it looks on black paper as well.
You can see here that I keep the stencils on separate pieces of paper, but handy as I print quickly and usually four prints at a time.
In this picture you can see the paint build up on the stencil. Immediately after printing with the stencil, I move the stencil to the scrap paper and wipe it off.
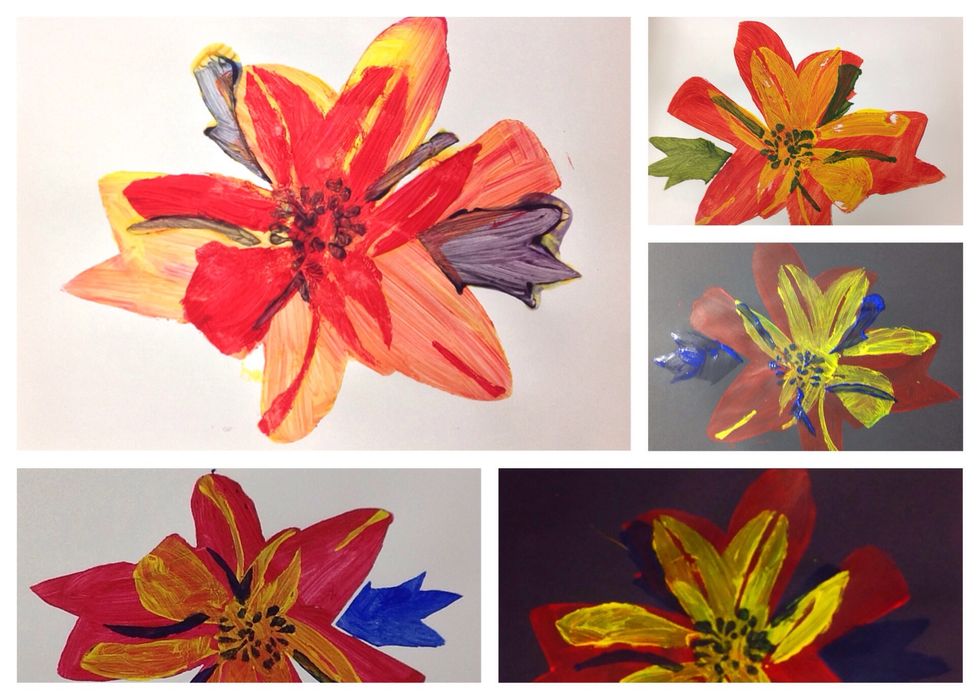
Here are three prints done with tempra paints.
The tempra paints work fine, they are just a little more transparent.

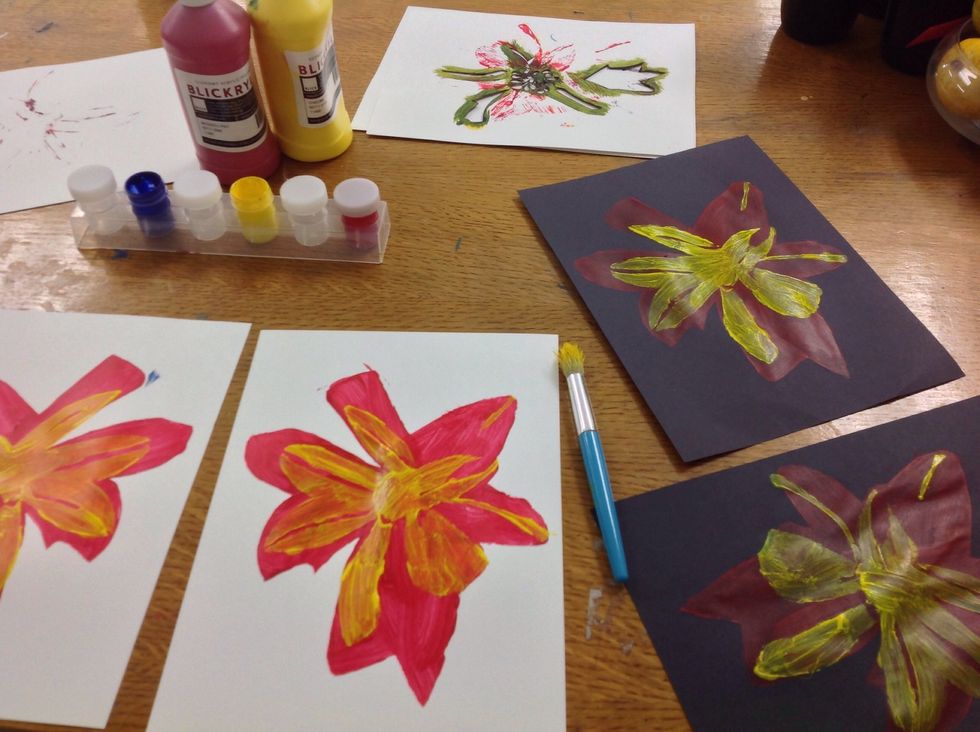
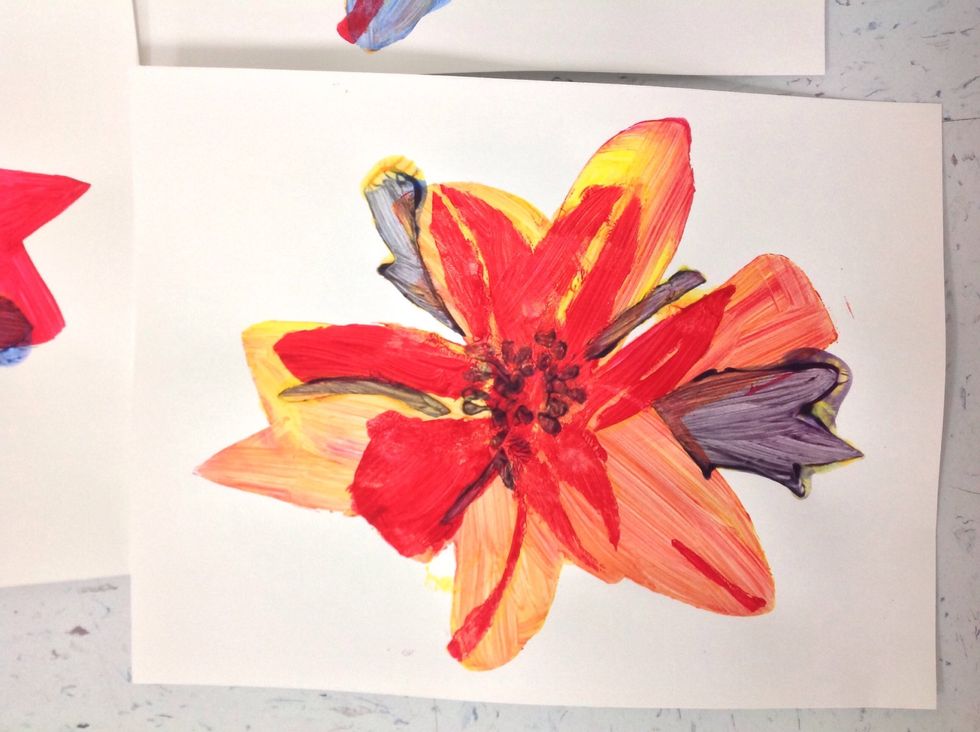
This print is done with acrylic. The yellow was still wet, that is why the leaf is blue but the rest of the blue layer is really more green.
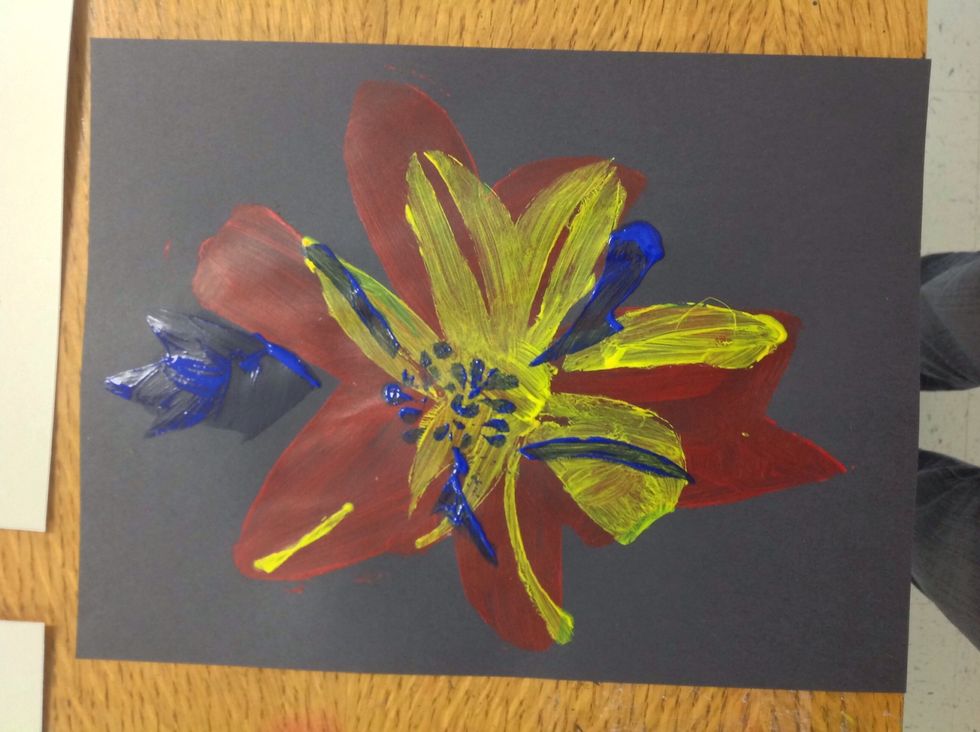
On a black background.
With the stencils flipped over.
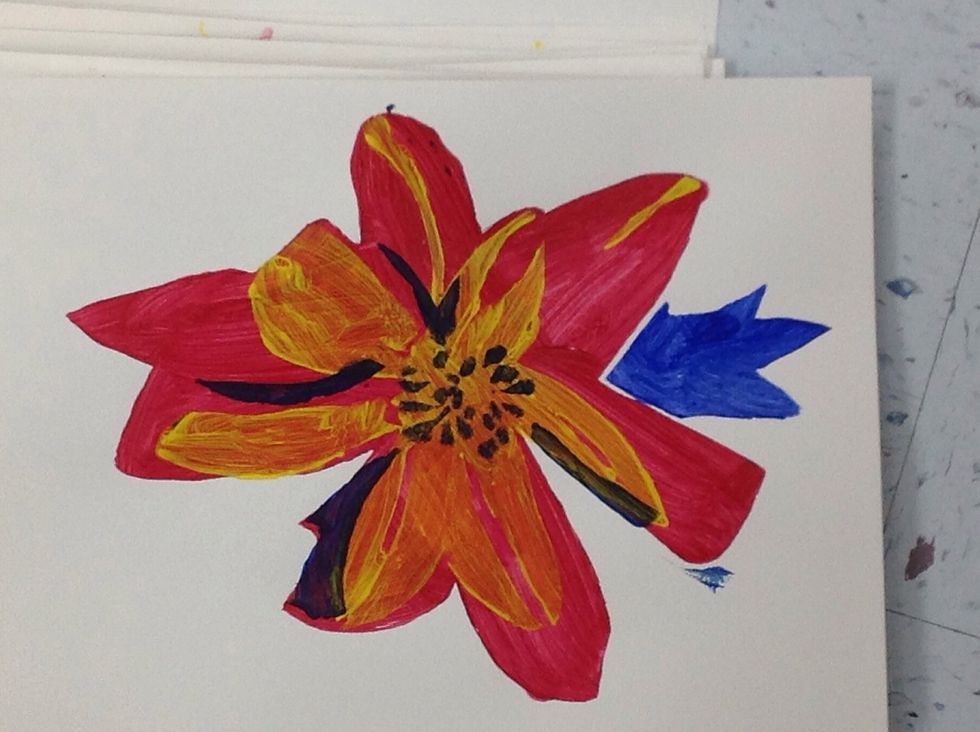
And a few of the finished prints. Enjoy! ww.faithhopeandart.blogspot.com