The Conversation (0)
Sign Up
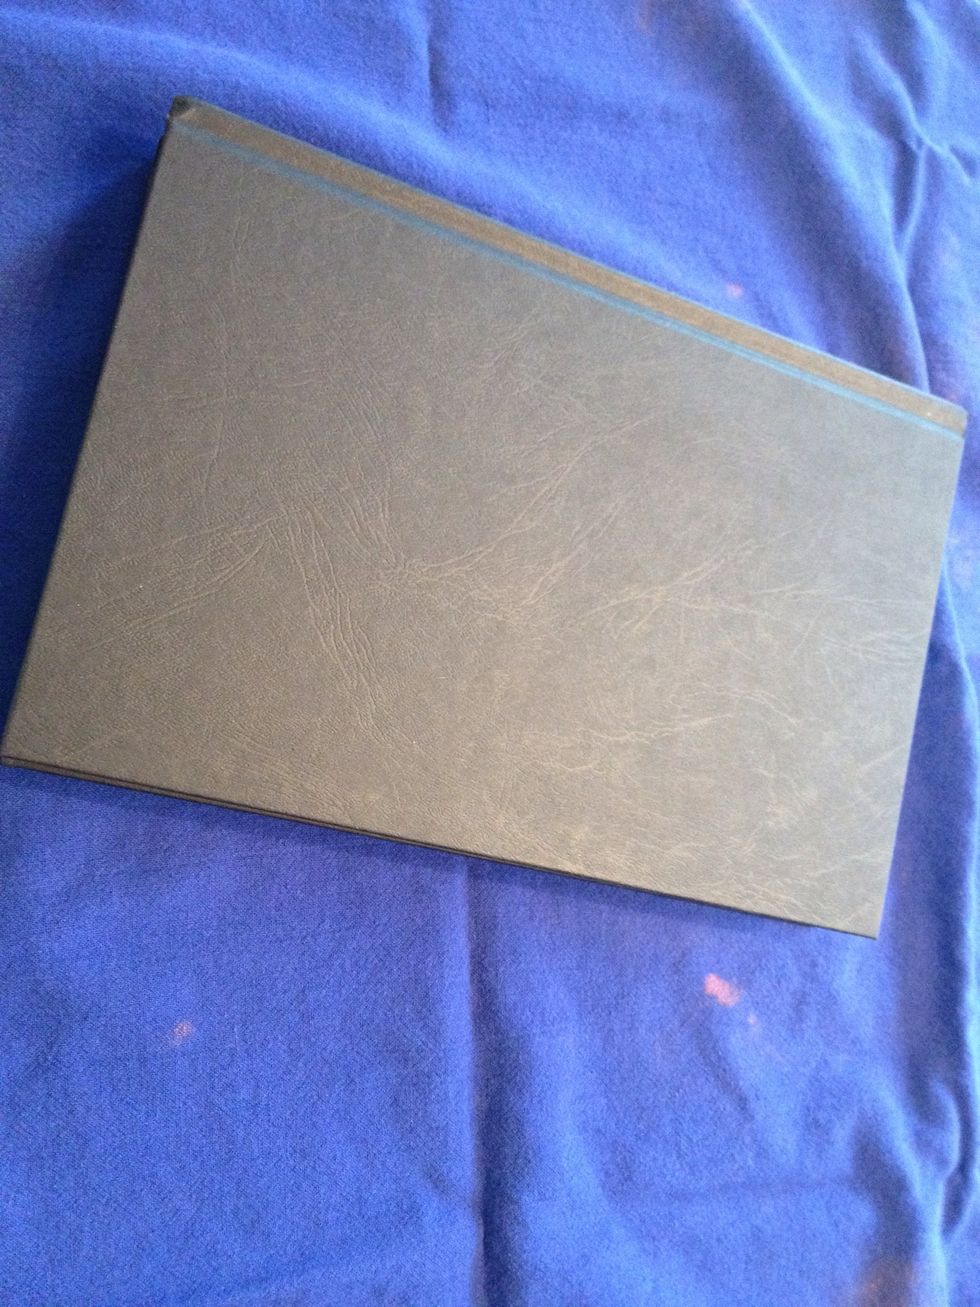
Start with a hardback book that you no longer wish to read. I went to the dollar store and purchased this one for only $1!
Determine how many pages you want to have before the secret hole in the book. I decided to have about 25-30 pages before the secret hole.
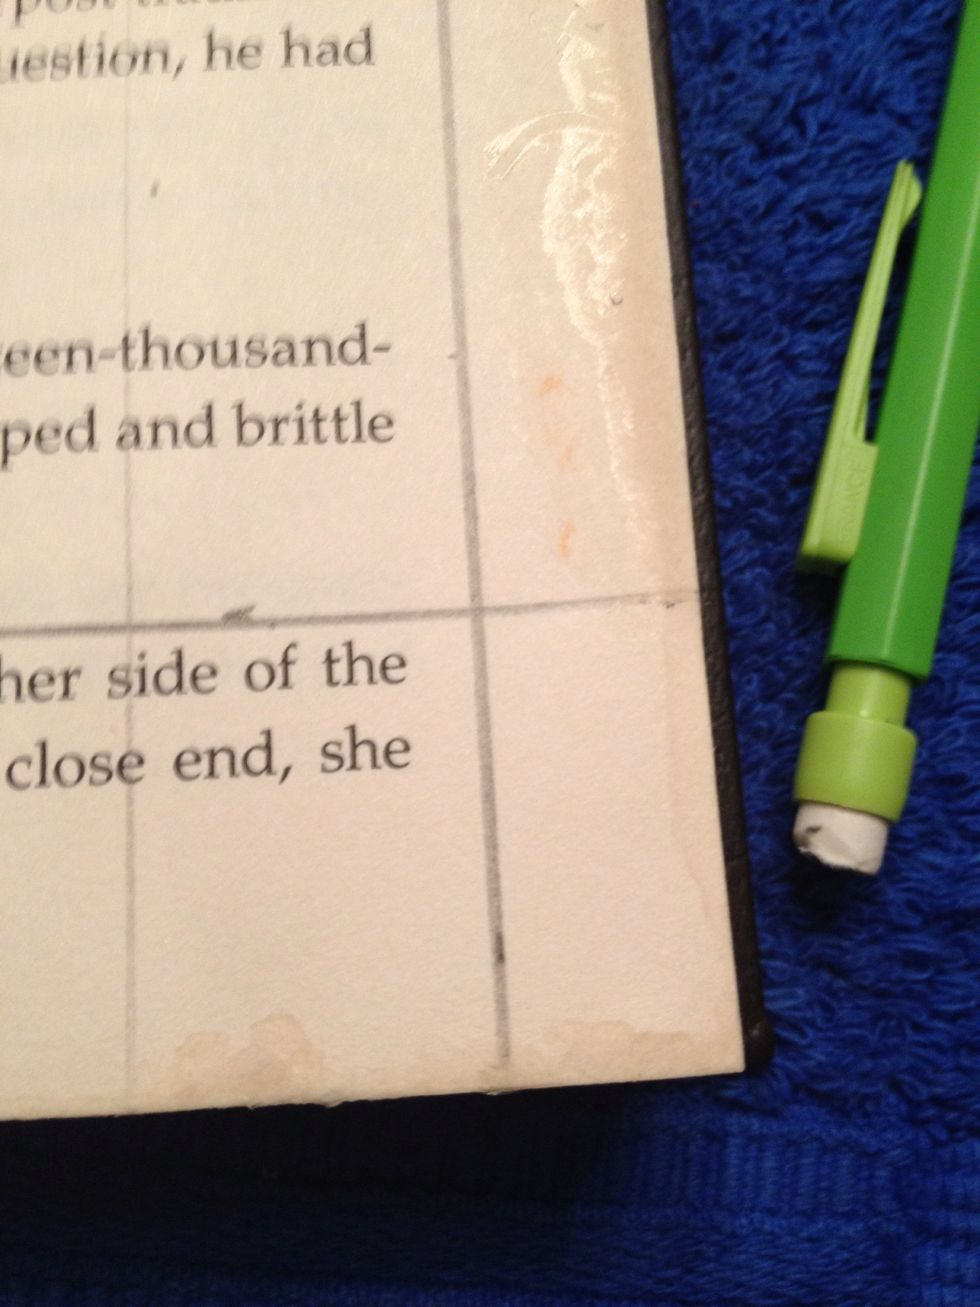
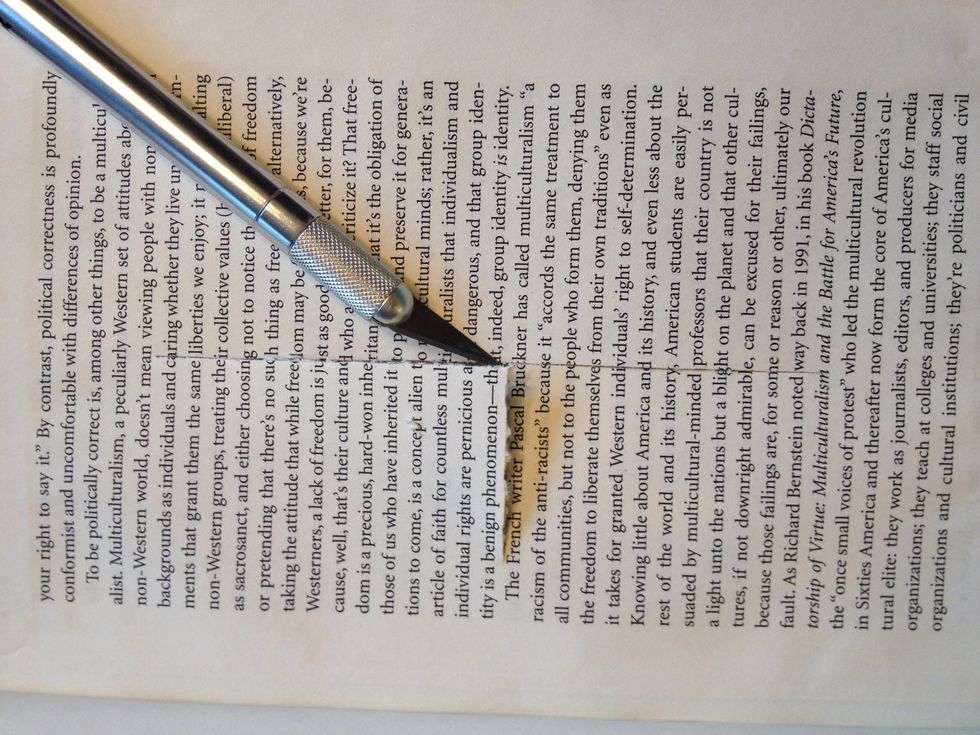
Now draw lines on the first page where you want the secret hole to be. Mine is about 1/2 inch away from the edge and 1 inch from the top and bottom.
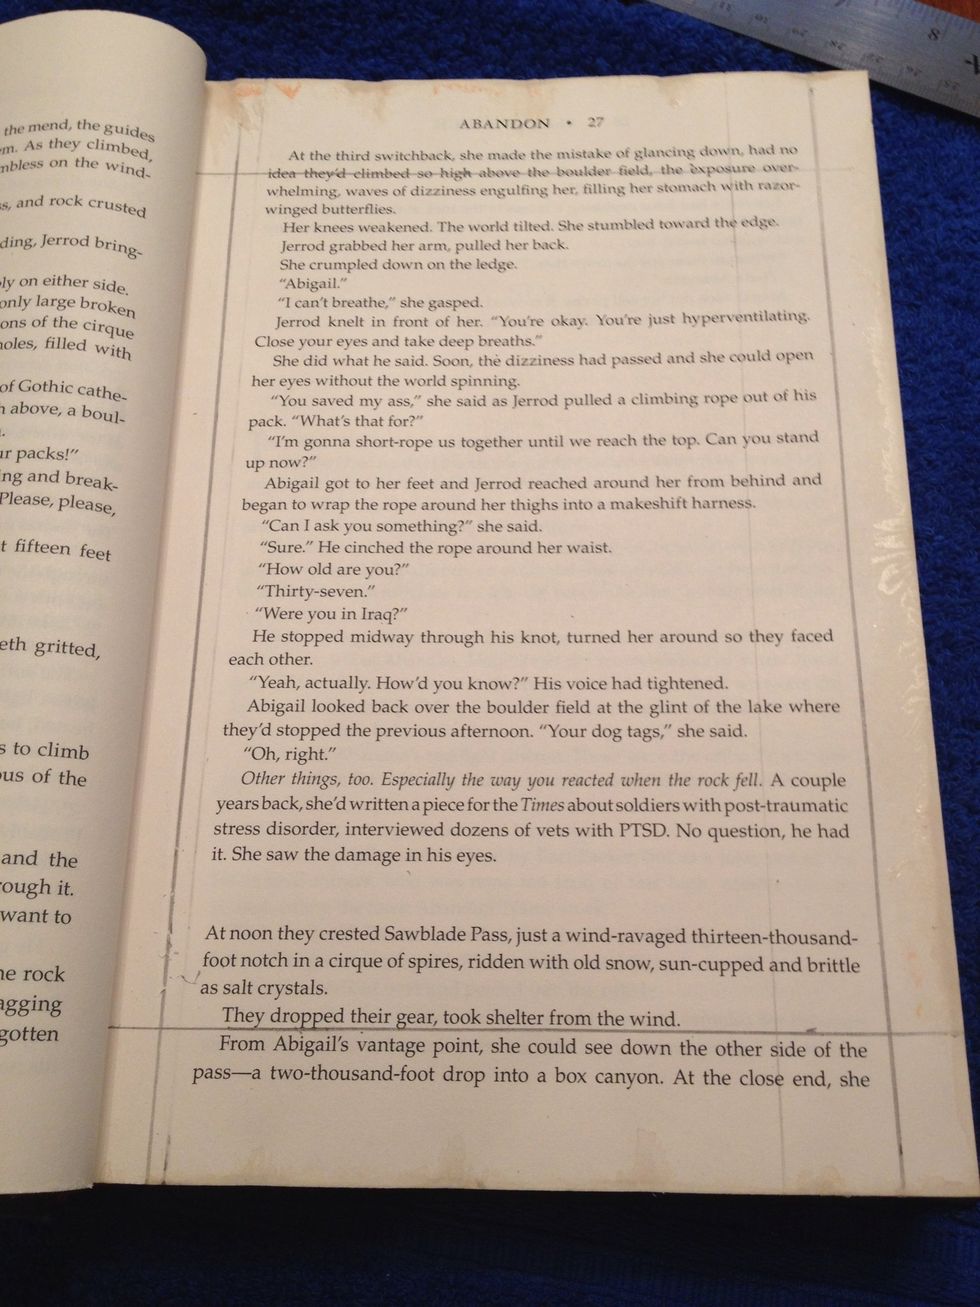
This is what it should look like.
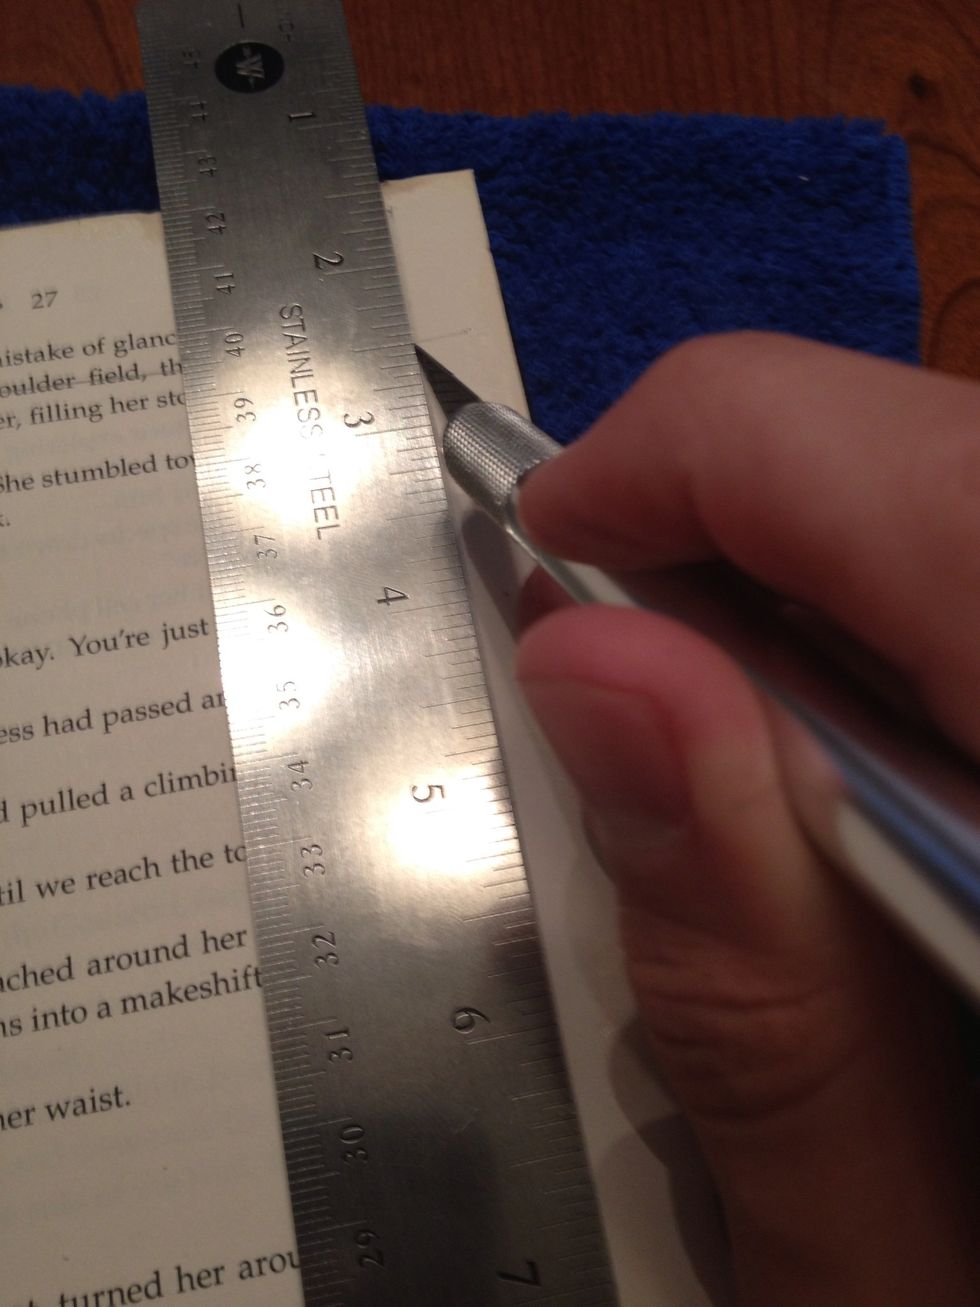
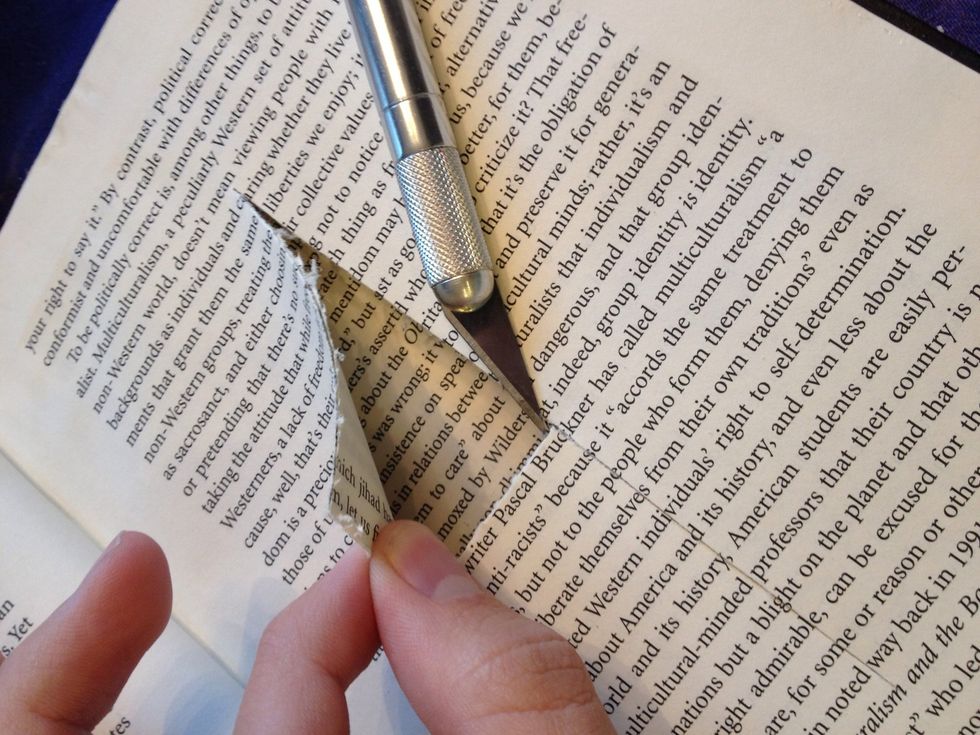
Now using the metal ruler as a guide, carefully cut each side. If you press firmly enough, you will be able to cut through multiple pages!
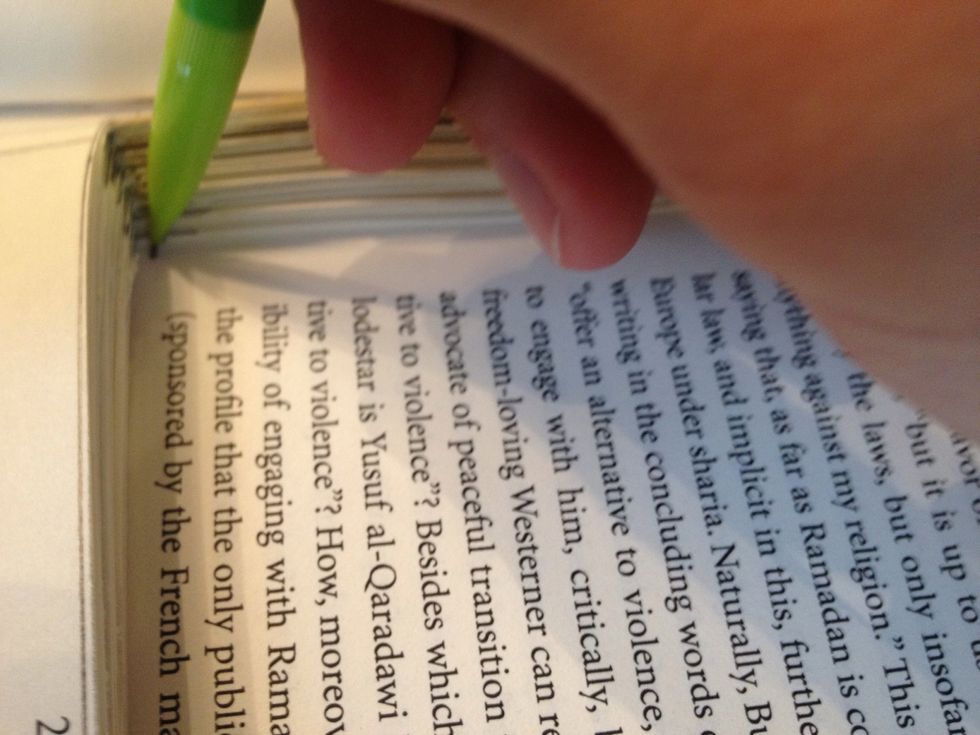
After you make your cuts, remove the inside page(s).
Continue to use the ruler as a guide to cut w/. After I cut a few pages, I laid the pg outlines back down and traced where the cuts should be on the next pg so I didn't have to continue to measure.
Again, lay the page outlines back down and trace where the new lines should be cut. This will save you time as you do not have to continue to measure each page.
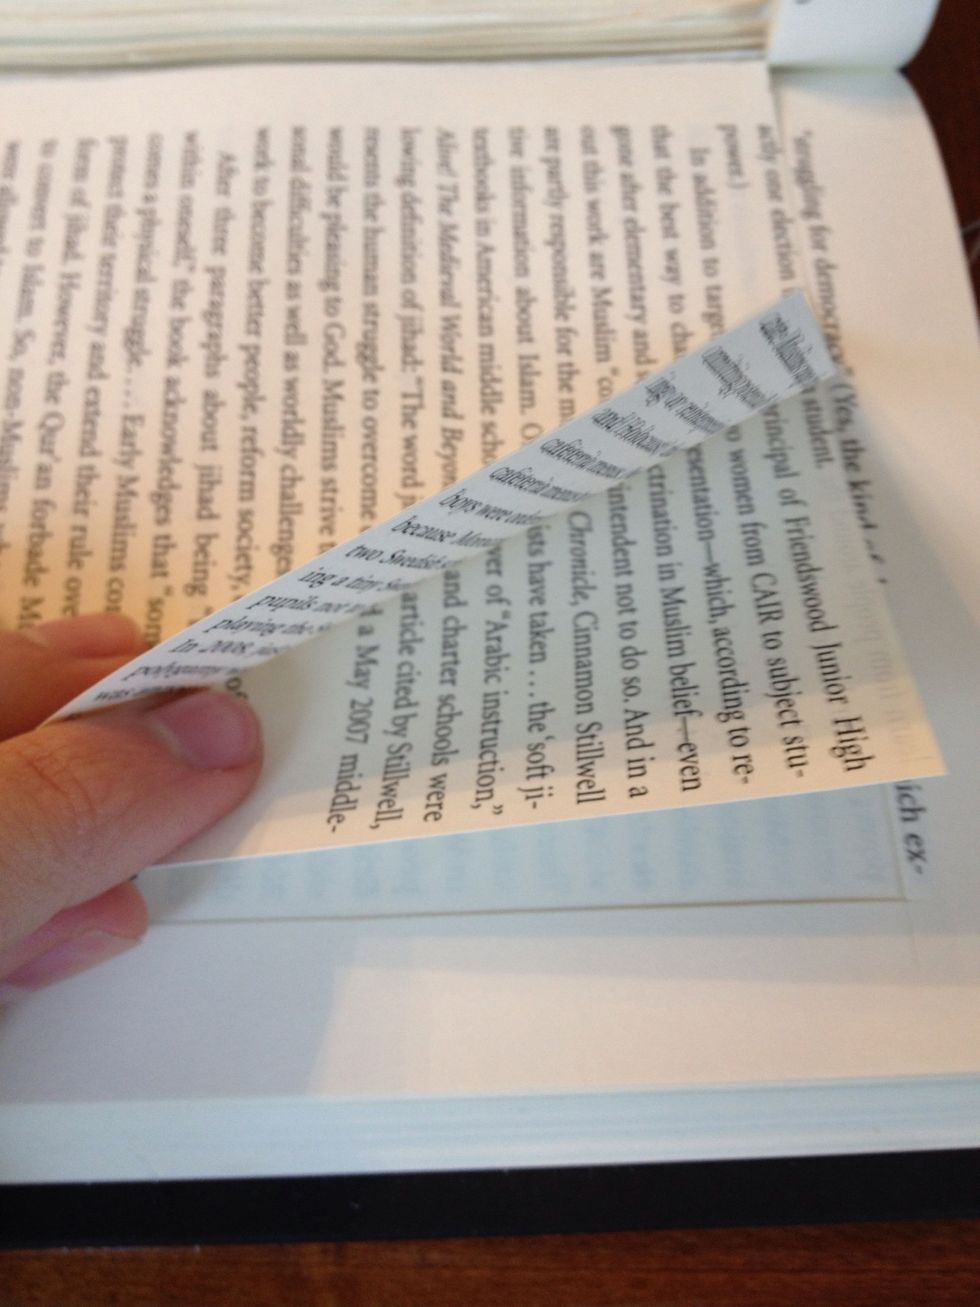
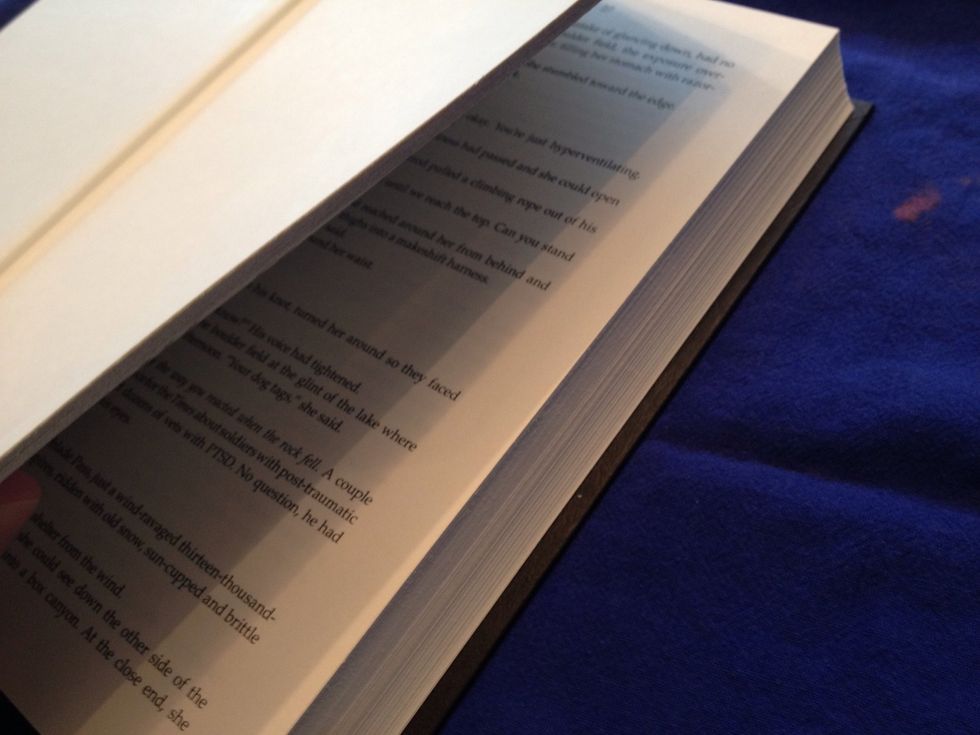
Removing pages...
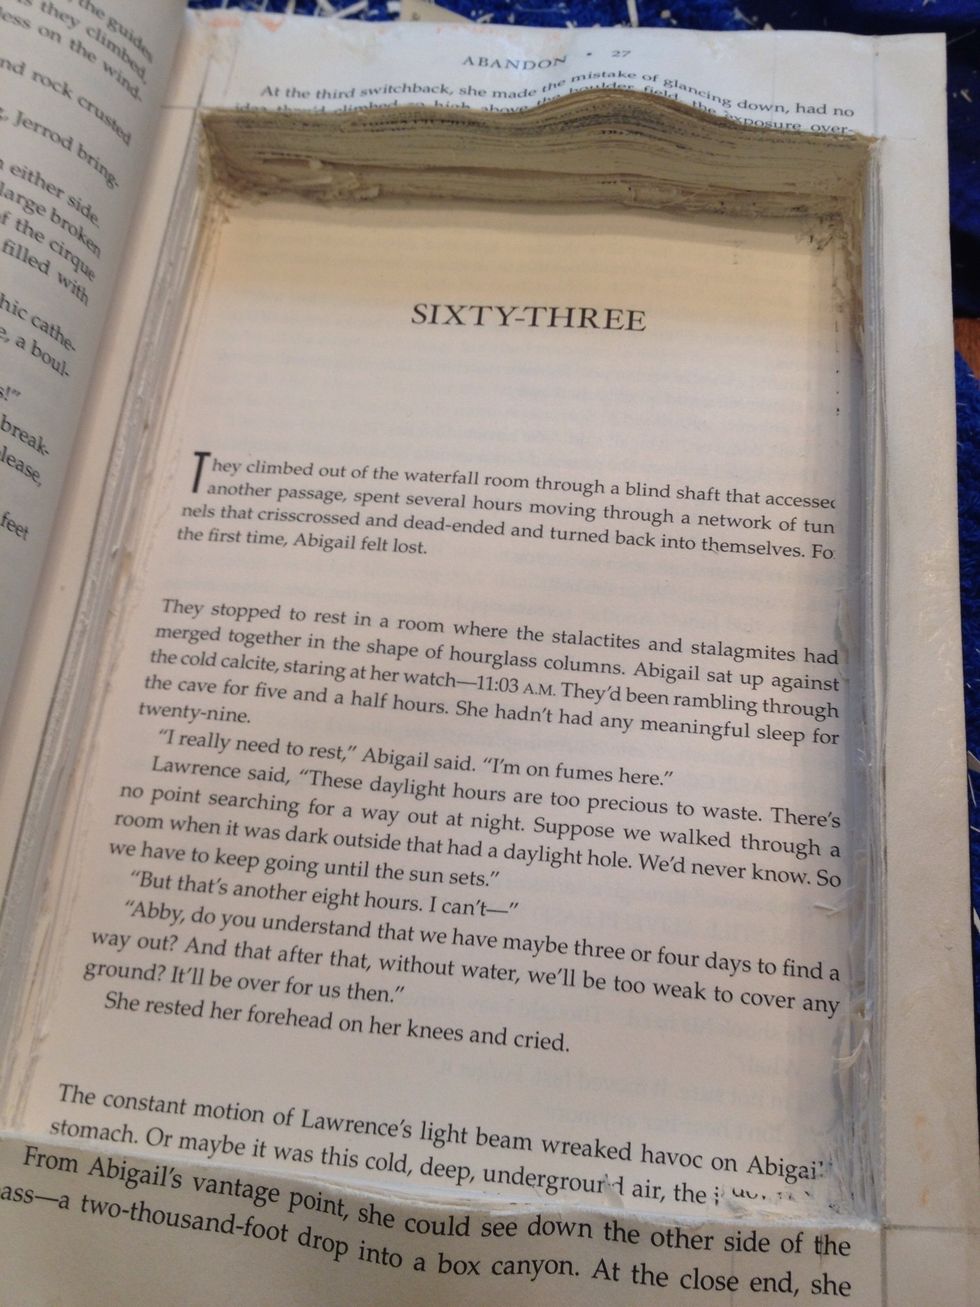
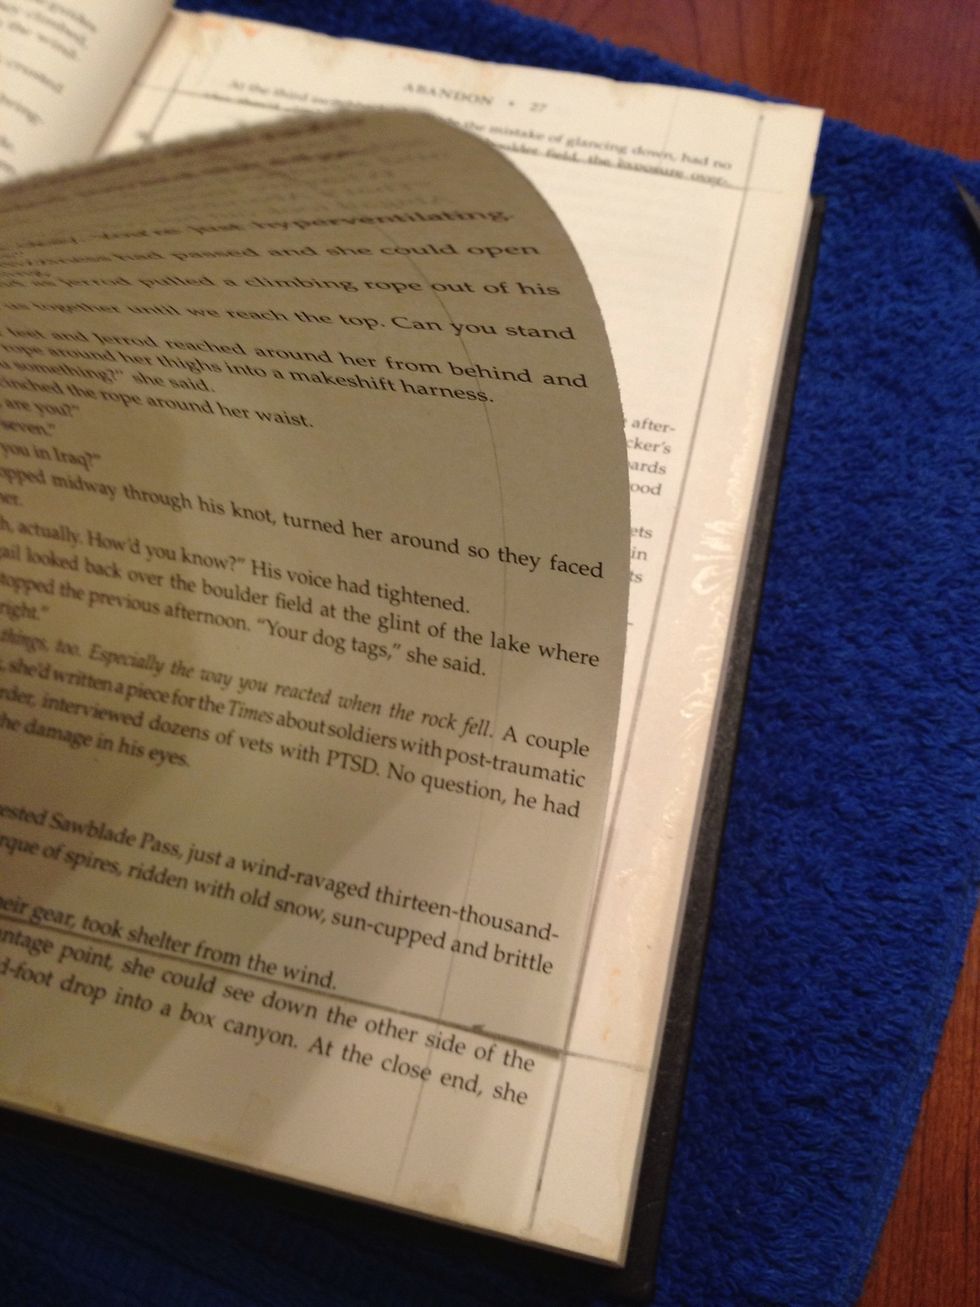
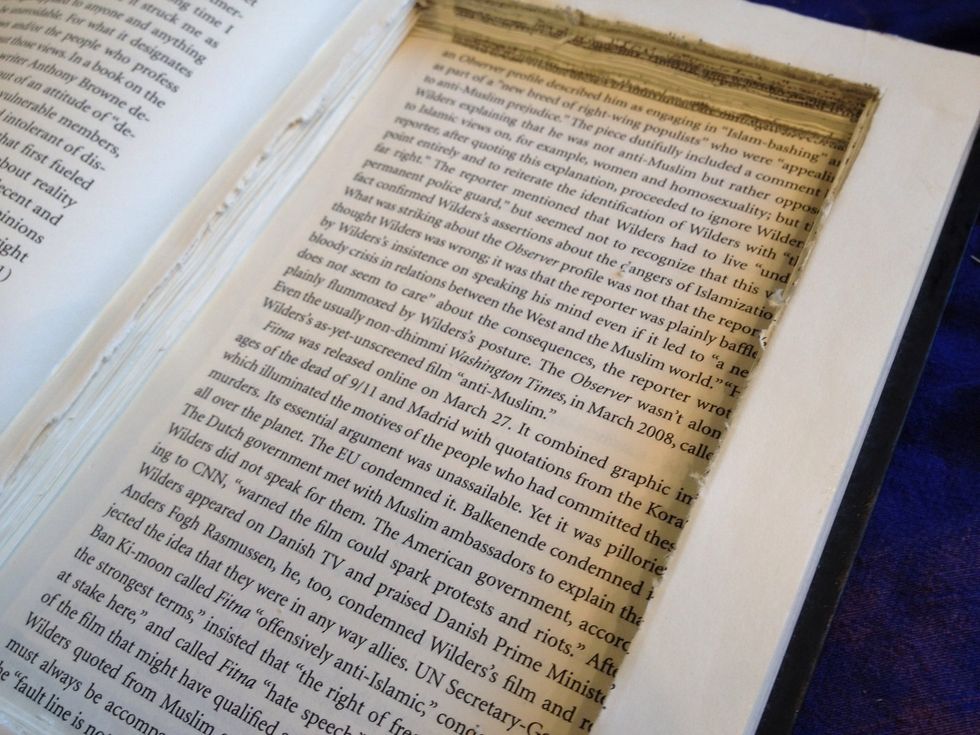
This is what mine looked like when I was done removing pages.
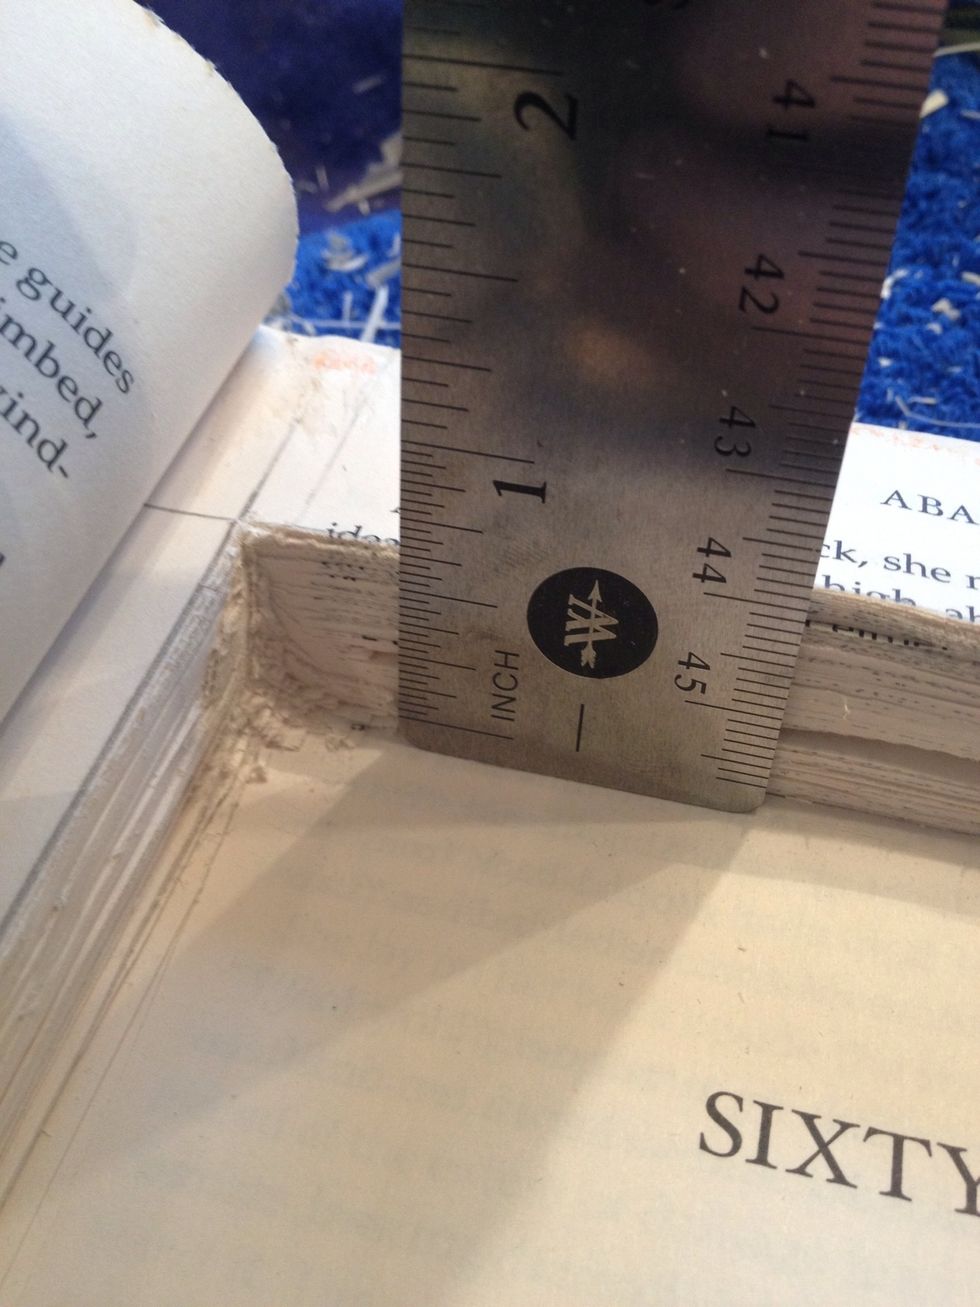
Mine was less than and inch deep, but you can make it however deep you want it to be.

Now cover the 30 or so pages that you saved in the front and the outside cover with plastic wrap. SEE NEXT STEP FOR NOTE.
NOTE: In the photo, the right side should have the secret hole, but I forgot to take a picture of this step, so I used a new book to be able to give you a visual.
Now it is time to glue the pages together!
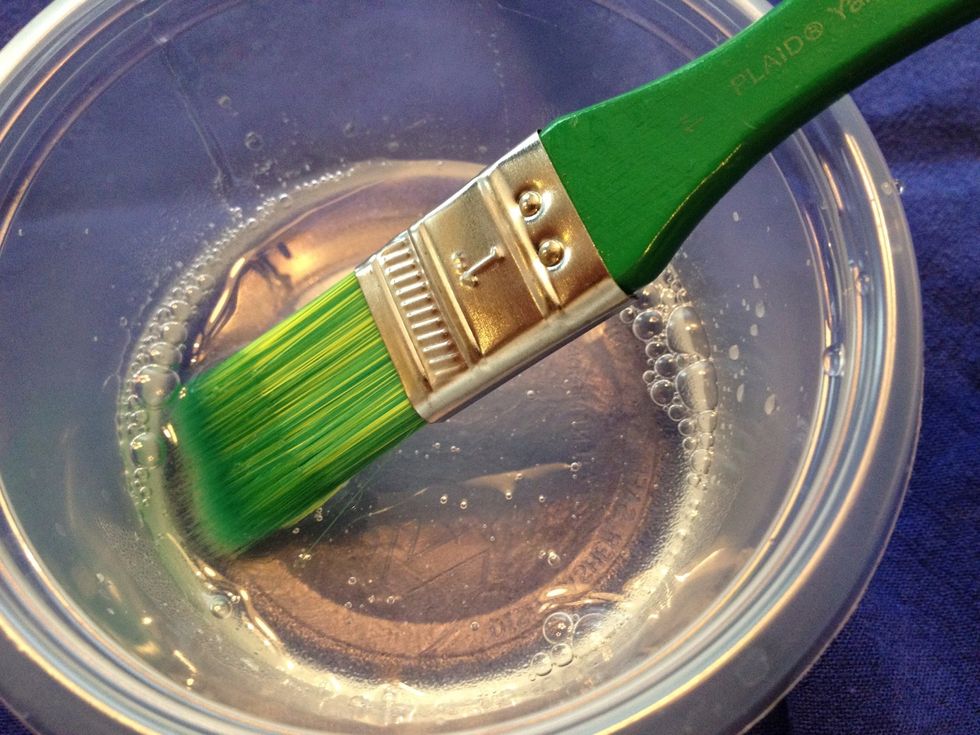
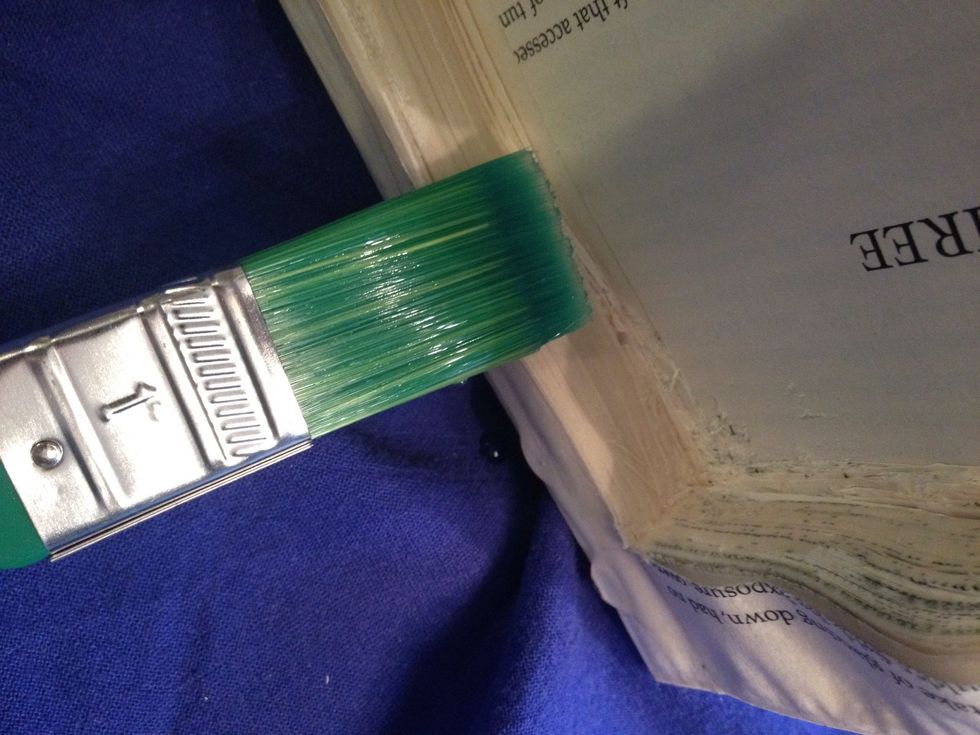
To make the glue solution, use about 30% glue and 70% water. You can also do 50% of each for a stronger solution.
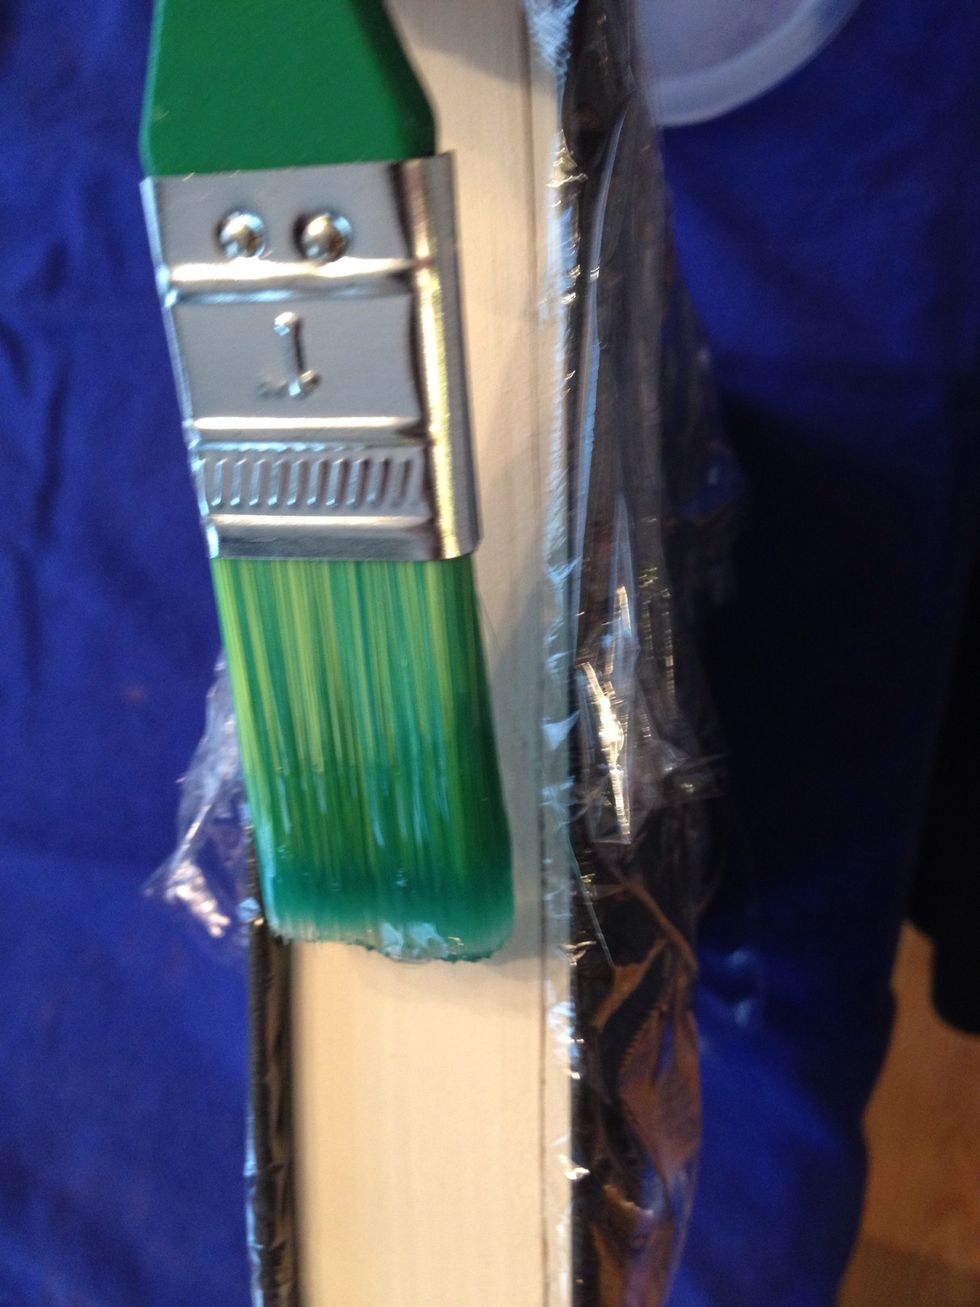
Paint all three sides of the book with the solution.
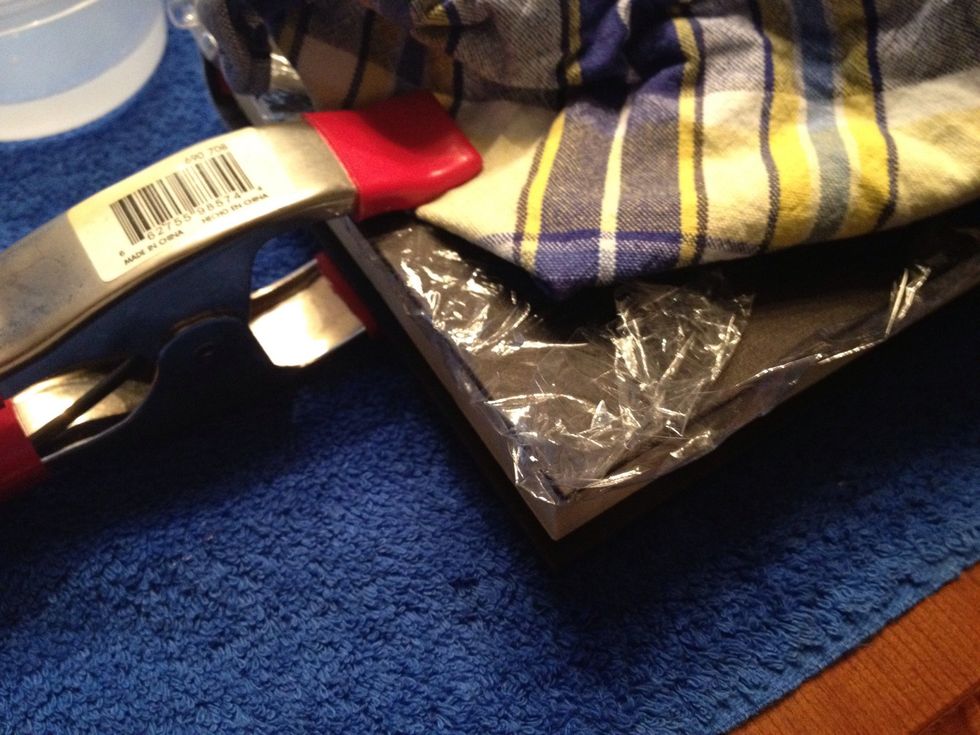
Once you are done painting, add a cloth around the book and place the clamps on all three sides. NOTE: The cloth is to protect the cover from having clamp marks.
Wait about 20-30 minutes until the book edges are dry to the touch, then take the clamps off.
Now paint the sides of the secret hole with the glue solution. Also paint the top of the page where you measured originally.
NOTE: This time, do not use the plastic wrap. Even though the last page of the set that you wanted to be in front will be glued to the outline for the hole, don't worry...
...The following steps will show you how to complete the secret hole. If you are wondering why you are covering the hole, it's so you can't see the original outline marks you made in the beginning.
Again, wait about 20-30 minutes until the book edges are dry to the touch. Then take the clamps off.
Now you have one or two pages that are covering the hole because they are glued to the outline. Start by cutting in the middle of these pages so you can work your way out to the edges.
Once you get to the outside, do a little touching up to make the edges look nice.
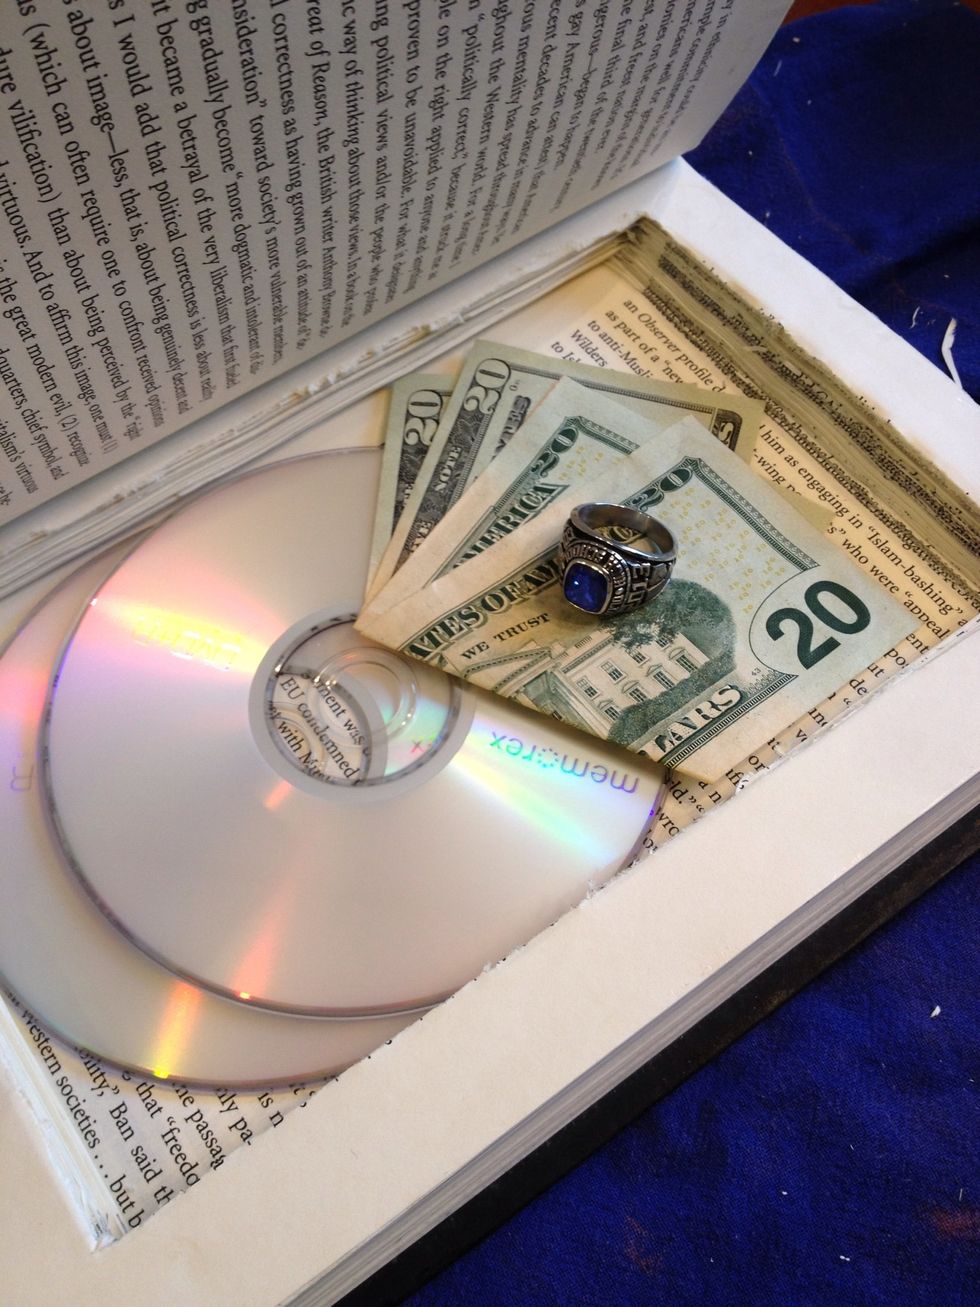
And there you have it, a secret hollowed out book!