The Conversation (0)
Sign Up
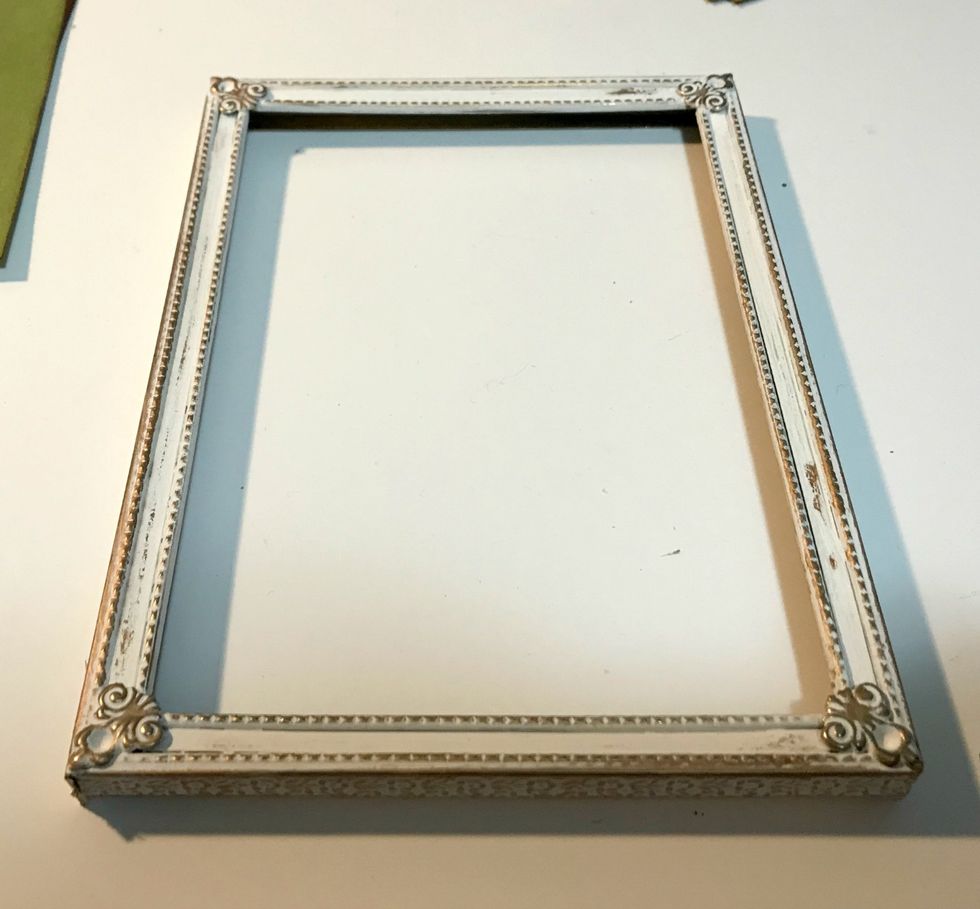
Apply the Aged Brass wax with your finger or brush onto your frame in desired spots you want to highlight on the frame.
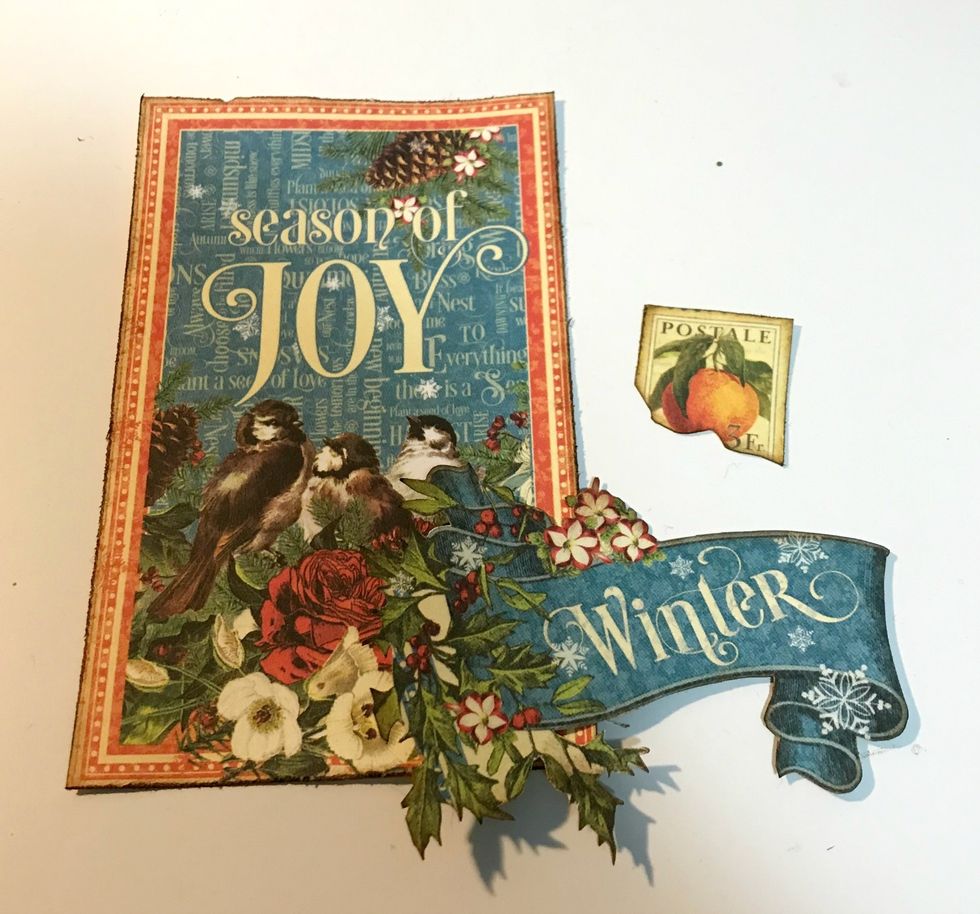
From the Ephemera cards, cut the Season of Joy card to 3 1/4" x 5 1/4". Distress the edges. Fussy cut the "winter" & stamp out of the 3"x4" card. Ink edges of all the pieces using Dark Cashmere Ink.
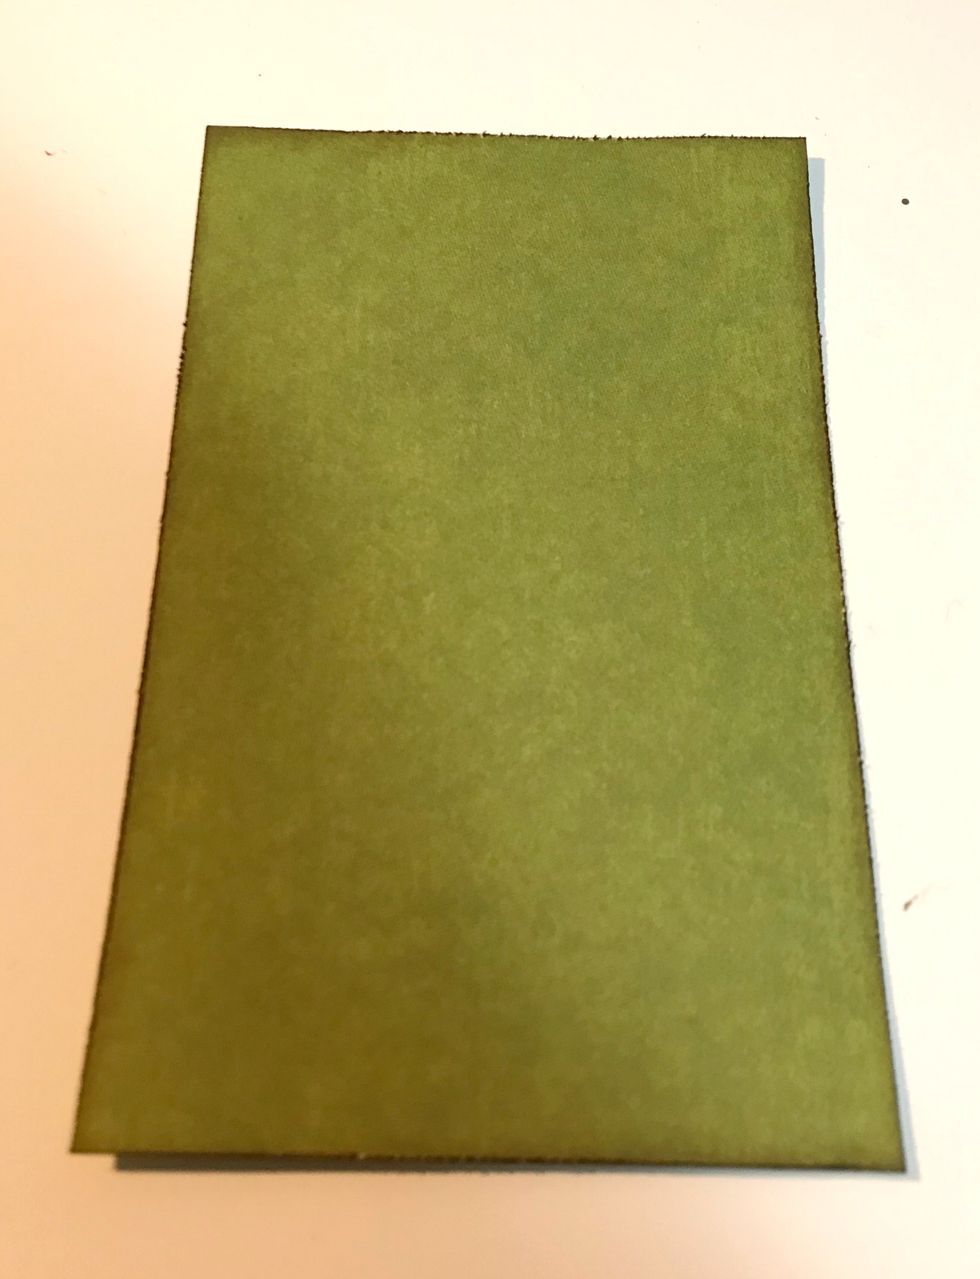
From the Patterns & Solids pad, cut a piece of green paper that measures 3 1/2" x 5 1/2". Distress the edges. Ink the edges of the paper using Dark Cashmere Ink.
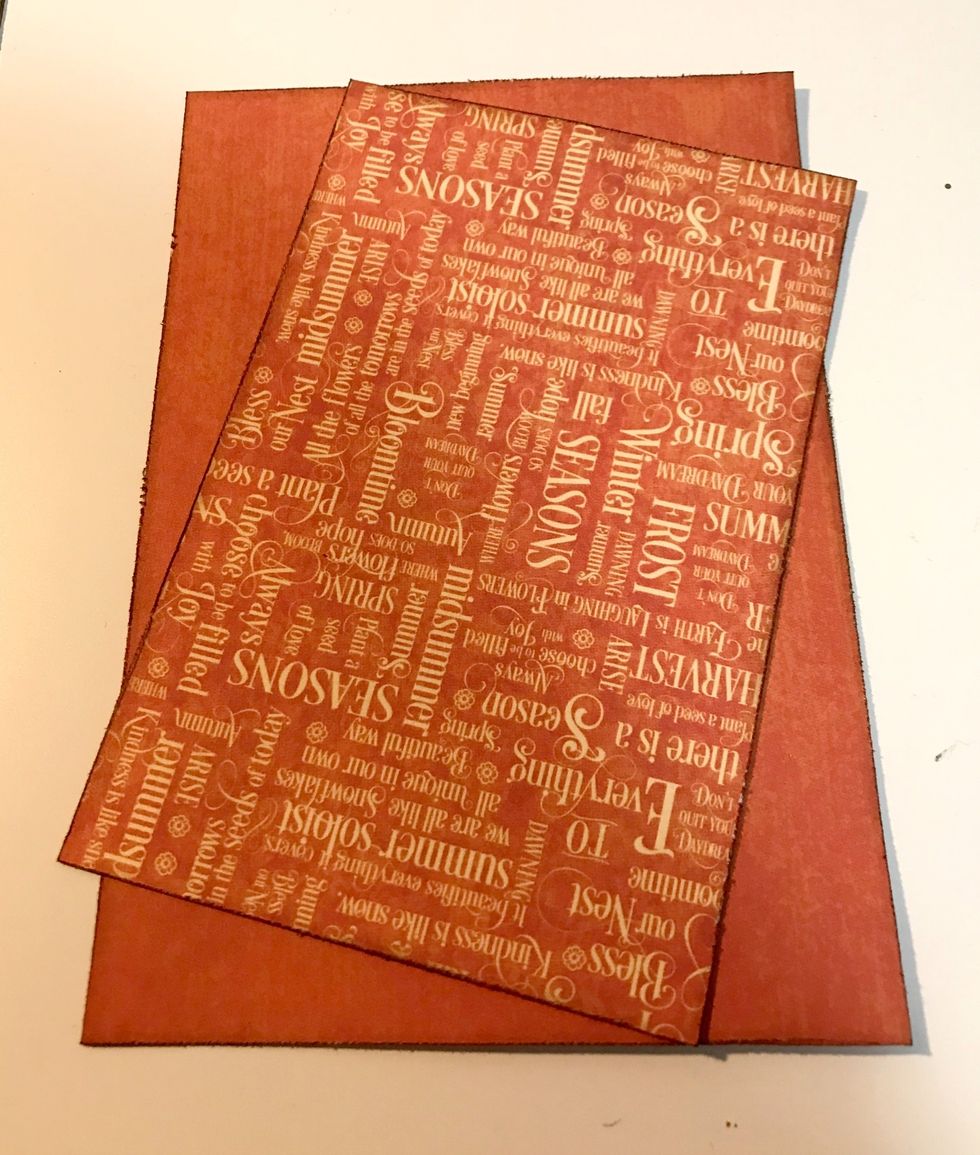
From the Patterns & Solids pad, cut the following pieces of red paper that measures 3 3/4" x 5 3/4" & 4 1/2" x 6 1/2". Distress the edges. Ink the edges of the papers using Dark Cashmere Ink.

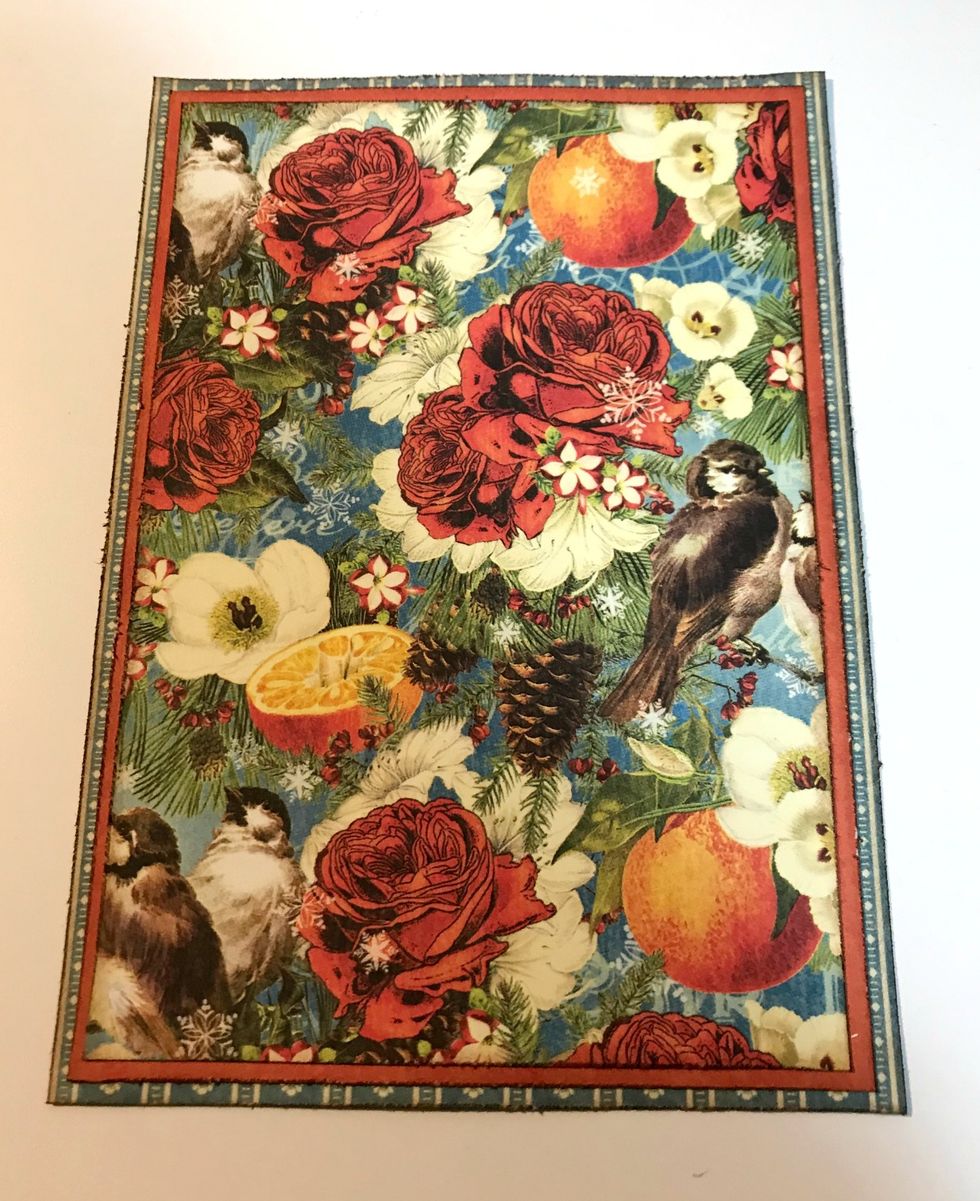
From the Winter paper, cut a piece that measures 4 1/4" x 6 1/4". Distress the edges. Ink the edges of the paper using Dark Cashmere Ink.
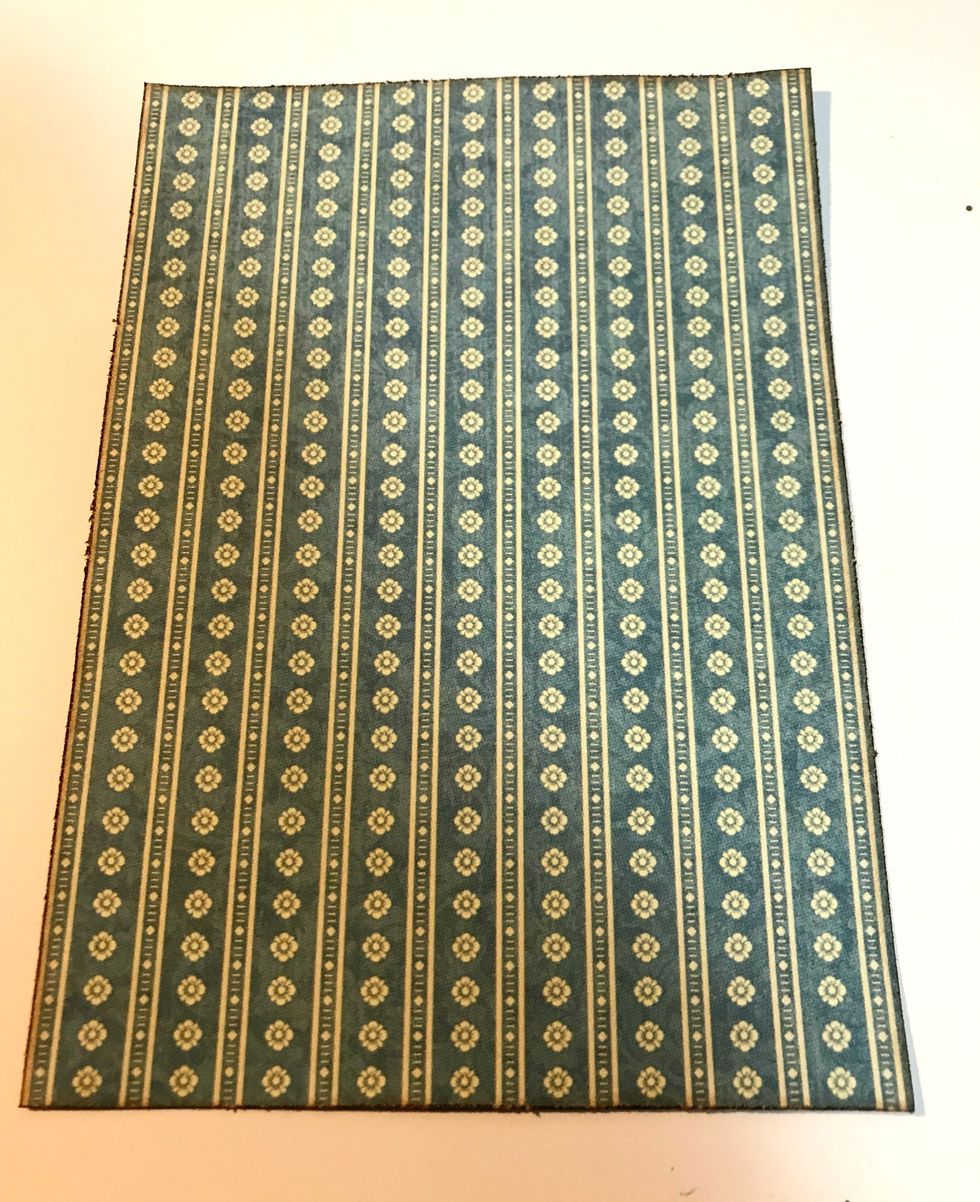
From the Winter Collective paper, cut a piece that measures 4 3/4" x 6 3/4". Distress the edges. Ink the edges of the paper using Dark Cashmere Ink.
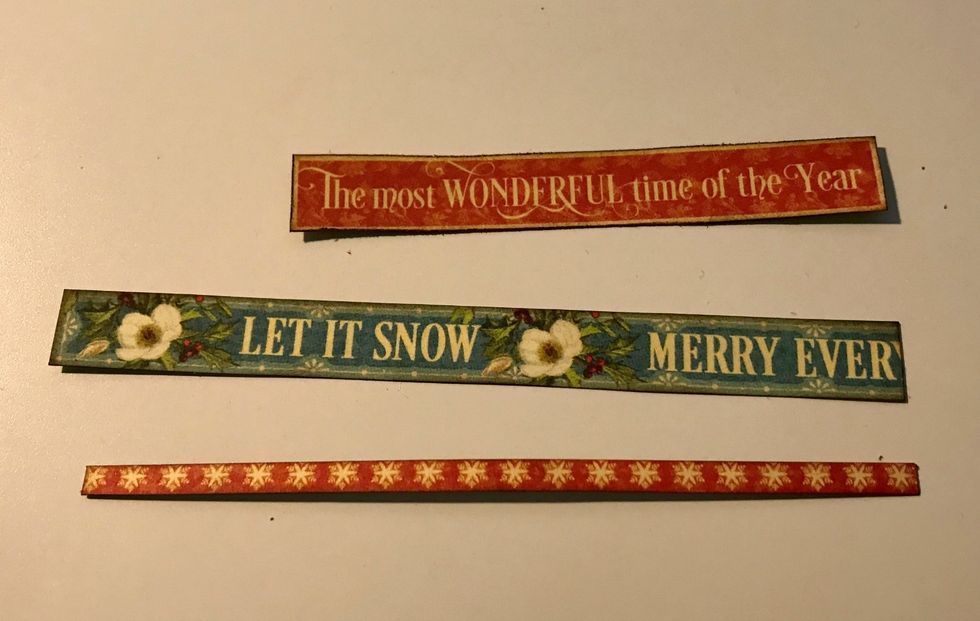
From Winter Collective Paper, cut Let & Snowflake borders & the most banner out. Cut snowflake border to 4 1/2" & let border to 4 1/4". Distress edges. Ink edges of pieces with Dark Cashmere Ink.
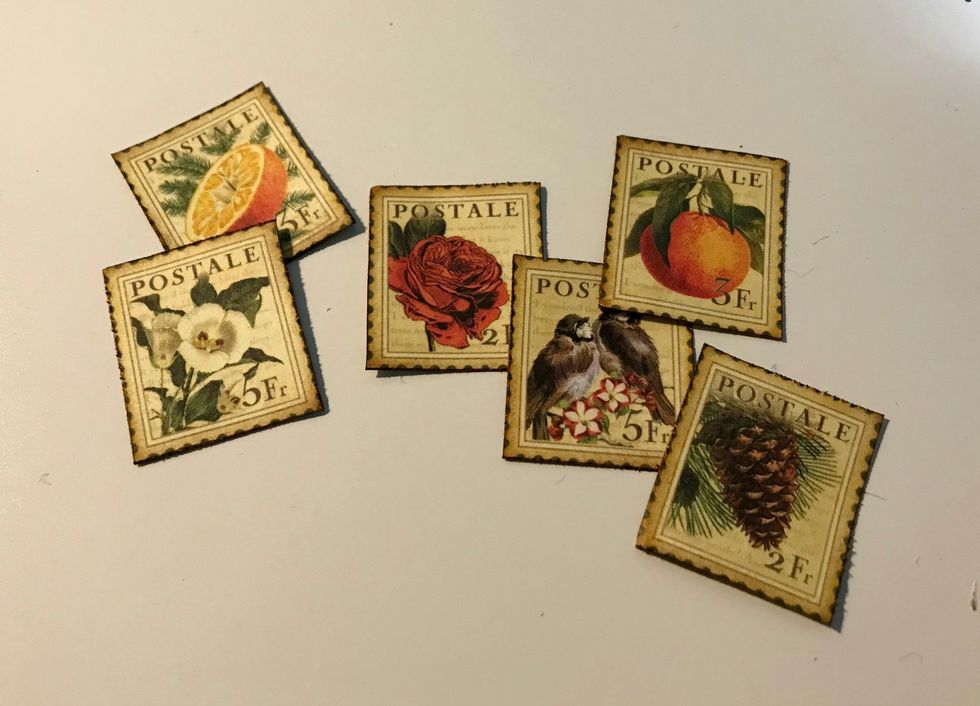
From the Winter Collective paper, fussy cut six stamps out. Distress the edges. Ink the edges of the stamps with Dark Cashmere Ink.
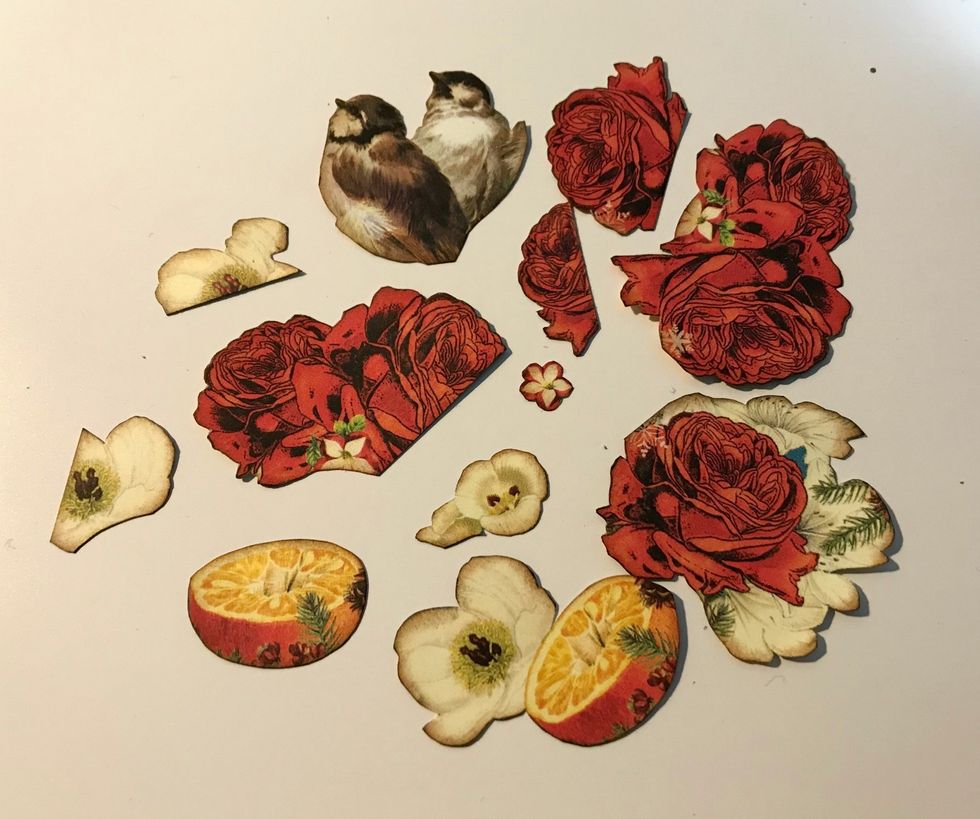
From Winter Paper, fussy cut 4 red roses, 1 small white flower, 1 orange, 1 red rose/white flower, 3 small white flowers, 2 birds & 1 orange/white flower. Ink edges of images using Dark Cashmere Ink.
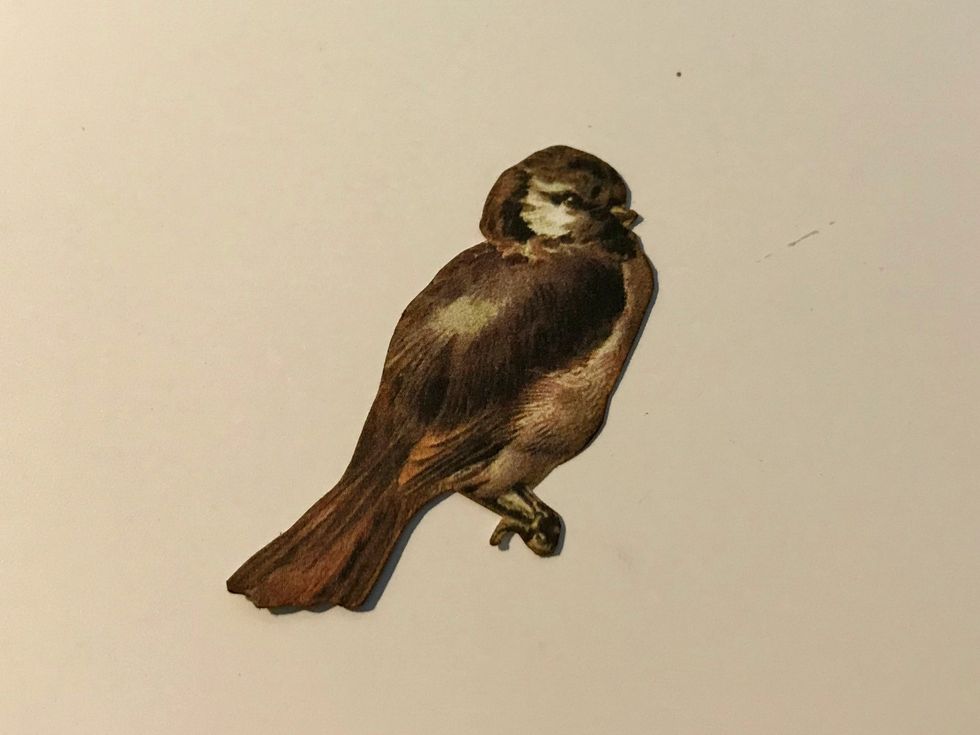
From the Winter Paper, fussy cut a third bird out. Ink the edges of the bird using Dark Cashmere Ink.
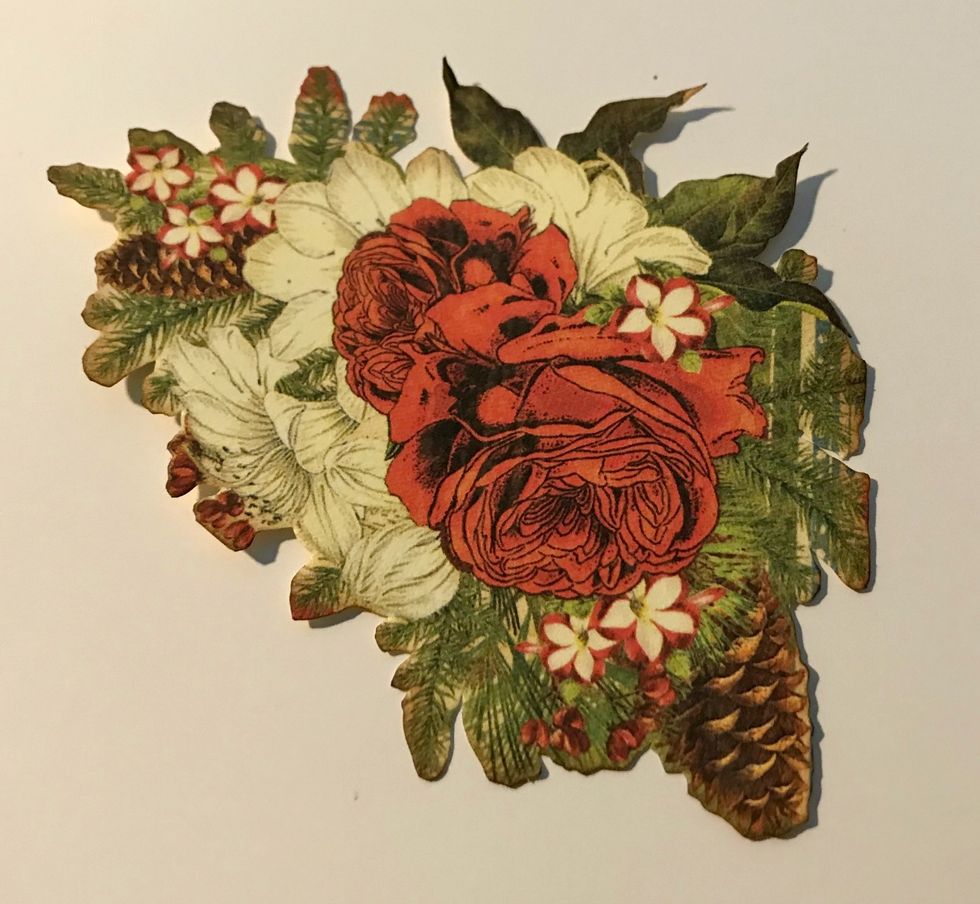
From the Winter Collective paper, fussy cut the flower/pine branches arrangement from the bottom left corner of the 4x6 Season's card. Ink the edges using Dark Cashmere Ink.
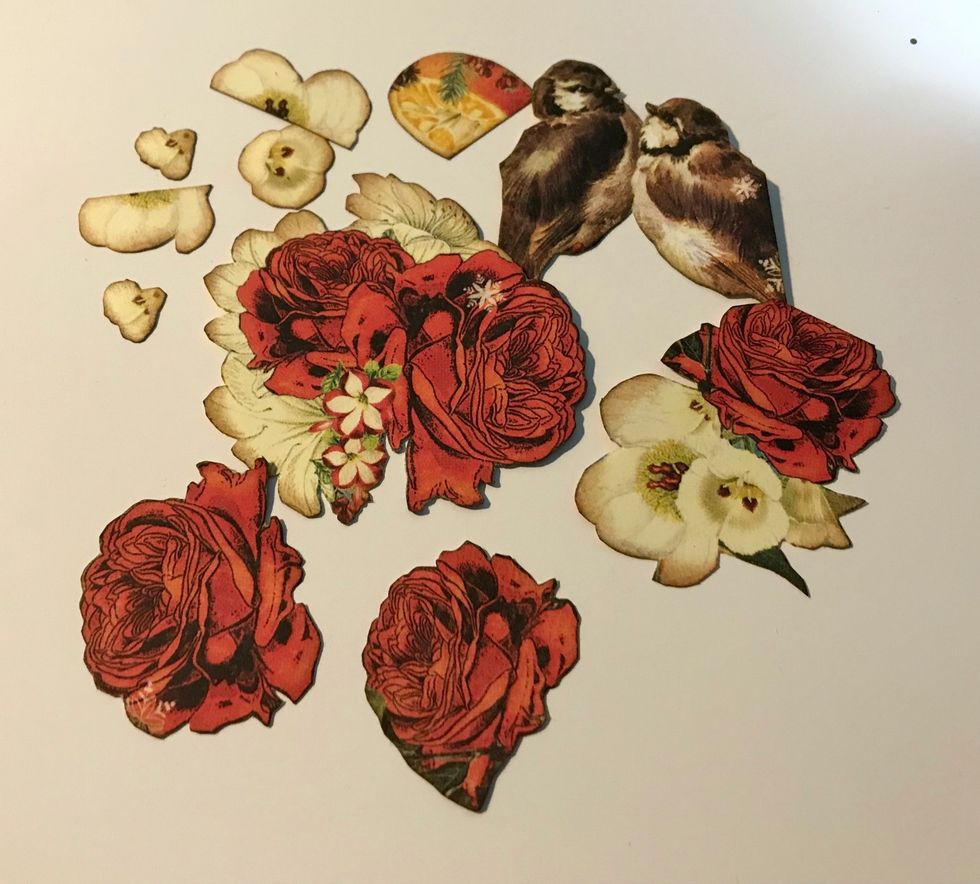
From the Winter Paper, fussy cut 2 birds, 5 white flowers, 1 orange, 2 red roses, 2 red roses/white flower bunches. Ink the edges of the fussy cut images using Dark Cashmere Ink.
Adhere the 4 1/4" patterned paper to the 4 1/2" patterned paper. Adhere the 4 1/2" patterned paper to the 4 3/4" patterned paper.
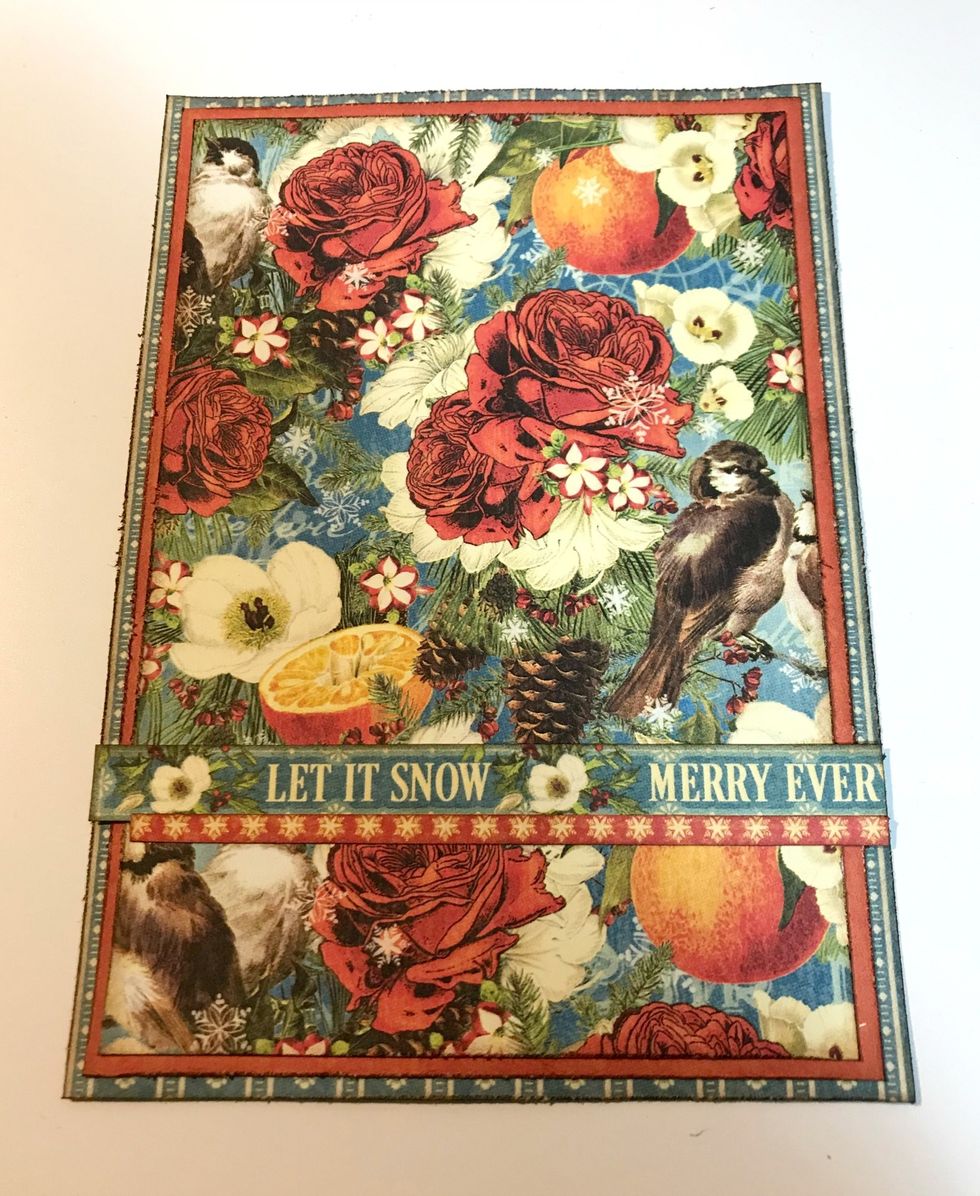
Adhere the snowflake border 1 1/4" from the bottom of the striped patterned paper & on the right side of the patterned paper. Adhere the Let It Snow border slightly overtop of the snowflake border.
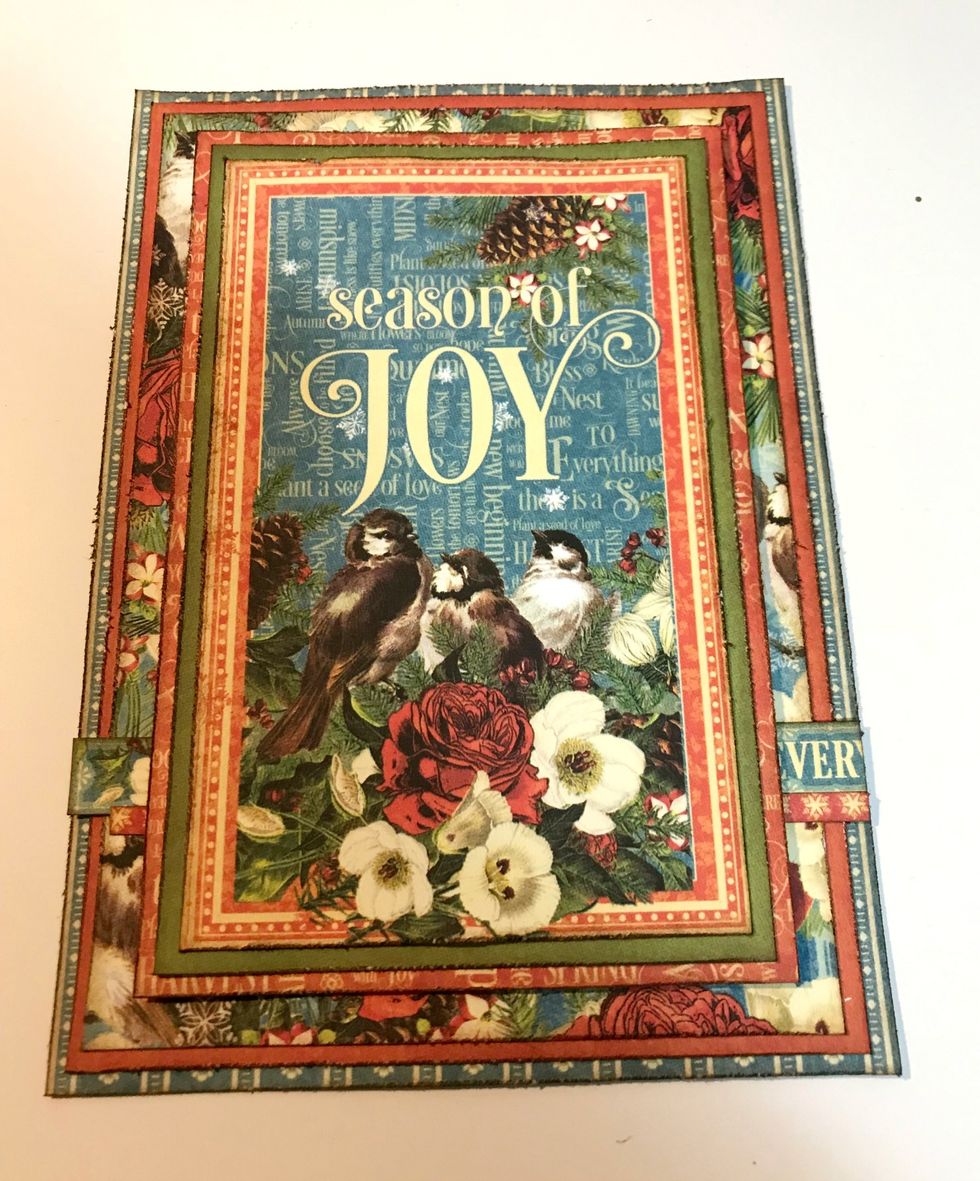
Adhere the Season of Joy card to the green paper. Adhere the green paper to the small red patterned paper. Foam square the red patterned paper to the middle of the floral paper.
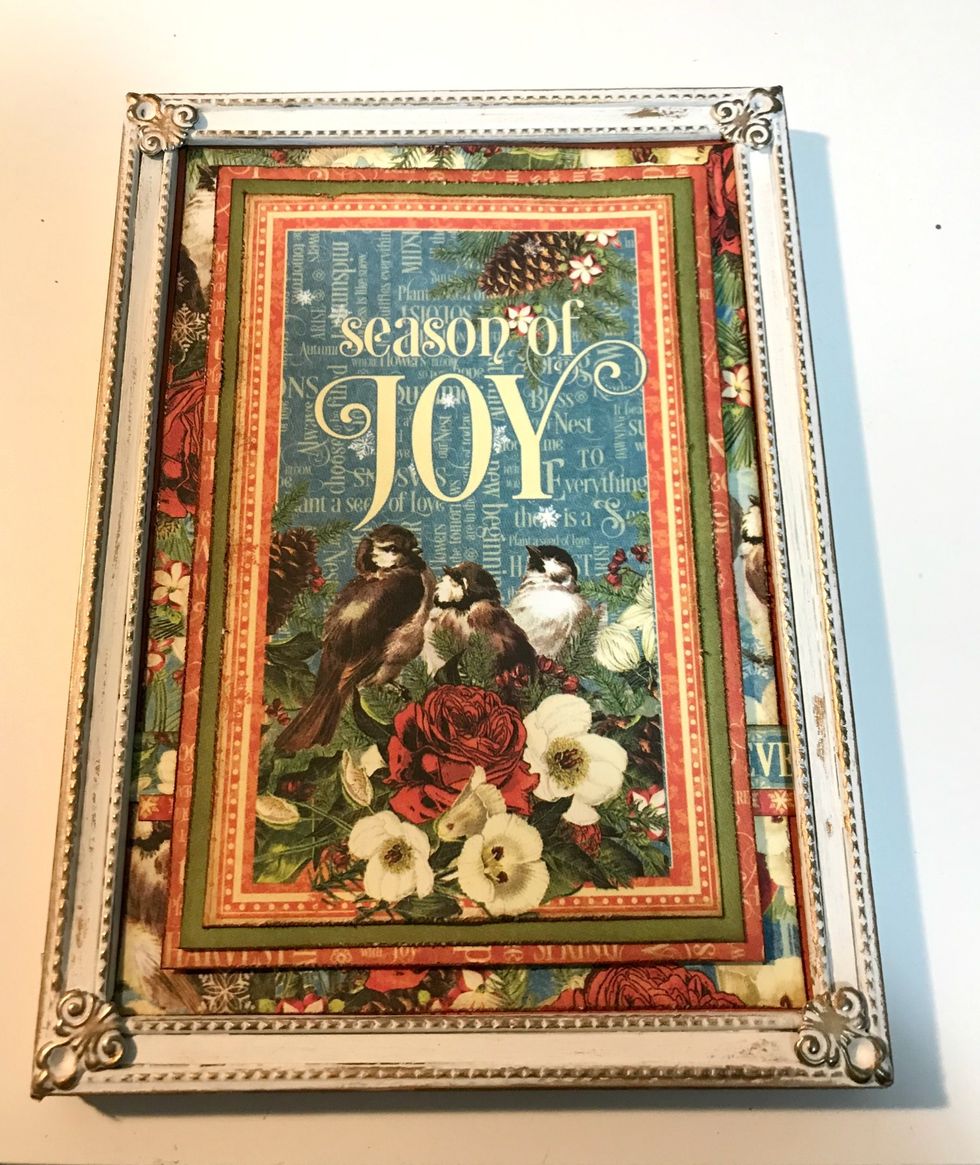
Adhere the Season of Joy layered paper to the inside of the frame.
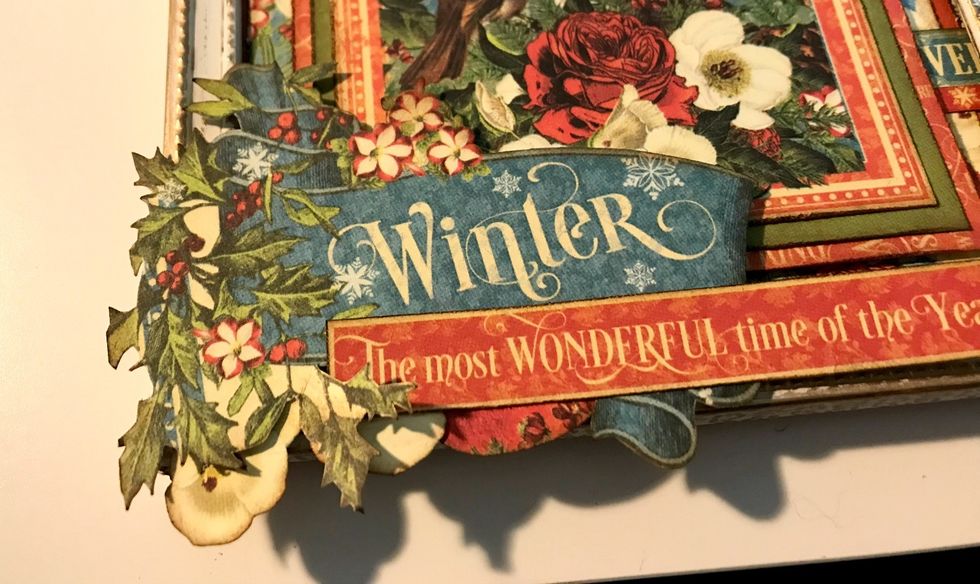
In the bottom left hand corner of the frame, adhere the winter banner, a white flower, an orange and the Most Wonderful banner.
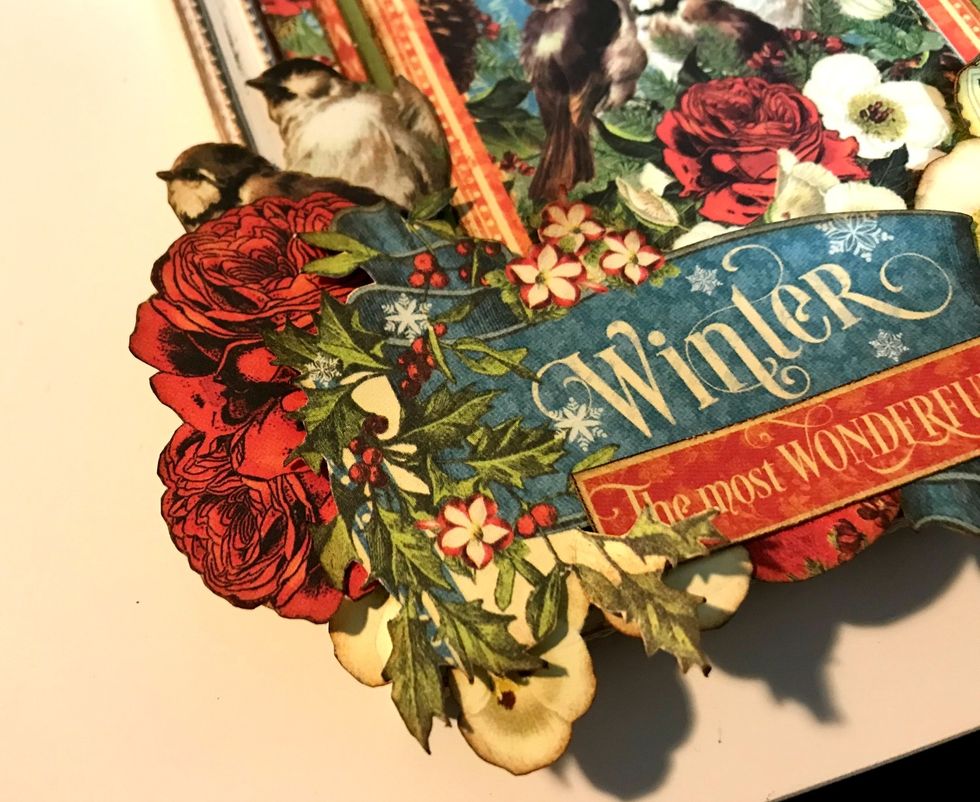
Adhere a two rose bunch, two birds and one white flower on the top left side of the winter banner.
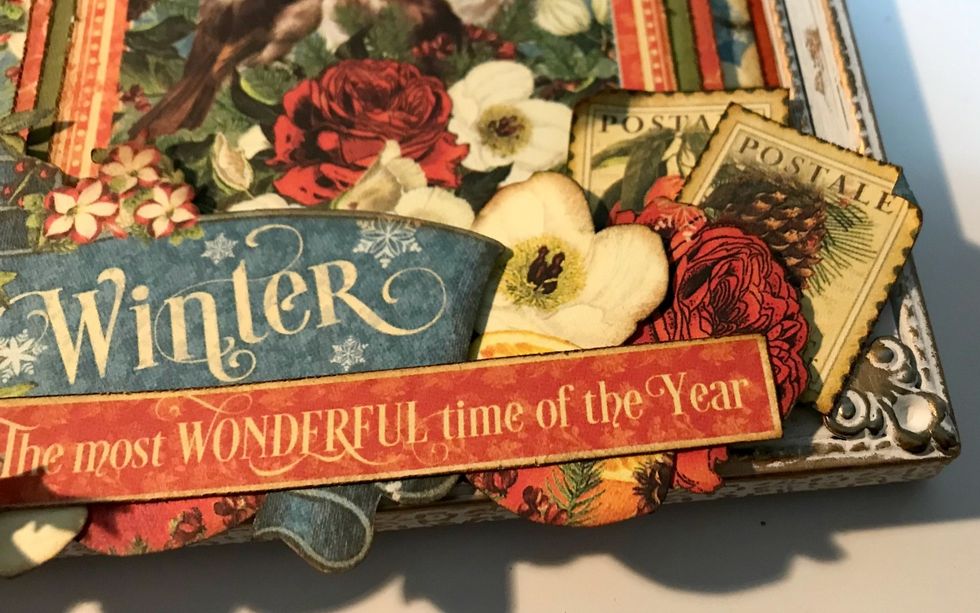
On the right side of the winter banner, adhere 2 red roses, 1 white flower and two stamps. Roll one of the edges down on each corner of the stamps.

To finish off around the winter banner, adhere two stamps, one bird, one red rose. Roll a corner down on each stamp. Using a few of the small flowers, fill in the bottom of the frame.
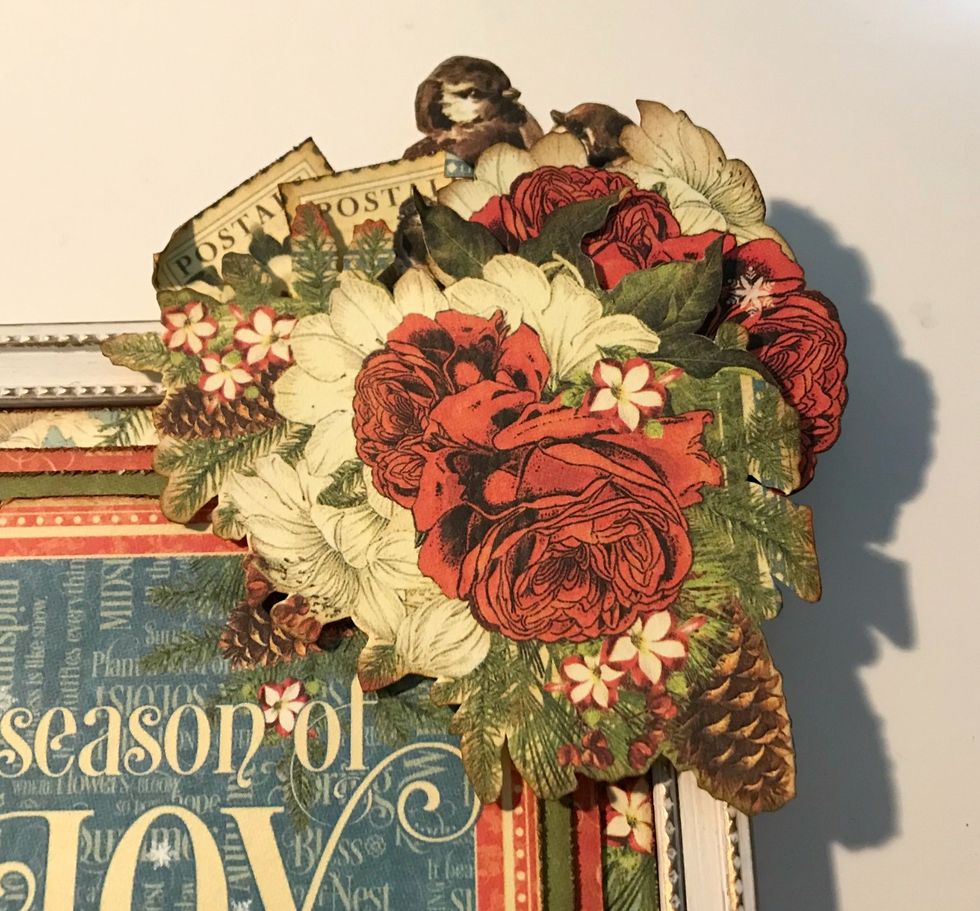
In the top right hand corner of the frame, adhere the floral bunch, the two birds, the two red roses with white flower and two stamps. Roll one of the corners down on each stamp.
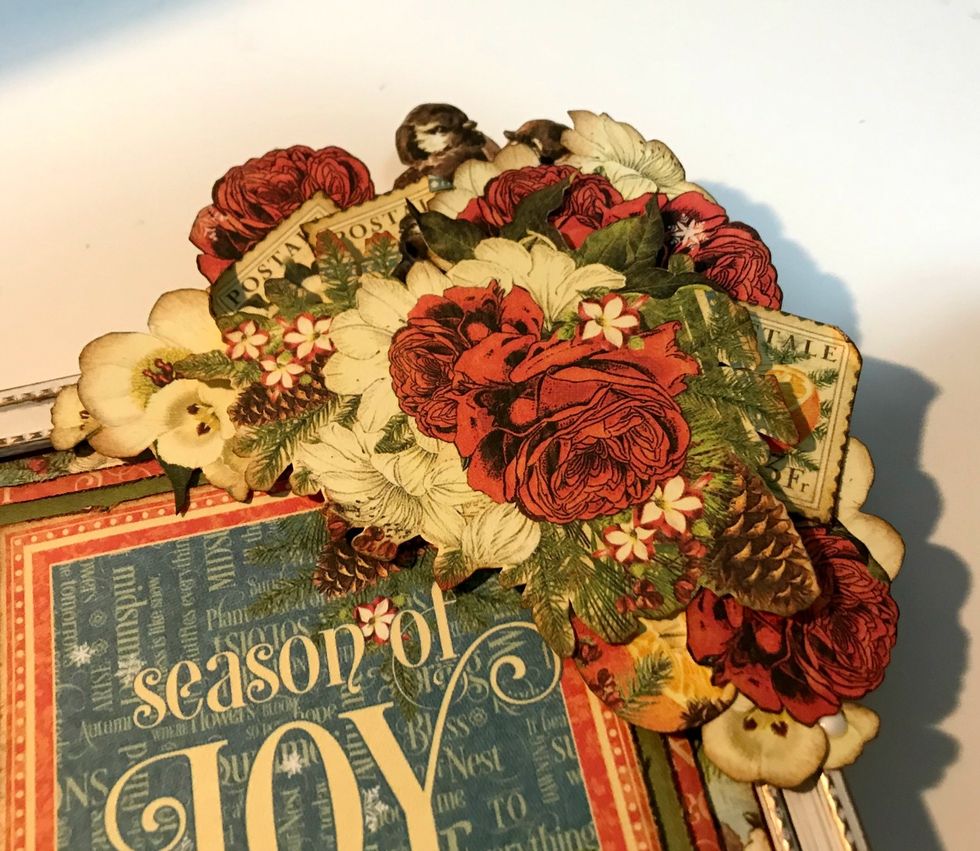
Add in the rest of the flowers where ever you have some open space. Make sure to add one more stamp on the right hand side of the arrangement. Roll one of the corners down on the stamp.

To finish your altered frame. Add a green photo corner in the top left hand corner of the Season of Joy Card. Your Season of Joy Altered Frame is finished!