The Conversation (0)
Sign Up

Gather up the last bits of your kit including bling, flowers, and ephemera.
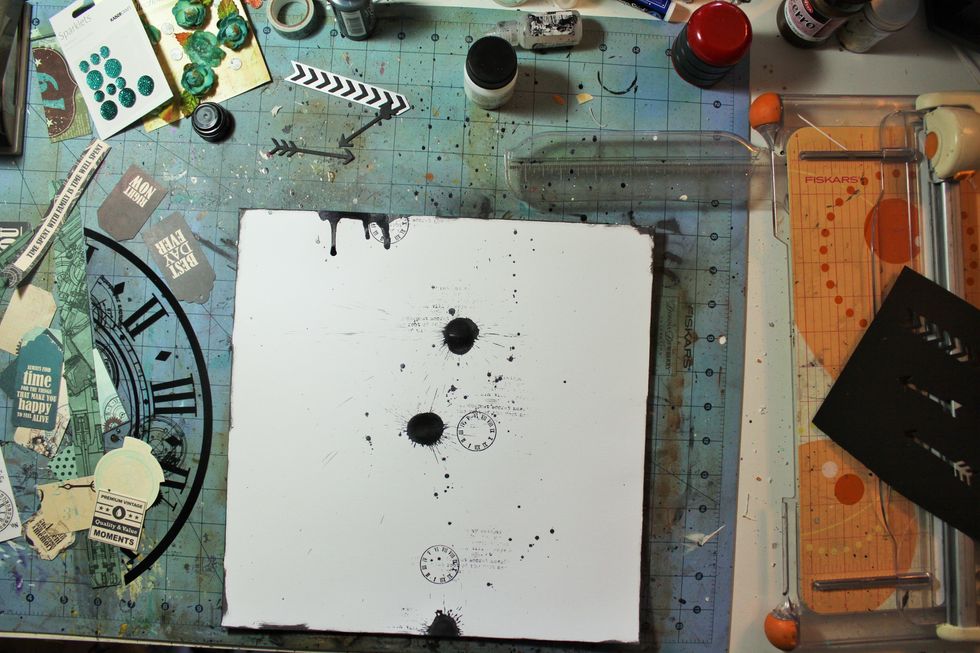
Start with a 12x12 piece of cardstock as your background. Add some random stamping in black Archival ink then some splatters of black Smooch. Add some random splats using Tim Holtz stain in Soot.
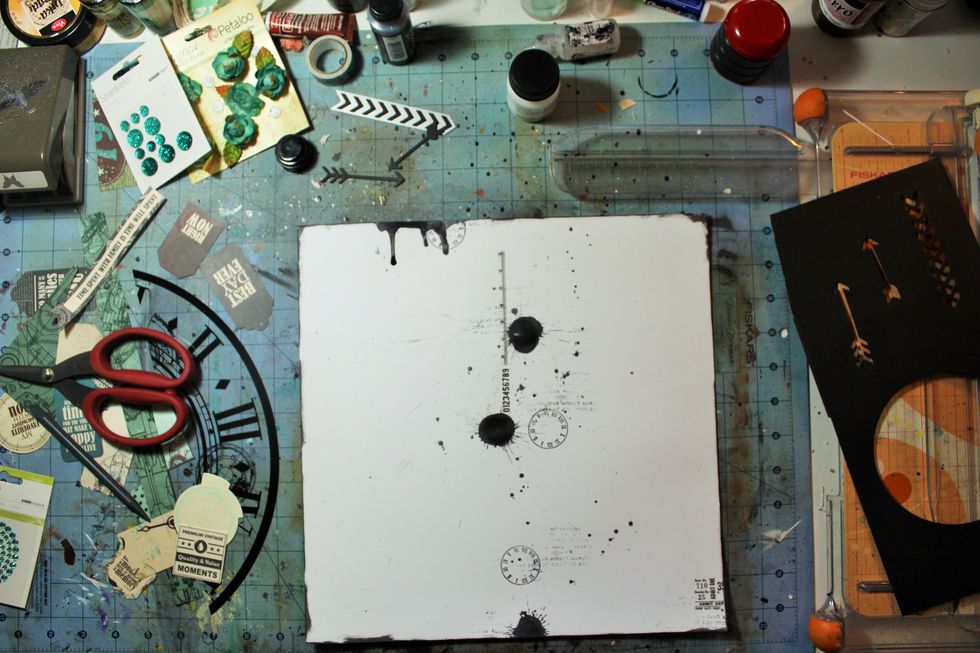
I put some Smooch in a dropper and dripped it along the top of the page. Then, add some rub-ons (mine are Tim Holtz).
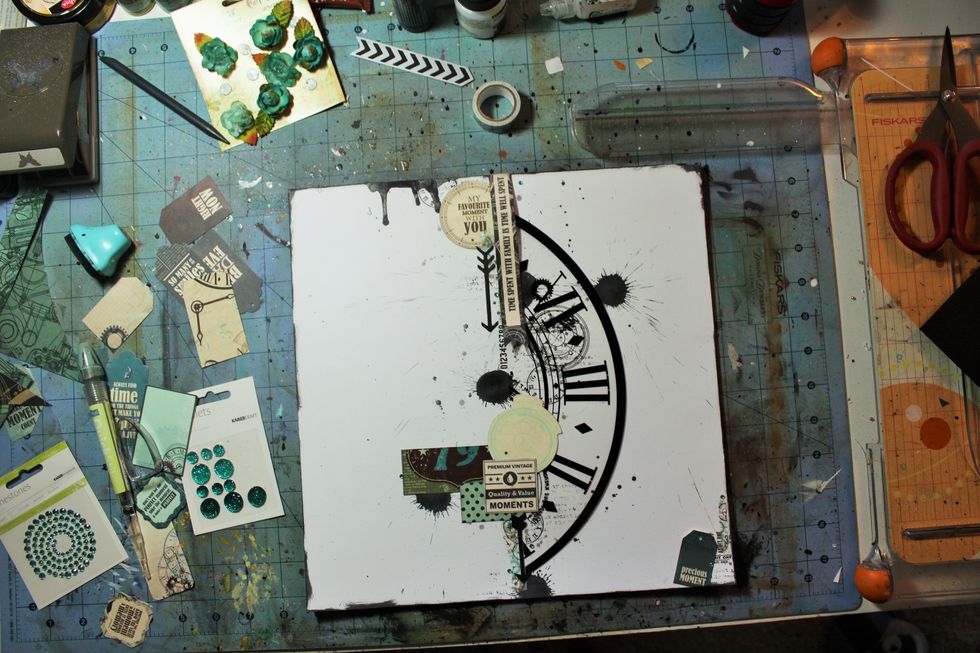
Next, add some Washi tape and ephemera. Little bits of paper add to the layers. I used the piece of acetate I had left from a previous layout here, too. Who says the acetate piece had to stay intact?
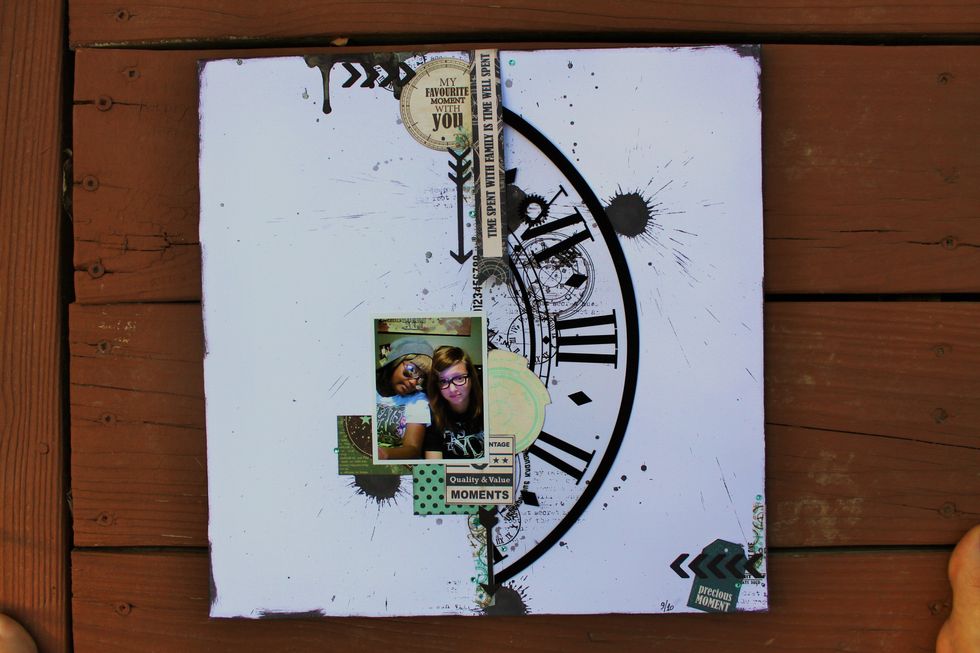
Then, add some random bling to the page. I added some cardboard that the kit came in to lift the picture up a bit. Now, you are done!
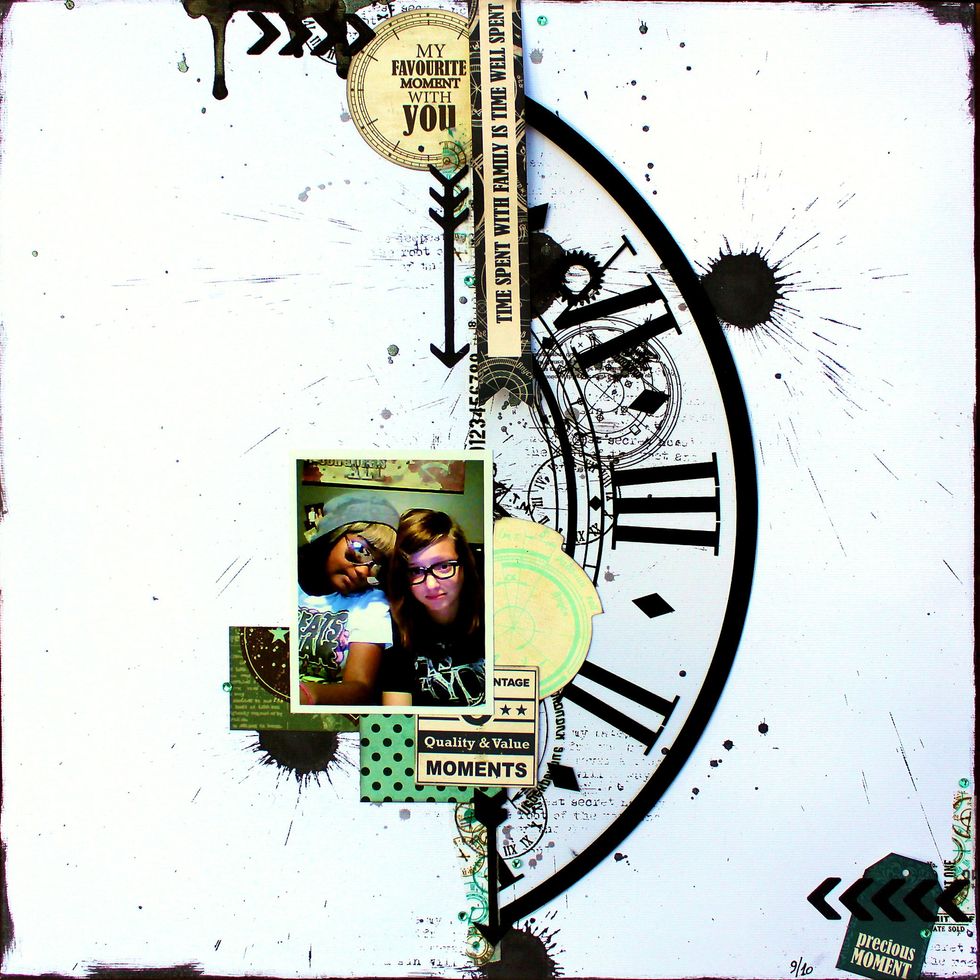
Now you have a grungy layout created with the scraps left on your scrap table!
Here's a little trick I discovered while creating this layout.
See those little chevrons at the top & bottom of the layout? Those are cardstock die cut pieces. Looks like a pain to put adhesive on those little pieces and then get them lined up on the page, right?
Choose a thin die. Here, I used the chevrons.
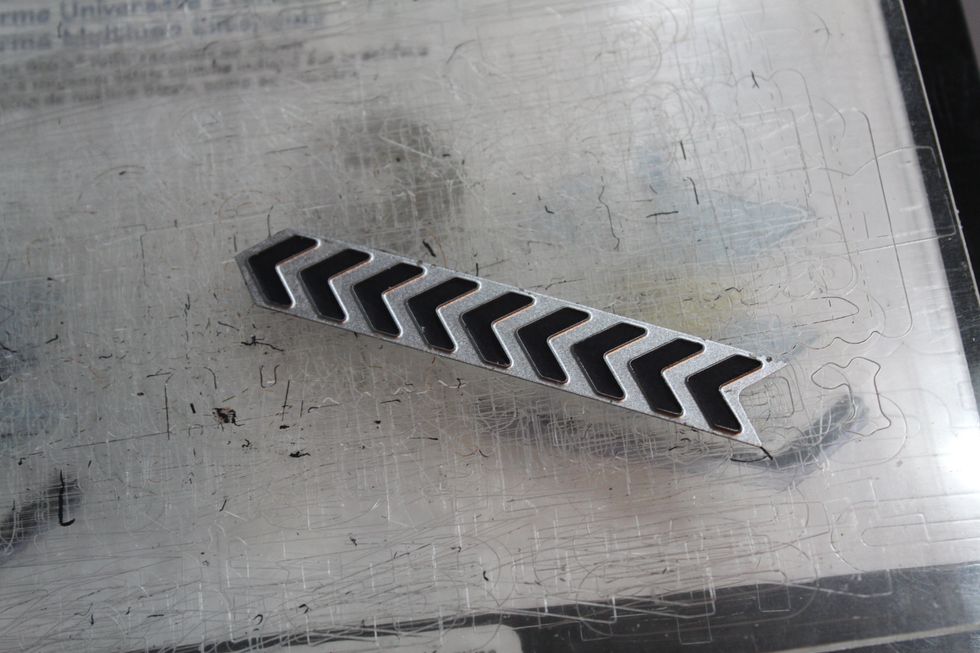
Run the die through your die cutting machine. Now, you have your small die cuts still in the die as shown. Do not remove them yet!

Turn the die over and run it through your sticker maker or Xyron with the cardstock side down (die cut side down). You only want to do this with your wafer thin dies!
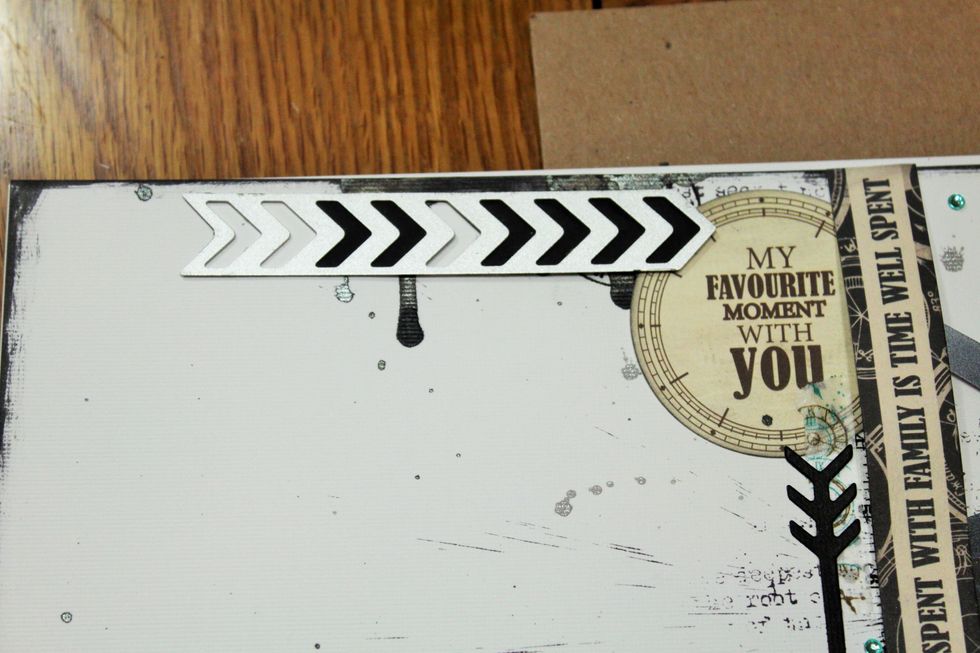
Now, place the die with intact cardstock and adhesive on your layout. Use a pop sickle stick to rub the cardstock so the adhesive will attach to your page.

Remove the die and your die cuts will be on the page nice and evenly spaced!
Here's the bottom corner where I added more chevrons. What a time saver!
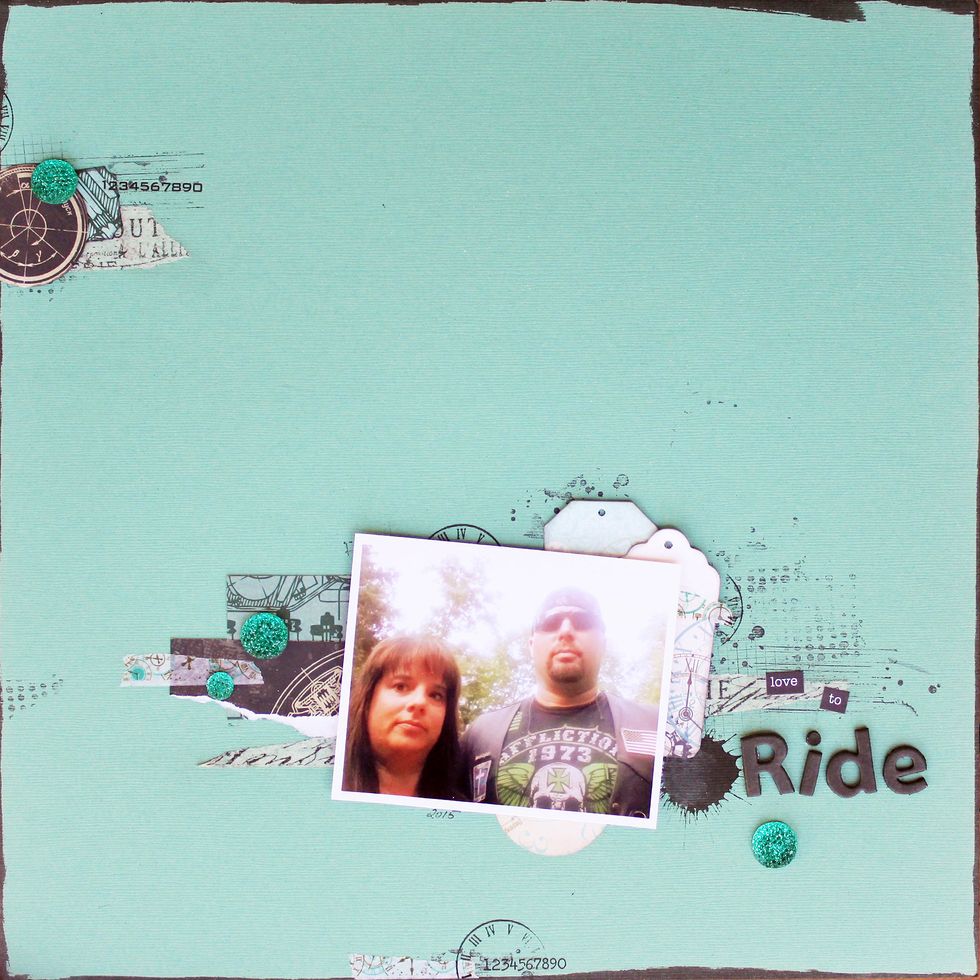
I still had plenty of scraps left so I made another page using more stamping, inking, washi tape, bling, and ephemera. Hope you enjoyed this latest edition of "Scrap your Scraps."