The Conversation (0)
Sign Up

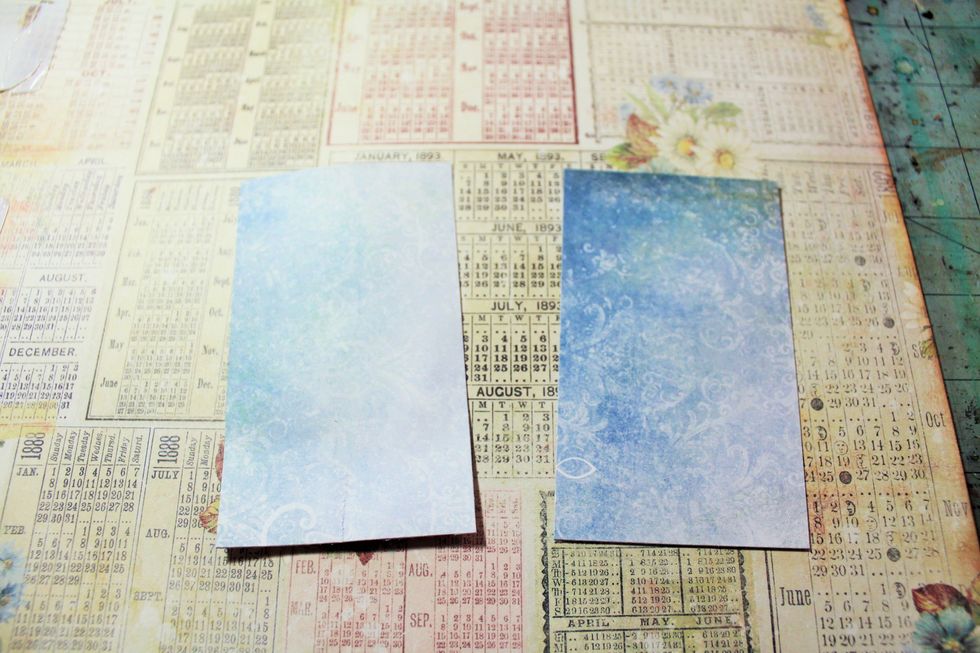
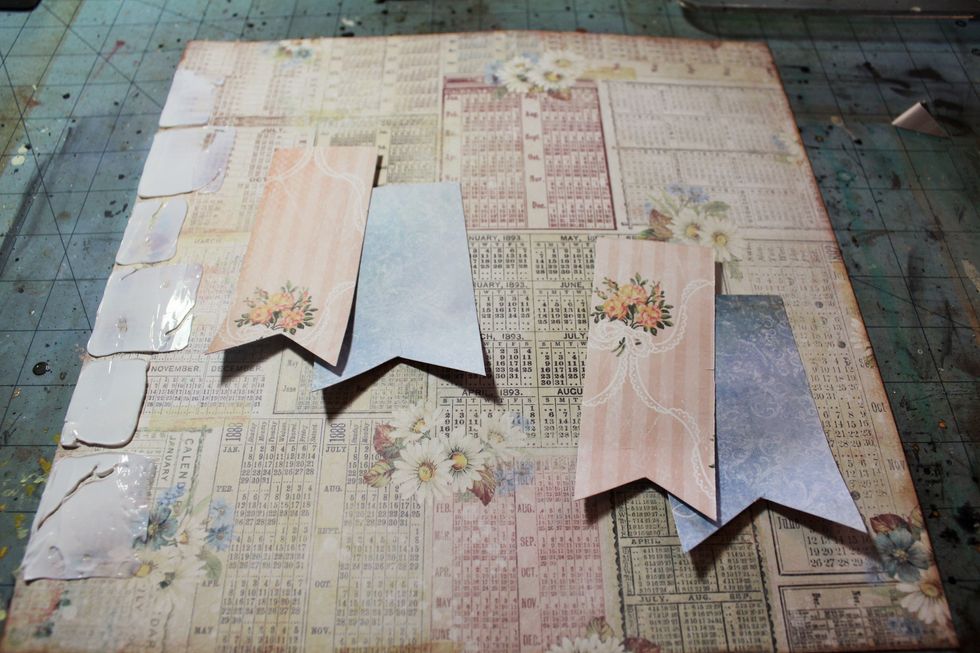
Choose your background paper and papers for the banners and photo mats. I used Balcony for the background, Mercantile, Le Balloon and Gazebo for the banners and mats.
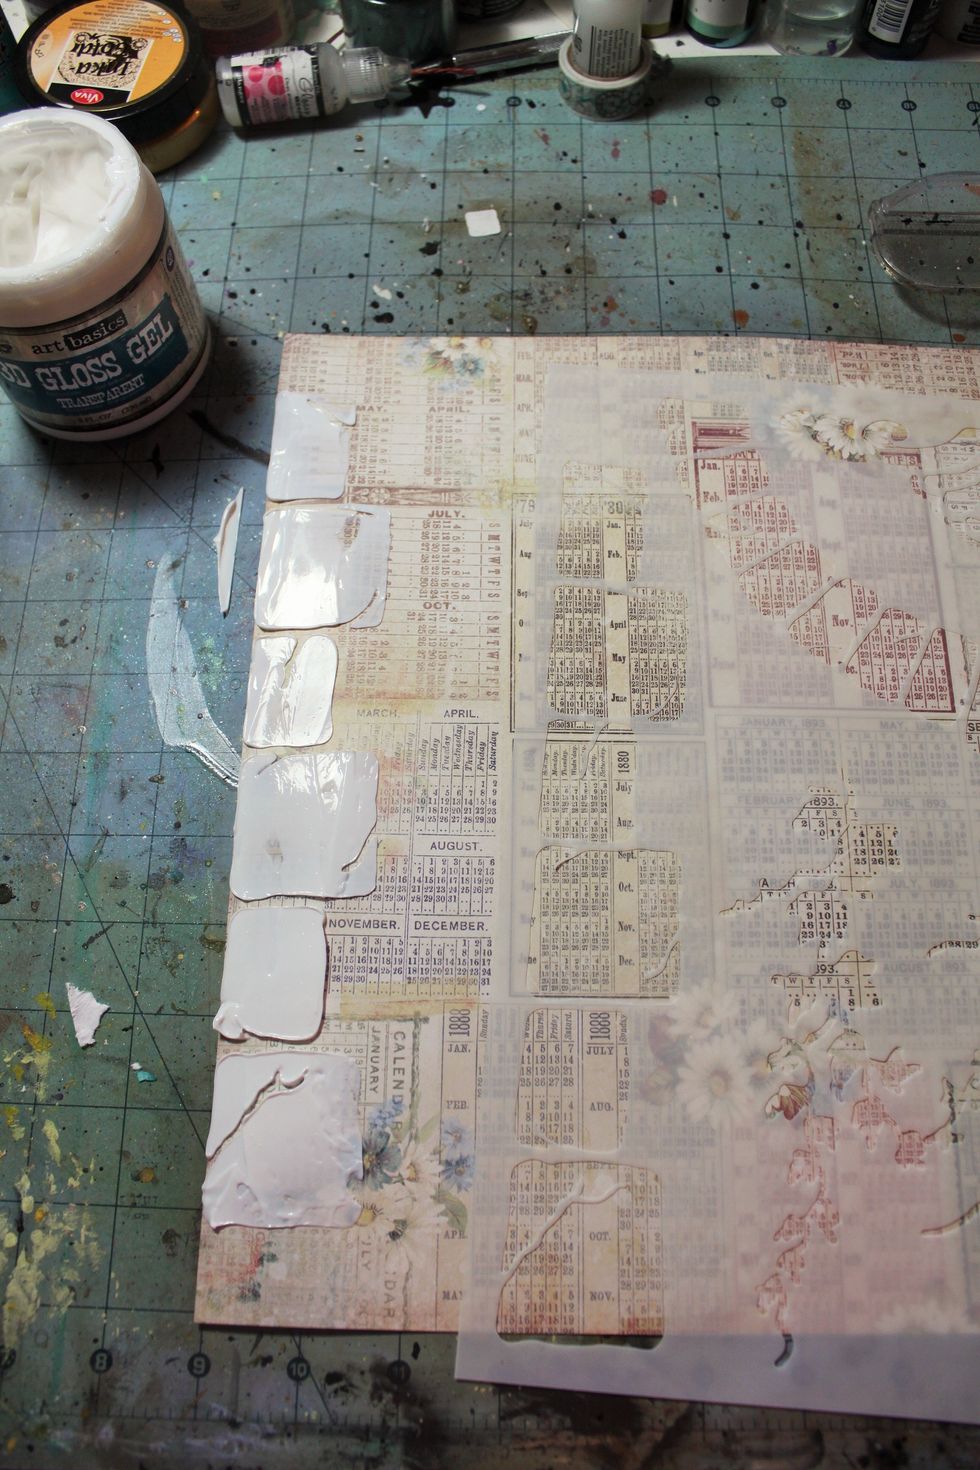
Add some texture using one of your stencils and some gesso or 3D Gel Gloss Medium. Here, I used Gabriela P's 12x12 Tuscany stencil along the left edge.
Start making your banners by cutting 2 strips measuring 2 inches x 4 inches and 2 strips 2 1/2 inches x 4 inches.
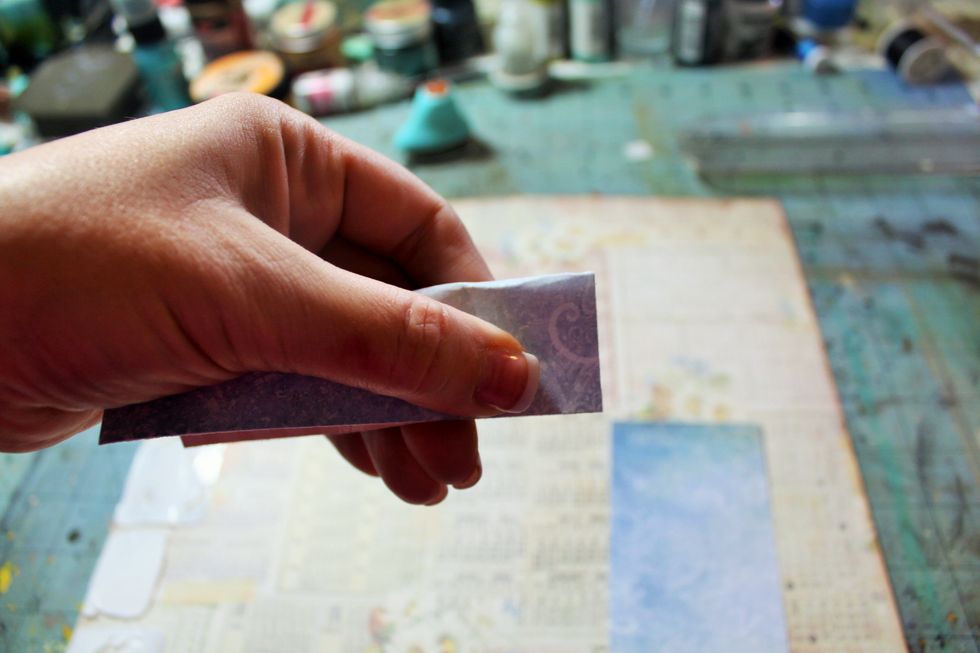
Now, here's the trick to make your banners with even edges. Lightly fold your paper strips in half vertically. Be careful not to put a crease in your paper.
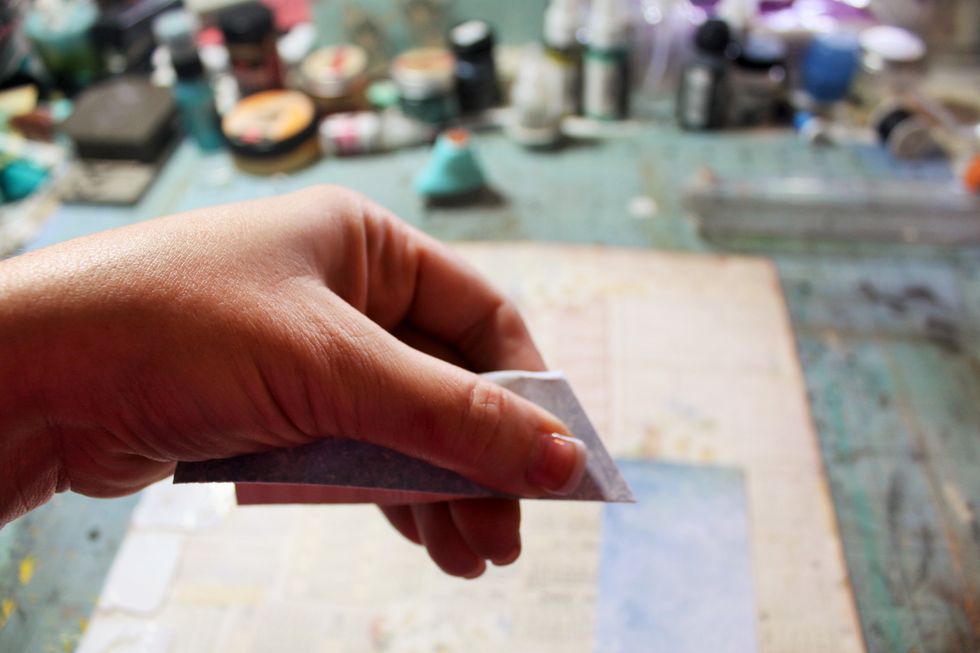
Now, diagonally cut your strips from the cut edge in towards the light fold.
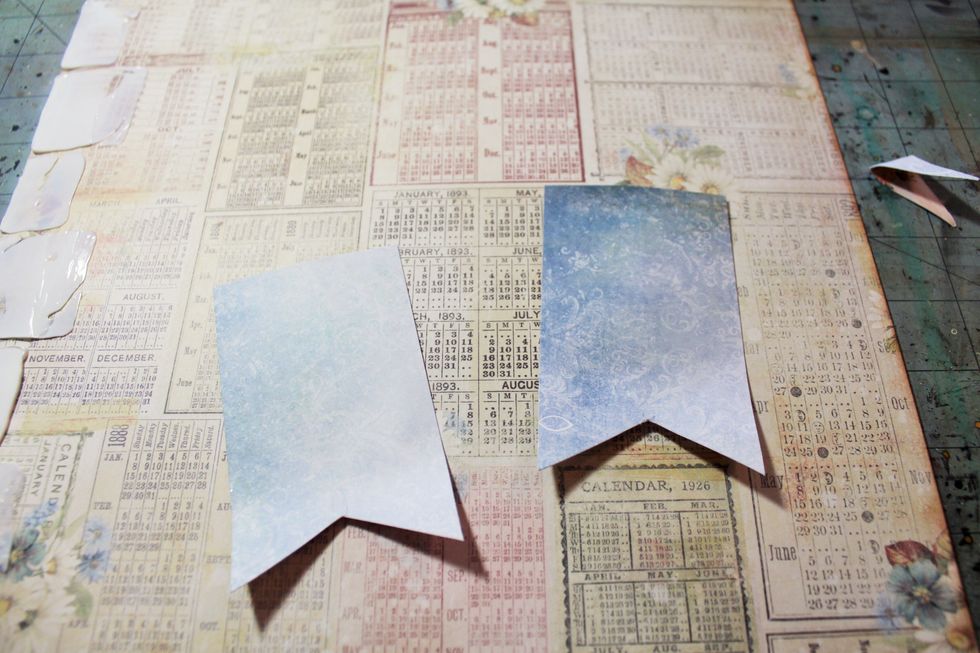
Unfold and curl up the pointed edges a little.
Now, you should have four banners. At this point you can ink the edges and/or distress the edges.
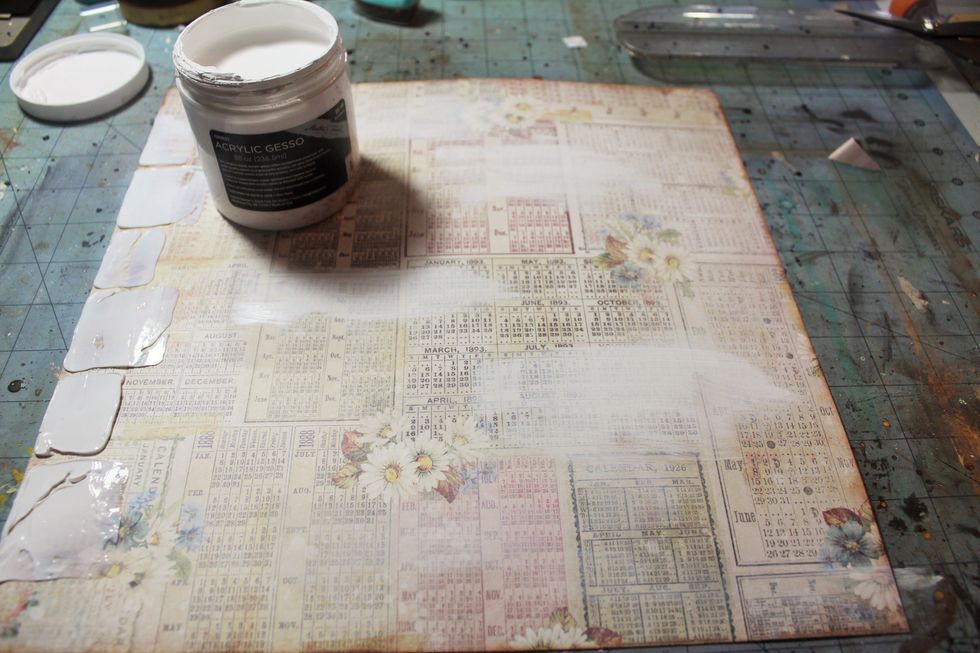
Brush on some gesso to mute the background pattern on the paper. Use the dry brush technique to keep the gesso light.
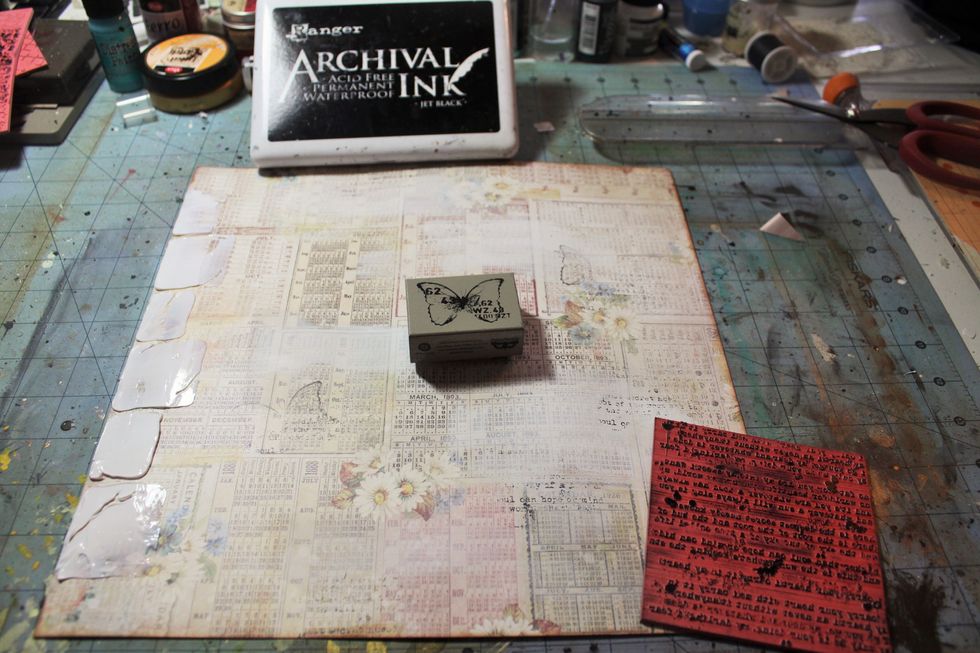
Now, add some interest with a few stamps from your stash. I used Archival ink in black, a Finnabair stamp, and a newsprint stamp.
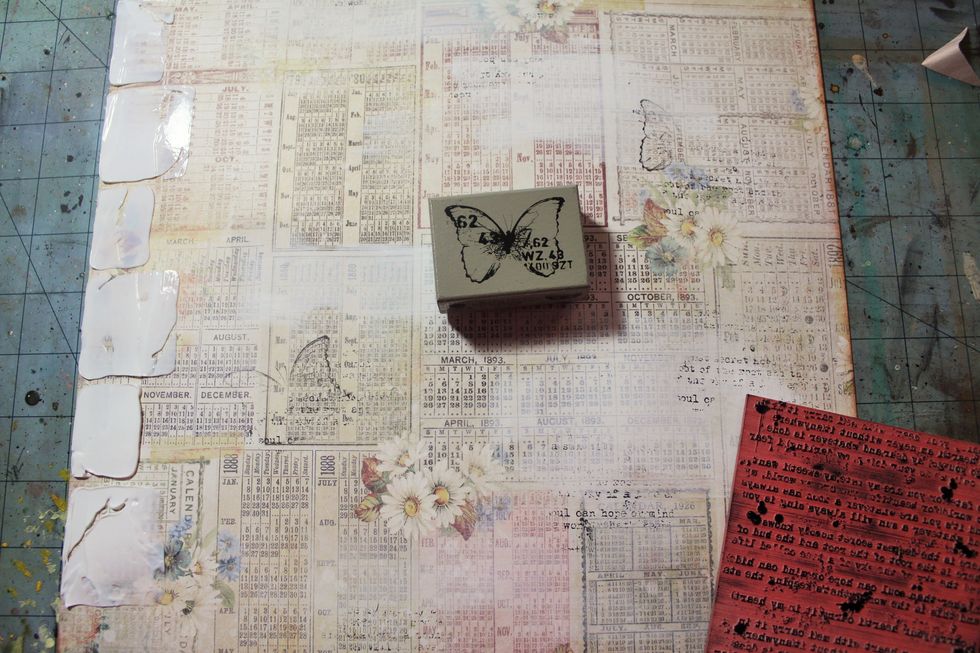
Randomly stamp on your background.
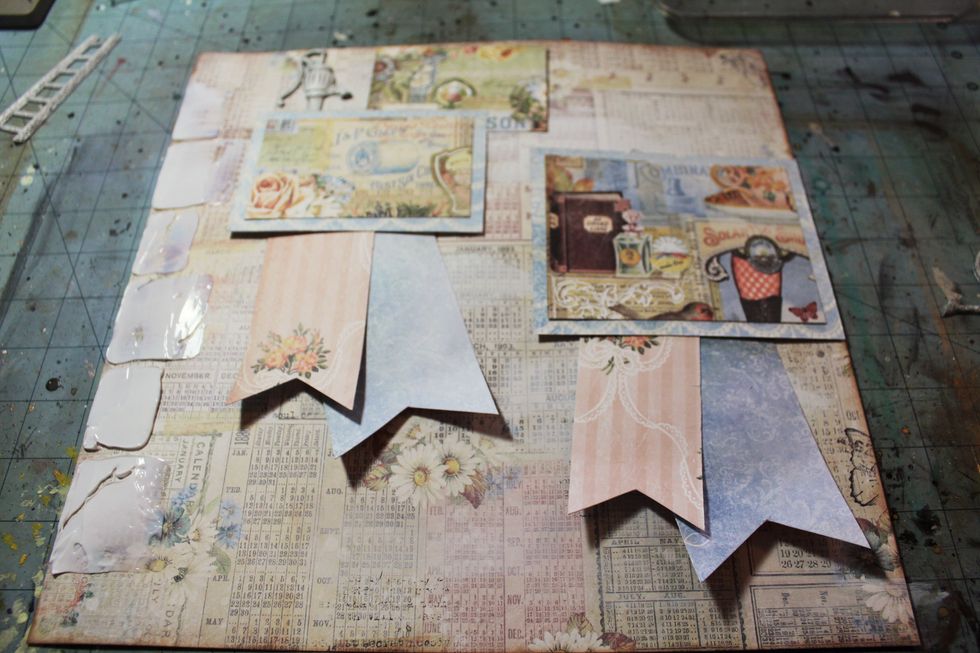
Cut your photo mats. Sizes: 5"x4", 4 1/2"x3 1/2", 4 1/2"x3", 4"x2 1/2", 3 1/2"x2 1/2", and 3"x2".
Distress and/or ink all your pieces.
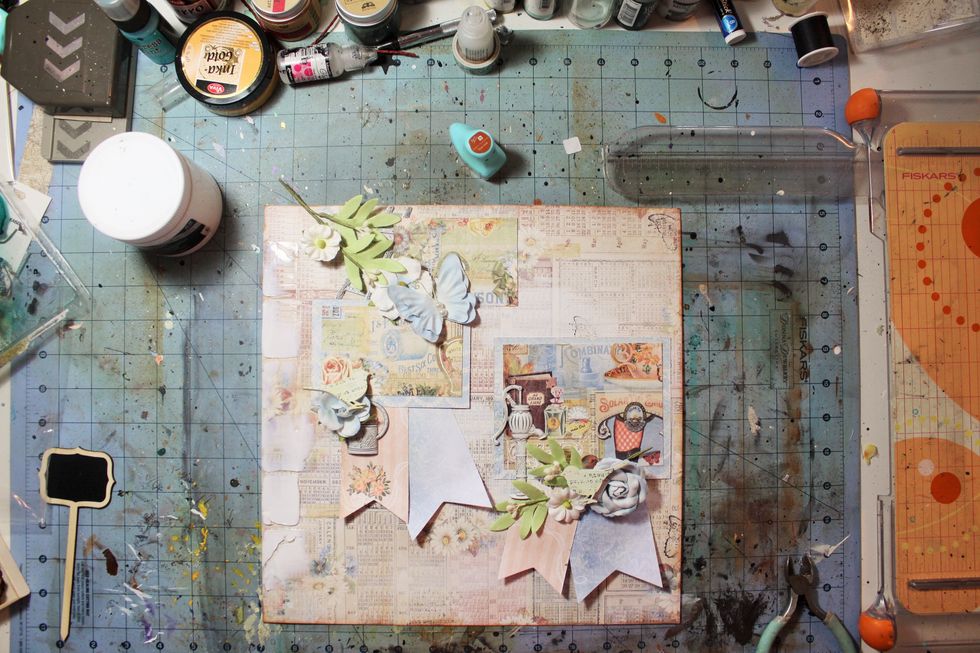
Now, start placing your other embellishments such as flowers, butterflies, and metal pieces. I altered the wooden birds with gesso and stamping.

At this point the 3D Gel Gloss medium was dry so I added some chalk paint in blue and black to make the bricks stand out. Also, dab some paint around the edges of the background paper.

Use cardboard or popdots to add some depth to your mats. Photo sizes: 4"x3", 3"x2", 2 1/2"x1 1/2".

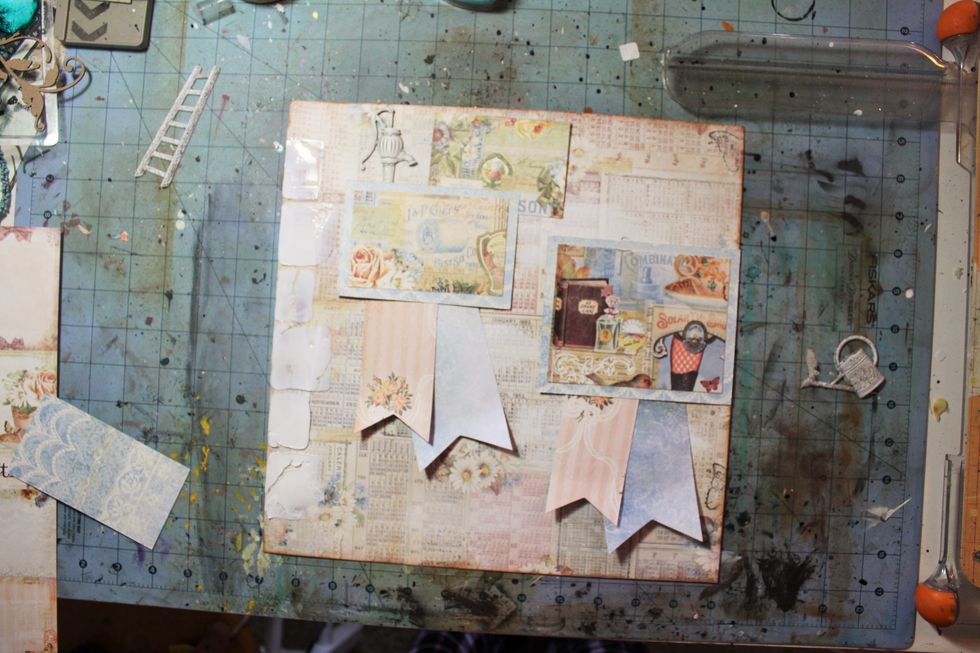
Begin attaching your banners, photo mats, and photos. Next, add the metal pieces.
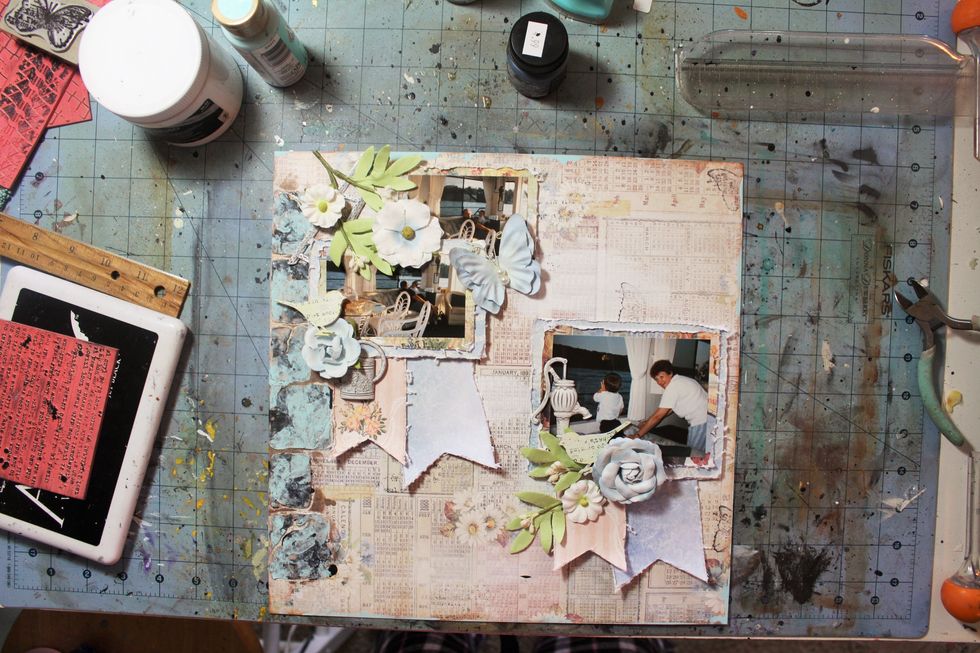
Add flowers, butterfly, and altered wooden birds.
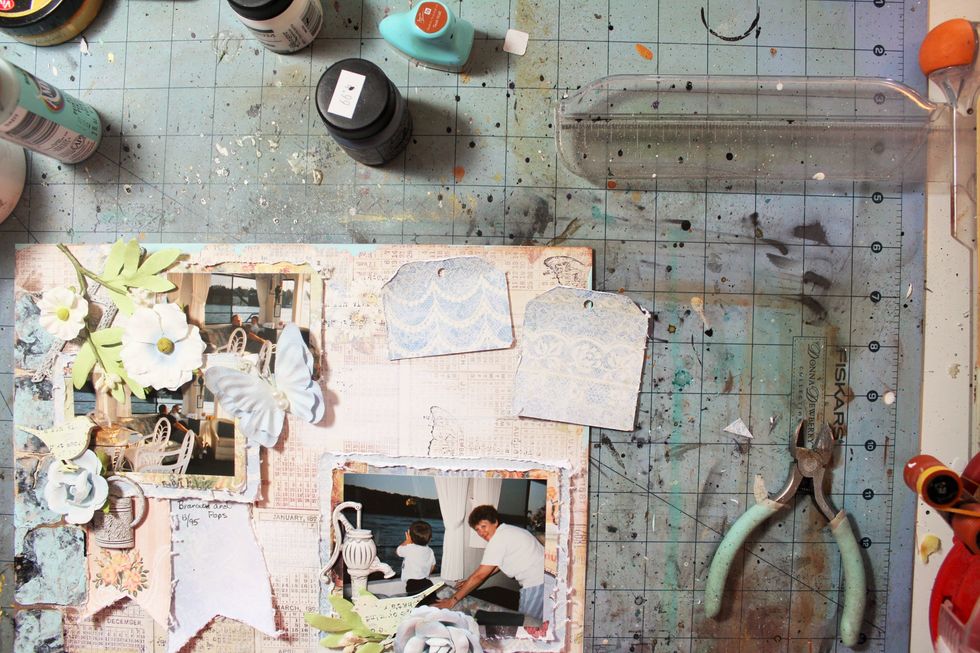
Now, add some tags cut from your patterned paper.

Add a chipboard title and some journaling.
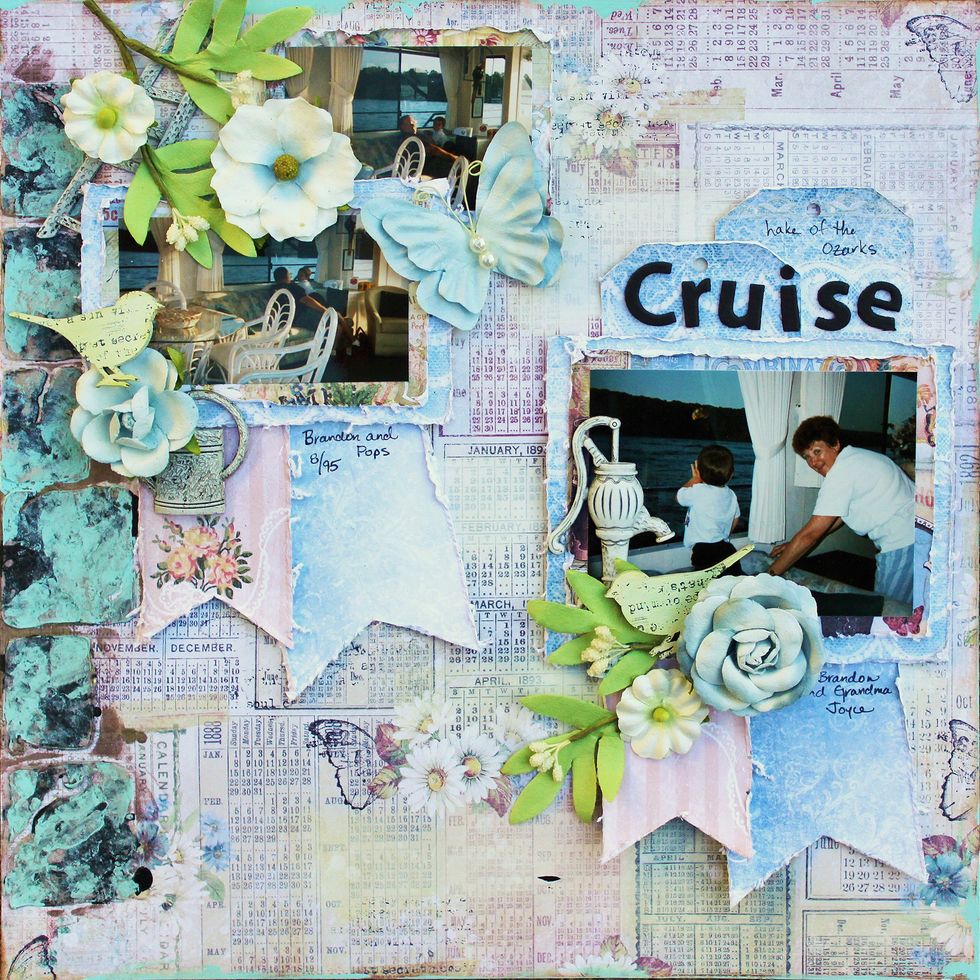
You've created a one of a kind beauty!