The Conversation (0)
Sign Up
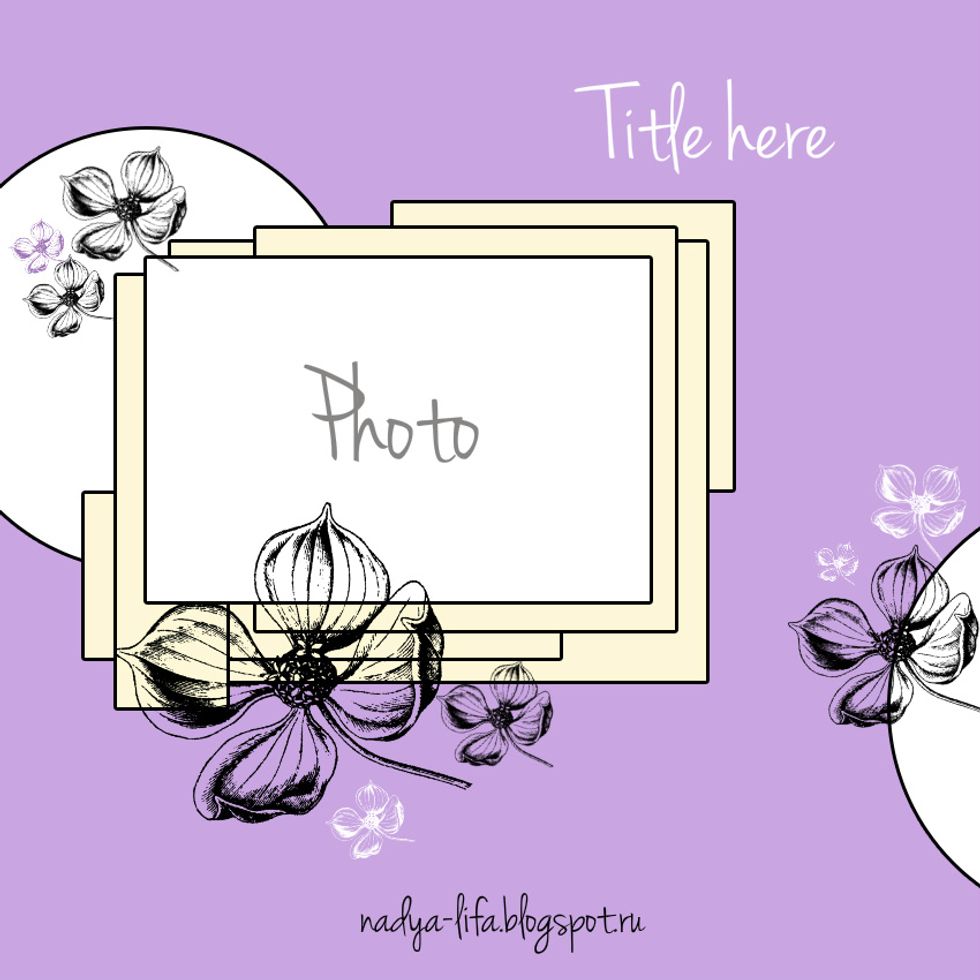
LO Sketch
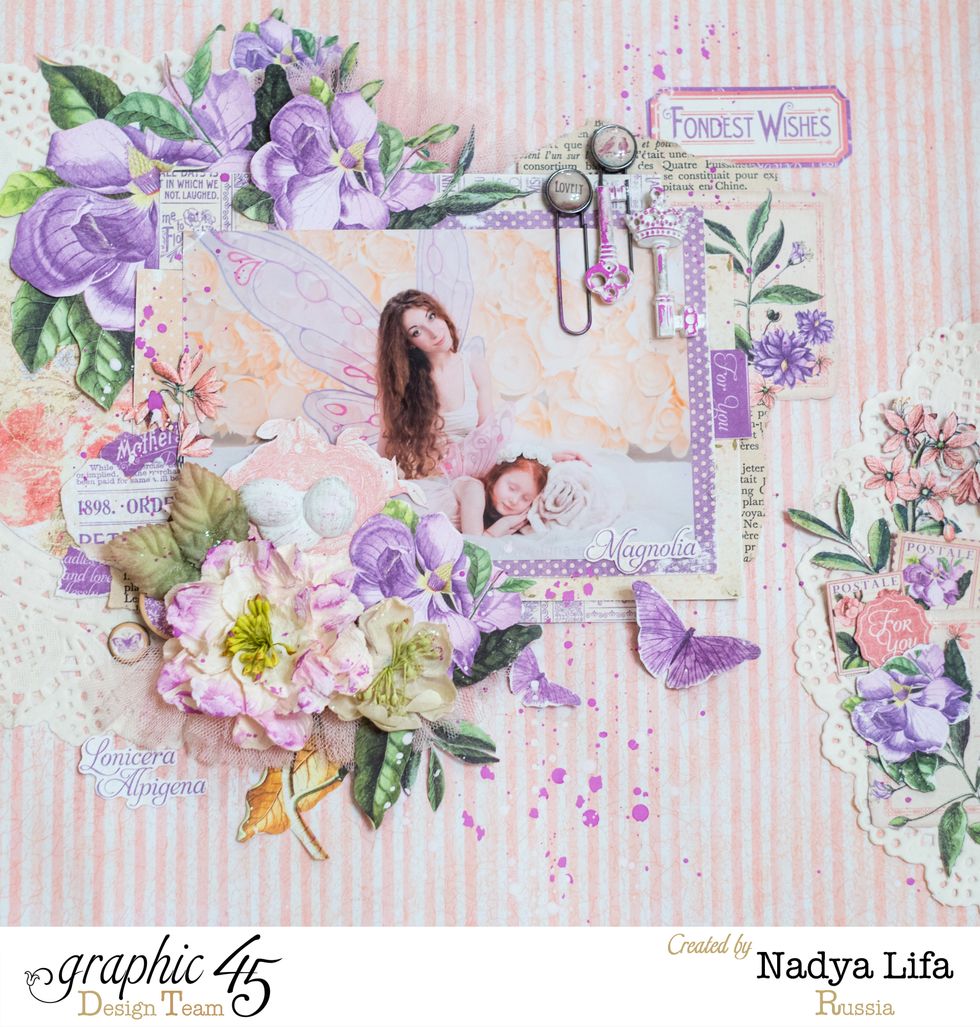
You can use any sheet from the "Time to Flourish" collection, which is combined with your photos in color! This collection is ideal for cutting details!
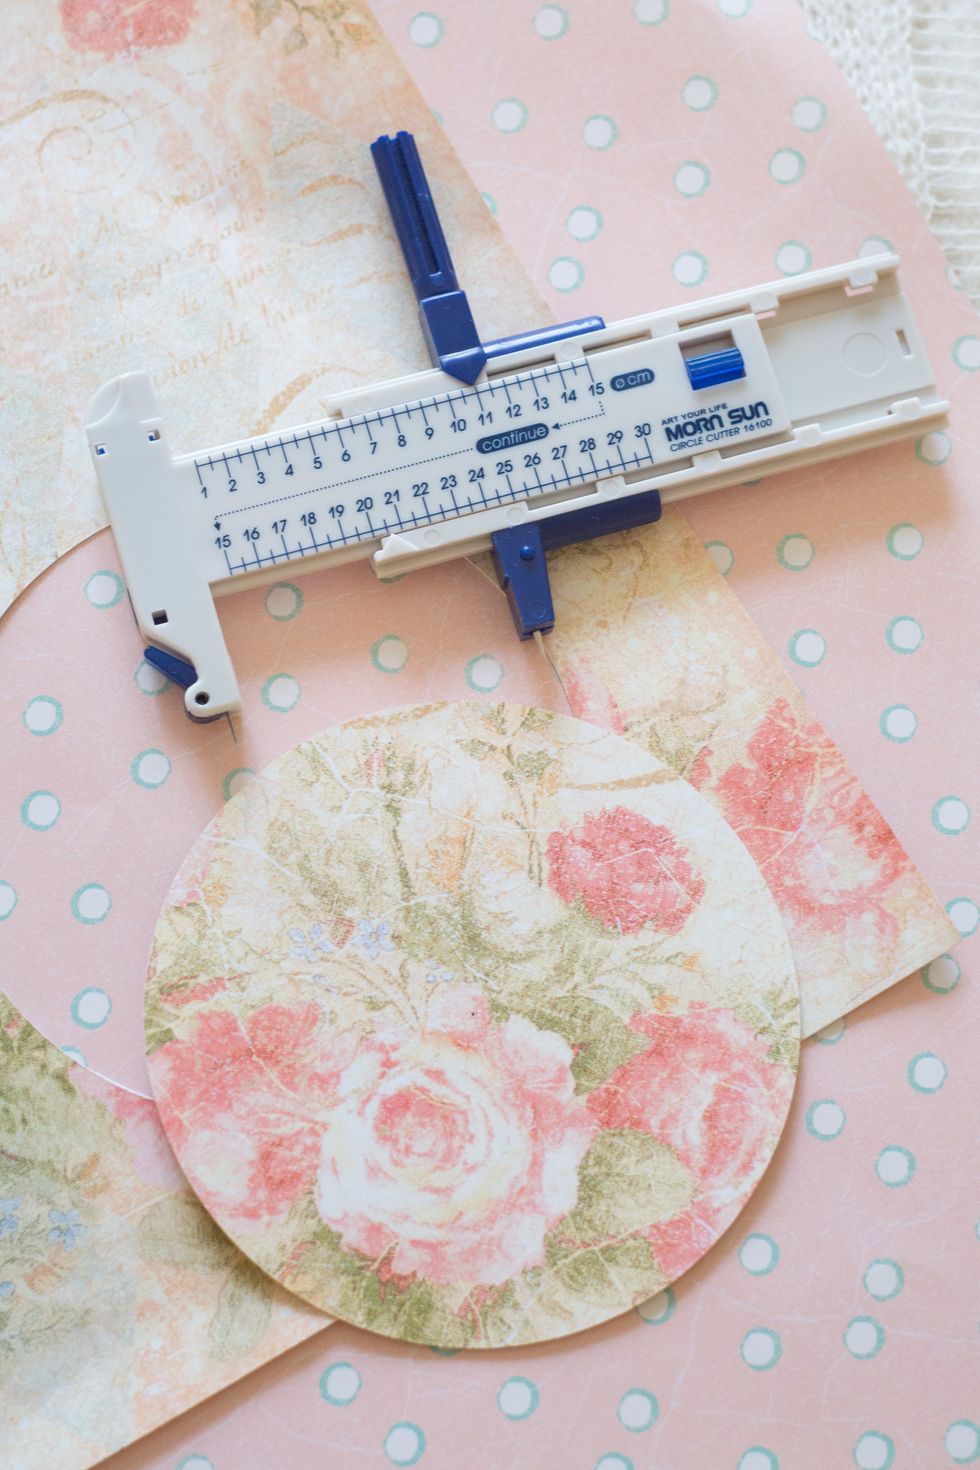
Take 1 sheet of paper for LO backside with a neutral color. Use a knife for cutting circles to create a circle from contrast paper.
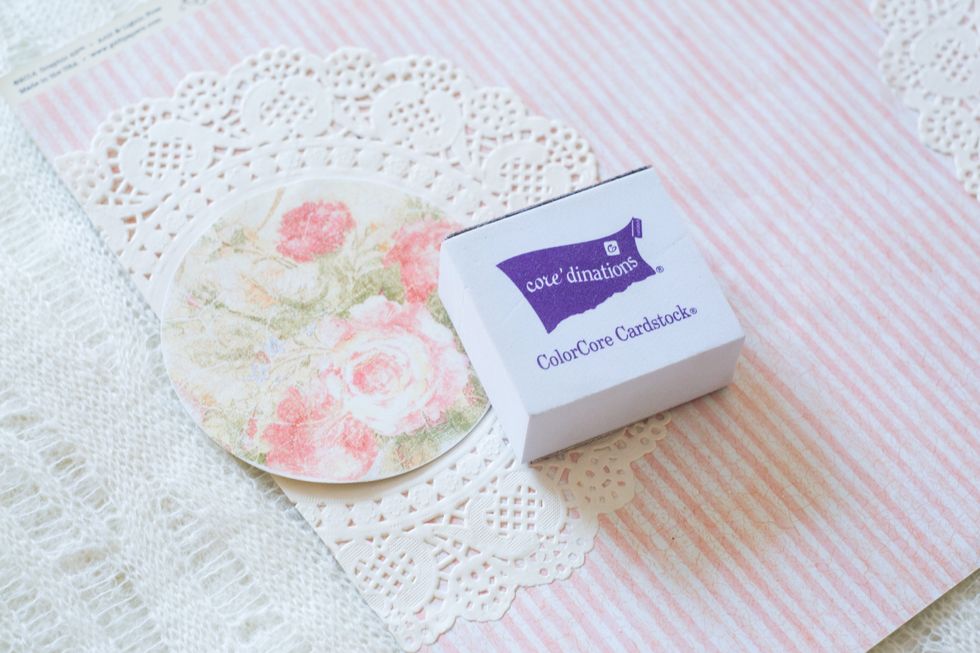
Use the Sand It Set from Core`Dinations to have a shabby view of all details!
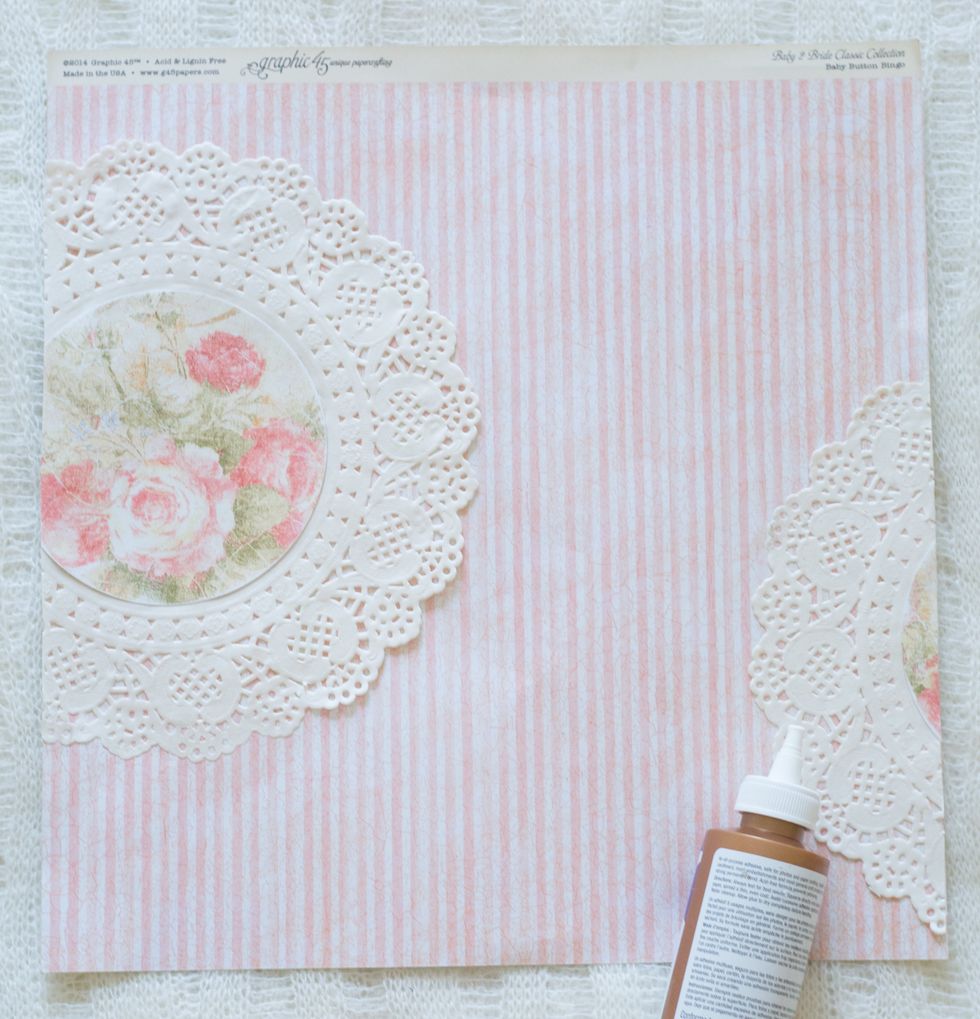
Divide the doily napkin into two unequal parts. Most of the place at the left top side, and a lower part on the right lower side. It is necessary for a balanced rate and composition.
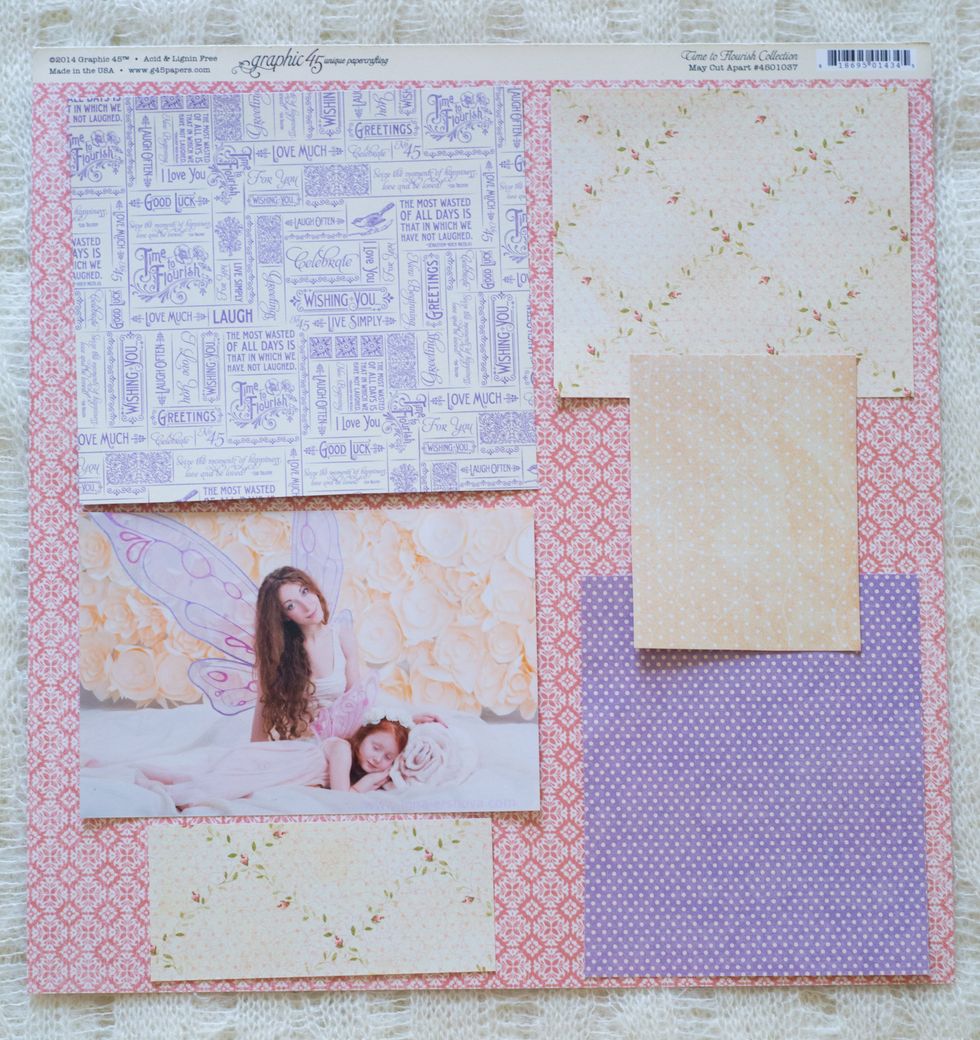
Cut 5 details for substrates 1)Time to Flourish 6x6Pad:13/15cm, 2)Baby2Bride Collector's Edition: 5/11cm, 10/11,5cm, 7,5/9,5cm, 3)Sweet Sentiments Collection:11/13cm.
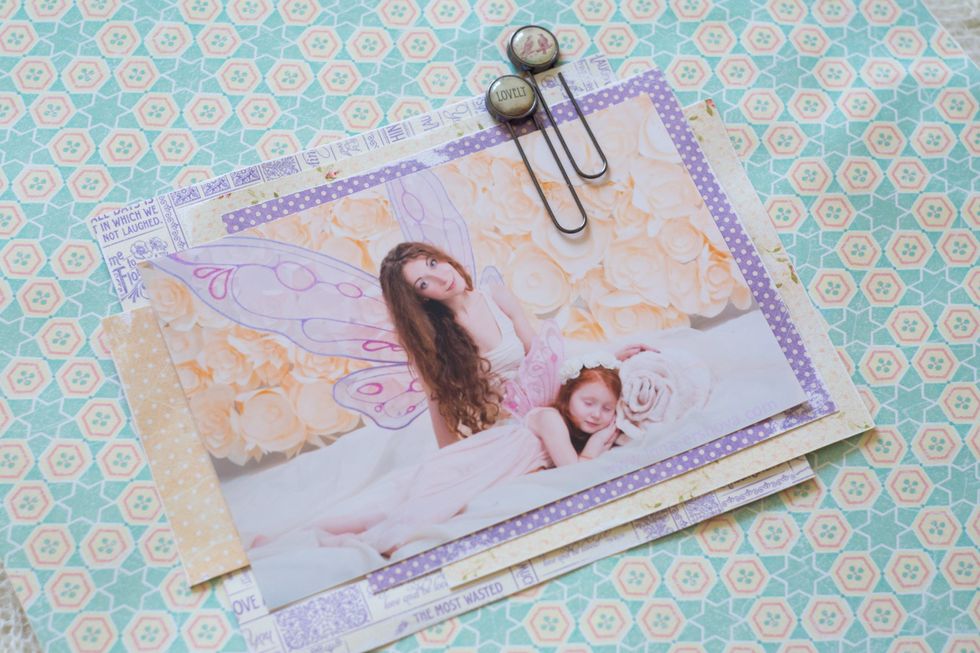
Add all paper backing on one another.
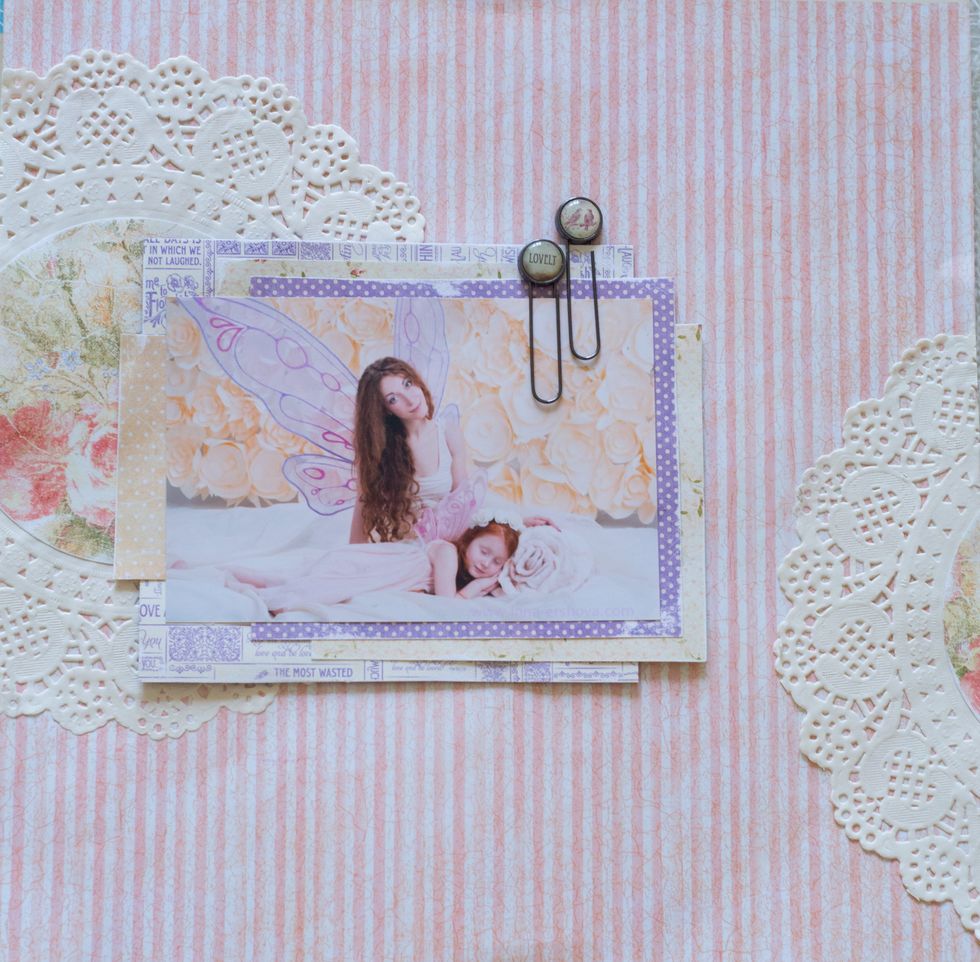
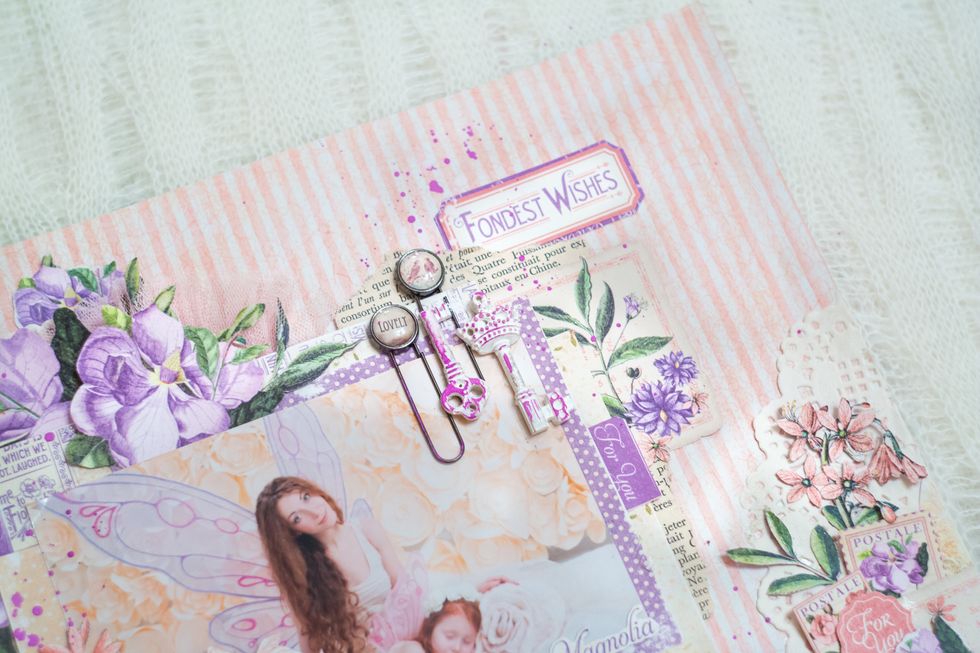
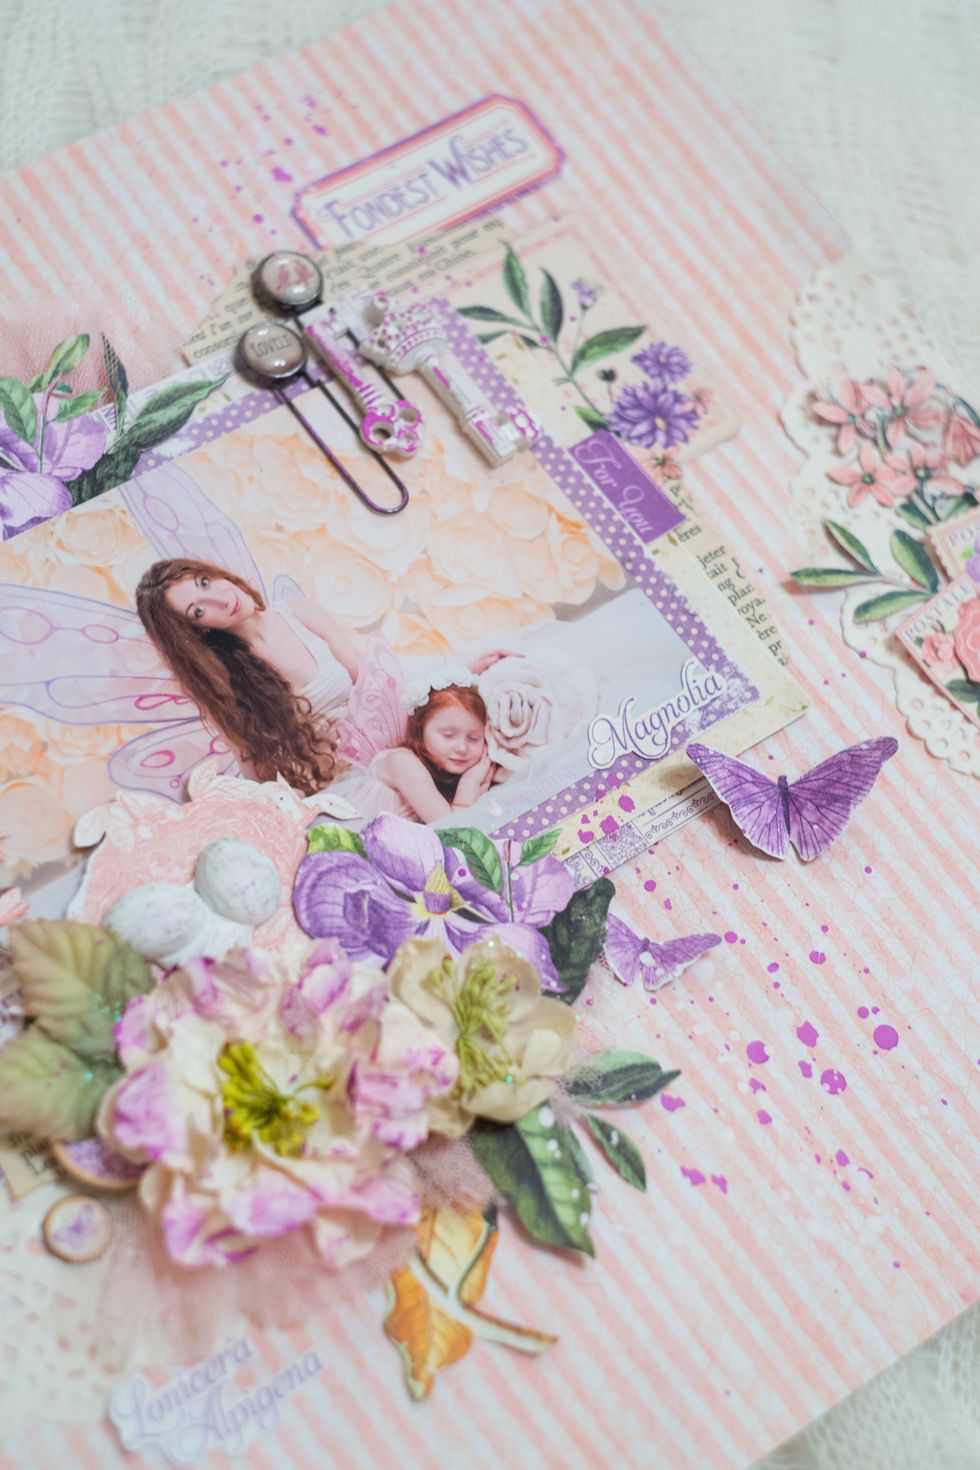
Fix it with decorative clips and add a glue between a sheets. And paste in to the LayOut.
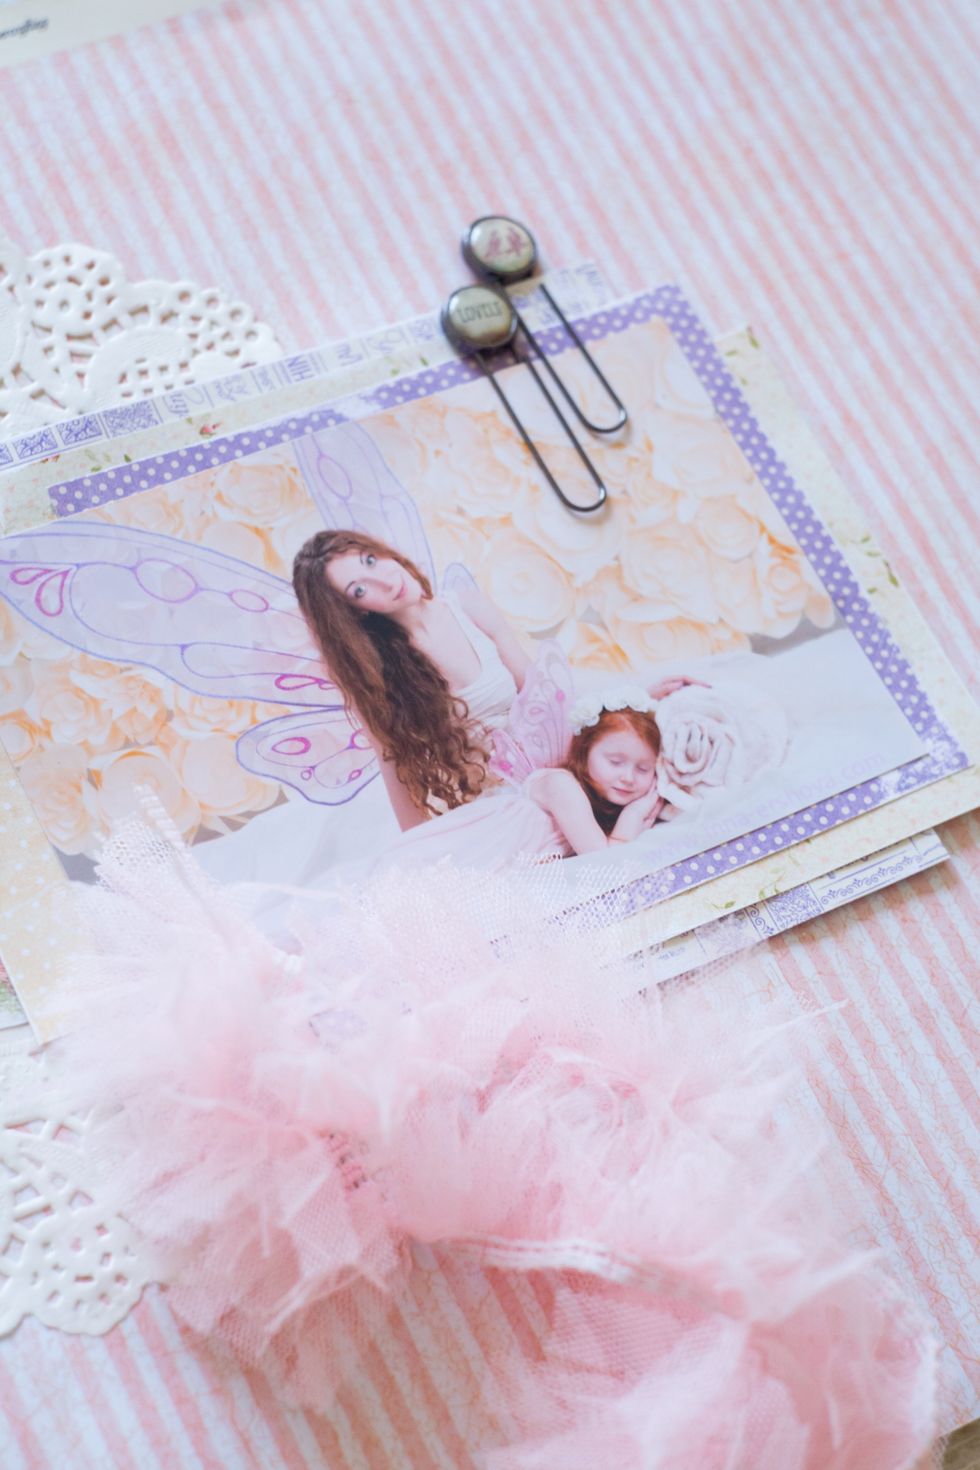
Add a little bit of shabby ribbon: 2 details about 5 cm.
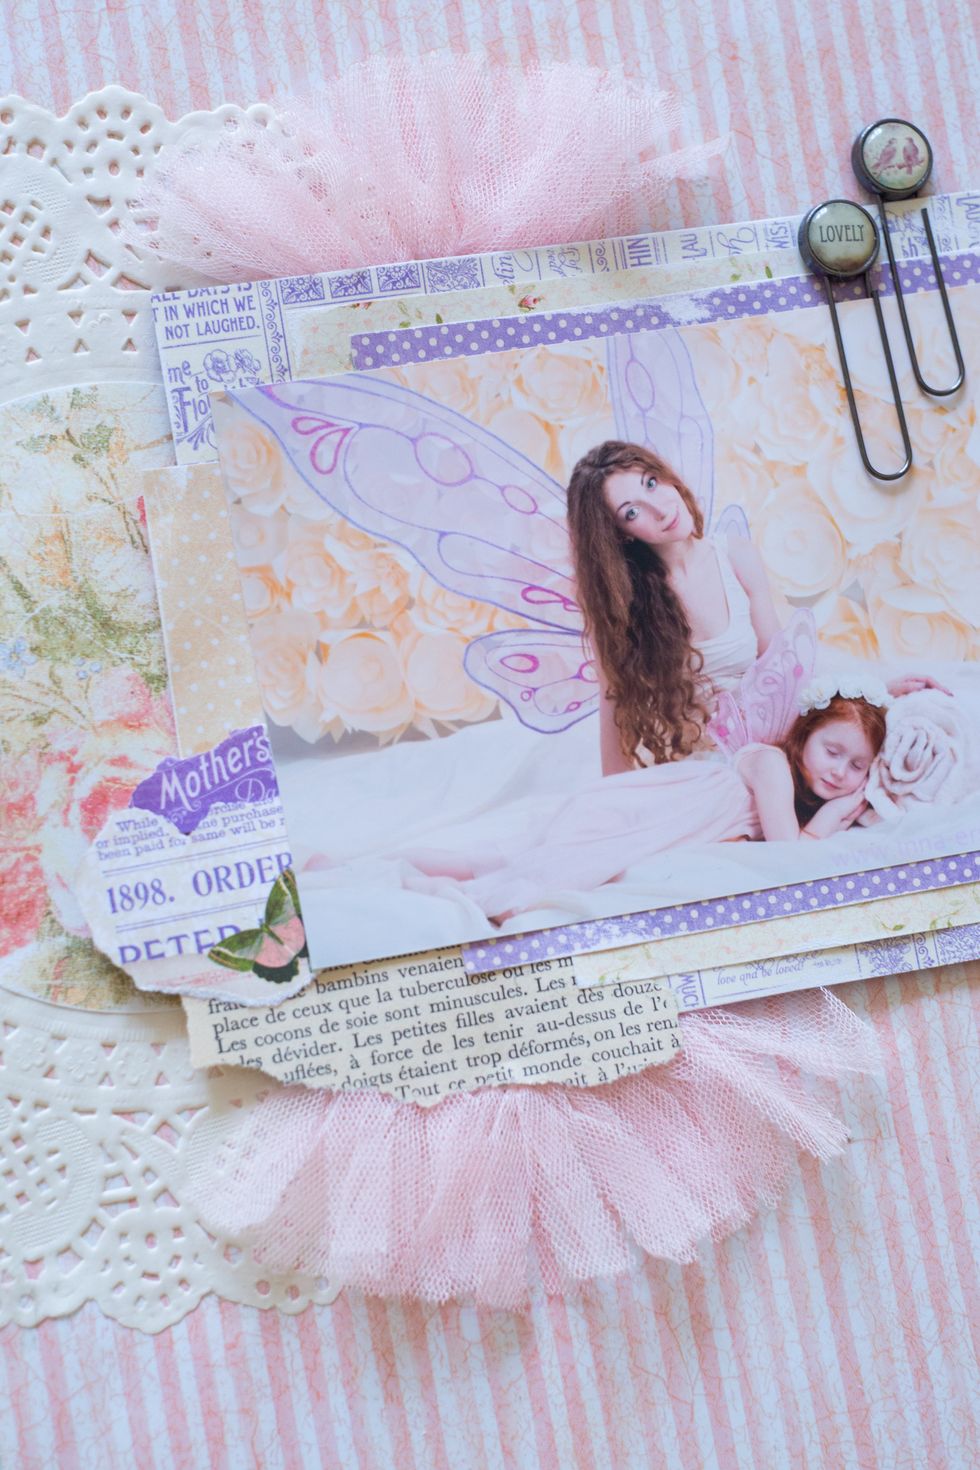
Add the shabby ribbon and ragged paper and book leaf between the substrates.
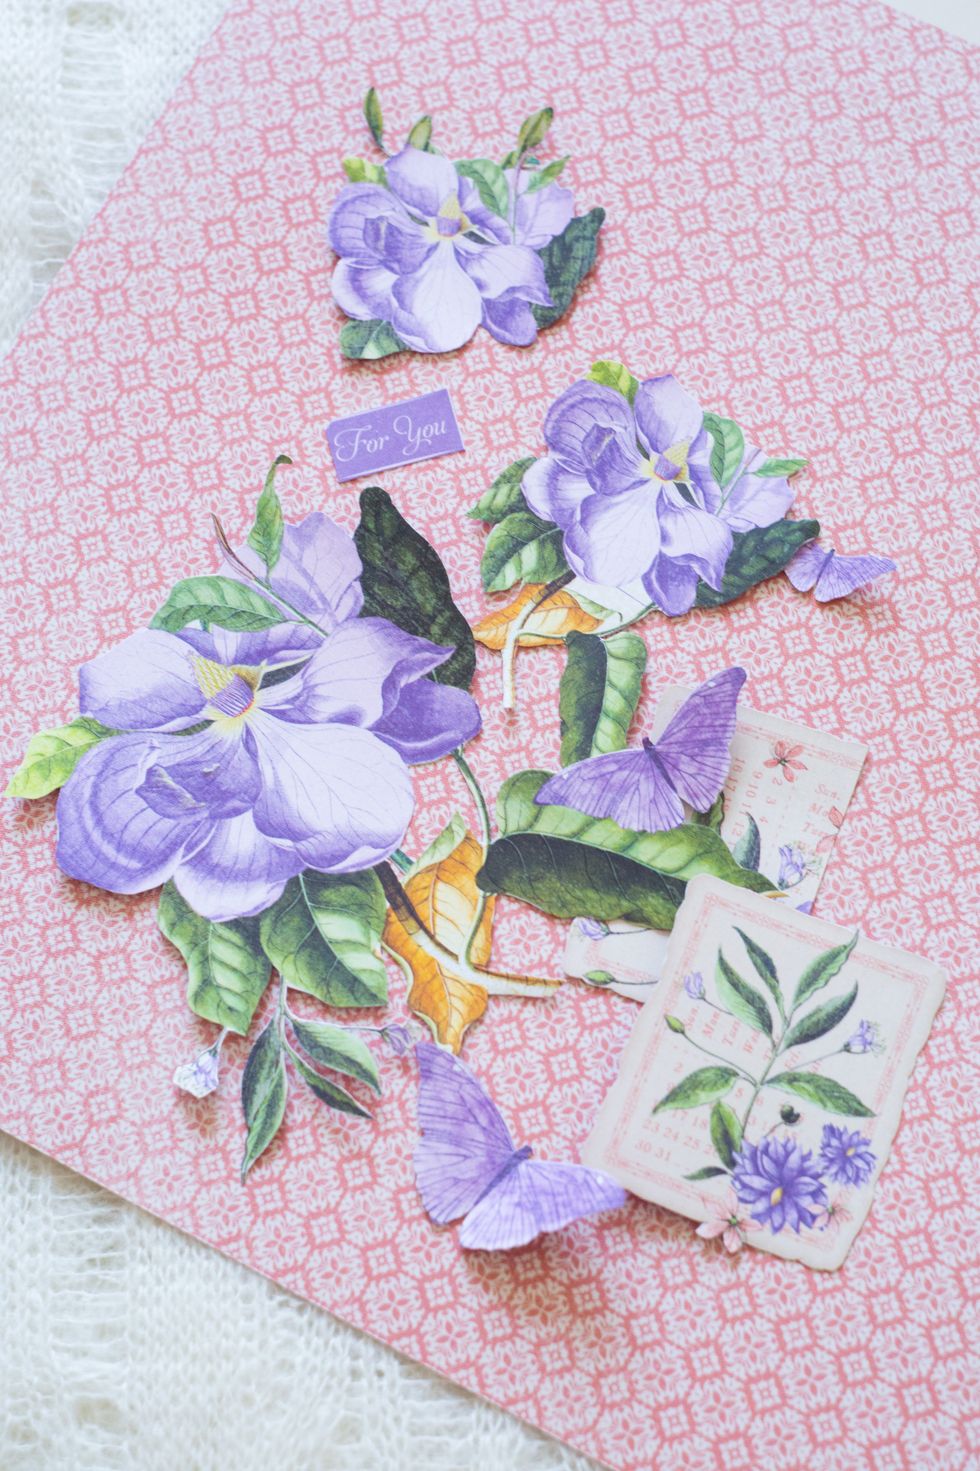
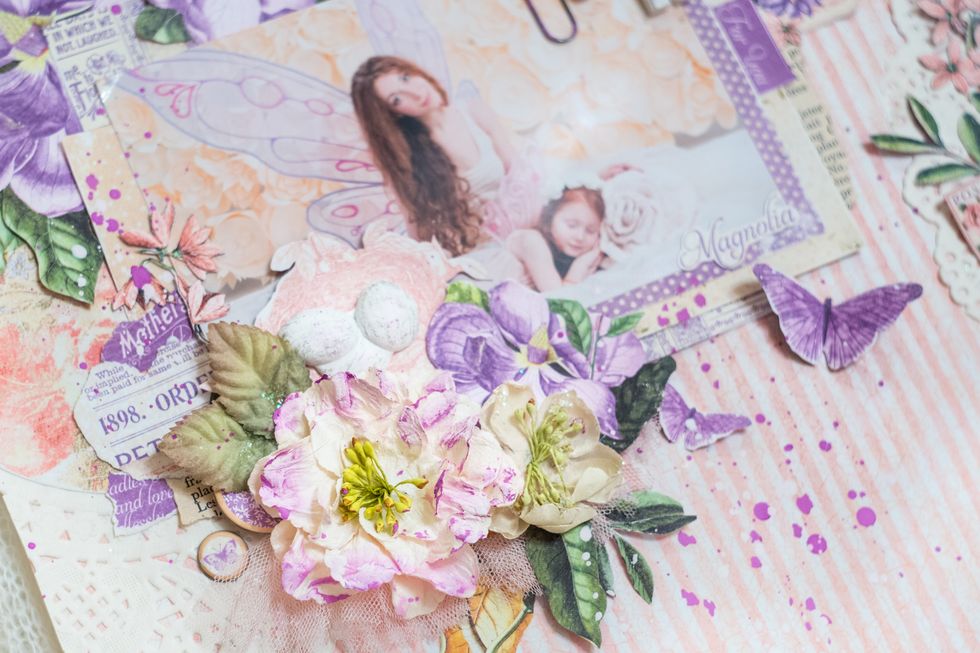
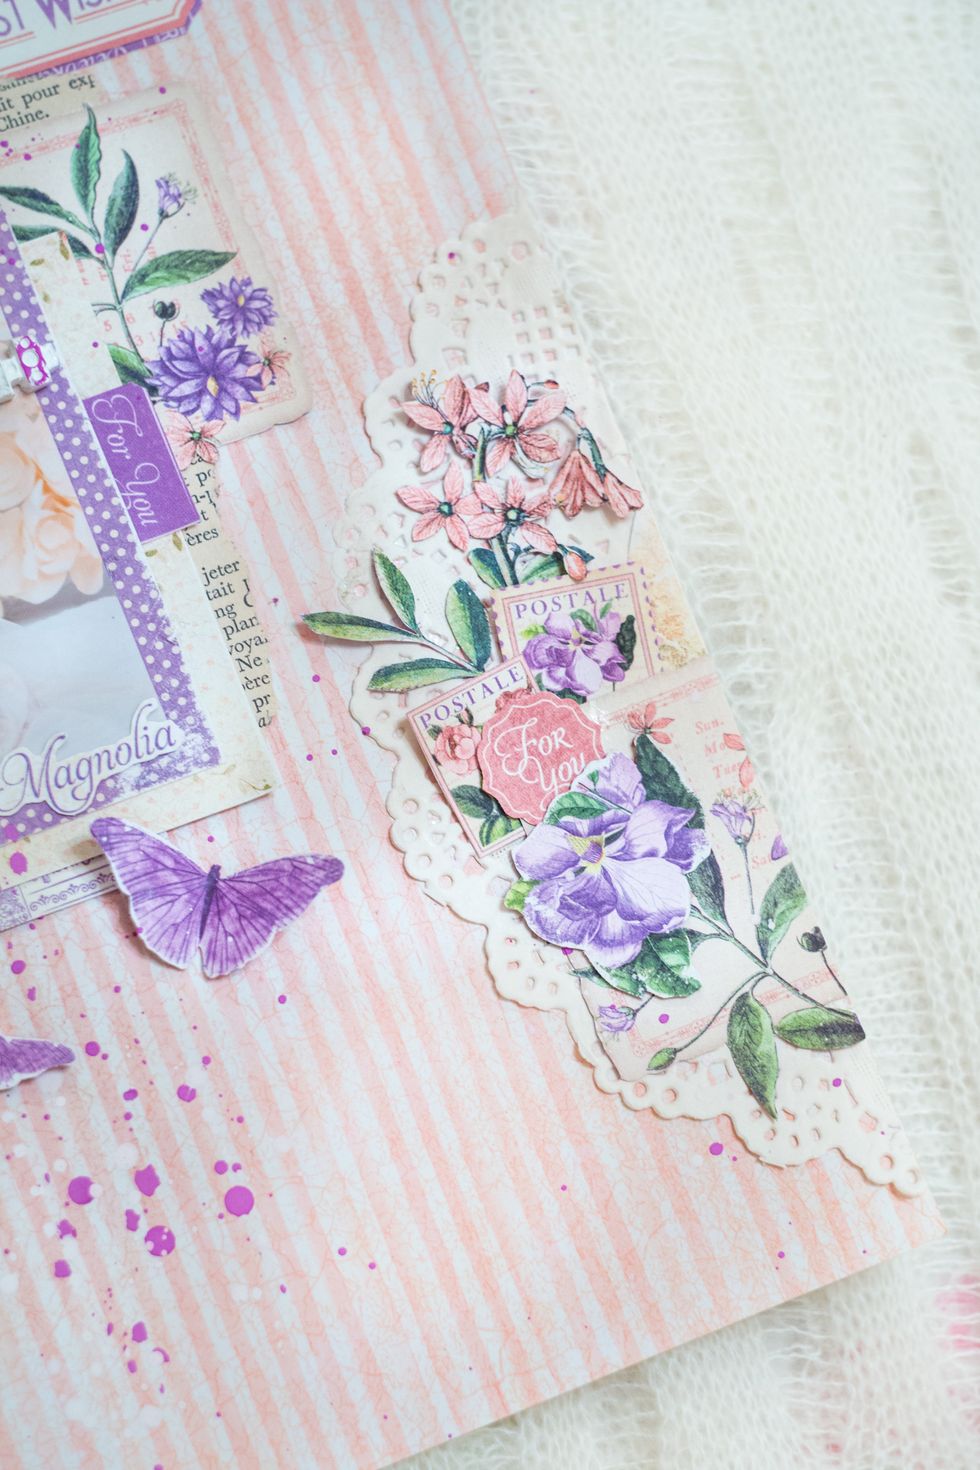
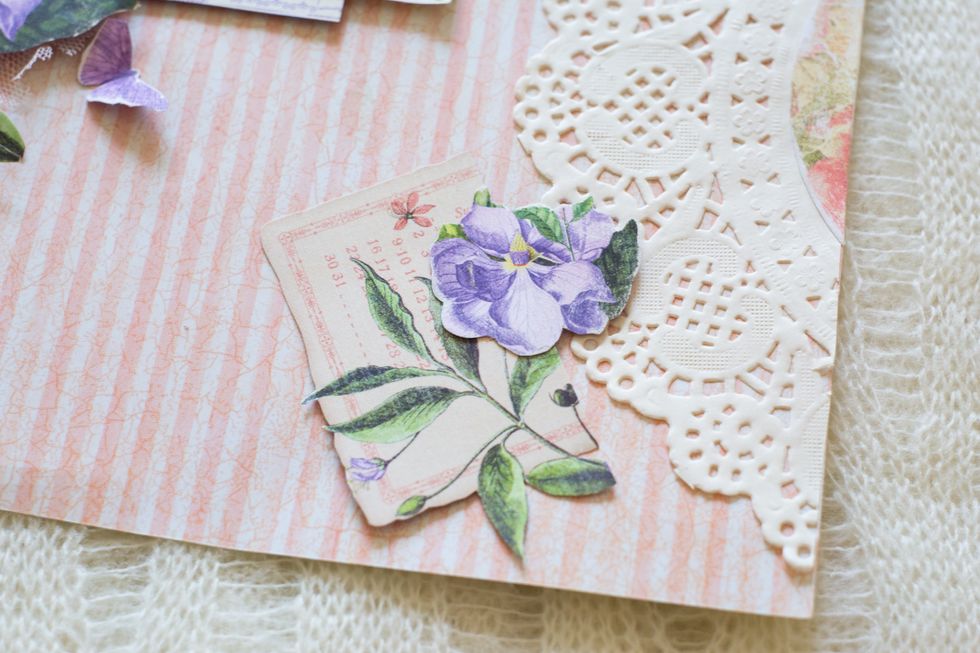
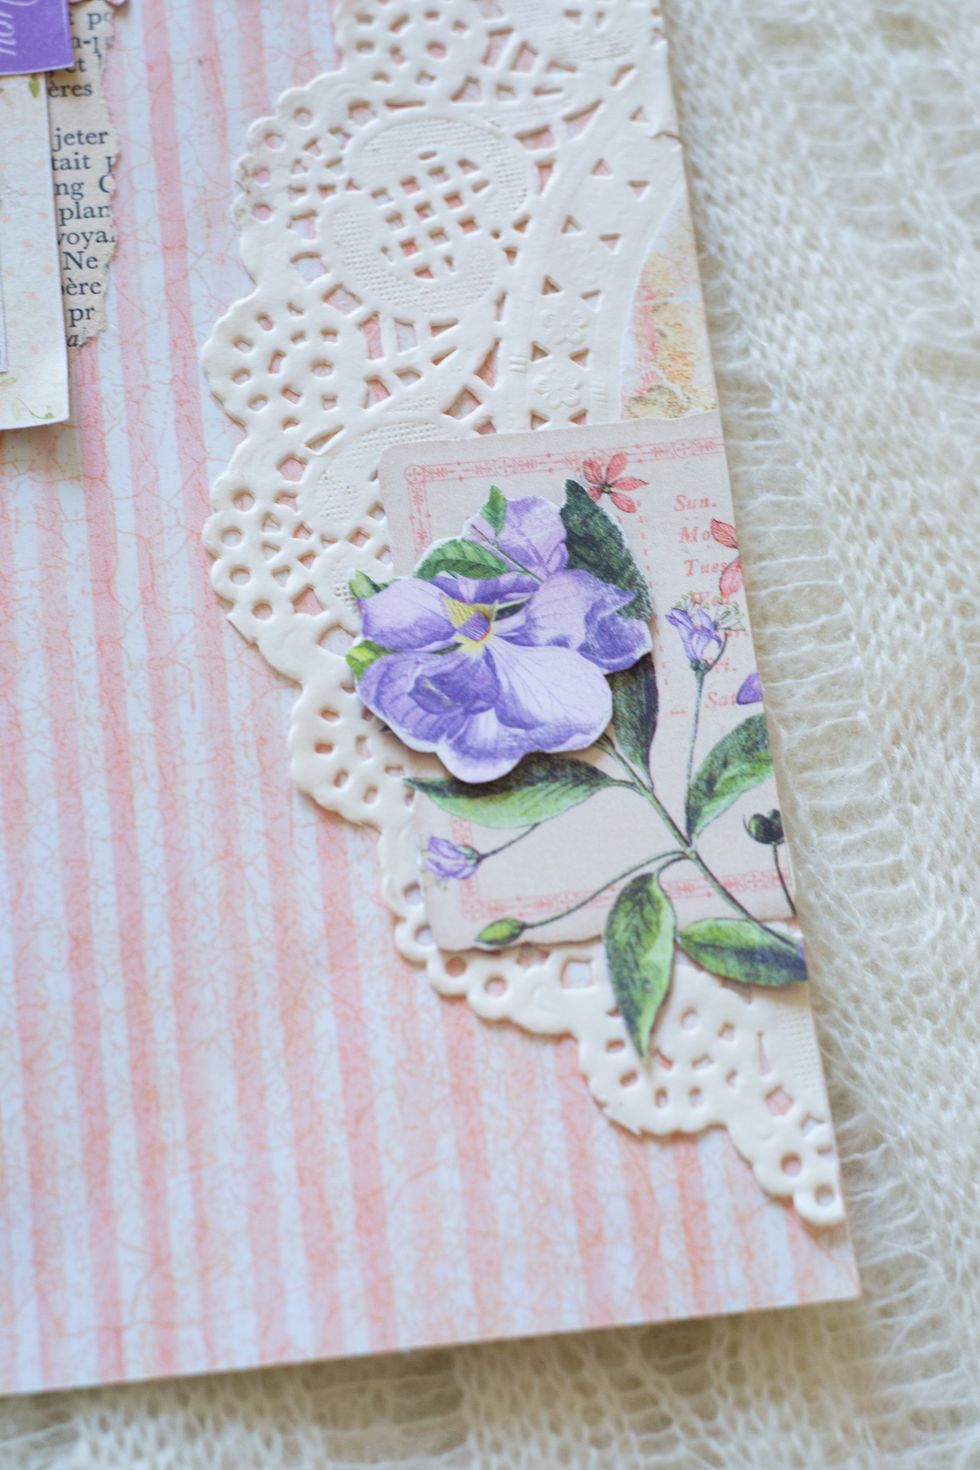
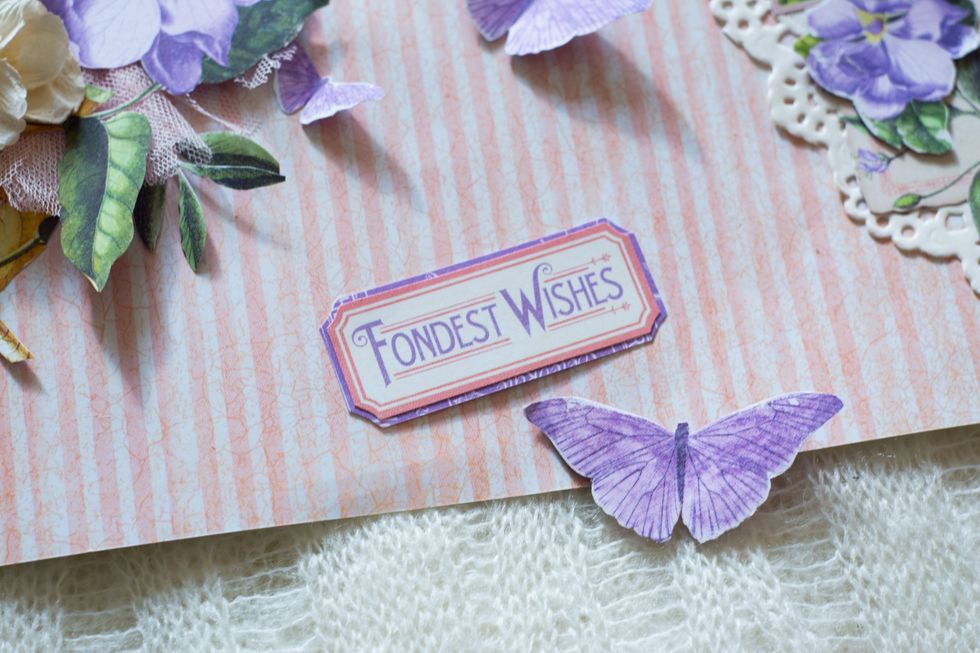
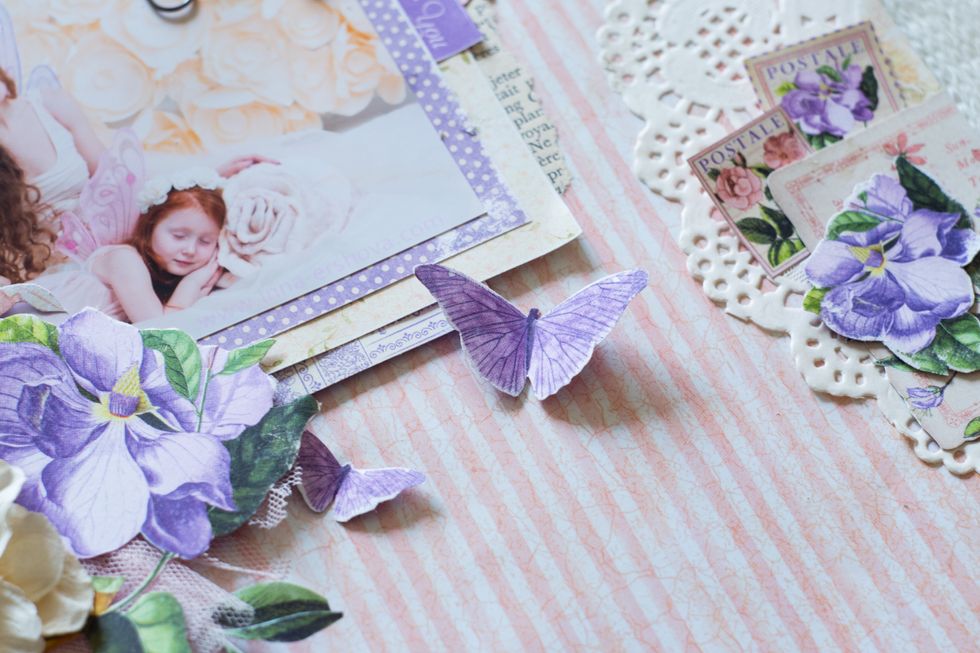
Make a fussy cutting details! So many perfect details to decor!!!
Add fussy cutting details between the substrates.
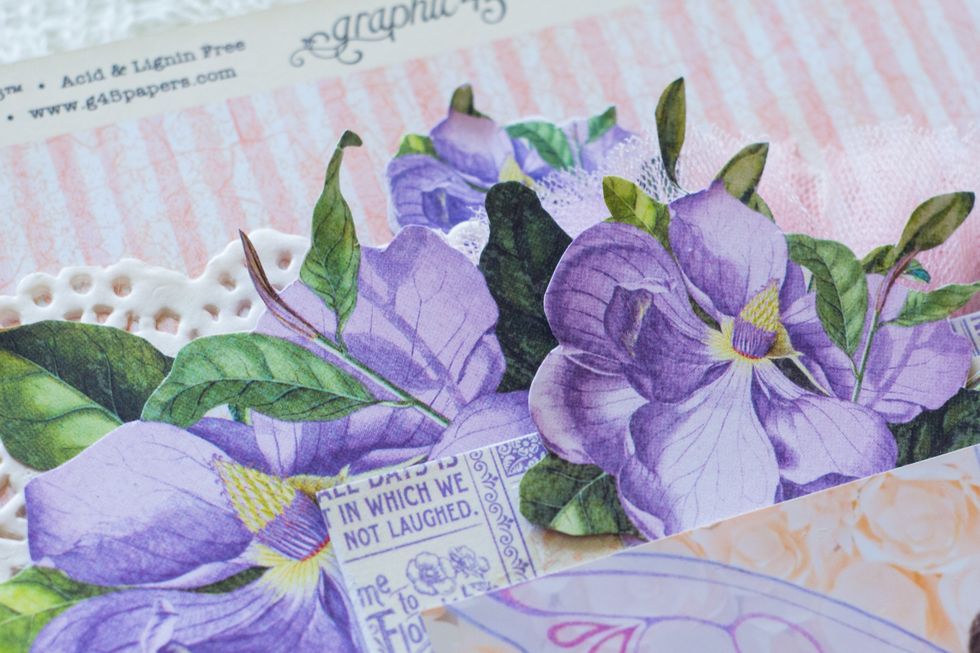
Make the volume: glue on the image only flower bud, do not forget to add volume tape!
Make a contrasting substrate for the heading.
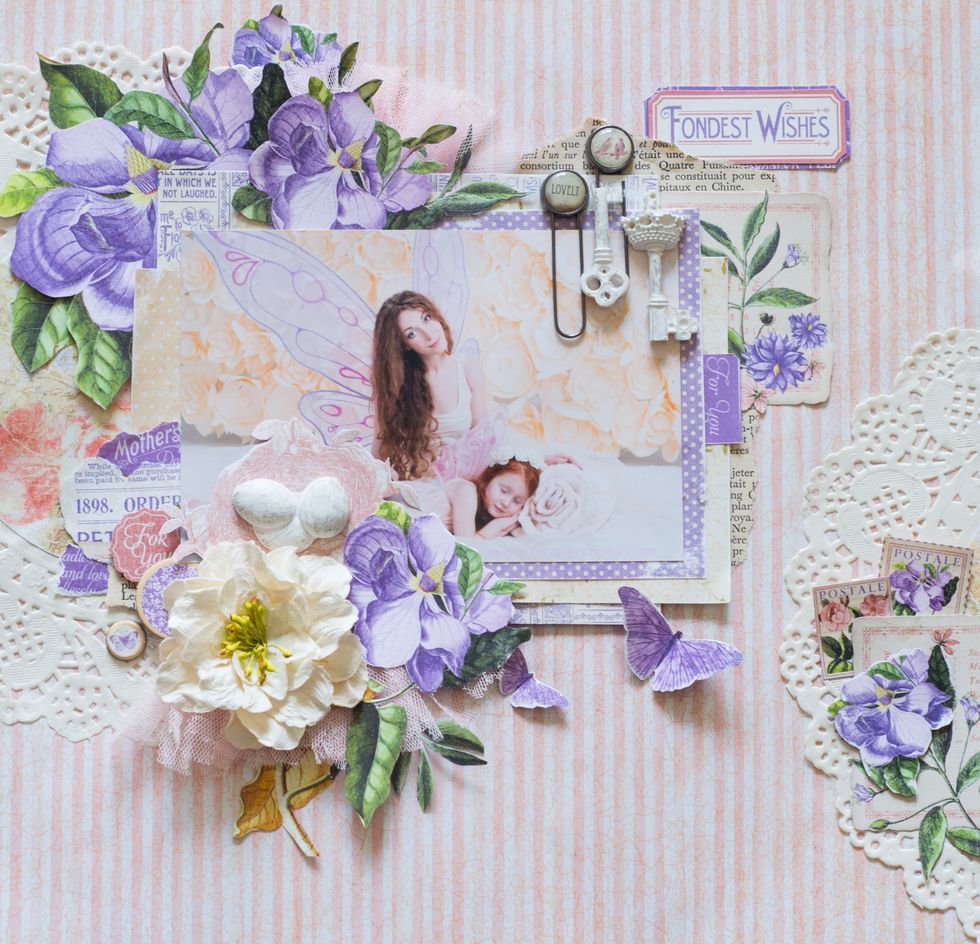
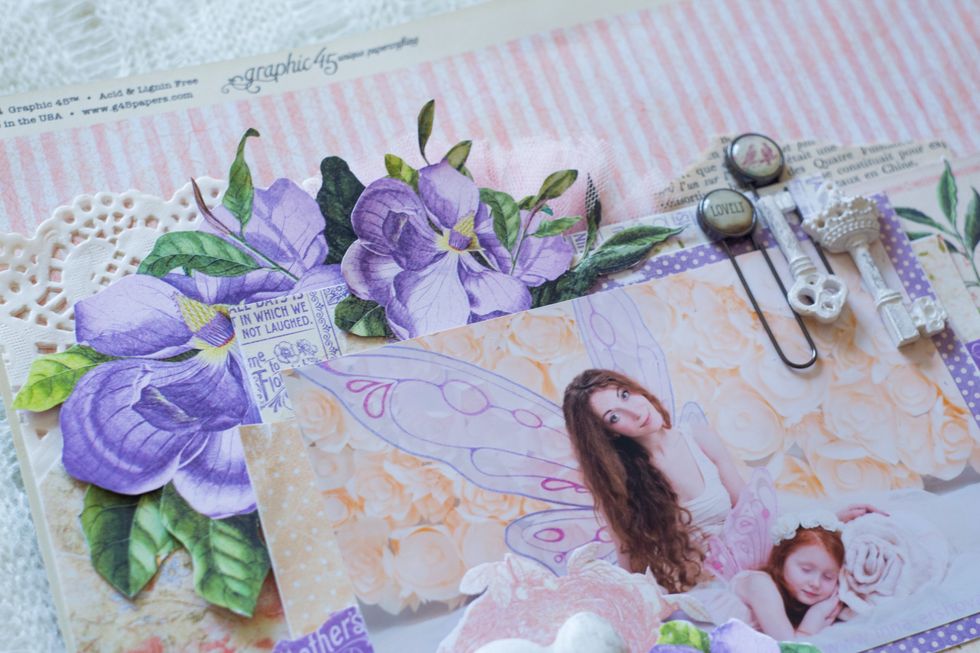
Add more details: decorate LO with paper flower, Shabby chic resin eggs and keys. Use beauty "Time to Flourish" Journaling Chipboard to fill the composition.
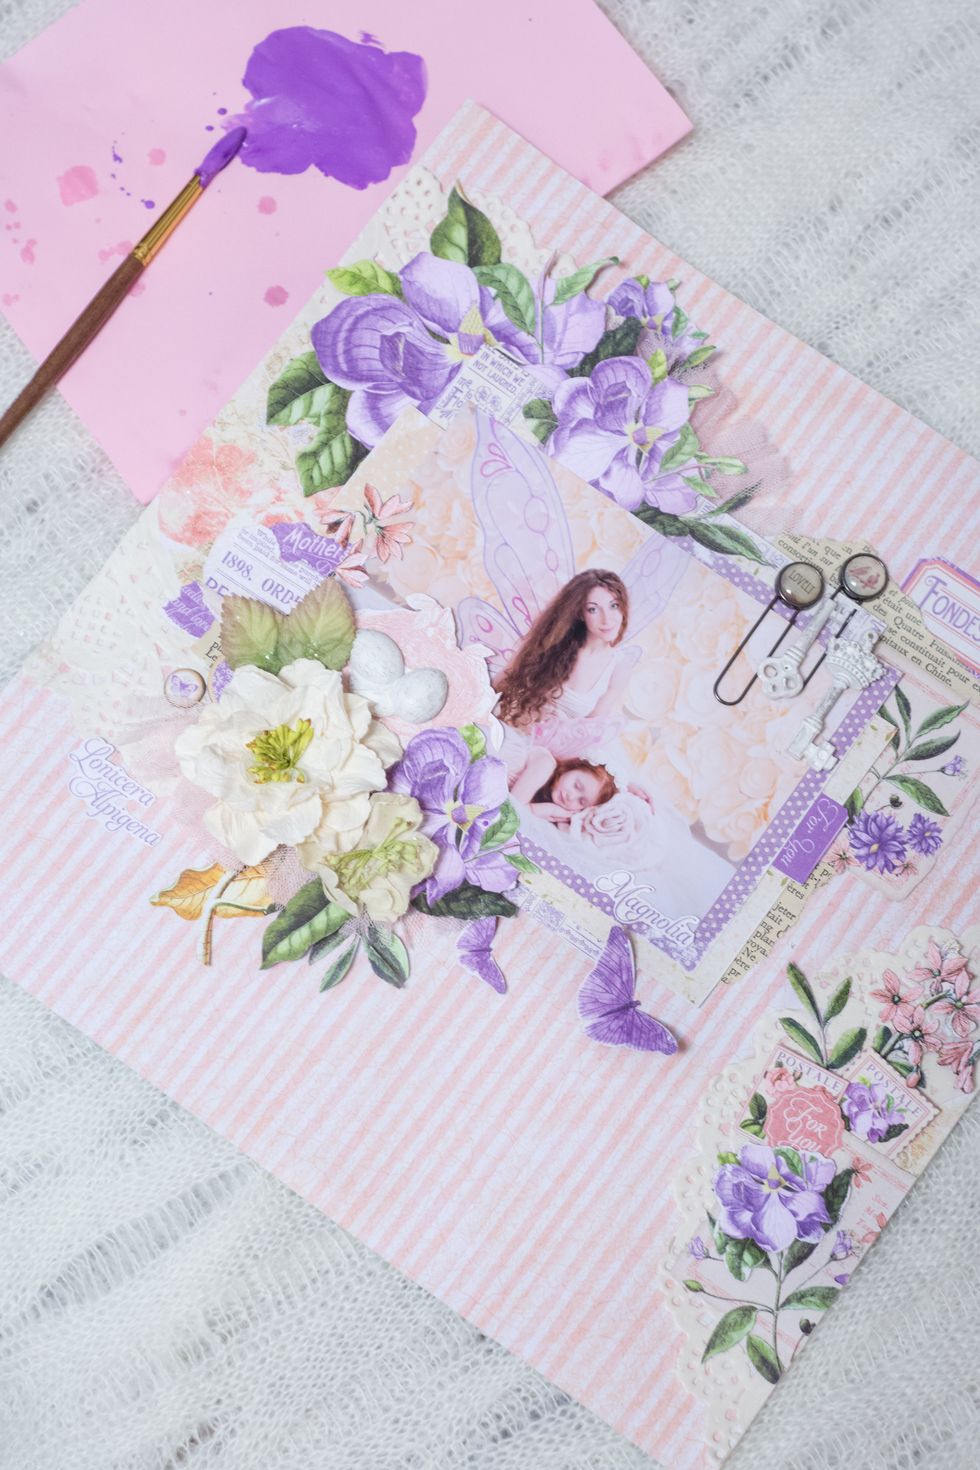
At the end, add splashes of acrylic paints. Dissolve a small amount of ink droplets from the pair of water to become a liquid paint.
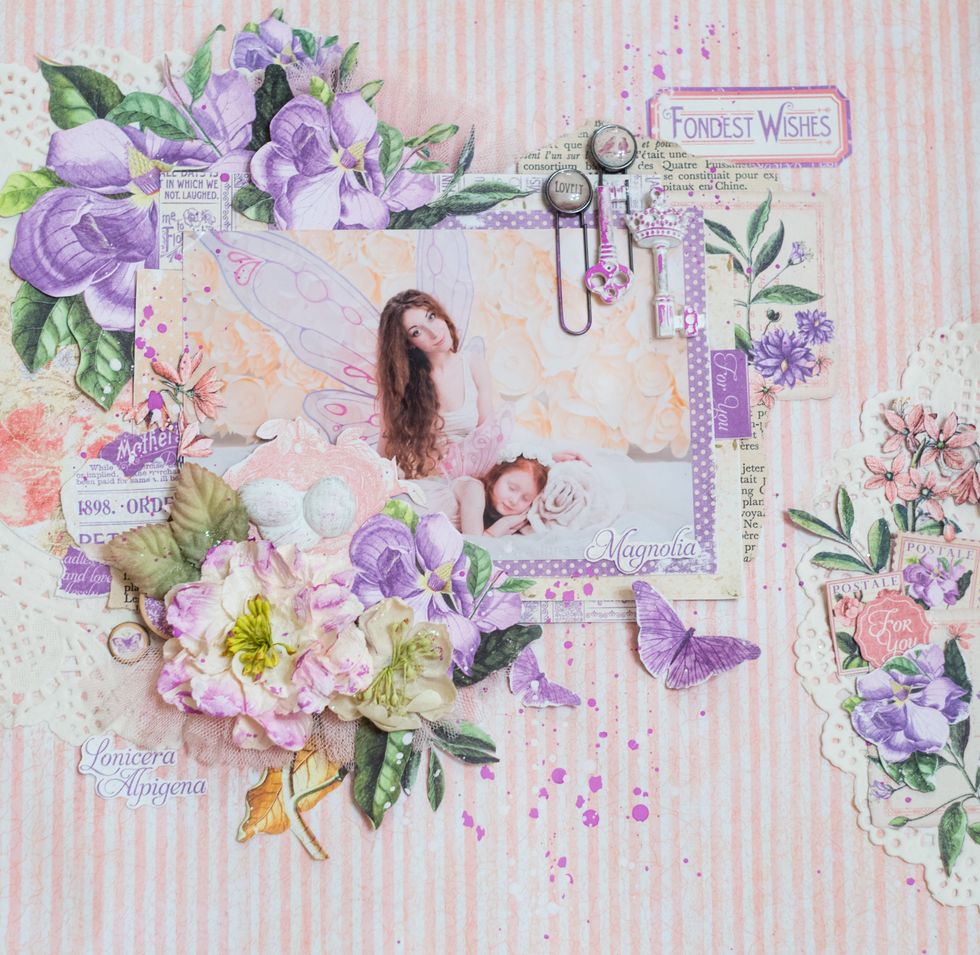
Protect the photo and other important details with the paper sheet. Make a purple splatter. And when it become dry, make a white splatter.