The Conversation (0)
Sign Up
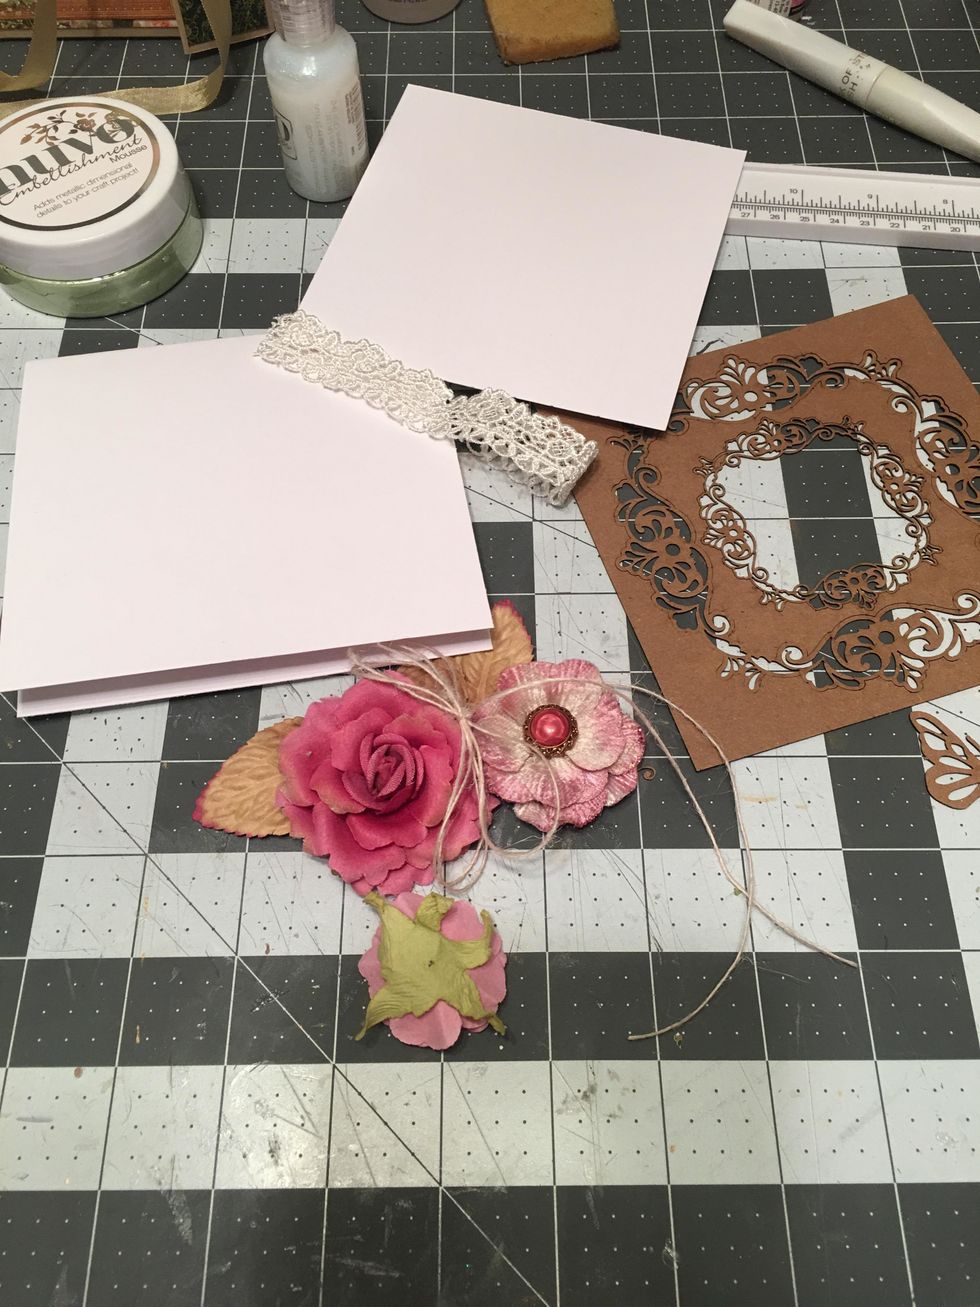
To create this romantic card, you will need the Gypsy Soul Laser Cuts 6" deco frame and inside frame piece, #D84C and one of the butterflies from D69A and other supplies as listed.
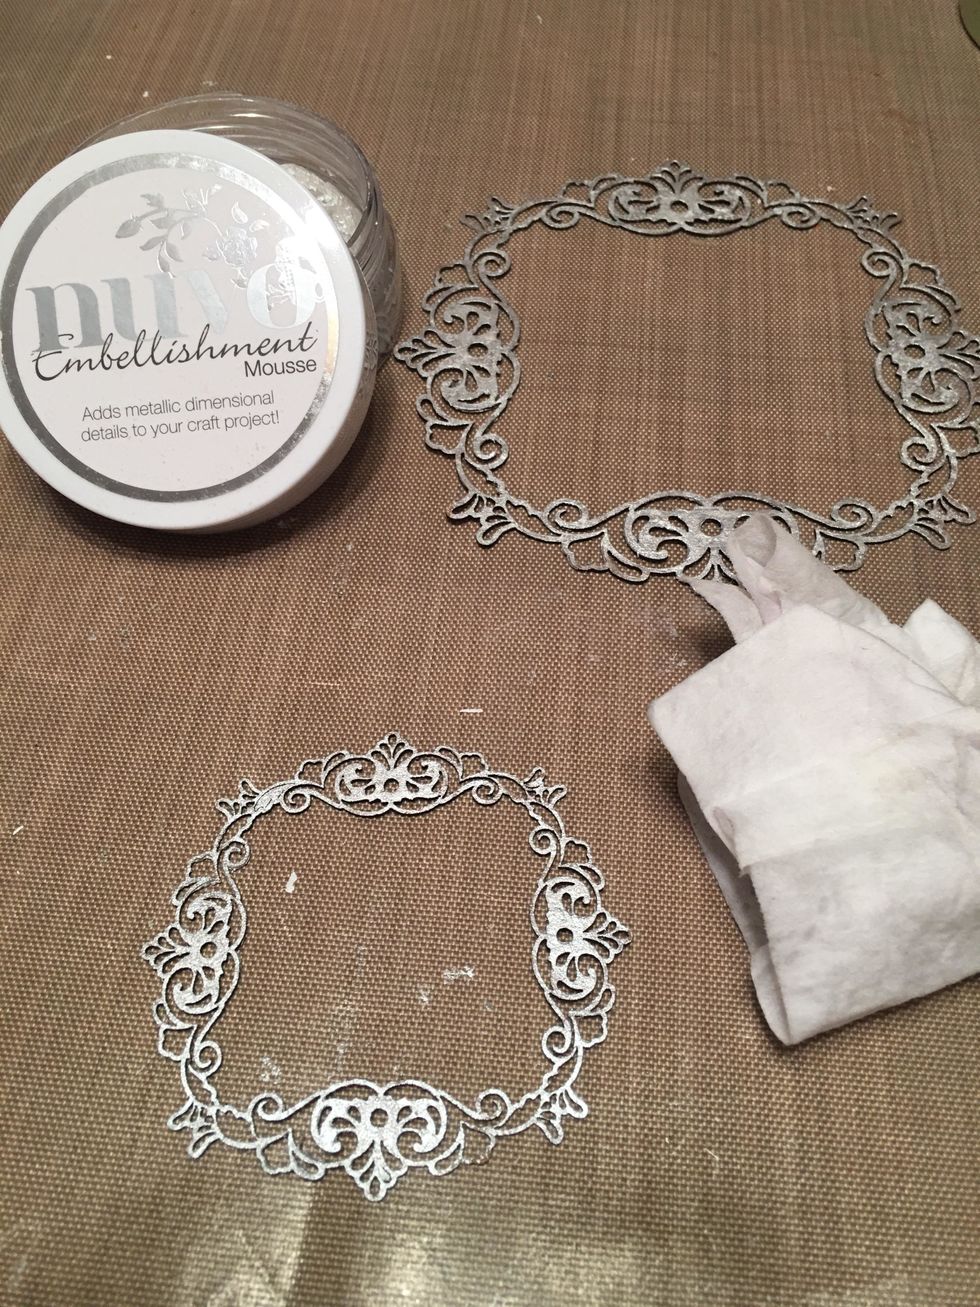
Finish one side of the two chipboard frame pieces with Nuvo Embellishment Mousse in Platinum Silver. To make it easier, use a damp baby wipe to rub the mousse on the frames.

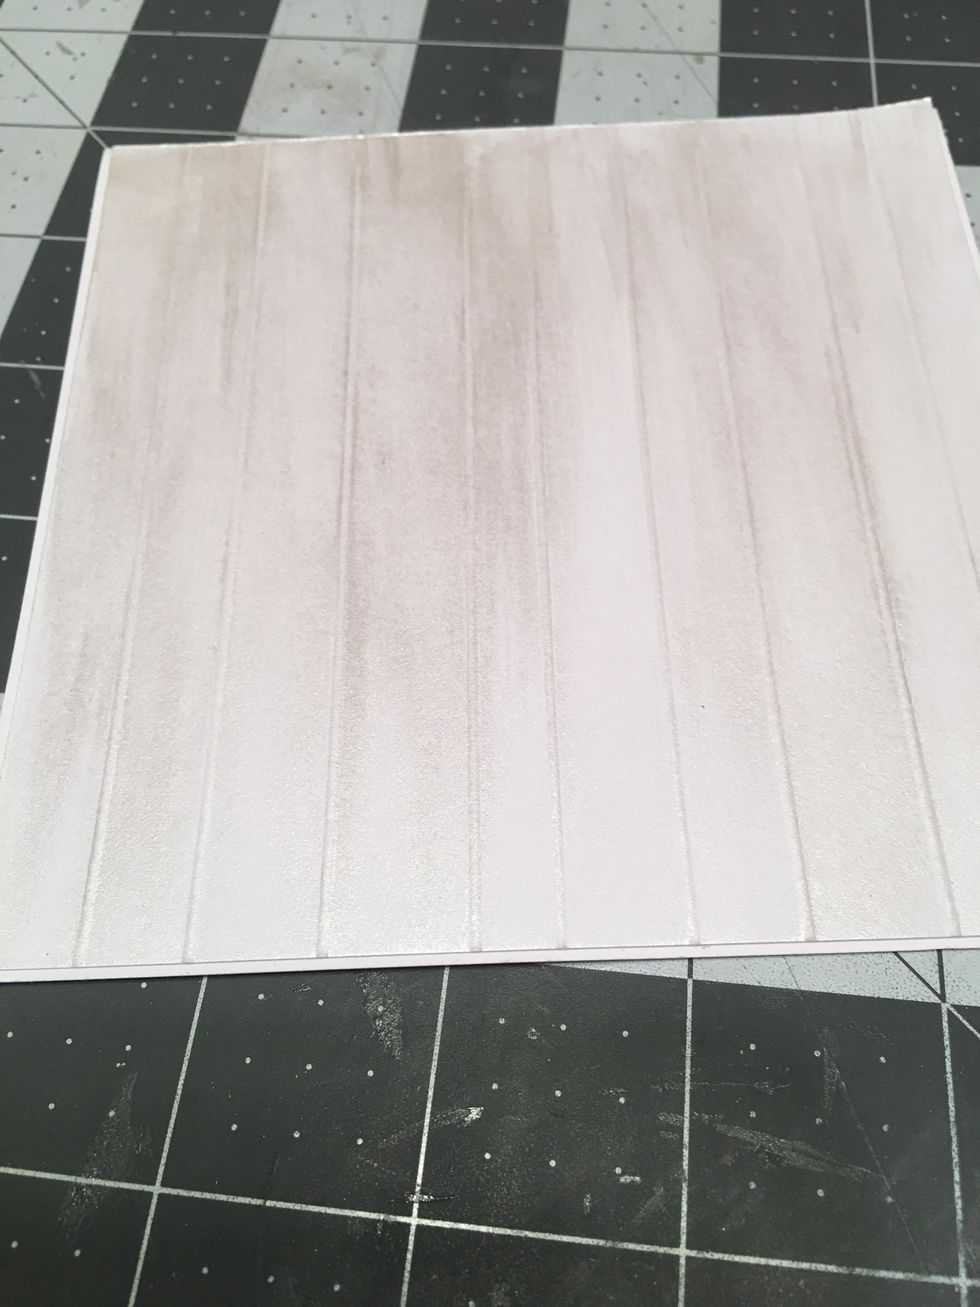
Out of white cardstock, cut one piece 5 7/8" x 5 7/8". Use a ruler and stylus to score wood plank lines. Rub the entire piece with the silver mousse to create a vintage wood background.
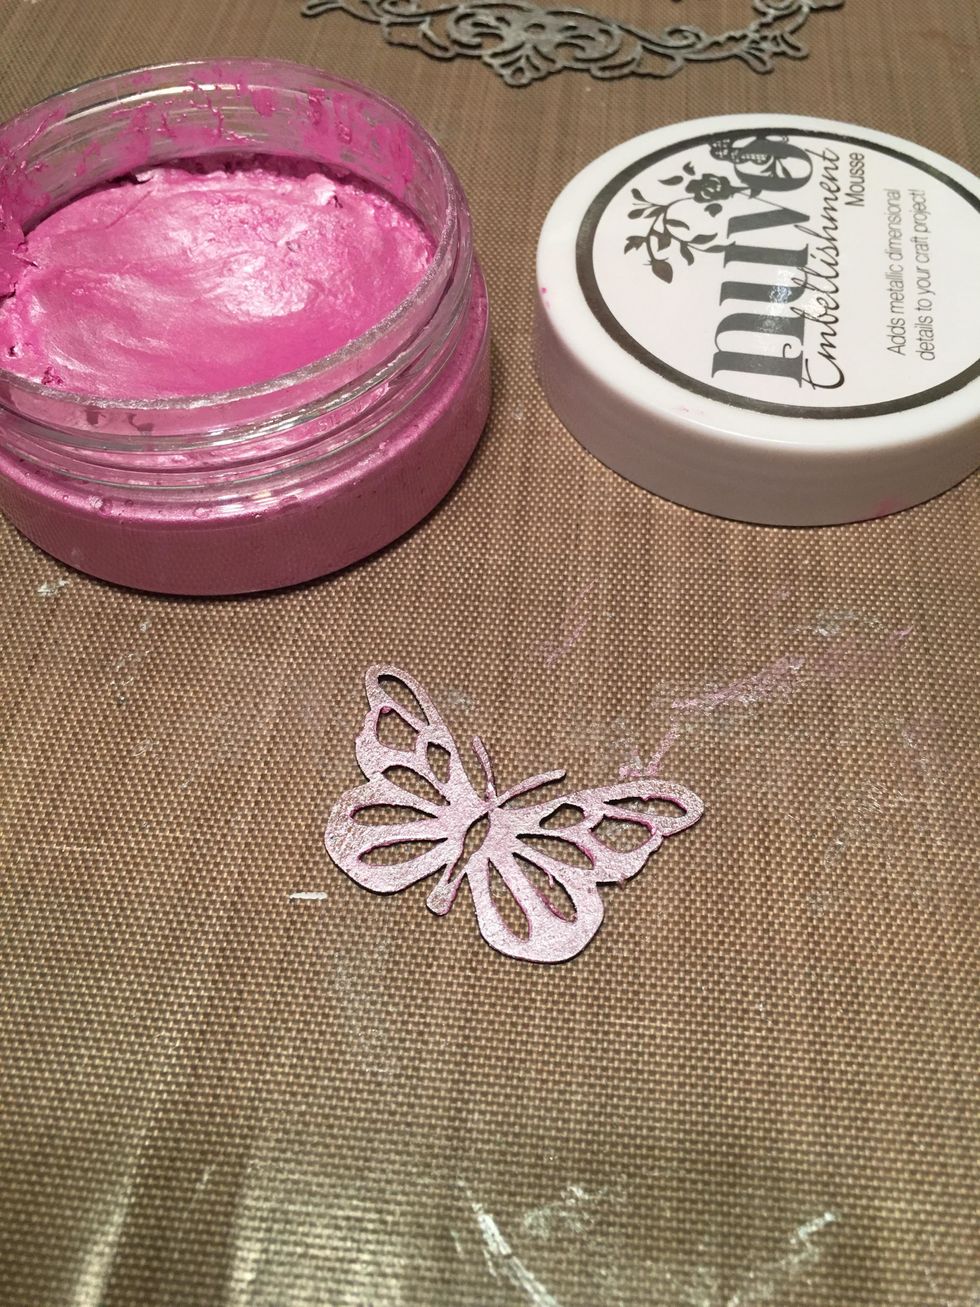
Select a small chipboard butterfly and finish one side with pink embellishment mousse.
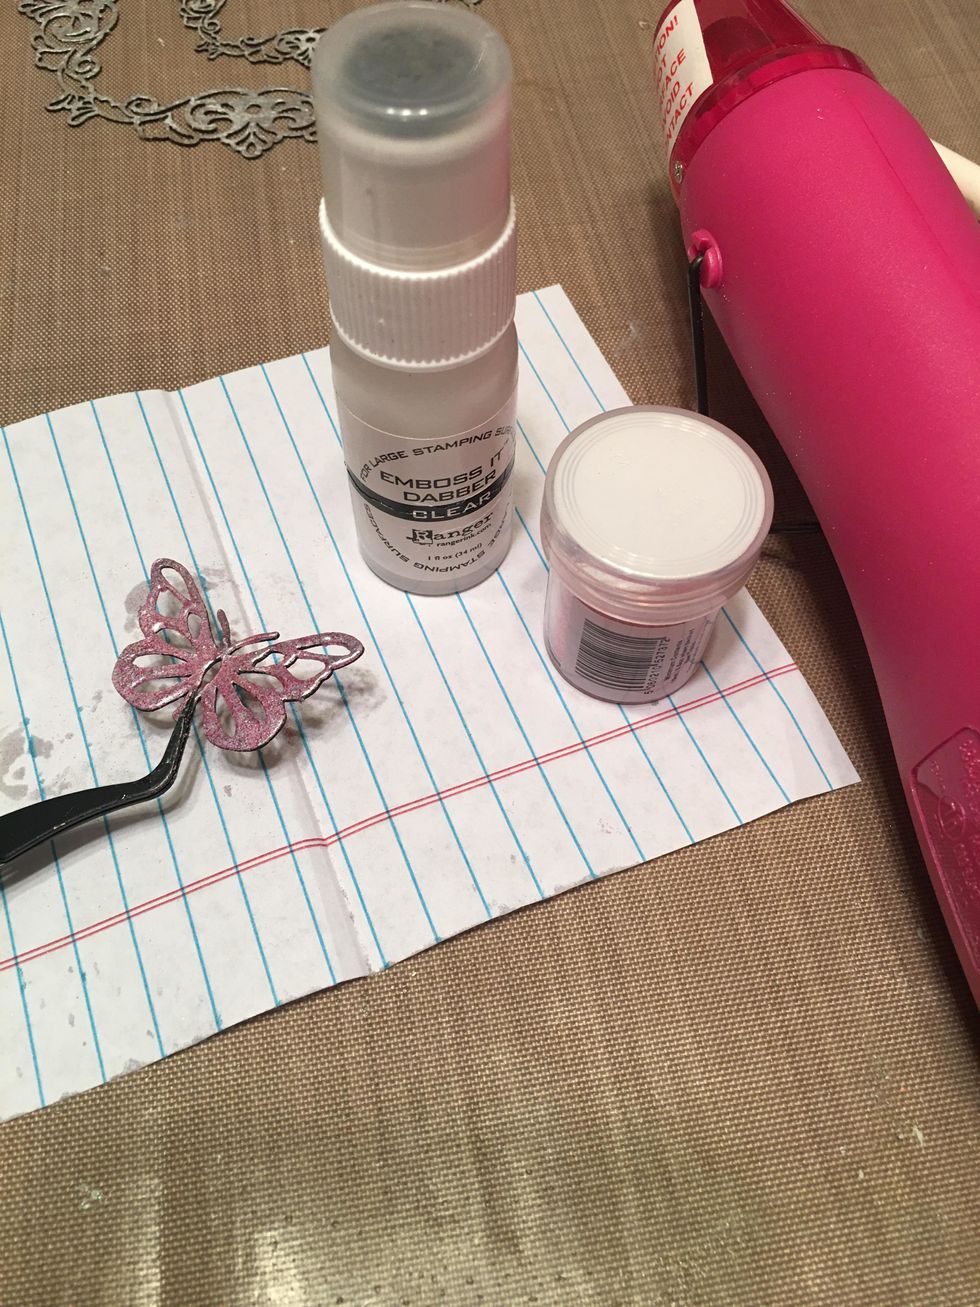
Apply embossing ink and pink embossing powder to the finished side of the butterfly. Hold with tweezers and melt the powder with a heat gun.
Cut a piece of white cardstock to 6" x 12" and score, fold in half to create a 6" card base. Glue the wood plank background onto the card base.
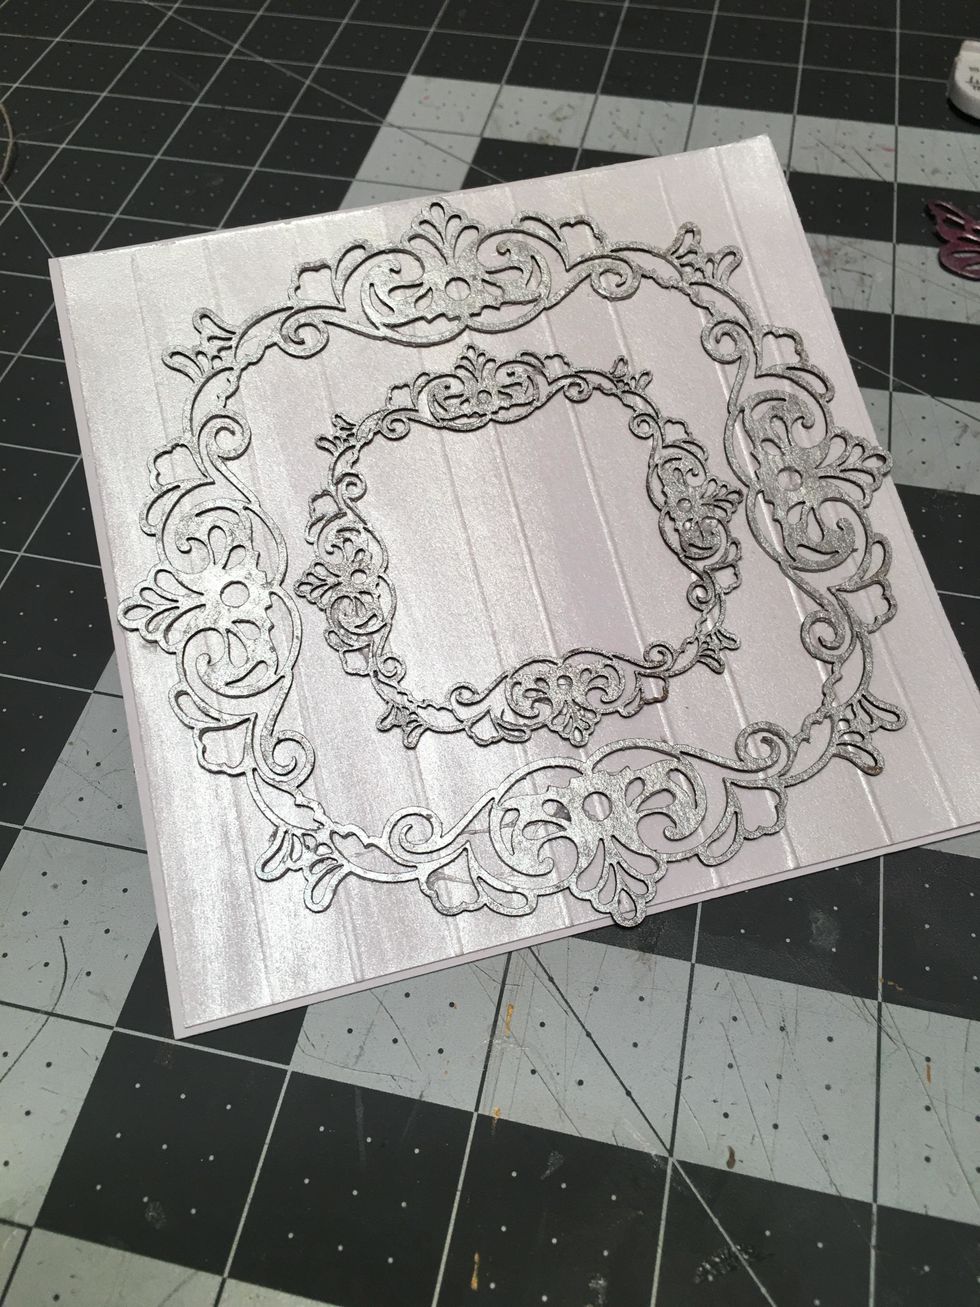
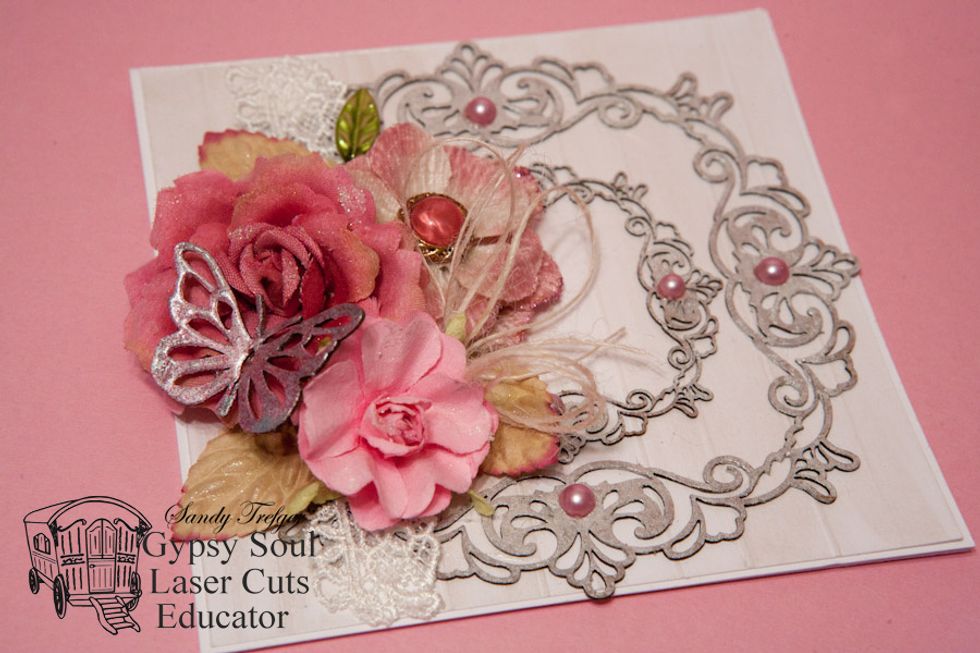
Attach the chipboard frames to the front of your card base as shown.
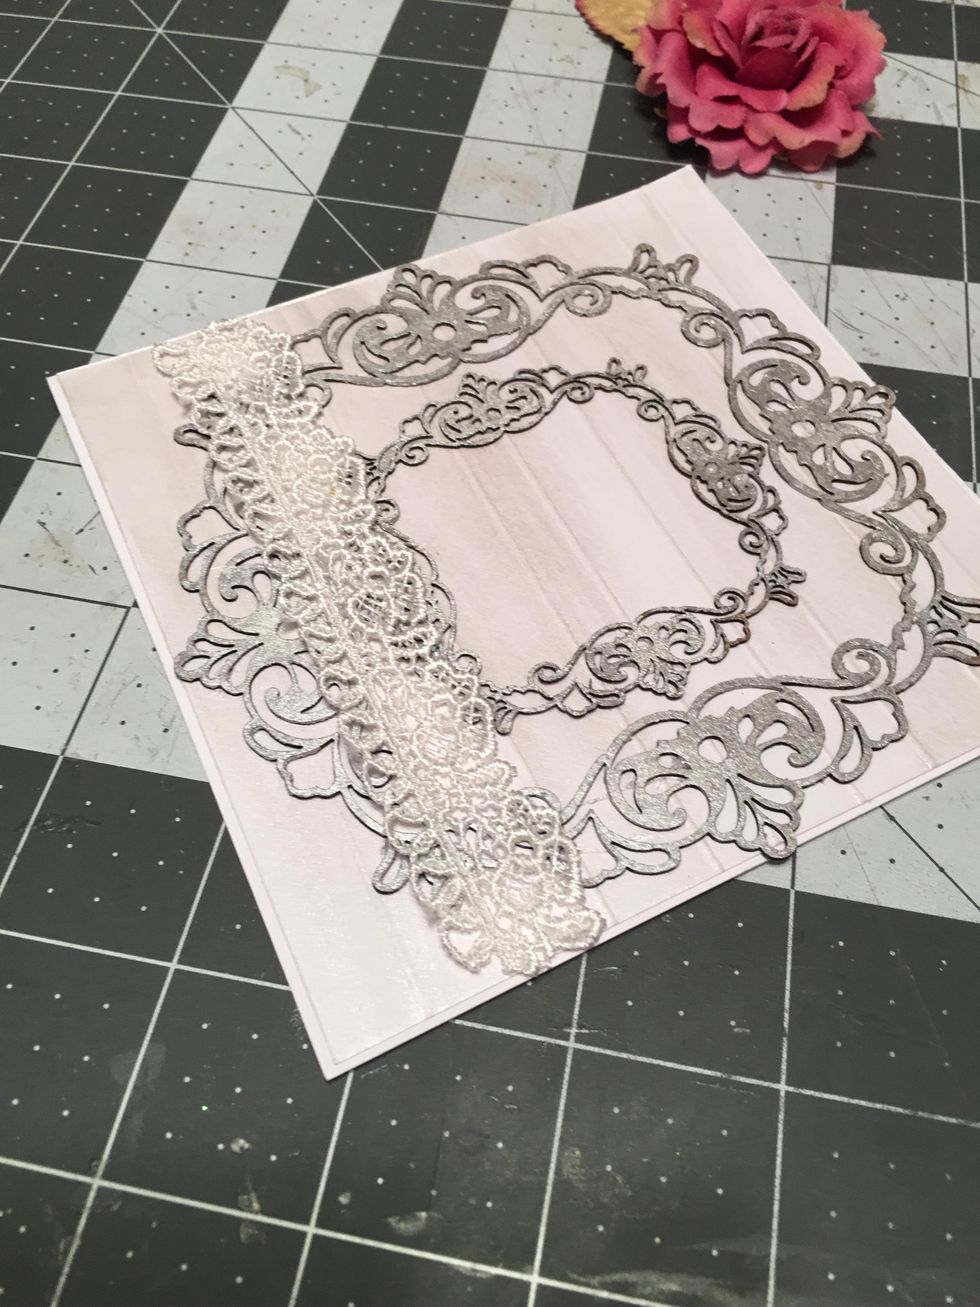
Glue a small piece of vintage lace to the left side of the card on top of the frames as shown.
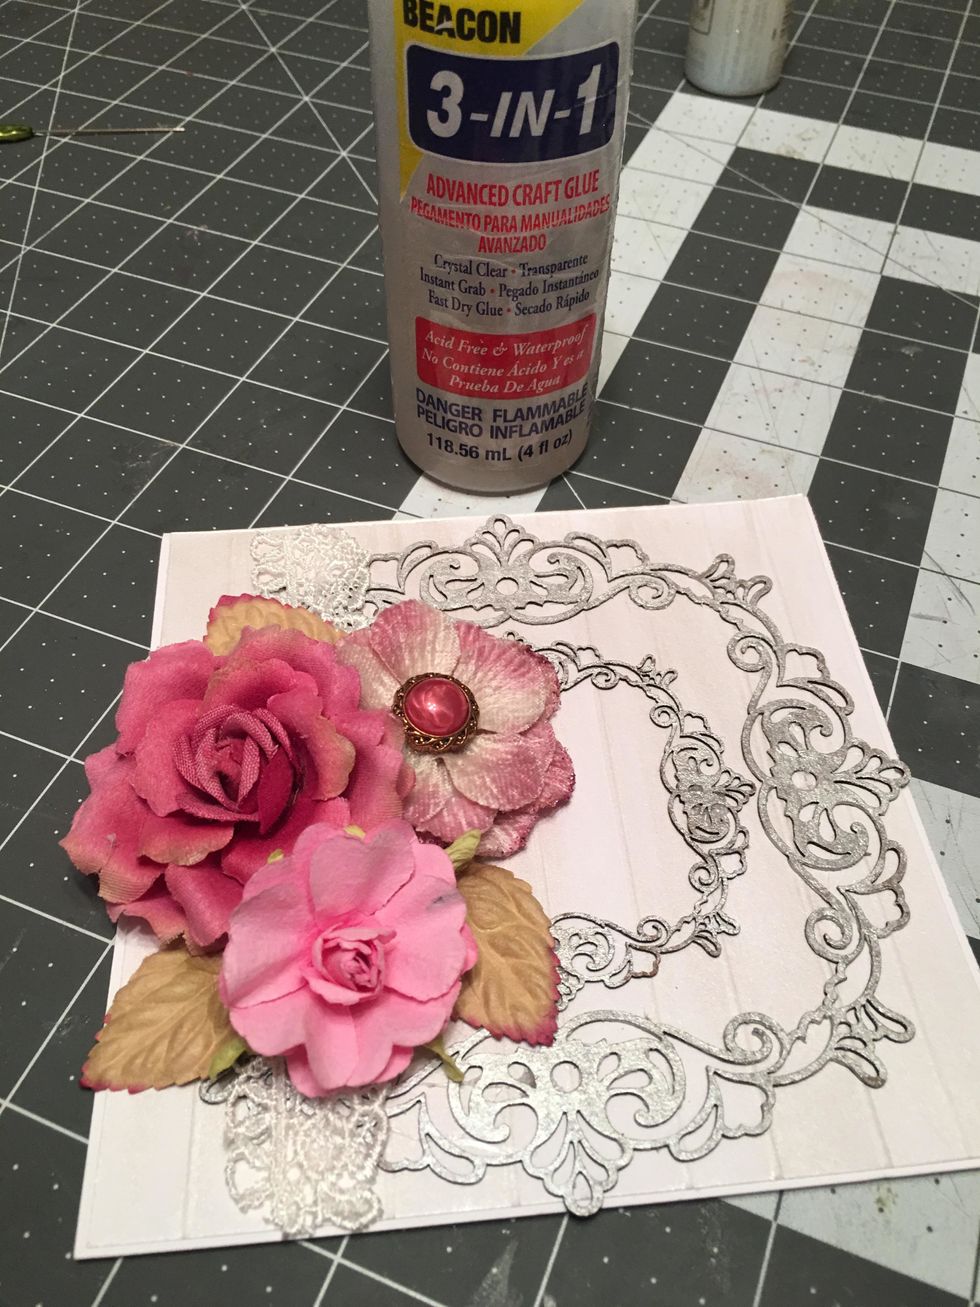
Glue leaves and flowers on top of the lace.
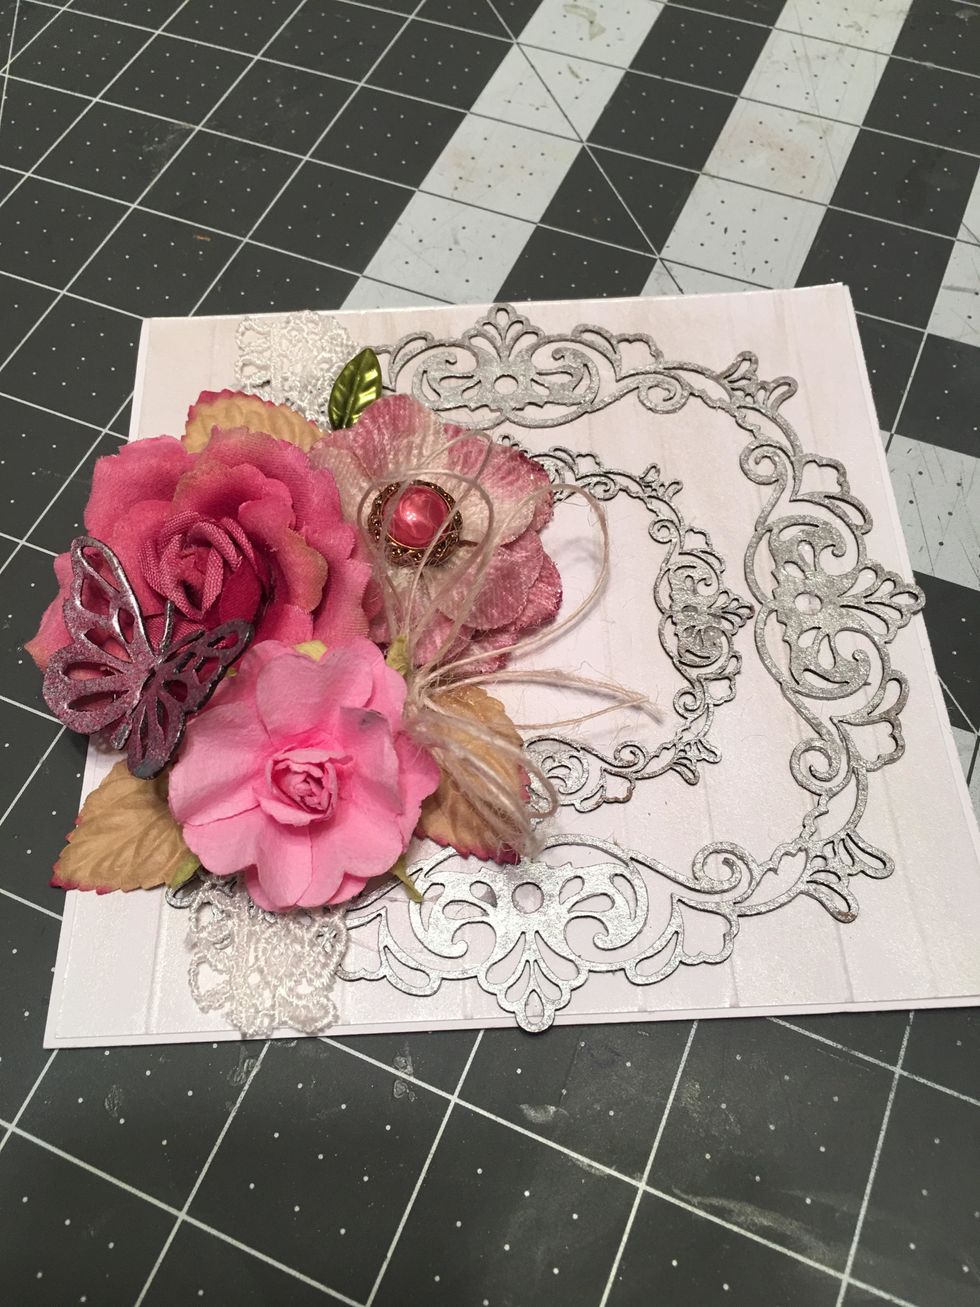
Tie a bow out of button twine and glue to the flower arrangement. Glue the chipboard butterfly to the top of the flowers as shown.
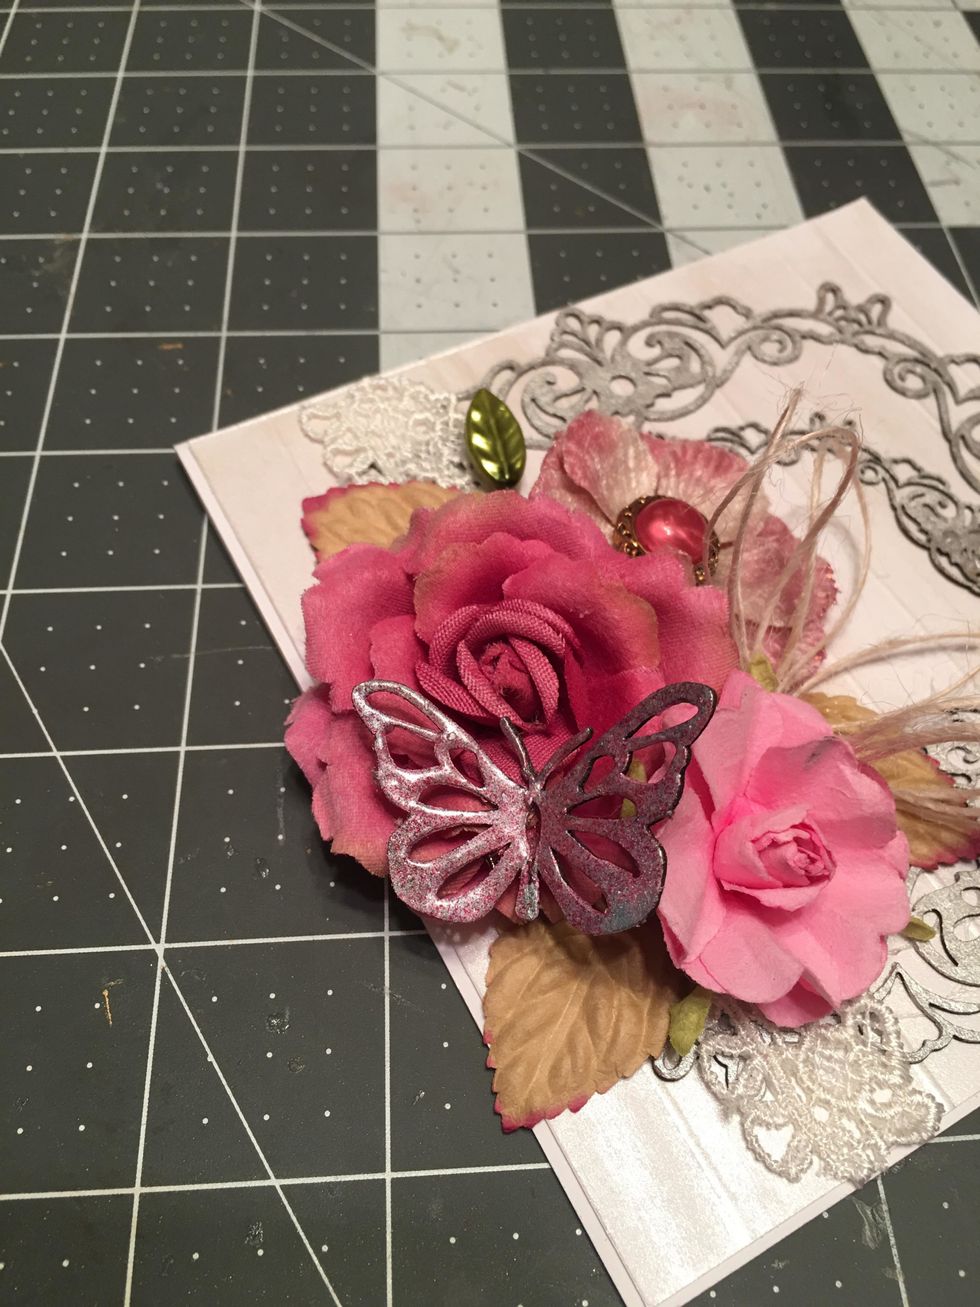
Insert a leaf or other decorative stick pin into the arrangement.

Add pink flat back pearls. Your romantic card is finished. Leave the inside blank for a personal message.
Thank you so much for following along with my Snapguide tutorial on how to create a romantic card.

To order the chipboard pieces used in this project, visit Gypsy Soul Laser Cuts at http://www.gslcuts.com and check out my blog website at: http://www.sandyscraftycreations.com Happy Crafting!