The Conversation (0)
Sign Up
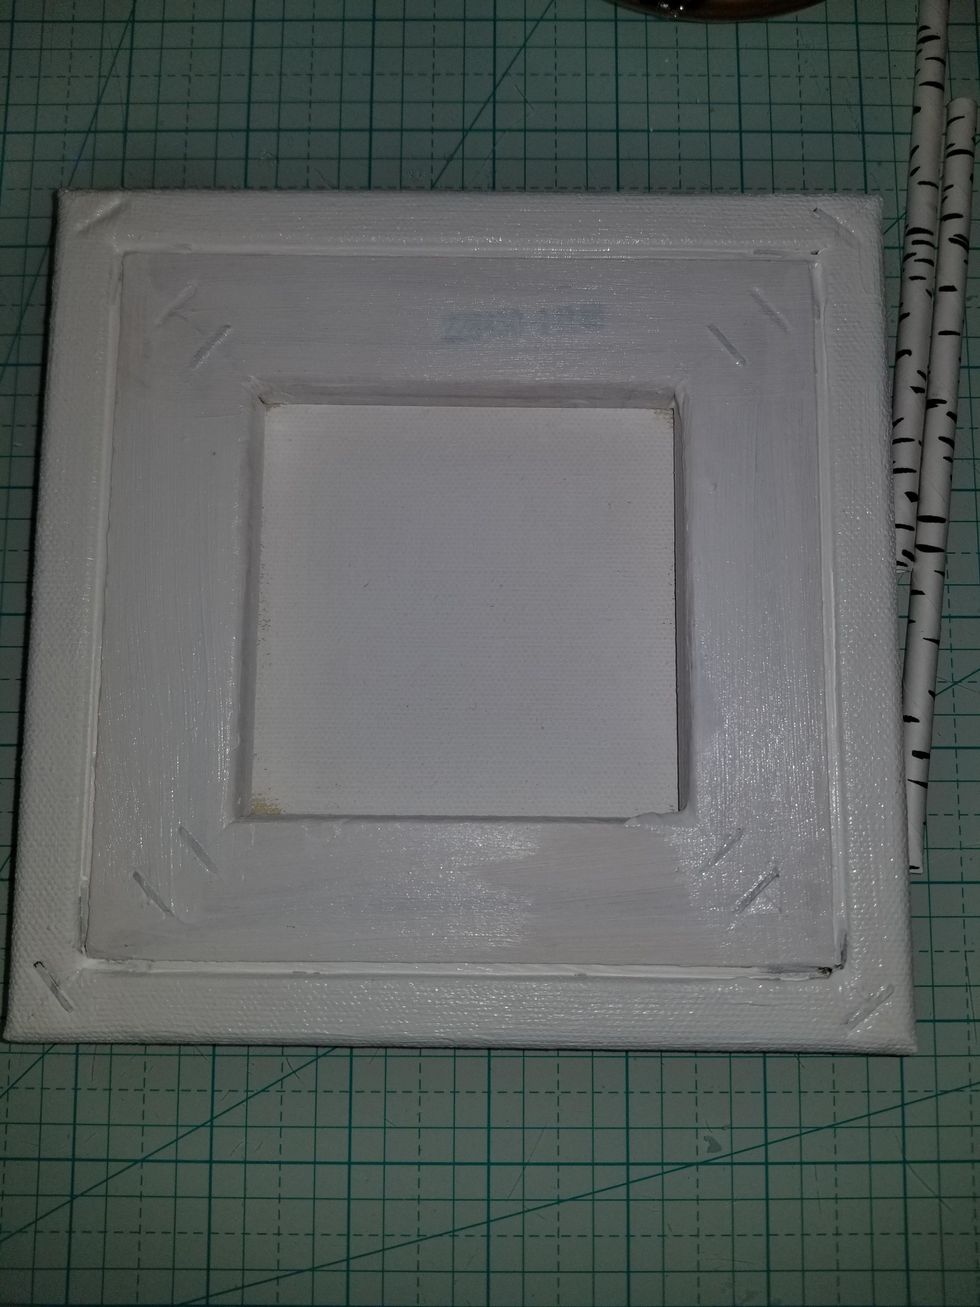
Turn canvas backwards and coat with several layers of heavy white Gesso inside and out. Allow to dry completely.
PREP- Fussy cut a reindeer or other festive photo. Ink all of the edges and set aside. *****TIP*** If fussy cutting from a thinner paper adhere to cardstock before fussy cutting to create sturdiness.
PREP- Coat wooden sentiment words in clear embossing ink and then green embossing powder. Heat set and allow to cool.
PREP - Stamp your christmas stamp using black ink on cardstock. Coat with clear embossing powder and set aside.
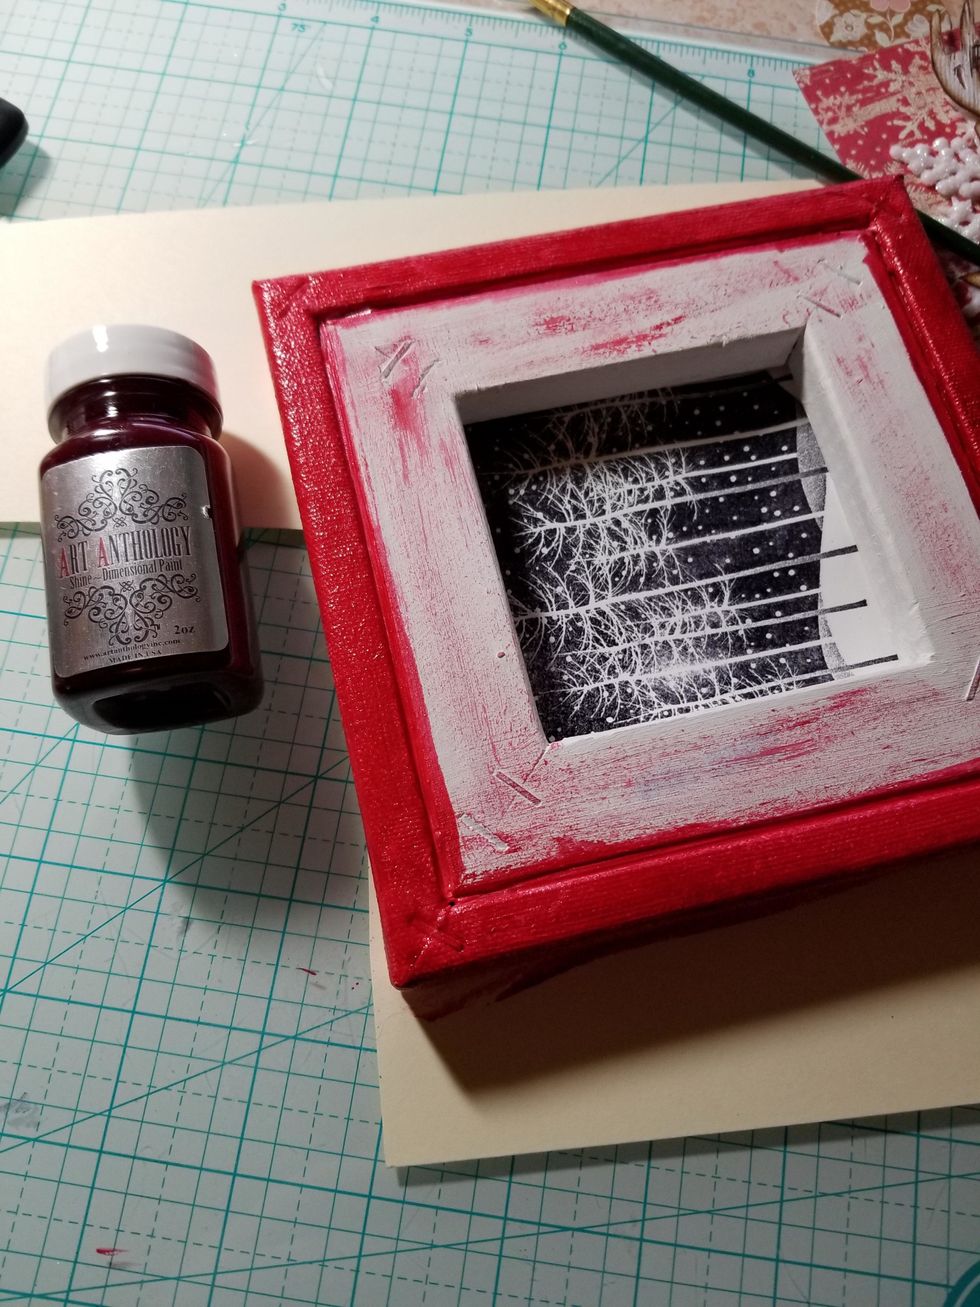
Cut a small slit in the canvas along the wood. Be sure to cut above the opening so that it does not show. Slide stamped image inside. Paint the outer edges in AA Shine Ruby Red
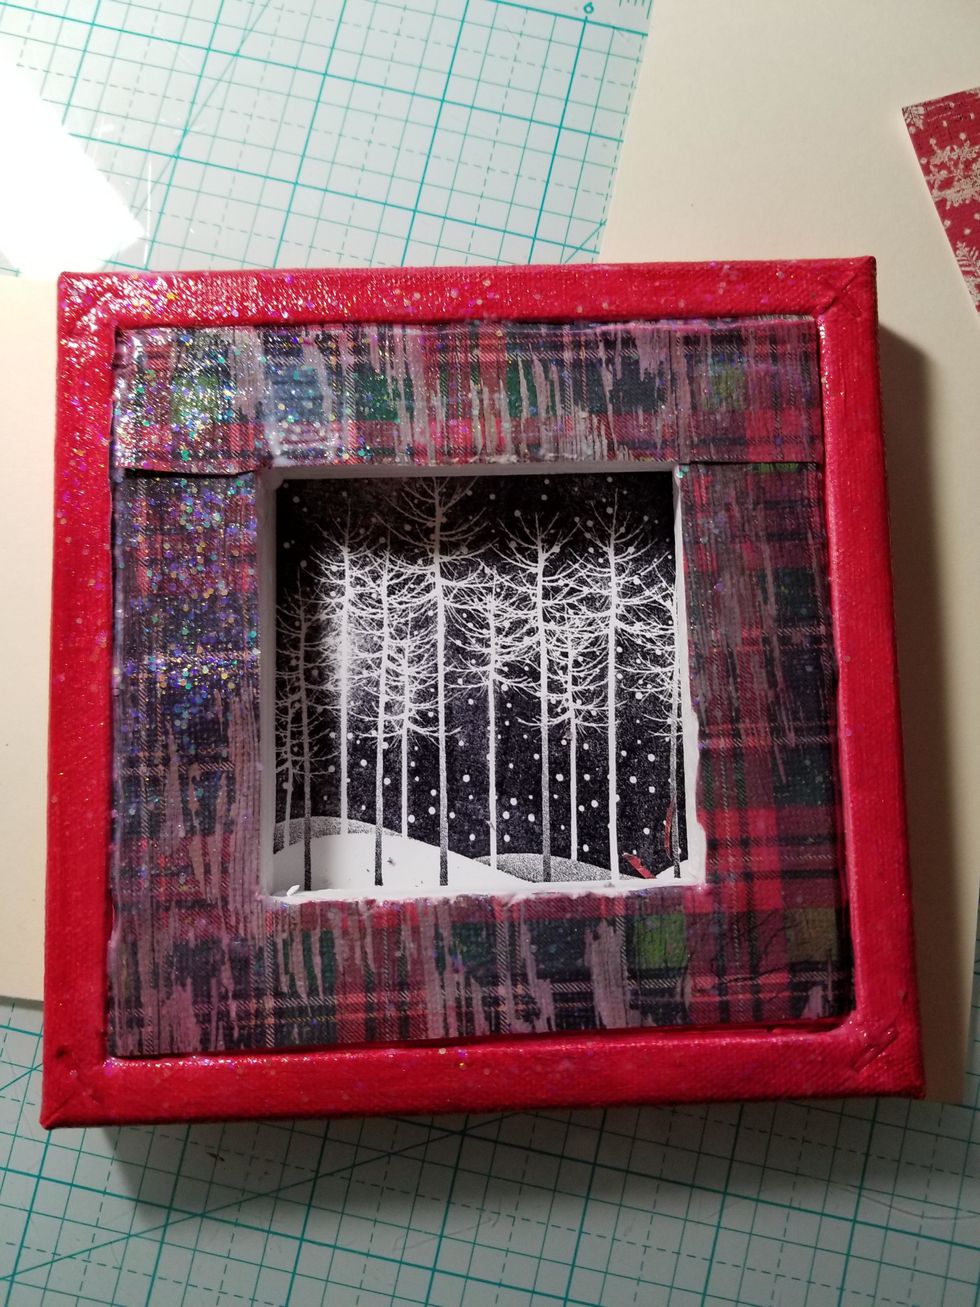
Add some festive plaid designer paper adhering with glittery mod podge or any clear sealant. Allow to dry.
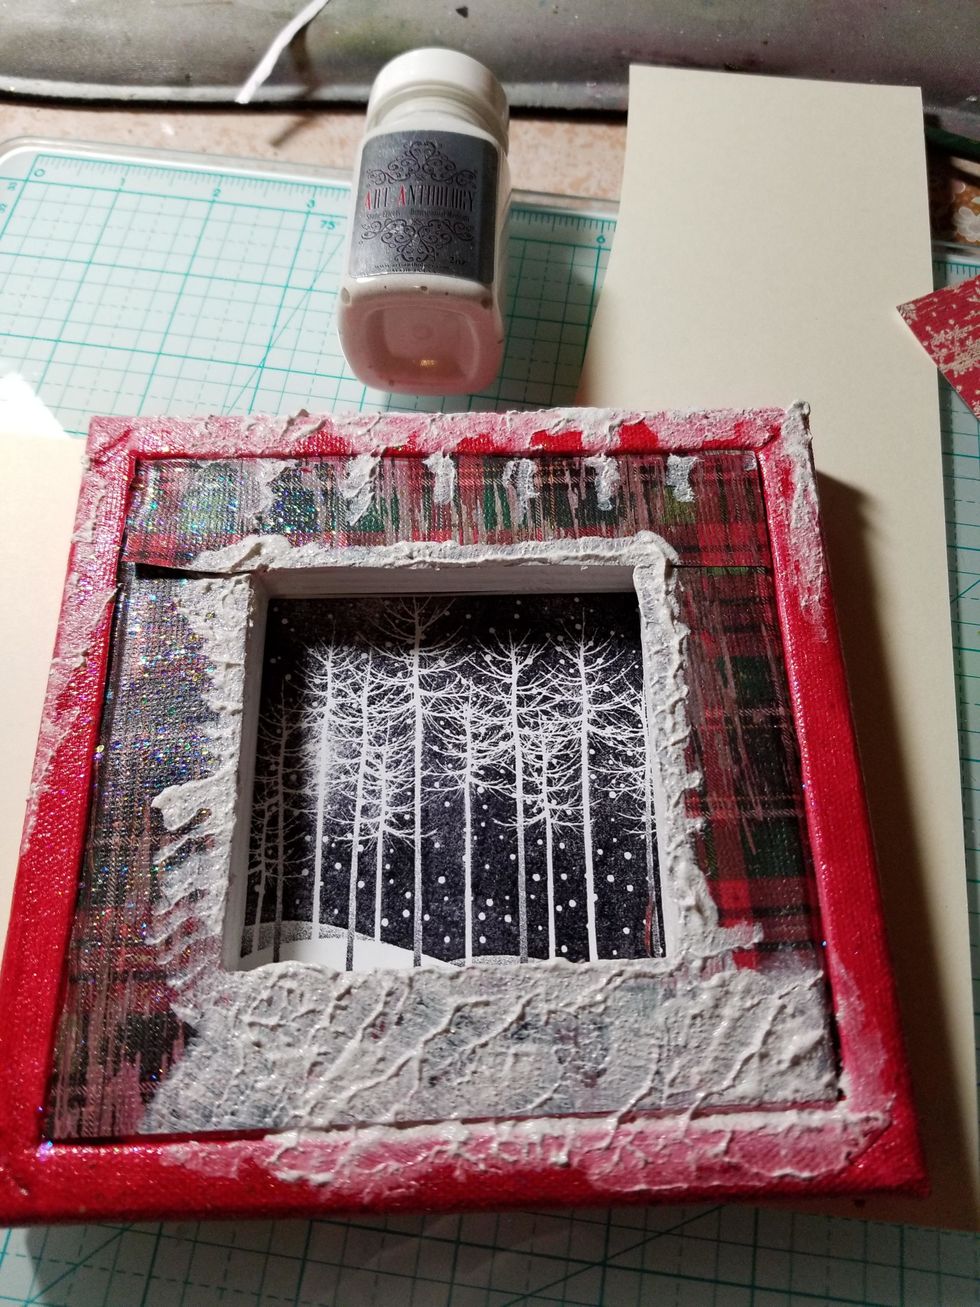
Dab AA Stone Effects Bone around canvas to create a "snow" effect. For mine I added another layer of a darker red using AA Sorbet in Red Velvet.
Adhere snowflake using hot glue. Add the reindeer cut out with scrap cardboard underneath to pop it up and add depth. Add other embellishments. I also added scrap cardboard under my main flower.
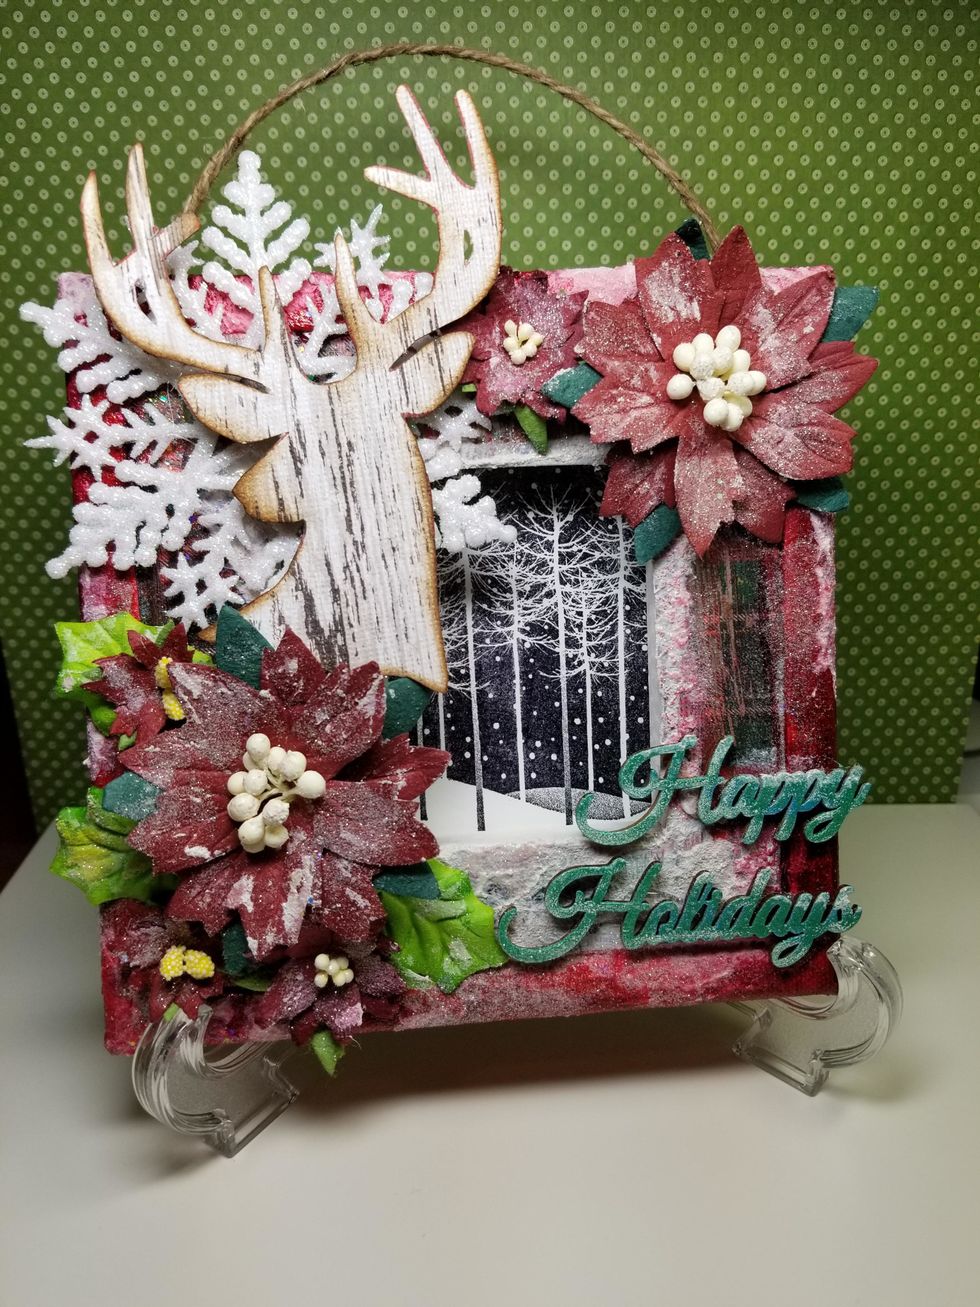
Add thin layer of clear glue brushed onto flowers and areas of canvas to glitter. Add glitter and let dry. Add more brushes of snow using AA Stone effects Bone.

Thanks for viewing my tutorial today!! I hope that you are inspired! Have a wonderful Holiday Season!!
Art Anthology products are conveniently available for purchase online at https://www.artanthology.net/
Please join us on Facebook and share your beautiful creations! https://www.facebook.com/groups/741057632686564/