The Conversation (0)
Sign Up
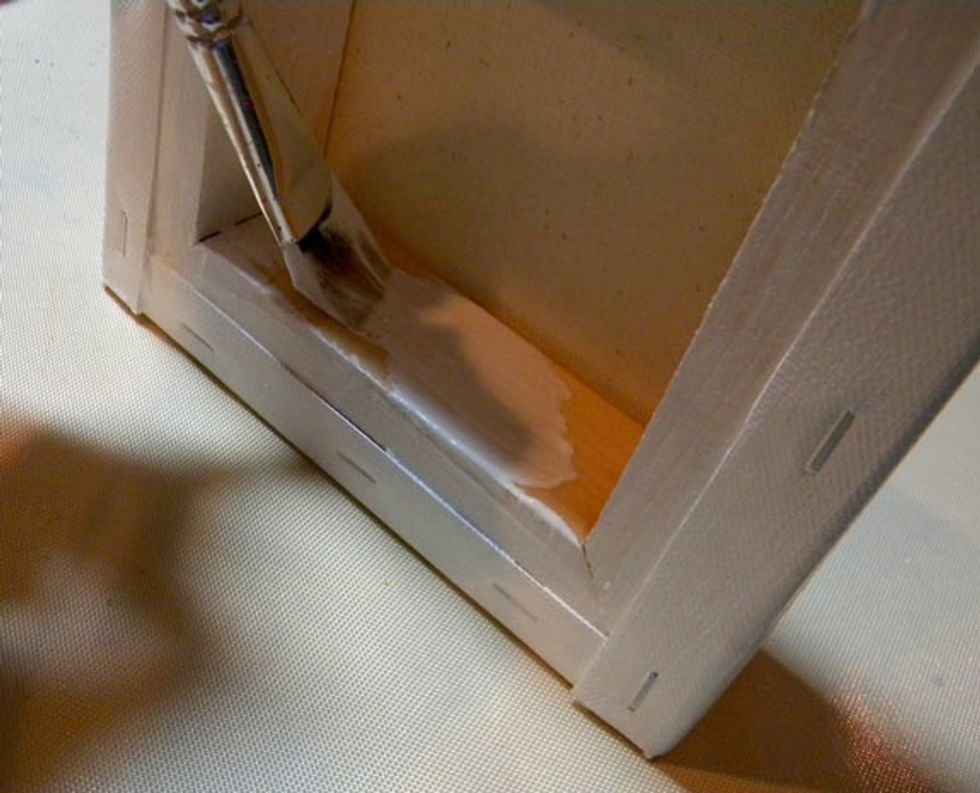
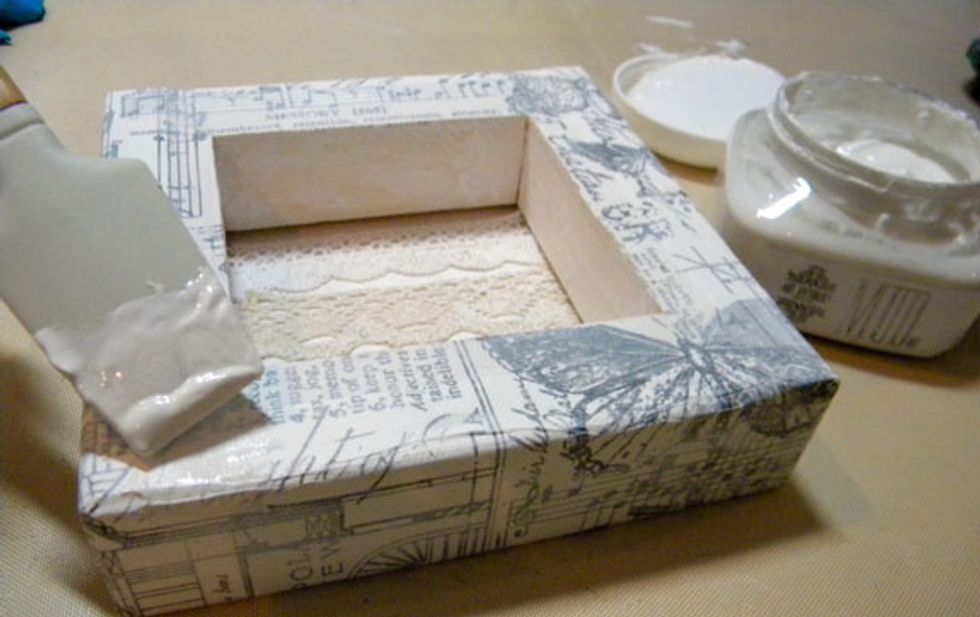
Give the back of the canvas a coat of gesso.
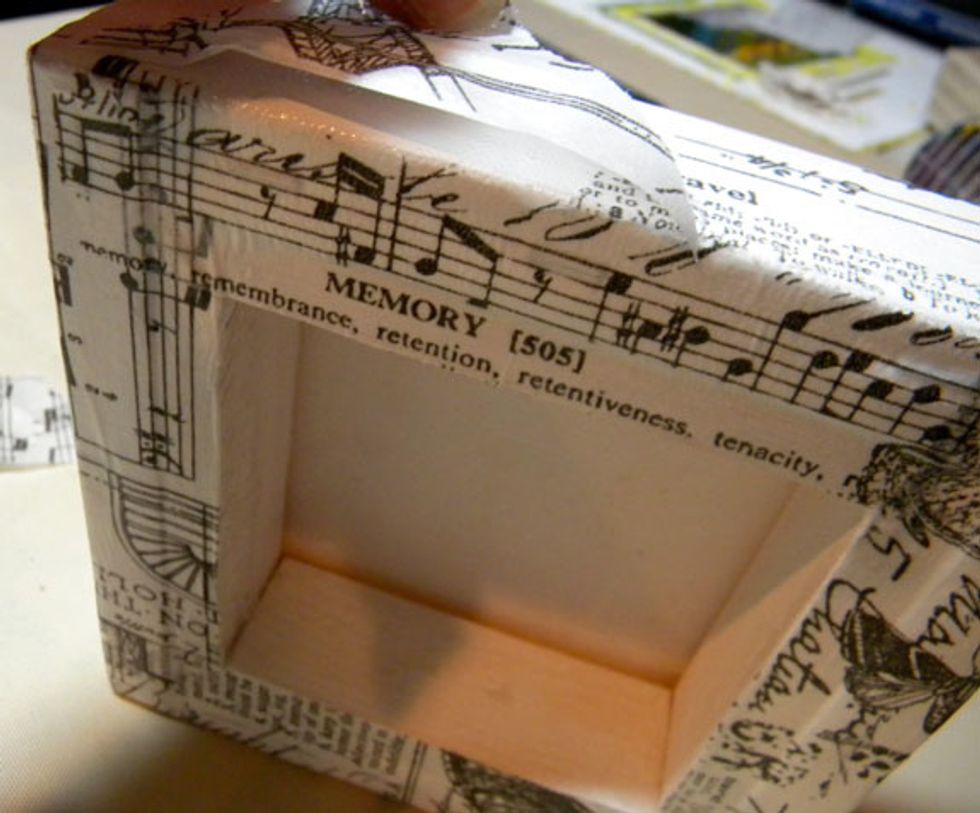
Glue Tim Holtz tissue wrap to the sides and front of the canvas using matte medium.
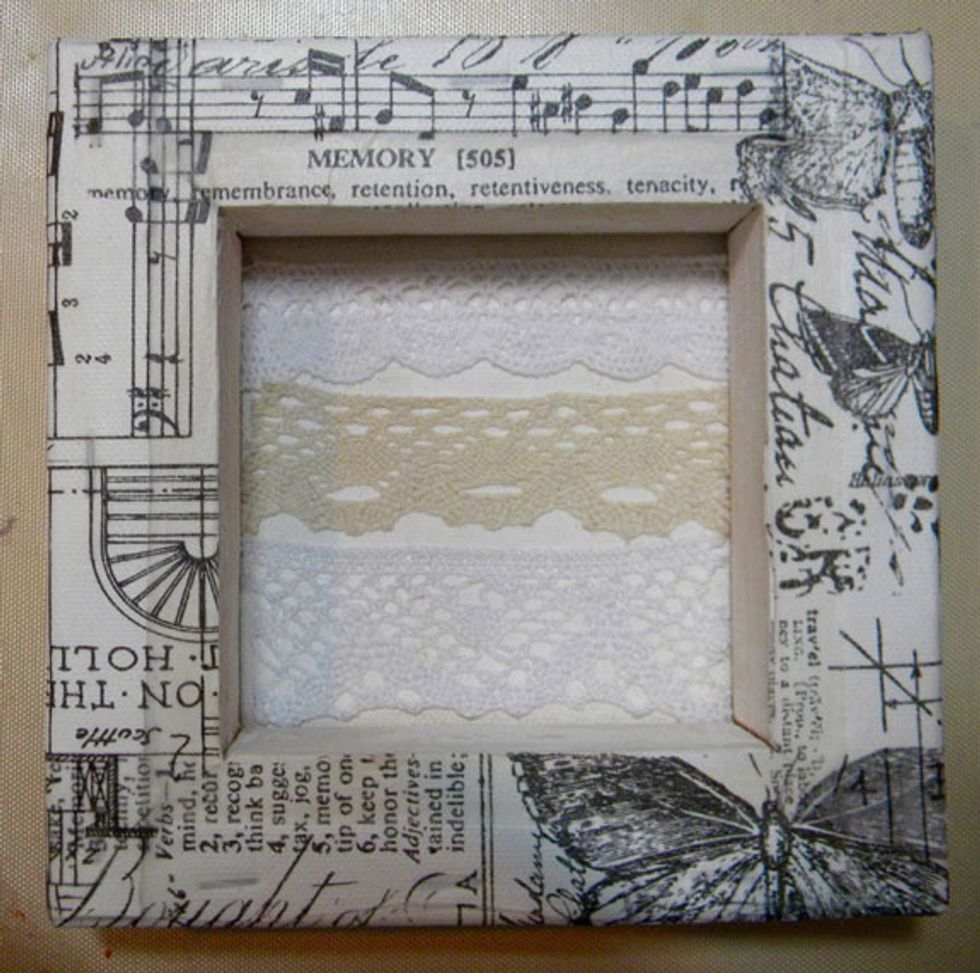
Add lace to the background using matte medium.
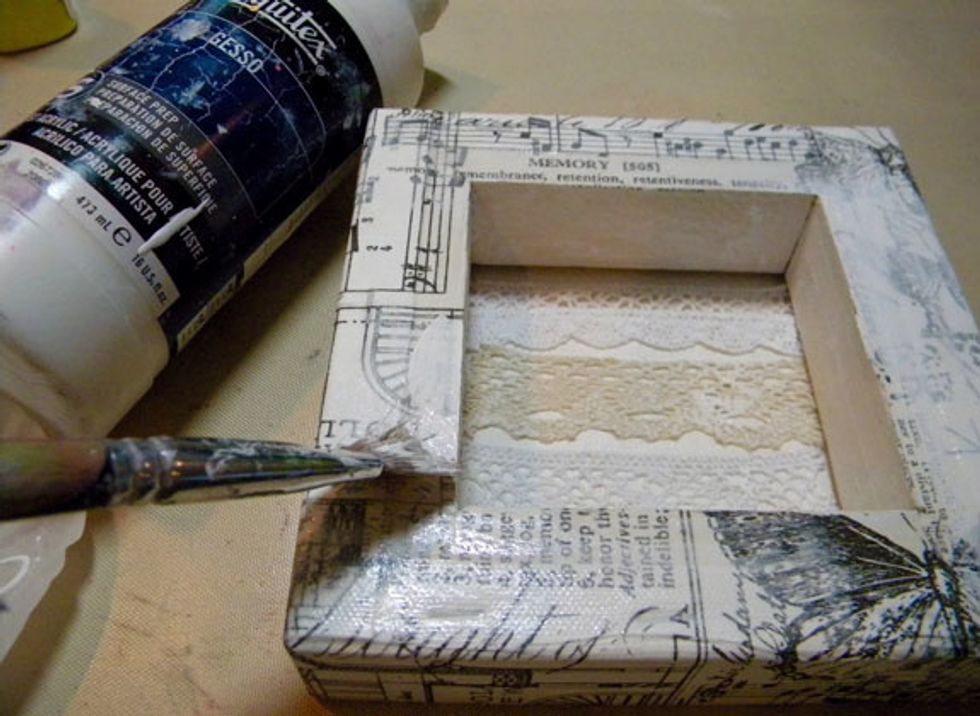
Give the canvas a coat of watered down gesso and let dry.
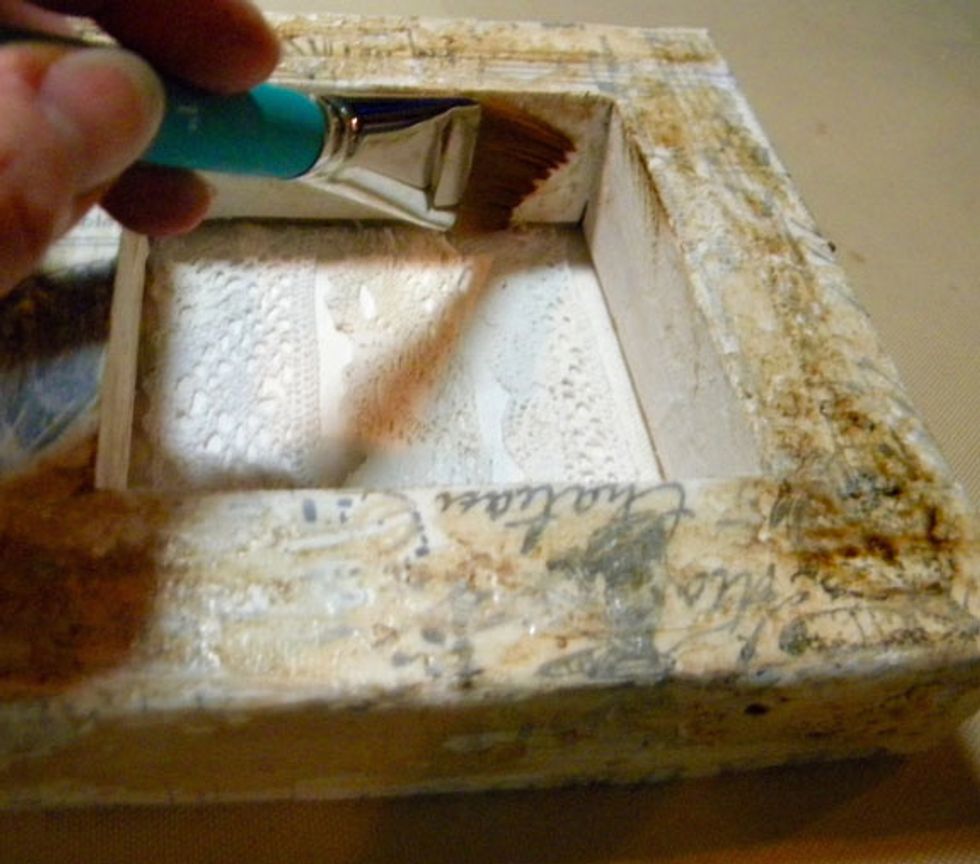
Add some Mud randomly to the canvas and let dry.
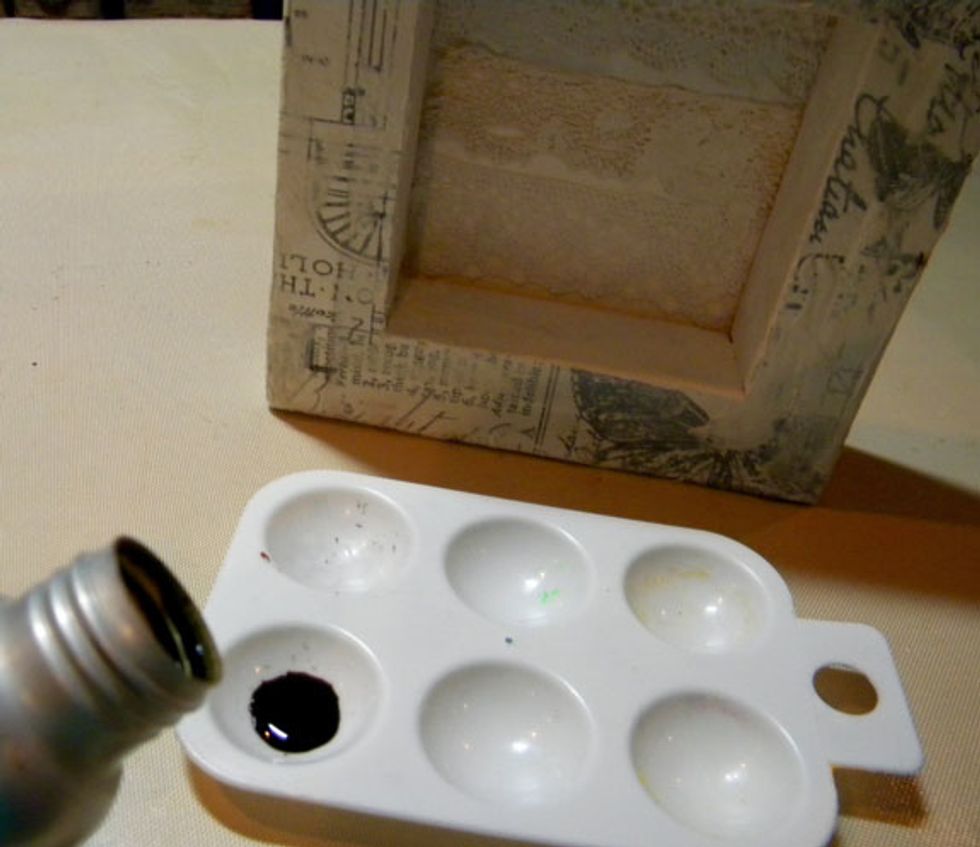
Pour some Warm Colorations Spray into a palette and add a spritz of water.
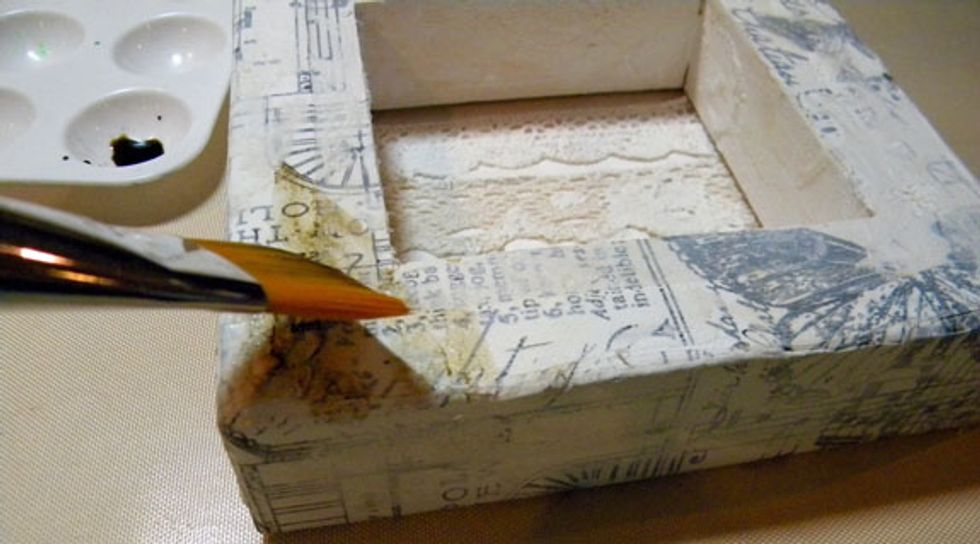
Paint Warm Colorations Spray randomly around the canvas and let dry.
Let it pool in the crevices and add water if needed. Don't forget the inside edges and the lace.
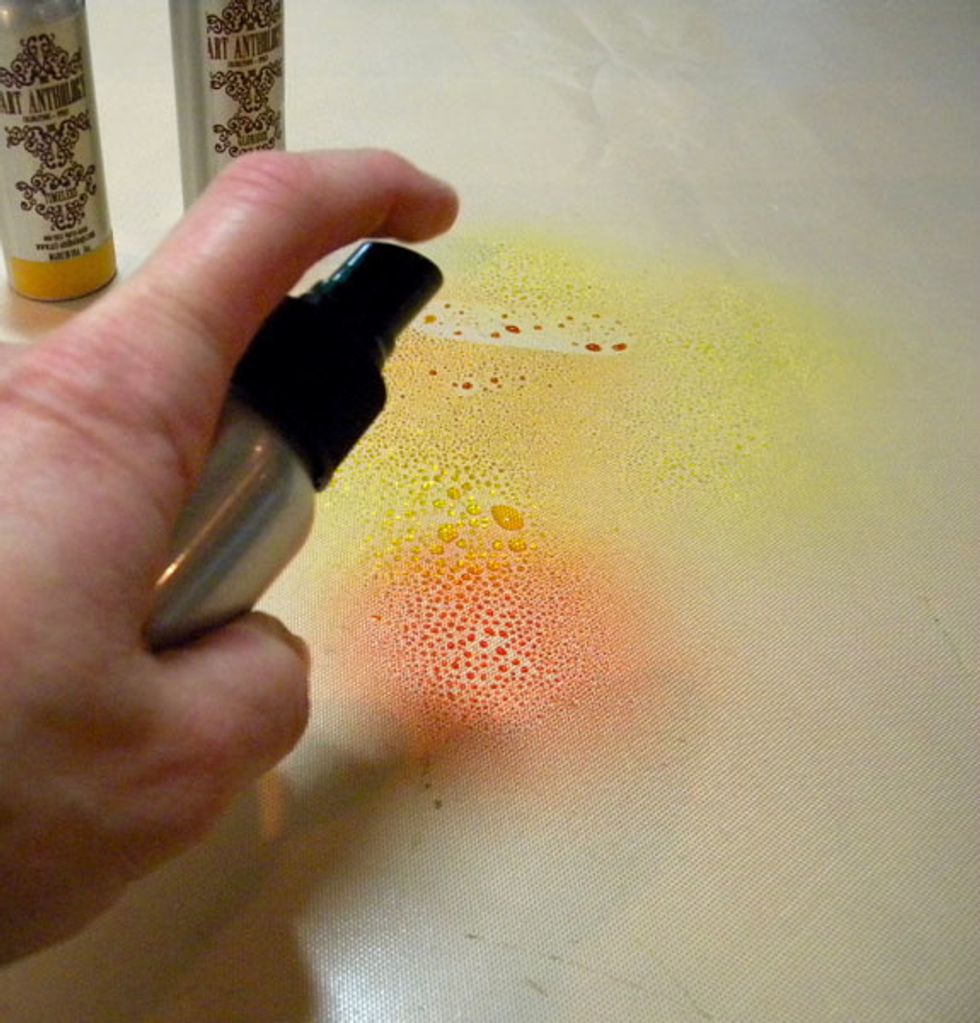
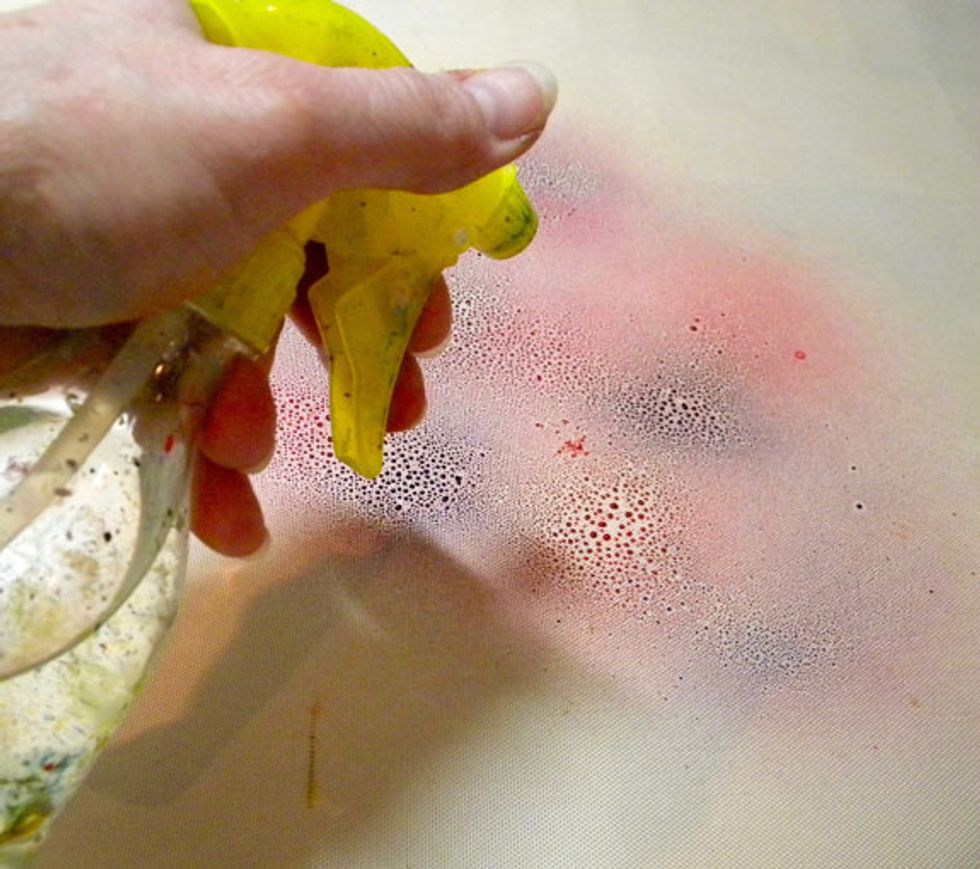
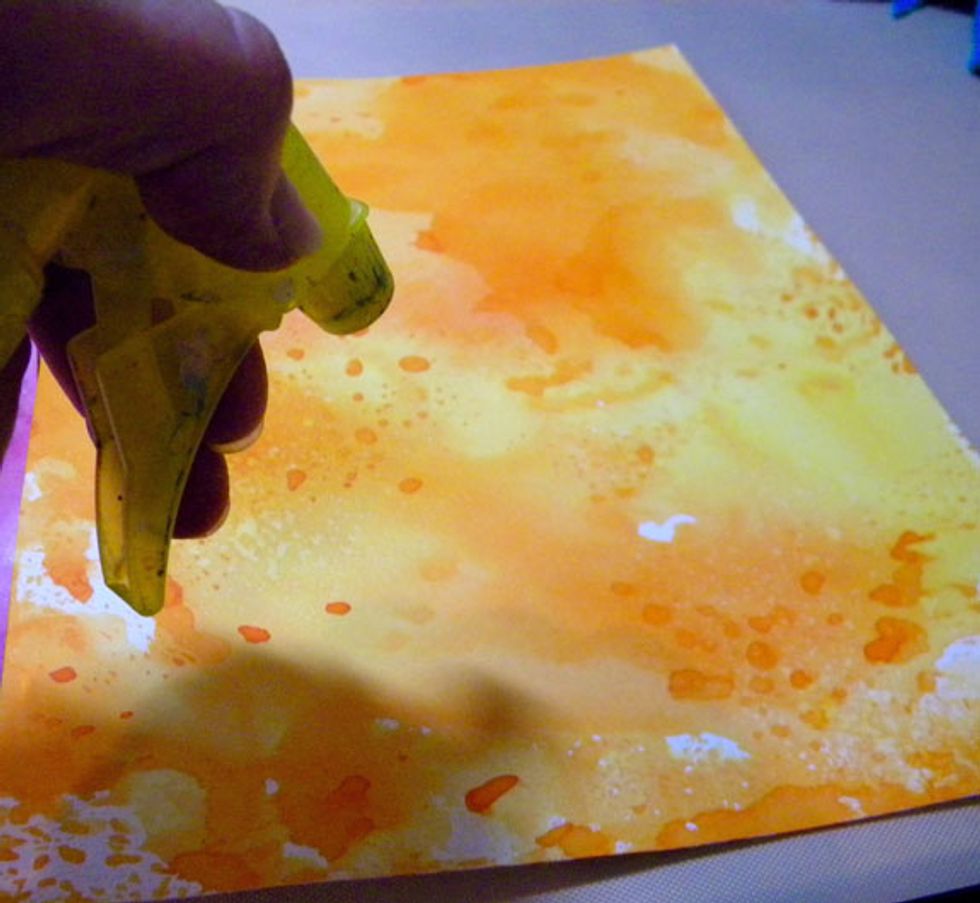
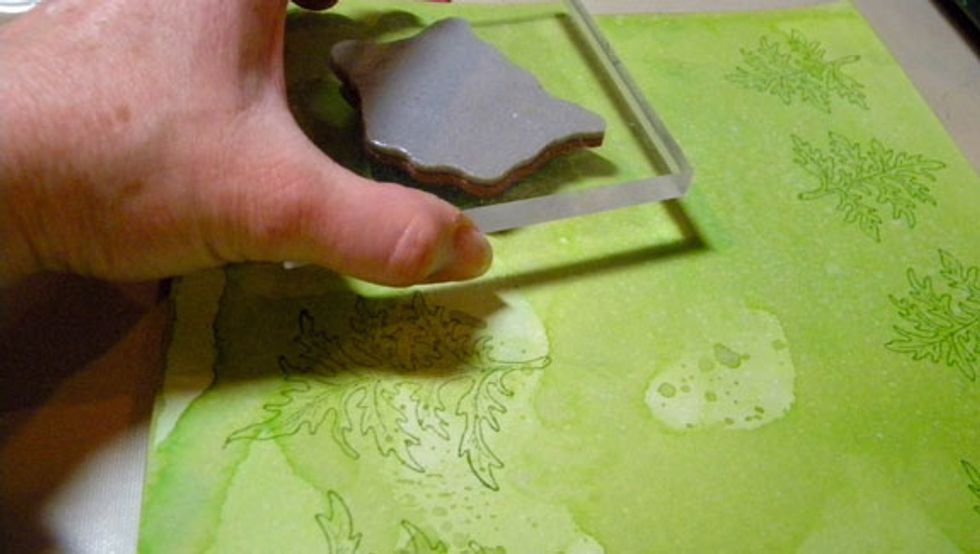
Now to start on the paper for the flowers. To create a marbling effect, spray 2 or 3 similar colors onto the craft mat.
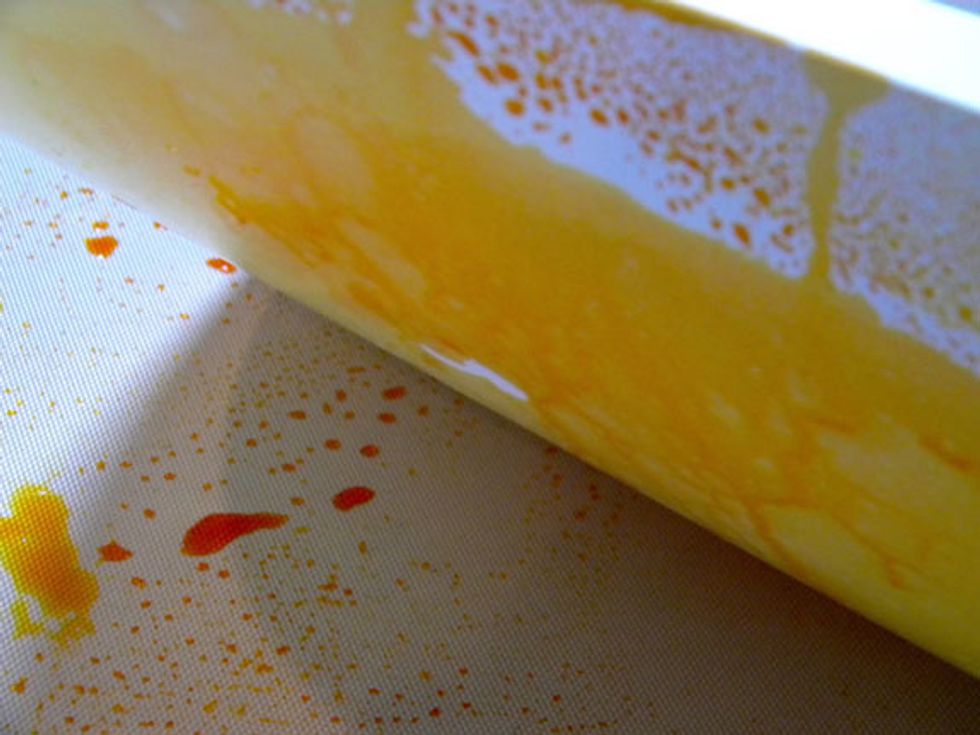
Place paper onto the craft mat and smooth it out to soak up all the color.
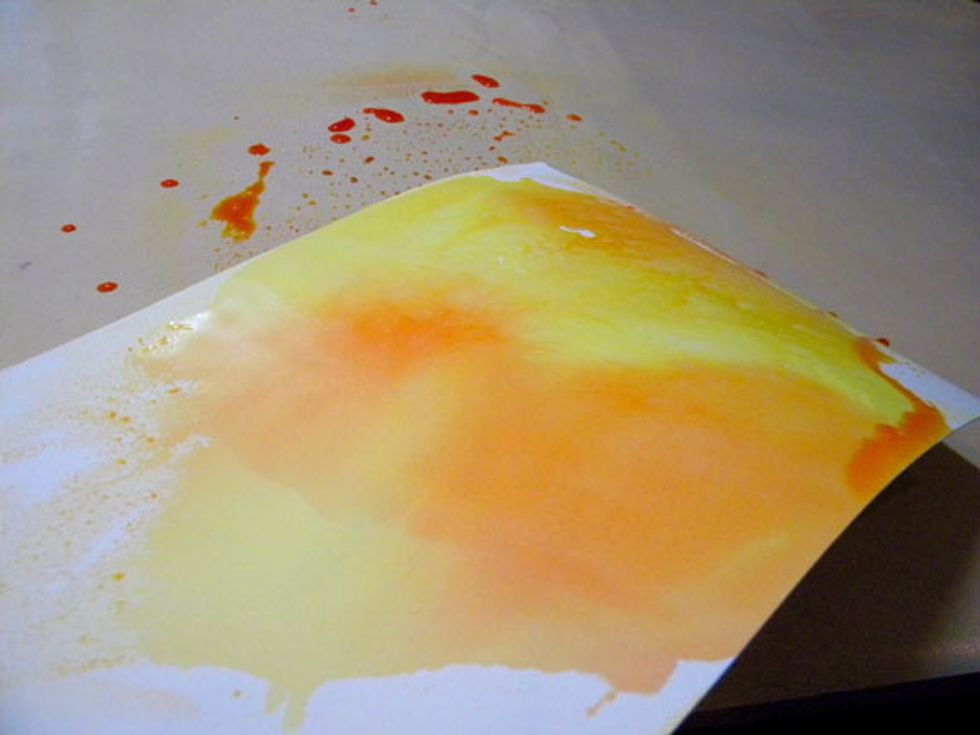
It's always a surprise when you pull the paper up and see the results! You can "print" a second time if you want to use up the spray. Or keep going to see what i like to do with the extra ink.

Dry the paper with a heat tool or let dry completely before die cutting.
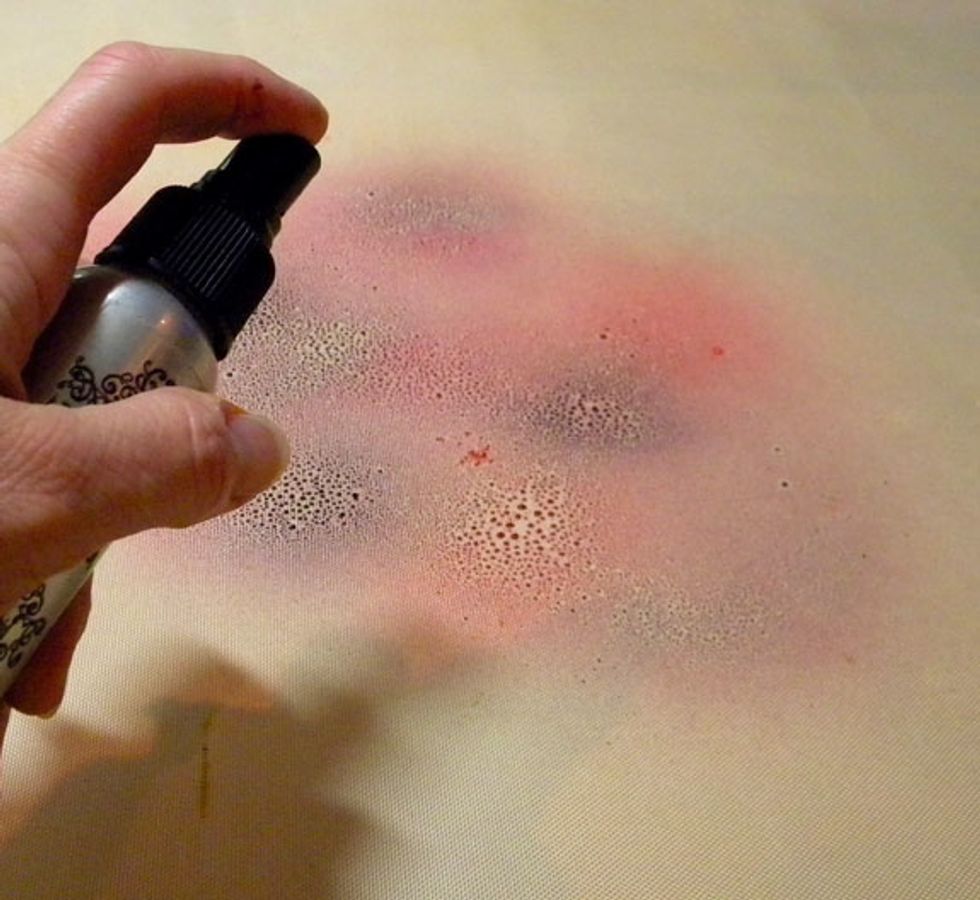
I used the same technique to make purple and green papers.
Sometimes I add a bit of water before laying the paper down if I want a lighter, more watercolor result.
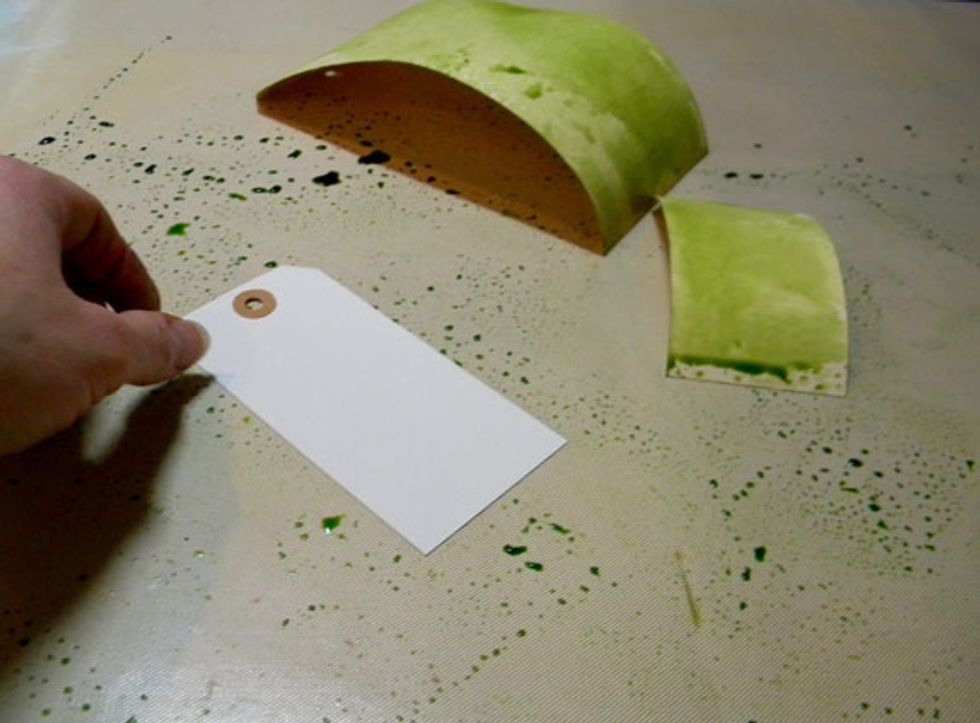
For the extra spray on the craft mat, I like to grab some tags and swipe them through to soak up the color.
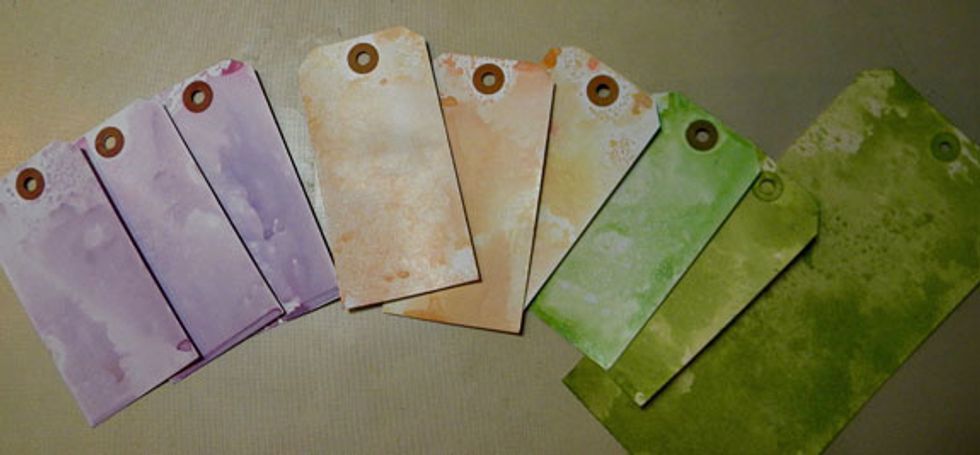
Here are the ones that I made with the leftover spray on the mat. I will use them in future projects.
After the paper is completely dry, stamp with Heartfelt Creations leaves on the green paper and flowers on the yellow and purple papers.
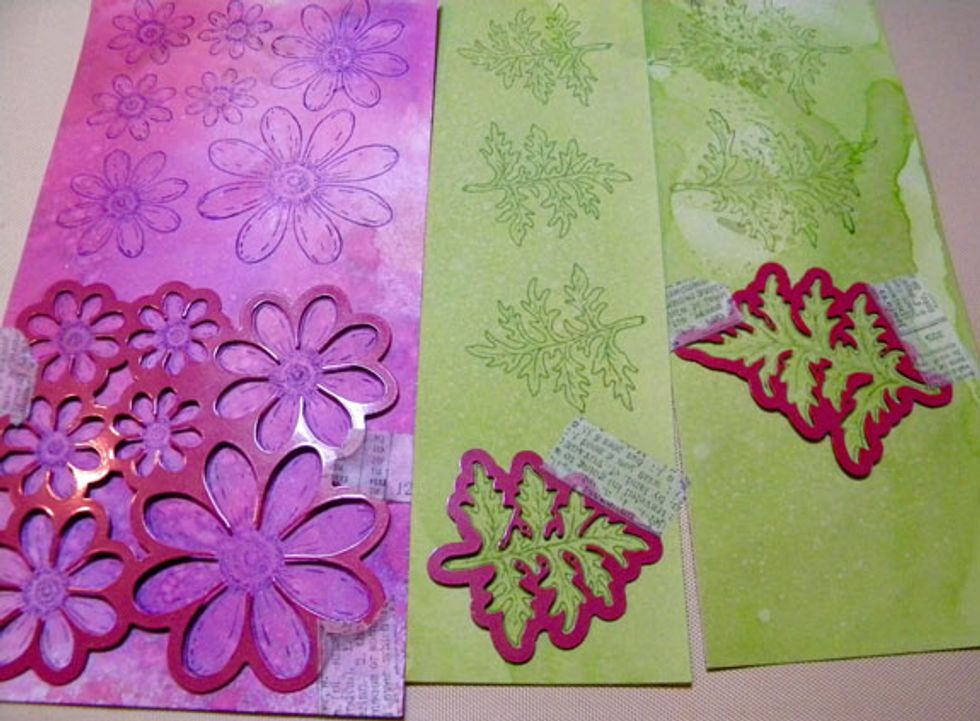
Line up the dies onto the stamped images and add a bit of washi tape to hold them in place. Use your die cut machine to cut them out.
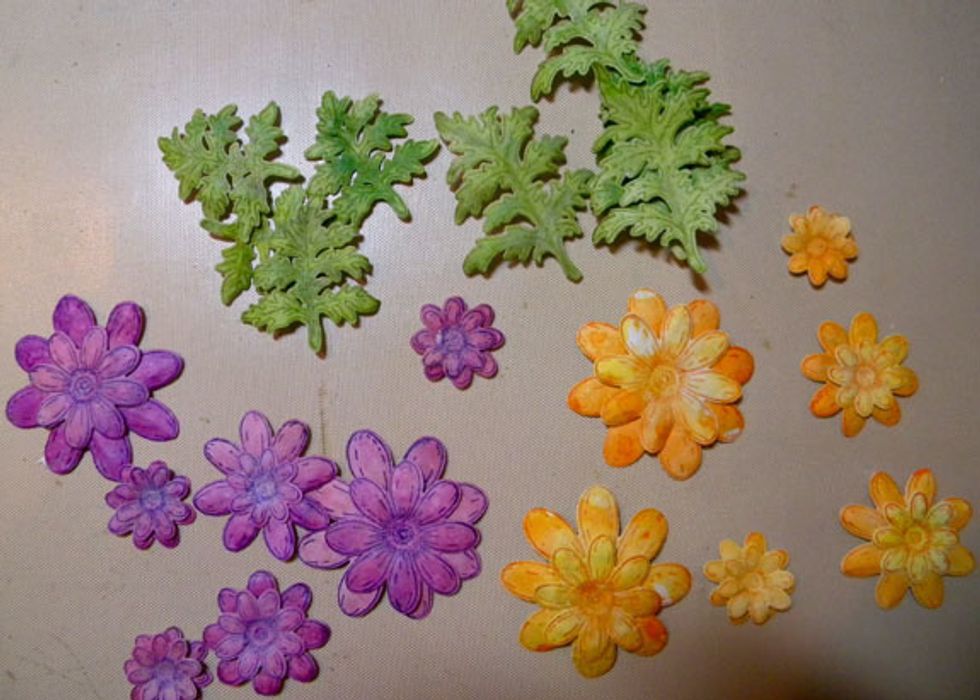
Now to give the die cuts some shape. The Heartfelt Creations website has lots of video tutorials so look for the links below. I didn't have the special tools so I used a dry embossing tool.
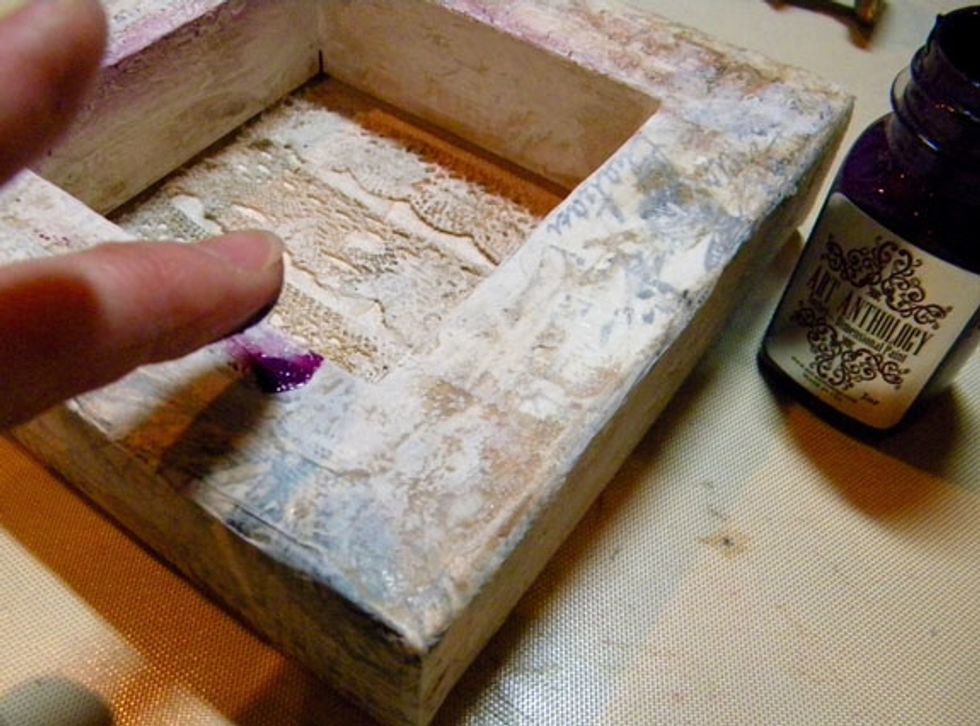
After looking at the canvas, I thought it needed some color, so I added Sorbet in Imperial with my finger in a thin coat around the canvas.
I added yellow micro beads using glossy accents to the flower centers, then glued everything to the canvas using Beacon Zip Dry.
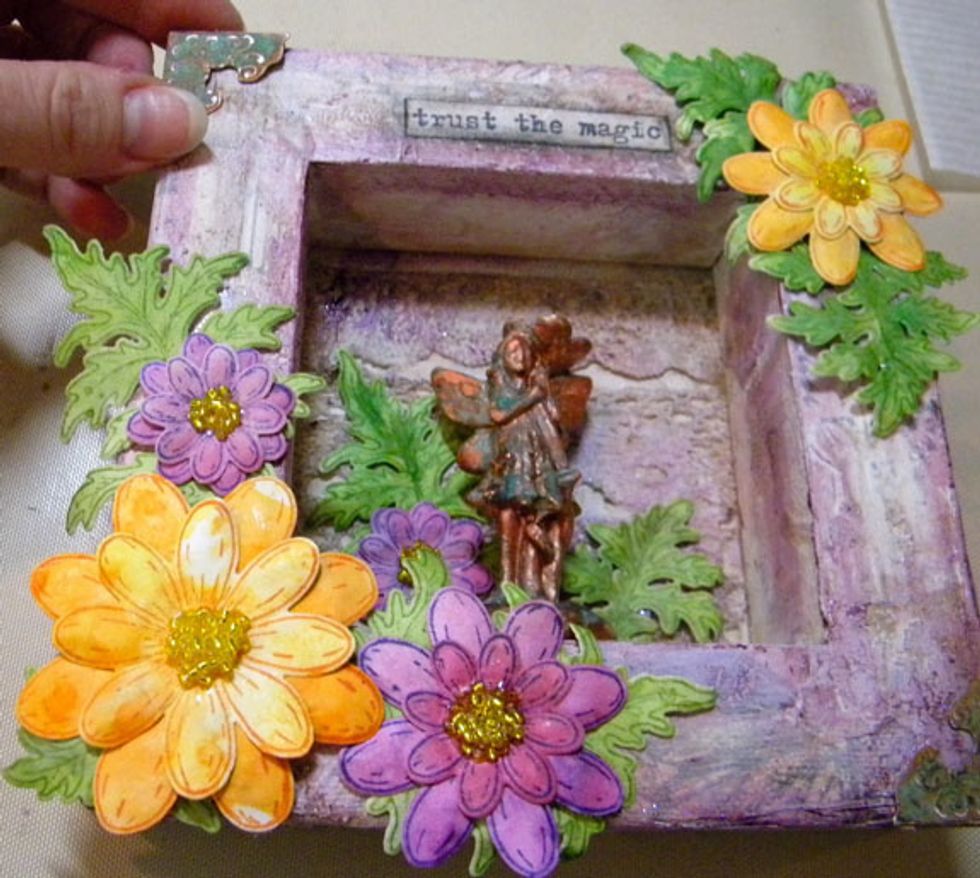
For the final touches I added metal corner embellishments and the stamped phrase. I added shadows around the words using a black Pitt pen. See below for more detailed photos.