The Conversation (0)
Sign Up
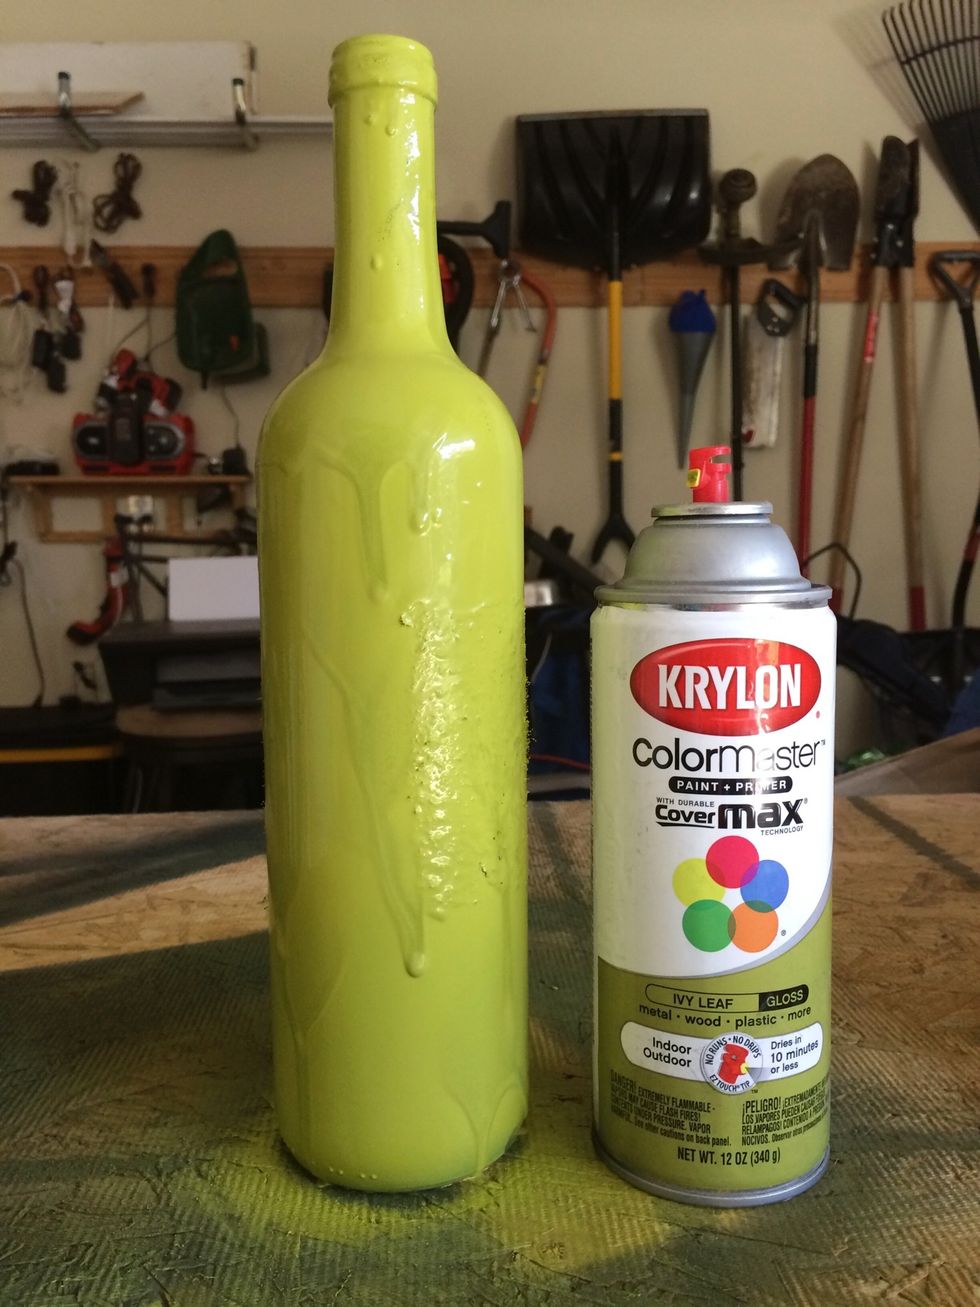
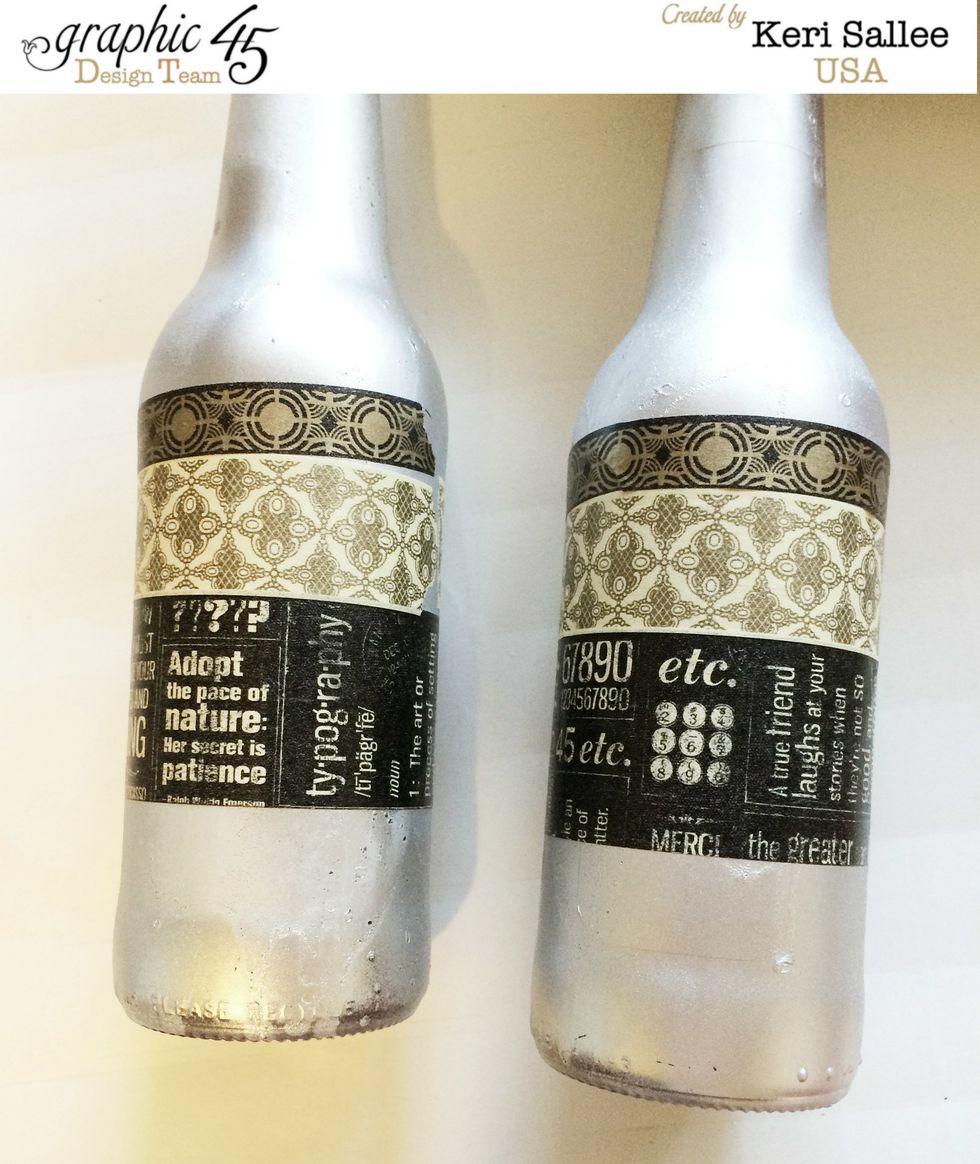
Spray paint your Wine bottle. I removed the labels the best I could but left the "fuzzy" leftovers to add texture.
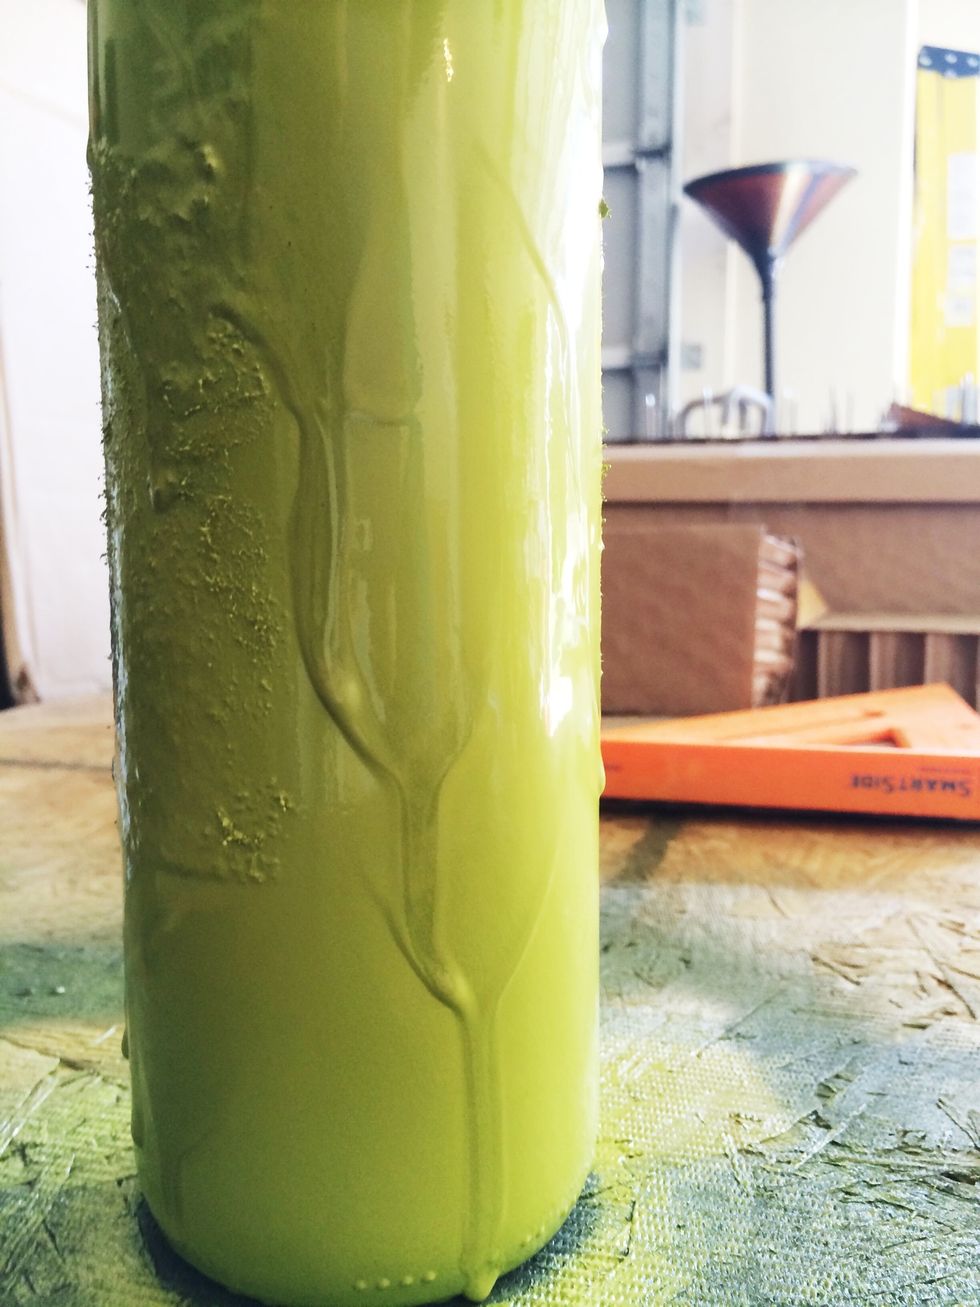
Hit a few places all over for a few seconds to allow the paint to pool and then drip down your bottle.
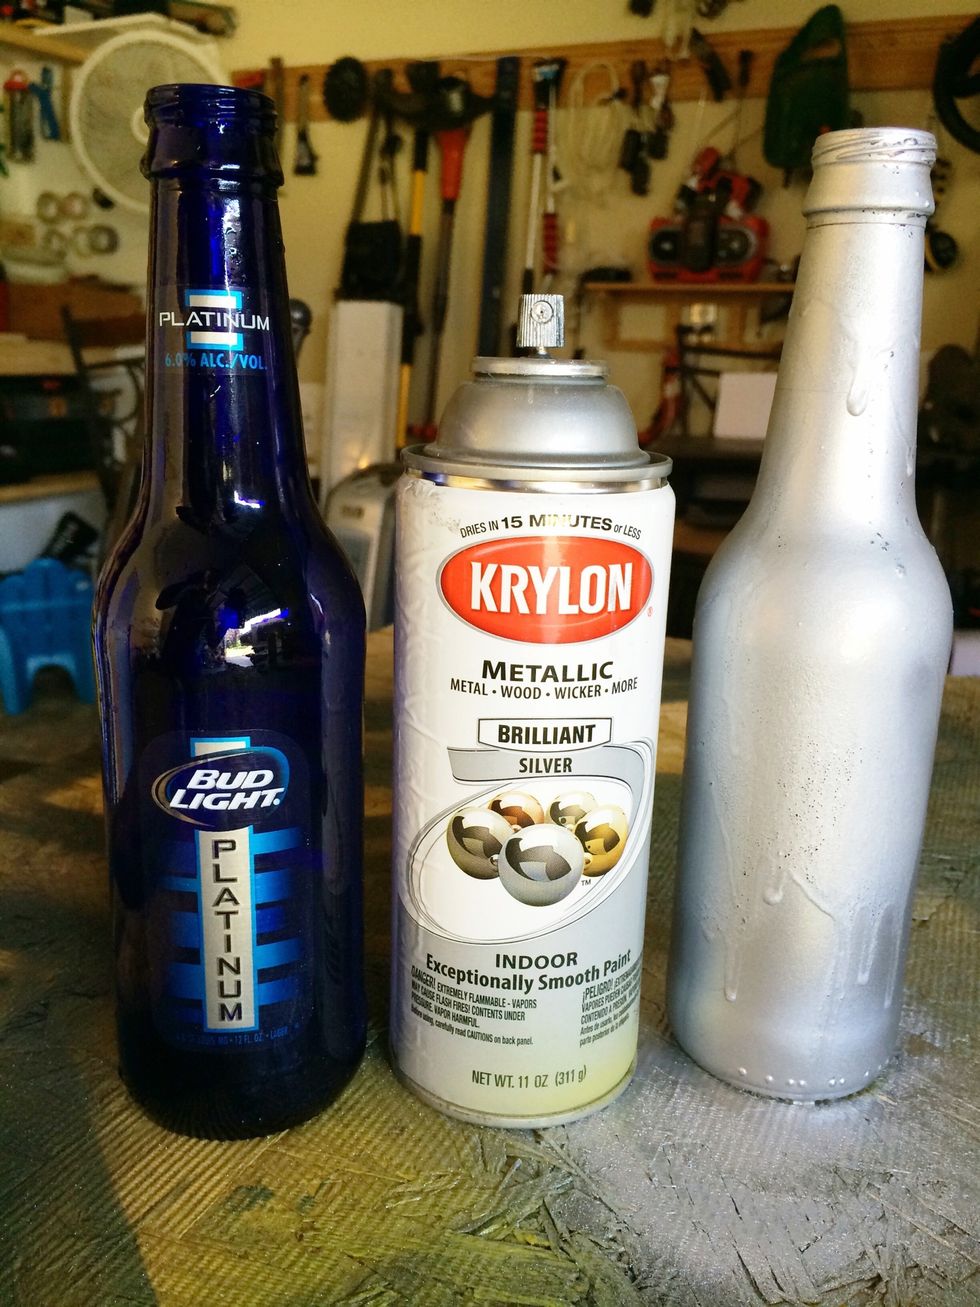
Spray paint your 2 smaller bottles in a contrasting color. I chose to go silver! Again...I didn't remove my labels. :)
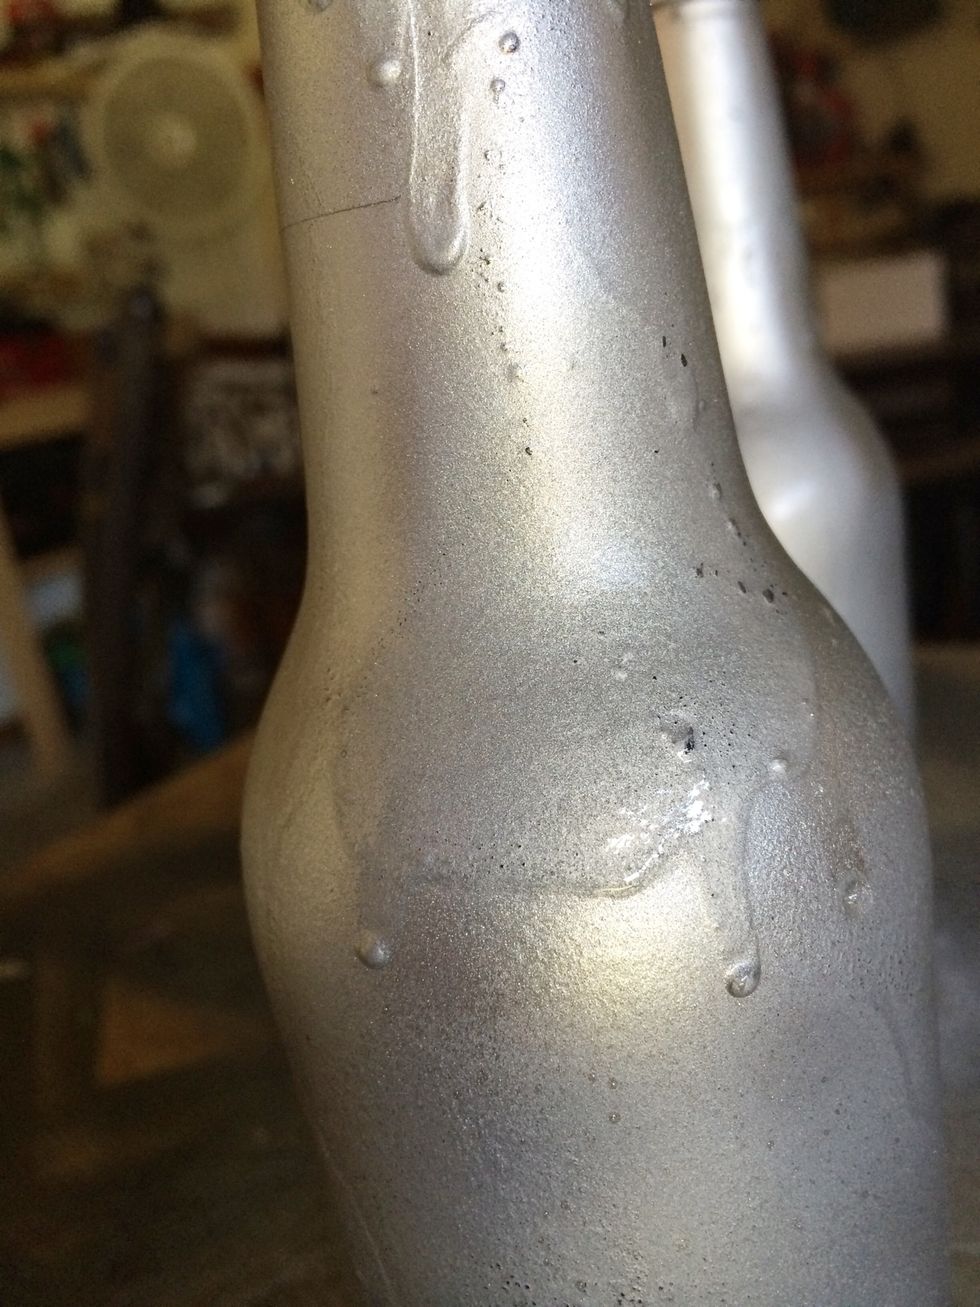
As with your larger bottle, hot some spots a little heaver so that it pools and drips down the side.
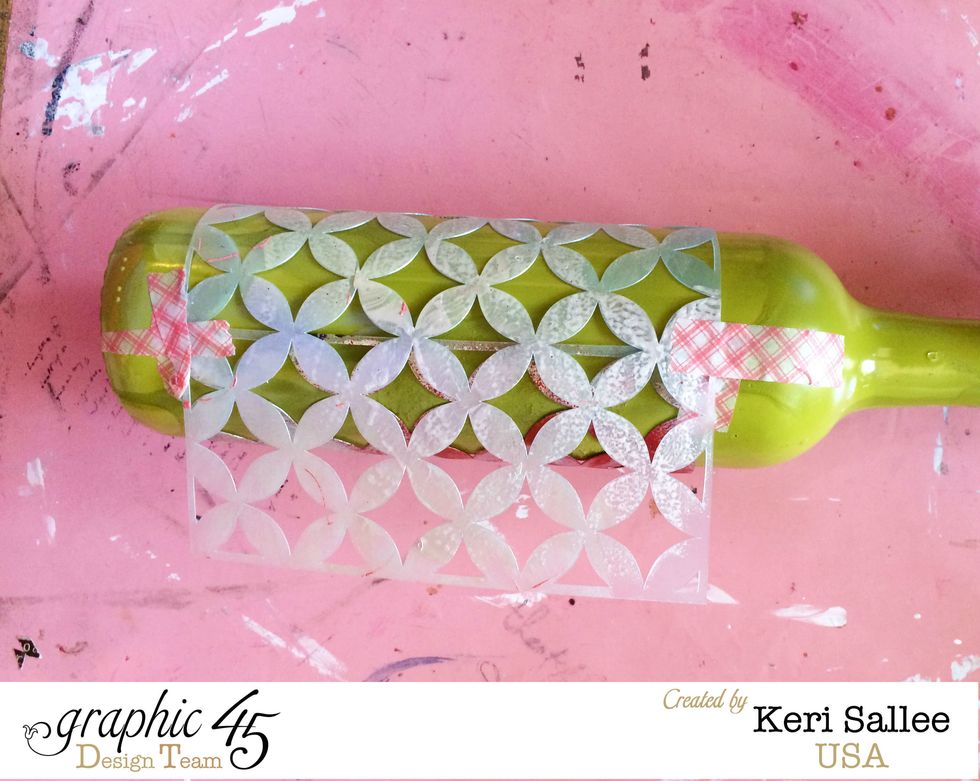
Wrap your bottle in yoru Pink Paislee Stencil. Tape it so that you still have access to the overlapped portion. Secure with tape (pretty washi tape never hurts right?!)
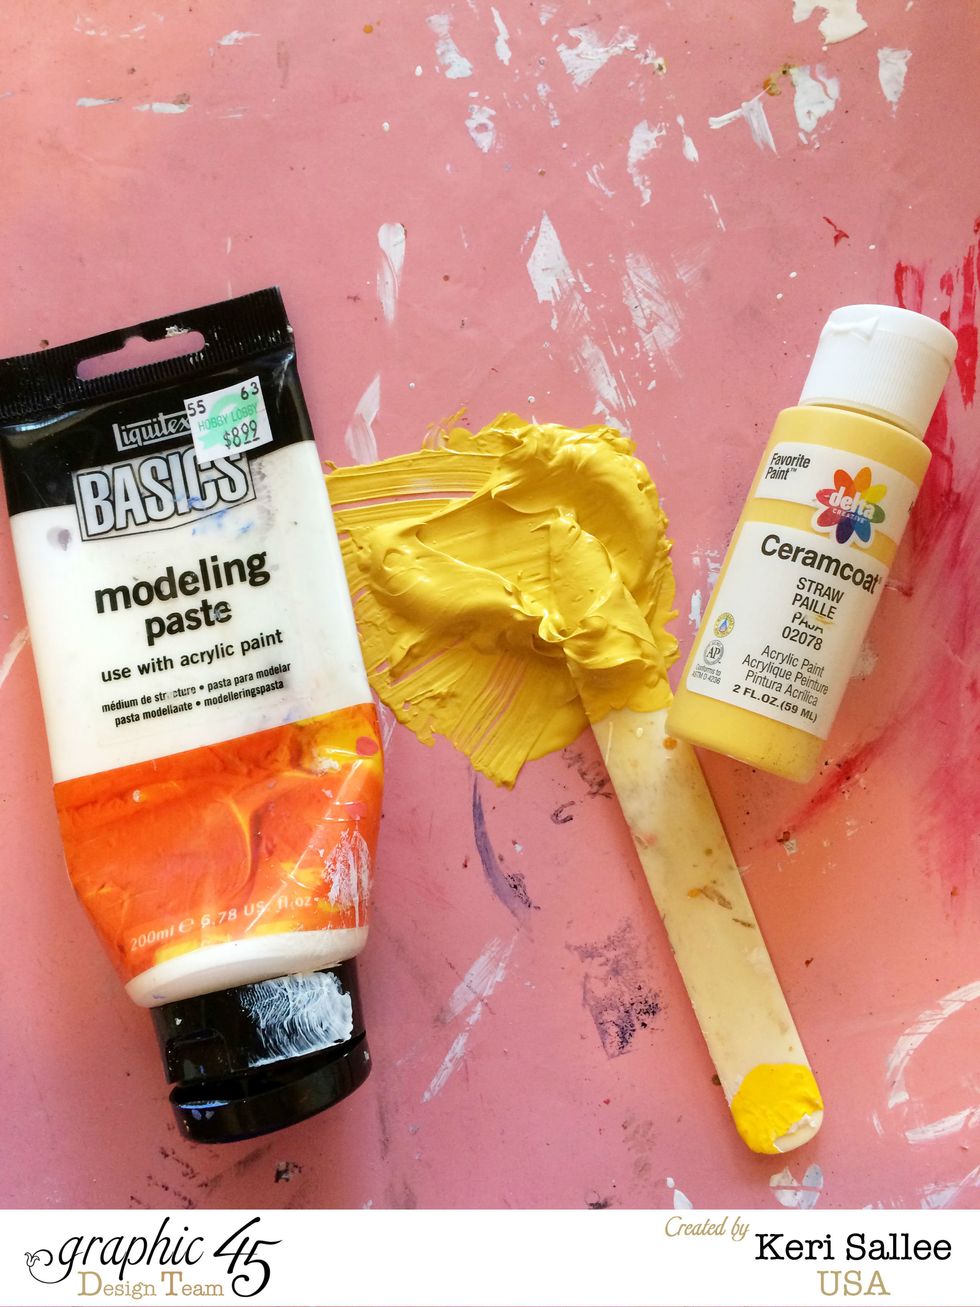
Mix equal parts modeling paste and acrylic paint. It's best to mix on a non-stick mat (or wax paper) with a bone folder or other non-porous stick. It's best not to use a paint brush.
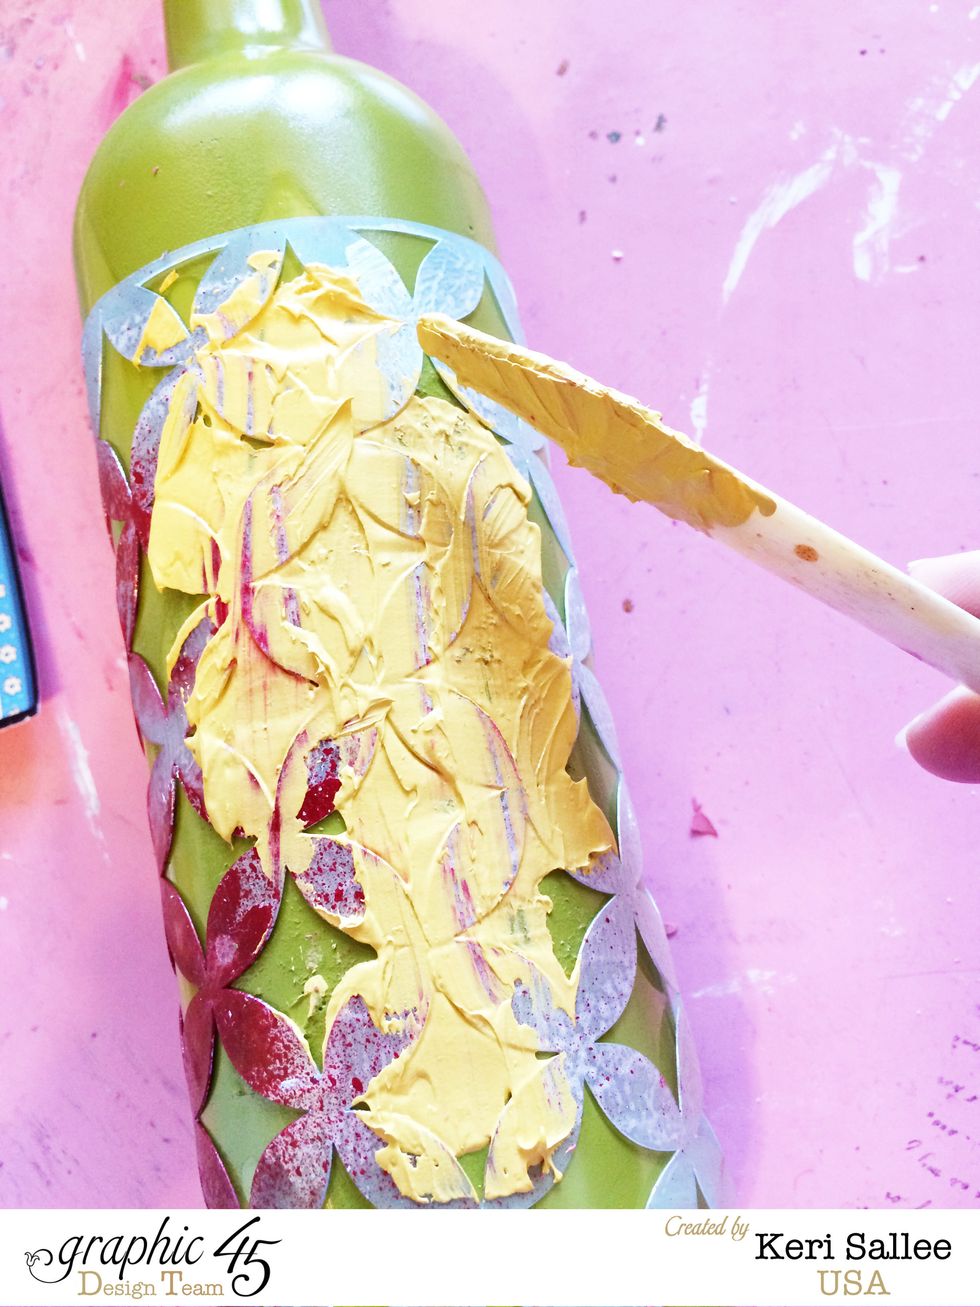
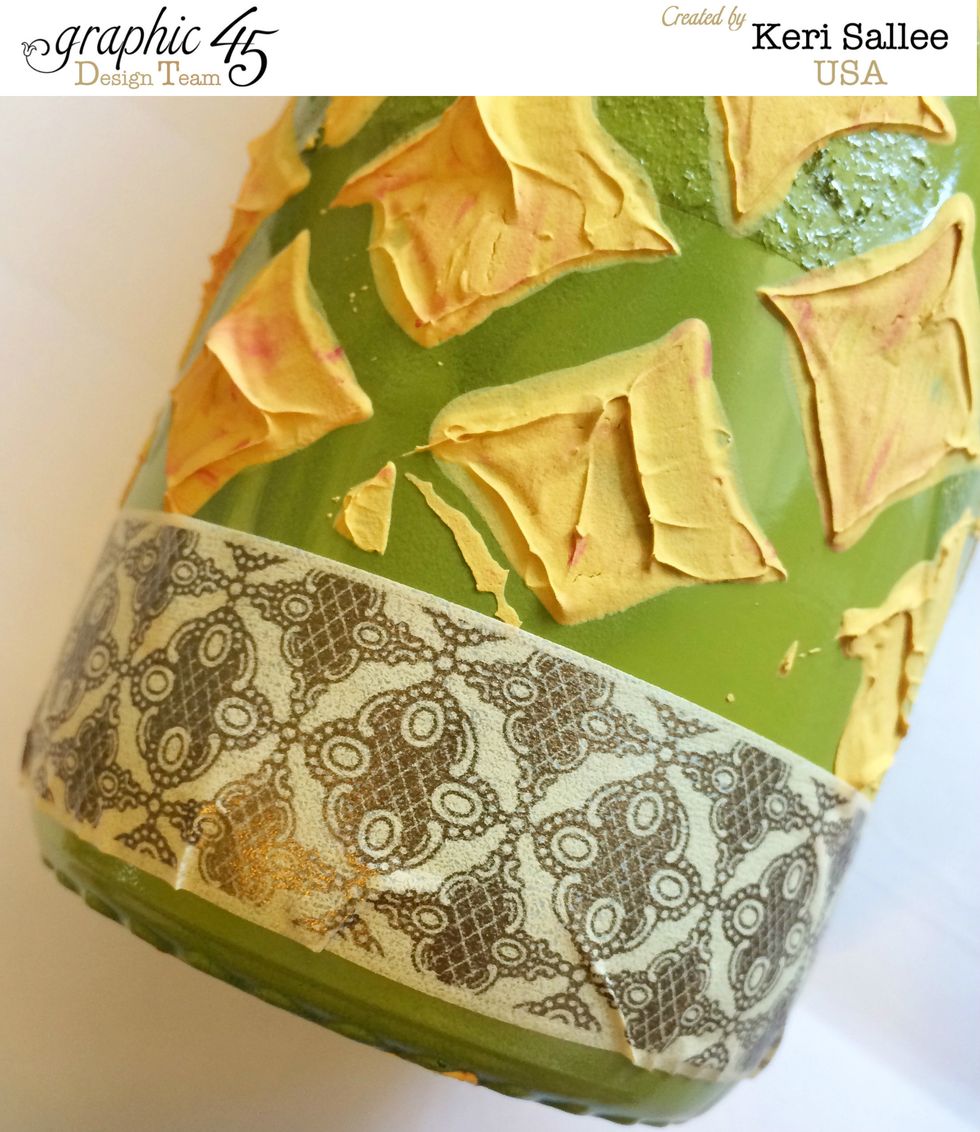
Scrape your modeling paste through your stencil. As you can see...I didn't clean this stencil the last time I used it, so I ended up with some read mixed in with my yellow. :) I like it!
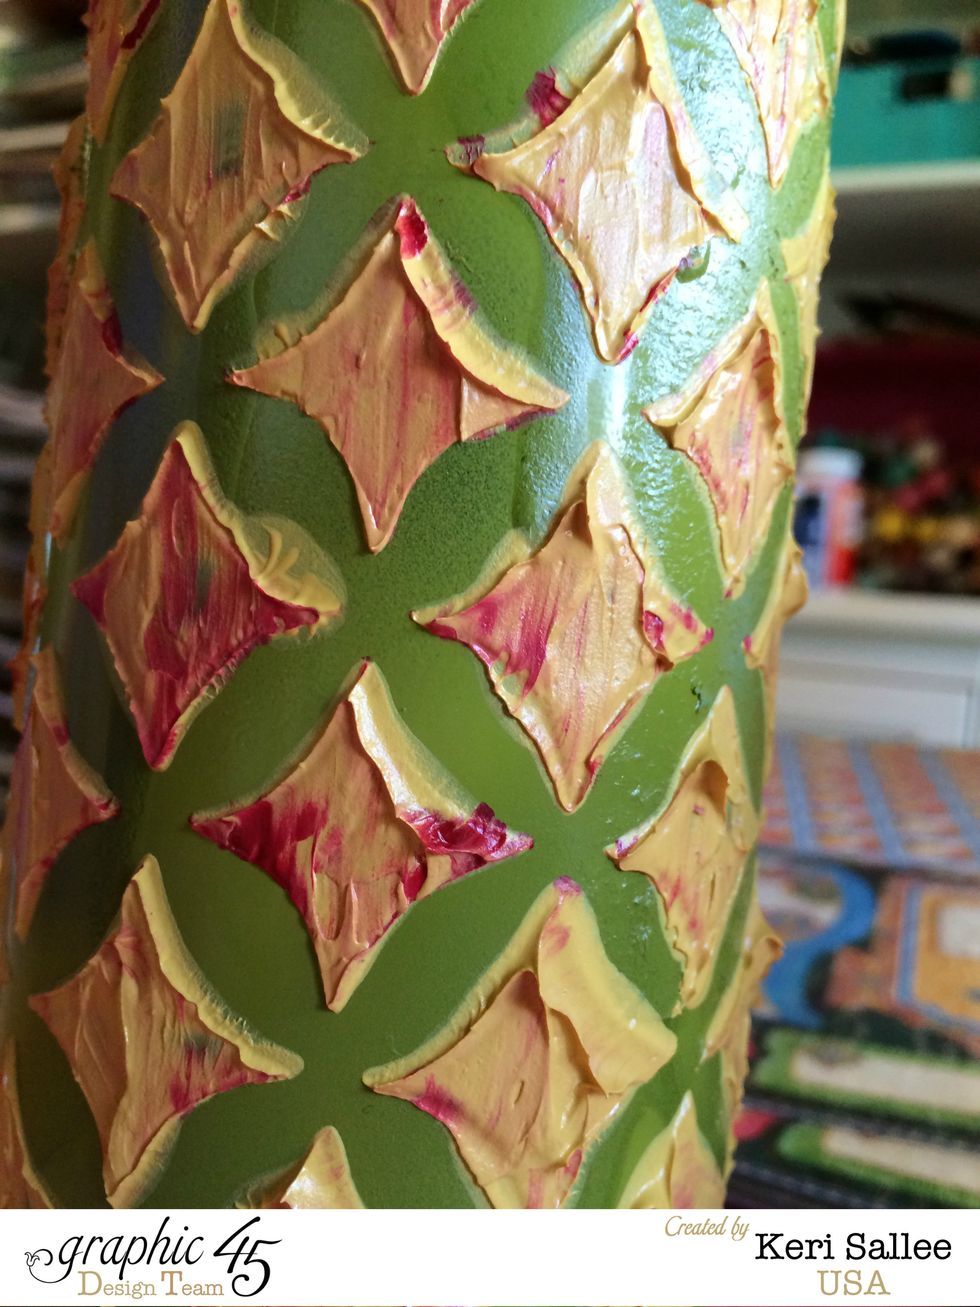
While your paste is still wet, carefully remove your stencil Wash stencil immediately (dry modeling paste is difficult to remove. ) The red is fun, right? Allow to dry completely.
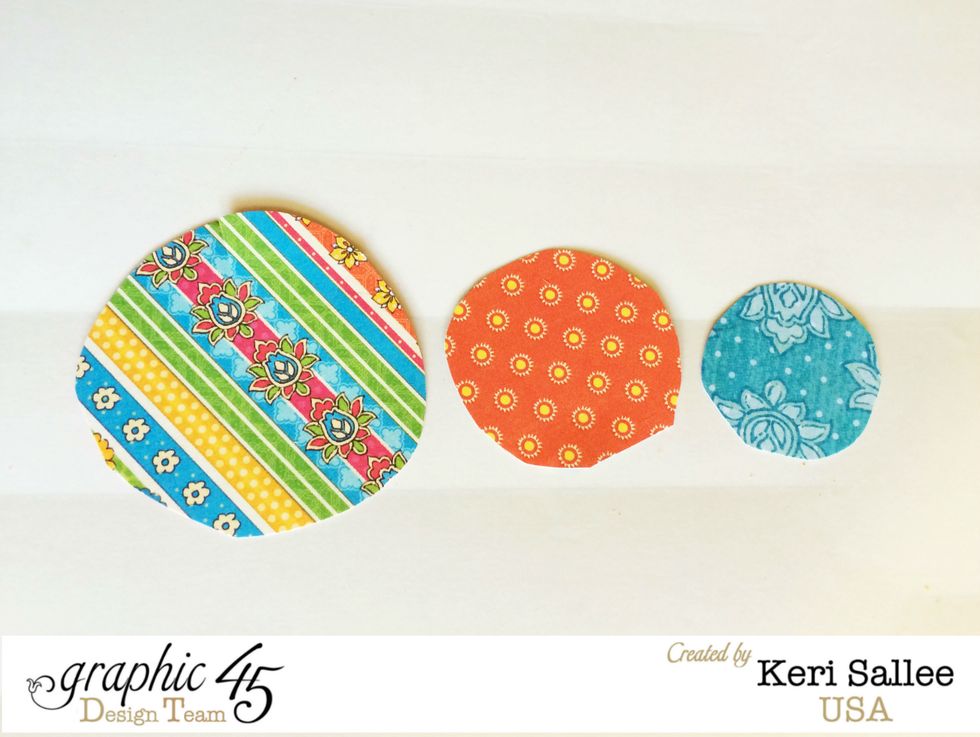
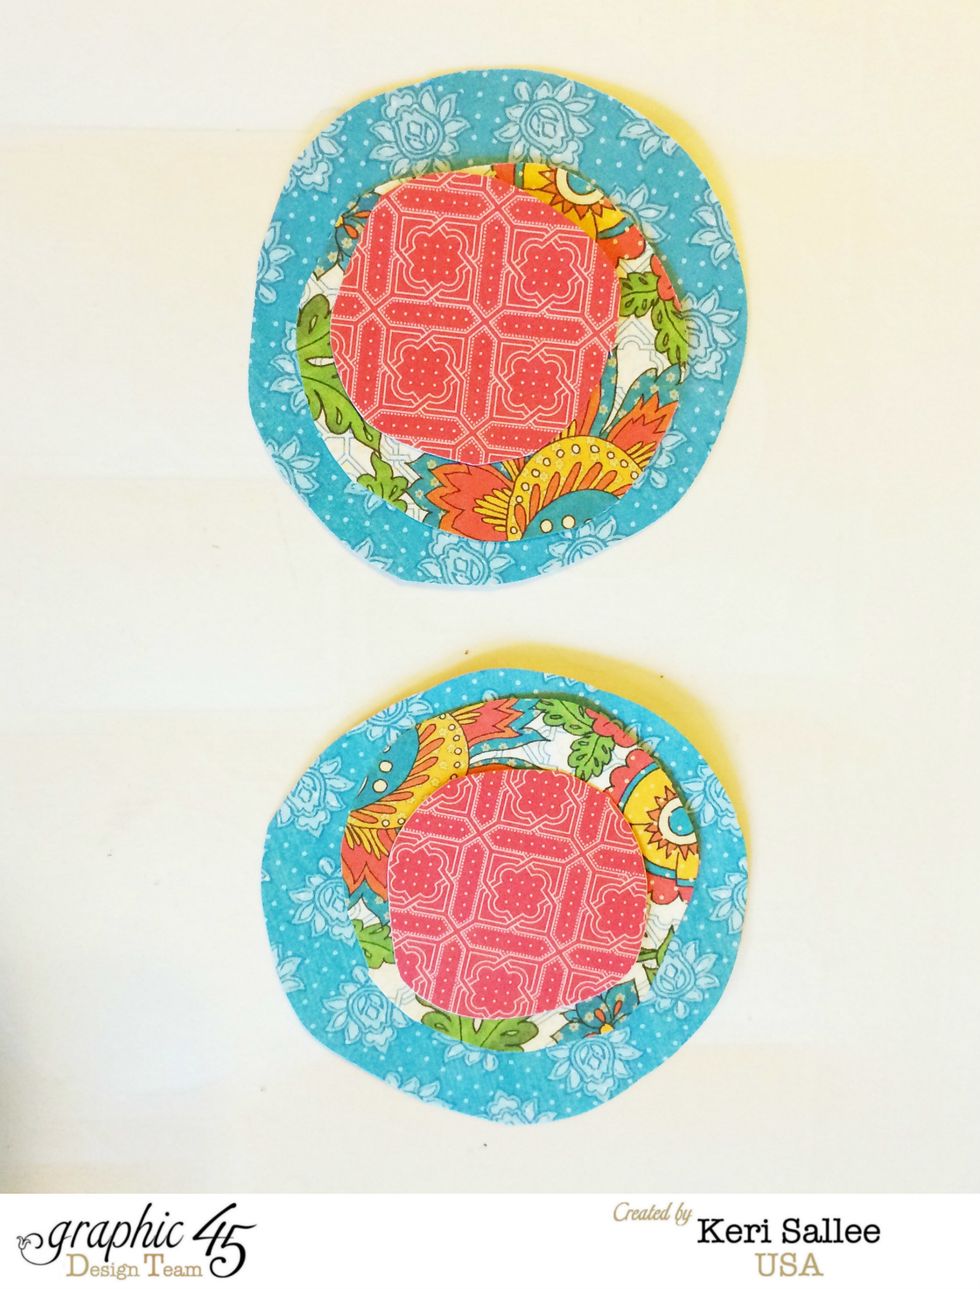
While your bottle is drying, let's start on your flowers! Start by cutting 3 circles in different sizes our of papers of your choice.
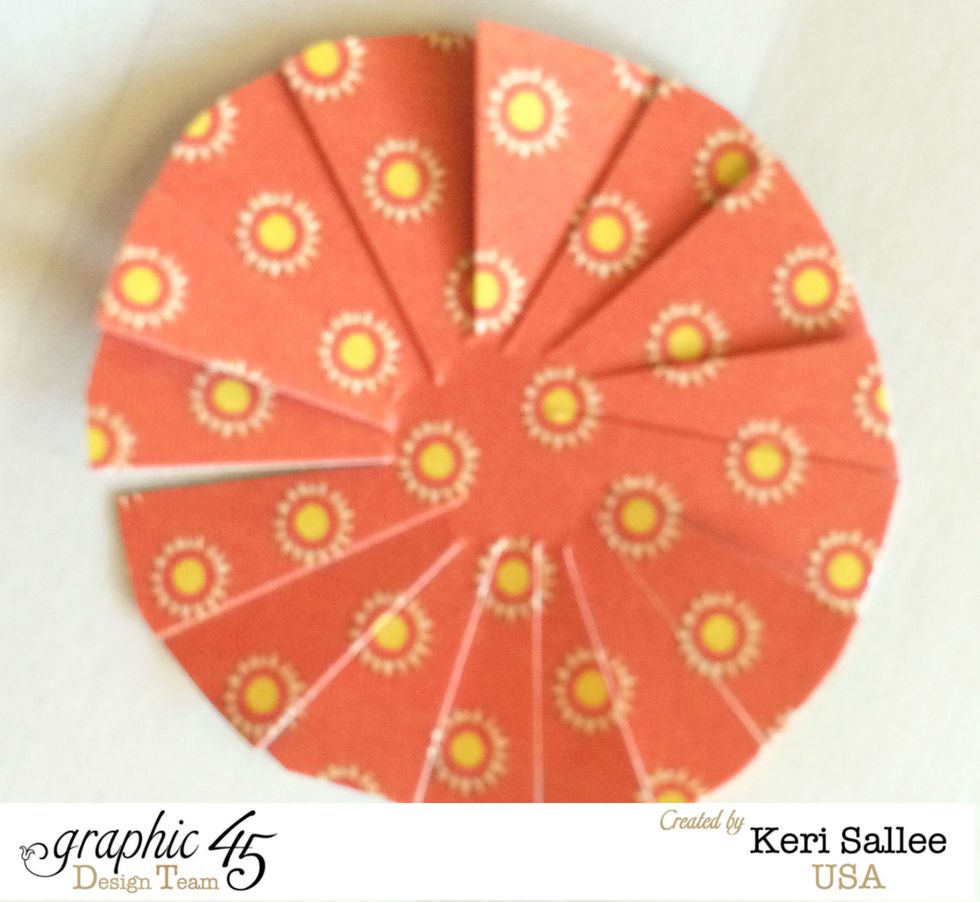
On each circle, cut small slits towards the center, being careful not to slice all the way through.
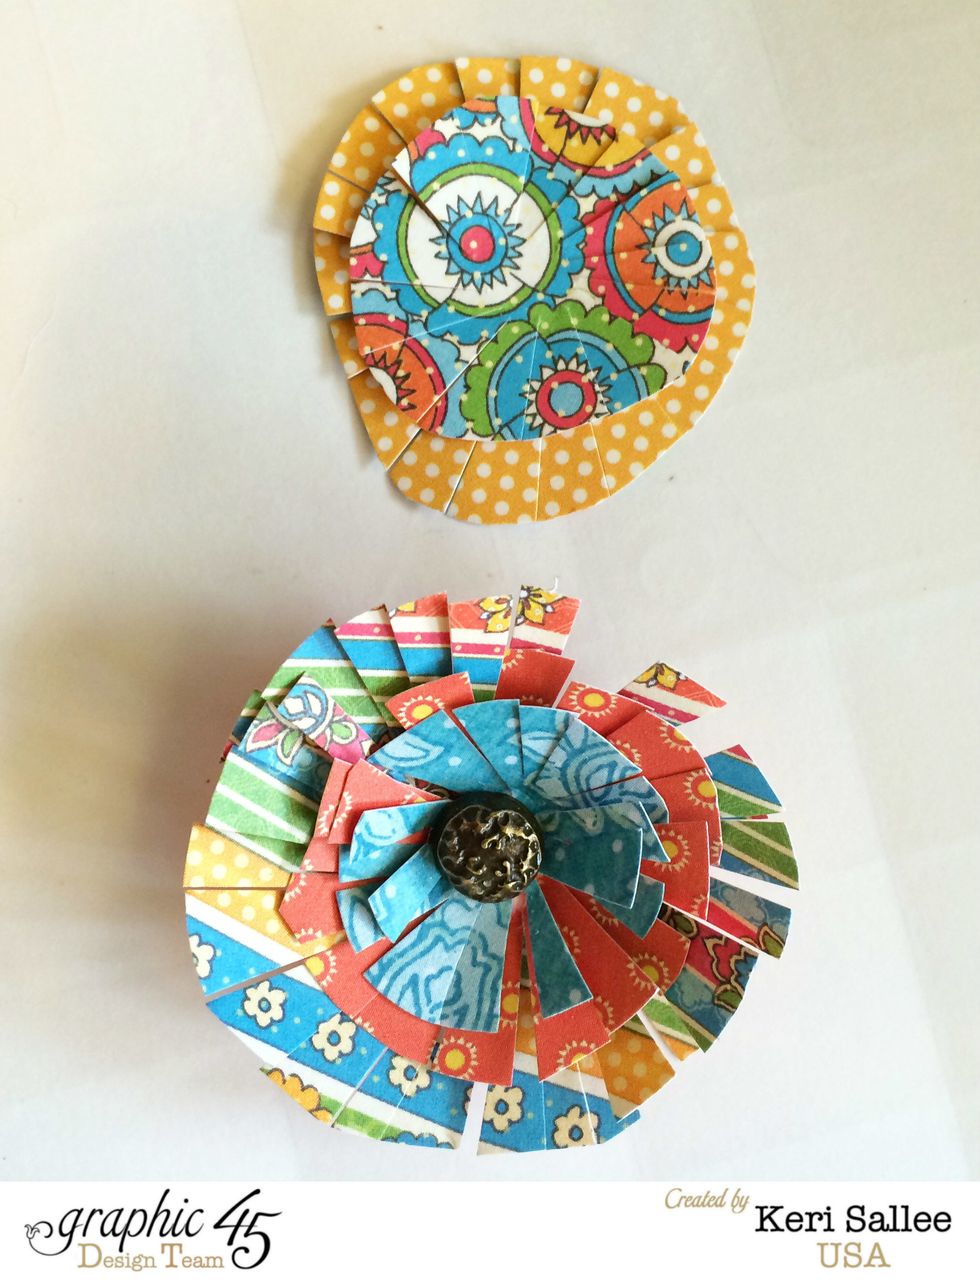
Layer your circles with 2-3 layers and glue them together. Once they are dry, add a Graphic 45 Stamped Brad to the center of a few. {TIP: Use a craft knife to to make your hole for your brad.}
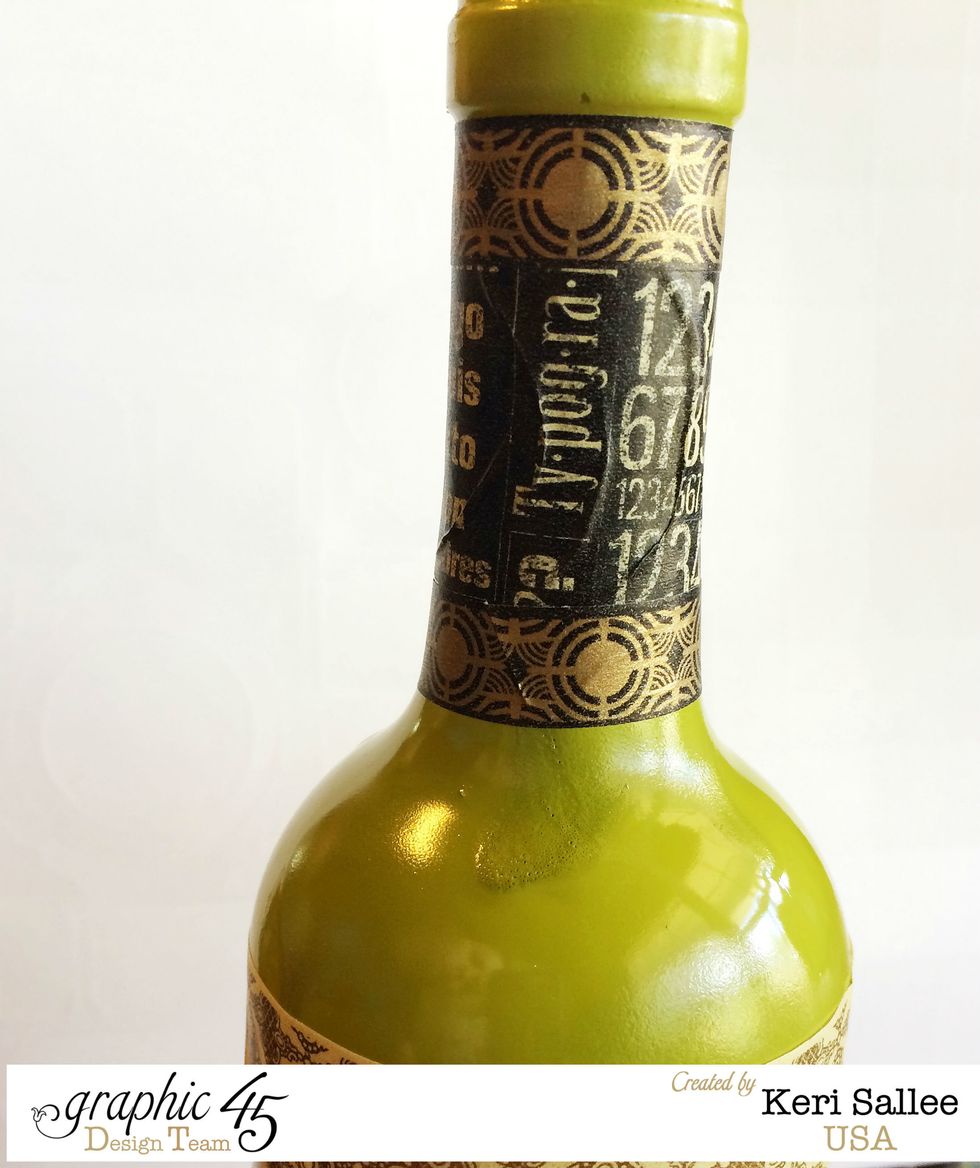
Next, wrap the neck of your bottle with 2 styles of Graphic 45 Washi Tape.
Wrap the top edge and bottom edge is Washi Tape as well. {sorry...forgot to take a picture of the top washi. You can see it in the finished project.}
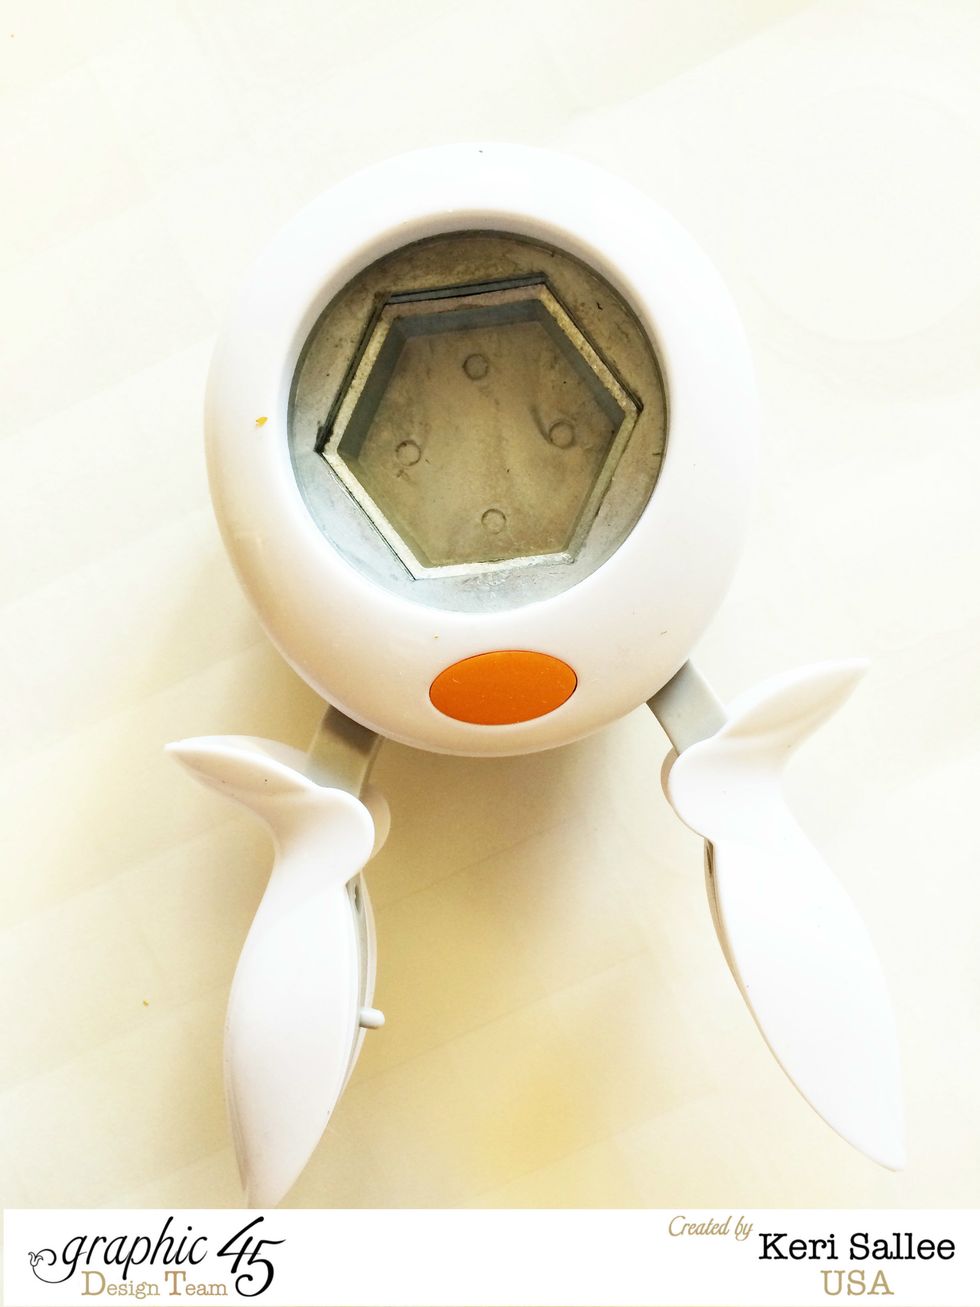
Grab a punch of your choice. I chose Fiskars' hexagon.
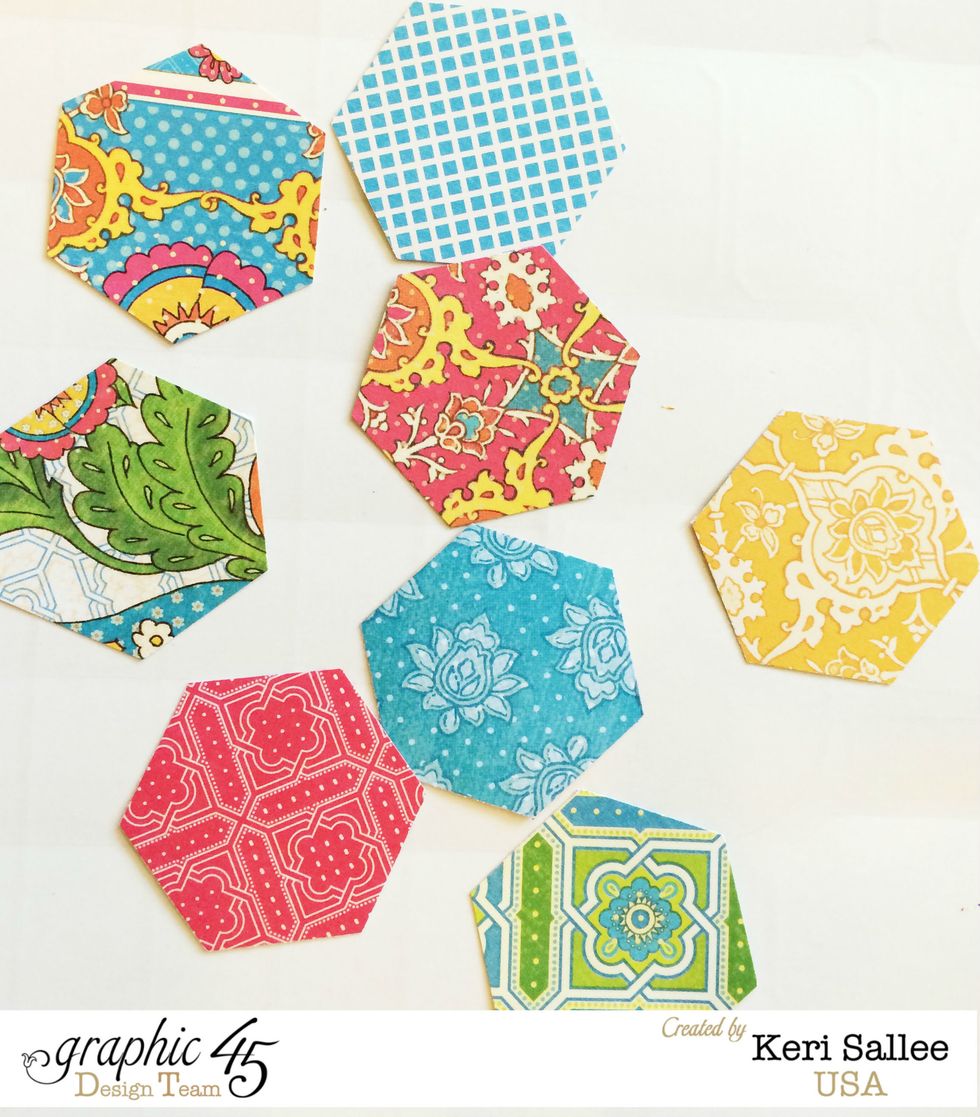
Punch shape using a variety of patterns.
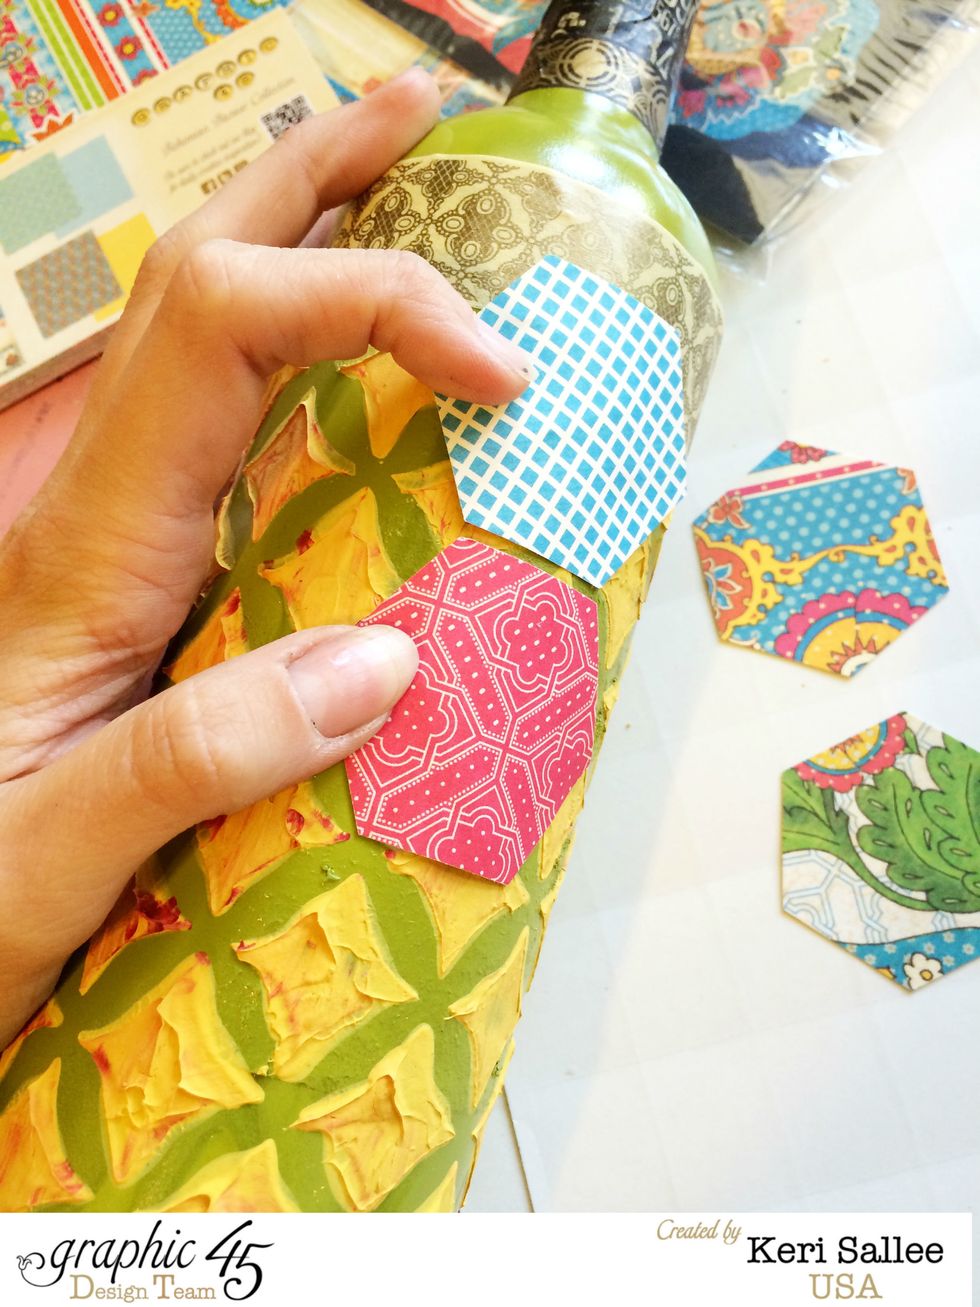
Using Aleene's Tacky Glue, arrange shapes to form your background. Because of the rough texture, hold the shapes for a few minutes to allow the glue to grab. A diagonal arrangement works best.
Set your large bottle aside to dry and grab your 2 smaller silver bottles. Wrap each in washi tape.
For your small bottles, make 2 identical flowers using the same method as the flowers on the large bottle.
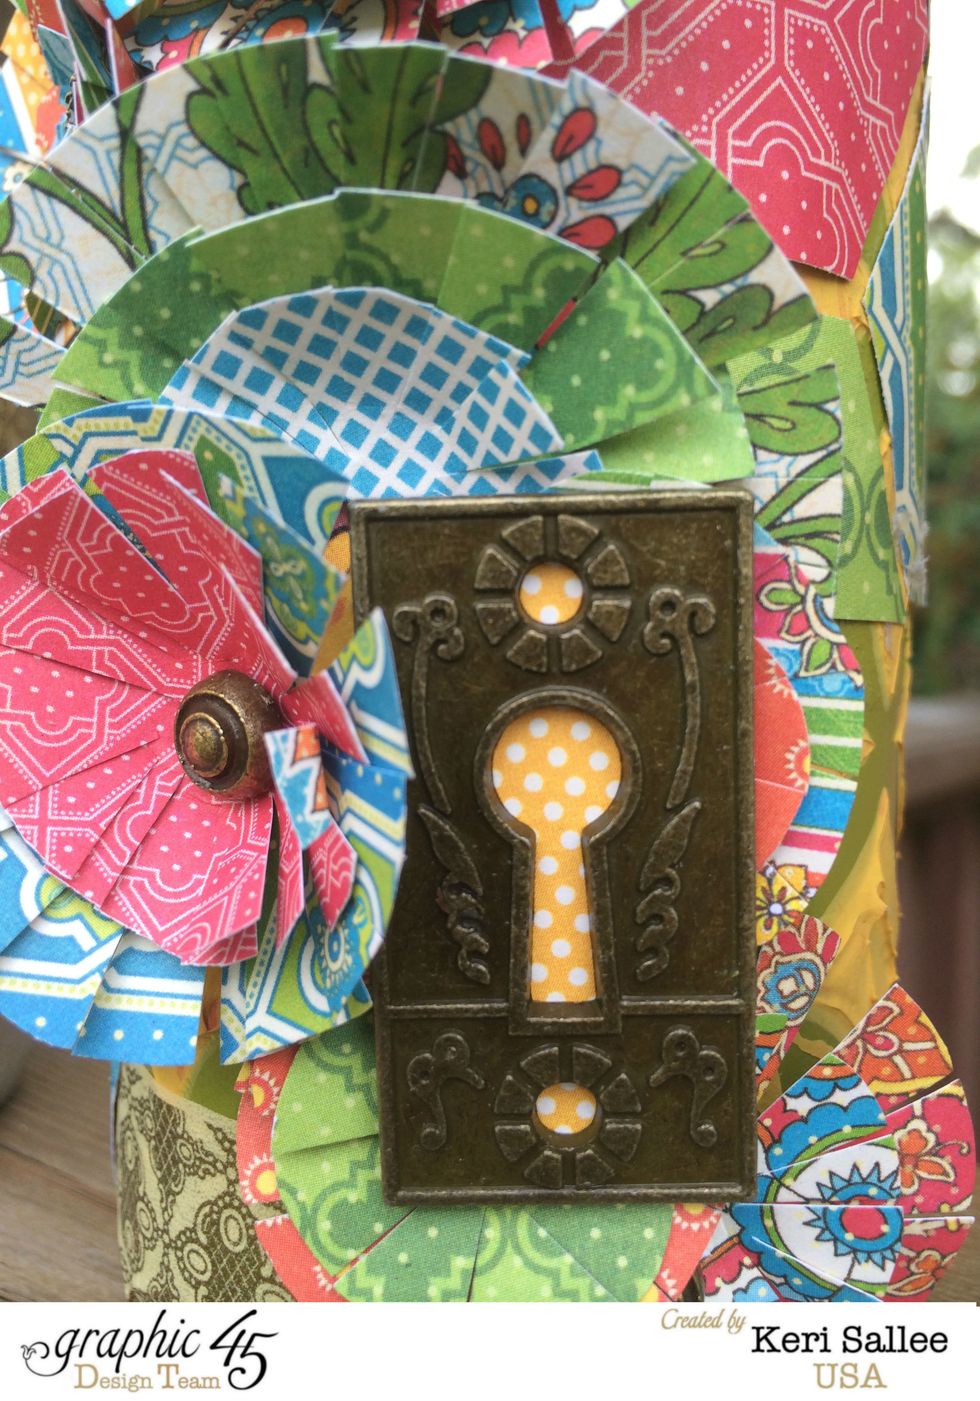
Back to the large bottle! Layer your flowers in a way to allow your background to peek threw. Add a Graphic 45 Ornate Key Hole (I backed it in yellow to make it pop!)
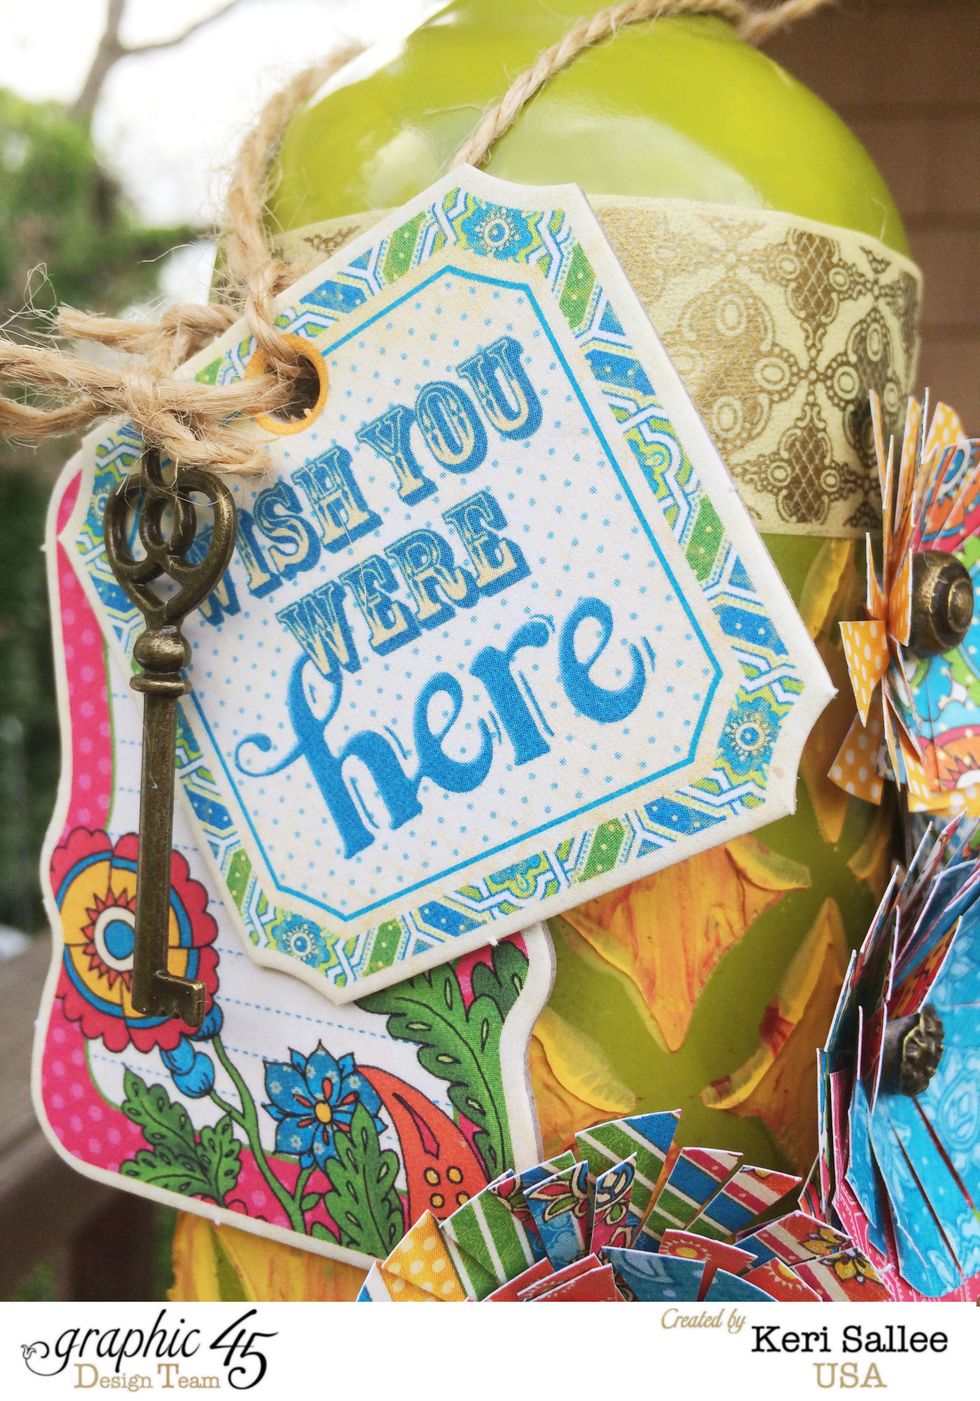
Create a hang tag using 2 tags from the Graphic 45 Chipboard 1 set and tie them and a Graphic 45 Ornate Key using Canvas Corp Hemp. Slide over the top of the bottle.
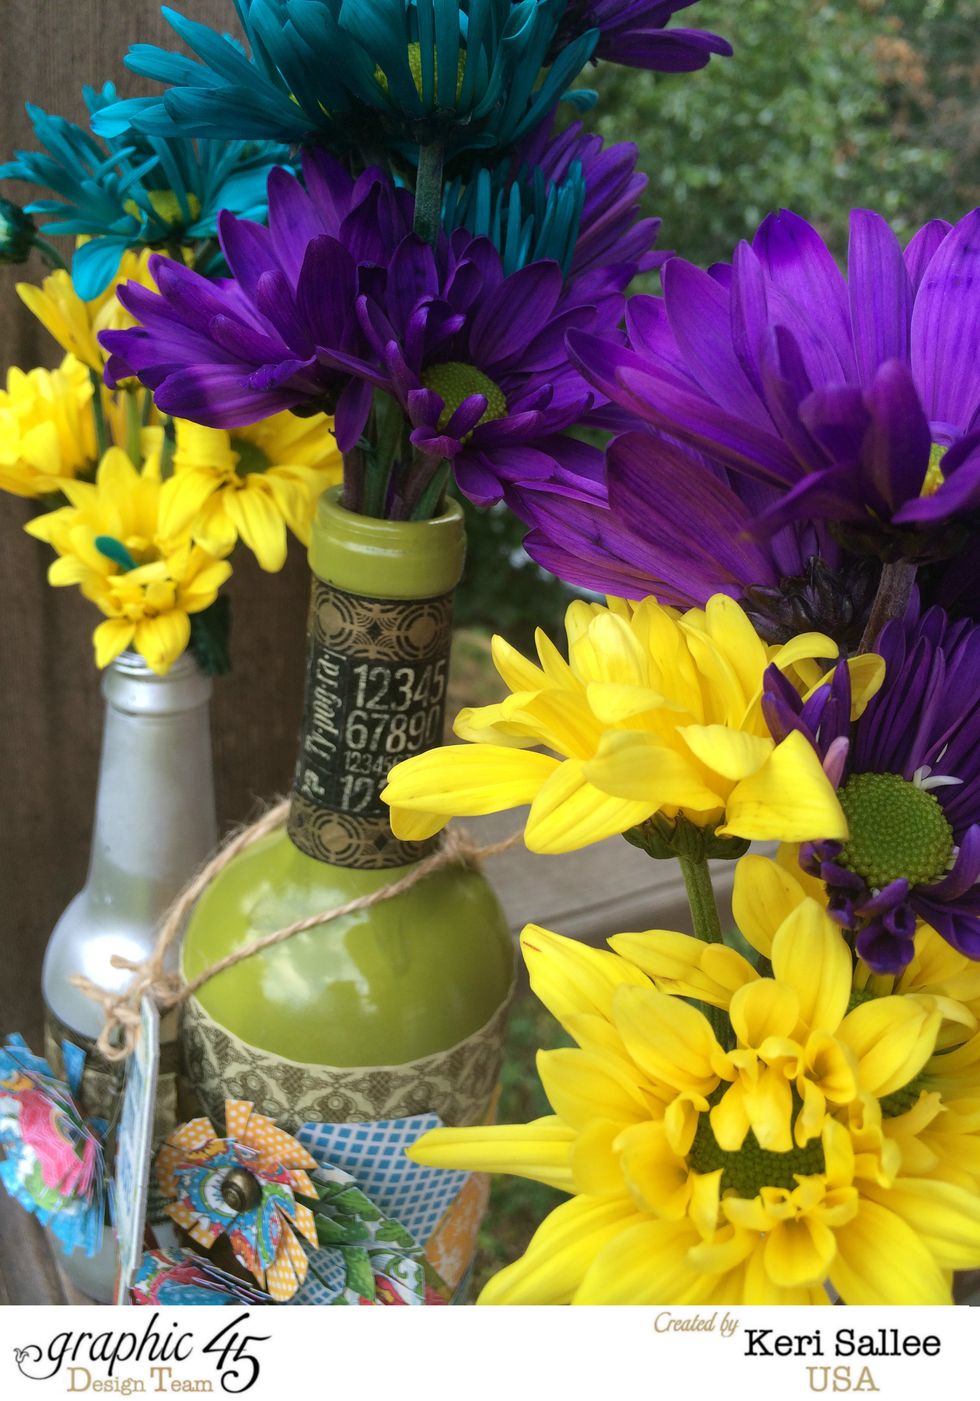
Add fresh flowers and you're done!!!
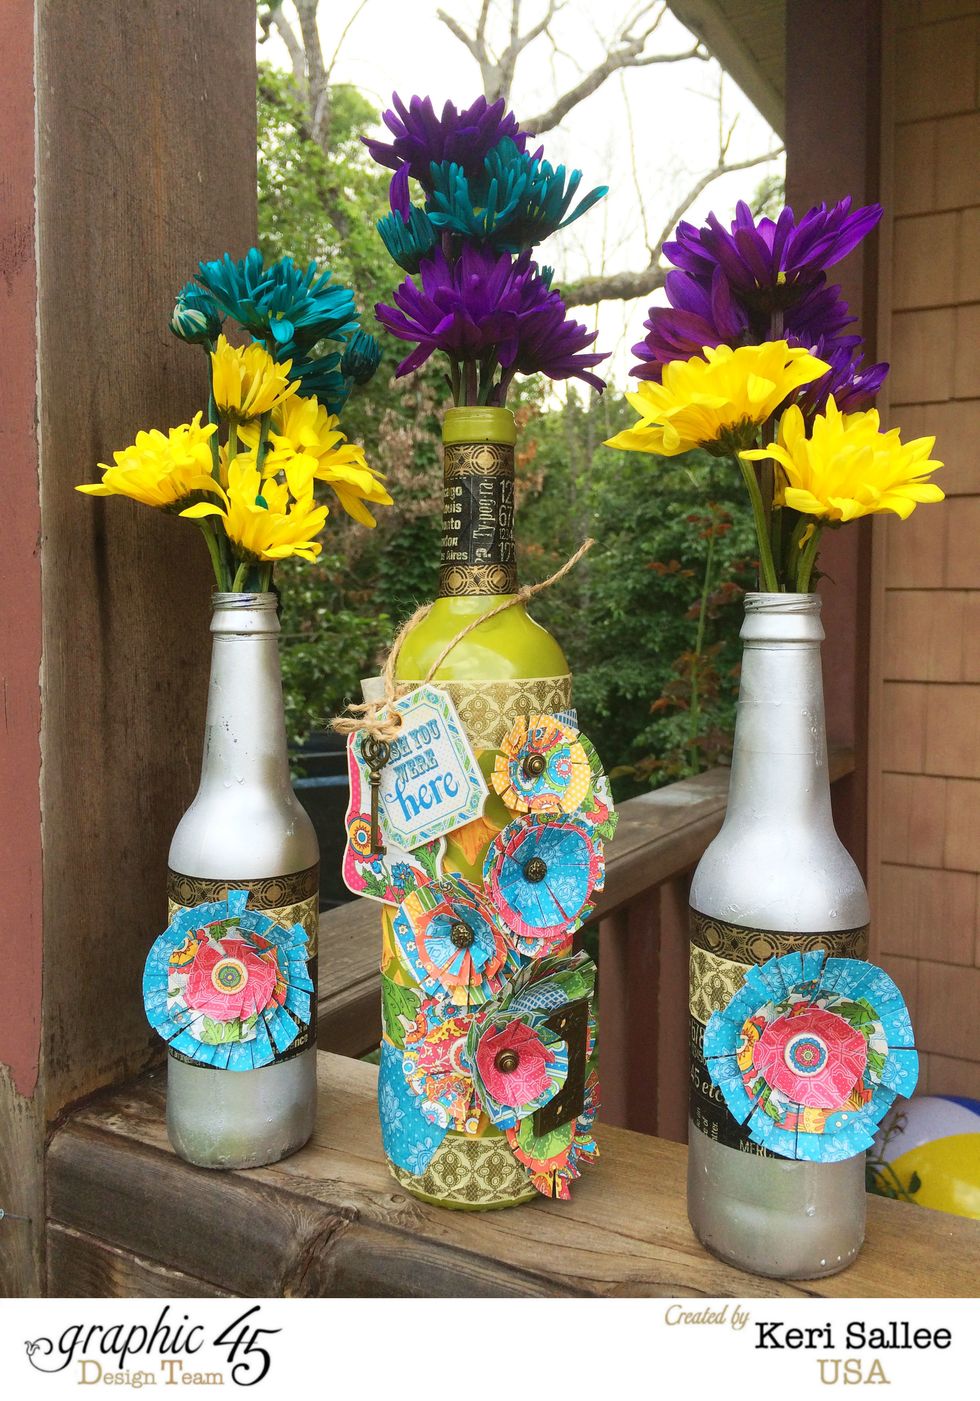
Enjoy your beautiful centerpiece!!