How to create a "remix" self portrait
I'll show you how to create a portrait that pays homage to your influences using Procreate for iPad.
223
STEPS
TOOLS

First you want to download Procreate for iPad from the App Store. It costs $4.99.

Here's my reference photo I took of myself.

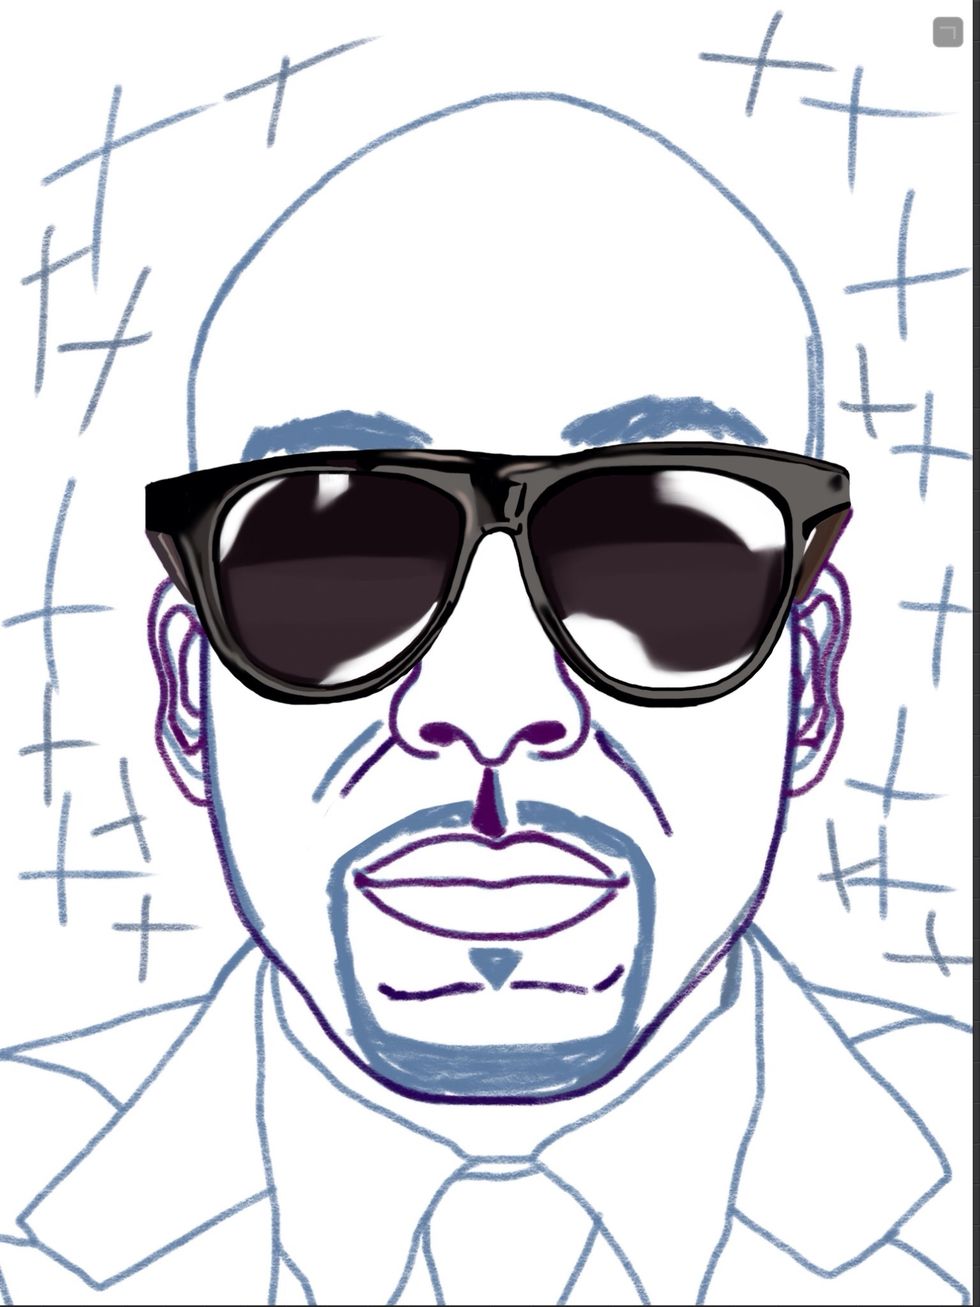
First I start with a basic sketch of myself in Procreate with the 2B Pencil. The blue color comes from traditional comic book making. The crosses are where the blacks go.

Now I block out the colors of the face using the round brush tool. This part is actually the most important and like David Kassan said it's like carving out the figure.

I continue blocking colors and render the suit jacket, shirt and tie.

After about twelve hours I use the smudge tool to blend the skin. I wanted an oil painted look so I again use the round brush to blend. It's important that you adjust the opacity to smooth things out.
Now that the painting is fully rendered I make a list of many important people that influence me. I got the idea for this from Austin Kleon's book, Steal like an Artist.
Basically this is a painting that pays homage to friends, family, artists and entrepreneurs that inspire me. I believe we are a remix of our influences.

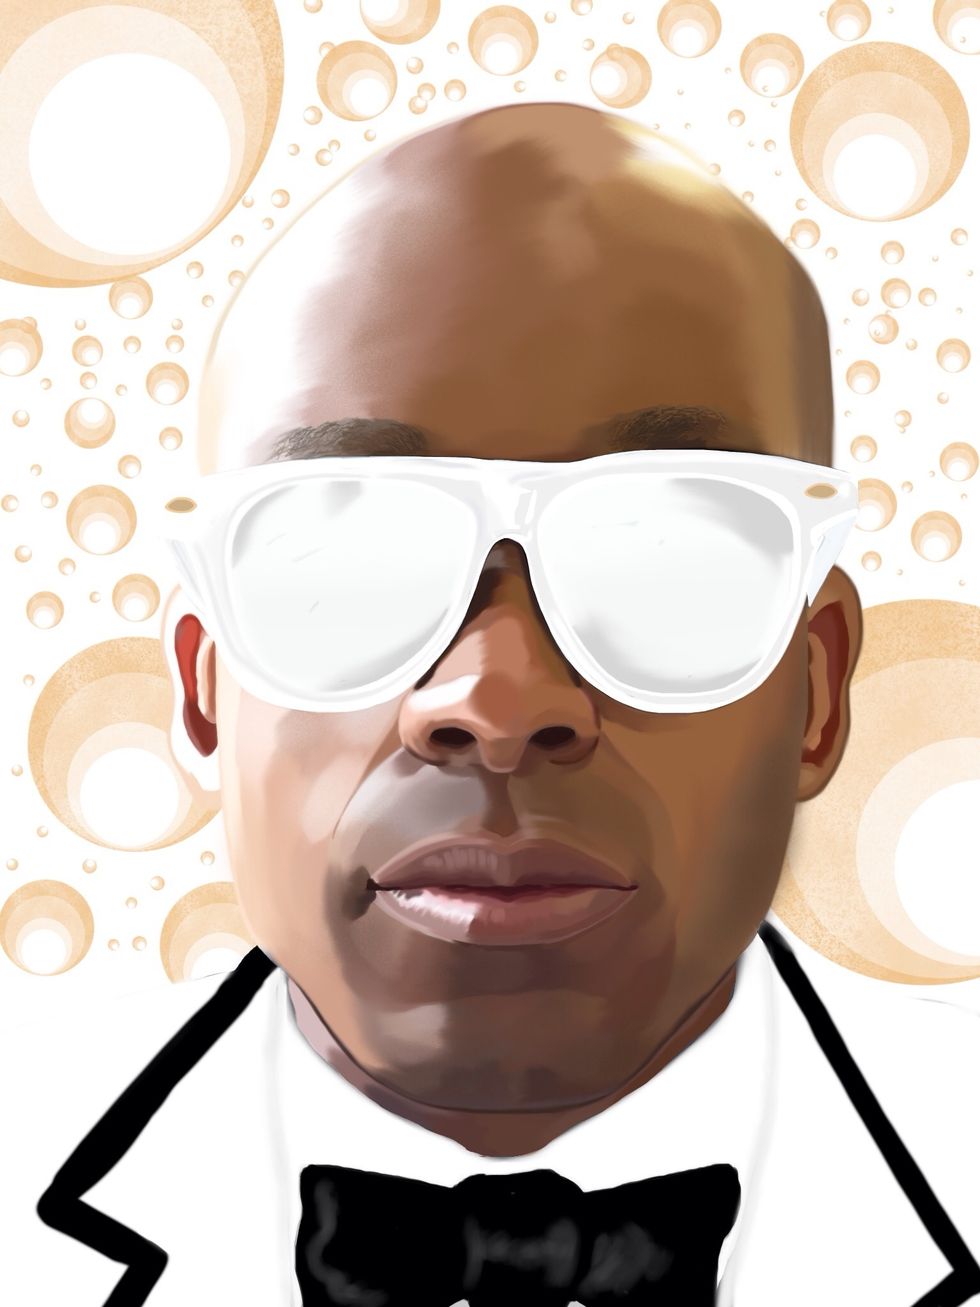
Here's what the final composition looks like. The beard is painting on a separate layer so I can create some copies and mix and match. If you end up trying to make your own please let me know!

Hope you enjoyed the guide! Please feel free to leave comments or ask a question below. Check out my work at http://raheemnelson.com.
- iPad
- Stylus
- Procreate
- List of Inspirations
New Haven, Connecticut
The Conversation (0)
Sign Up