The Conversation (0)
Sign Up

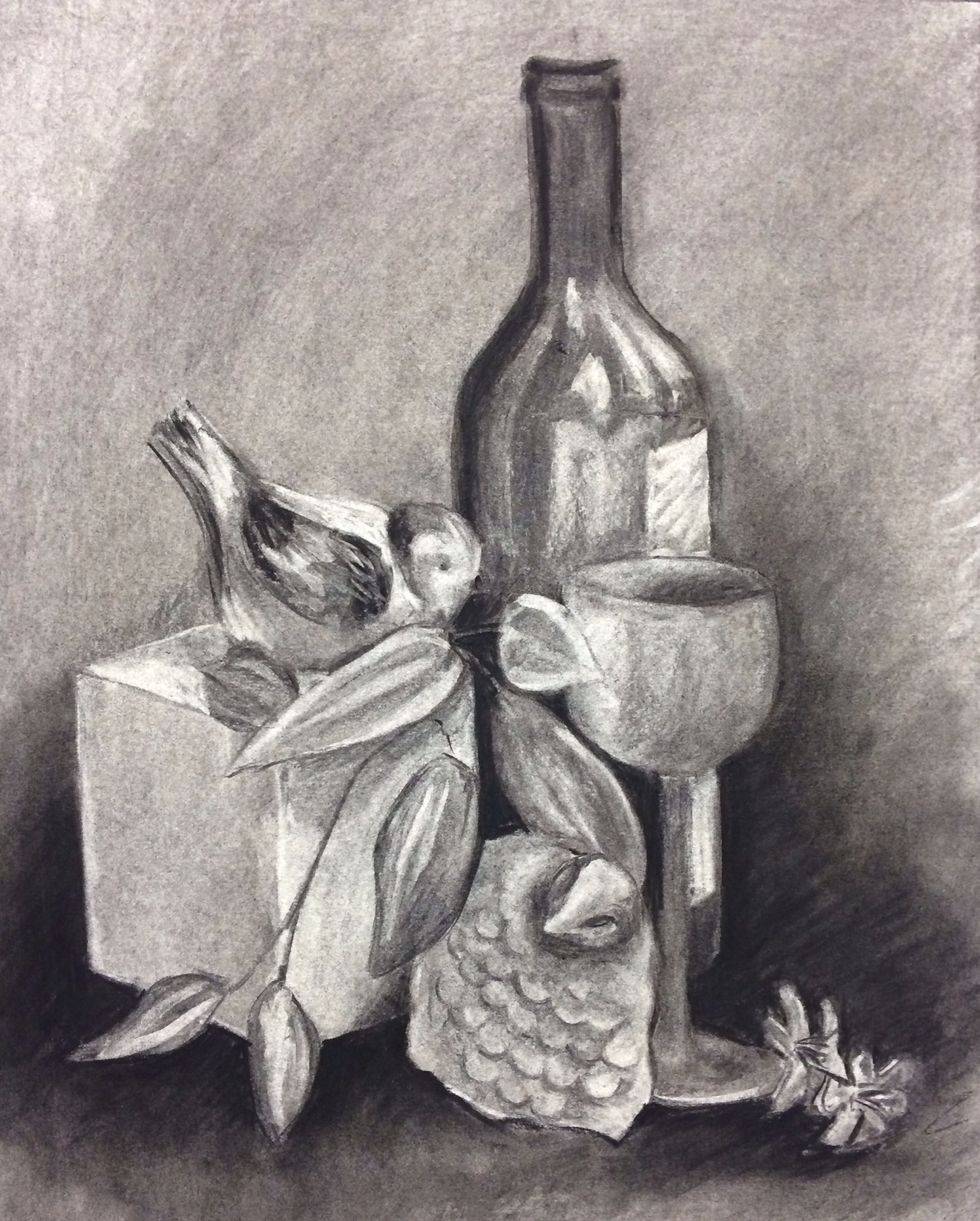
Arrange your items in a pleasing or interesting way. Create varied levels and reduce the amount of negative space between objects.
When creating a reductive drawing you must apply media all over your surface first. Do this by rubbing vine charcoal over your entire paper. Smooth the surface with a dry paper towel.
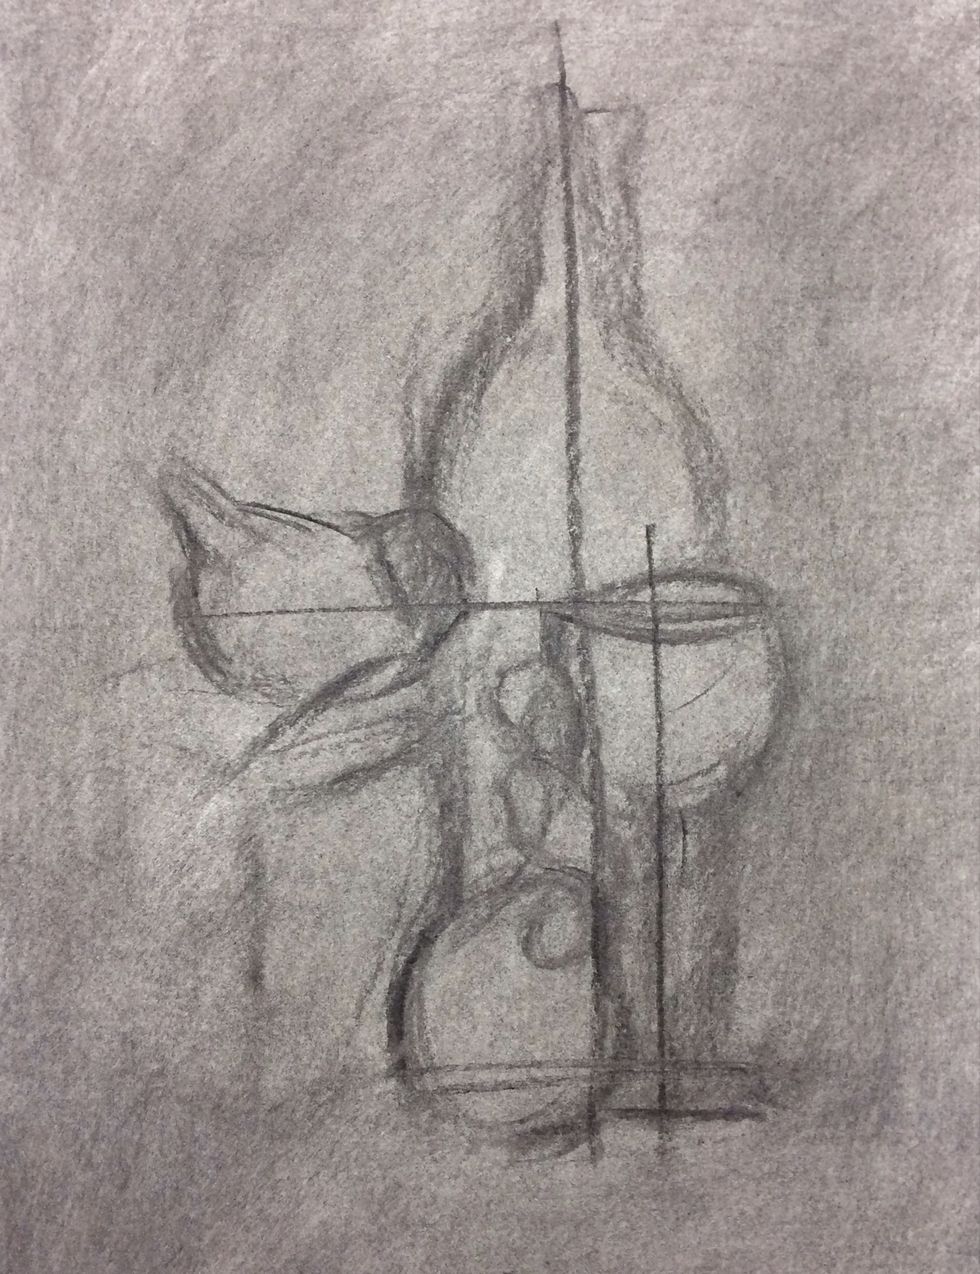
Once you've created a nice surface, use soft (never scratchy) vine (or willow) charcoal to lightly suggest your forms. Use sighting to ensure accuracy. Do not use compressed charcoal yet!
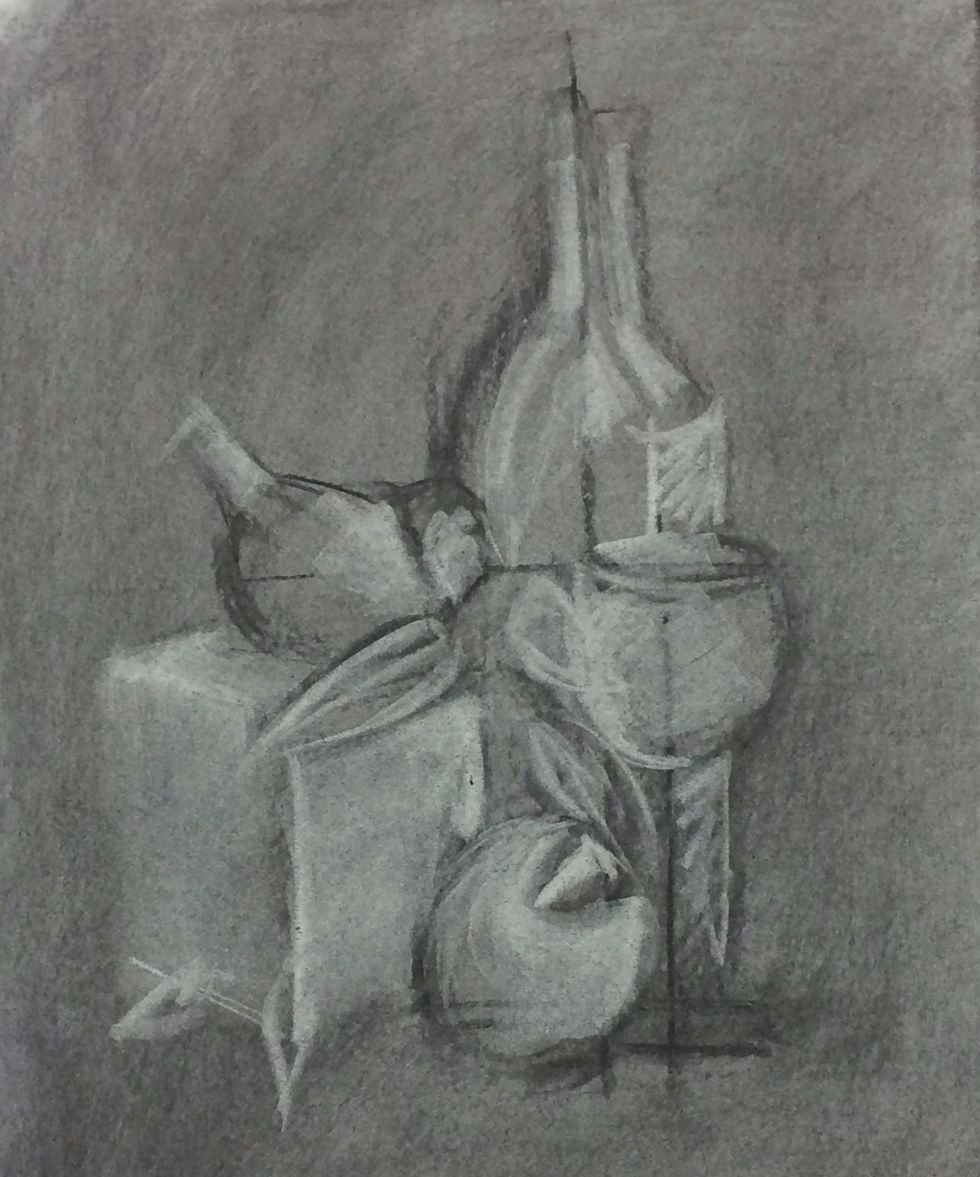
Use the white rubber eraser to "carve" out lighter values.
Reflections on surfaces and intricate details can be simplified to their most basic shapes and values and refined as desired. A lot can be suggested with very little visual information.
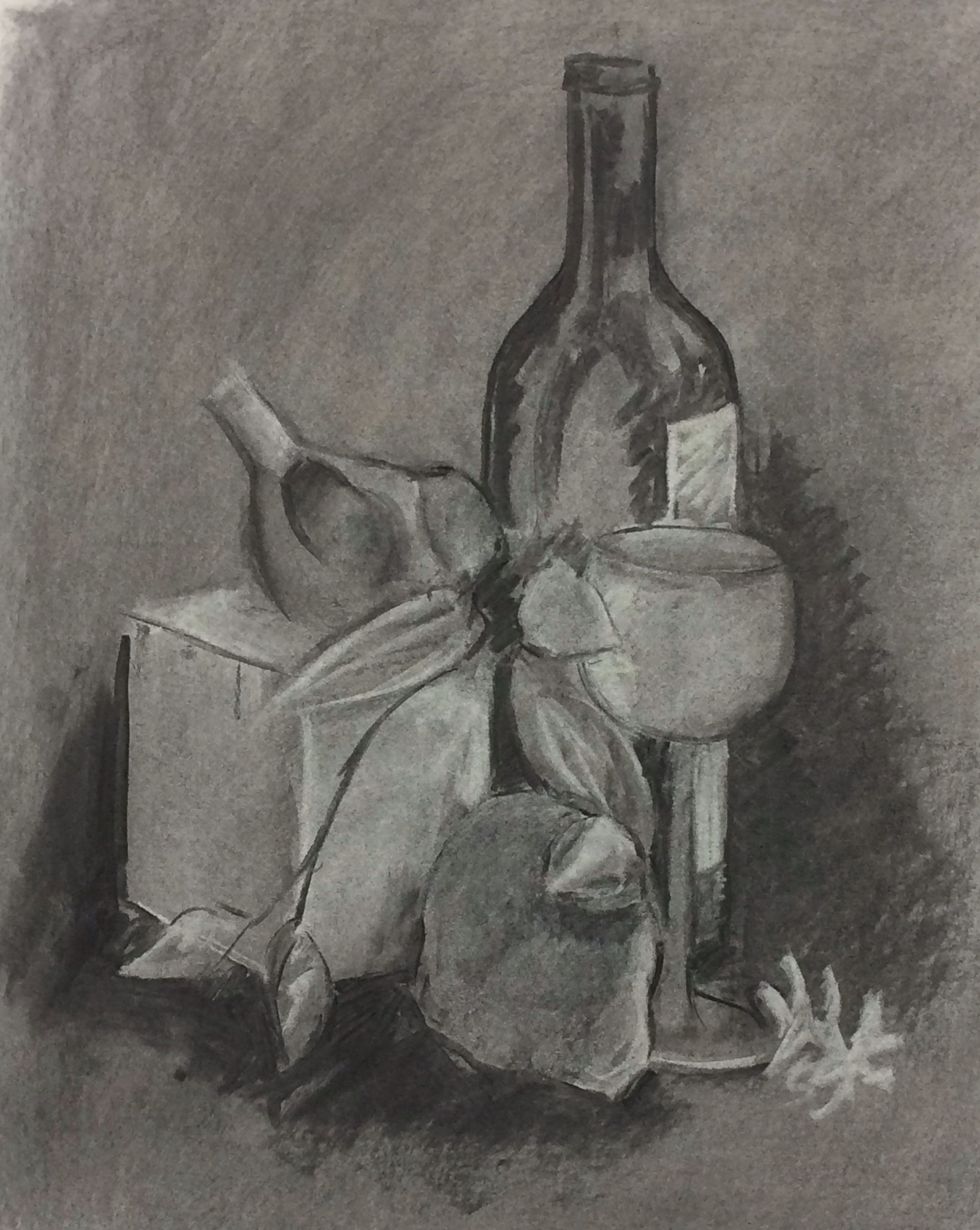
Switch back to vine charcoal and start to define value planes more specifically. Begin to replicate value contrasts along edges in an effort to eliminate outlines (which do not exist in real life).
Continue the push+pull dance of additive and subtractive drawing until your forms have a good range of values and details that do not rely on outlines for clarity.

Use either the rubber or kneaded eraser to go back and define light value areas. Your kneaded eraser can be shaped in interesting ways to aid in this process.
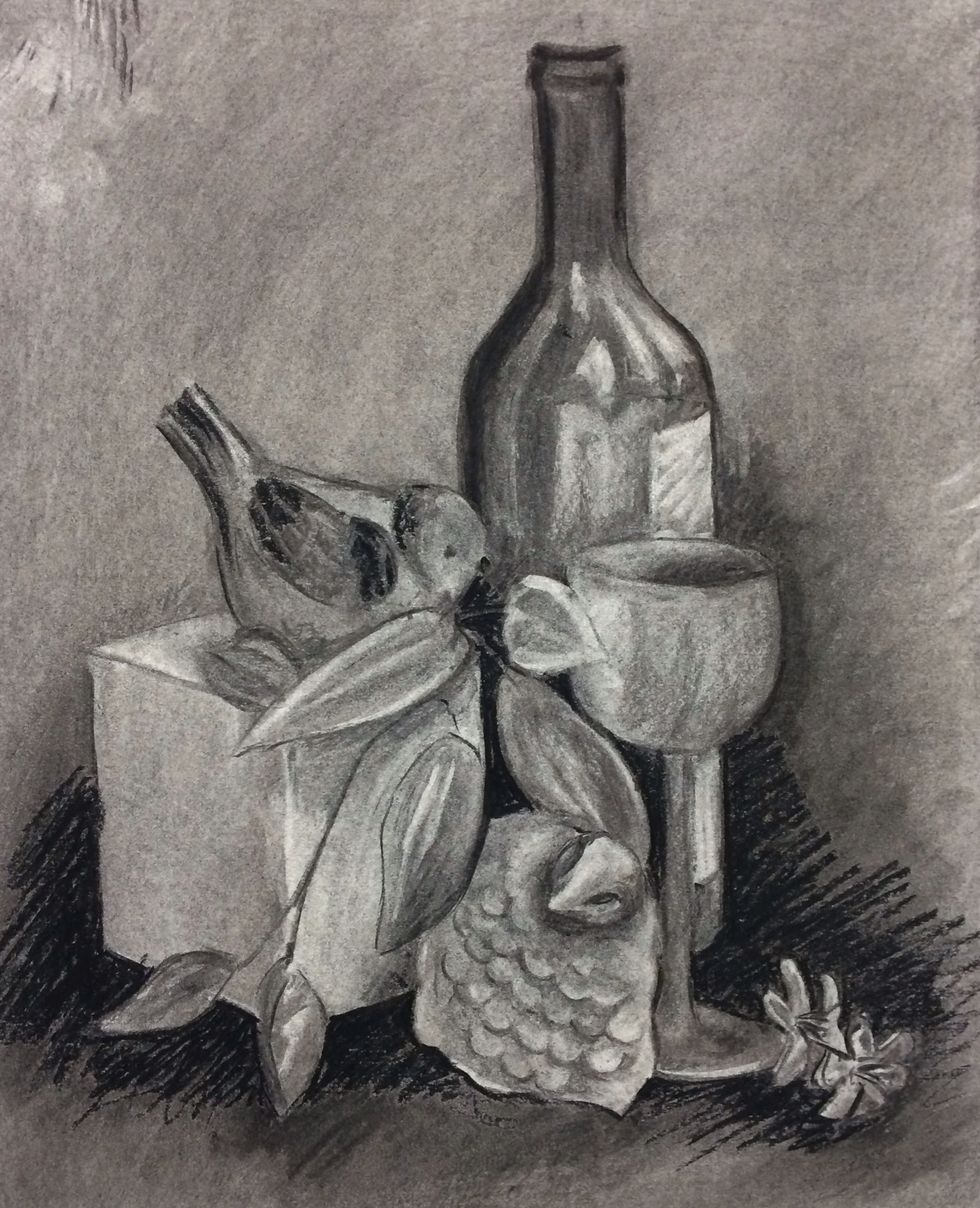
Once the forms had been clearly defined with vine charcoal and erasers you can increase the value range (and thus the illusion of form) with compressed charcoal (which is darker).
You can continue to use both vine and compressed charcoal and erasers to refine your forms.
Smoothing compressed charcoal is best done with a blending stump for small or detailed areas. It is less easy to erase so save it until the end of the drawing.