The Conversation (0)
Sign Up
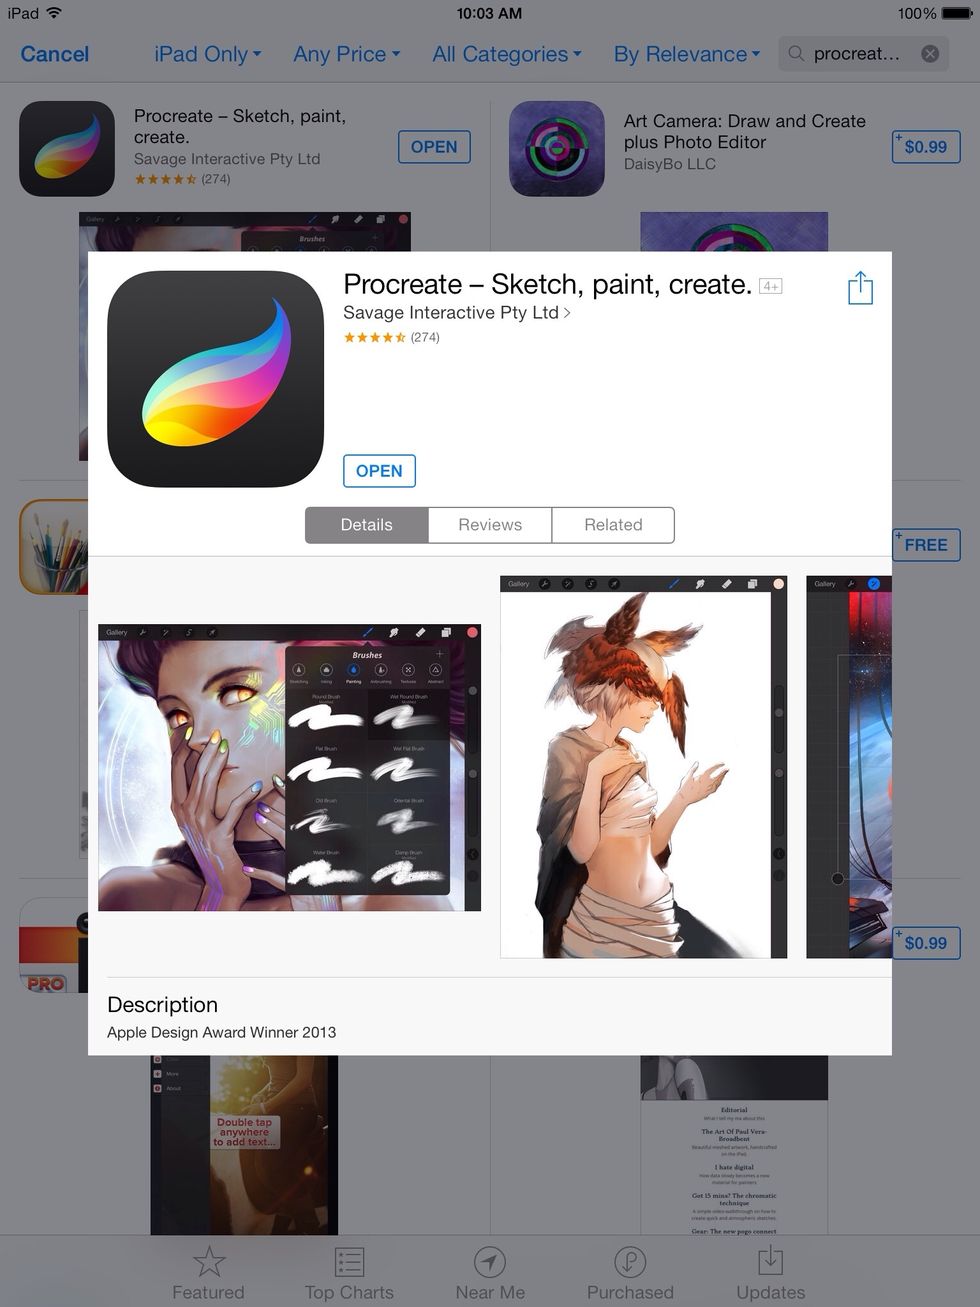
First you want to download Procreate on your iPad. It's a $5.99 download on the App Store. Personally my favorite app by the way.
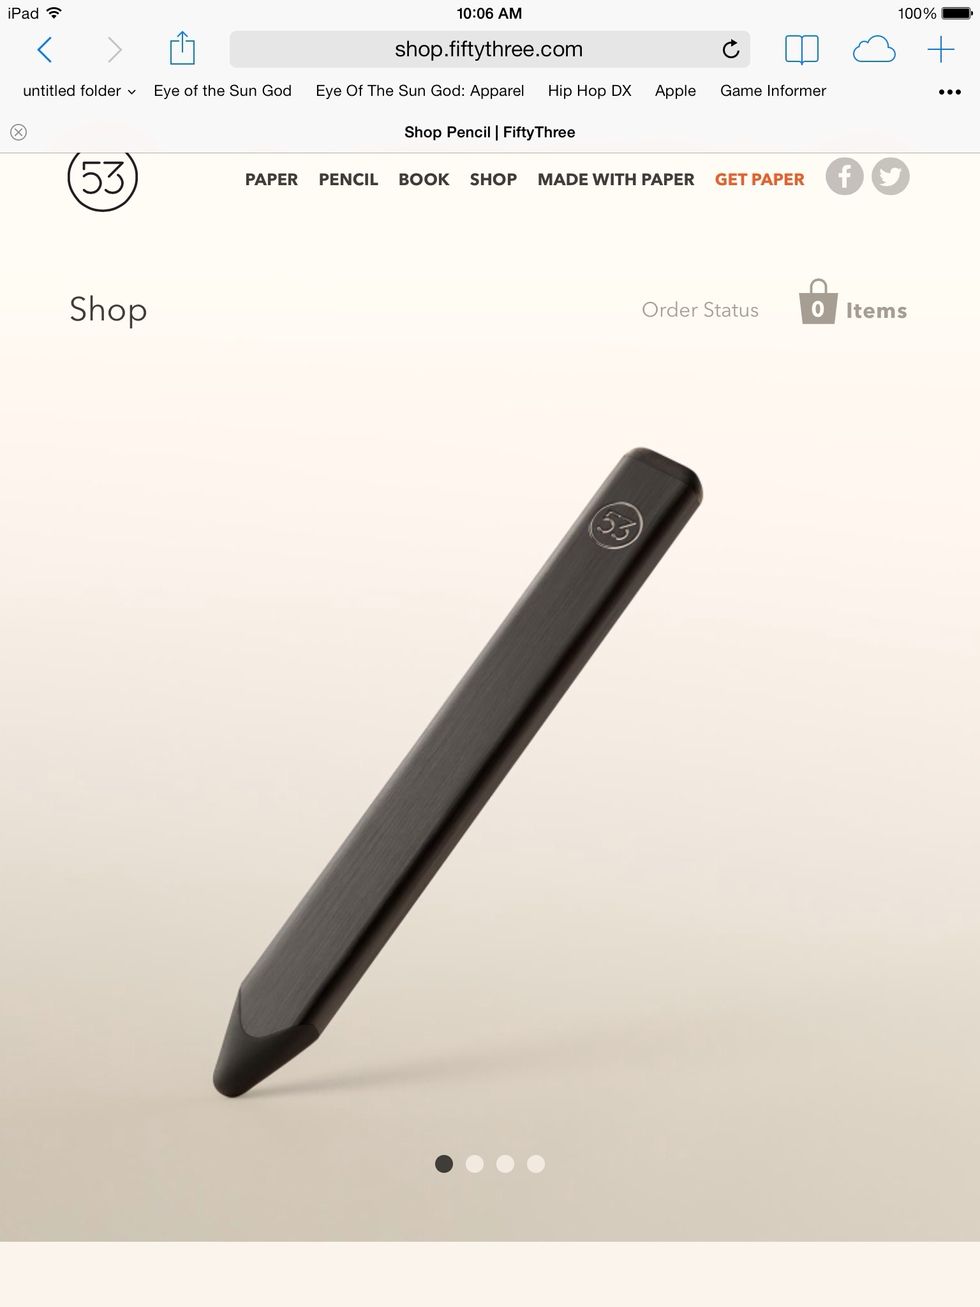
For this painting I actually used two styli. First is the Pencil by 53. Pencil is $59.95 (graphite) on fiftythree.com.
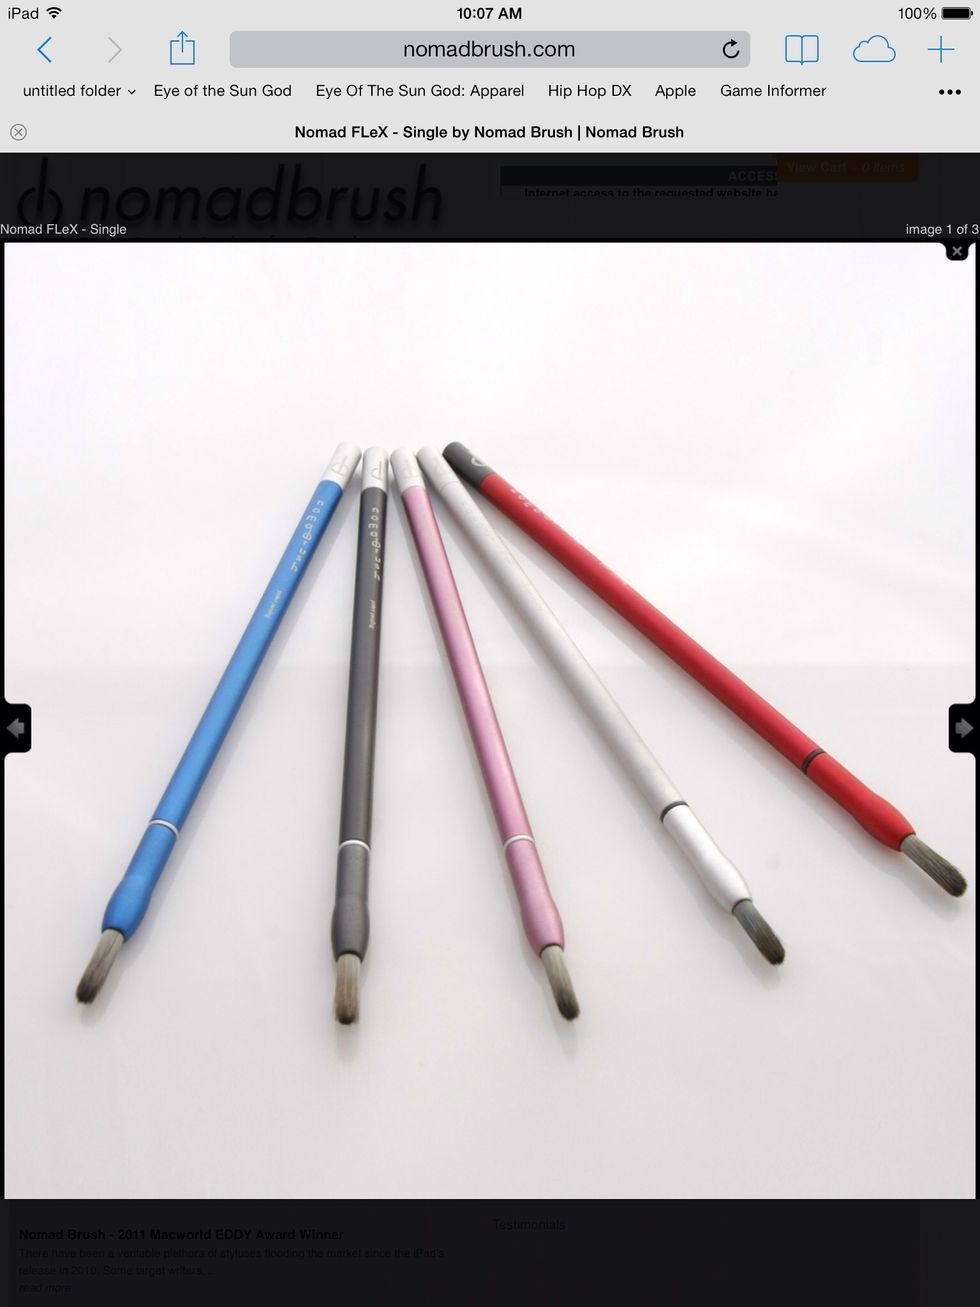
Second is the Nomad Flex from Nomad Brush. These brushes are great for...you guessed it, painting. It just feels organic and helps me quickly paint large areas. It's $29.99 on nomadbrush.com.
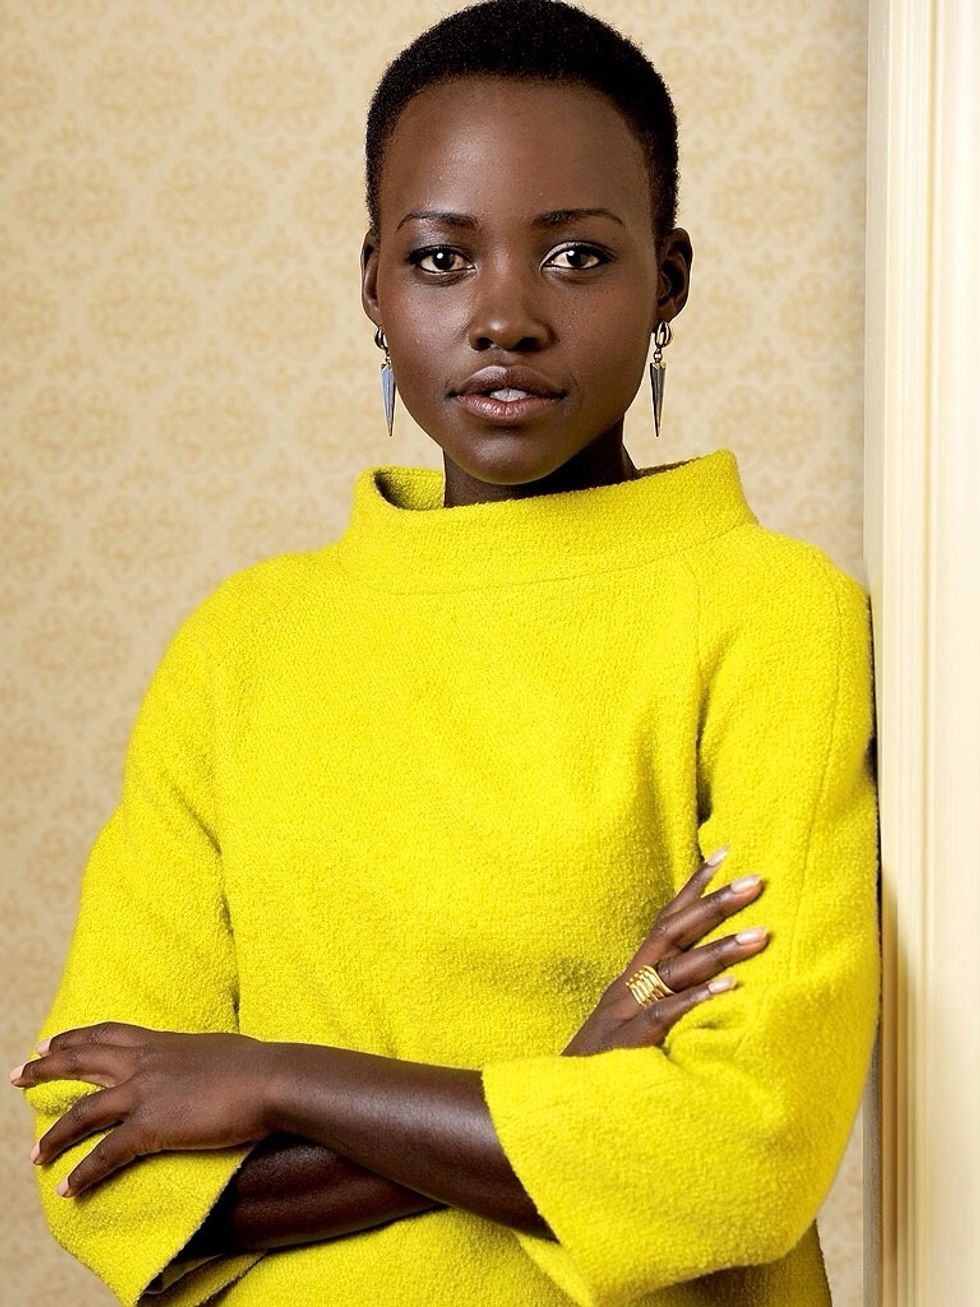
Here's my reference photo. I keep this on my iPhone as I work.
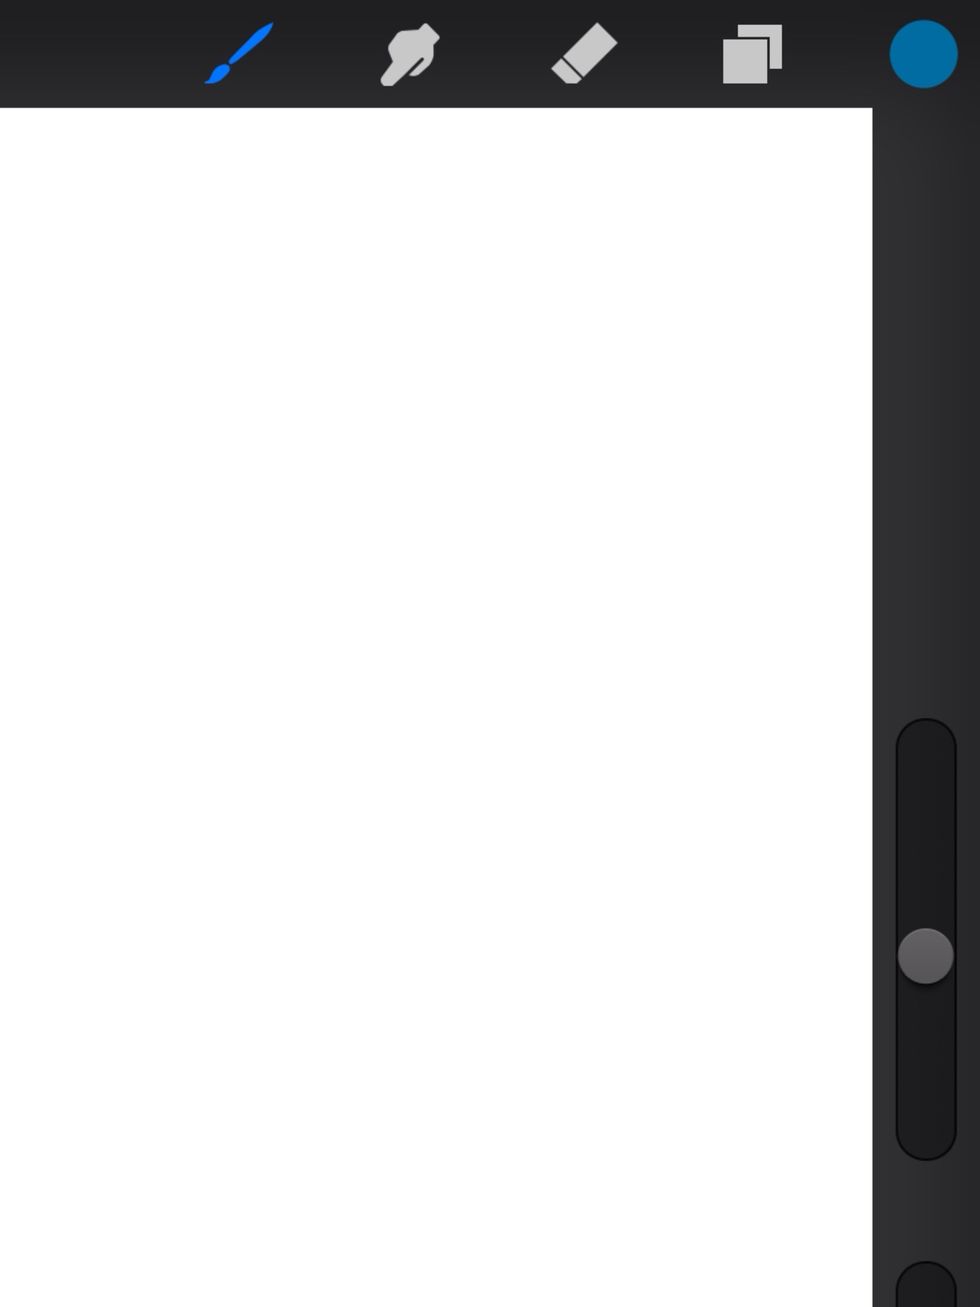
Let's like at the tools. (From top left) Painting tools, Blender, Eraser, Layers and Color.

First I start with the 6B Pencil tool for a few light sketches to establish the form and capture the pose.
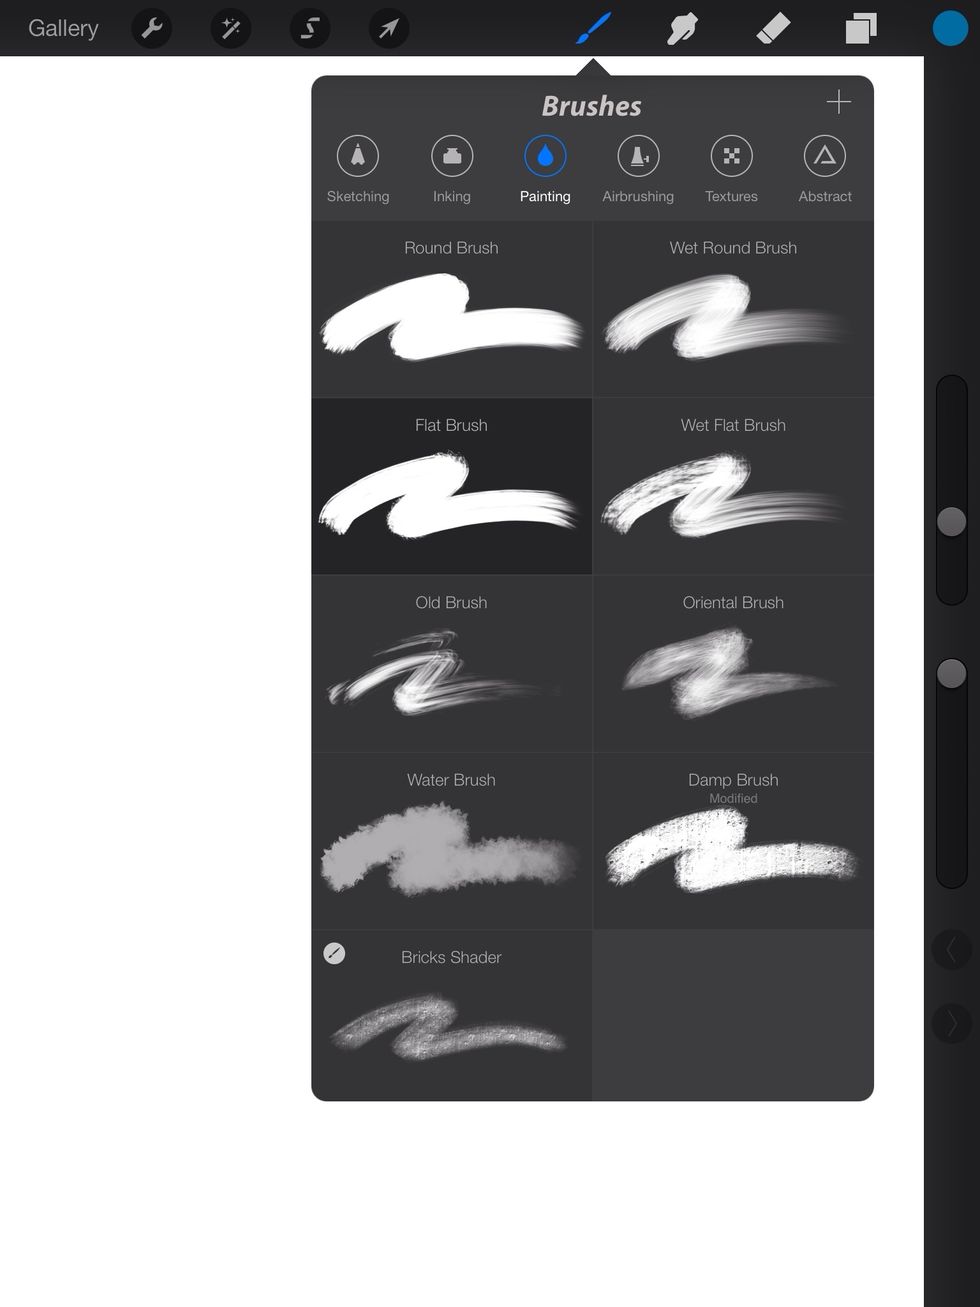
Next I use the flat brush to paint.
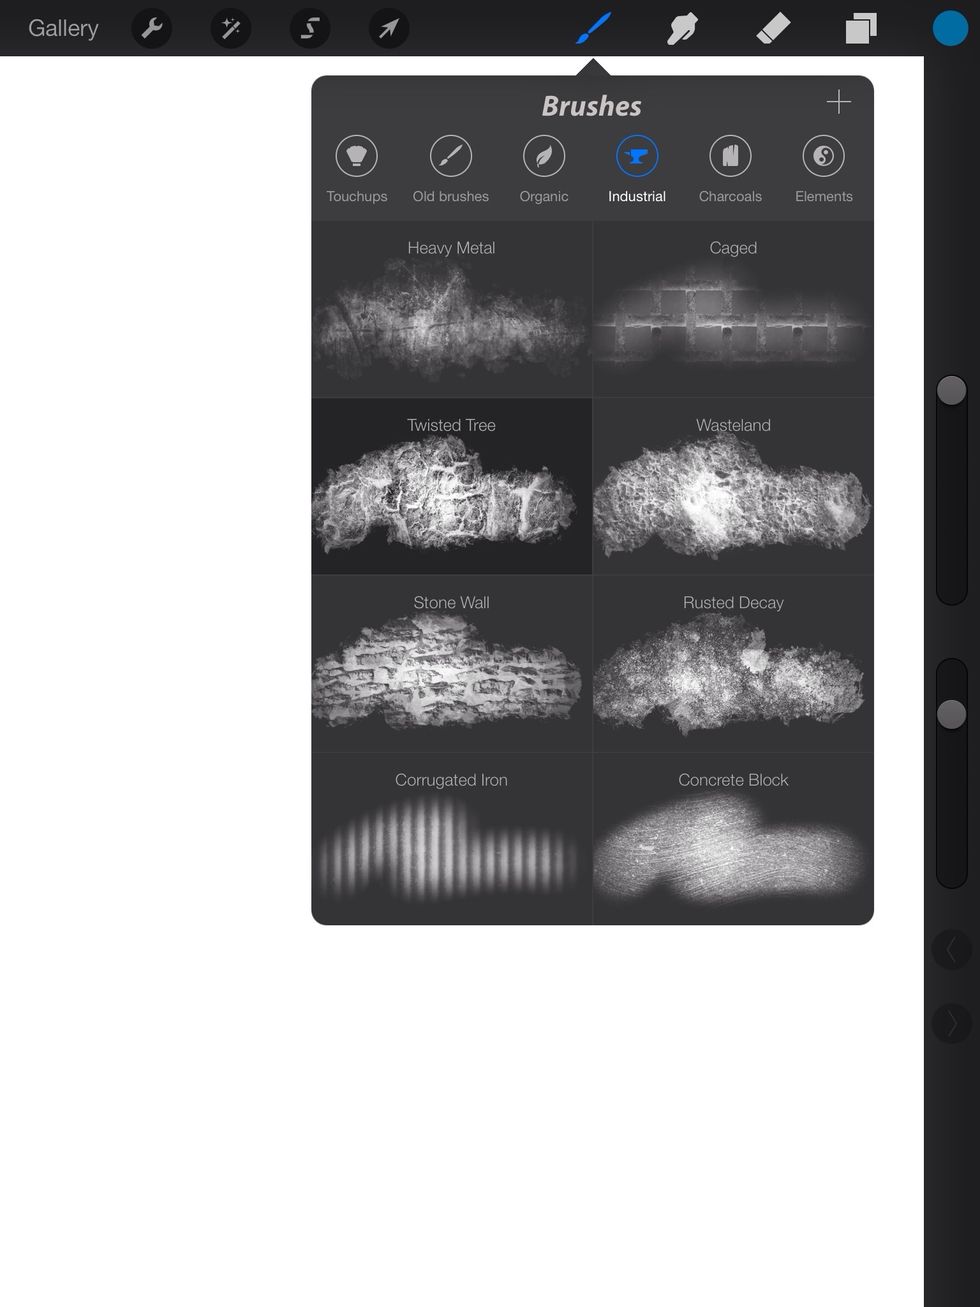
Twisted tree is great for rendering her hair.

The Lightbrush and Nebula brushes are for the light sources on her skin.

Classic Shading (found on the Procreate forums for download) is great for rendering pores in the skin.
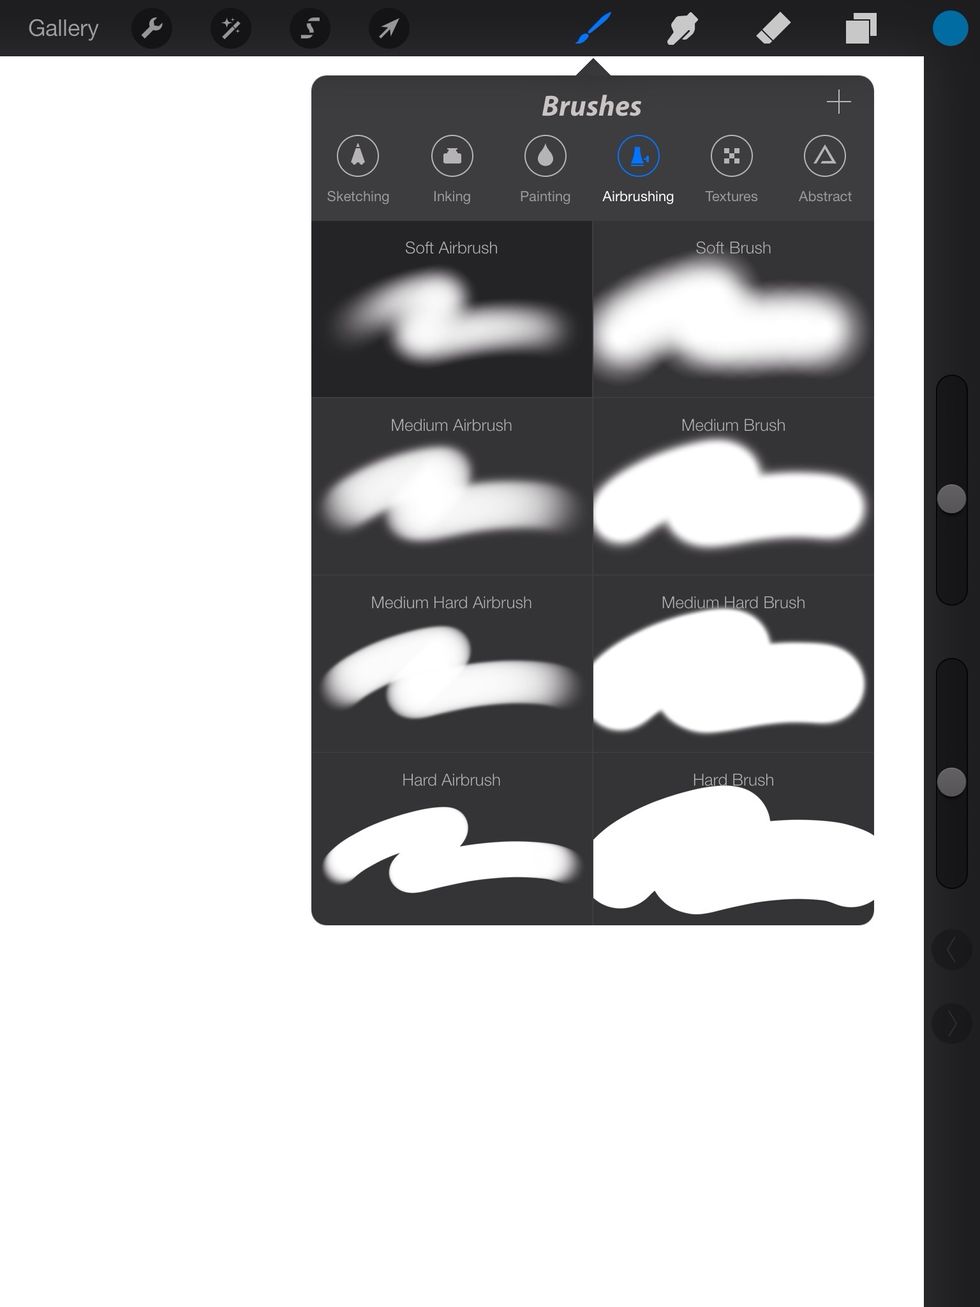
The Airbrush tools are good for soft highlights around the skin.
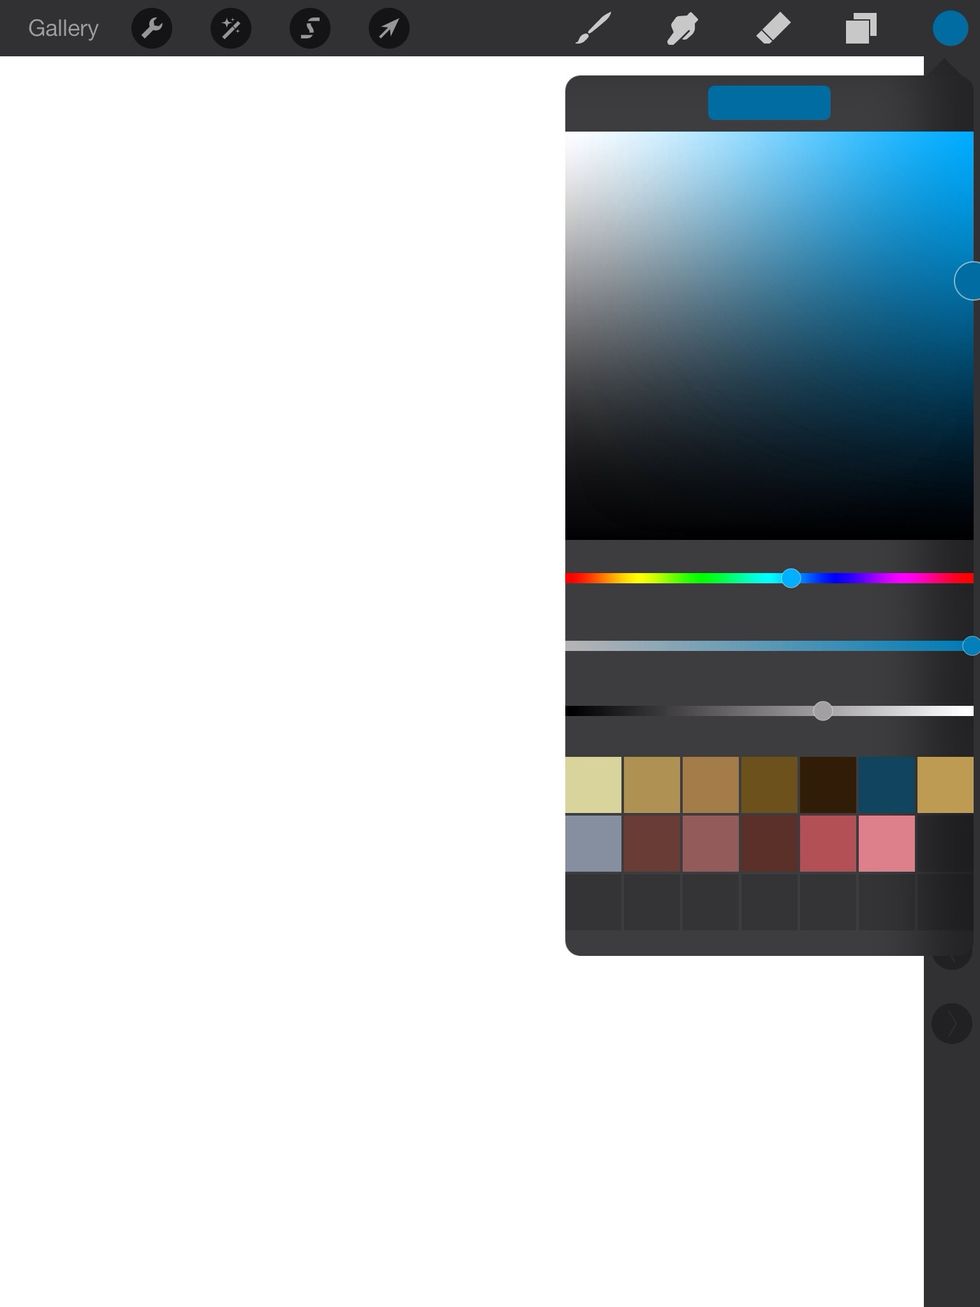
Here are my color swatches. Moving the cursor will shift between light and dark.
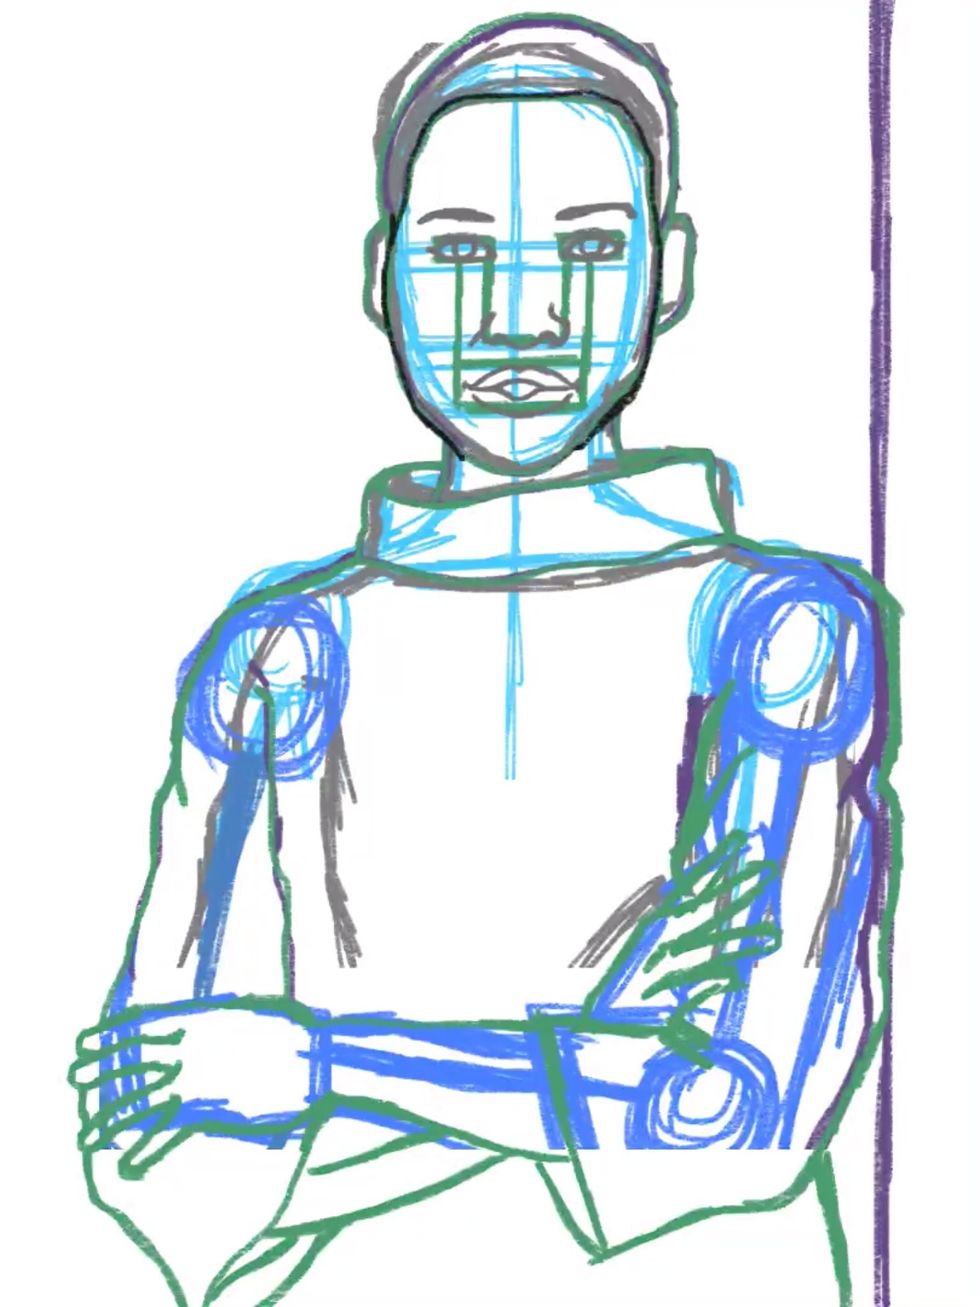
Here is my first sketch. It's different colors so I can keep track of all of my corrections. Underneath is the basic anatomy. (looks like a stick figure.)
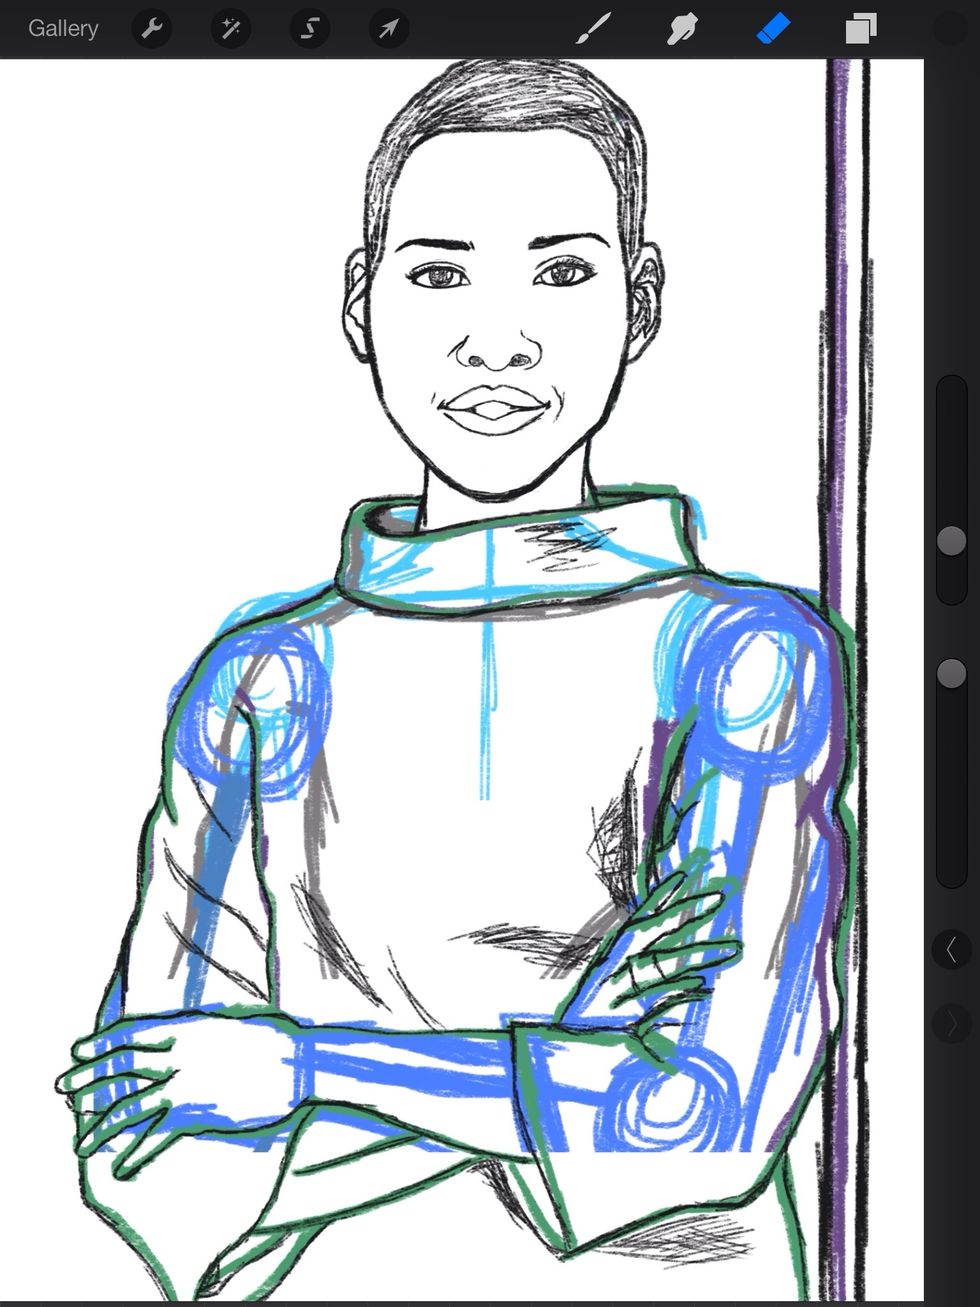
Here is the sketch with the face rendered.
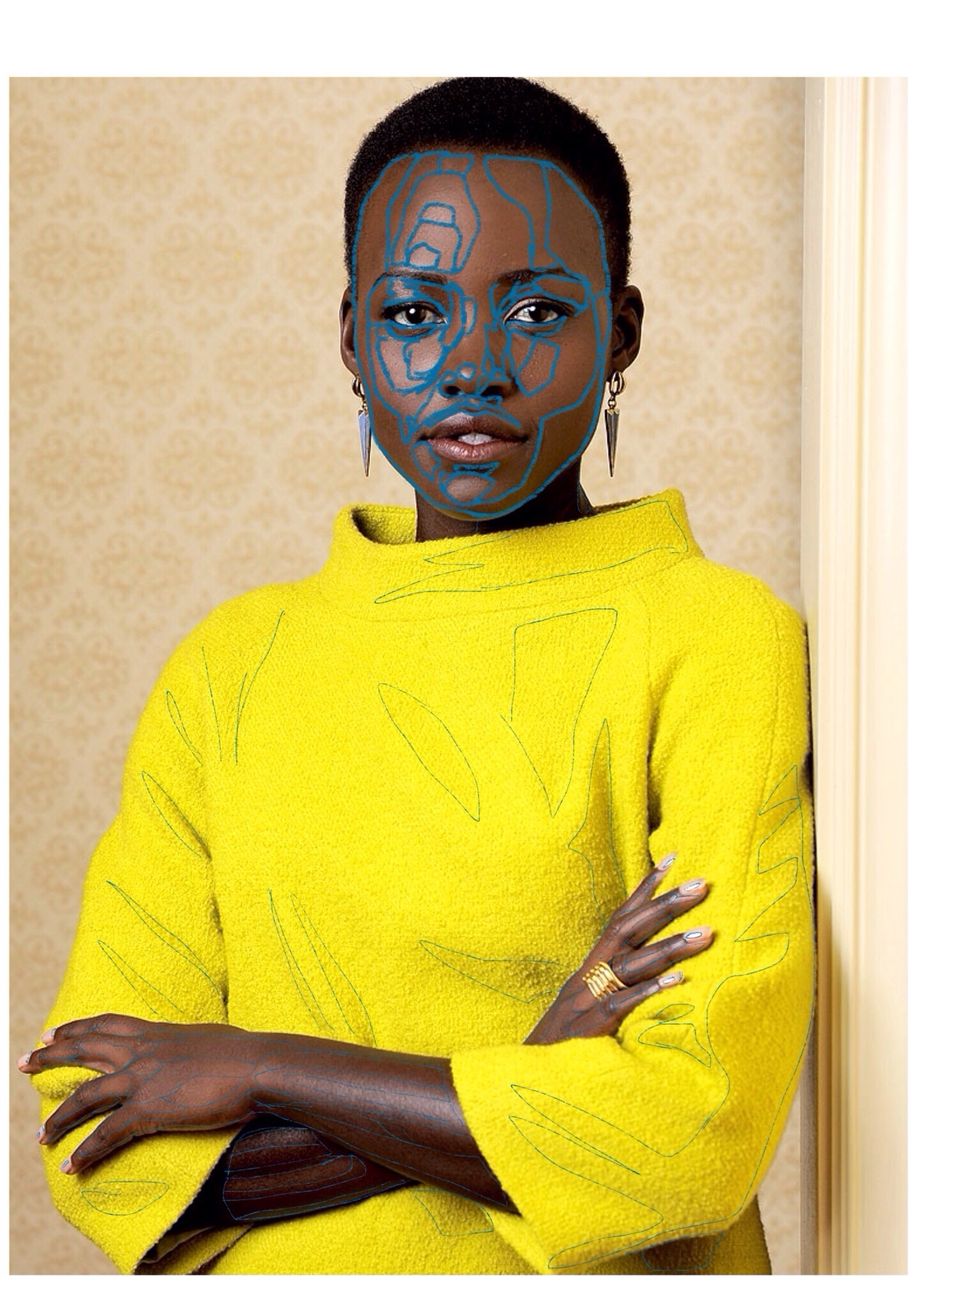
Now before I color I go back to the reference photo and do what I call color mapping. Everything gets broken up into basic shapes and I do the same with the actual painting.
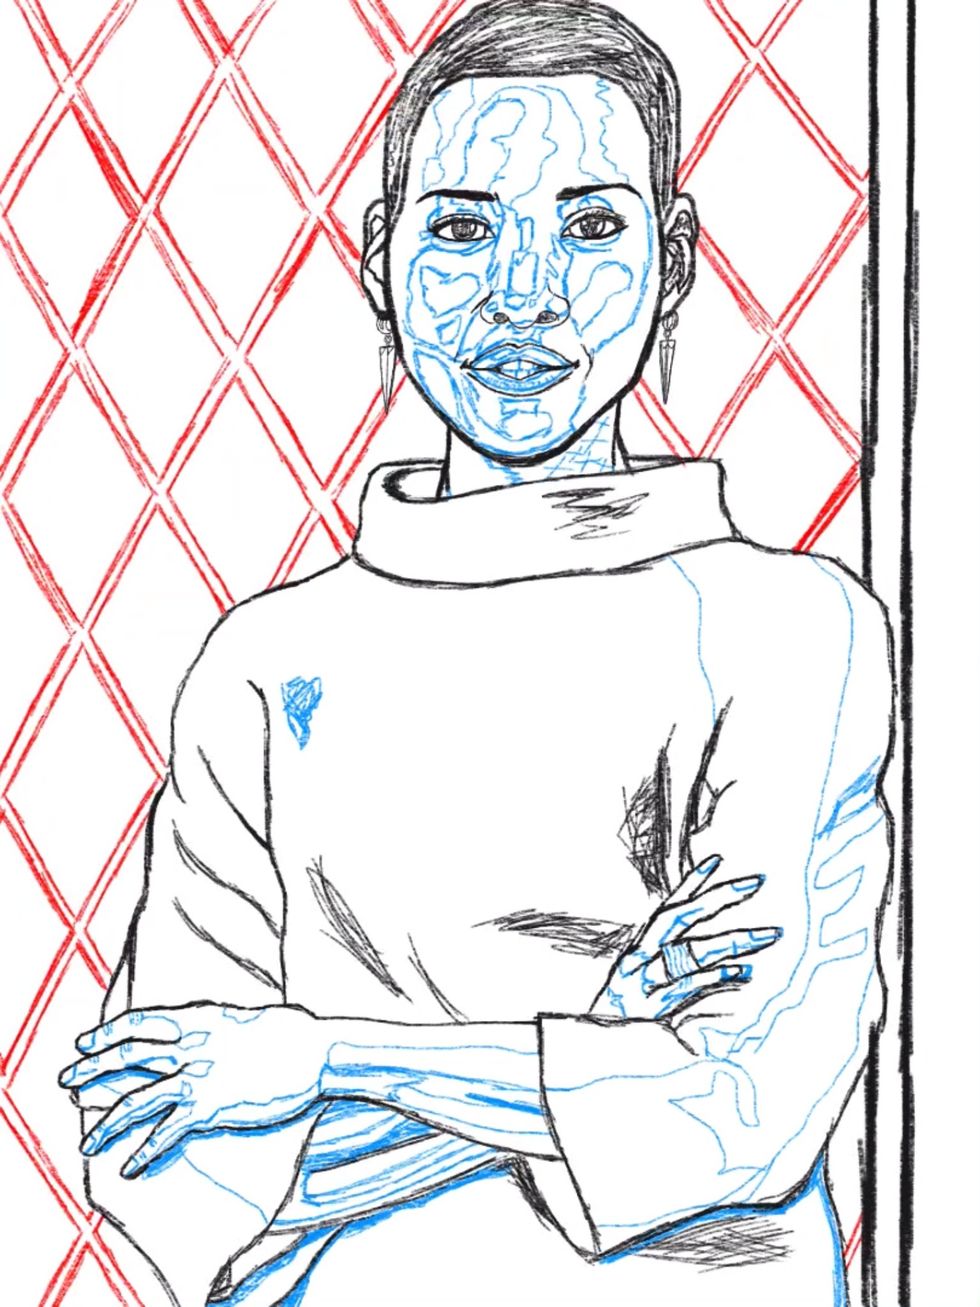
Consider that step like creating a map for yourself.
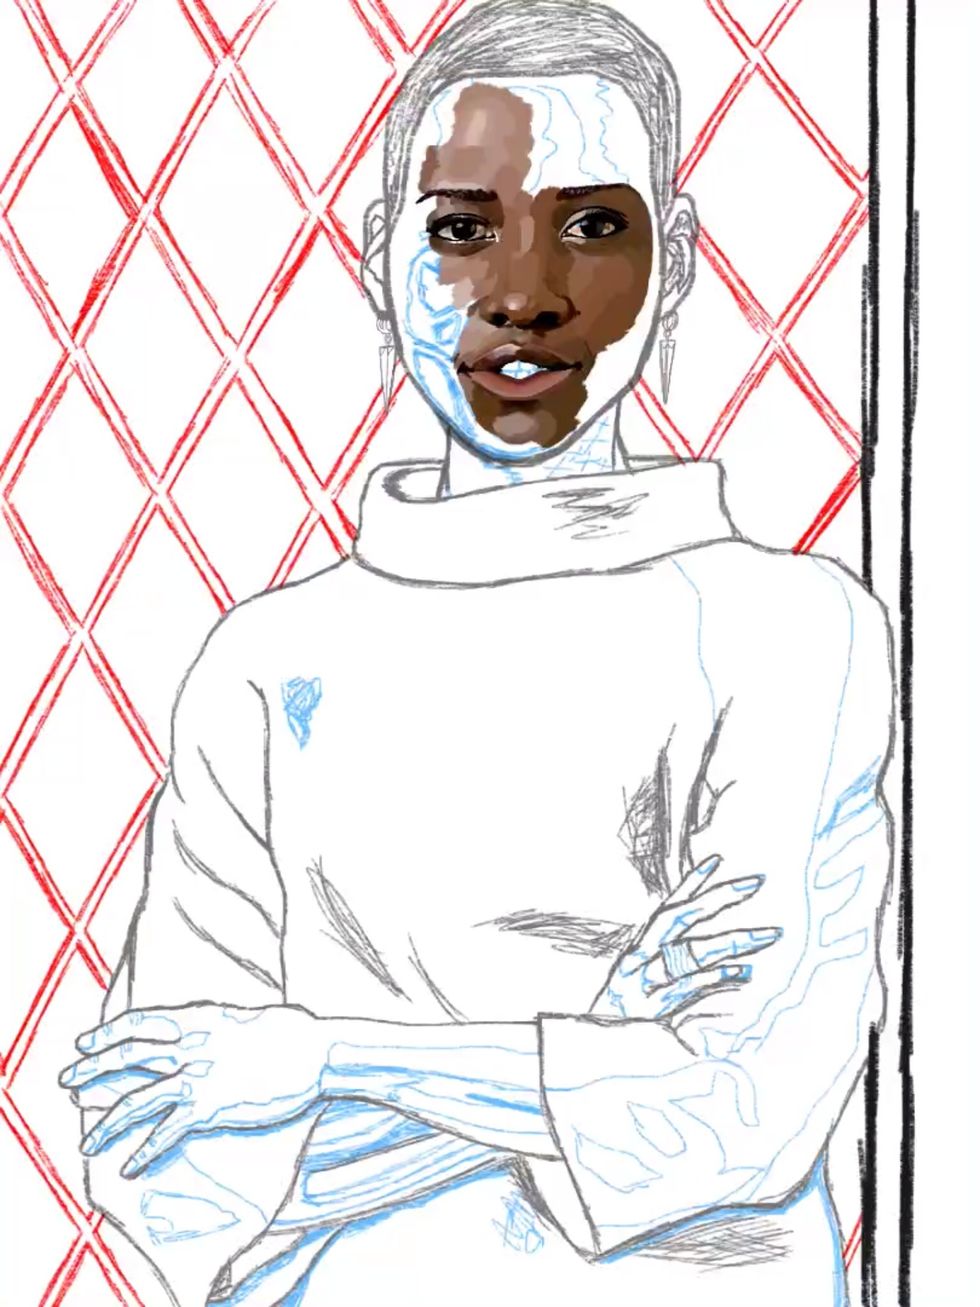
Now I create a separate layer and begin painting. This is the blocking in stage. Nothing gets blended until the entire figure is covered.

Here's the progression. Now it really looks like her despite the rough brush strokes. Generally for women I don't leave the painting like this. The skin looks more feminine if it's smooth.
Now I begin to use my smudge tool to blend all of the skin tones. Keep in mind to keep the opacity low so the skin isn't too smooth. It's all about balance. I use about 34% opacity or lower.
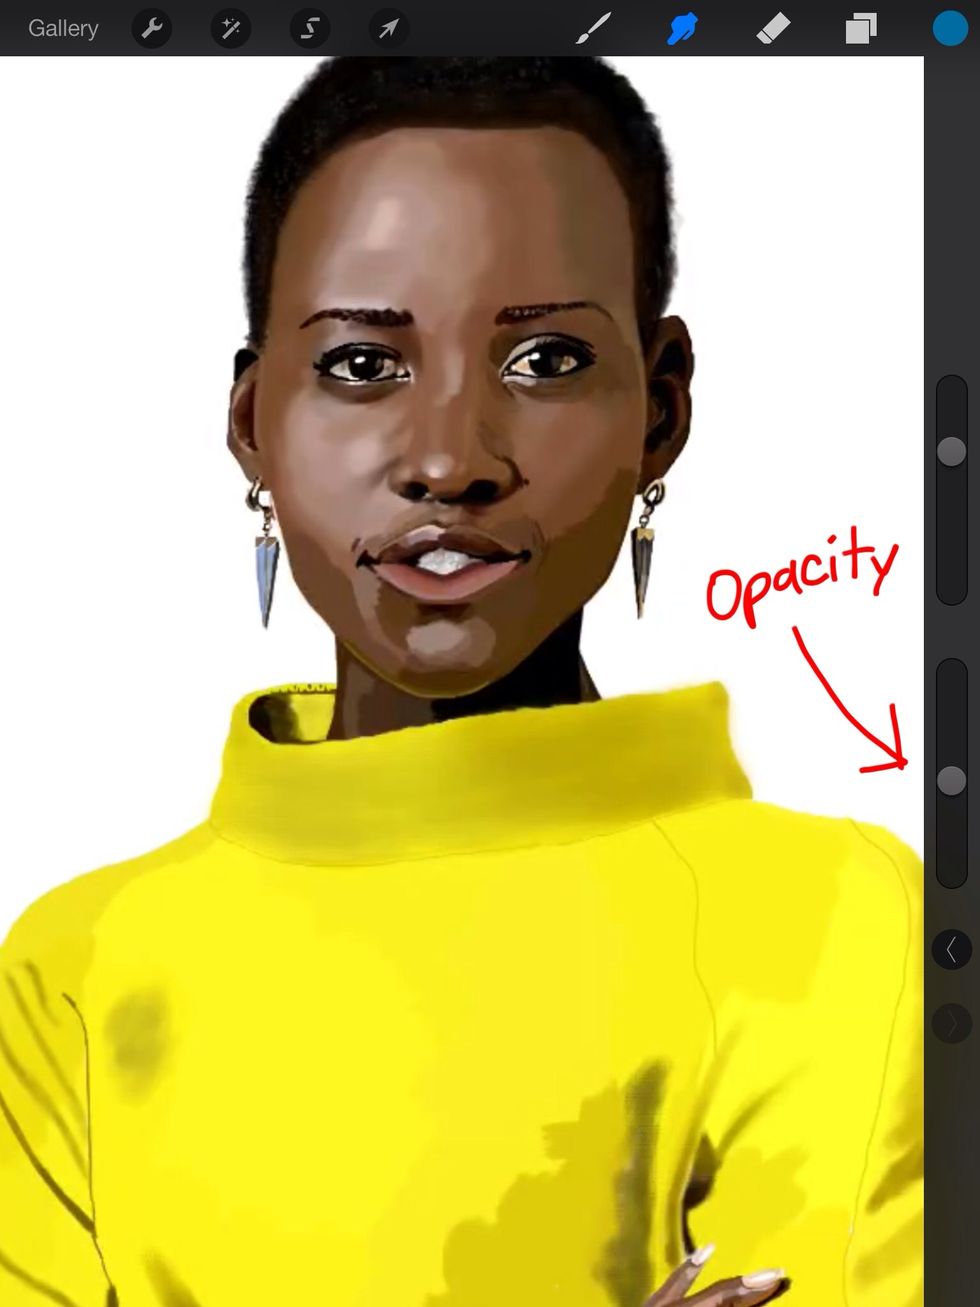
Here's a look at the sliders. Notice how it's about more than half way down?

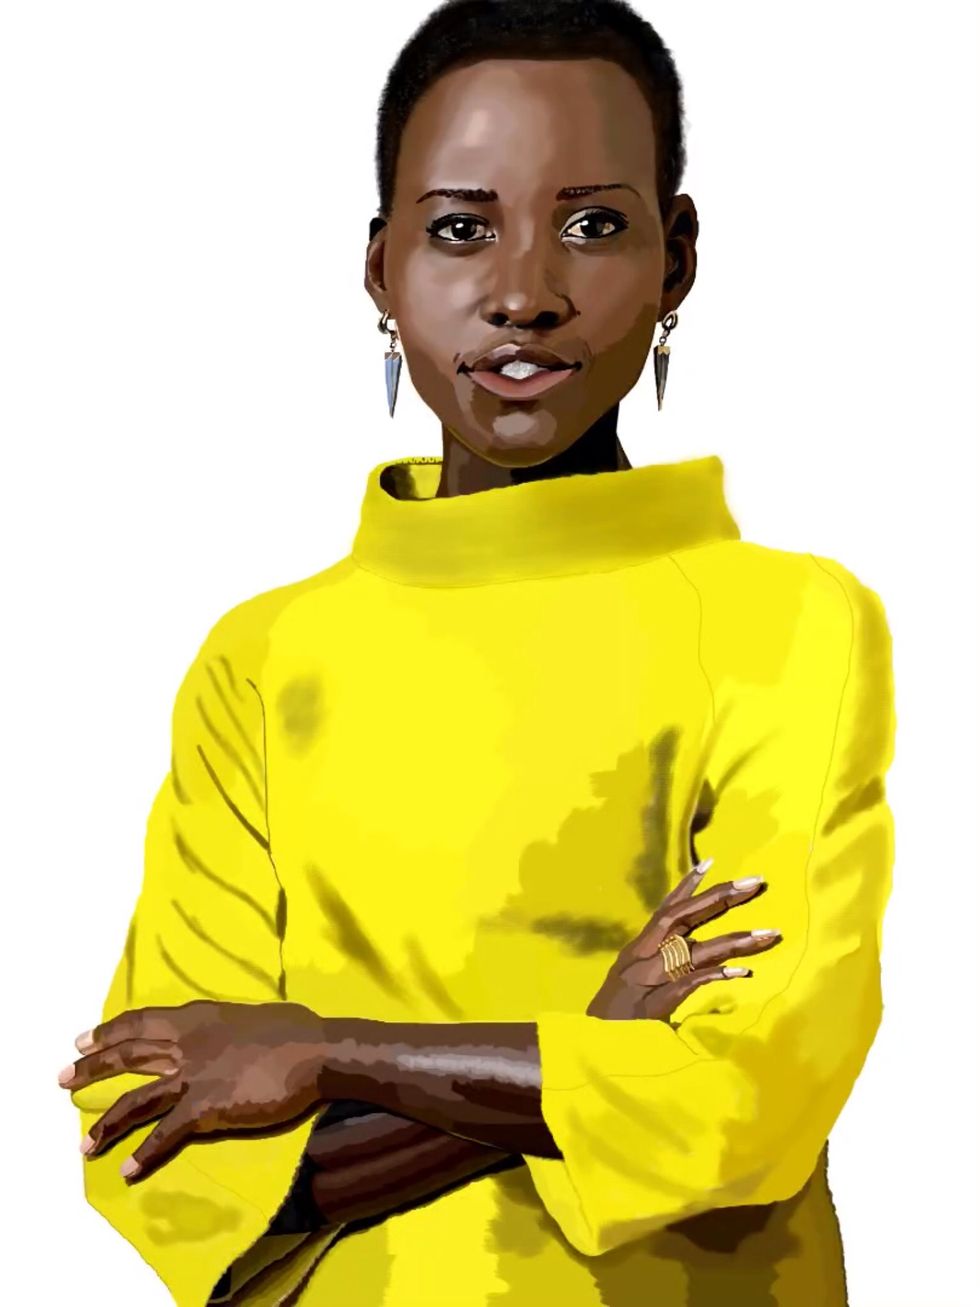
After blending now it's time for light and texture. Light is a new layer on top and texture is right underneath it. Refer to the brushes I mentioned earlier. Paint at 100% opacity and adjust it later.
Next is the sweater. I blend it with soft airbrush tools and brushes called Realistic Canvas and Linen Sheets. The later two brushes come from the Procreate forums.
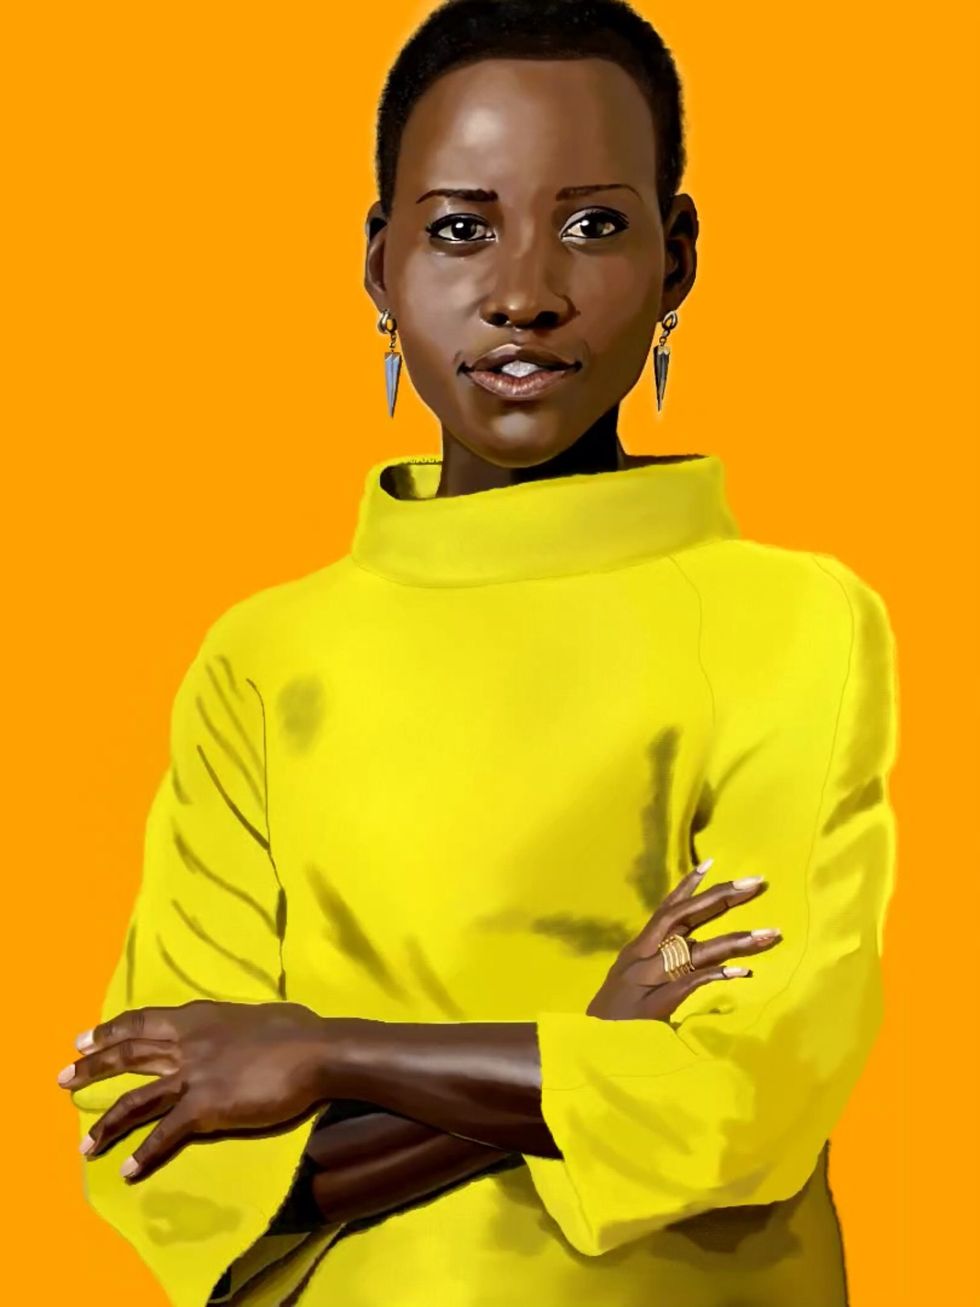
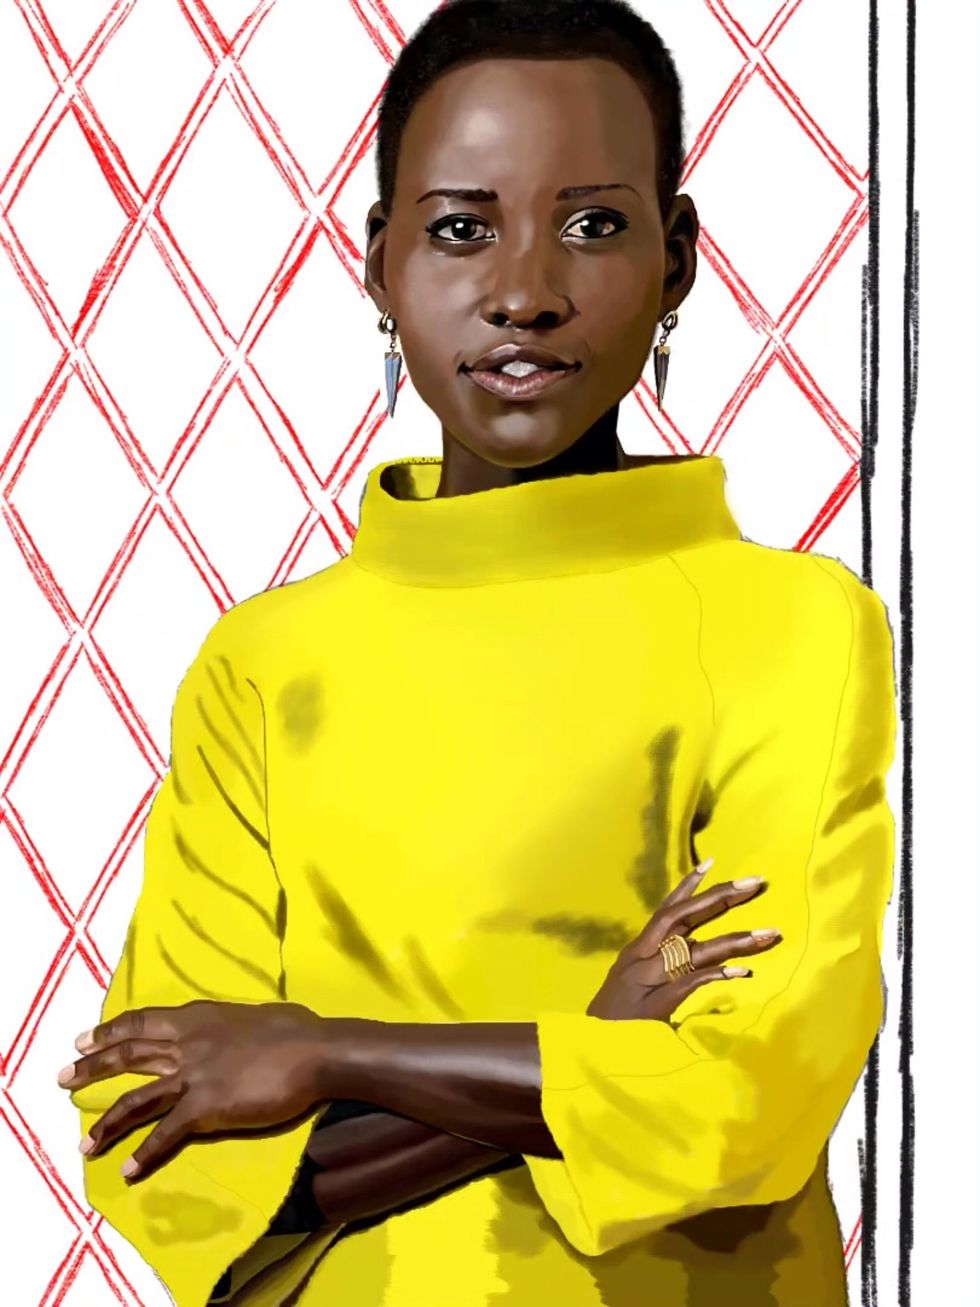
Next I carefully soften the edges of the figure for a more realistic look. Airbrush tools for her and various brushes for the sweater. I create an orange background layer to see what I'm doing.

On a separate layer I carefully paint the wallpaper. I go slow because there aren't line tools like in Sketchbook Pro.
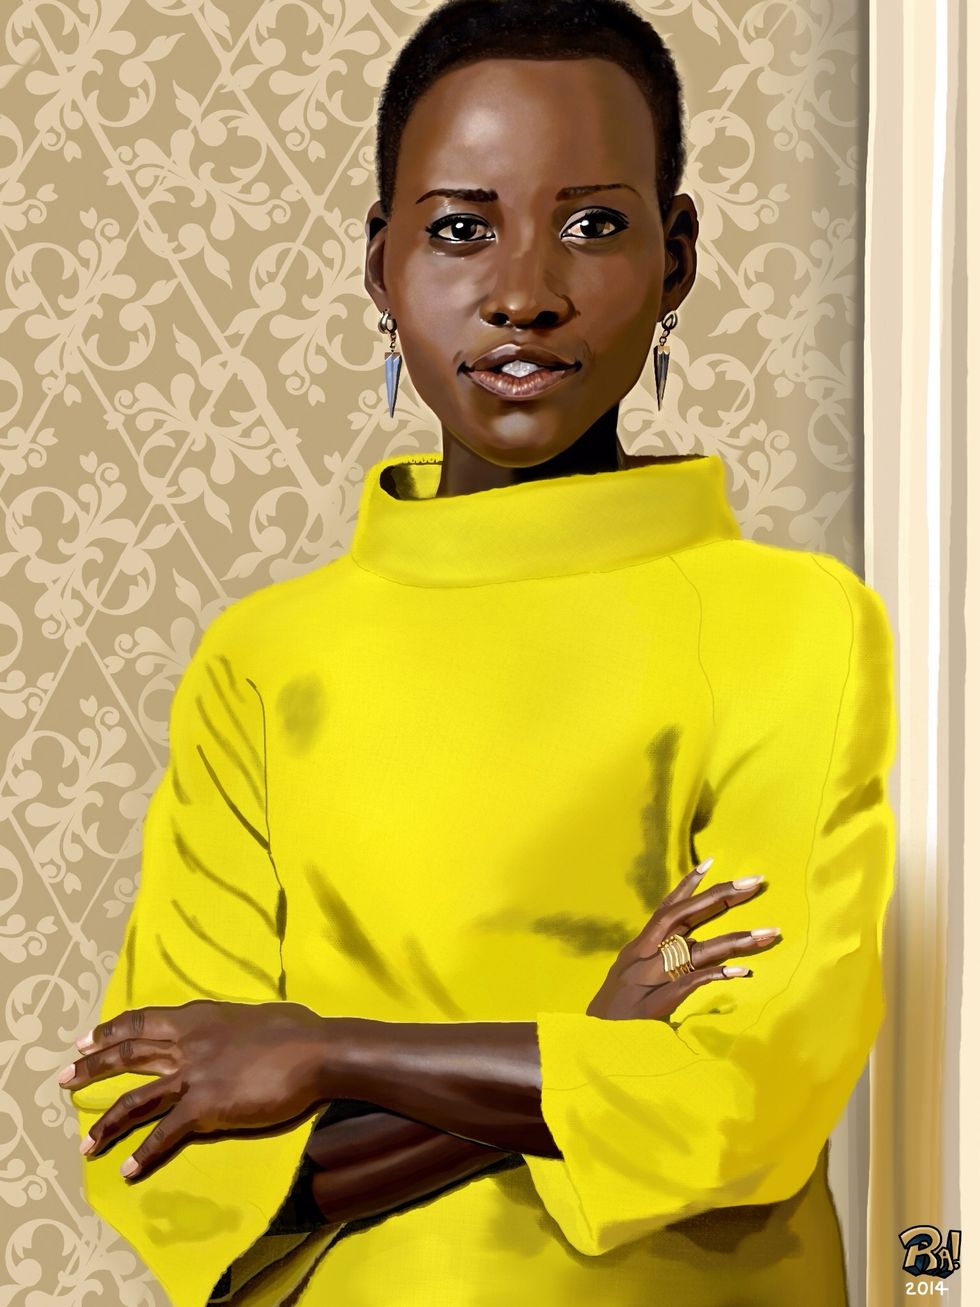
Finally I render the wall she's leaning on and use a texture brush called Victorian to create the finished wallpaper. There is also a faint shadow around her so that she pops.
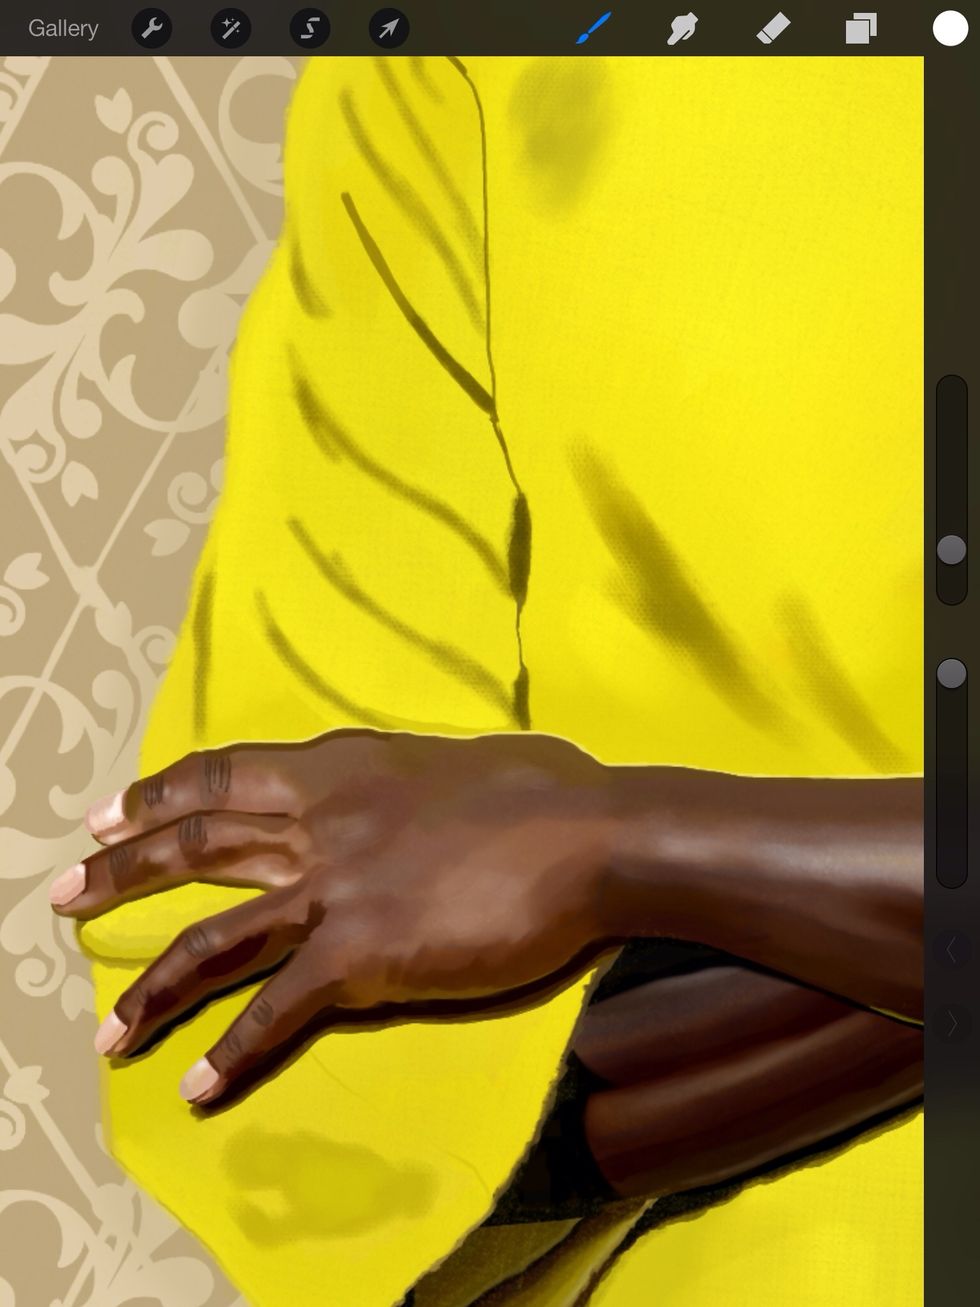
Hand detail.
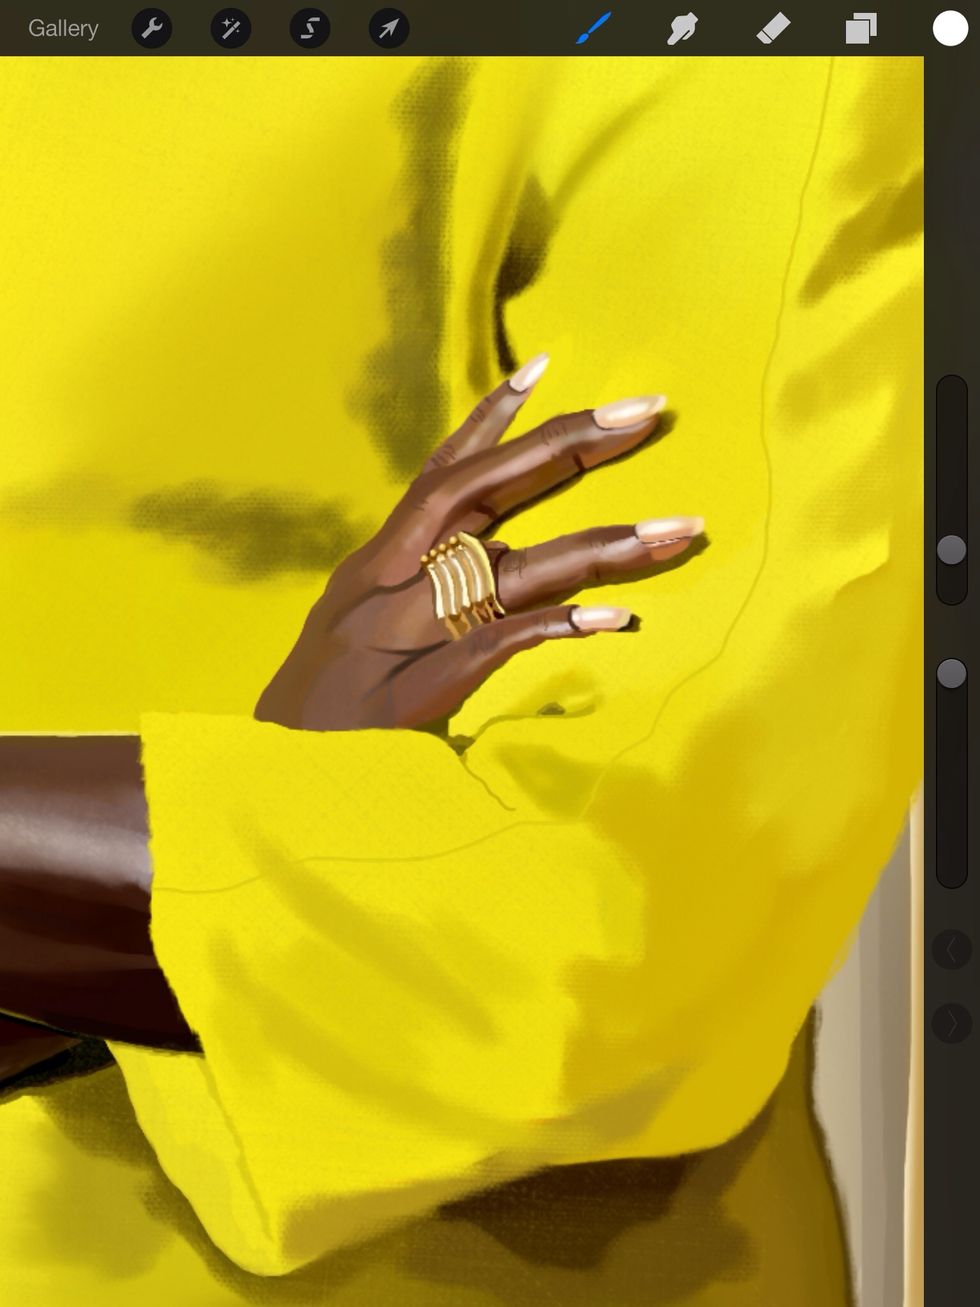
Hand detail.
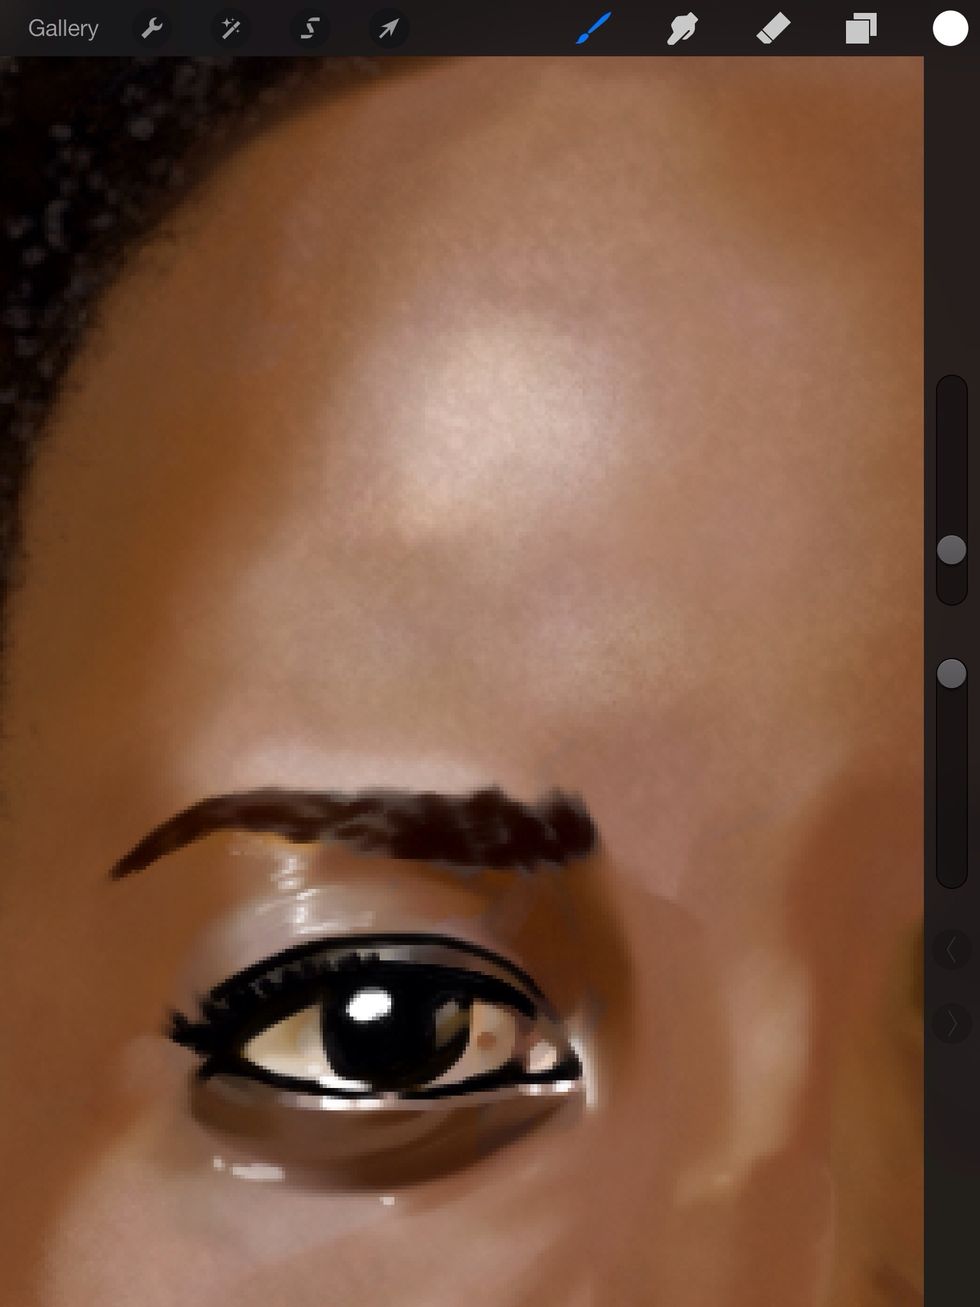
Eye detail.
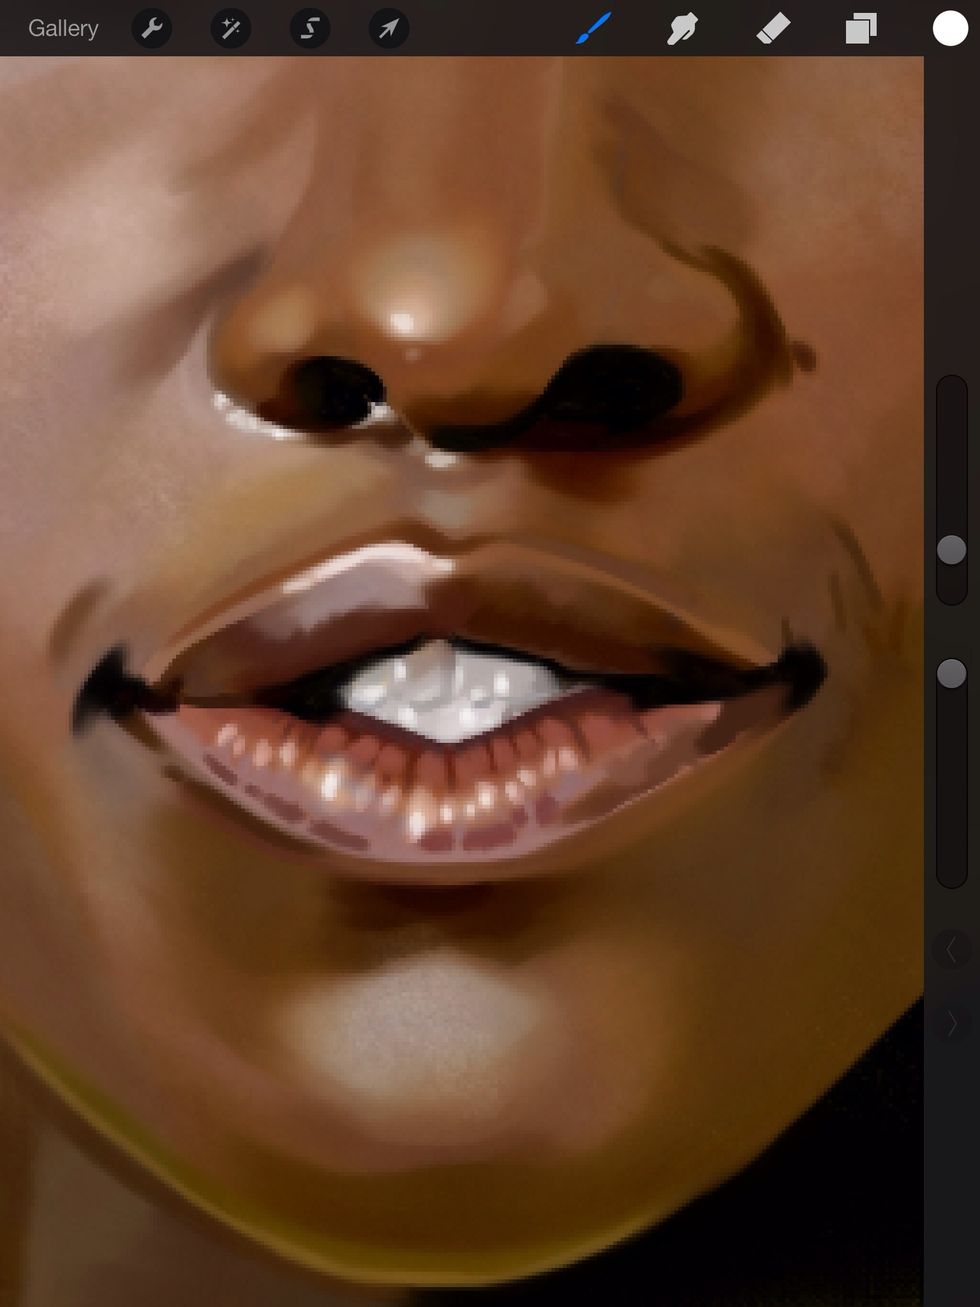
Mouth Detail.
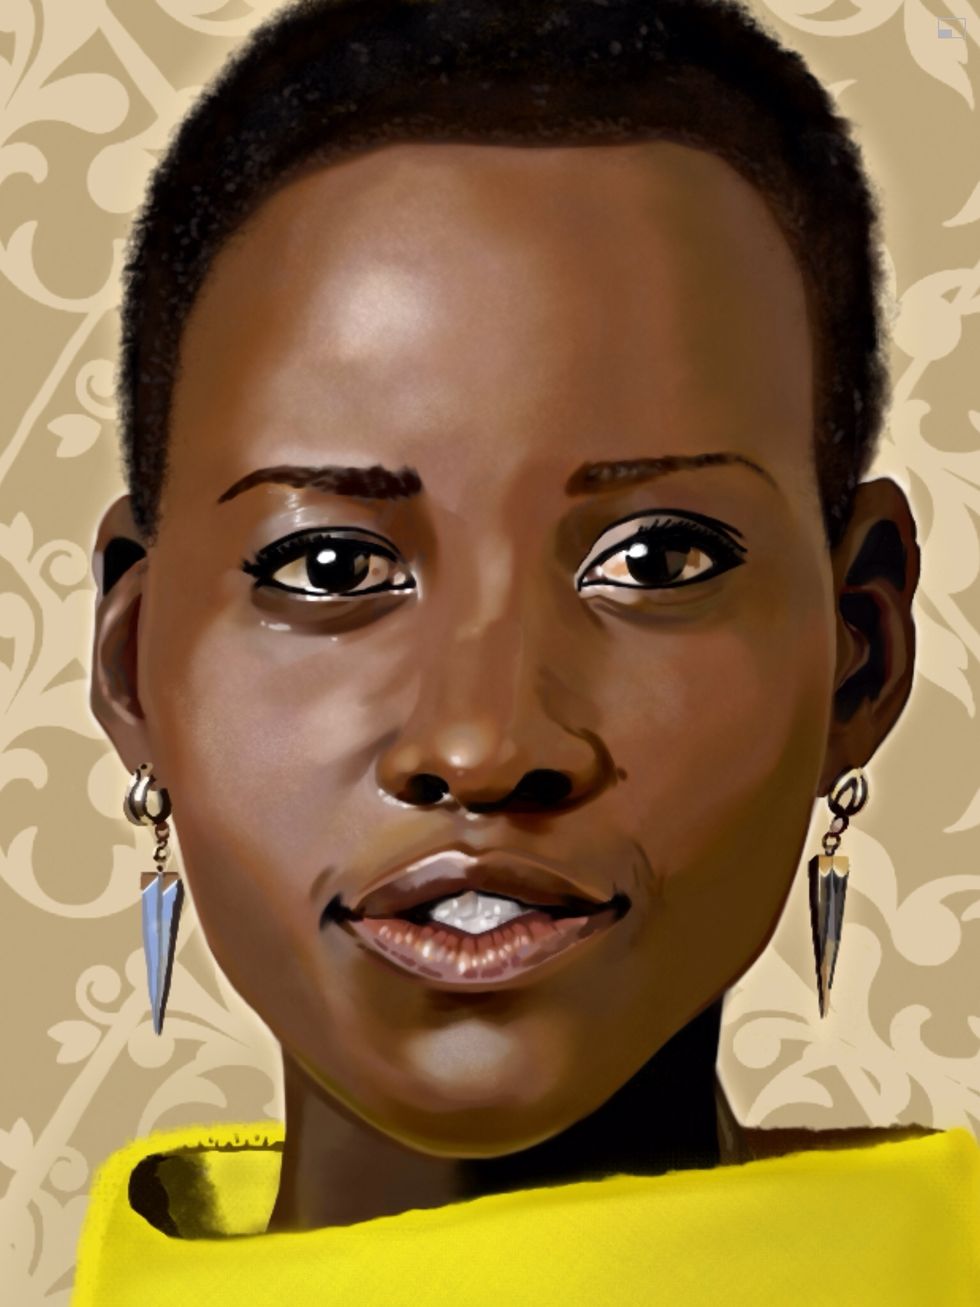
Face detail.

Hope you enjoyed the guide. Please leave questions and comments below. See more work at http://raheemnelson.com.