The Conversation (0)
Sign Up

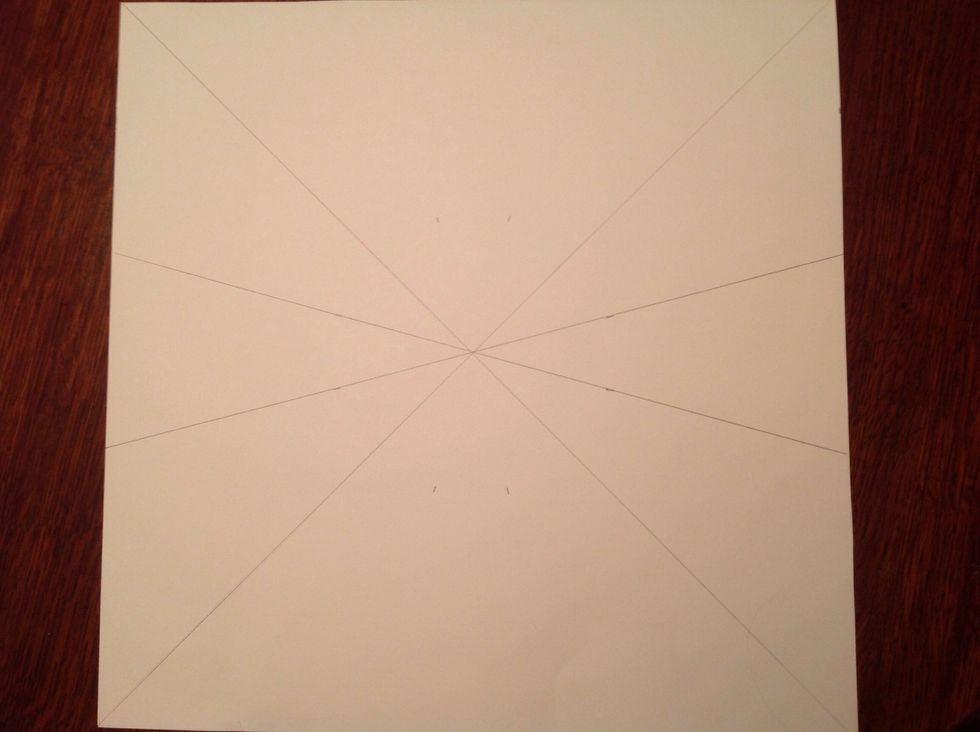
Using a ruler or yardstick, draw a line connecting the corners. Draw another line connecting the other corners. Your X will mark the center of your paper. (Draw lightly!)
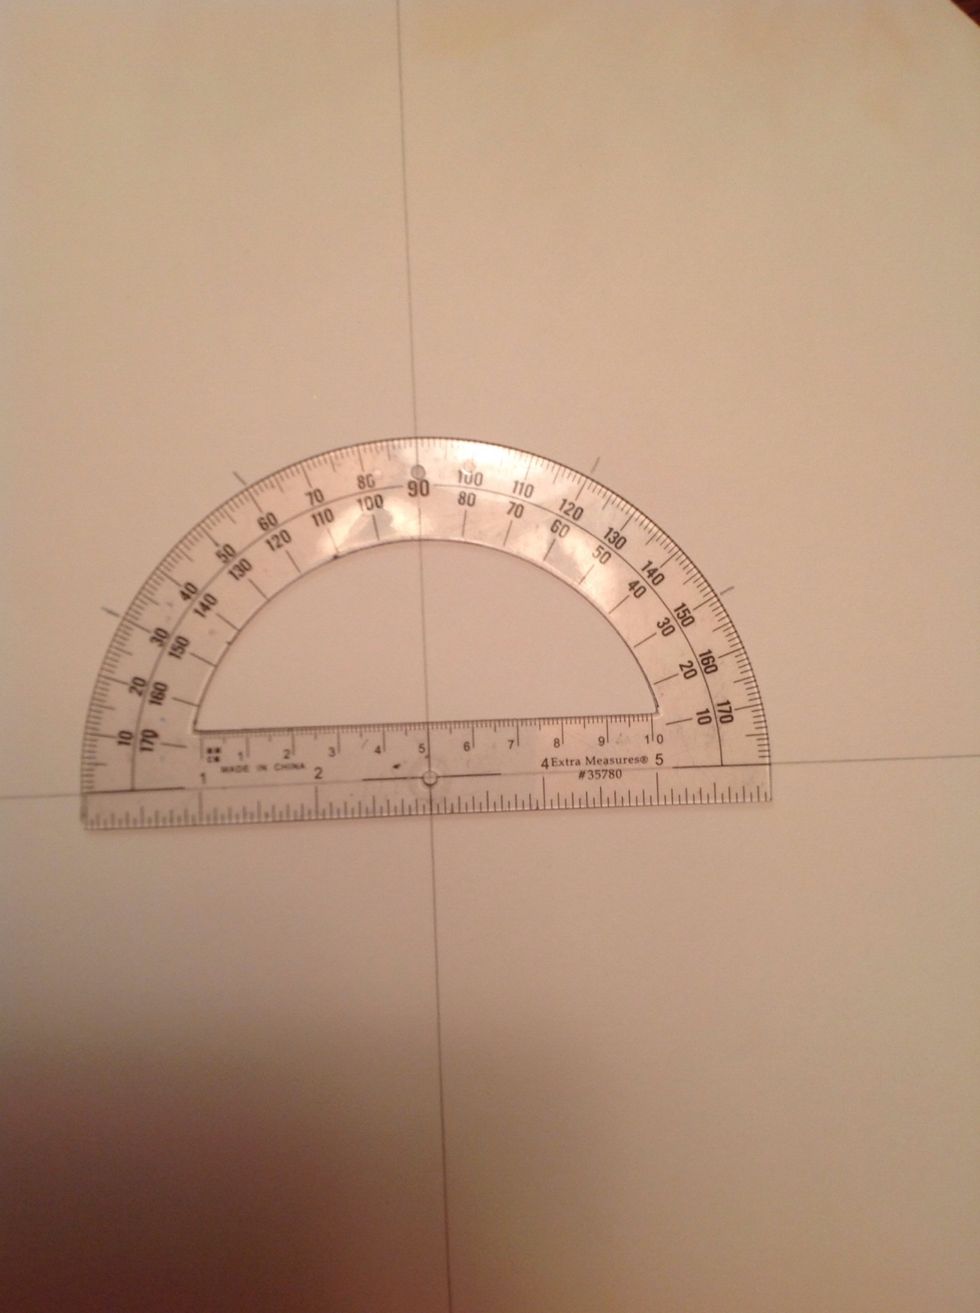
Using your protractor, make a mark every 30 degrees. You should have a mark at the 30, 60, 120, and 150. Now flip it and mark the other half using the same measurements.
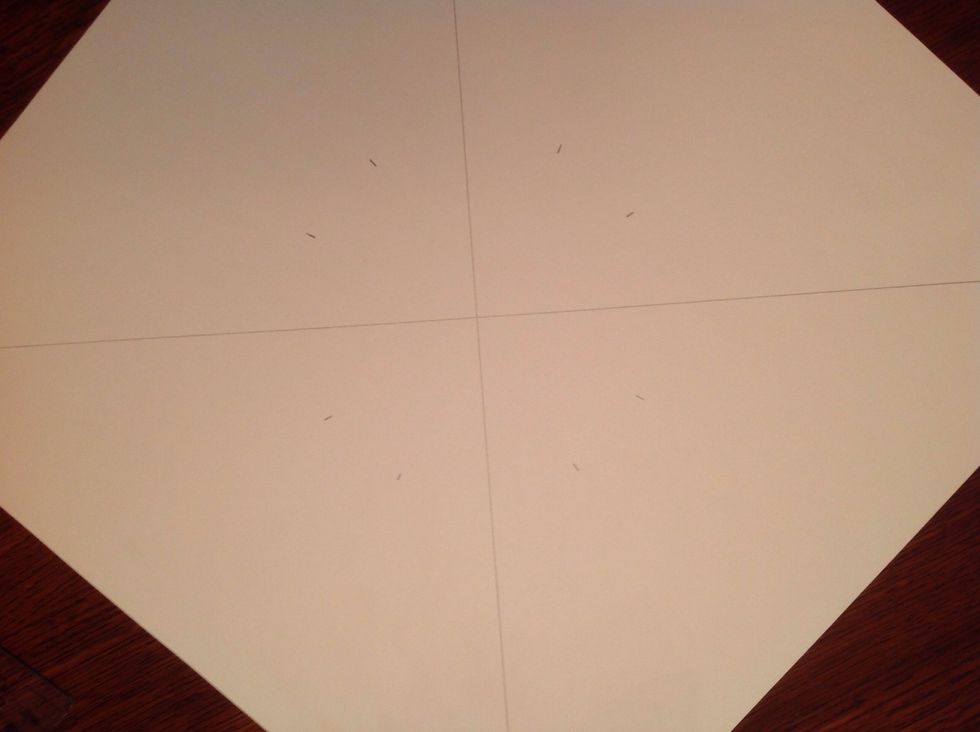
You should have two marks in each section.
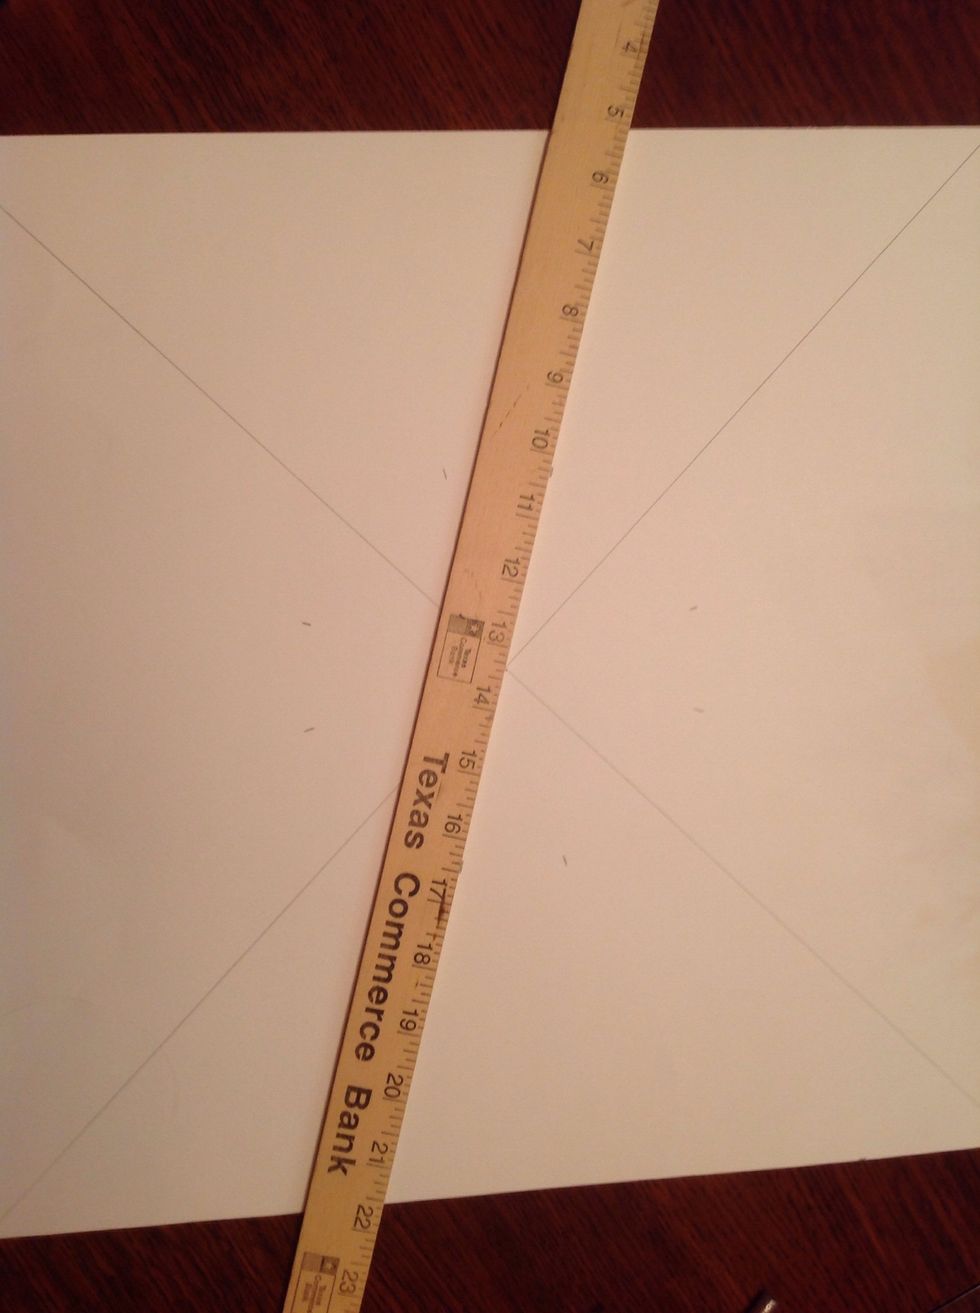
Connect dots using a yard stick or ruler. Make sure the ruler lines up with the dots AND the center.
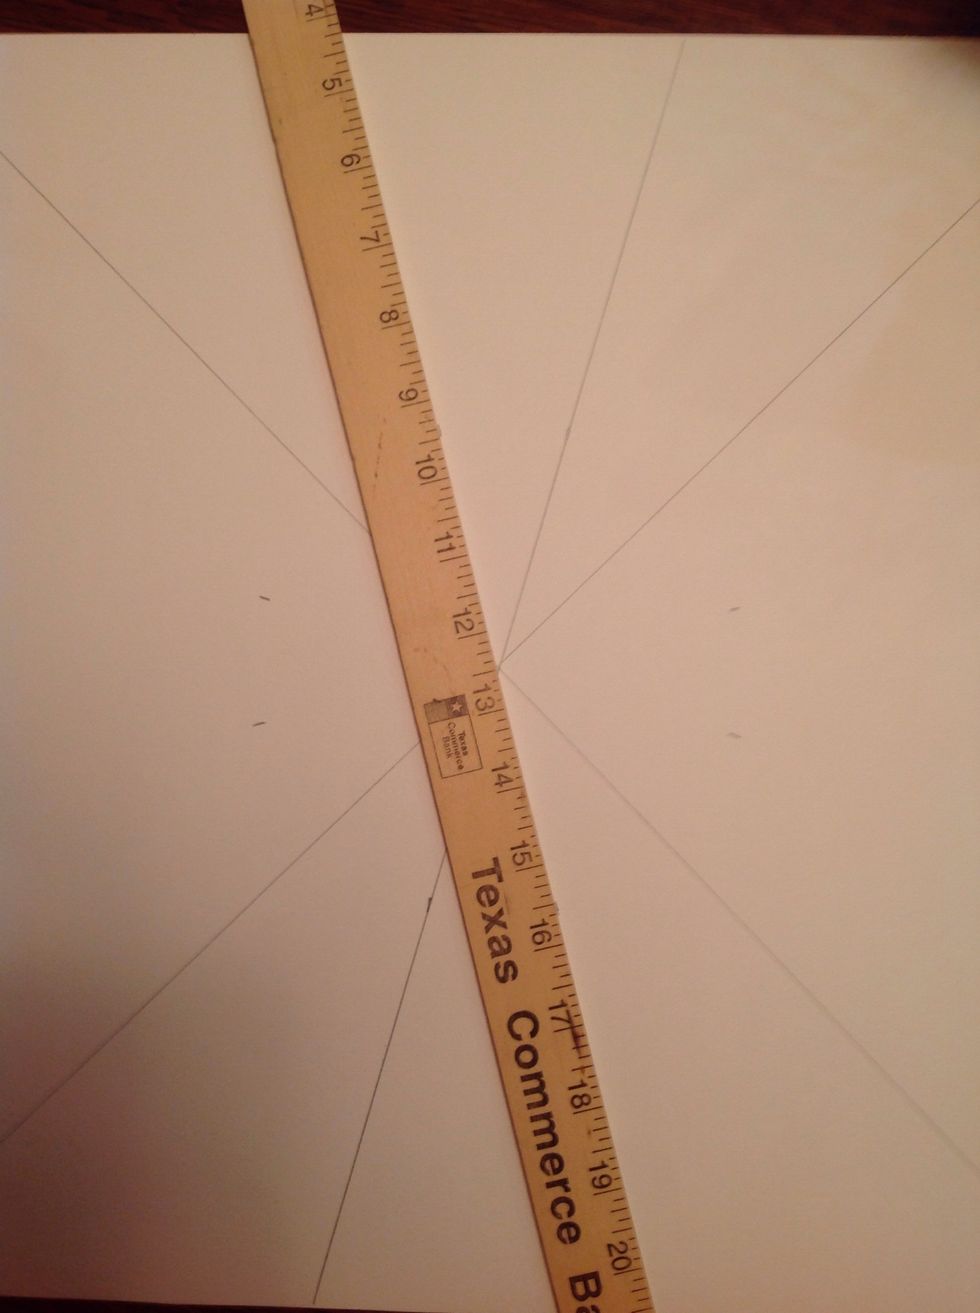
Continue to connect dots like the picture above.
Continue until all dots are connected.
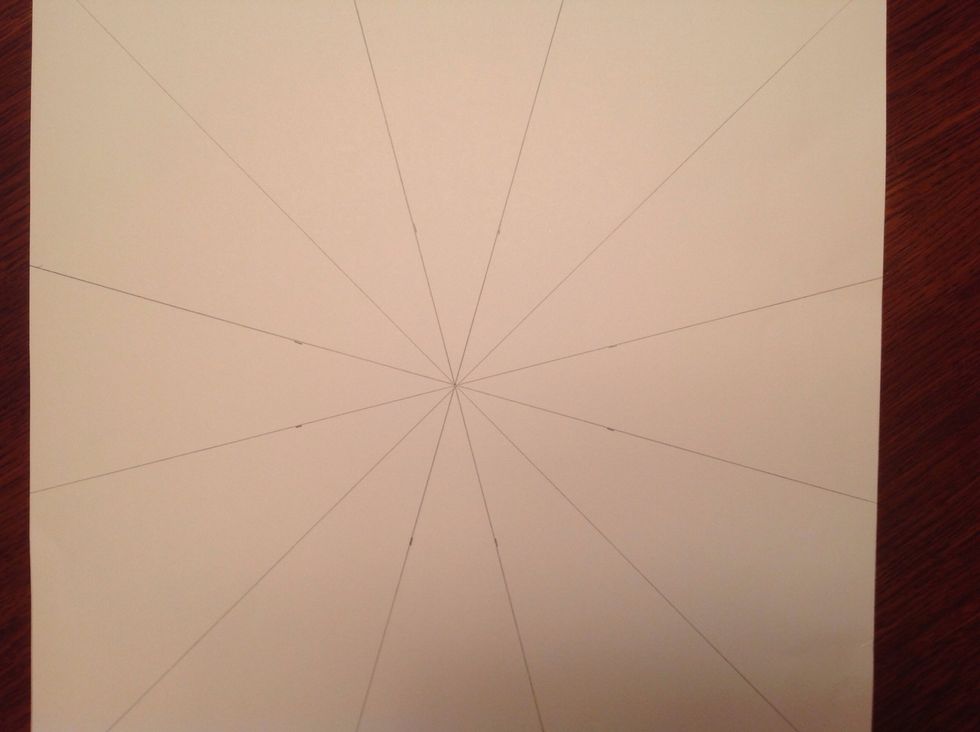
When you finish, you should have 12 equally divided sections. Now it is time to draw the circle.
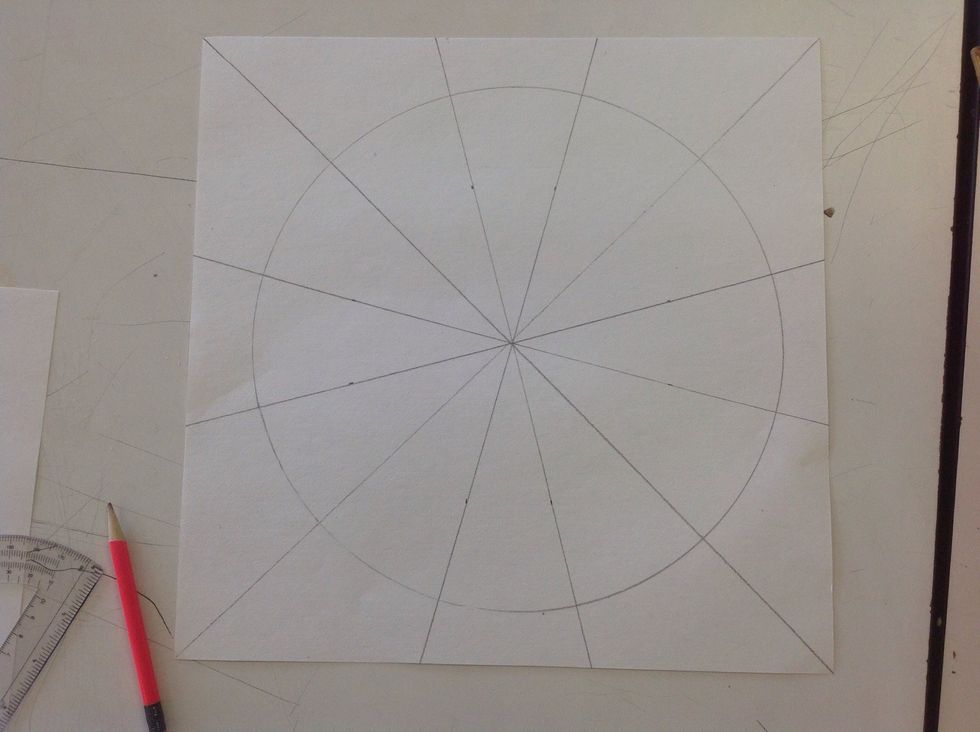
Center your compass on the middle and draw the largest circle possible. Now you are ready to paint your primary, secondary, and intermediate colors. Good luck!