The Conversation (0)
Sign Up
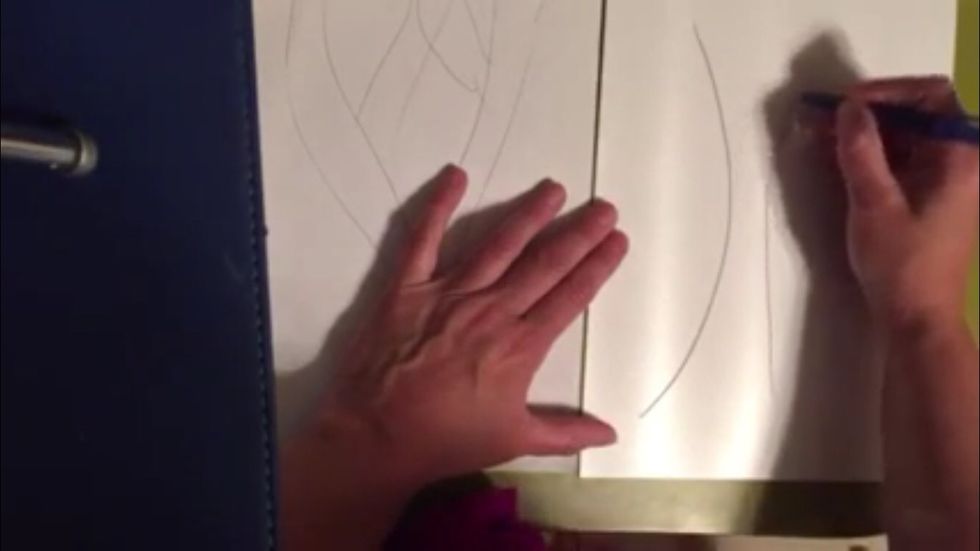
Draw image onto foam with pencil or pen
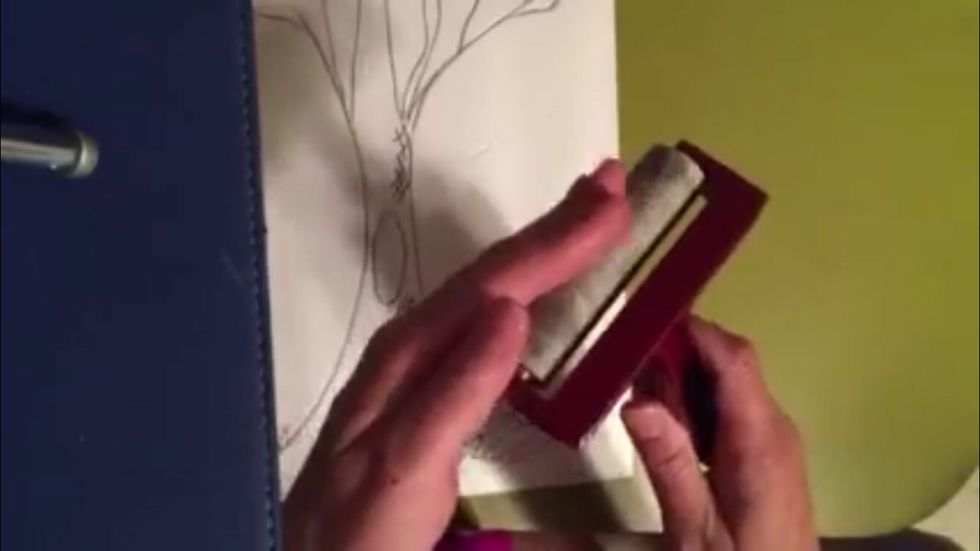
Make sure beater rolls smoothly with your hand
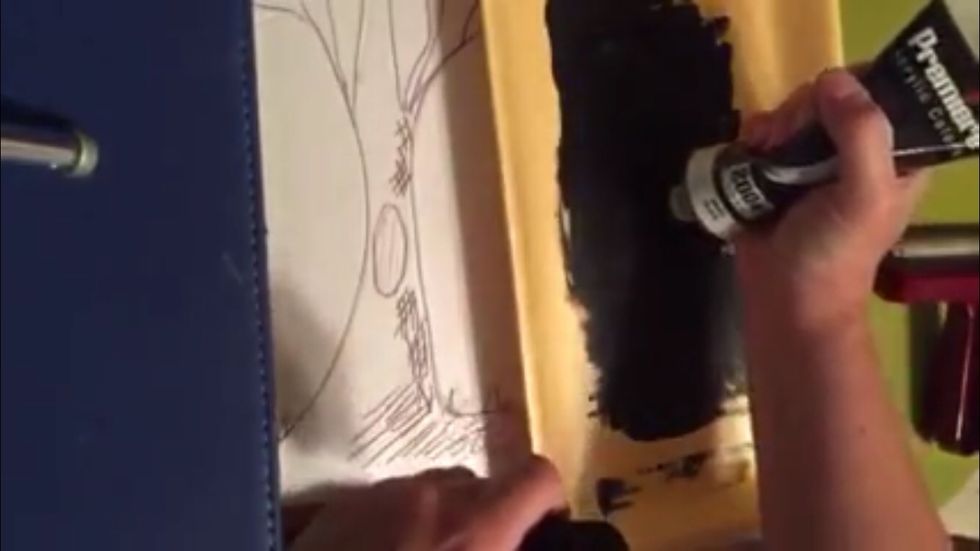
Sneeze ink into a paint tray or surface
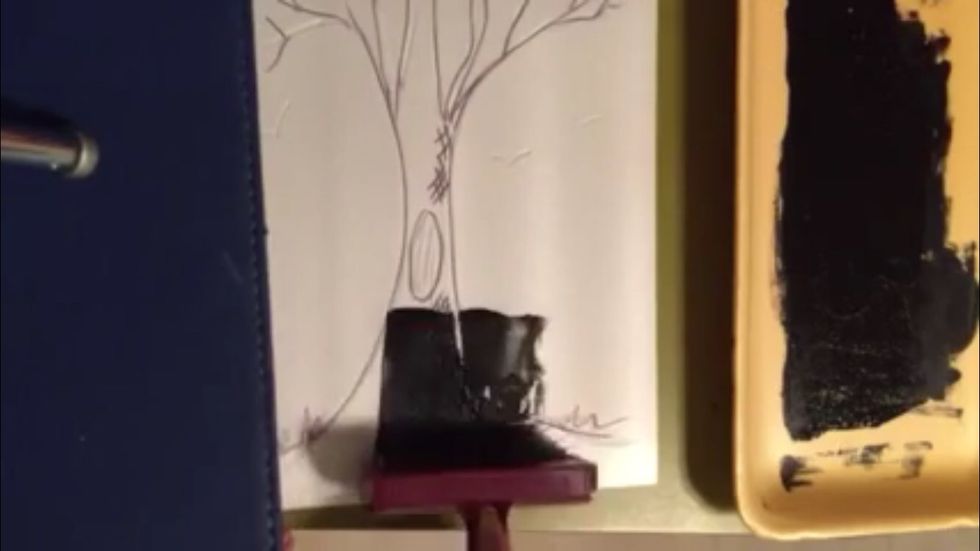
Roll inked brayer onto foam
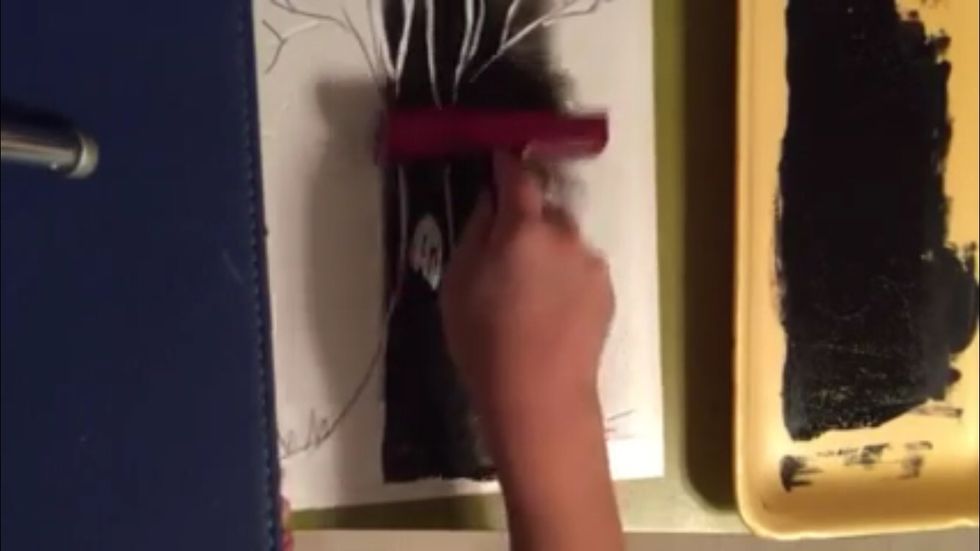
Cover the entire piece of foam with ink
Ensure even coverage of ink for best print
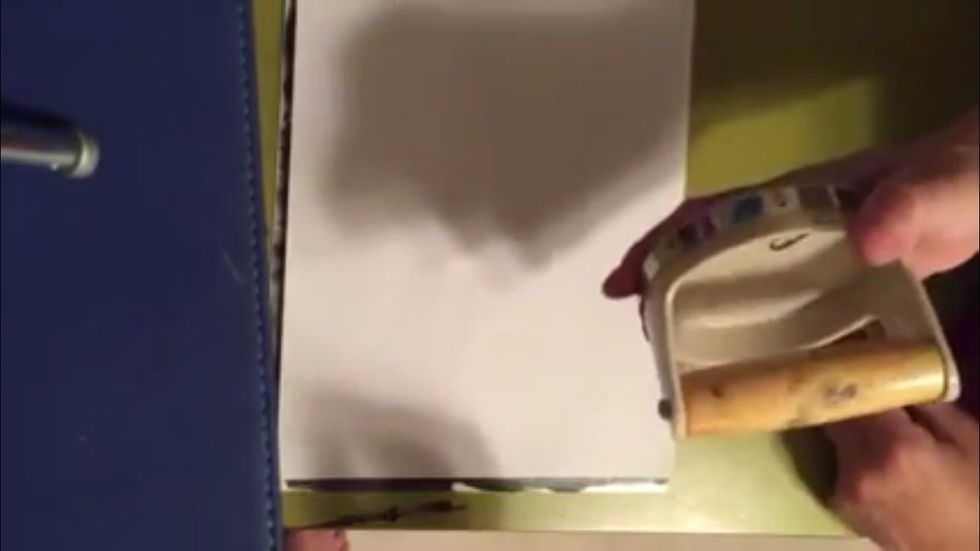
Place paper on top of inked foam

Use barren to apply smooth pressure all over paper. Make sure you make good contact with paper and inked foam.
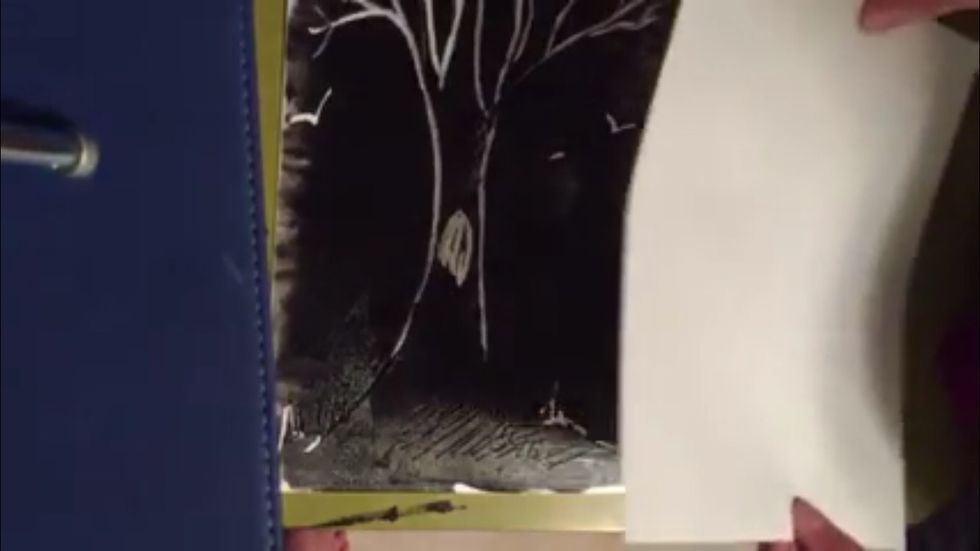
Slowly pull paper away from foam

The print begins to be revealed
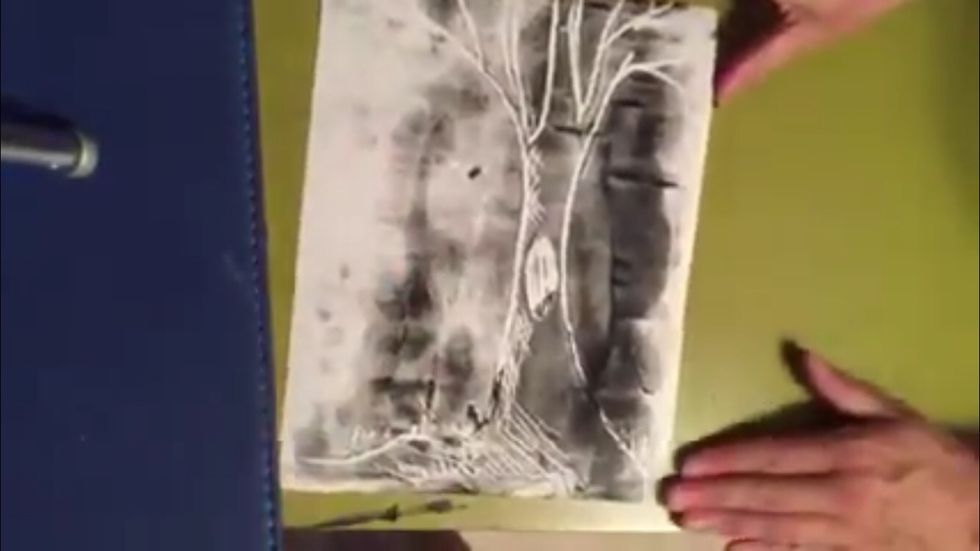
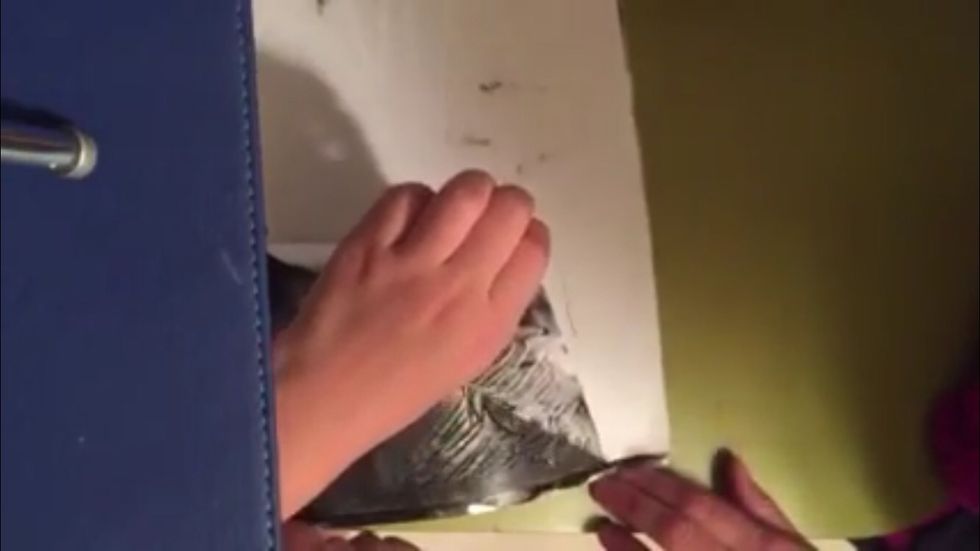
Voila. Your print is pulled. Make note of the light color on the paper. Use more ink to achieve a darker print if desired.