The Conversation (0)
Sign Up
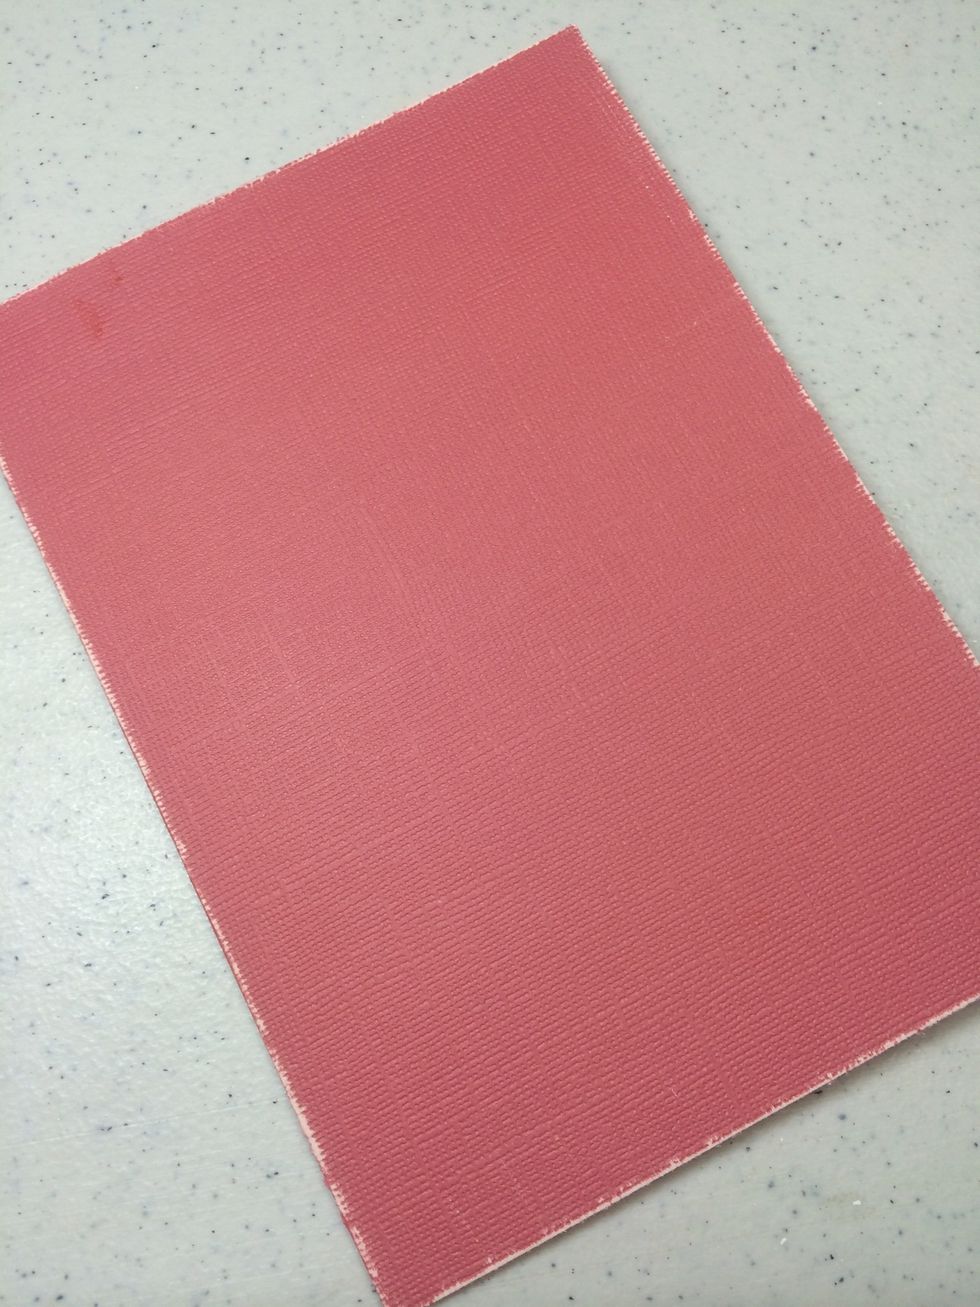
Cut dark pink card stock for a 5" x 7" card base. Sand distress outer edges.
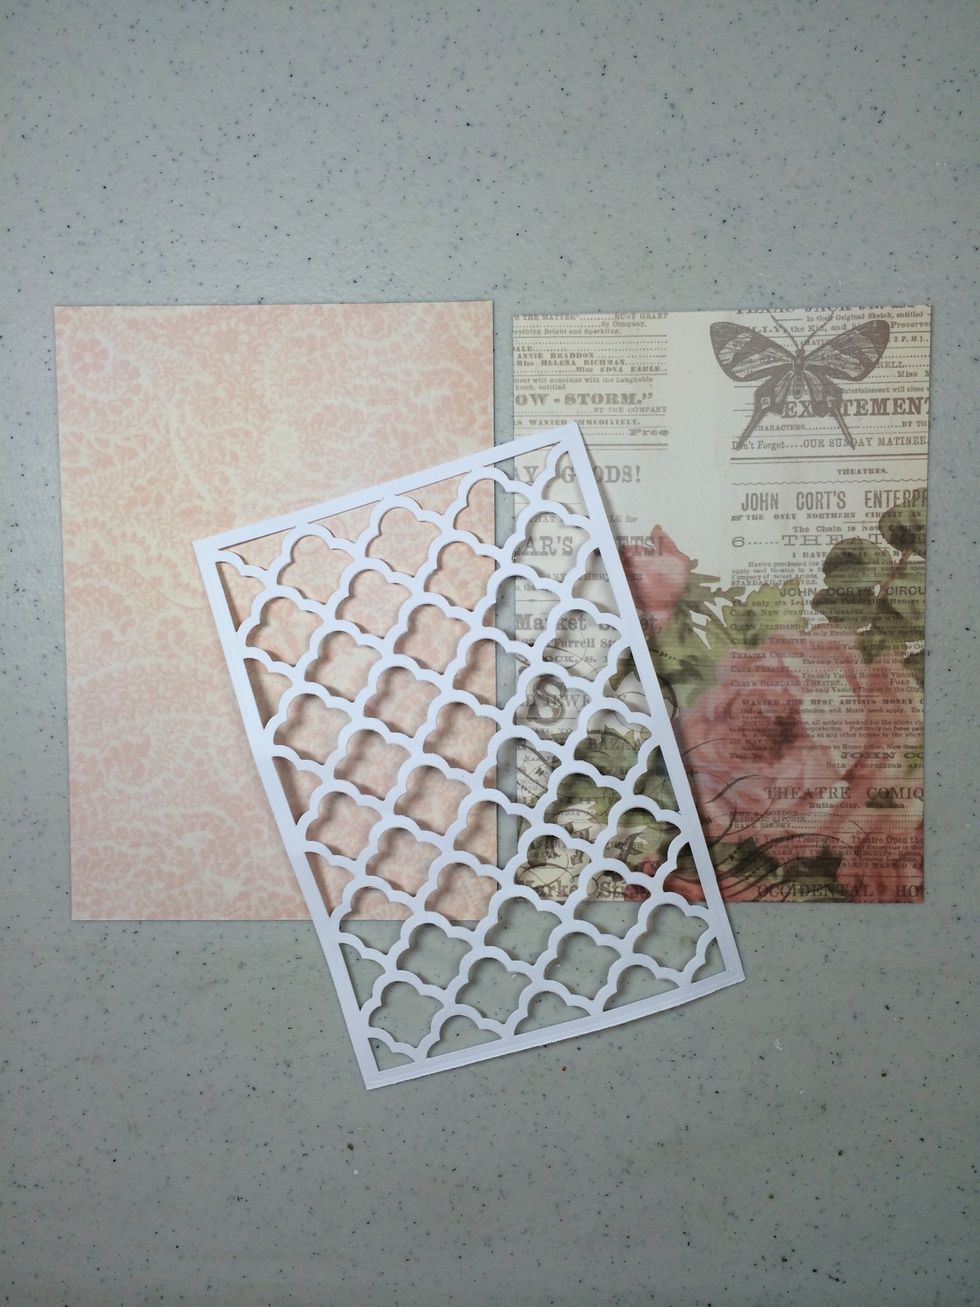
Cut lattice die from white card stock, trimming frame to 4 3/8" x 6 3/8". Cut pattern paper the same size to show through lattice. Cut background paper 4 3/4" x 6 3/4".
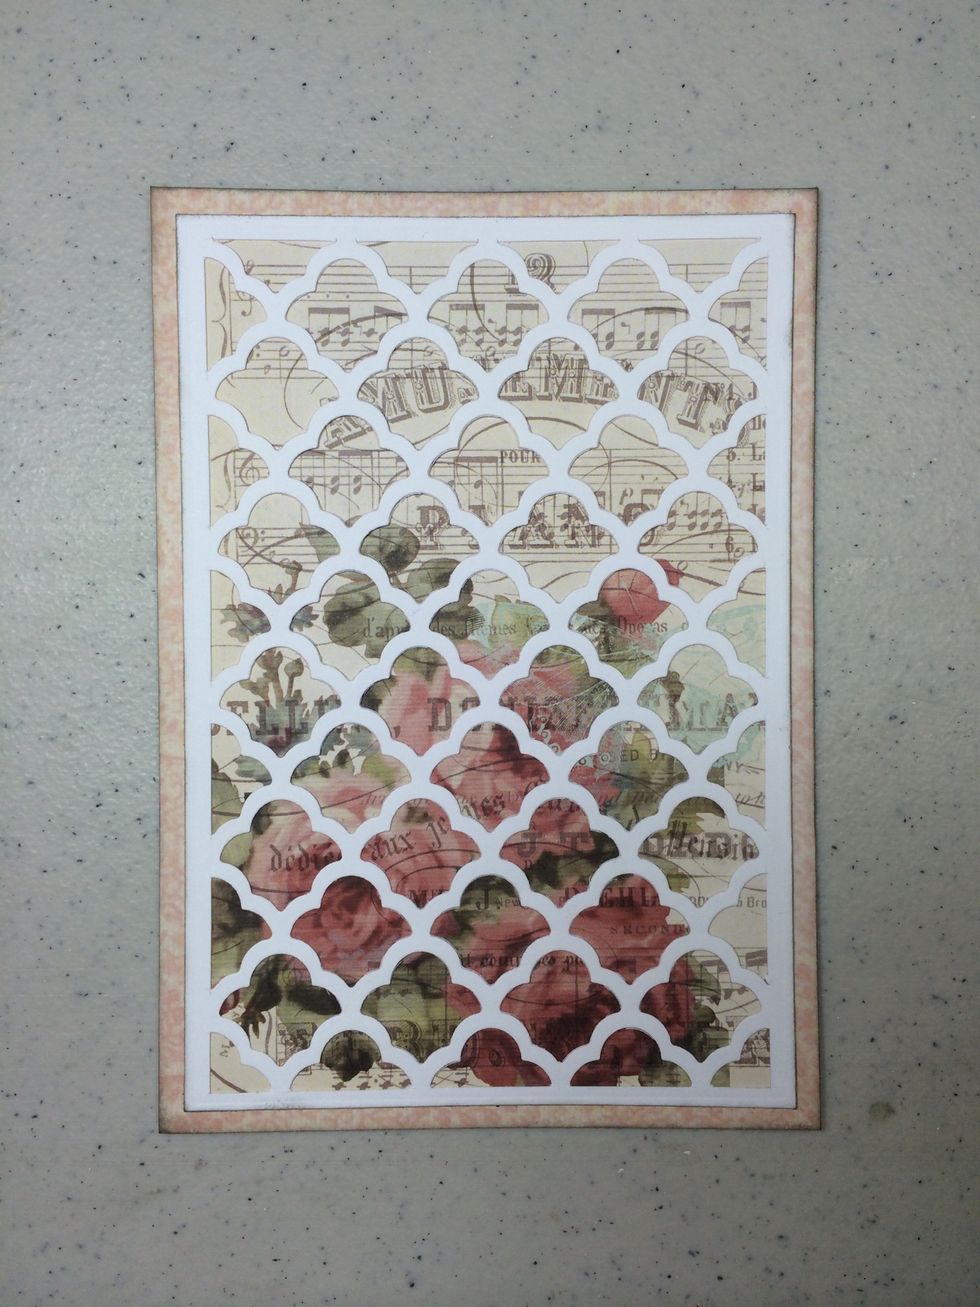
Ink edges of all pieces softly with gray ink, if desired. Adhere them together as a unit.
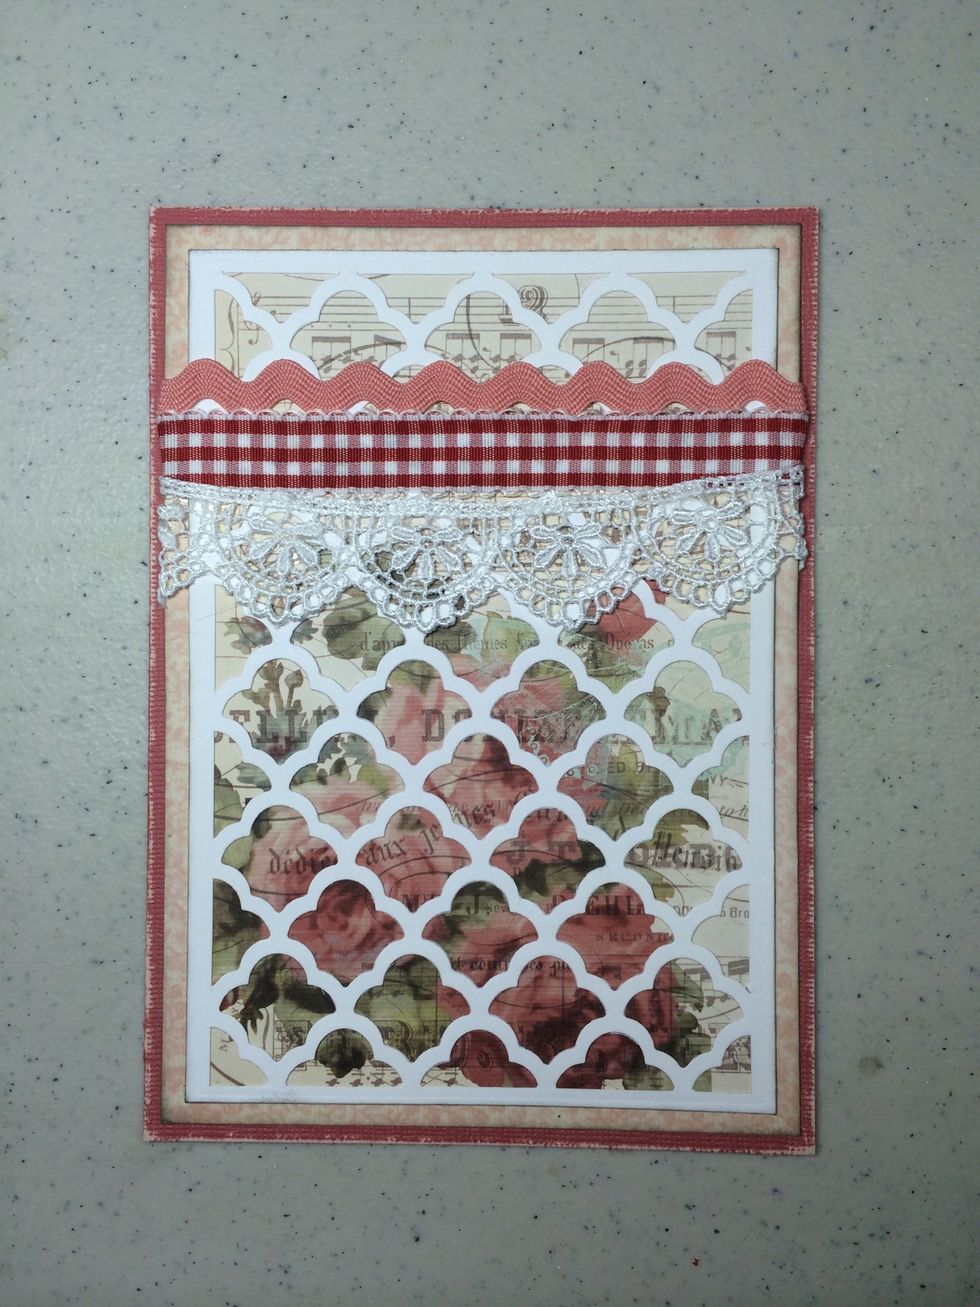
Add several ribbon trims across top third, folding excess around to the back. Adhere this unit to your card base.
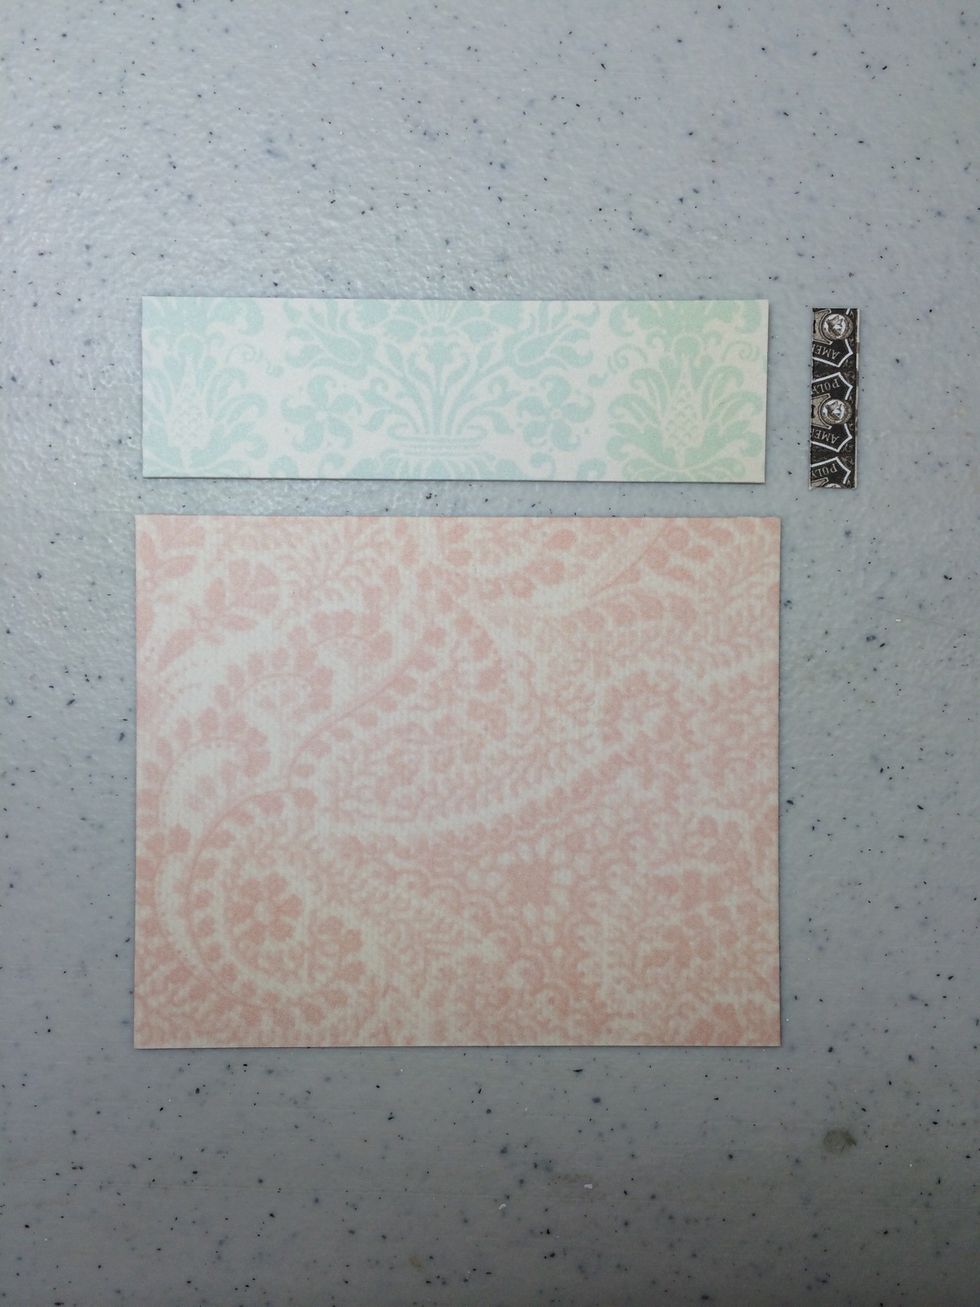
Cut light green strip of pattern paper 1" x 3 1/2", soft pink paper at 2 3/4" x 3 1/2", and a small piece 1" x 1/4".
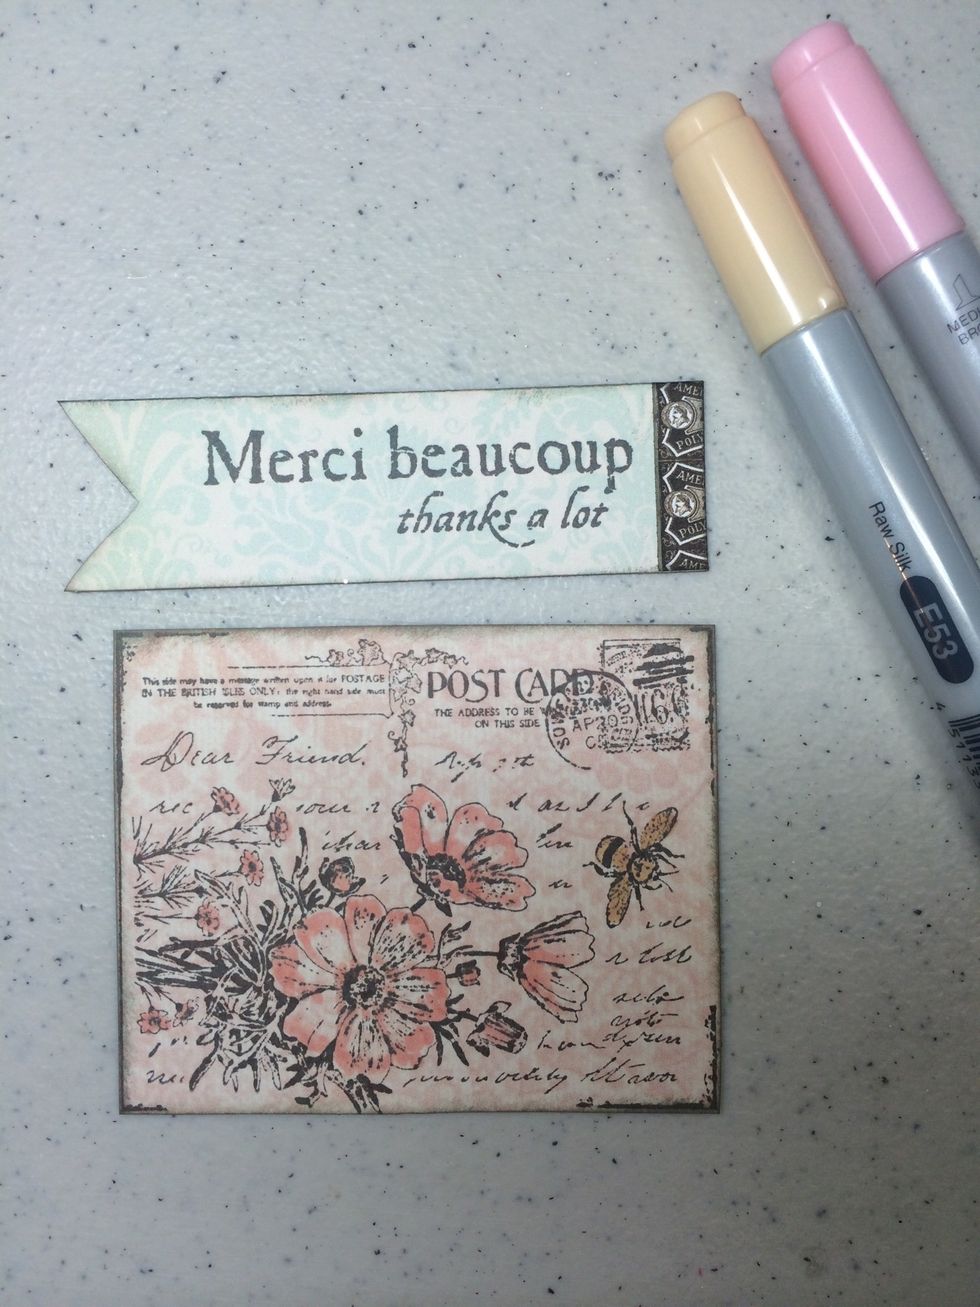
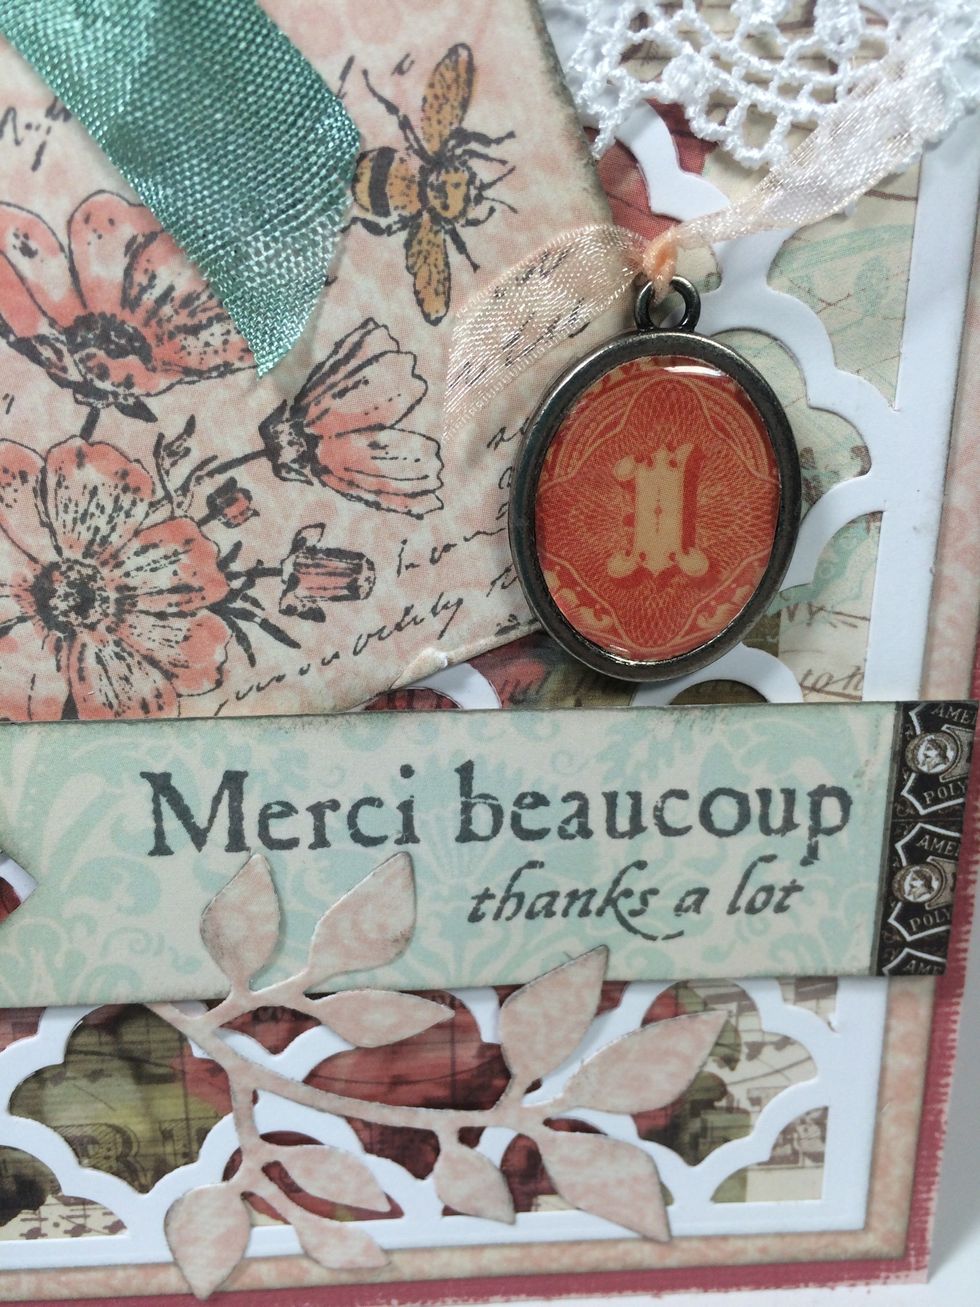
Cut a v-notch off one end of green strip and adhere small piece to other end. Stamp images as shown. Trim pink paper close to stamped image. Color flowers and bees with markers. Ink edges.
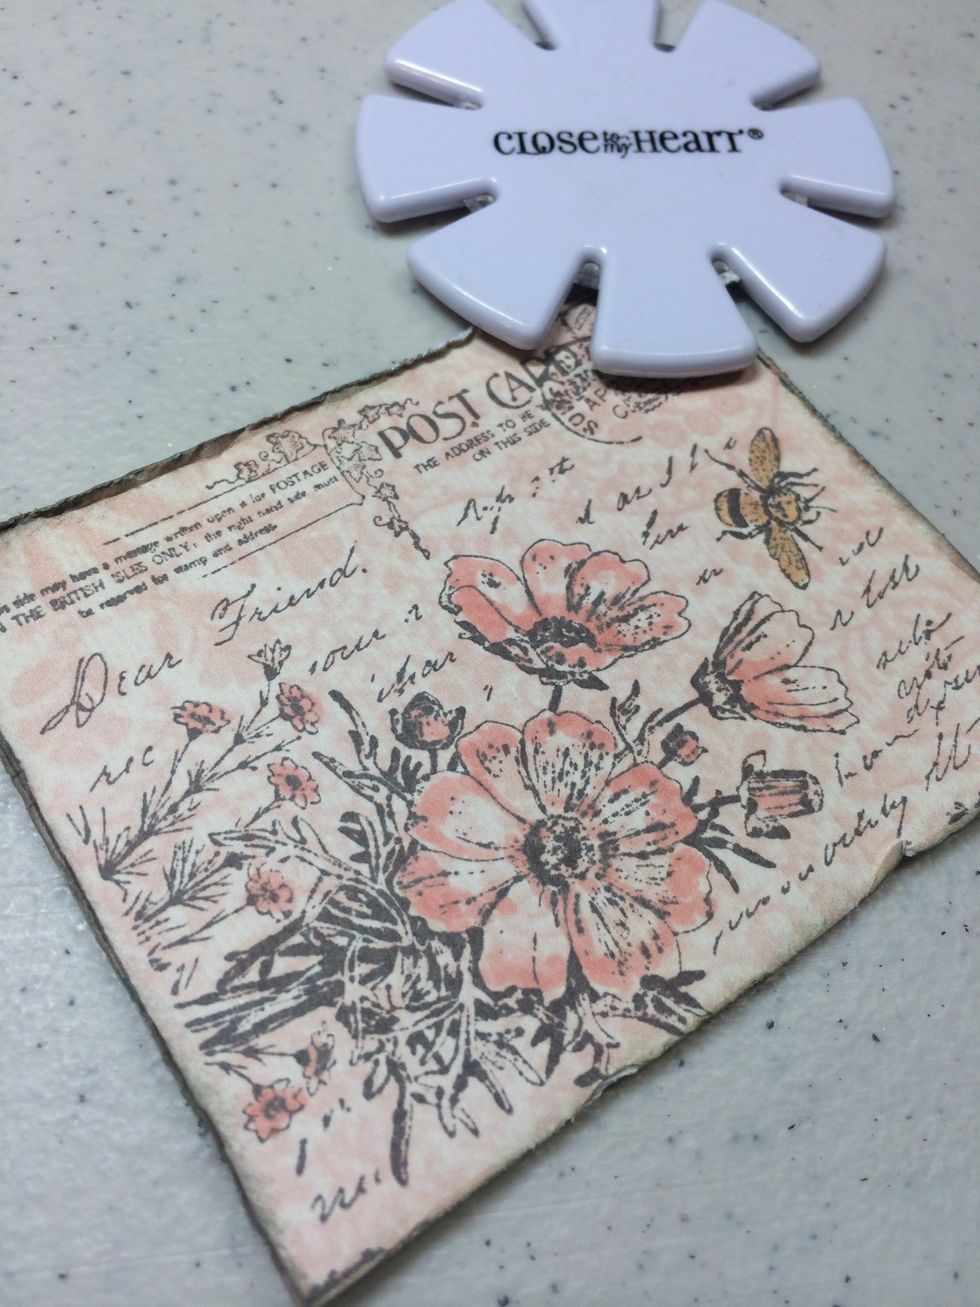
Edge distress edges of pink piece. This adds to the shabby look.

Add elements to card. Use foam tape on green strip for added dimension.
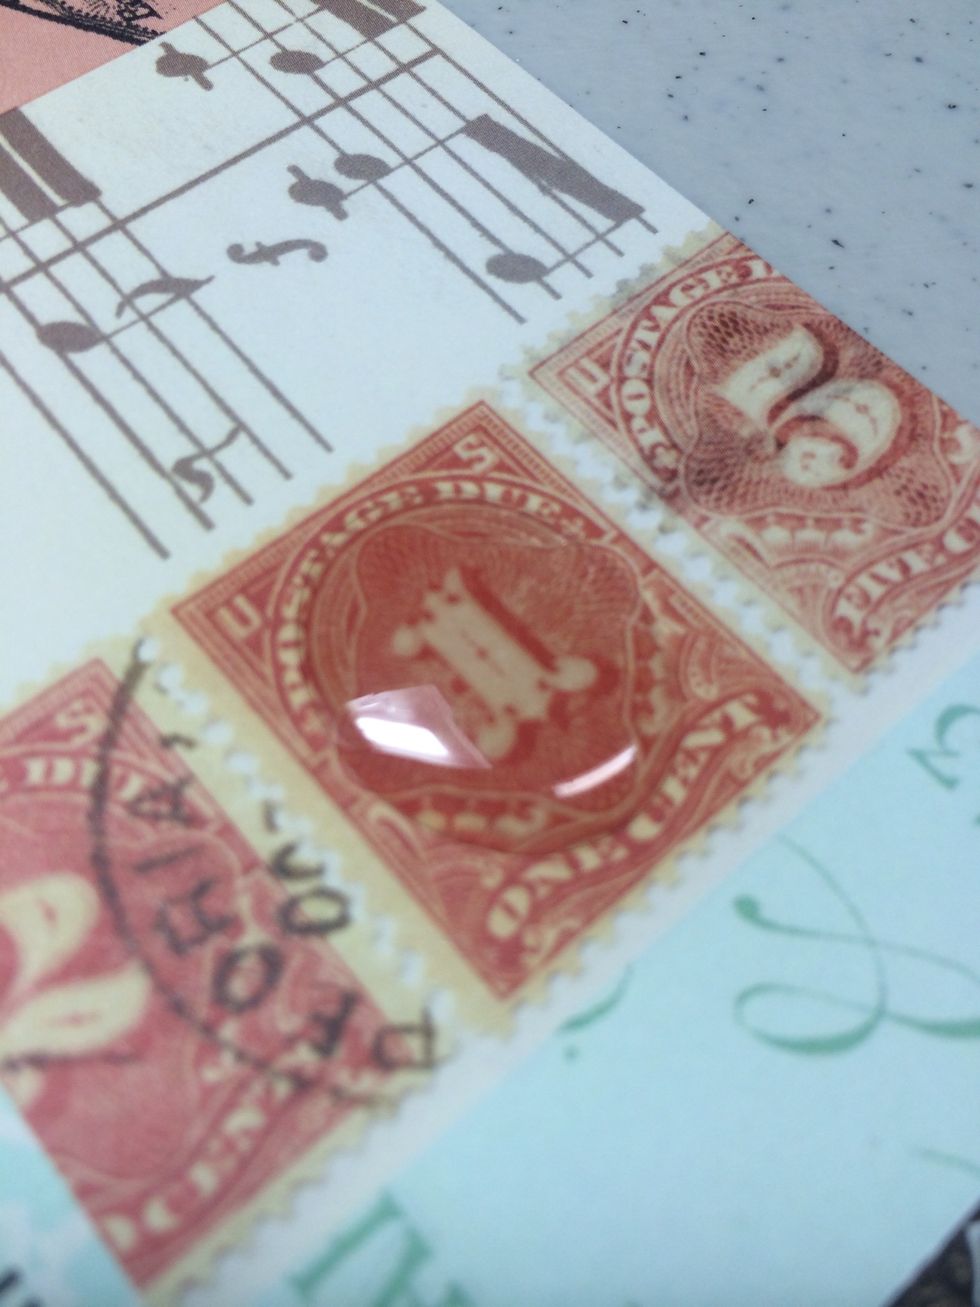
Place the sticky-back clear epoxy bubble from the cash key onto an image on the pattern paper.

Cut out closely then adhere to cash key.
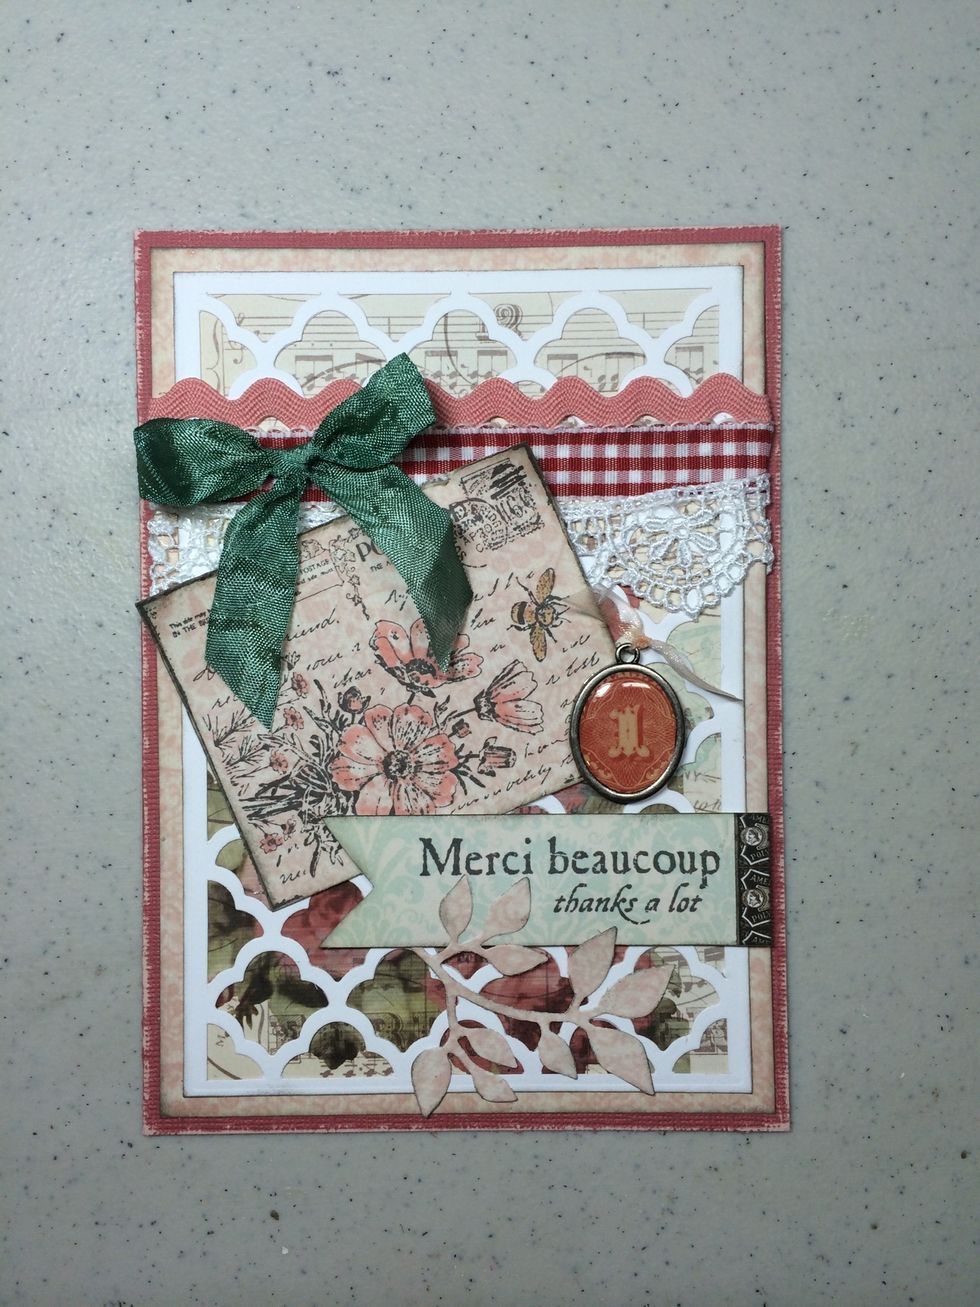
Tie thin organdy ribbon to cash key and adhere to card. Adhere a pretty ribbon tied in a bow in upper left area. Add a die-cut leaf stem to bottom of card for a finishing touch.
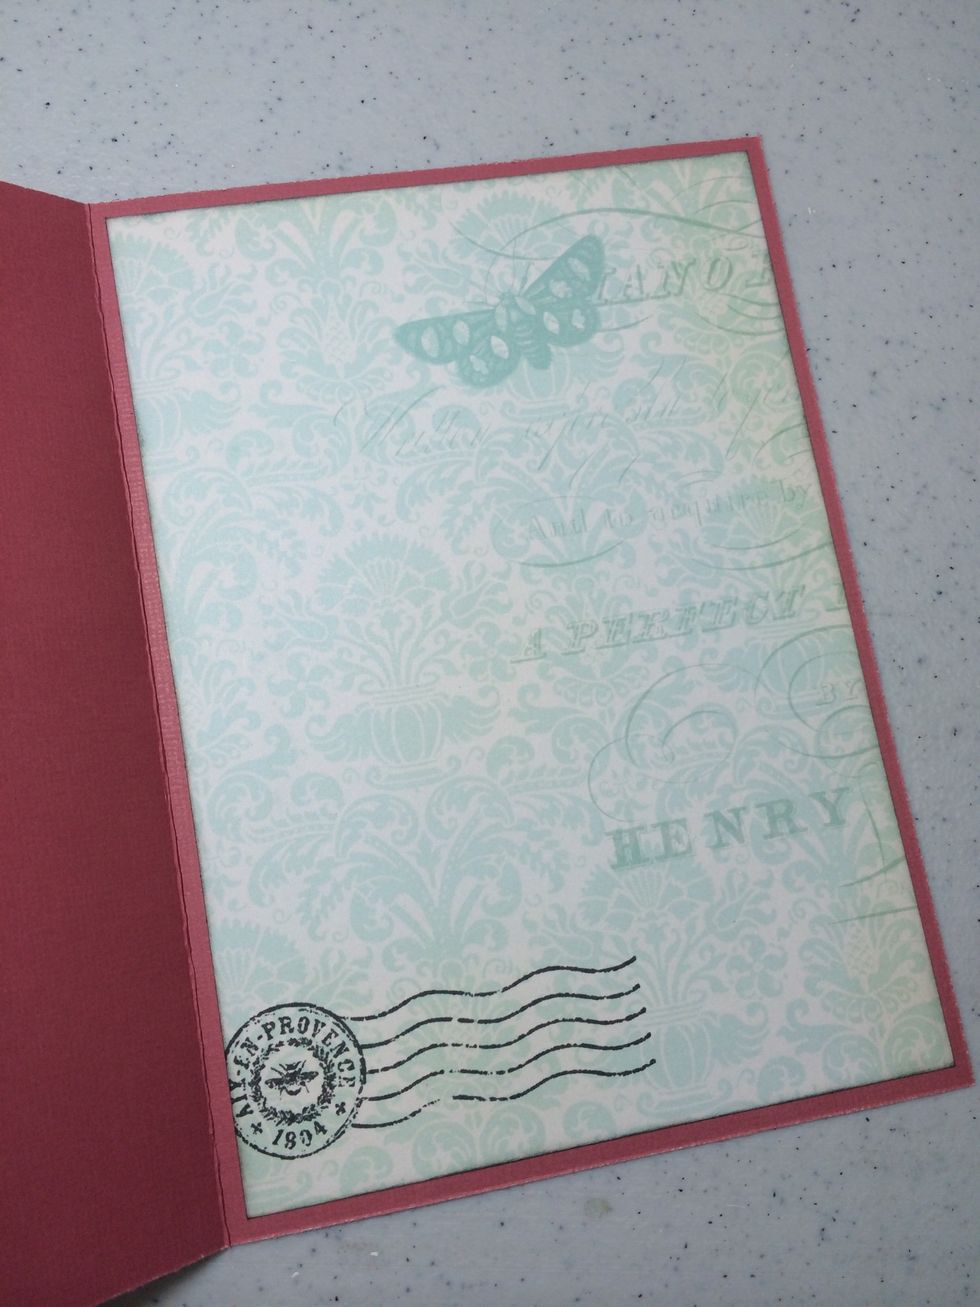
Don't forget the inside of the card. Cut a piece of pattern paper 4 3/4" x 6 3/4", stamp image, ink edges, and adhere.
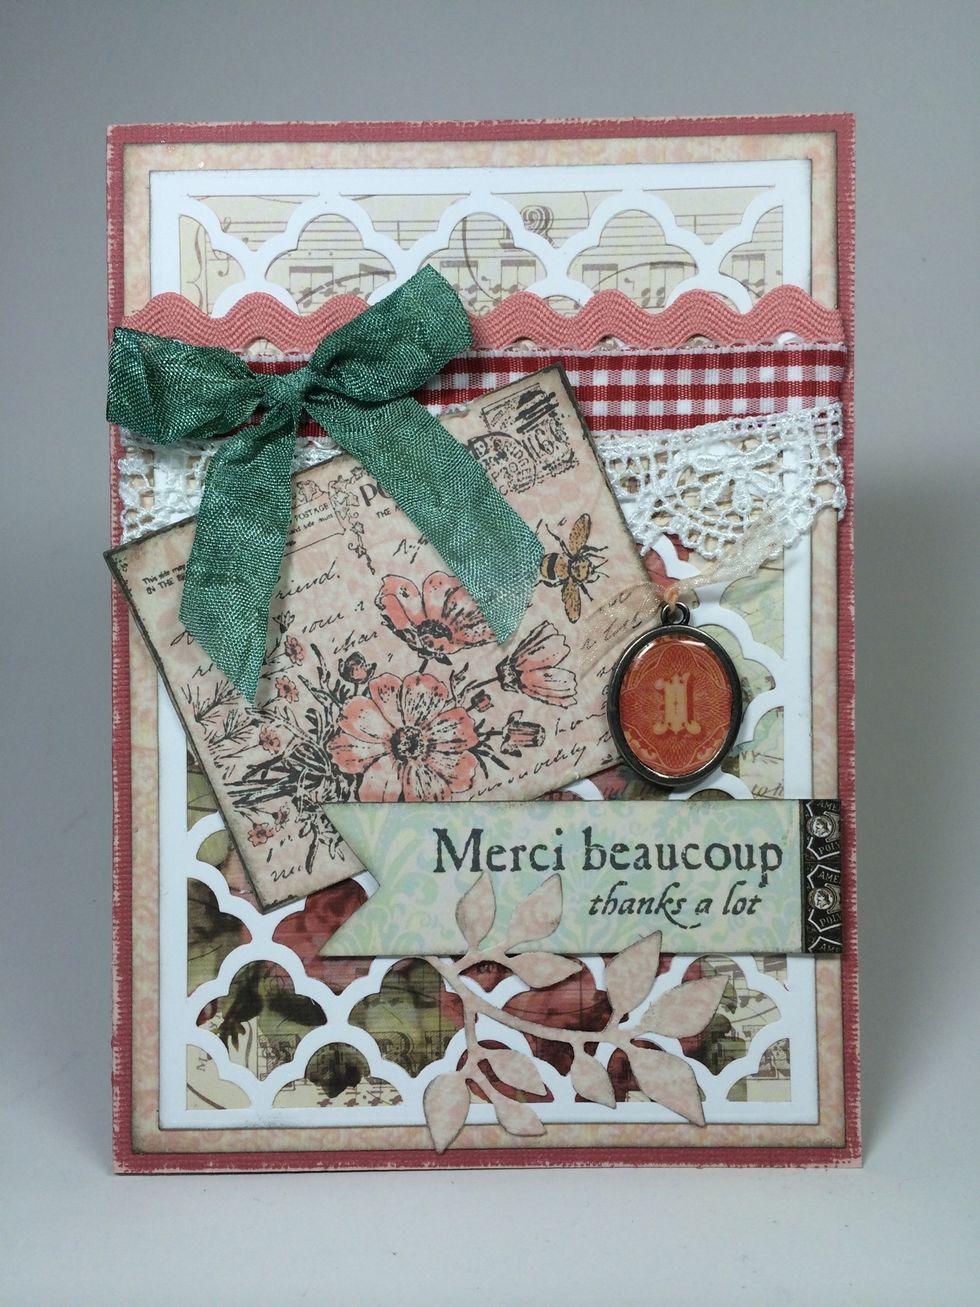
Your card is done.
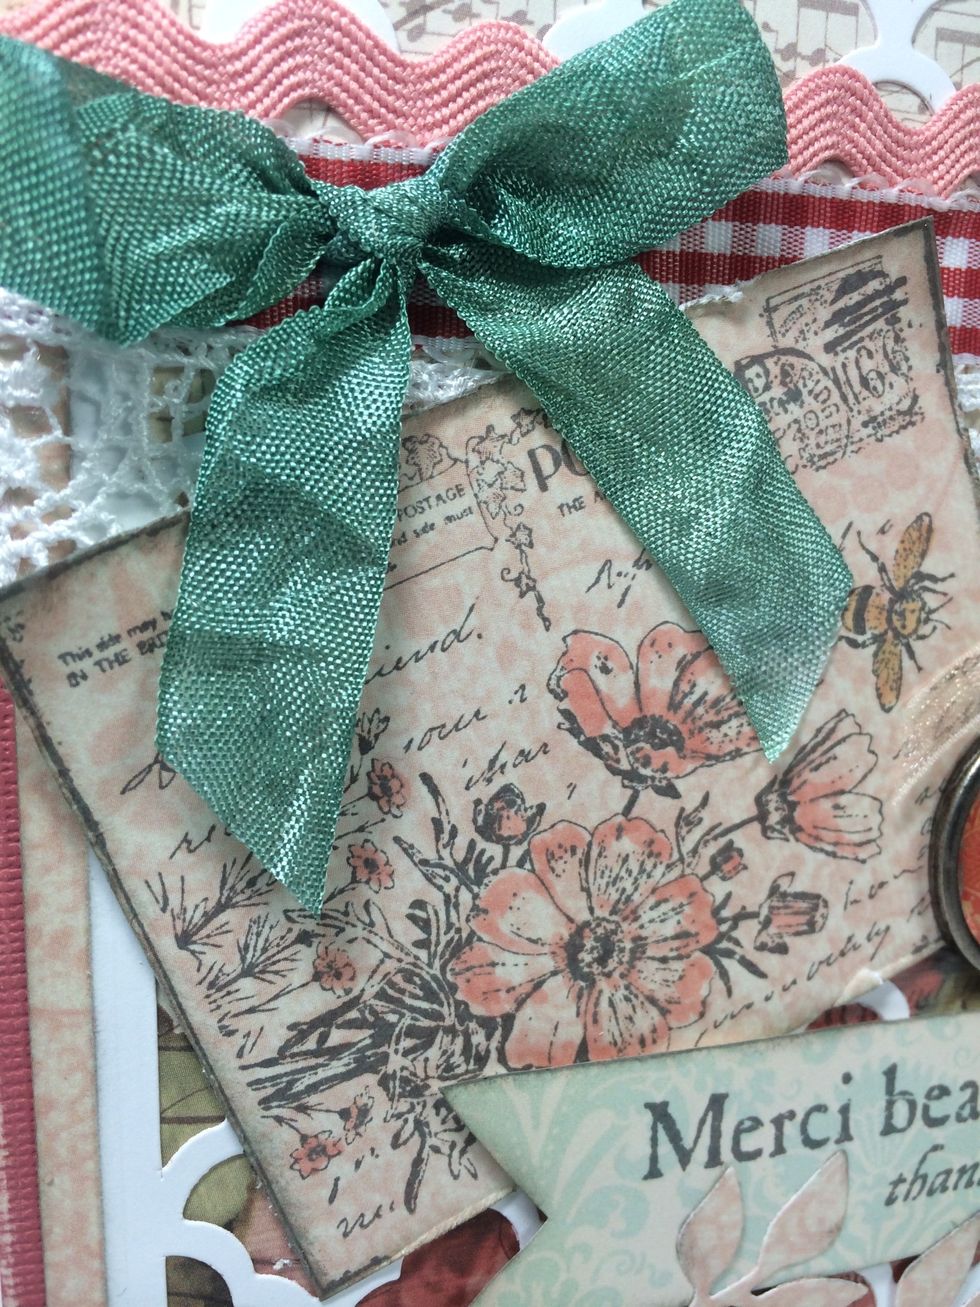
You can make ribbon any color you desire. This is white seam binding colored with re-inker and rubbing alcohol. Mix 8 parts alcohol & 1 part re-inker in a zip top bag, add ribbon, remove & let dry.
You may need extra postage to mail this card due to the added weight and thickness. I also use a padded envelope to protect it.