The Conversation (0)
Sign Up
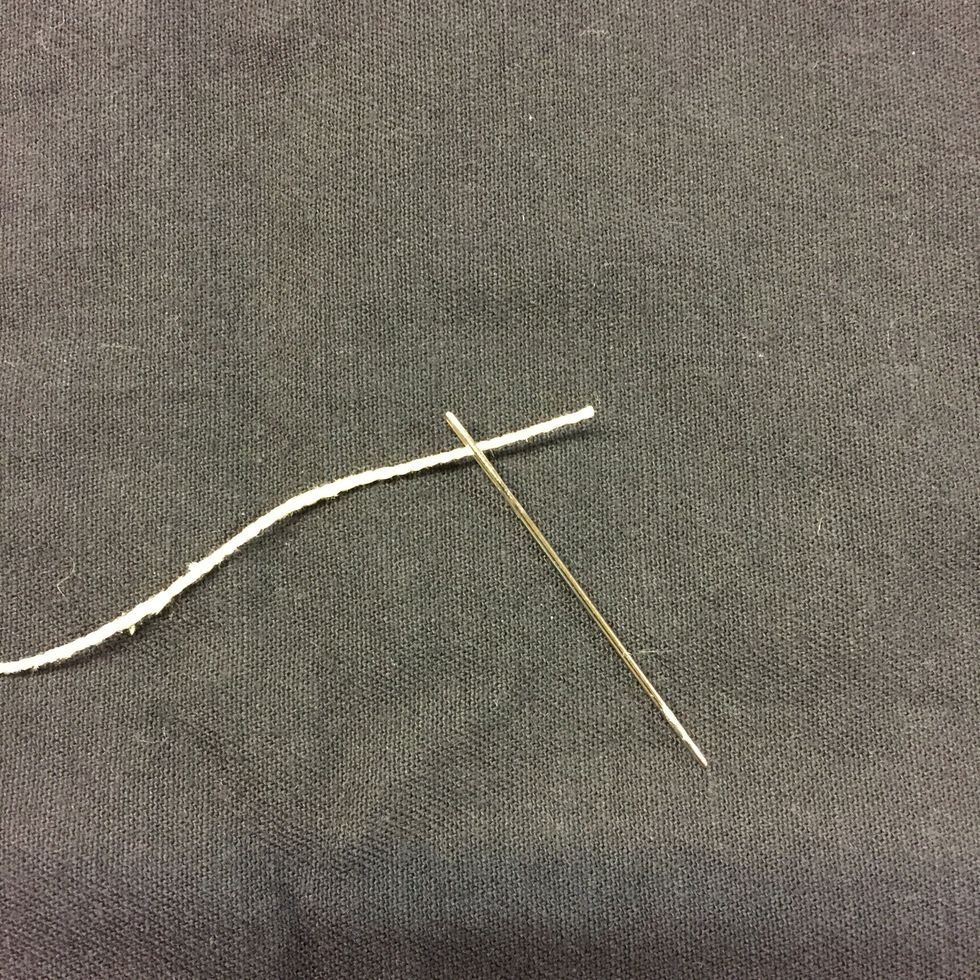
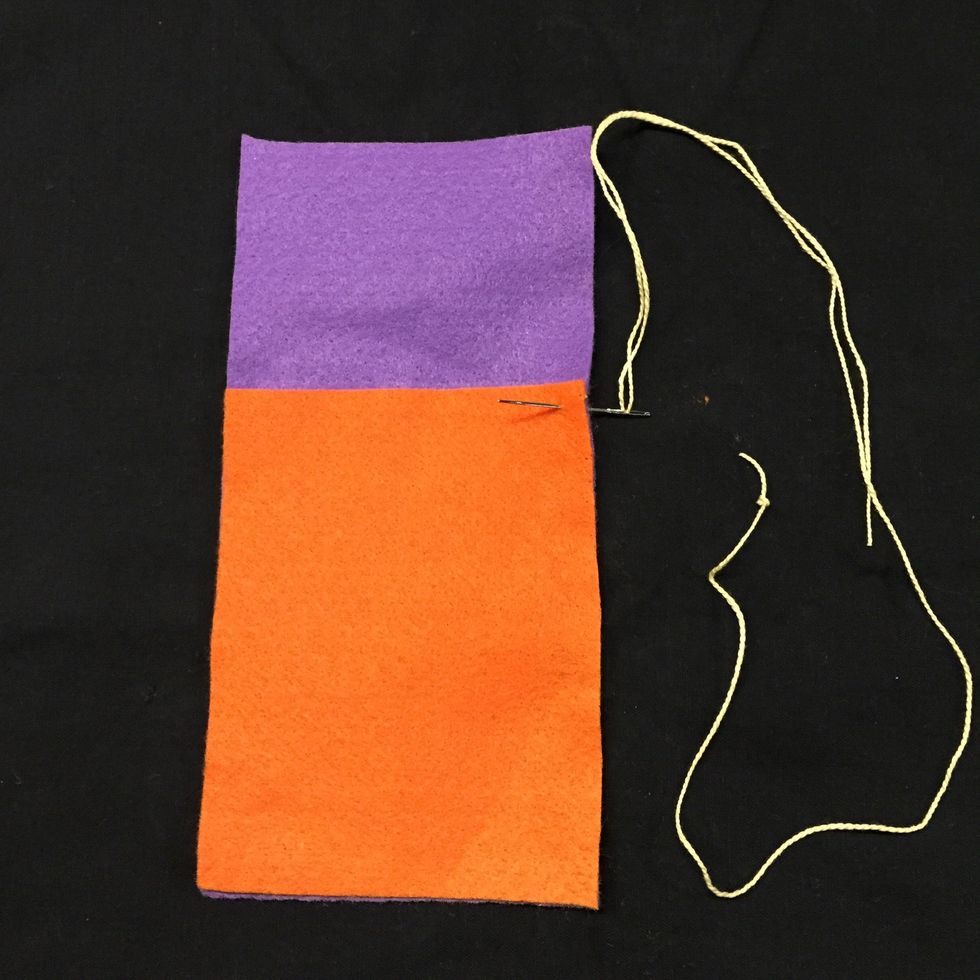
Thread your needle
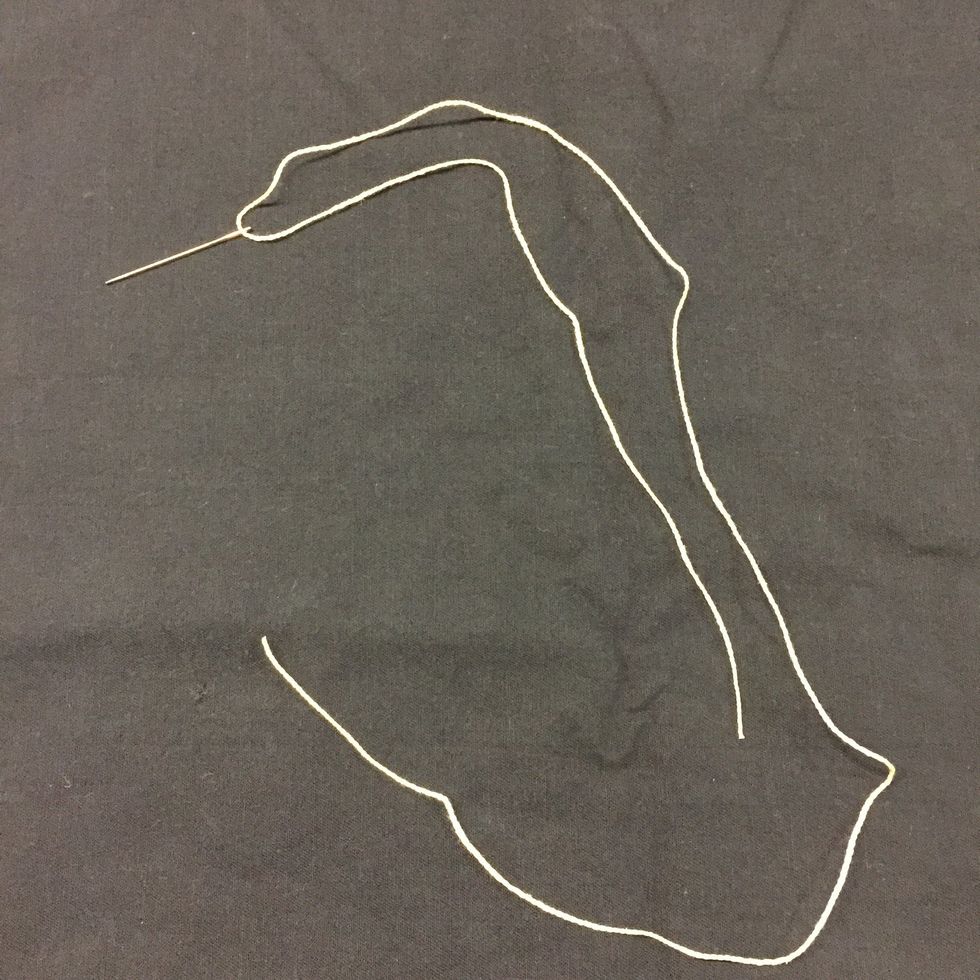
Make sure one tail is longer than the other

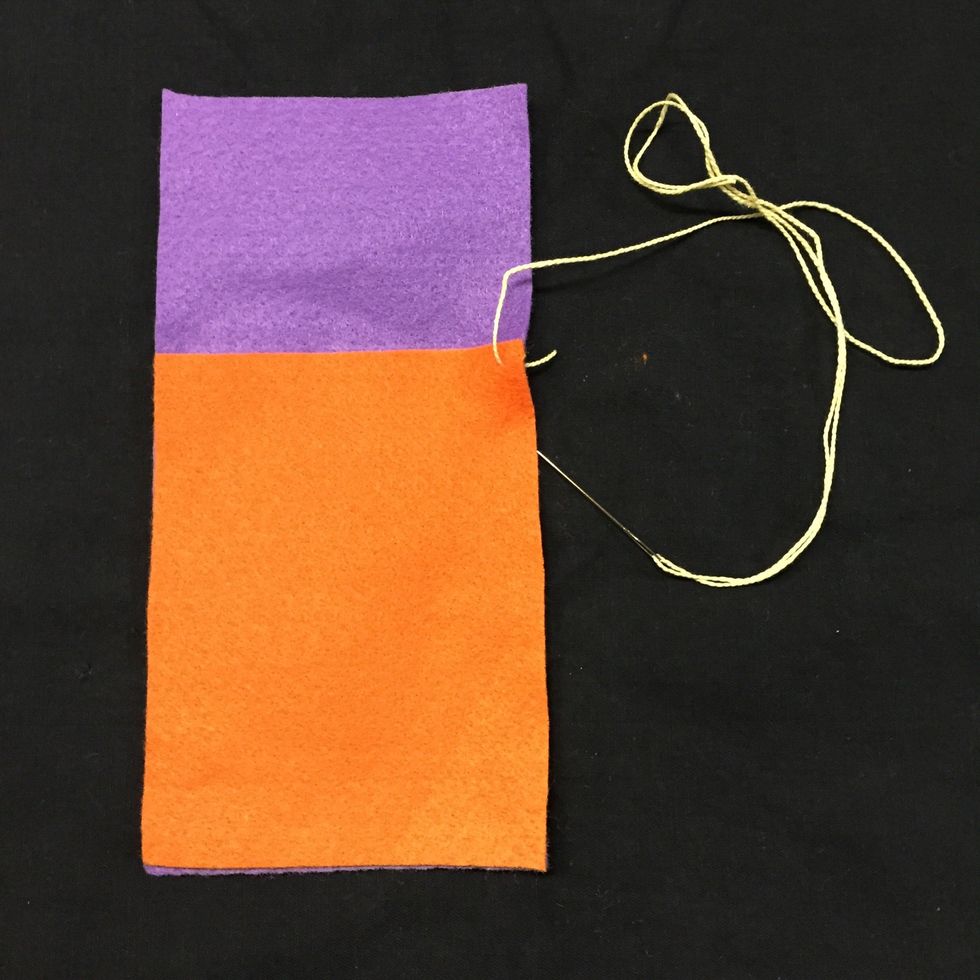
Knot the long tail. Make a loop like you're tying your shoes

Make a second loop and pull this on top of your first knot.
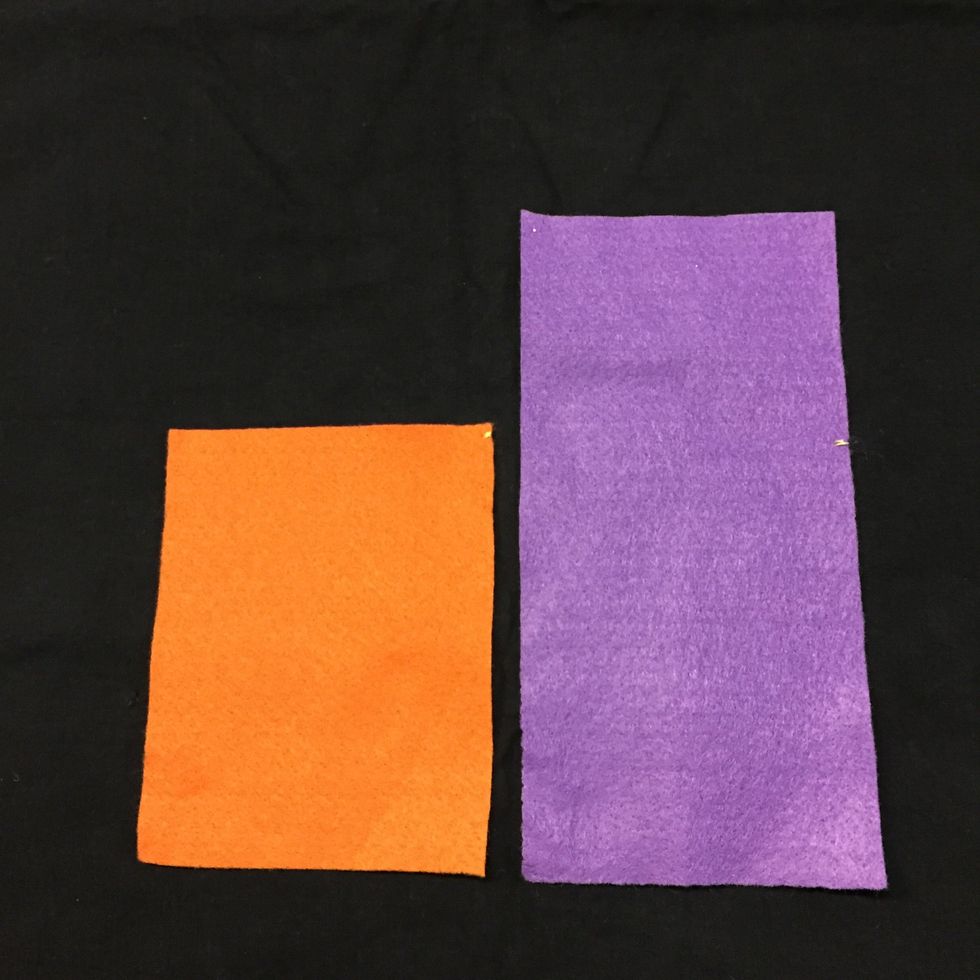
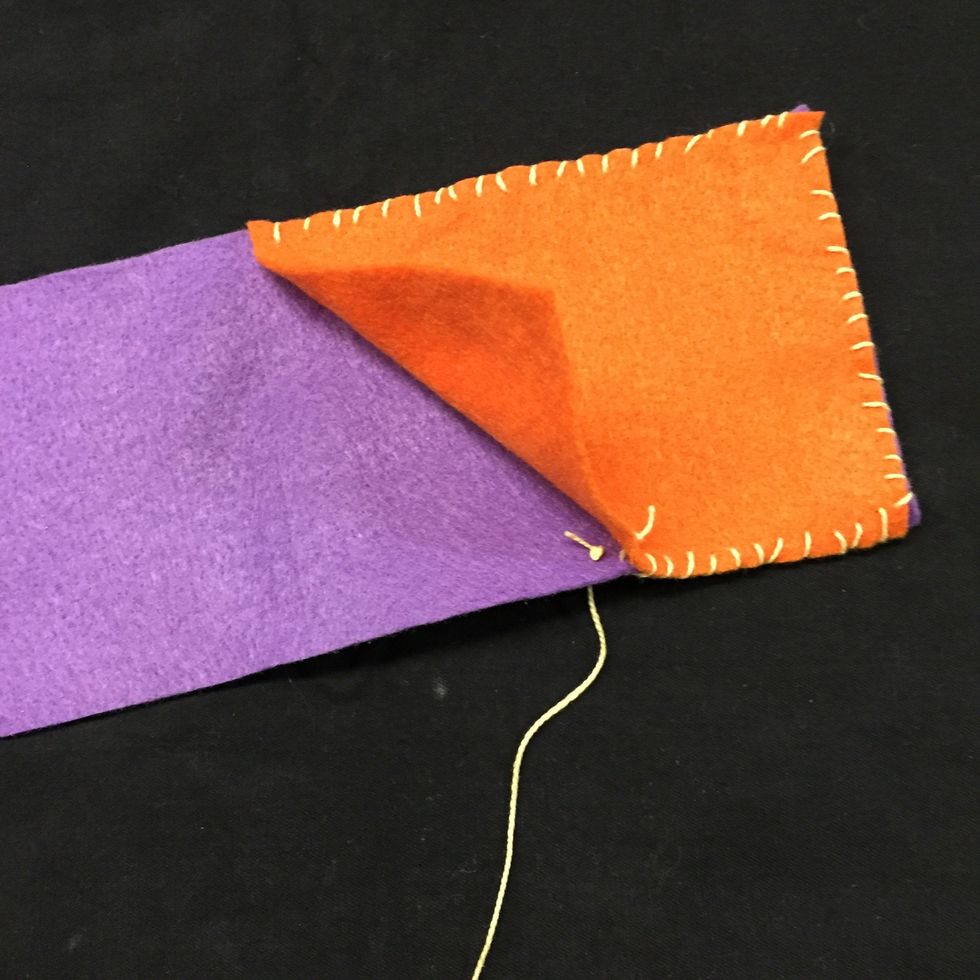
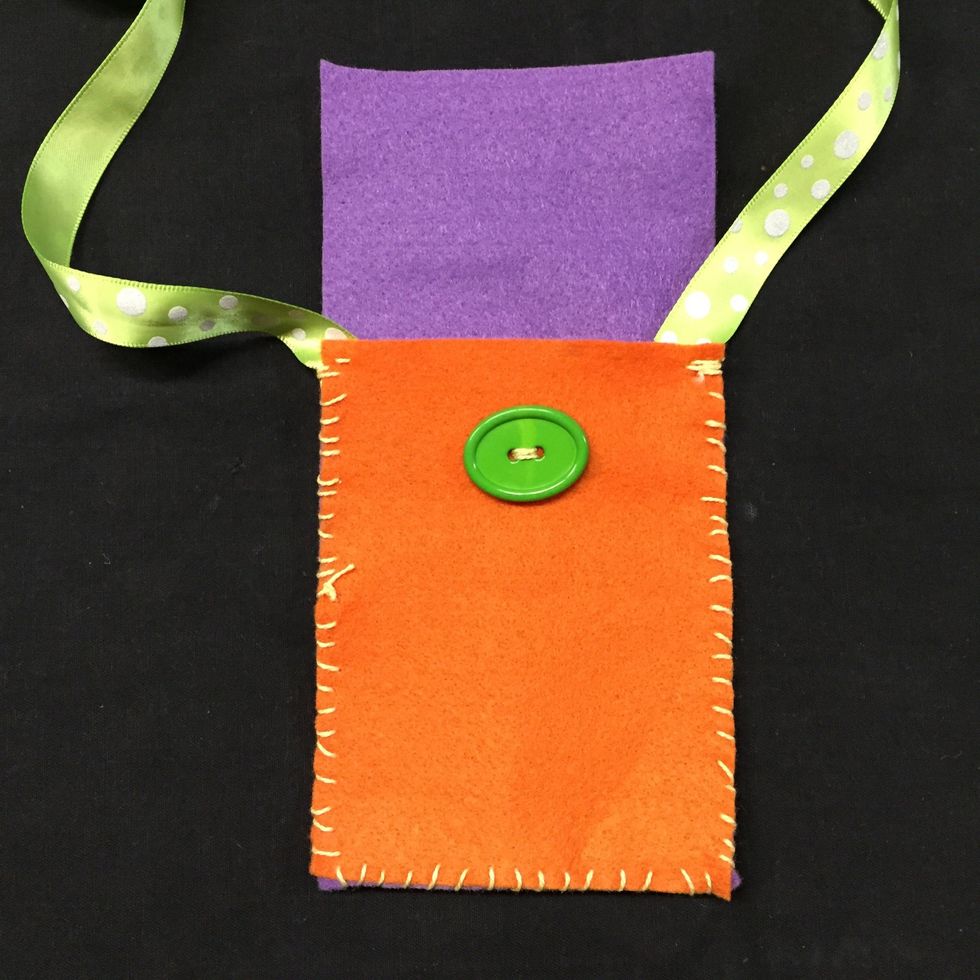
The orange will be your front and the purple will come over and button your pouch closed
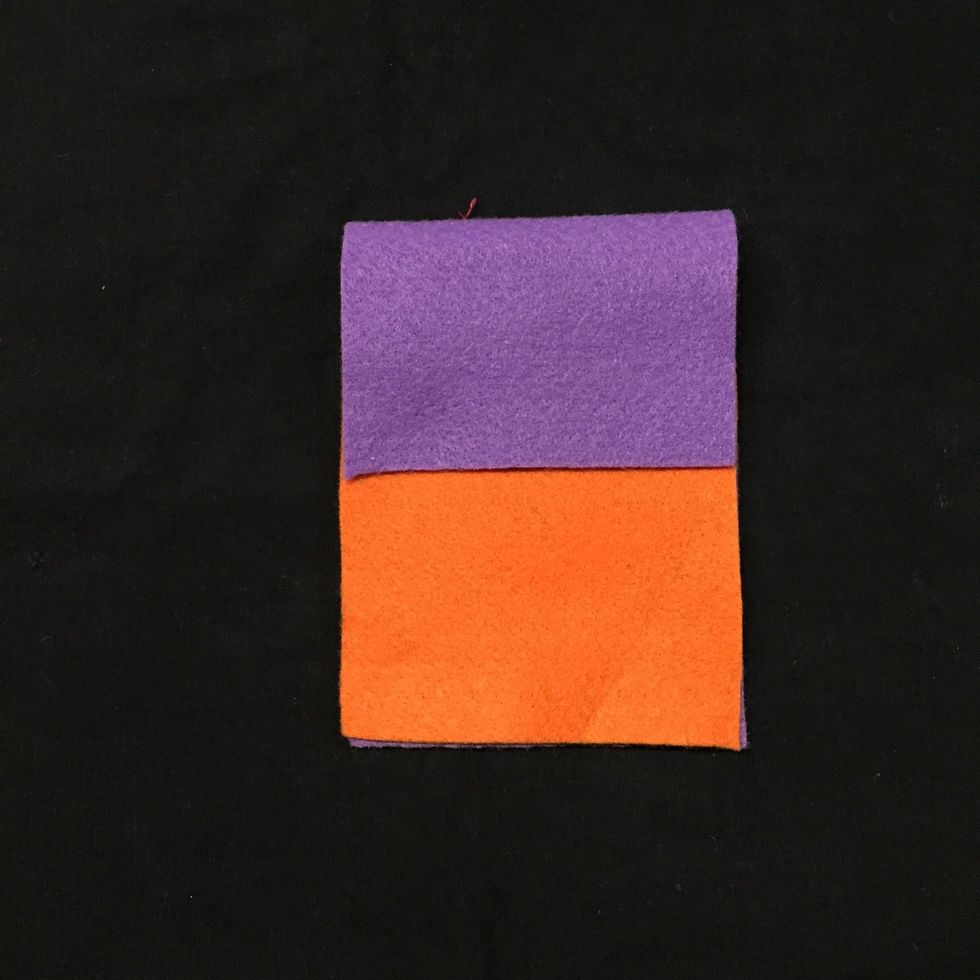
Like this
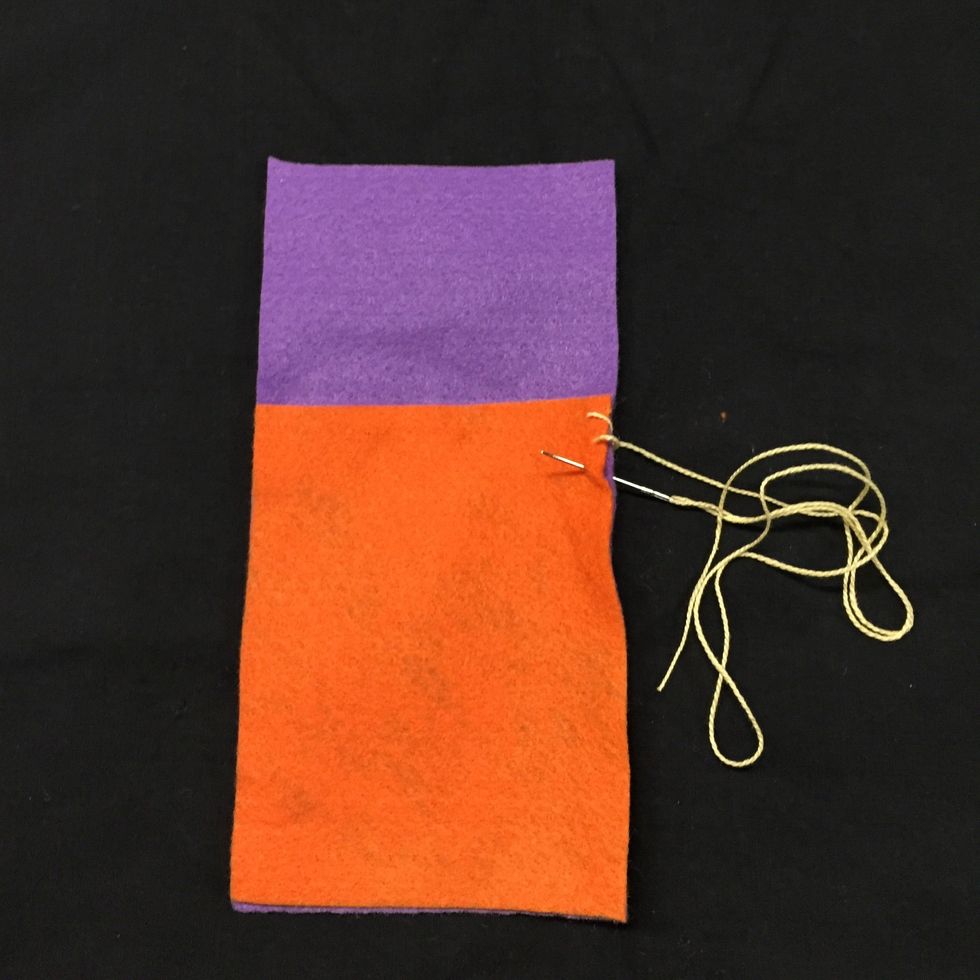
Start in the top corner. Come up through both felt pieces
Once you pull your thread up, go below and come up again right next to your last stitch

Keep doing this same stitch over and over...up from below, then pull your thread
Up from below, pull your thread
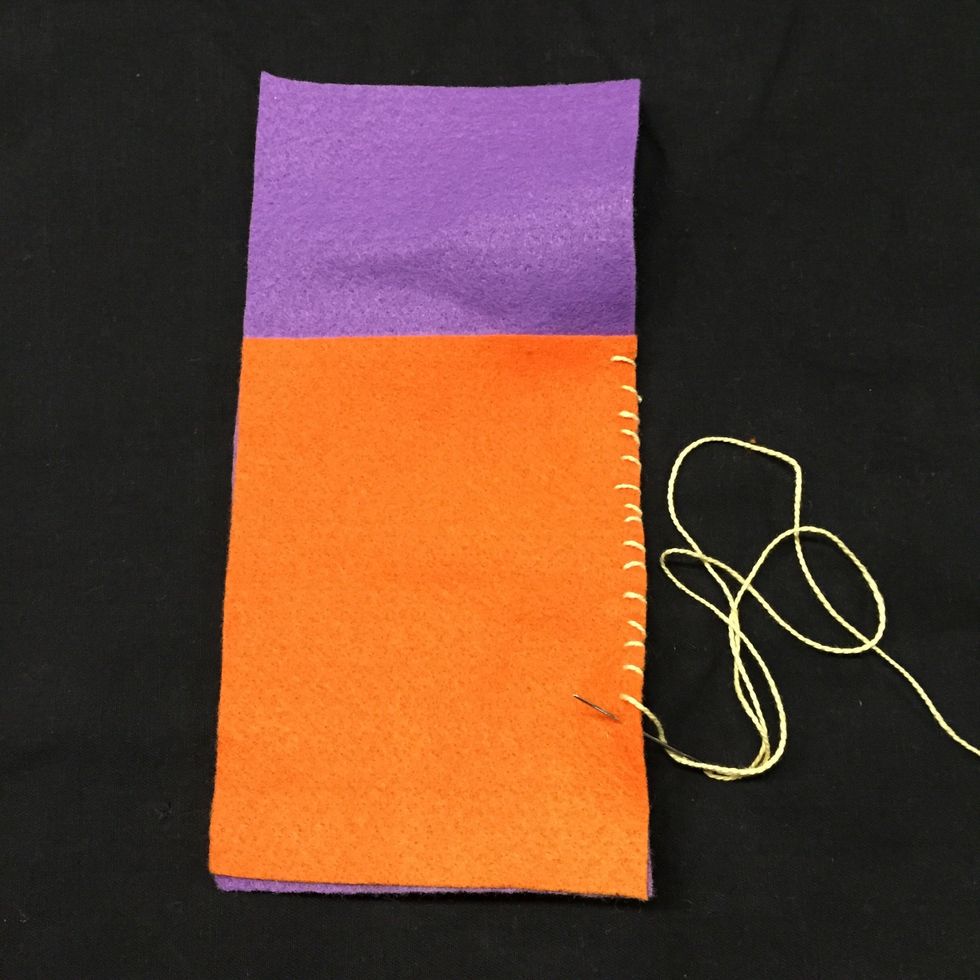
Keep going

You might need to add a new piece of thread. If you do, simply knot this piece and cut it
Start your new thread from the inside to hide your knot. Then do the same thing again...up from below, pull your thread
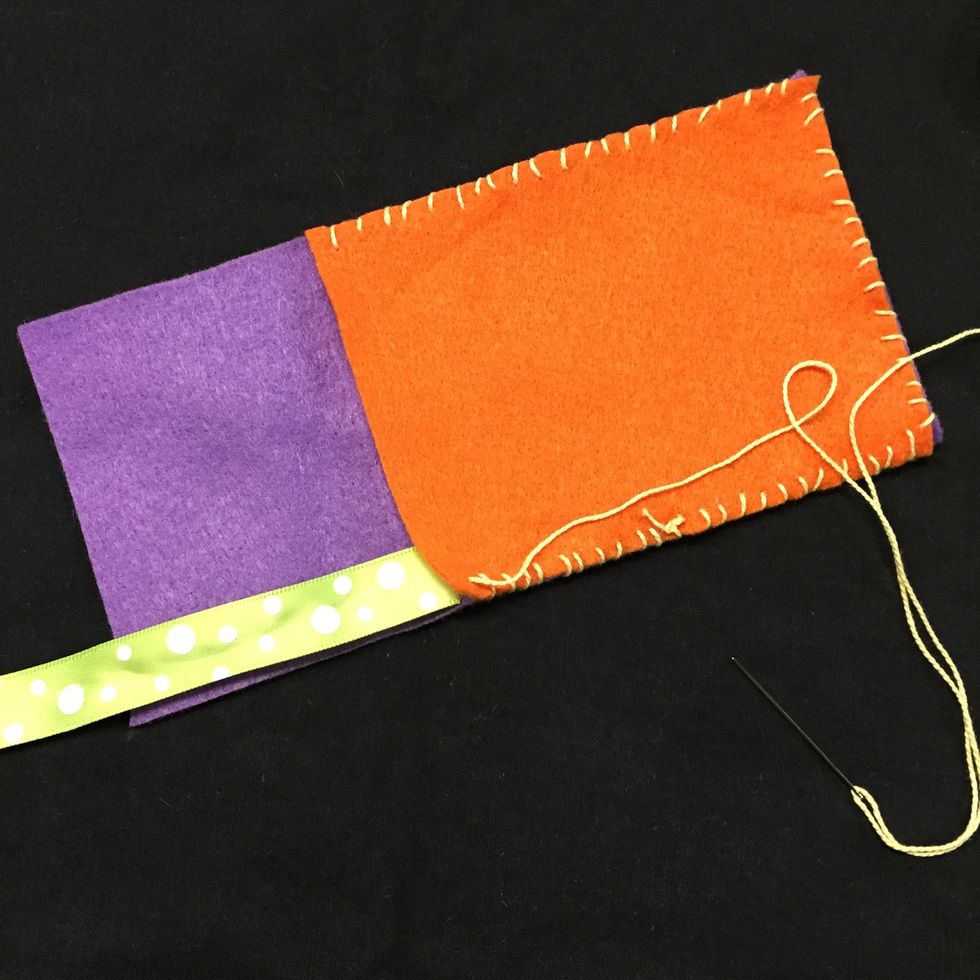
When you get to the end, add your ribbon and make a few stitches to secure it
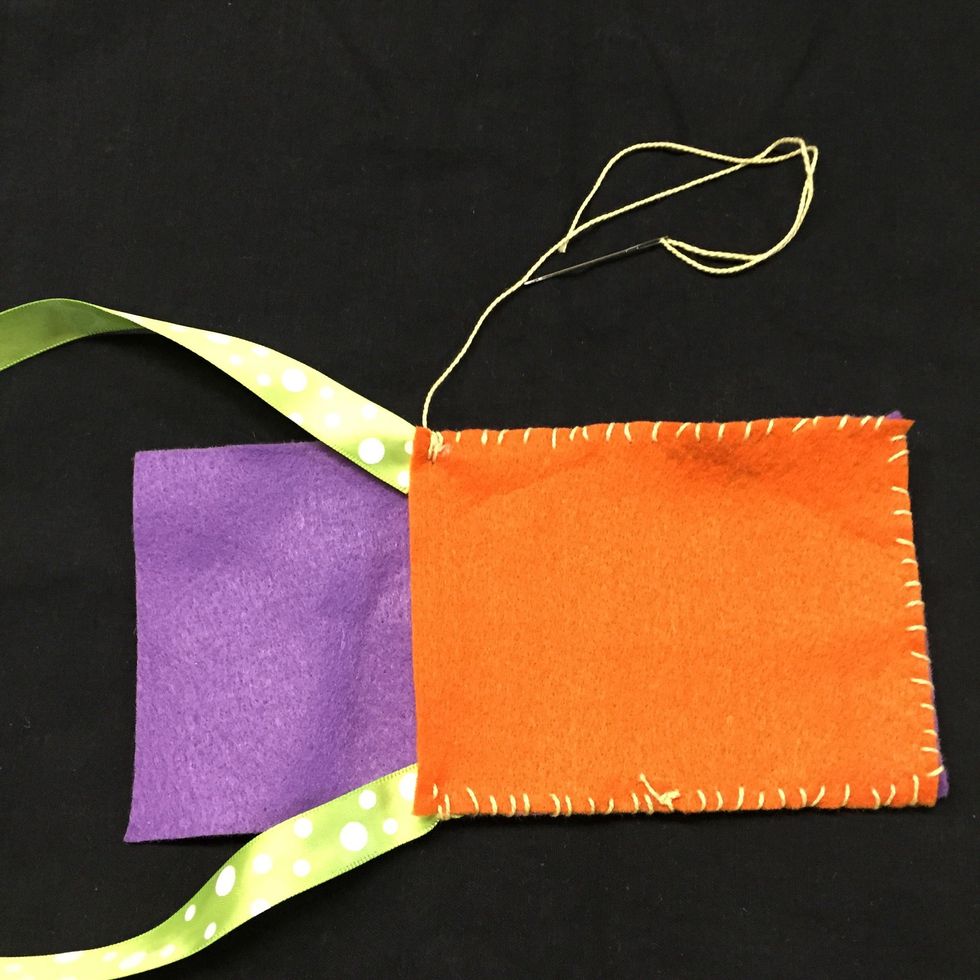
Do the same thing on the other side
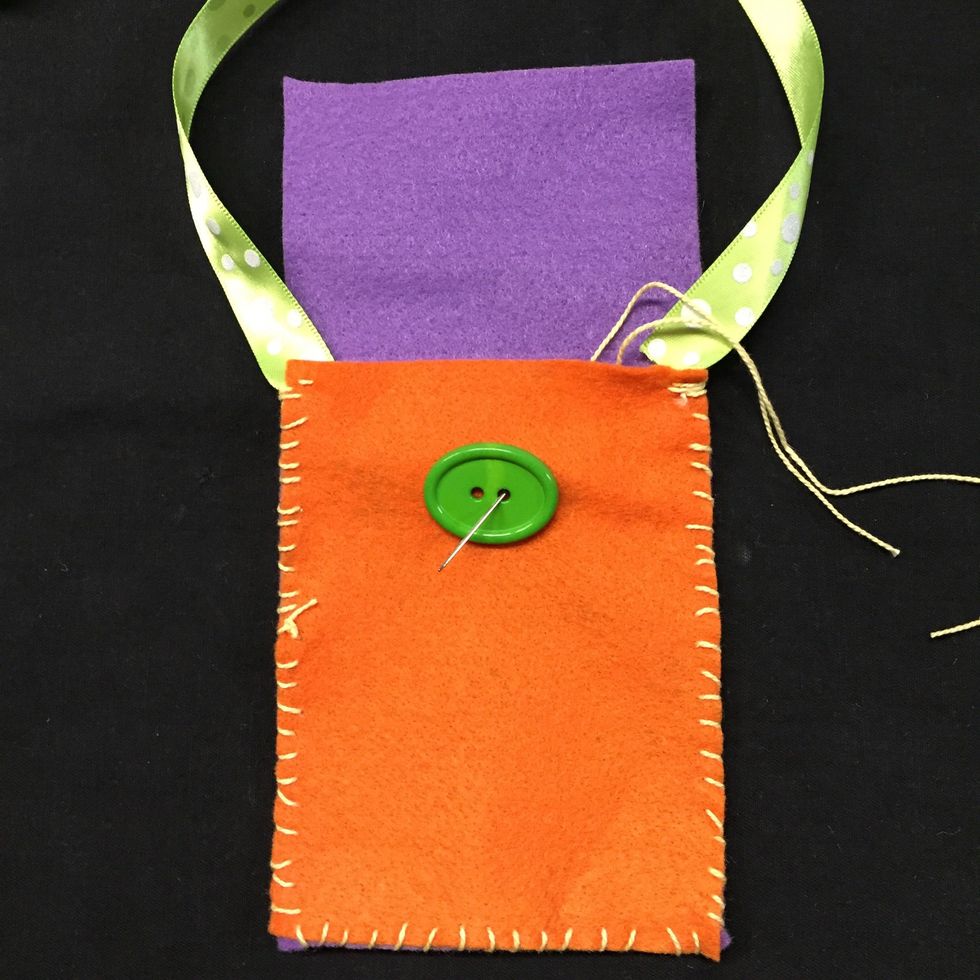
Now sew a button on the front piece. Make sure you go down about one inch to place it
Looking good! You're almost done.
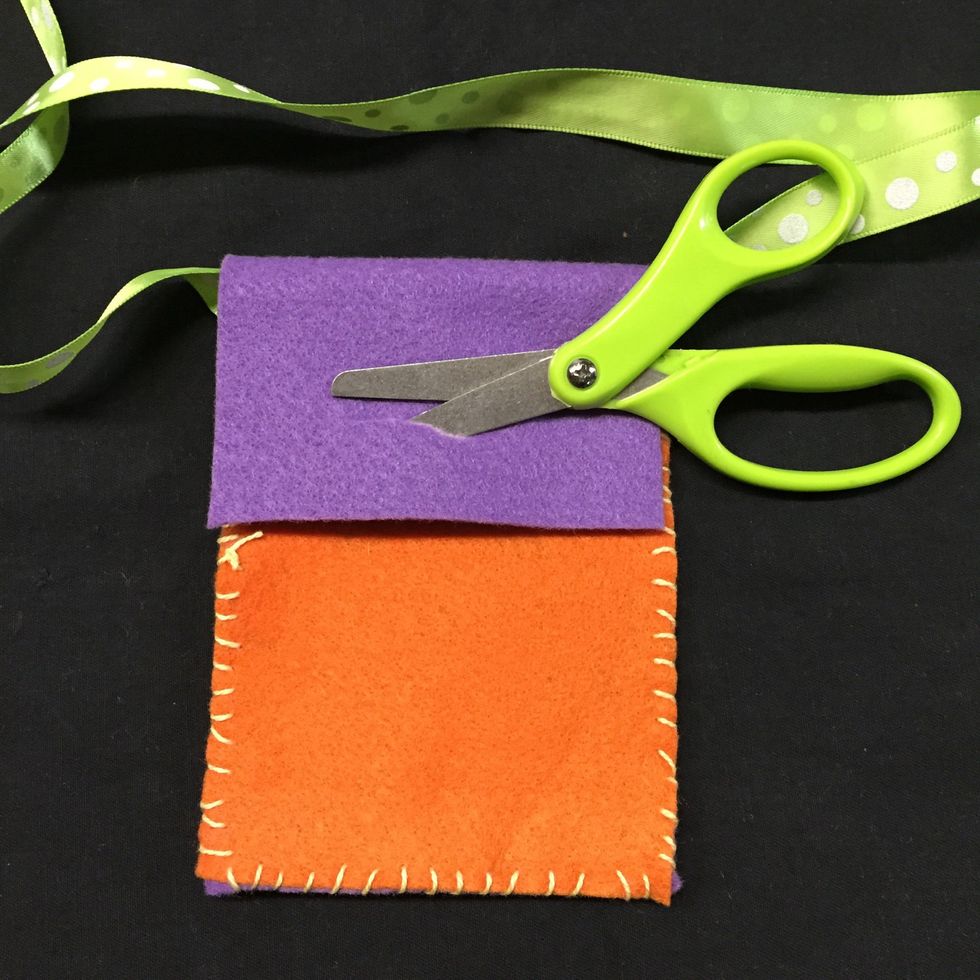
Have your teacher cut a slit in the top flap
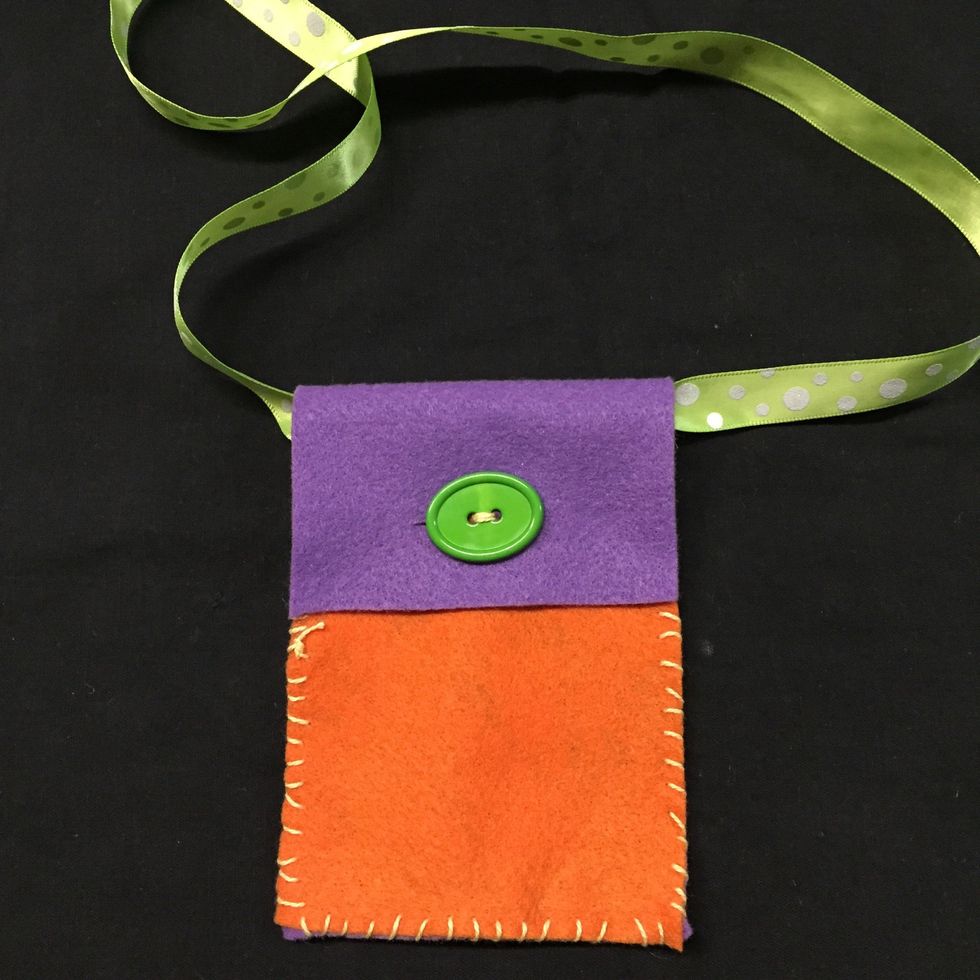
Beautiful!
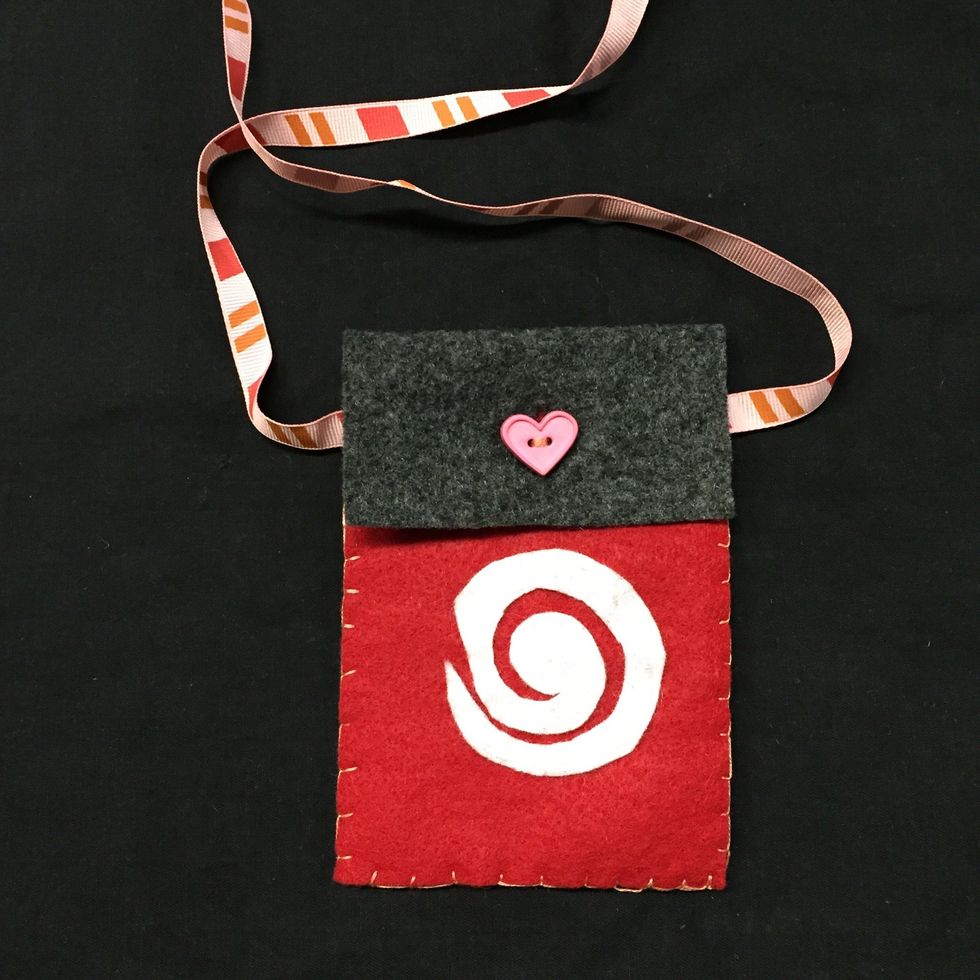
You can also add designs to your front piece, but you need to sew this on before putting your pouch together. Congratulations on a job well done!