The Conversation (0)
Sign Up
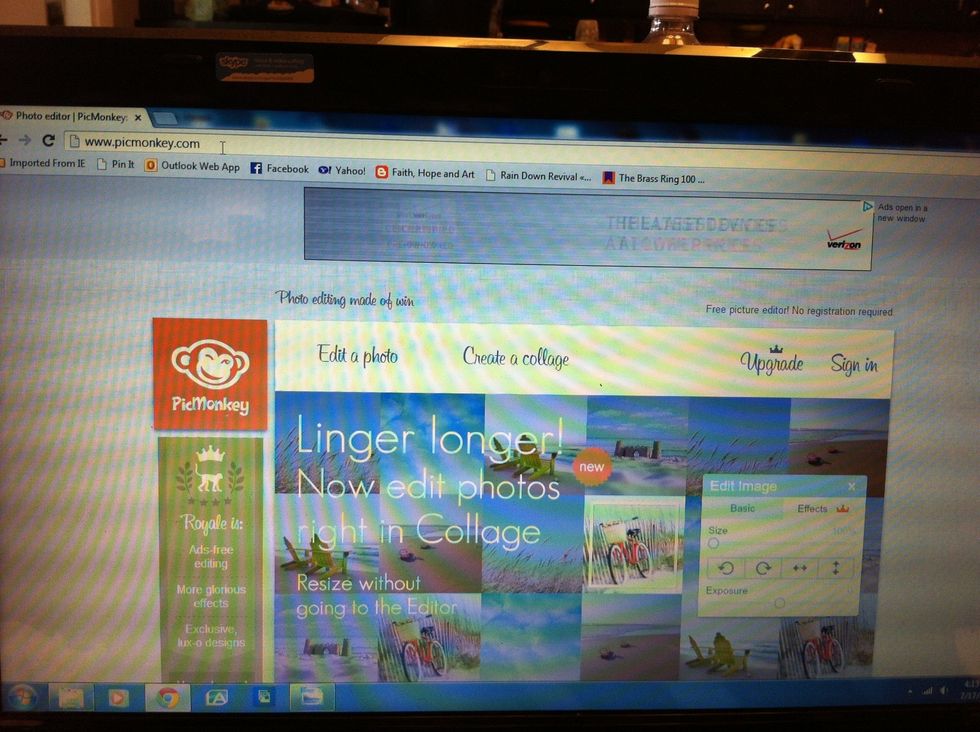
Go to www.picmonkey.com

Click on EDIT A PHOTO and load your picture.

Select crop tool from the basic edits tab.
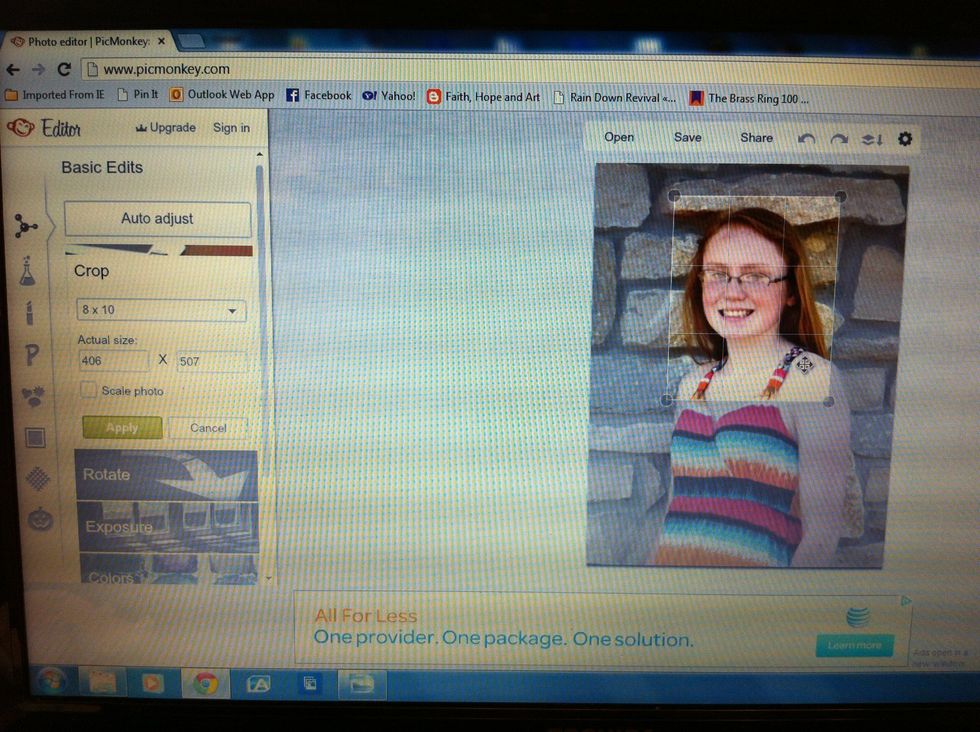
Crop your picture to chosen size.

When you apply the crop you will only have the resized picture to work with.

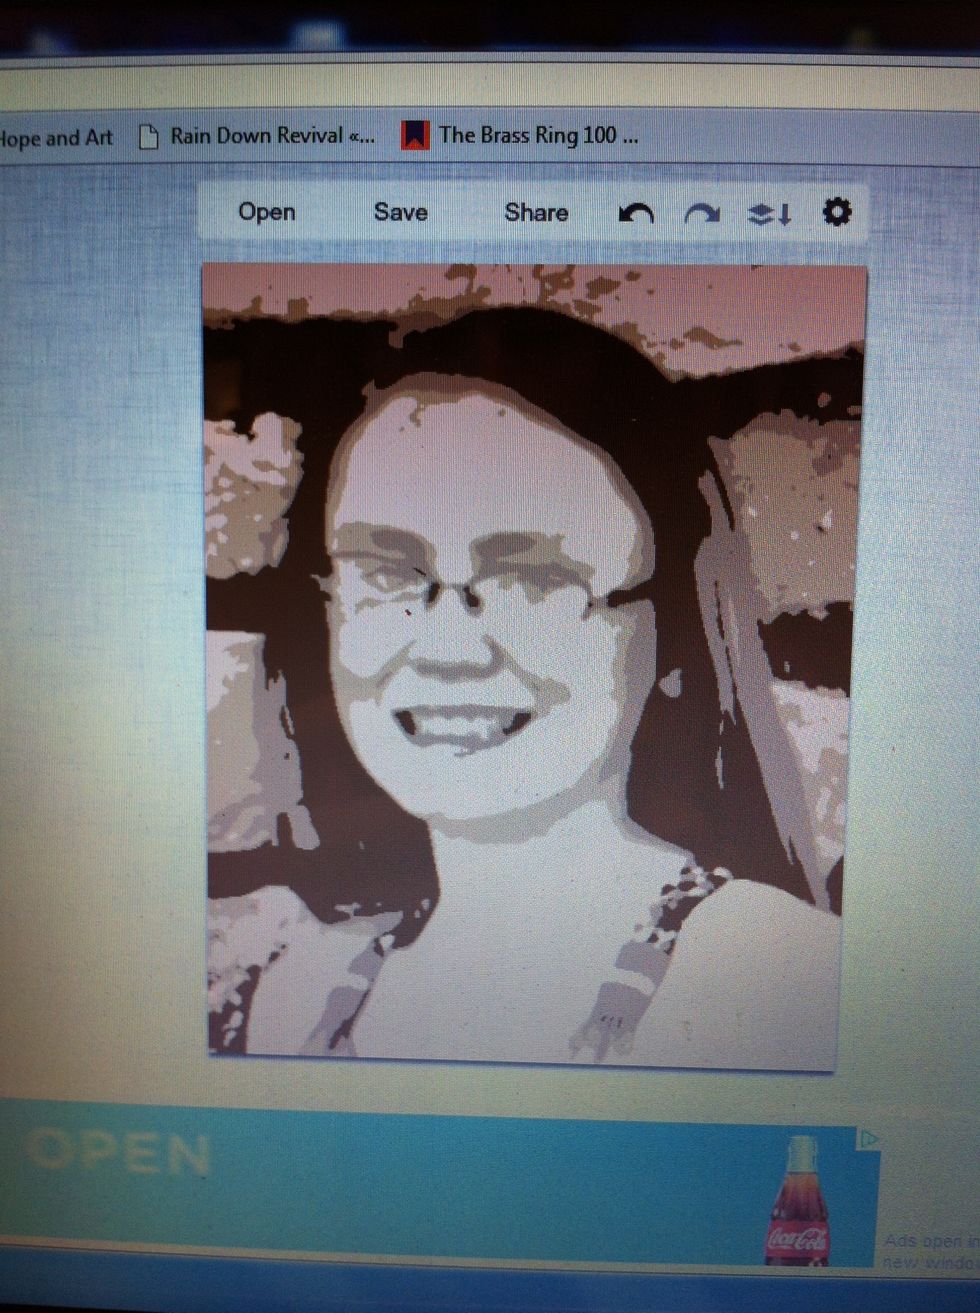
Now select the EFFECTS tool. This is a chemistry bottle.
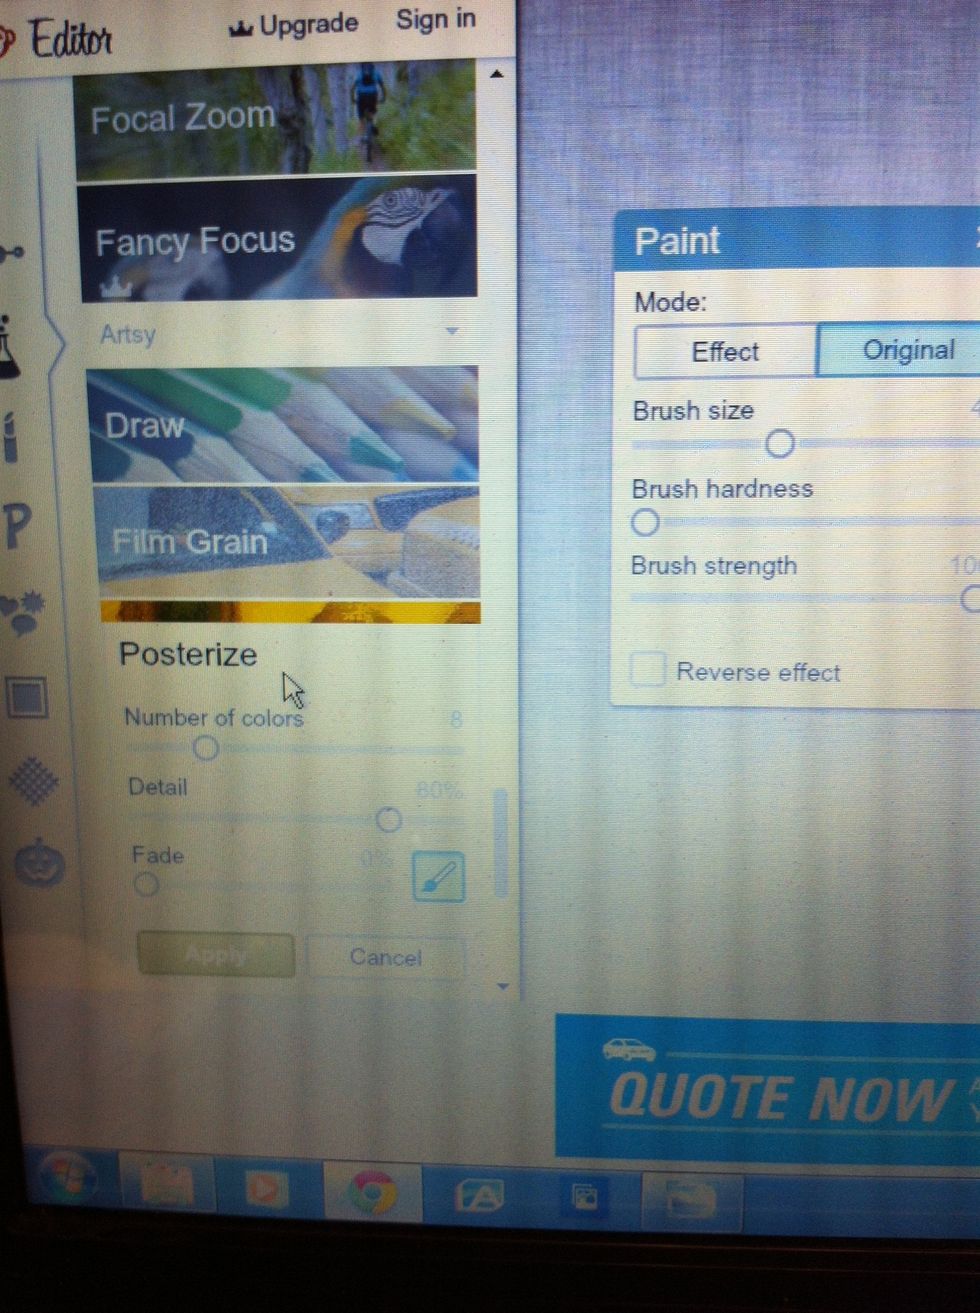
Scroll way down the list to POSTERIZE.

It automatically chooses 8 colors for you. I rarely ever keep this setting.

I usually choose 3 or 4 colors if I am planning to use this for an art project.
Apply the effect.

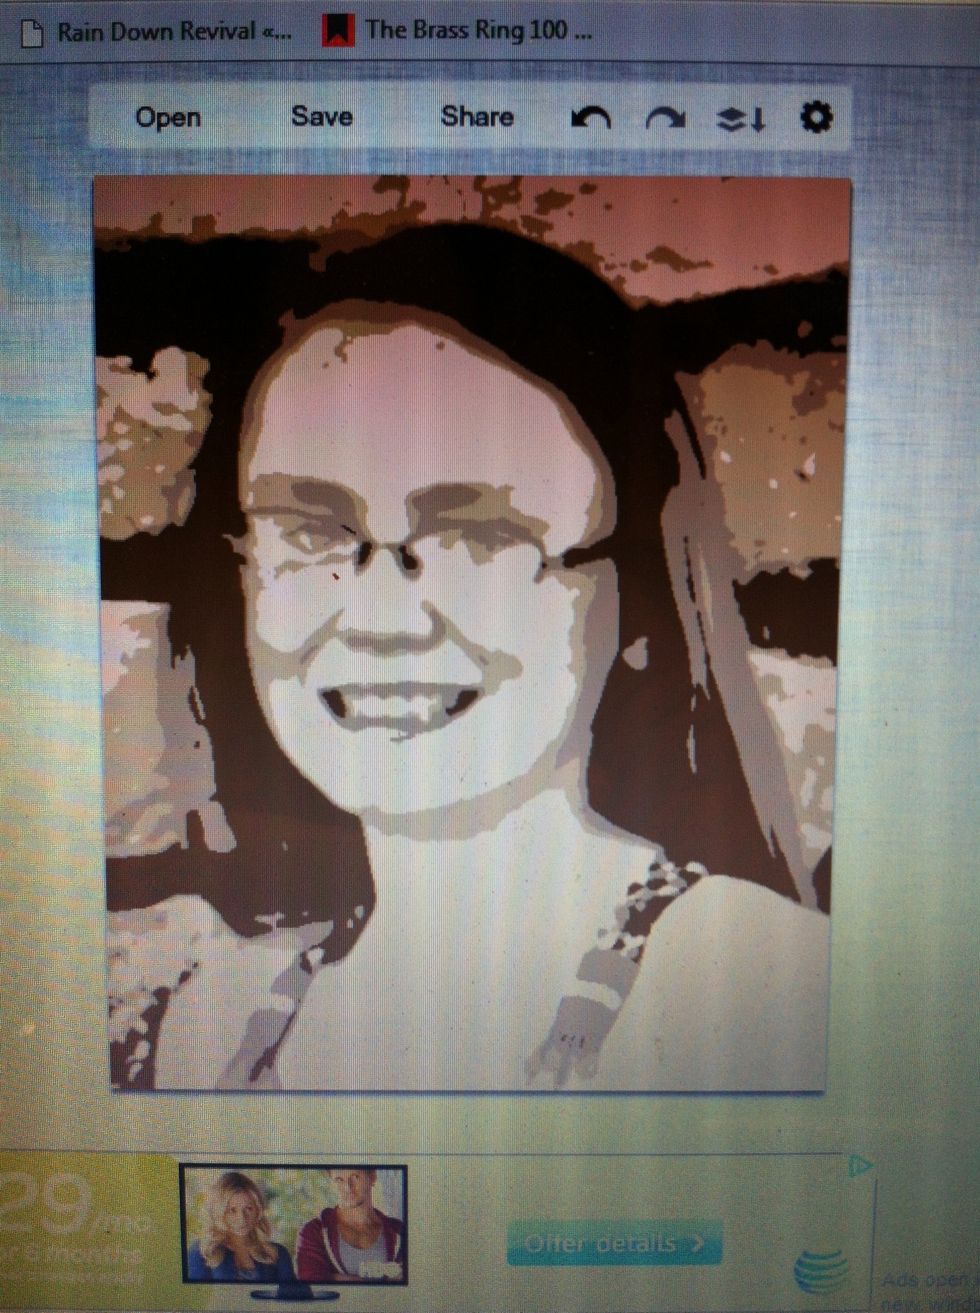
Save your work. Because I normally use these edited pieces for art projects, I save at their recommended setting. This saved this picture at 78kb.
Finished! Enjoy! www.faithhopeandart.blogspot.com