The Conversation (0)
Sign Up
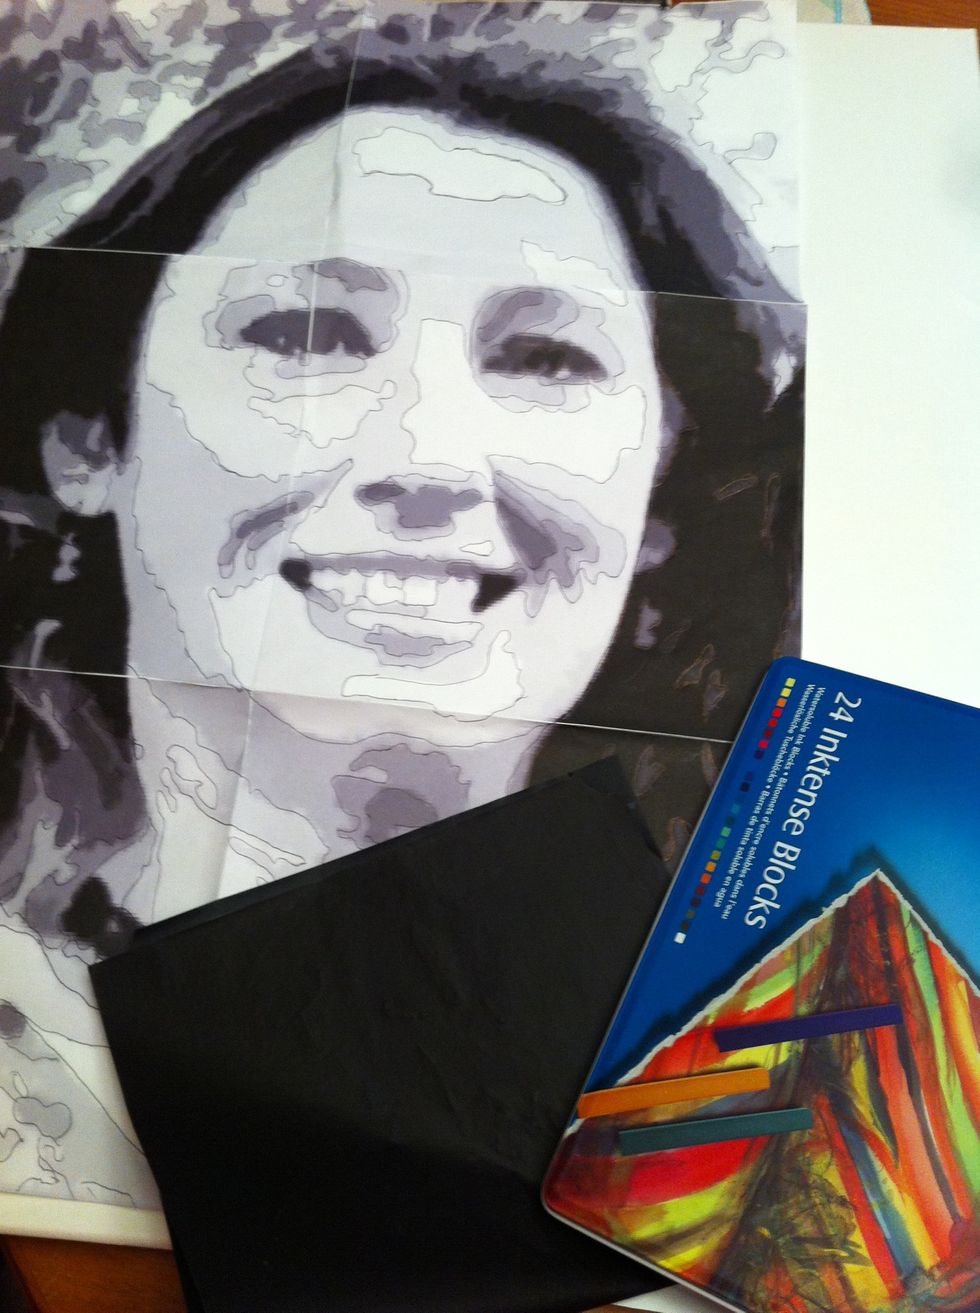
I used a picture that was taken of me and "posterized" it with digital photo editing software. My picture is posterized to 6 layers. I then blew up my picture to cover my 18"x24" canvas.
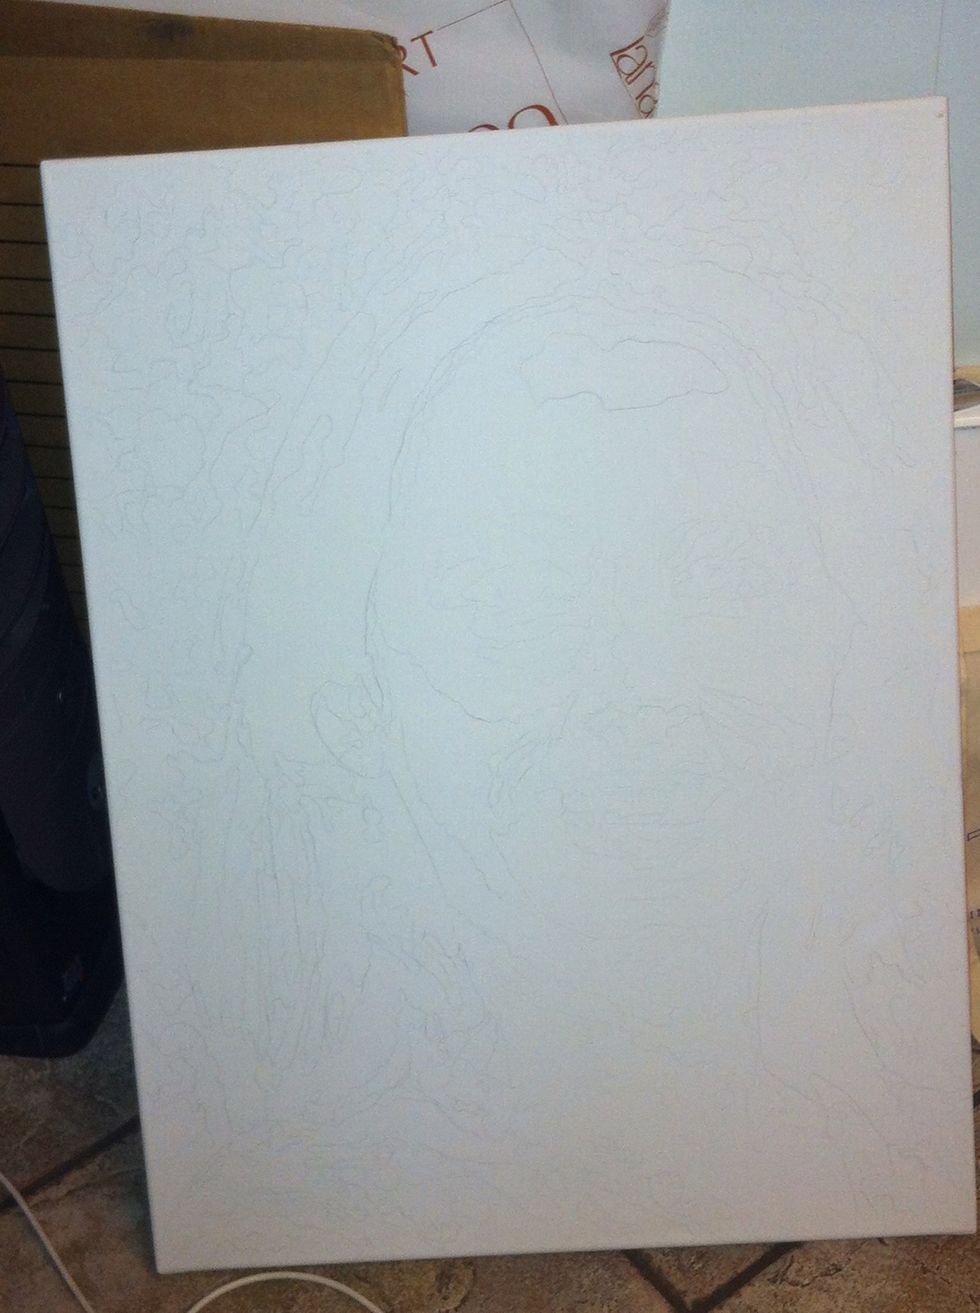
Use a carbon and trace the image onto the canvas. Yes this is "cheating." But you need the stylized spots, not a freehand realistic drawing for this project.
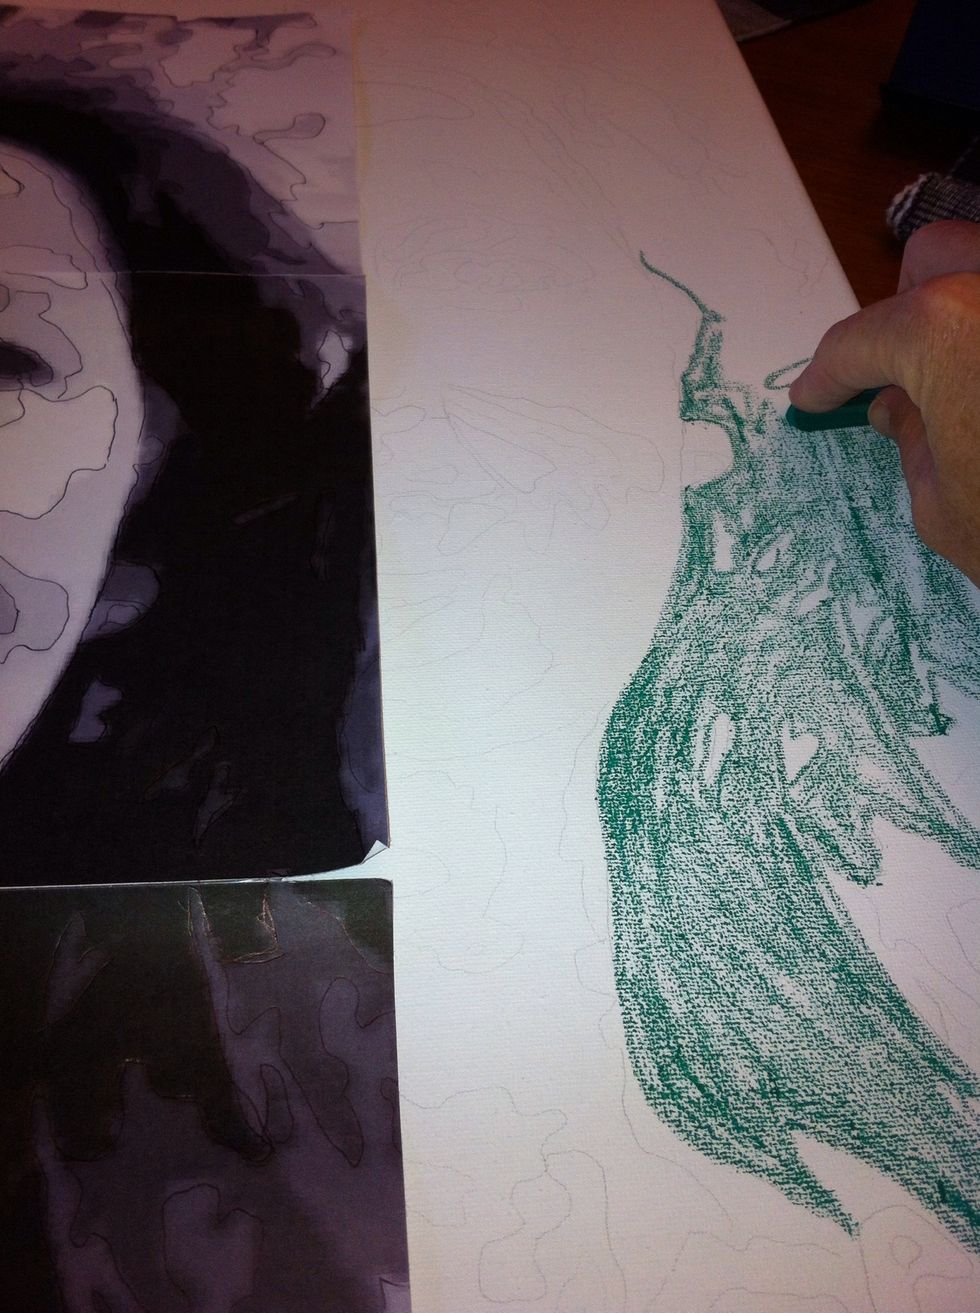
I am using Inktense Blocks for this project. You could use watercolor pencils, charcoal, or acrylic instead. Begin with the darkest sections and color using the darkest color you have chosen to use.

Yes, it will look weird! This is the first layer.
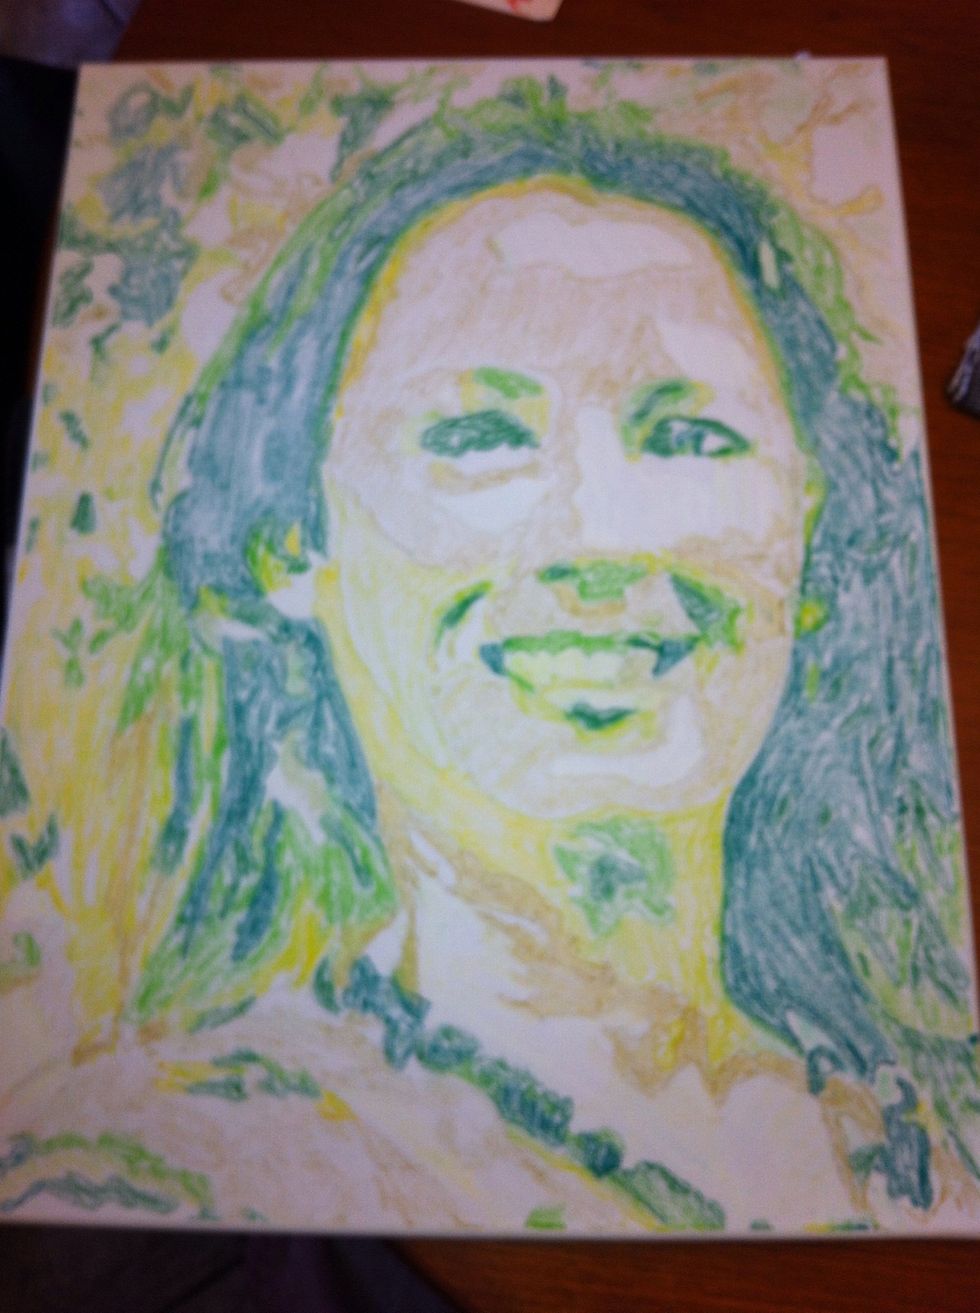
This is how it looks after all 6 colors are drawn and filled in. It will look strange as you are filling in the color. Step back from the piece and squint at it. This is how it will look finished!
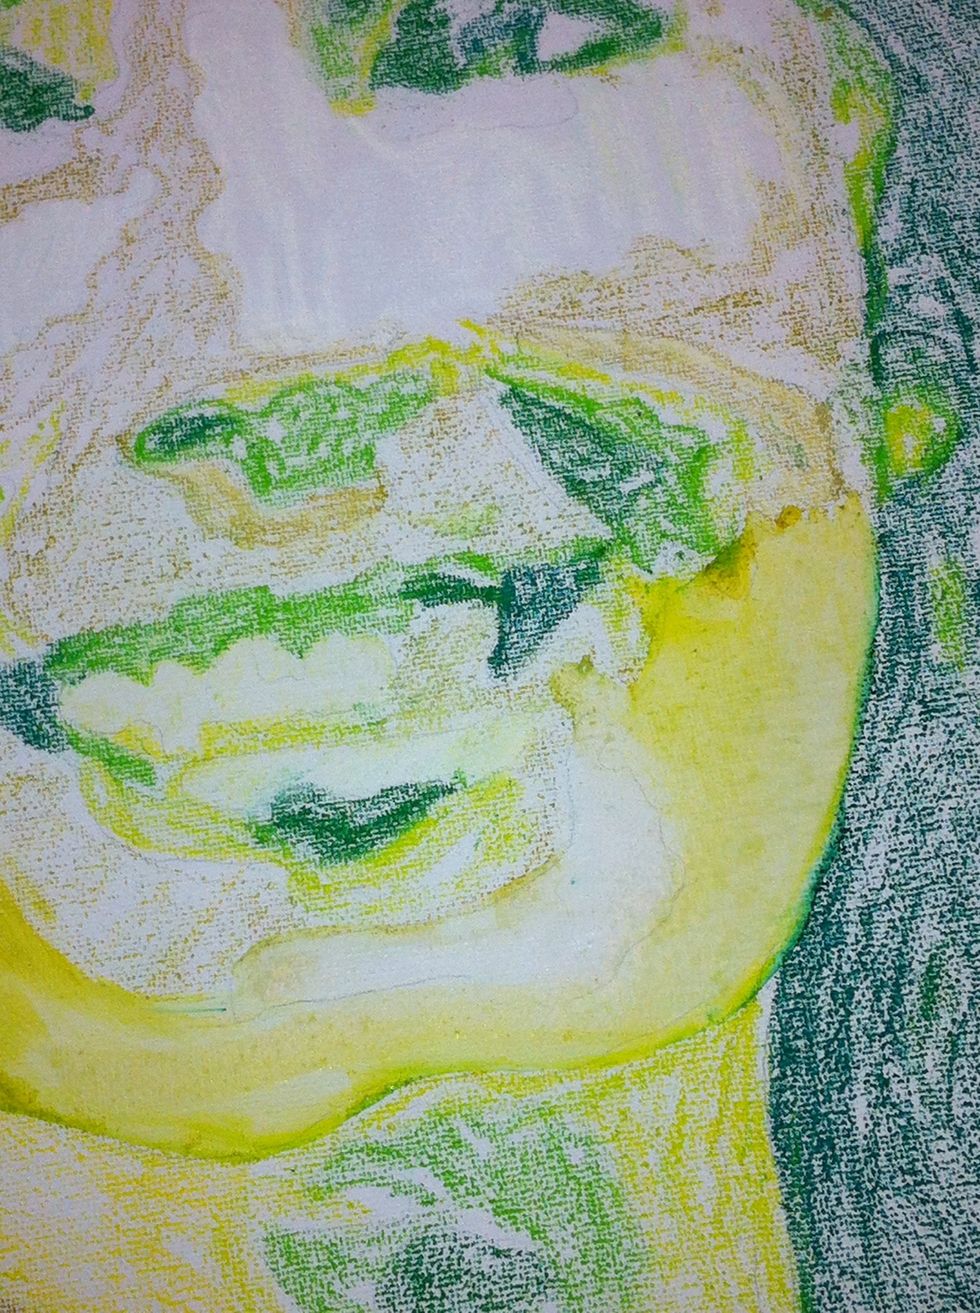
Get your paintbrush and wet it with a little water. Starting with the LIGHTEST color, blend and paint each section. The inktense blend like watercolors.

Isn't this cool!
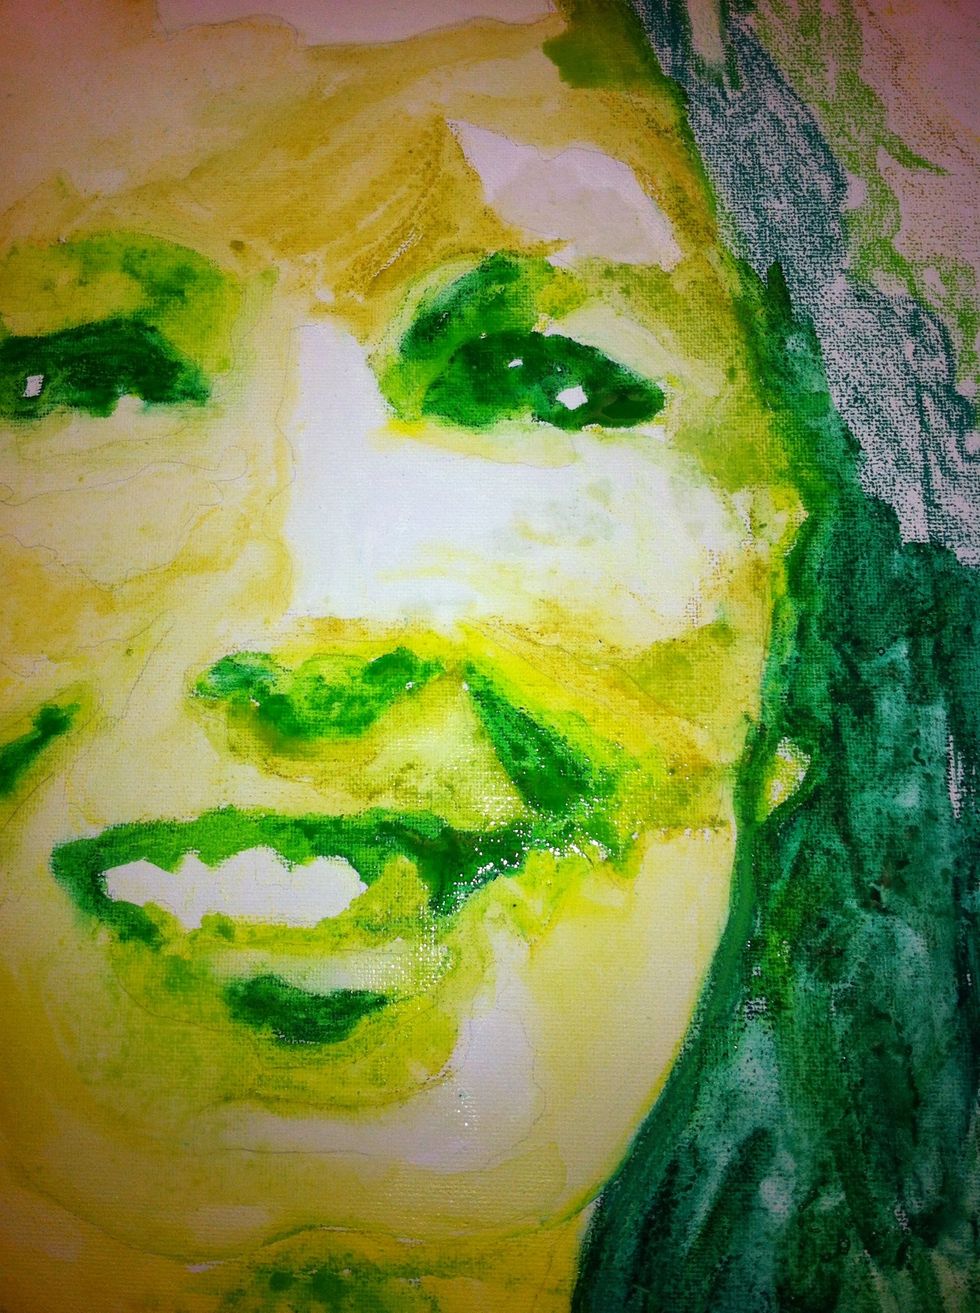
I work with a very wet palette and brush. The water will dry! I choose to do this project on canvas instead of paper so that I can work and rework areas without it ruining the support.
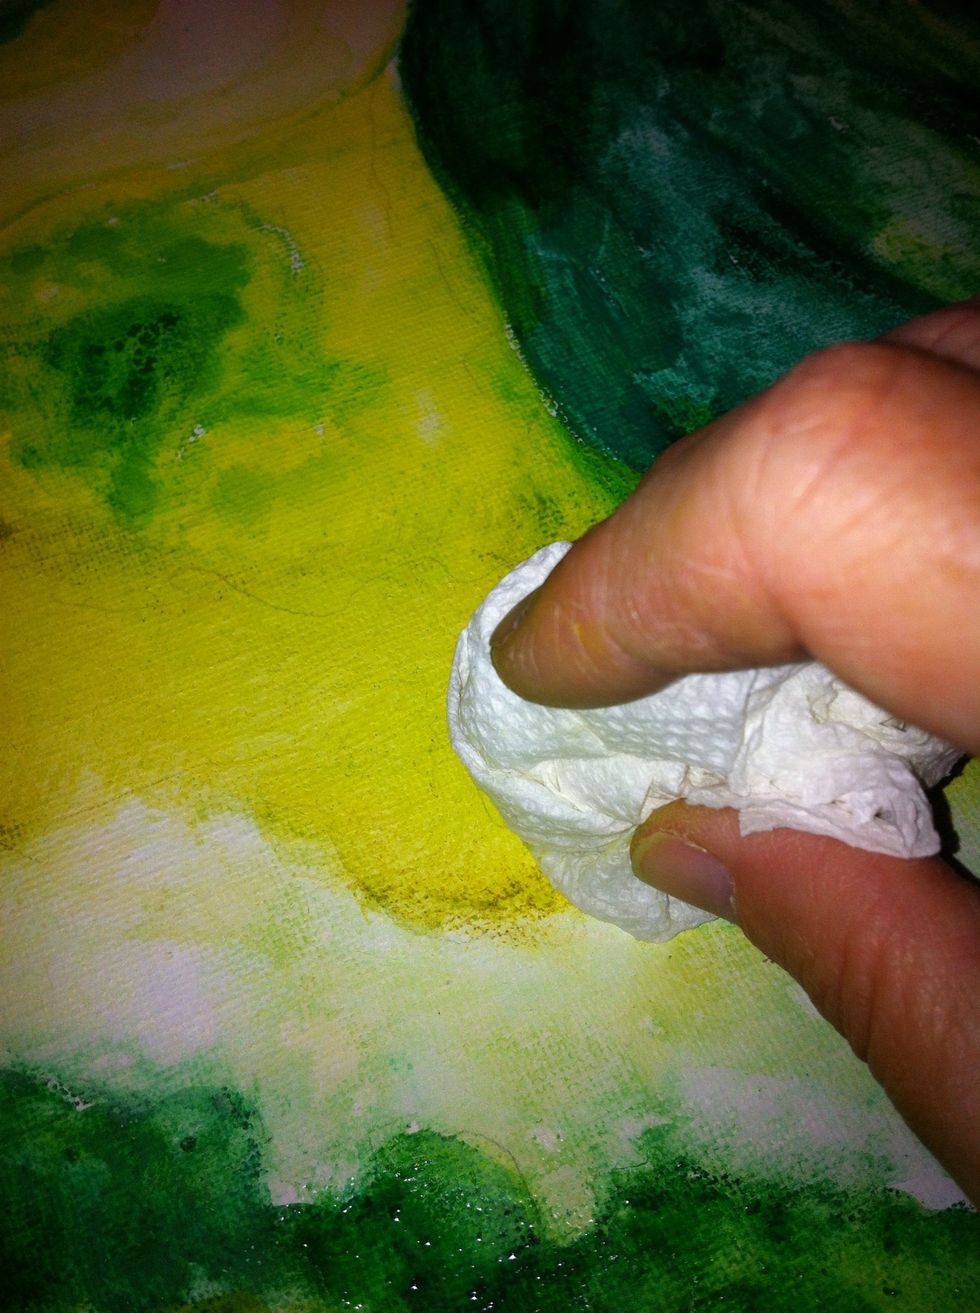
Use a tissue or a napkin to blend edges and rub out too heavily painted areas.

Finished . For now. Once you get the piece pretty much how you like it. Step back and leave it to fully dry.
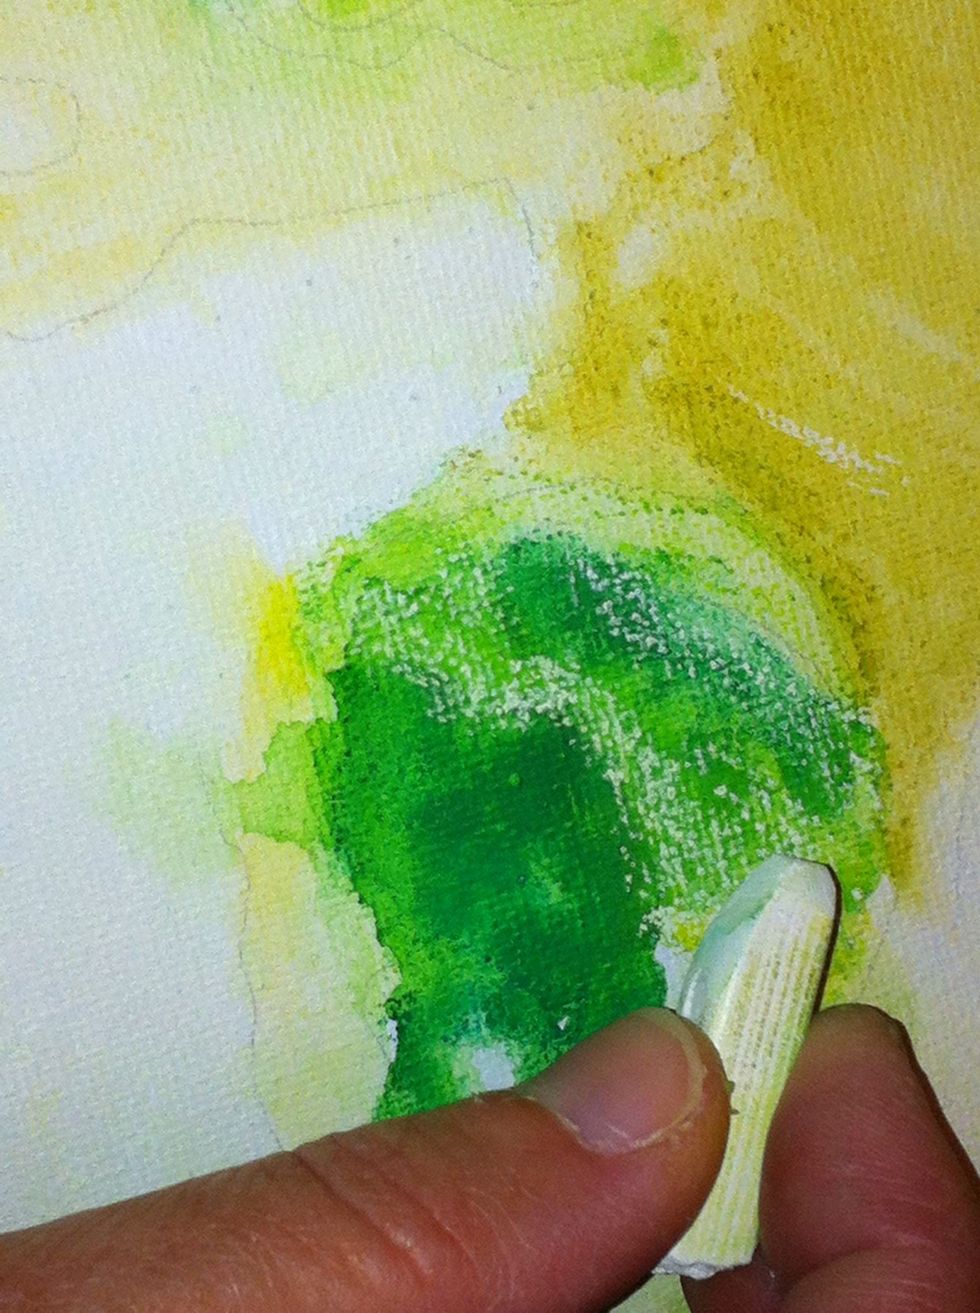
Now take another look at the piece see where you want to add more highlights and shadows. You can see where I have added white.

I've also added more of the darkest dark.
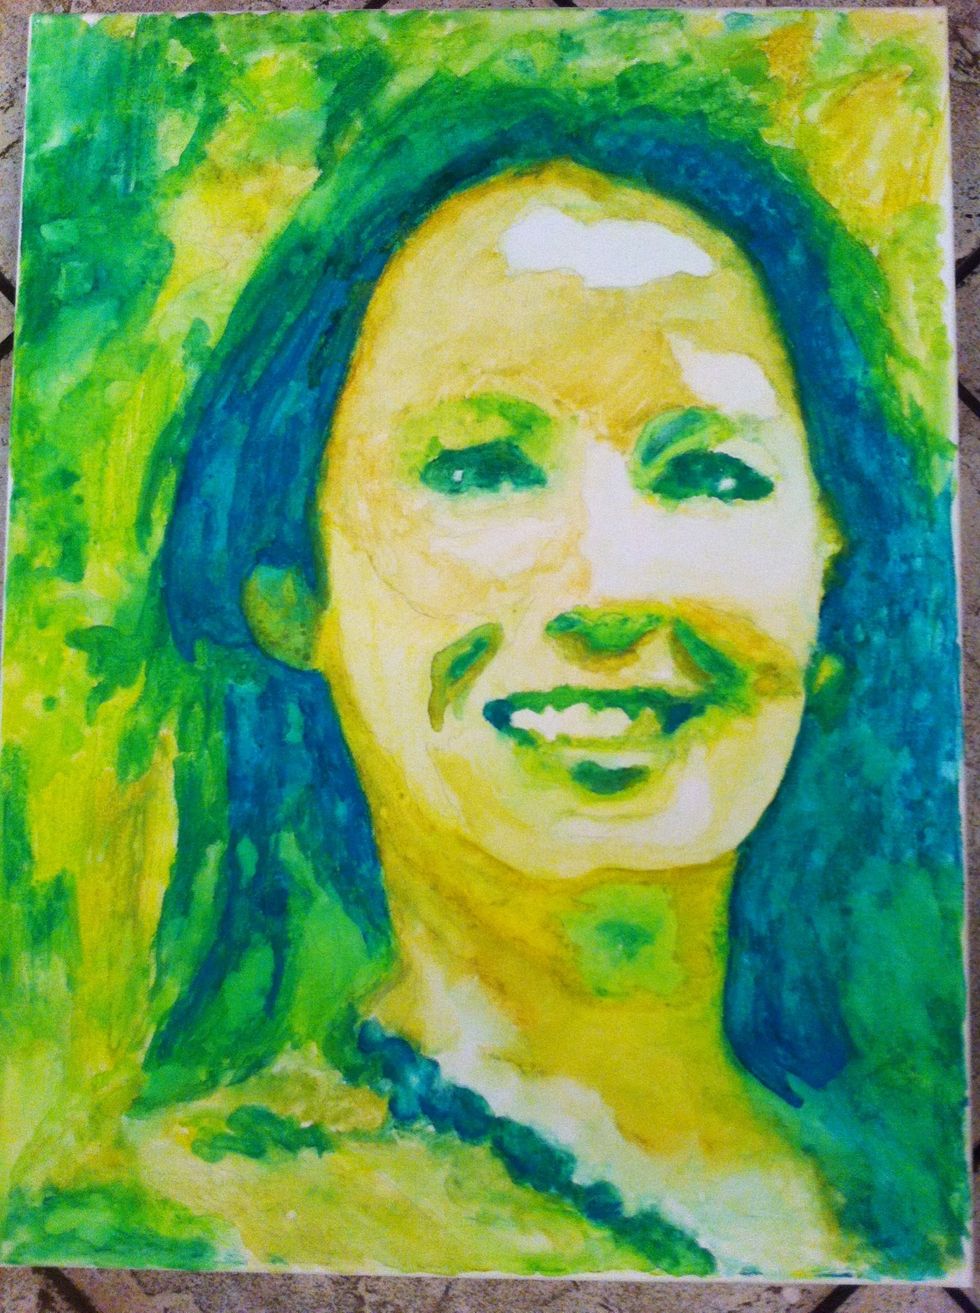
Completed piece. Time invested creating this? All in, one afternoon!
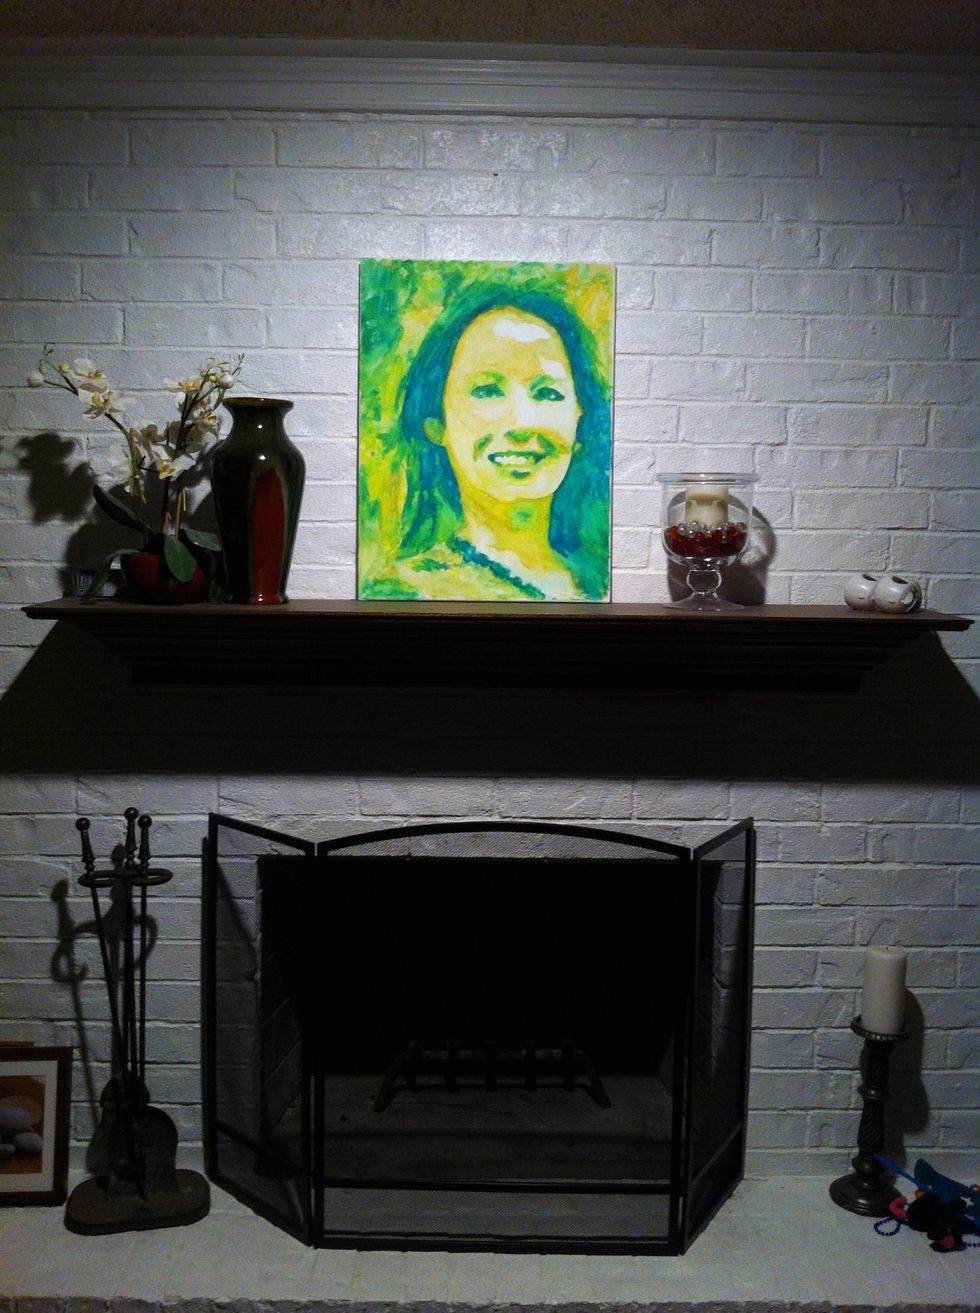
Enjoy! www.faithhopeandart.blogspot.com