How to create a portrait painting
A step by step guide to creating a portrait painting in oil
48
STEPS
TOOLS

Apply brown paper onto canvas or board. Divide this into sections of your own choice and size. This is called the grid method
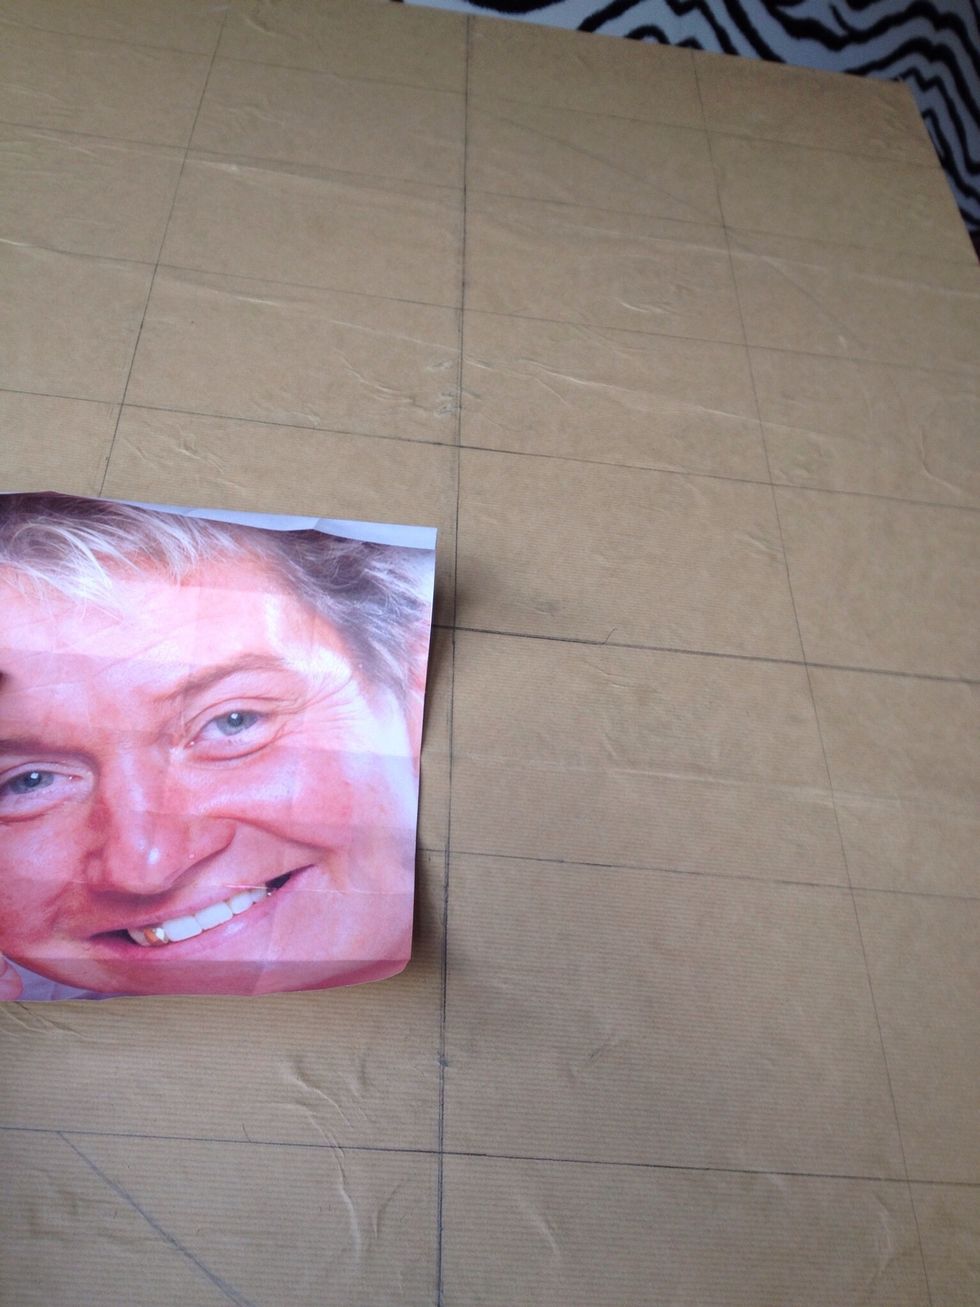
Select the photograph you would like to use as a reference. Divide this into the same amount of sections as the board of canvas
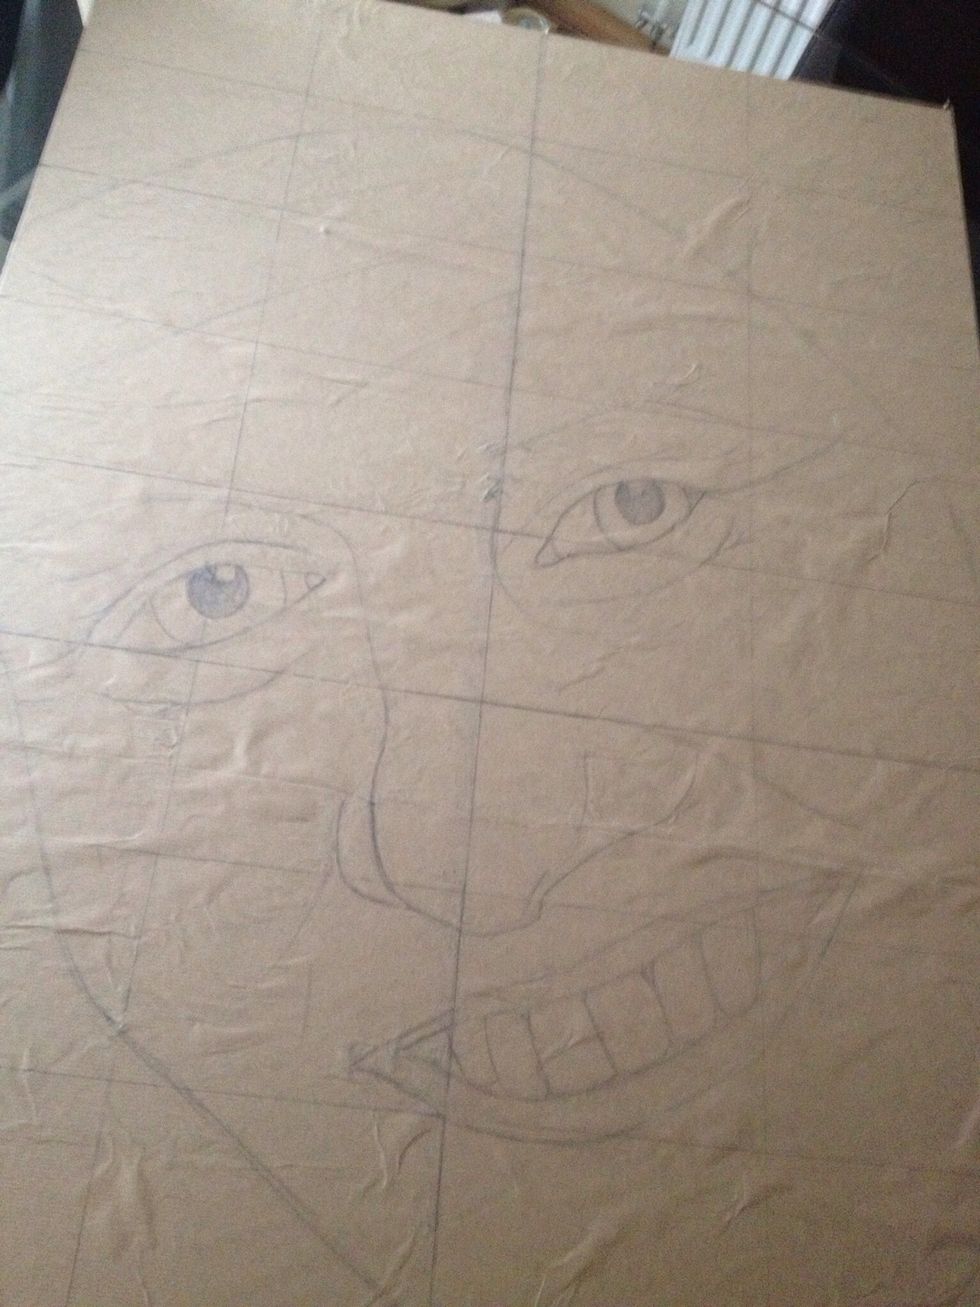
Begin to draw what you see. Each grid will be the same as on the photograph. Tip: focus upon a grid at a time and draw what you see from the photo to the surface you are working upon.
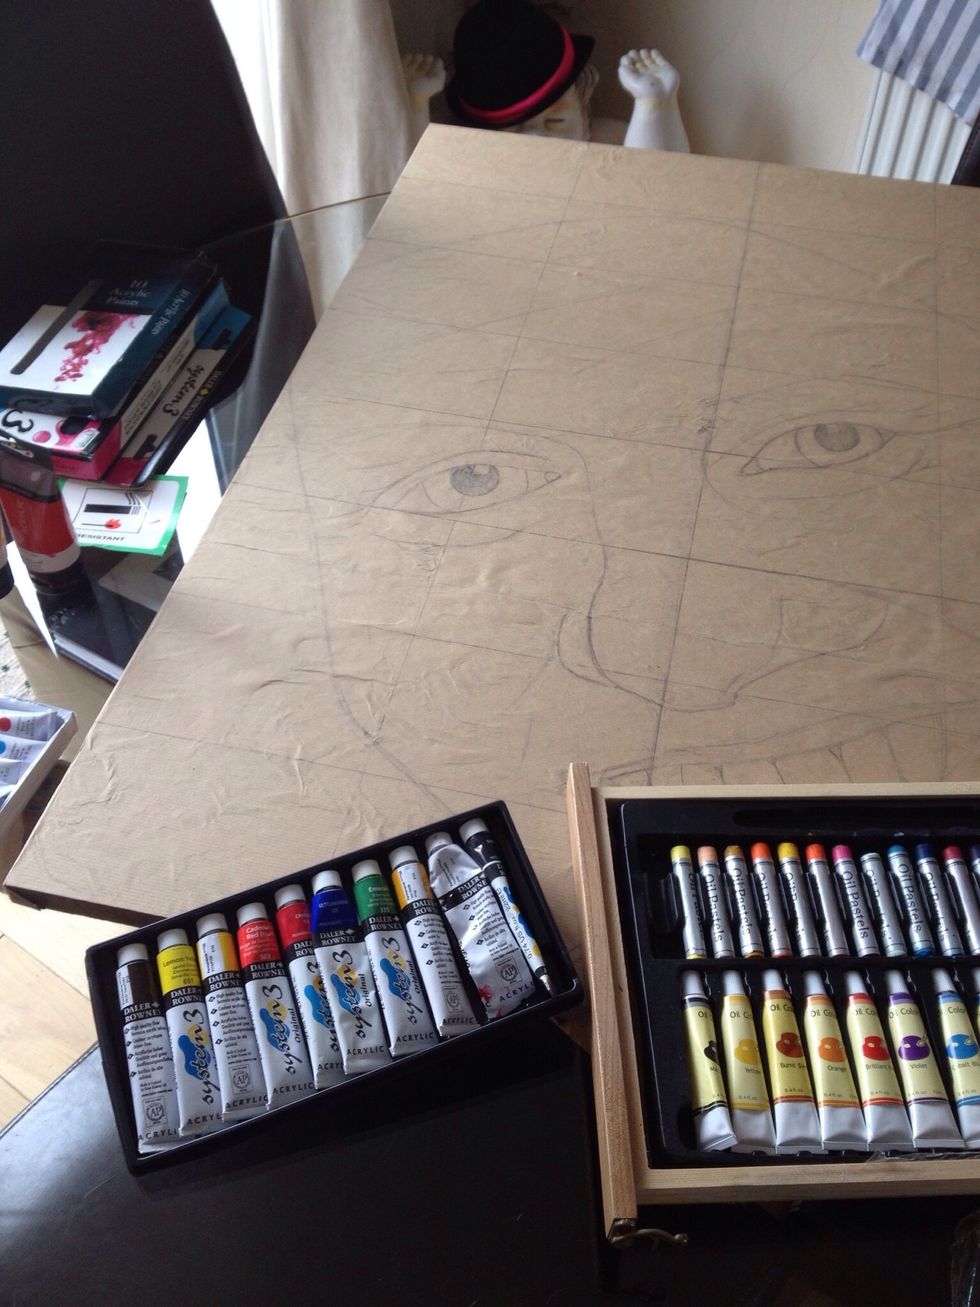
After drawing the portrait (without the hair ) select your choice of paint either acrylic or oil. Remember oil layers easily and is easier to manipulate if you go wrong. This it takes time to dry
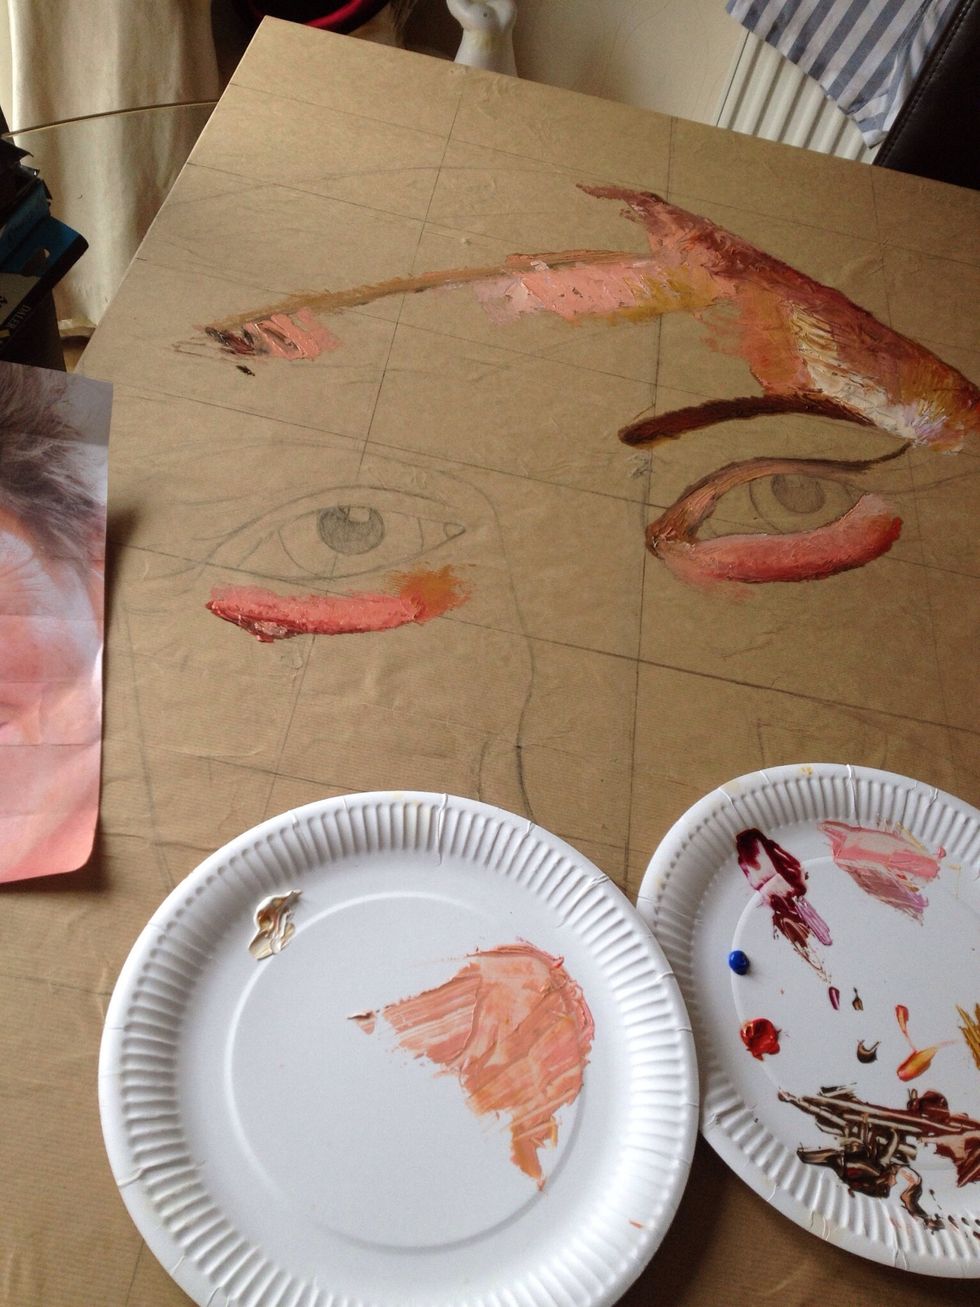
Begin with the skin tone. Make a skin tone using large amounts of white, a small amount of red and yellow ochre. I have chosen to use oil. Begin adding darker areas first in order for tone to be shown
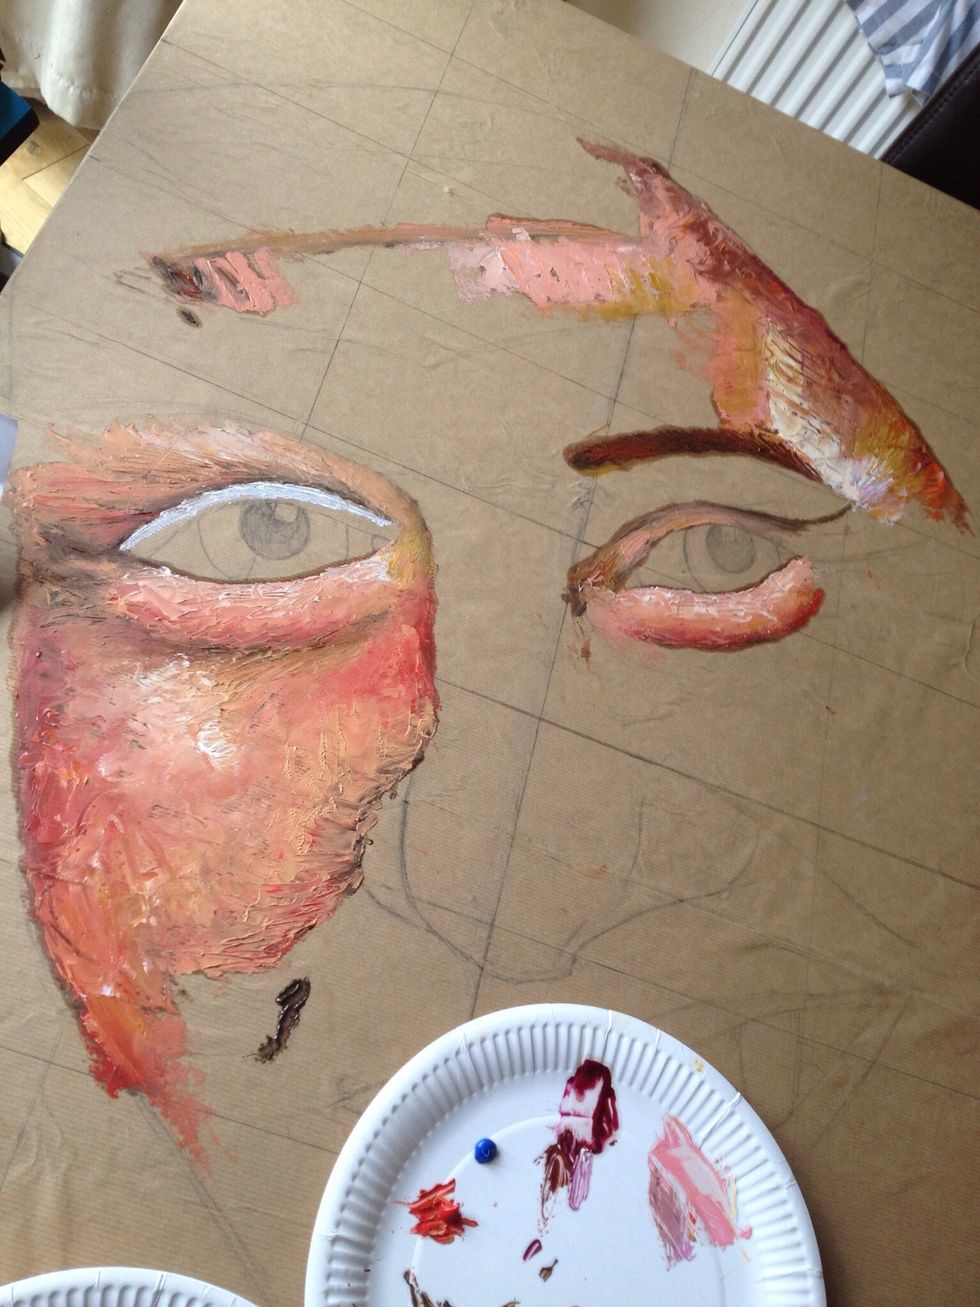
Apply the oil in a thick manor in order for textures to be created. Don't worry about perfection, use a pallet knife rather than a brush in order to create a contemporary portrait
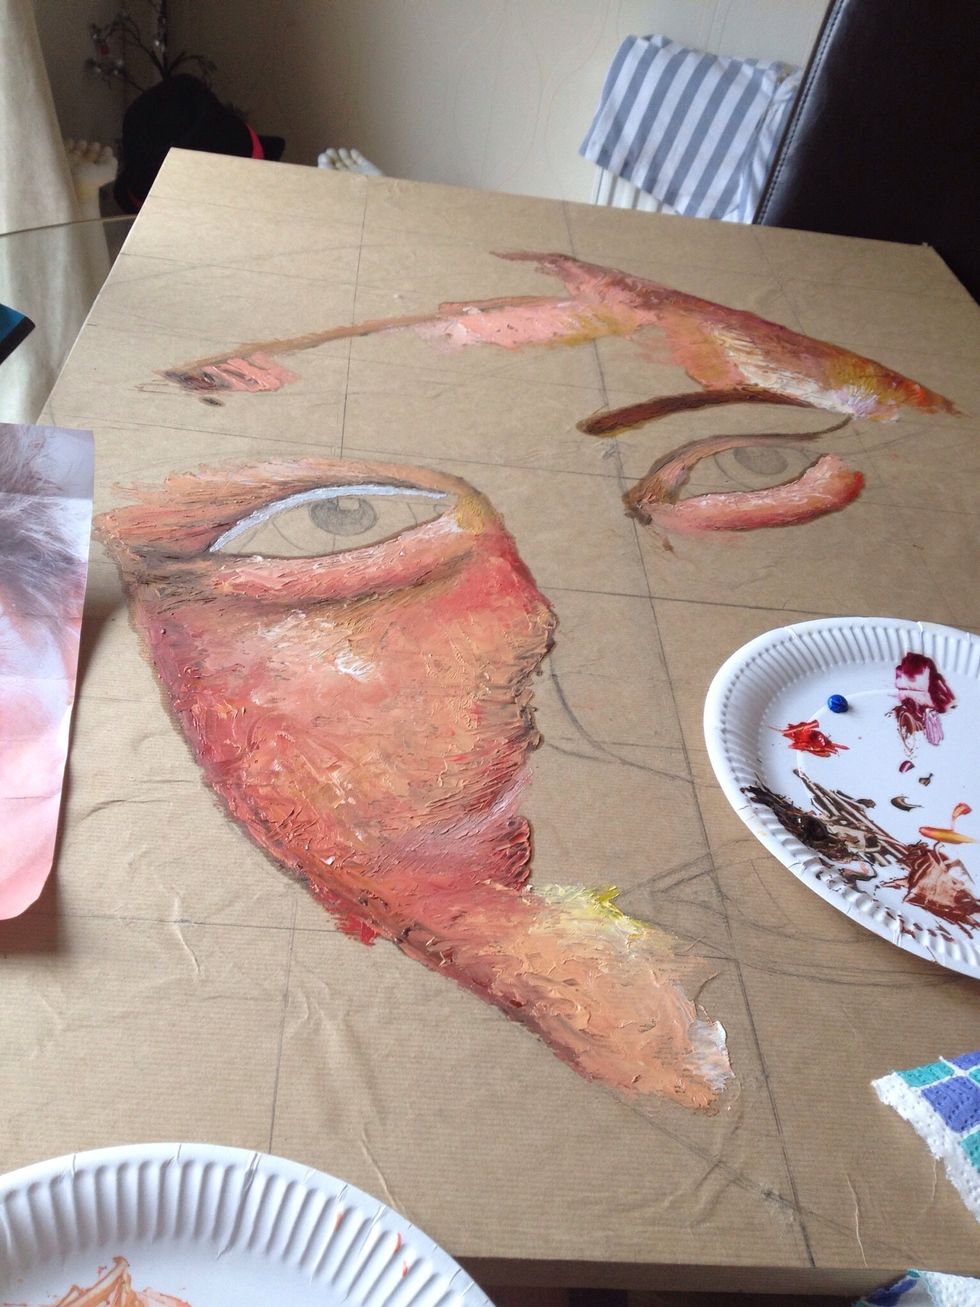
Continue building the oil, note you will have to mix more skintone. Have spare white at hand as you will need at least two large tubes. Leave the finer details until last
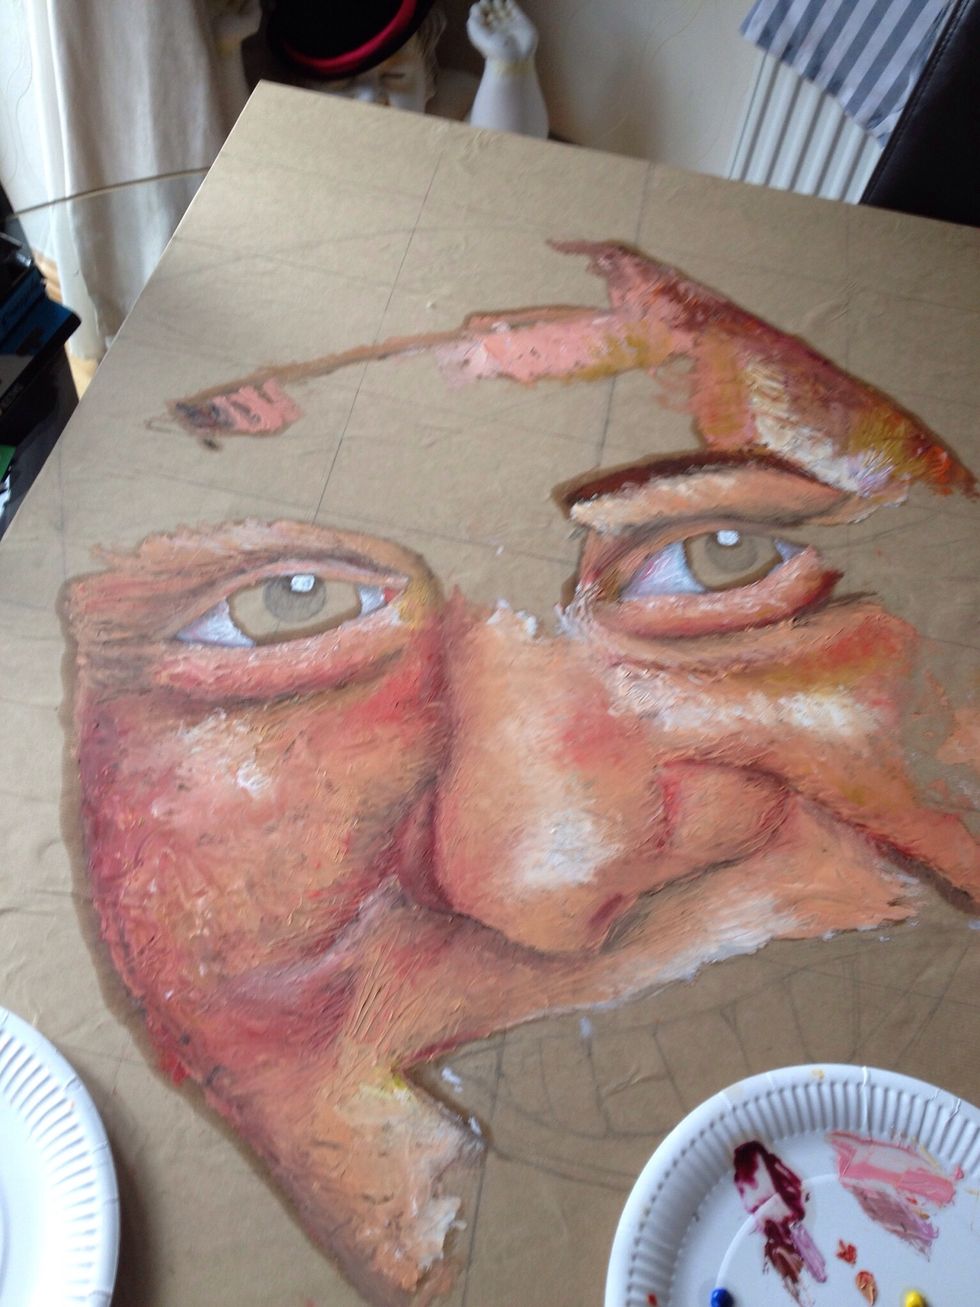
Begin the main details such as wrinkles and eyebrows.
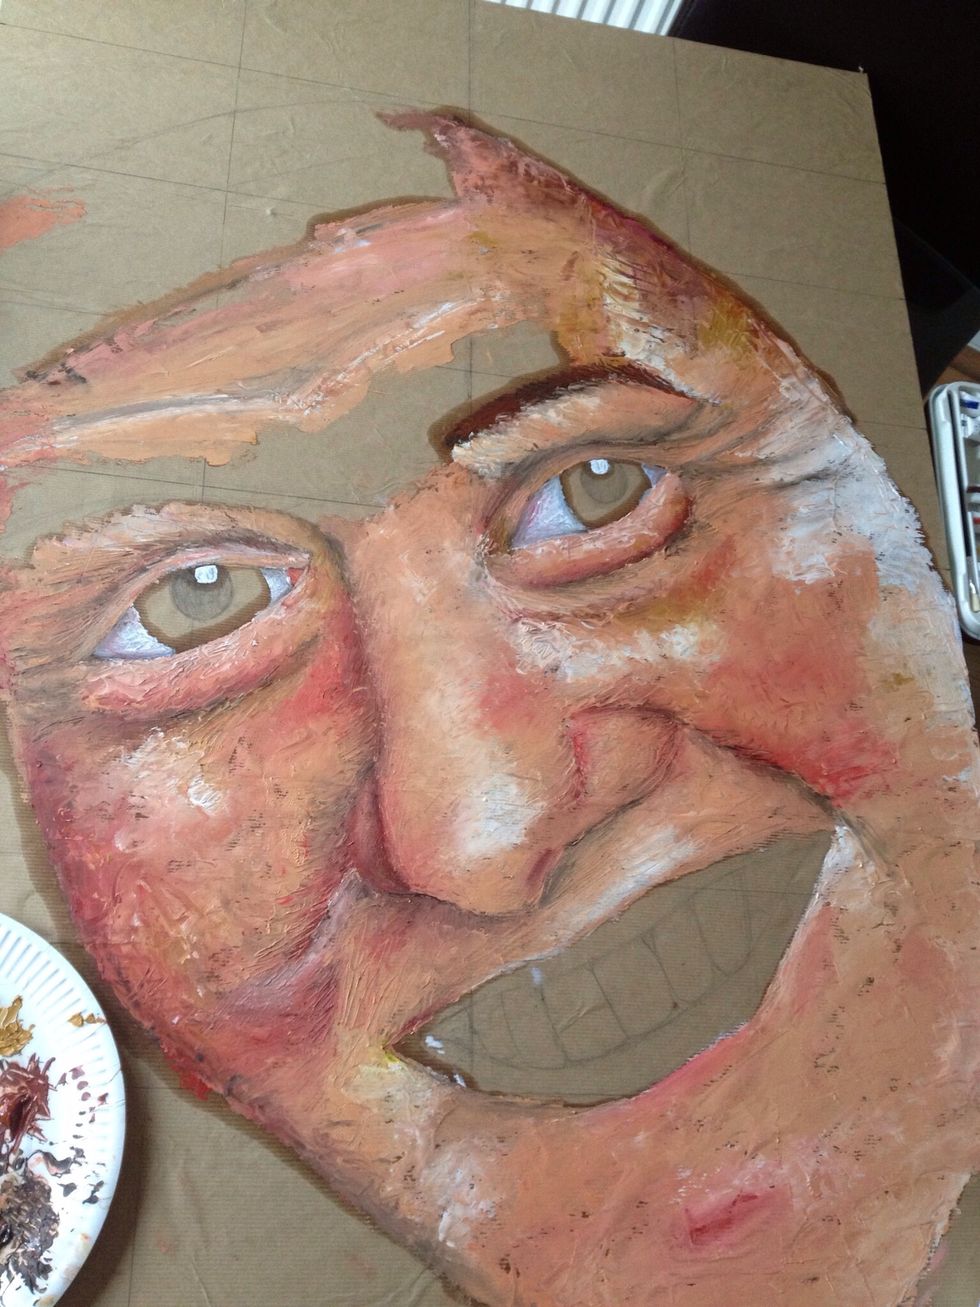
Although it looks alien it will get there
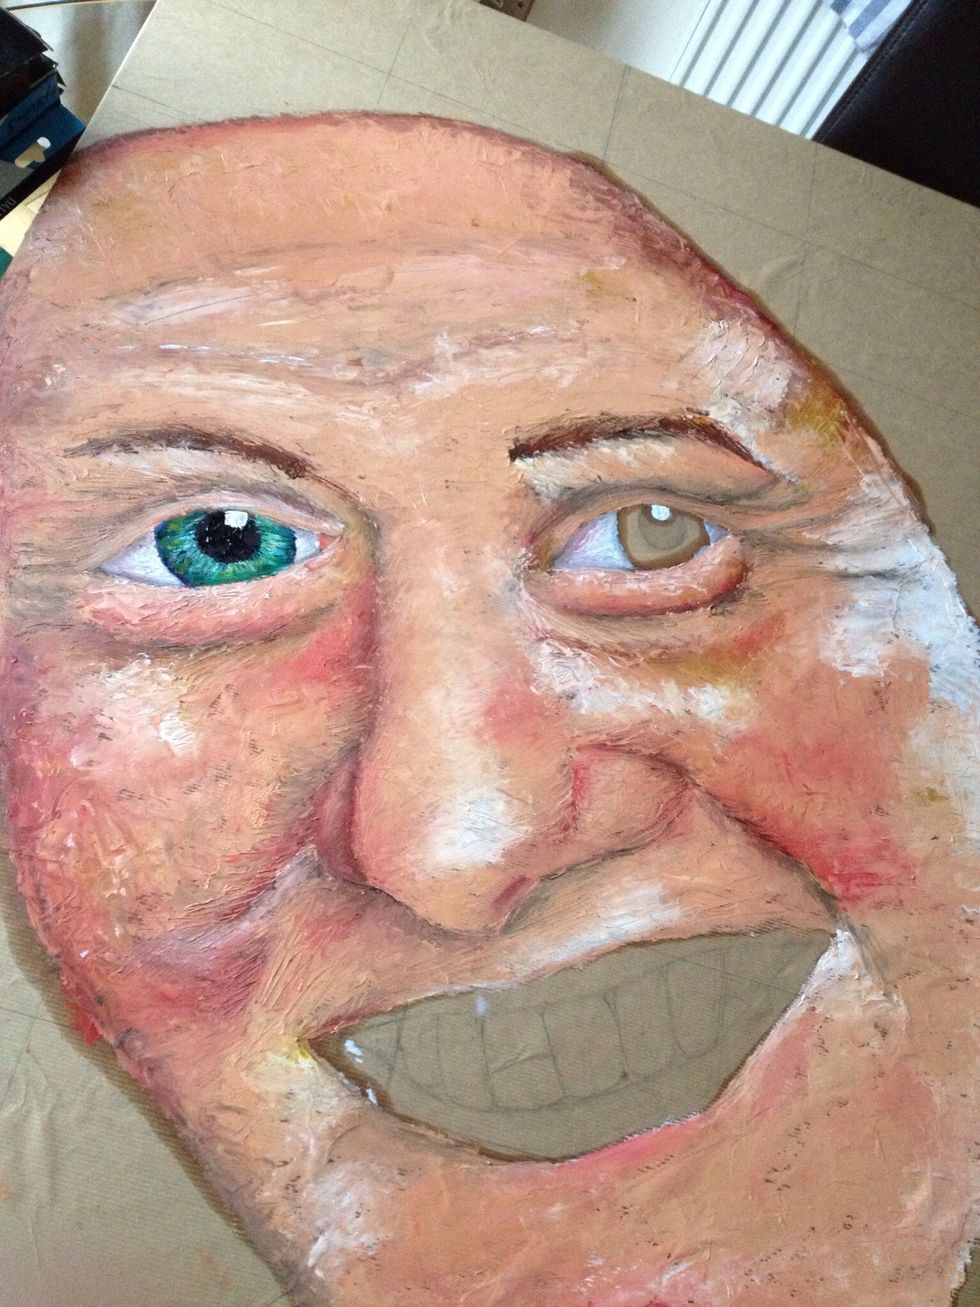
After adding in all of the skintone, wrinkles and eyebrows add the main features in such as the eyes and mouth
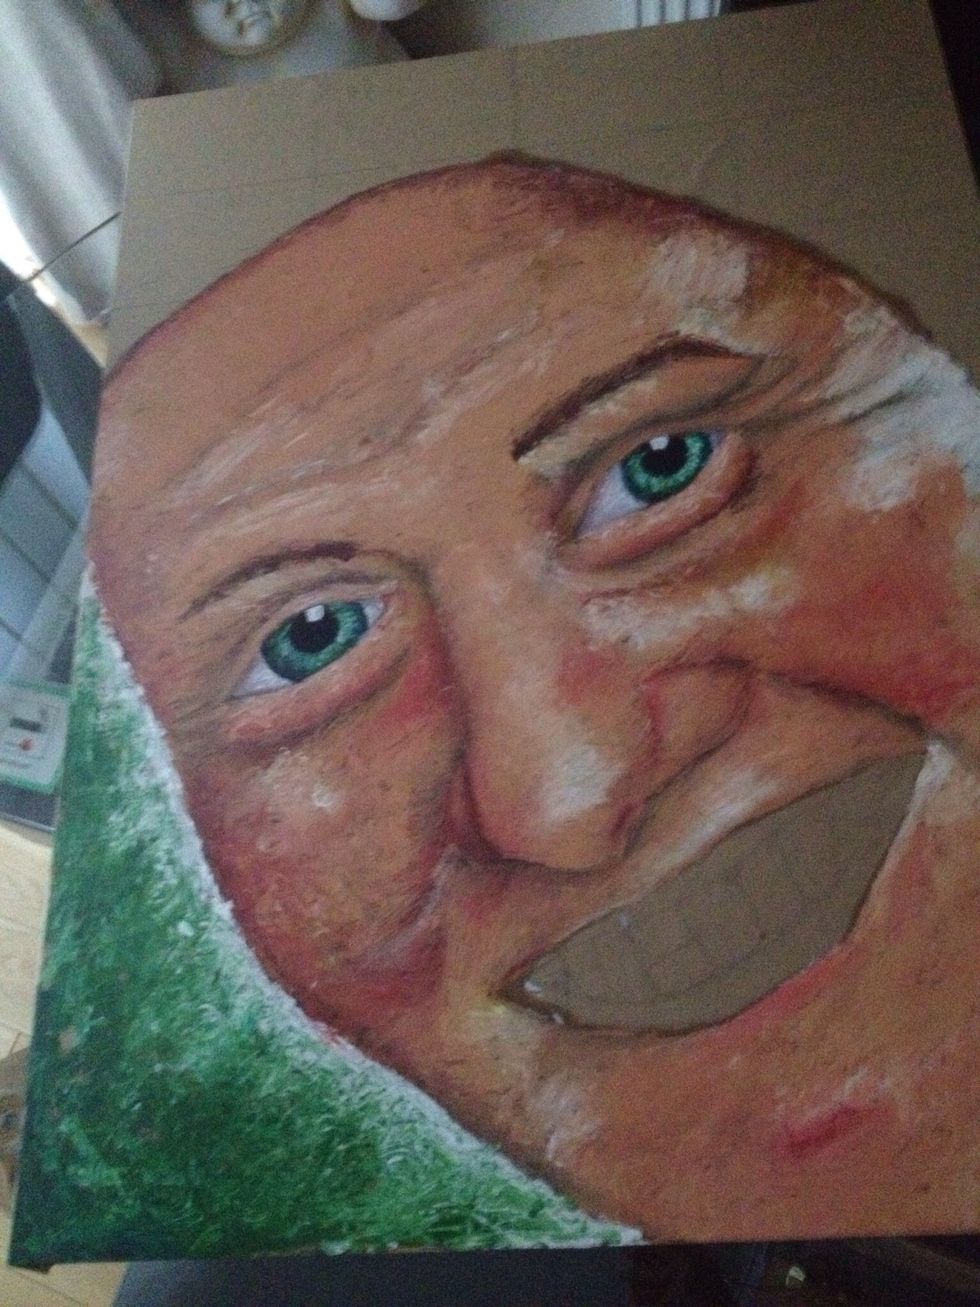
I have chosen to add in a green layered and toned background in order to compliment the green eye colour of my portrait. Using white around the edge allows the portrait to be the centre focus.
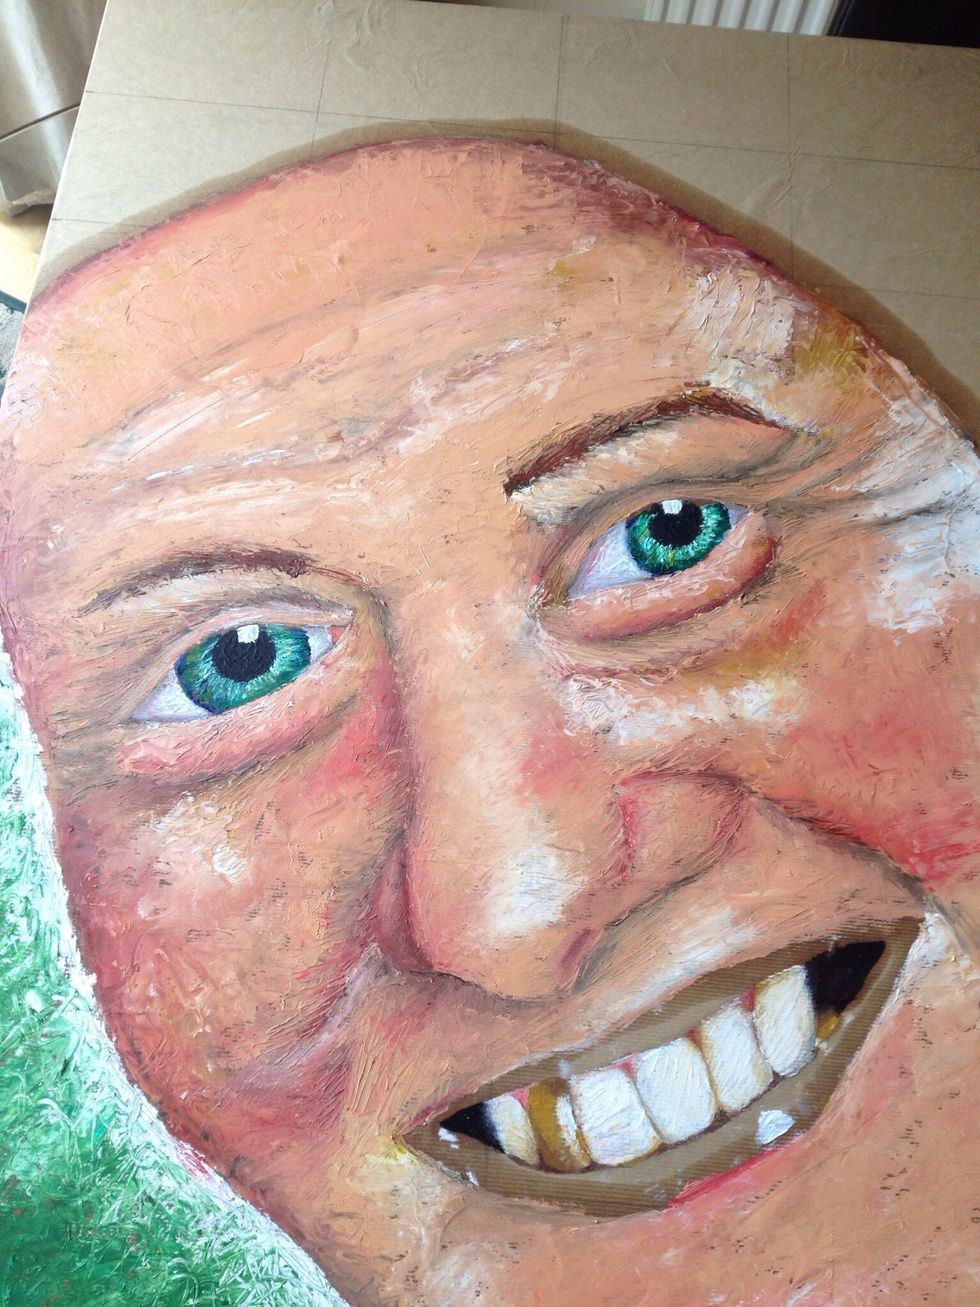
Add in details such as the mouth
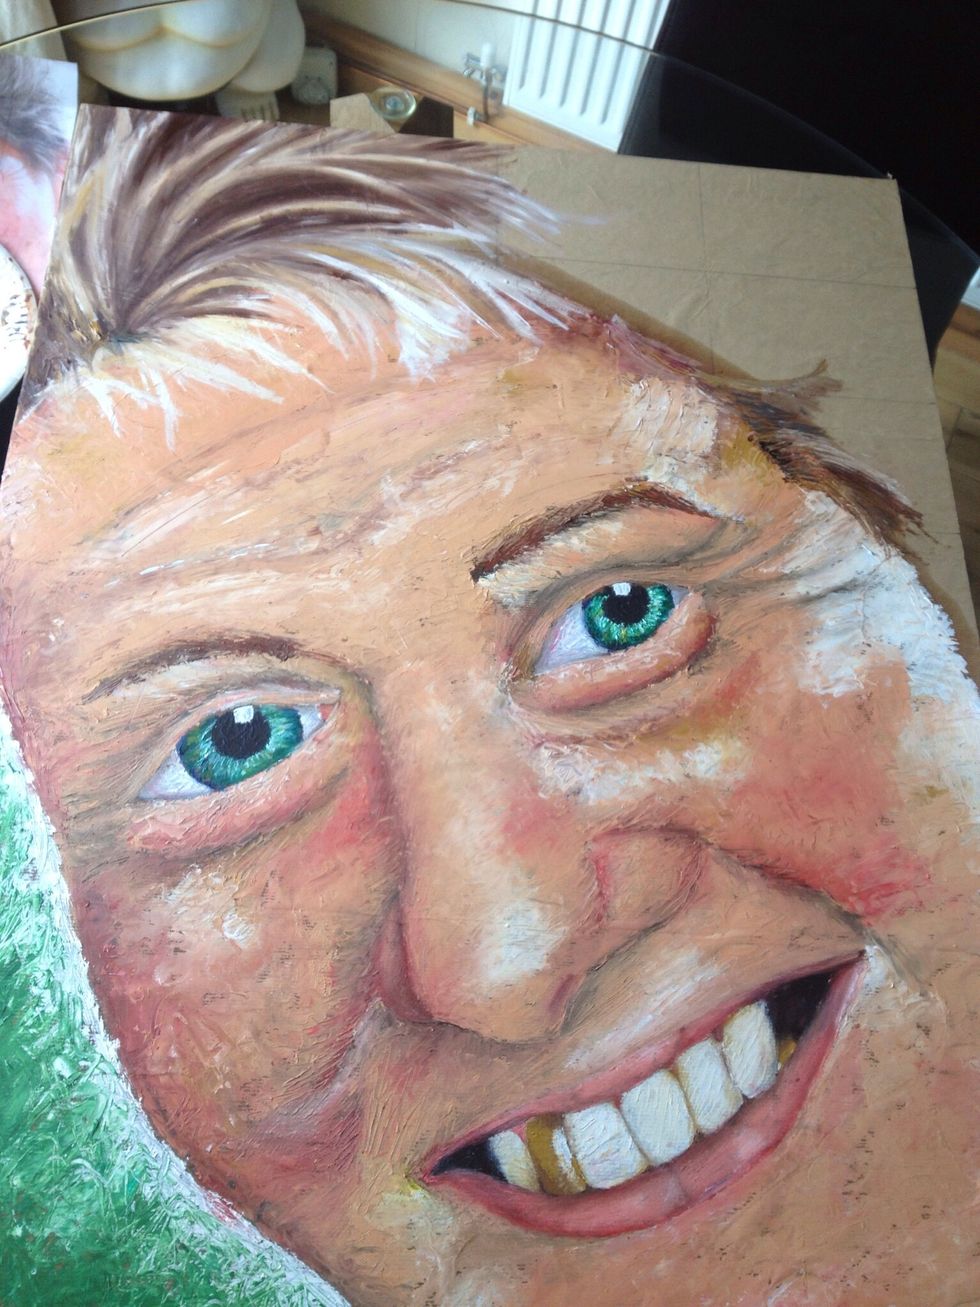
Finally the hair! I have used yellow ochre, brown and white. I have opted for the use of a paint brush rather than a pallet knife in order to gain a hair like texture.
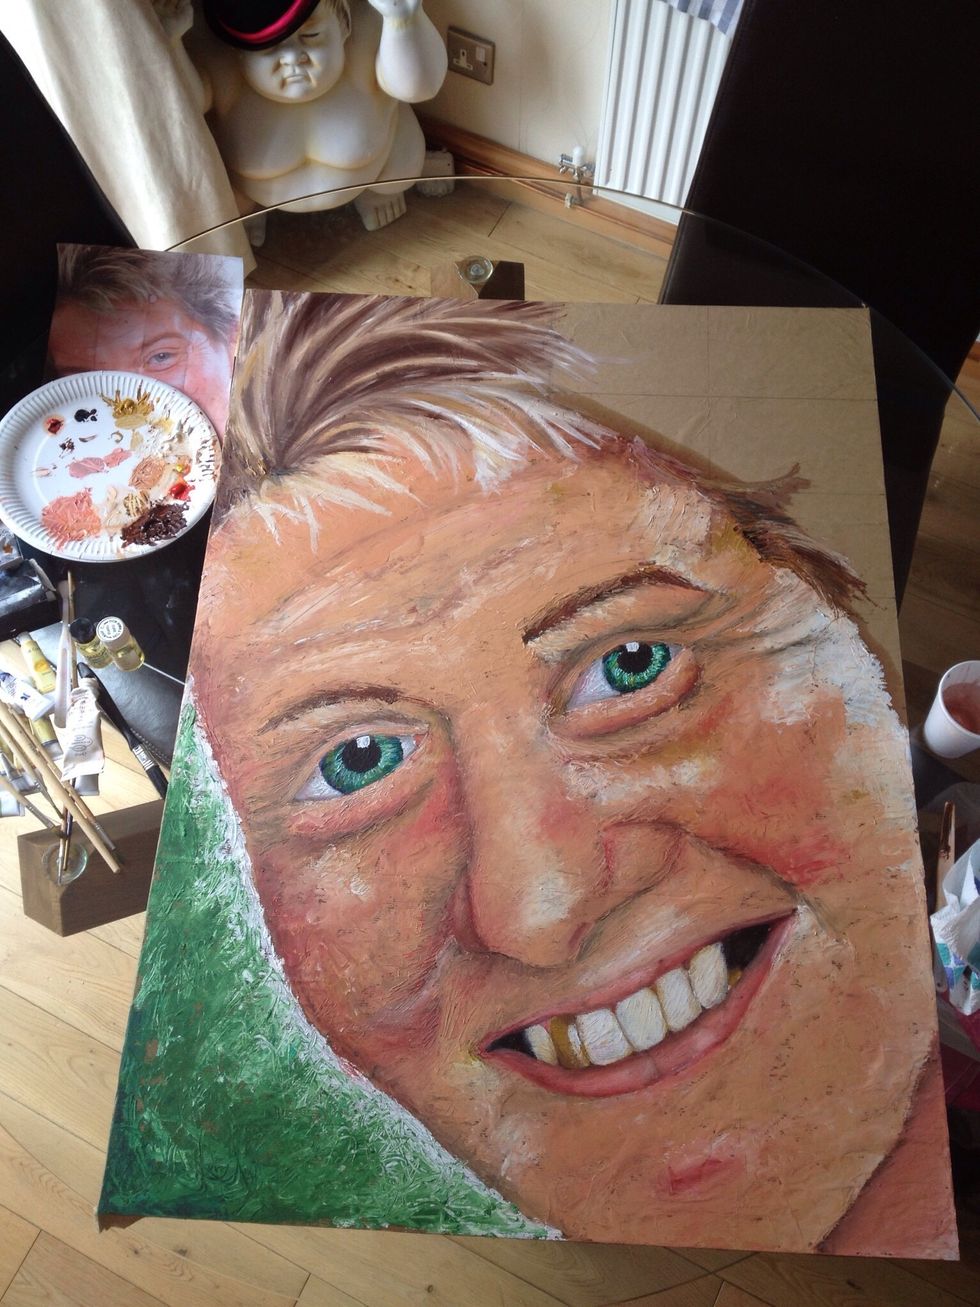
The hair can take a long time to create. Remember draw what you see. Don't make anything up otherwise it will not look realistic to your photo

The final result. This took me 14 hours. It is A1 in size upon a board of wood. I hope this guide has been helpful.
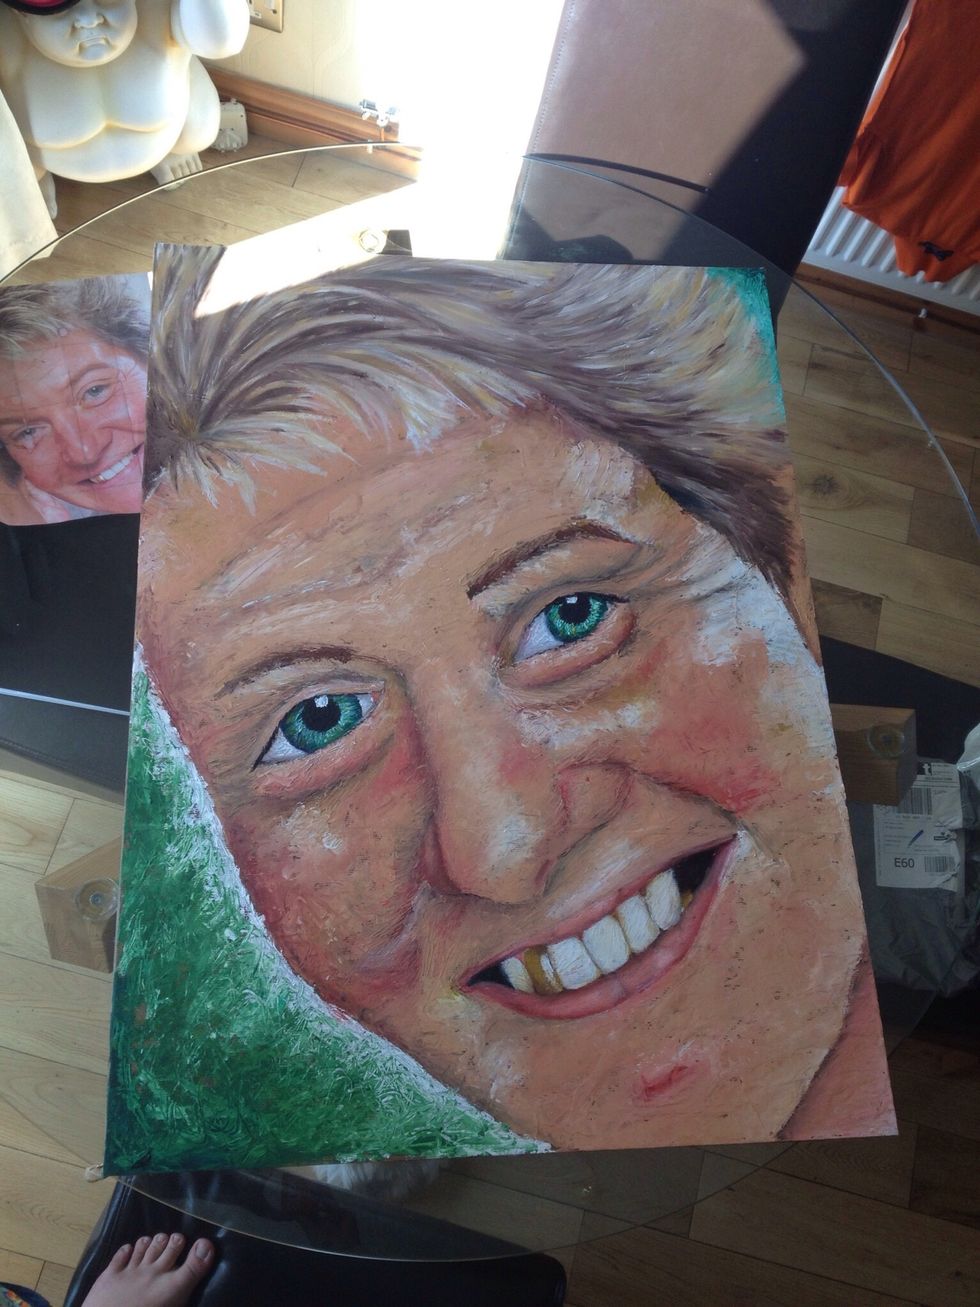
The finished result! I am more than happy to answer questions. Please share.
- 1.0 Pencil
- 1.0 Rubber
- 1.0 Canvas
- Brown paper
- Photograph of model
- A pack of oil paints
- Paintbrush
- Pallet knife
- Pencil sharpener
Kelly Allen
Nottingham Forest Midfielder/ Striker. #house music lover. Vw enthusiast. Team follow back
burton on trent
The Conversation (0)
Sign Up