The Conversation (0)
Sign Up
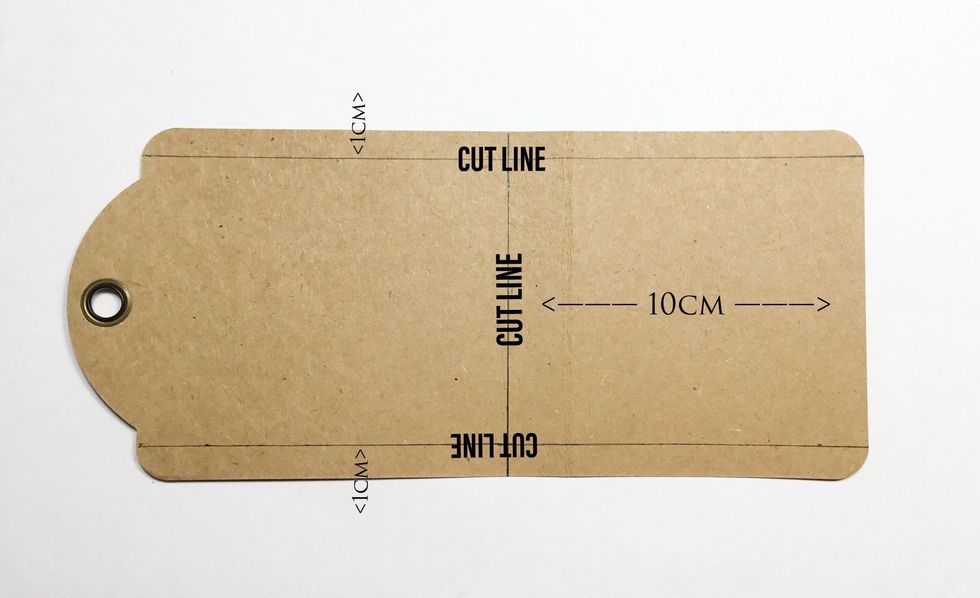
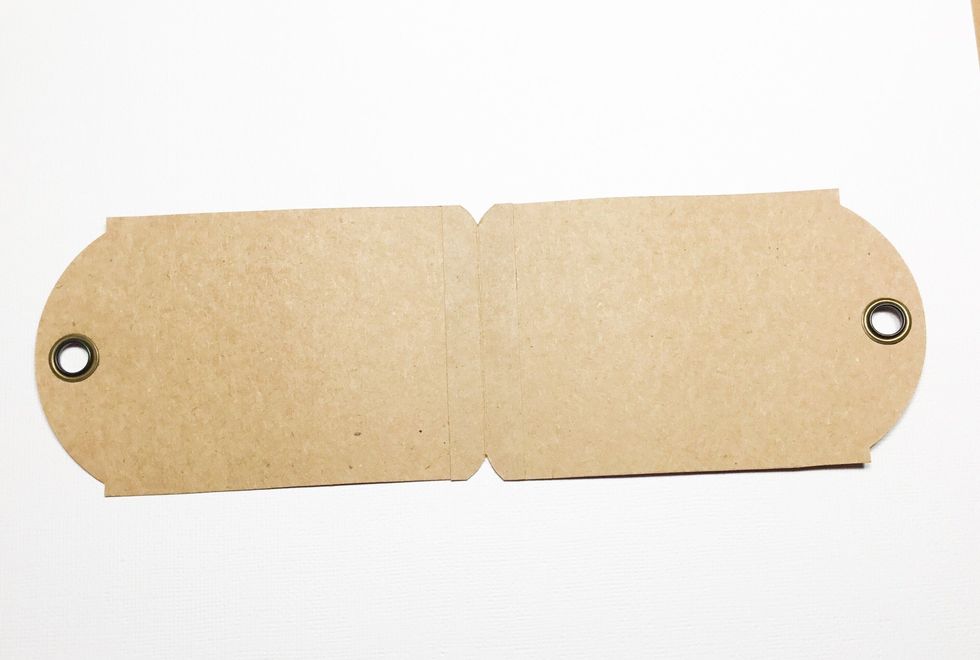
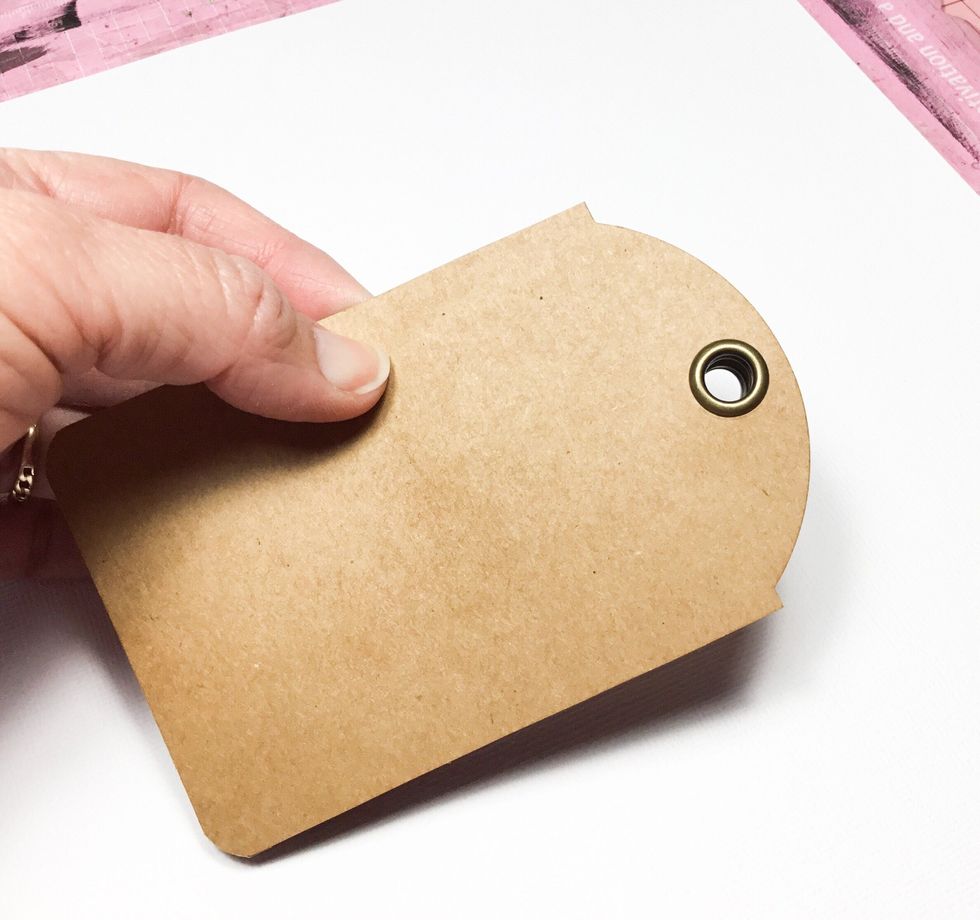
This is the large Graphic 45 Tag. You will need 2 of these. Please follow the measurements and cut where shown.
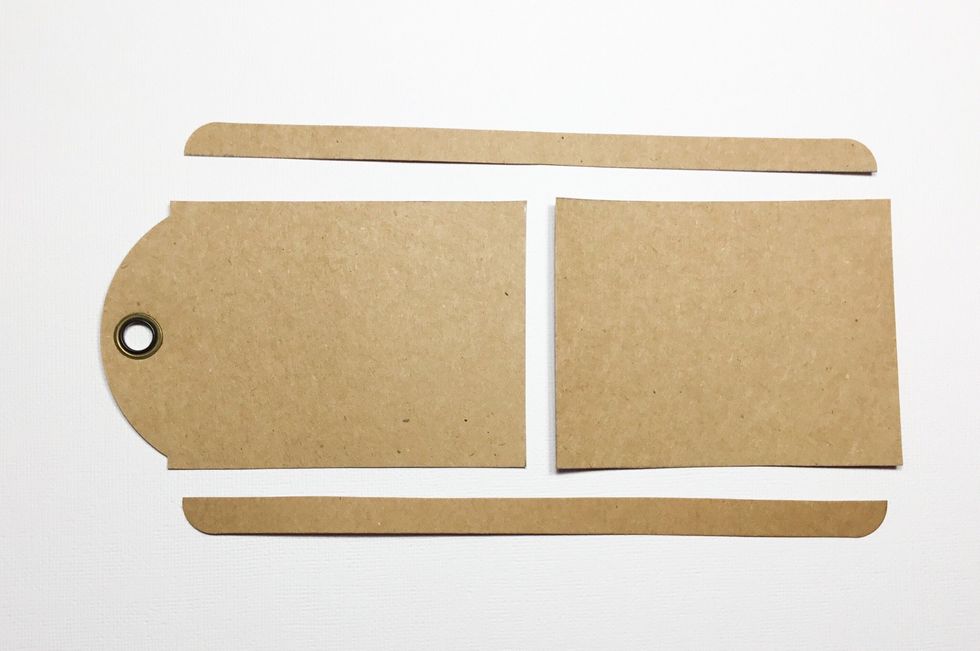
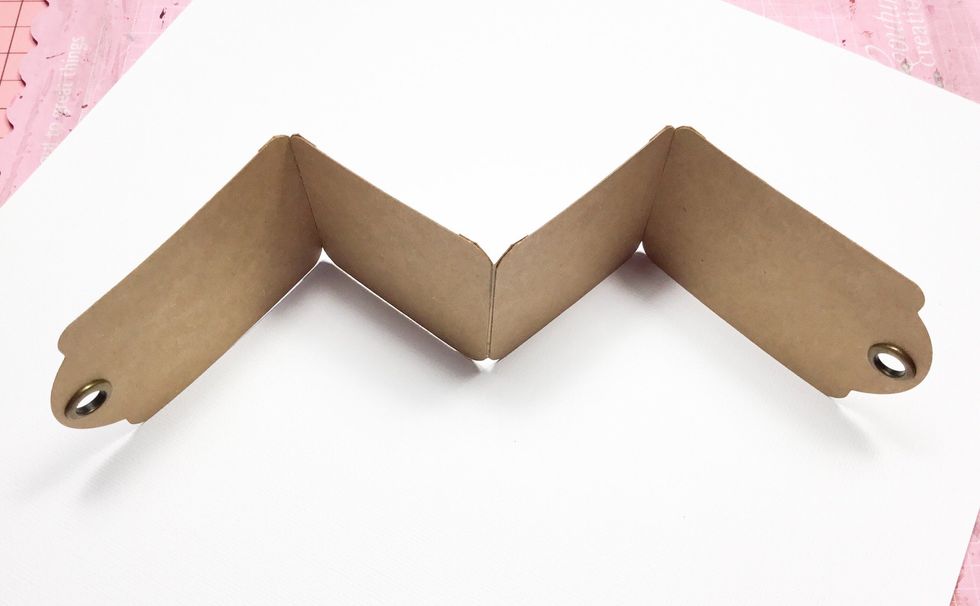
Once cut apart the large tags should look like this.
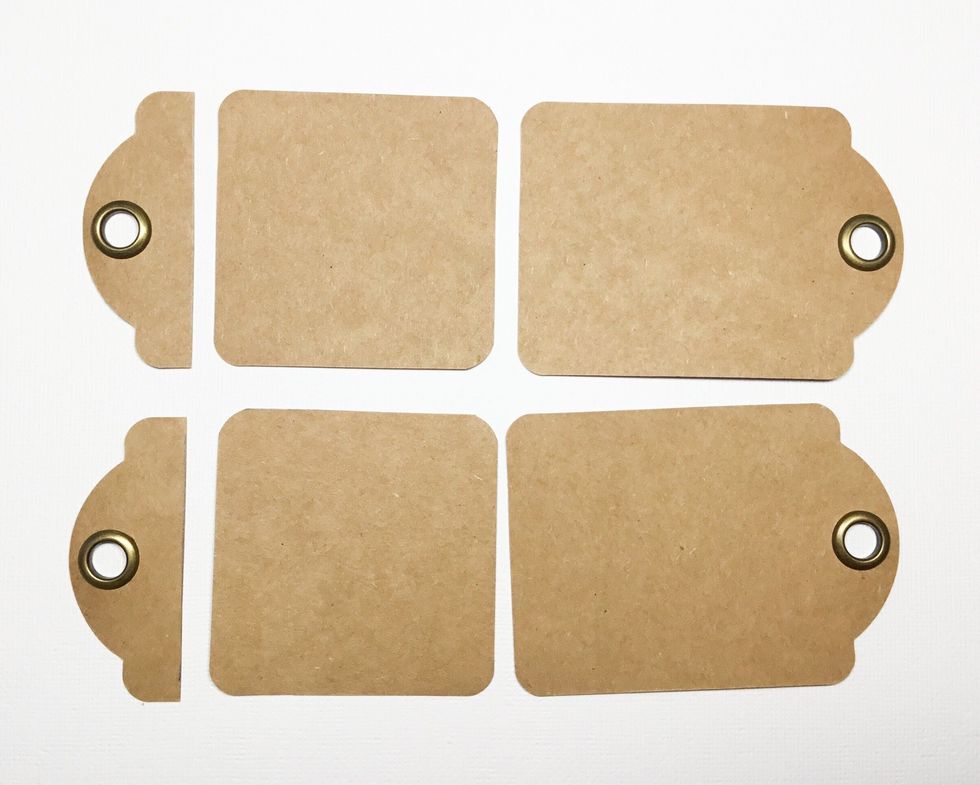
These are the small ATC tags, you will need 4. Two of the stay whole whilst the other two have the tops cut off as shown.

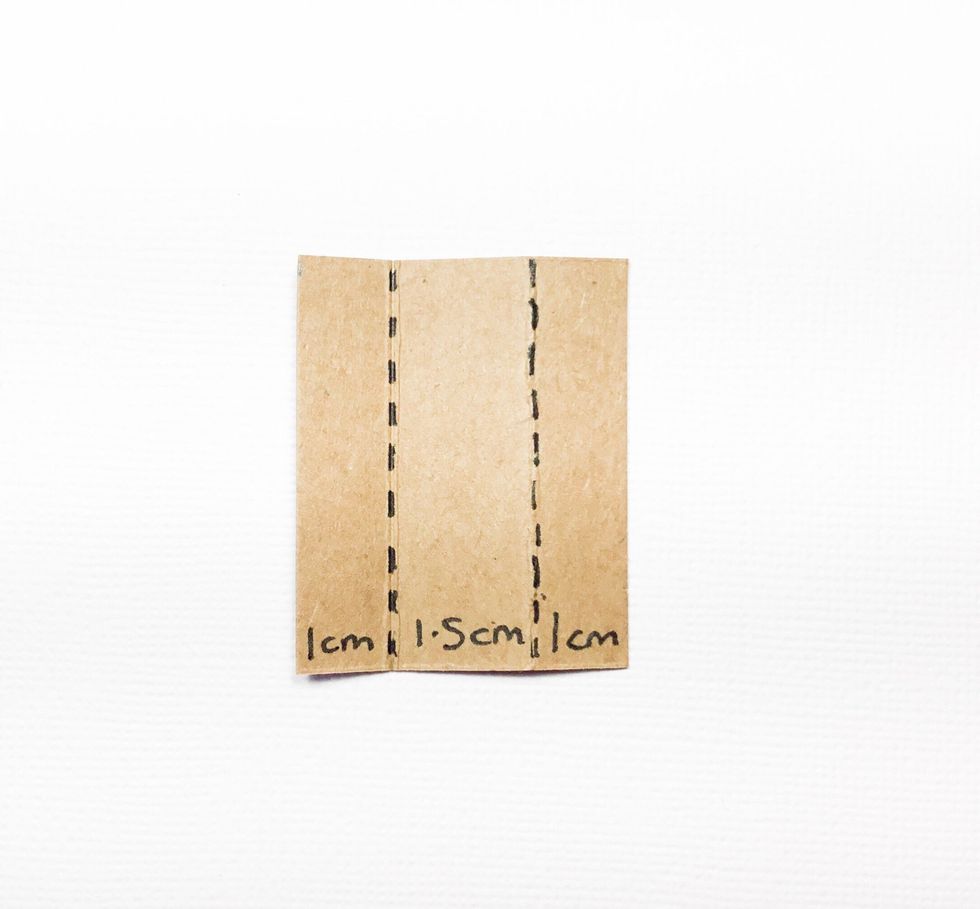
From the offcuts of the large tag create some folded pieces as shown. These are 2cm wide and get folded in half. These will become the folded spines.

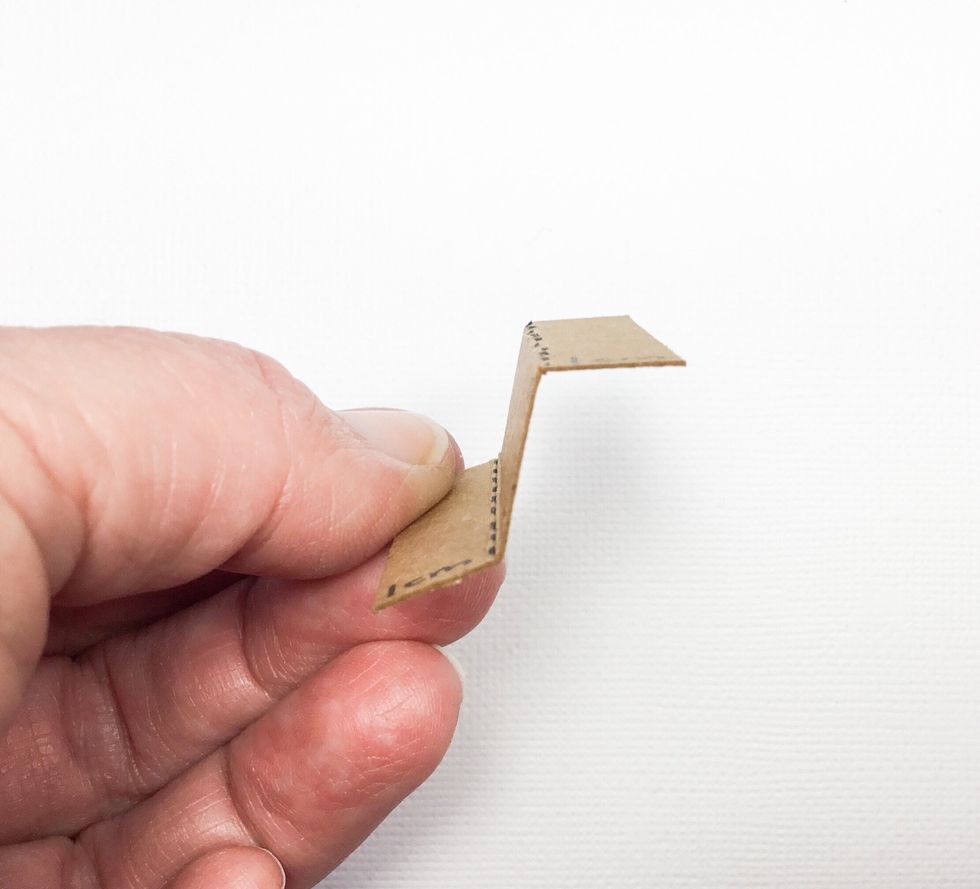
Showing folded pieces.
Now attach to small tags as shown. Once attached trim off excess around tag corners as shown.
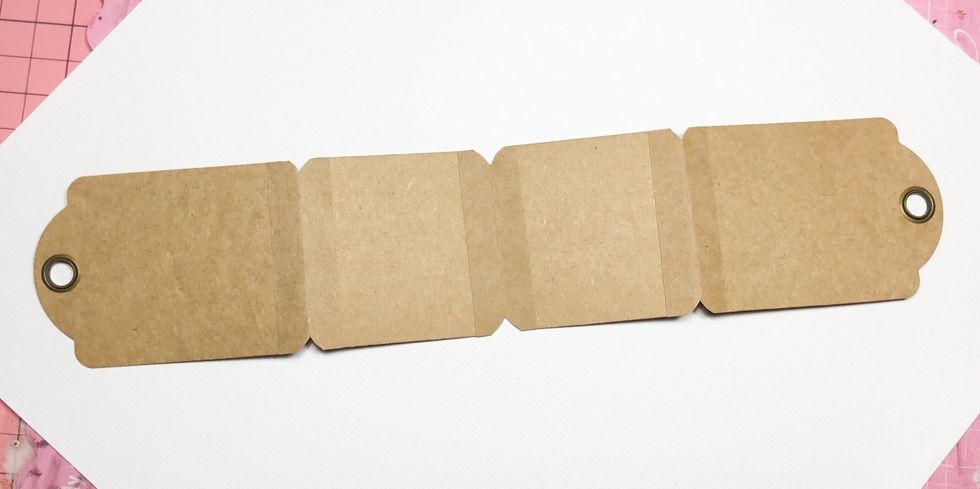
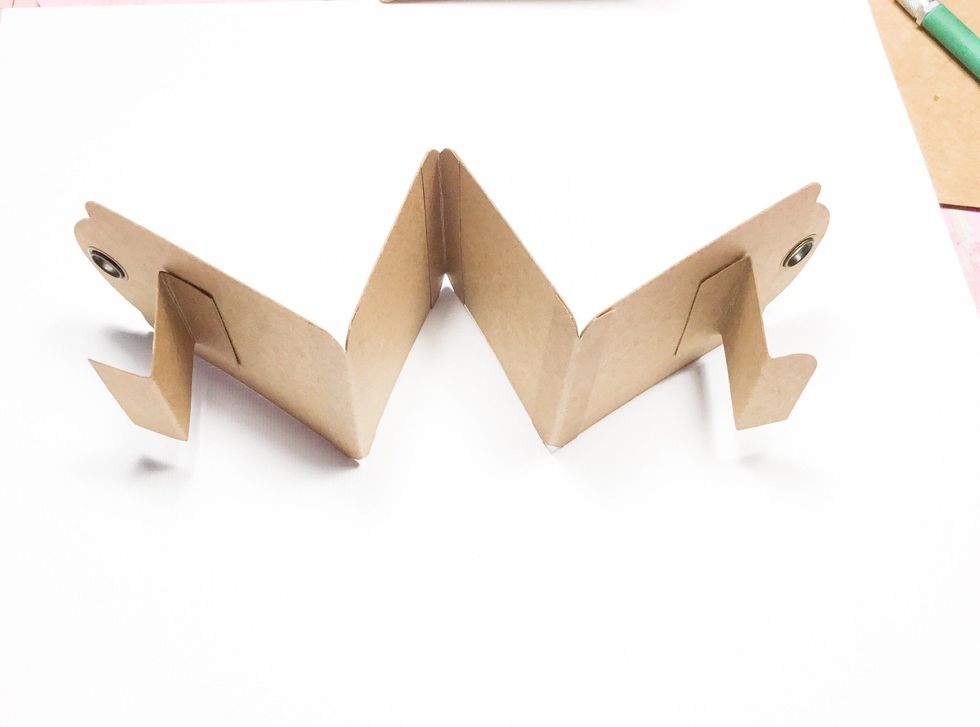
This is how it will fold.
This is the cover and is made from the large tag top pieces. Attach folded piece as shown.
Now create 2 pieces as shown from the offcut pieces as shown. These will become the pop out arm pieces.
Fold as shown.

Attach as shown to the underside of the small tags on either side.
Ensure your pieces once attached are attached in the direction shown. This is important in allowing it to fold in correctly.
PLEASE NOTE - it is important that all holes line up so the easiest way to ensure all holes line up is to apply glue to feet then fold each piece in separately until you reach the back.
Once you have covered the inside of the folio with the pattern paper of your choice attach the pop out inside piece.
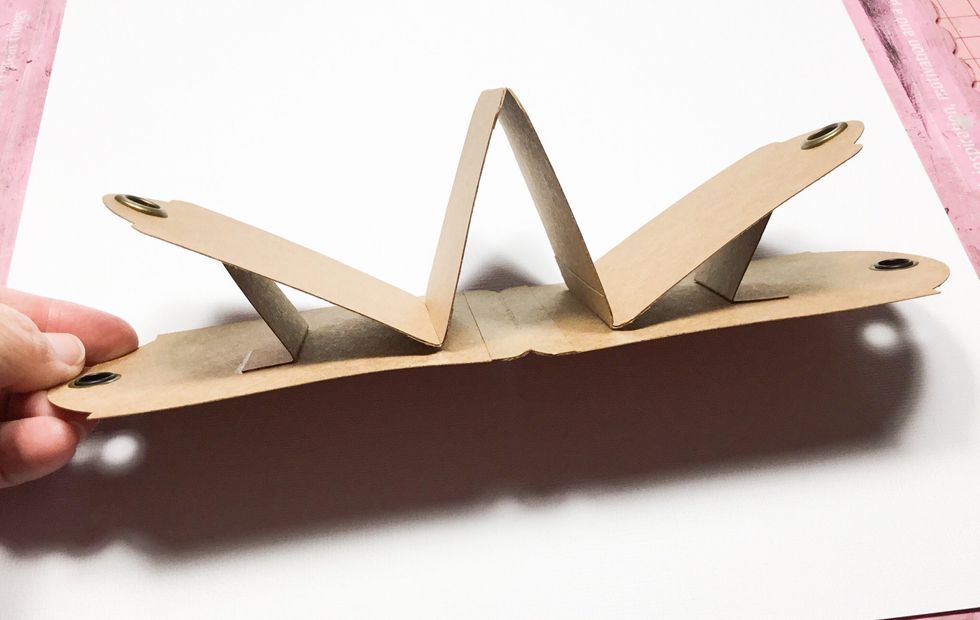
This is how your folio will look once you start closing it. It all folds in nicely.
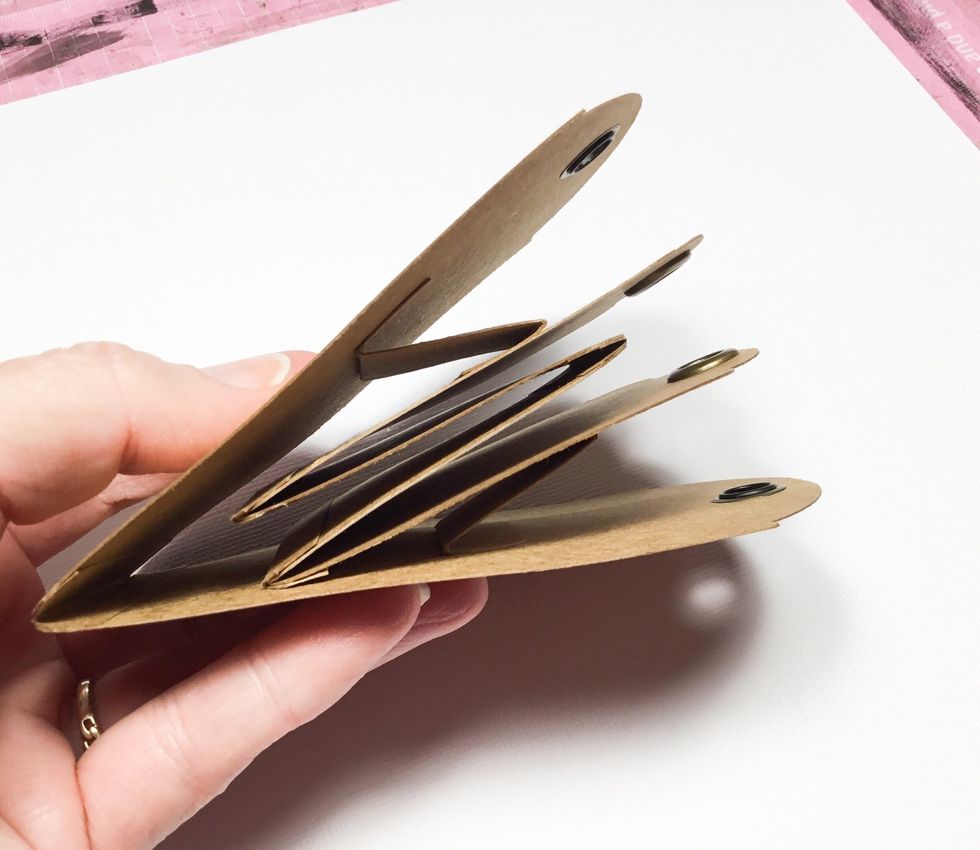
Fully closed and all holes line up perfectly.

Add the split ring to hold the folio closed and you are finished.

This is my finished Mini Pop Up Folio. I have used Graphic 45 Sunkissed Collection to create a beautiful beachy folio.

Lots of fussy cutting to create the cover.

It features 2 photo mats, mini tags that pull out from behind to allow for journaling. The pop out centre features lots of fussy cutting again.
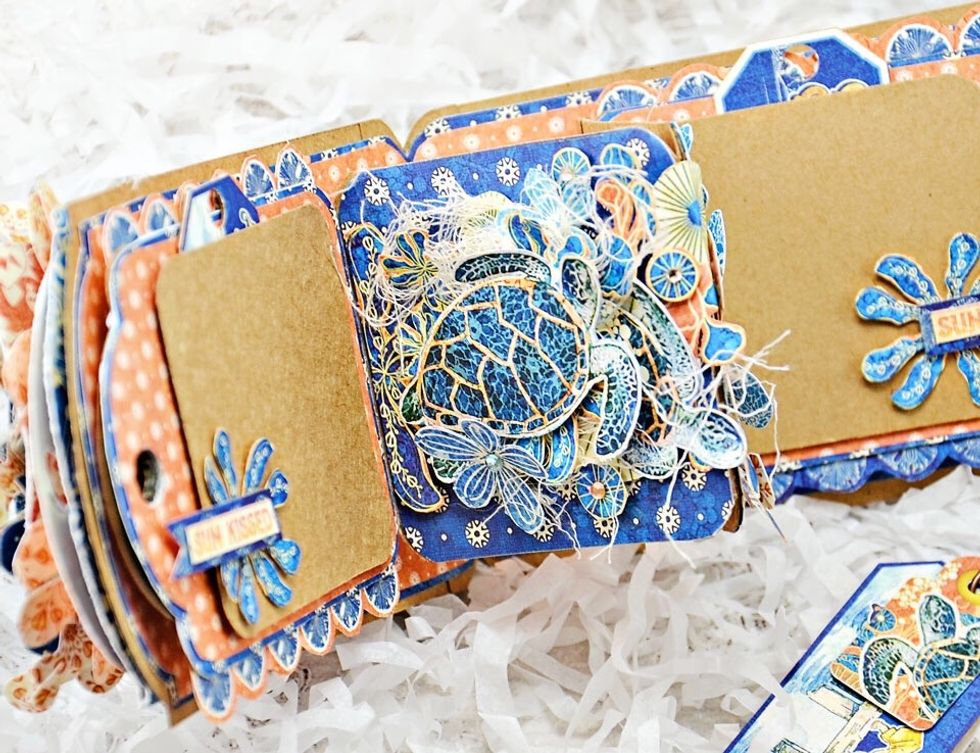
Close up

Close up

I hope you have enjoyed my tutorial and I have inspired you to try one of your own. Visit my blog www.scrappinforme.blogspot.com