The Conversation (0)
Sign Up
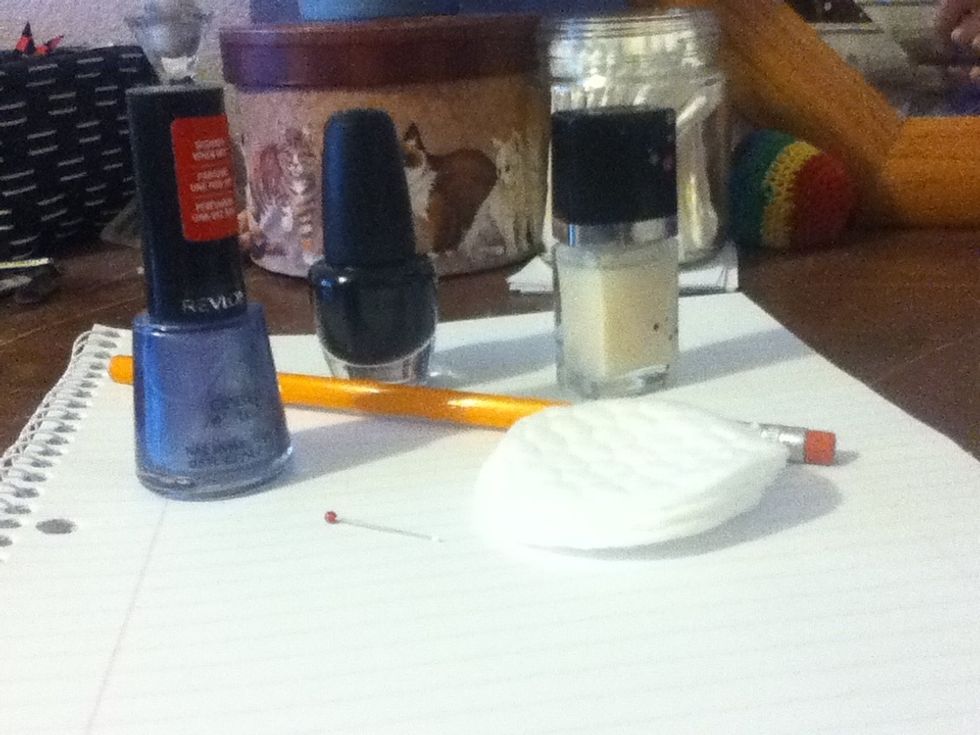
Gather your supplies! (Cotton buds and nail polish remover are optional. You only need them if you're messy with nail polish-- like me!)
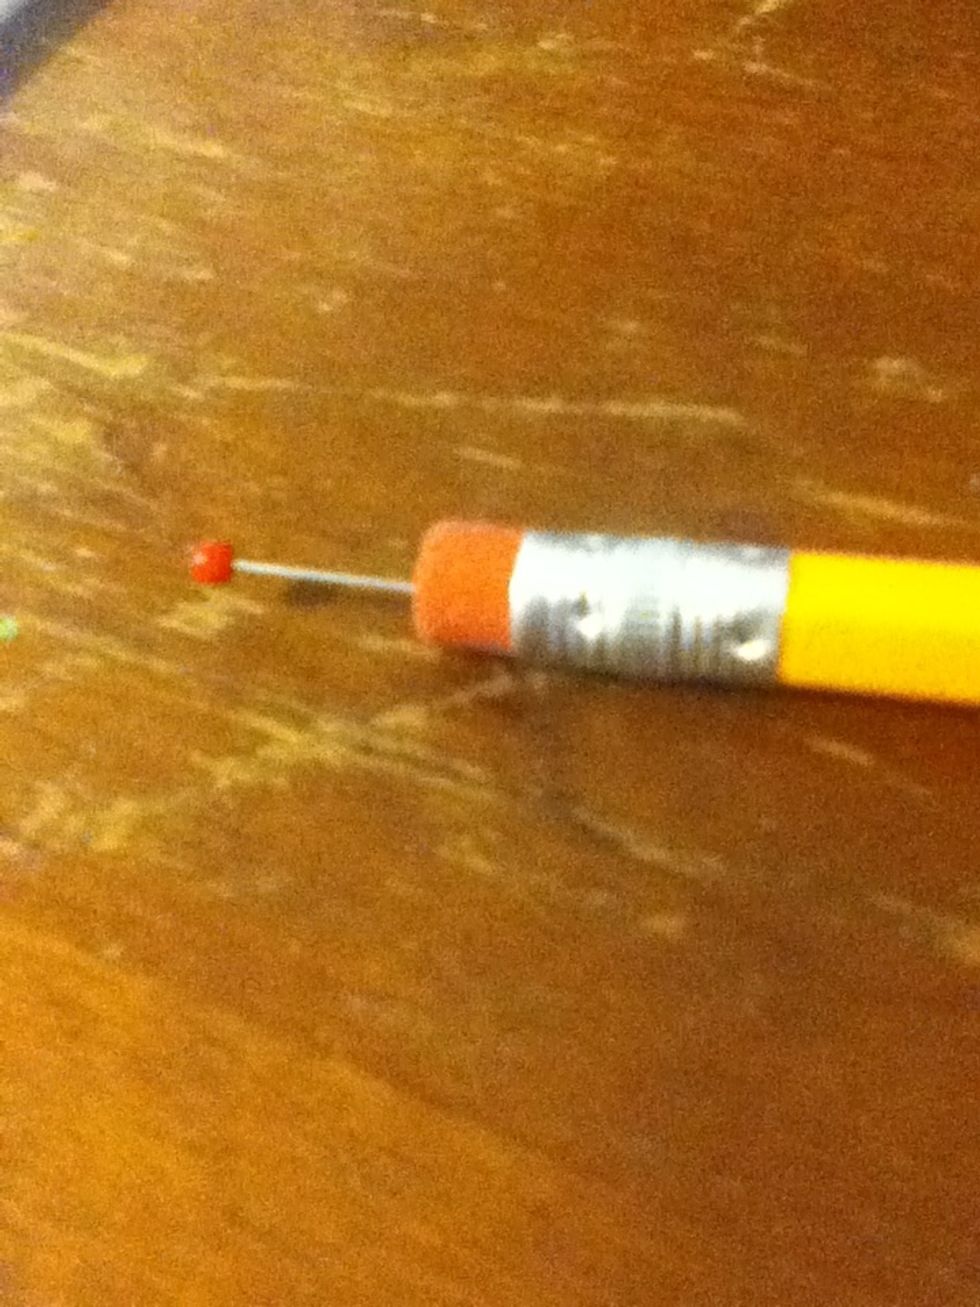
To create your dotting tool, push the pin into the eraser of your pencil. (You could also use a toothpick instead of a dotting tool. I prefer the dotting tool because the polka dots are bigger)
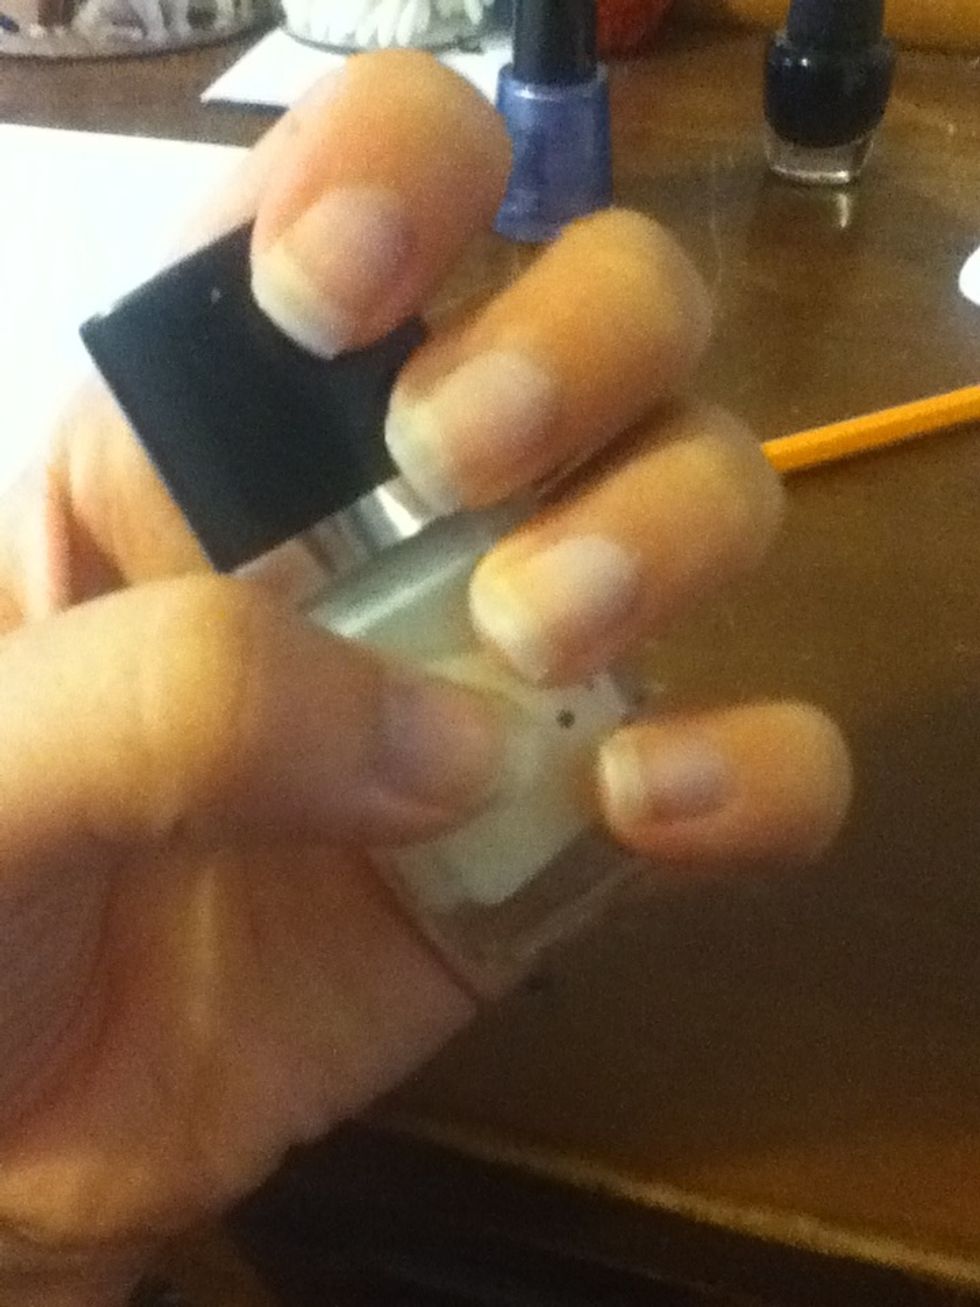
Apply a base coat to all your nails. The best method to apply polish is to stroke the brush down the middle of the nail, then down each side.
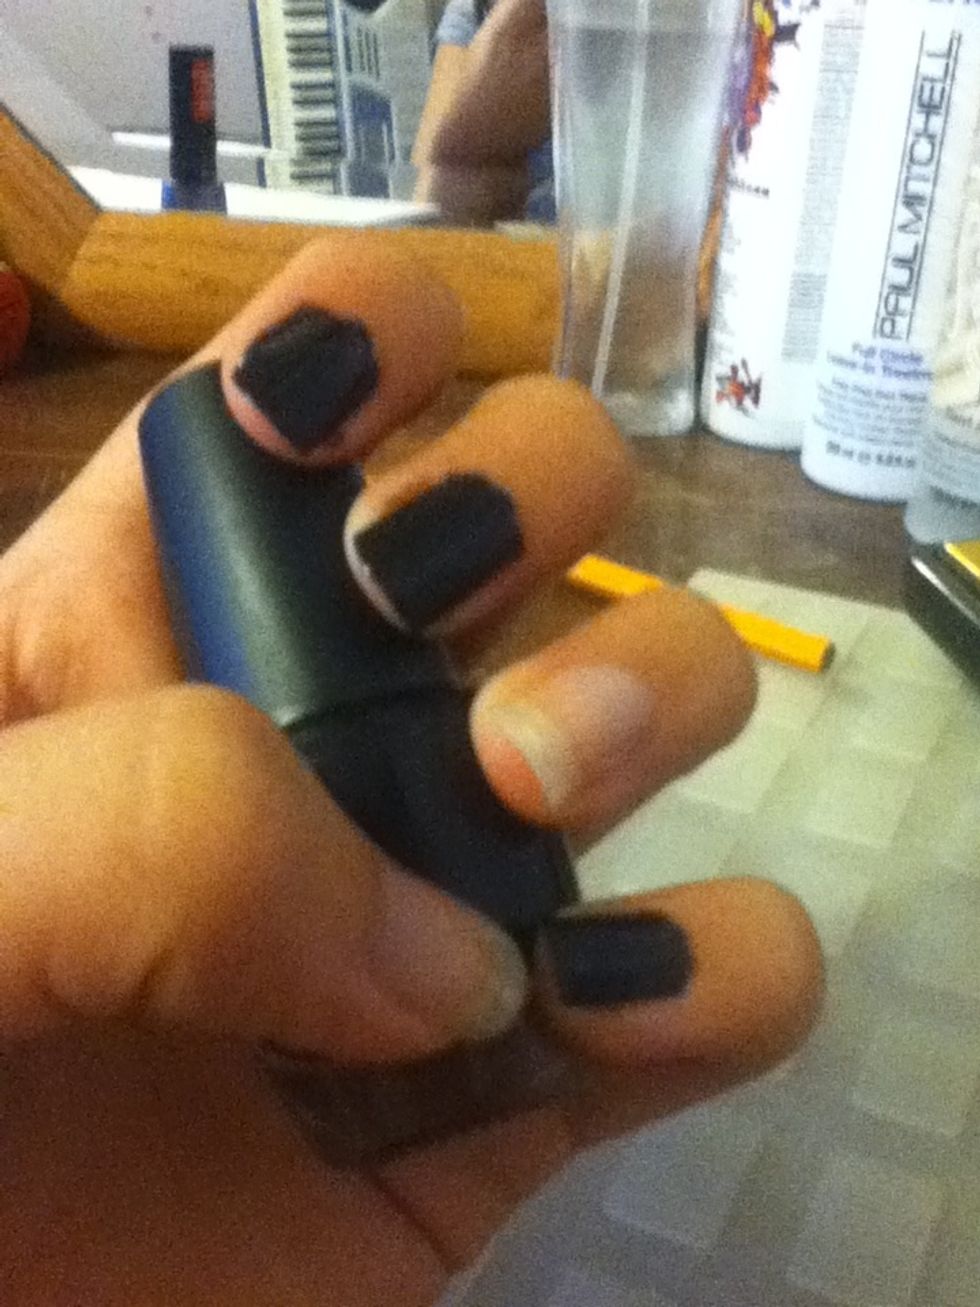
Paint your index, middle, and pinkie fingers two coats of the darker color of your two shades. I'm using black.

Paint your thumb and ring finger two coats of the lighter color of polish. I'm using this cute purple-- it looks a bit blue on camera, though.
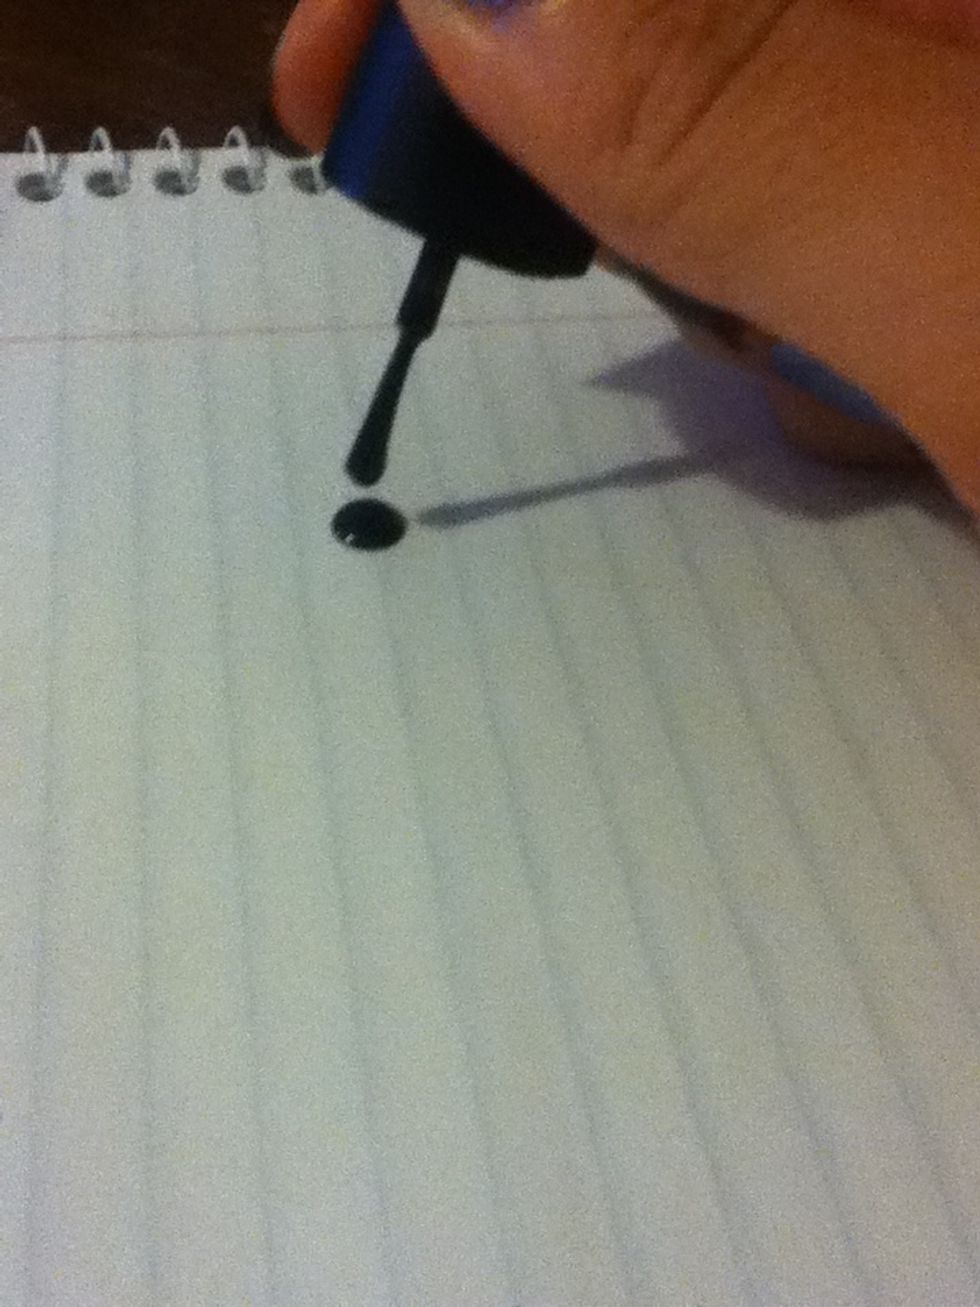
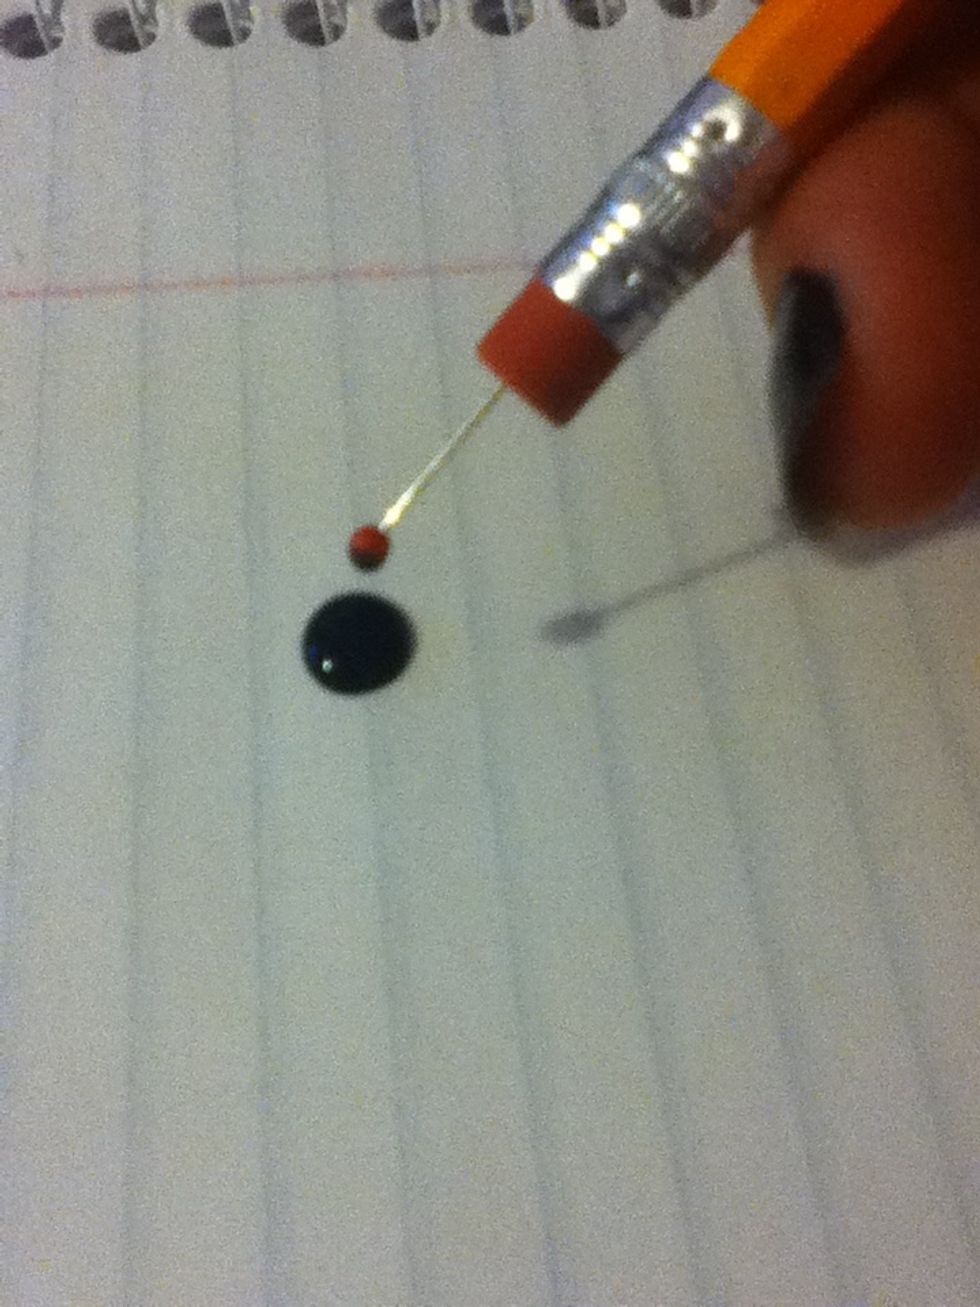
Put a few drops of the dark polish onto the piece of paper.
Dip the dotting tool into the polish and then onto your nails to create polka dots.
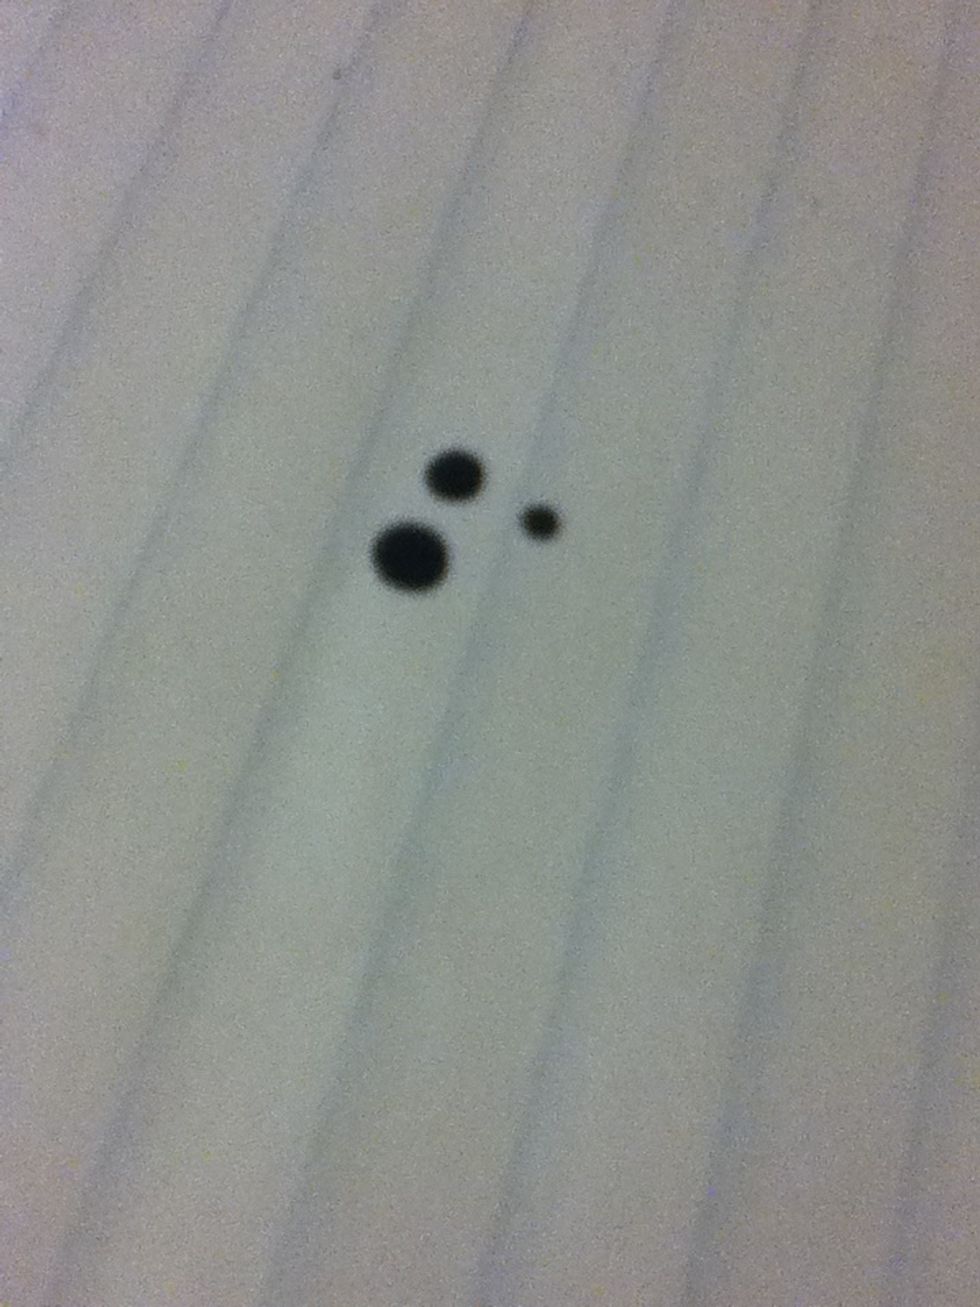
You will probably want to do some practice dots on the paper and decide what size dots you want-- small, medium, or large.
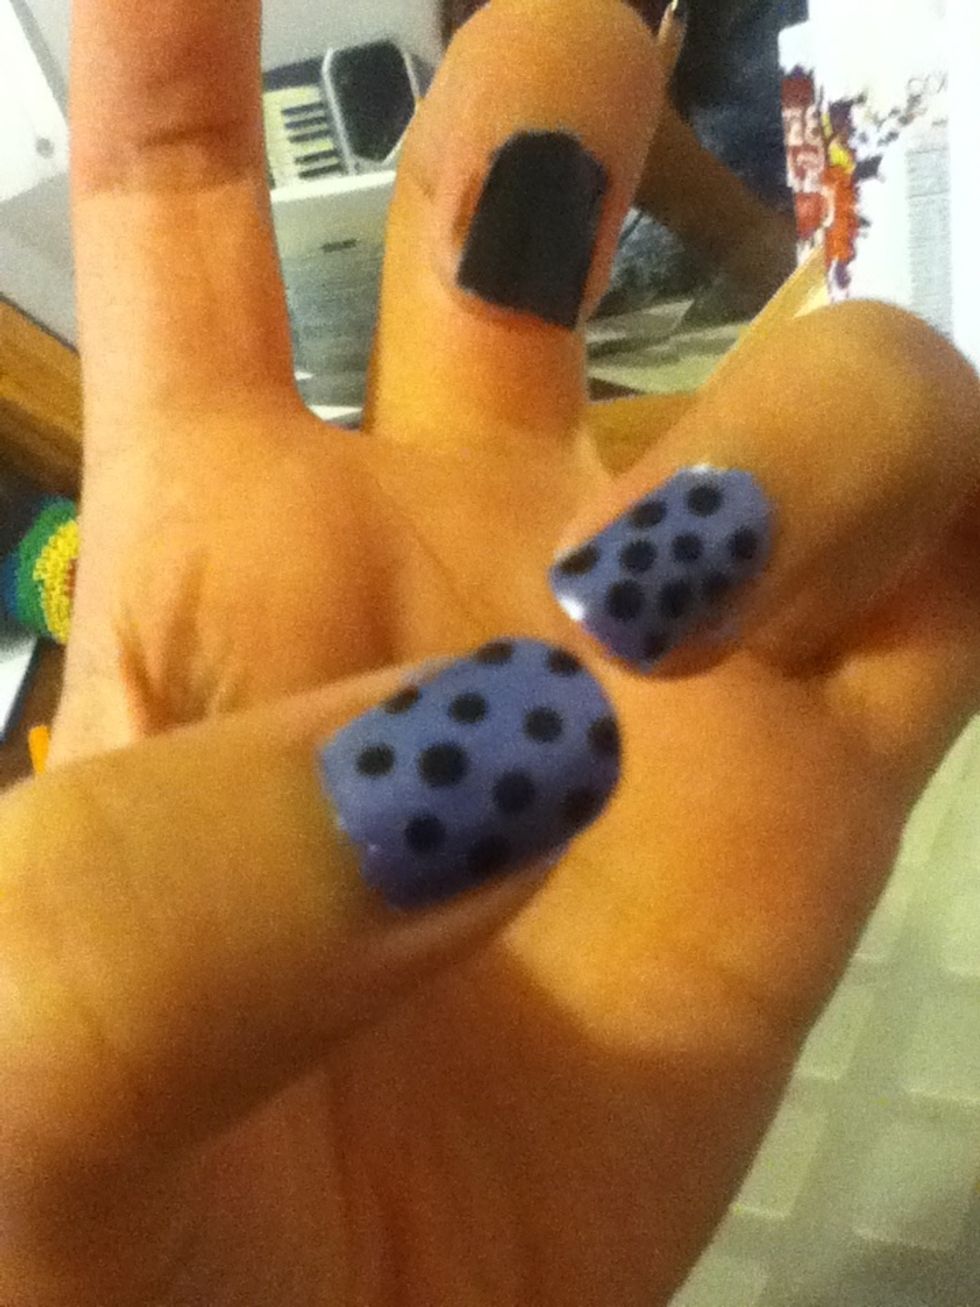
To make them look uniform and neat, do rows of two dots, then three, then two again and so on. Add a fast-drying top coat and clean up around your nails with a cotton bud and you're done!