The Conversation (0)
Sign Up
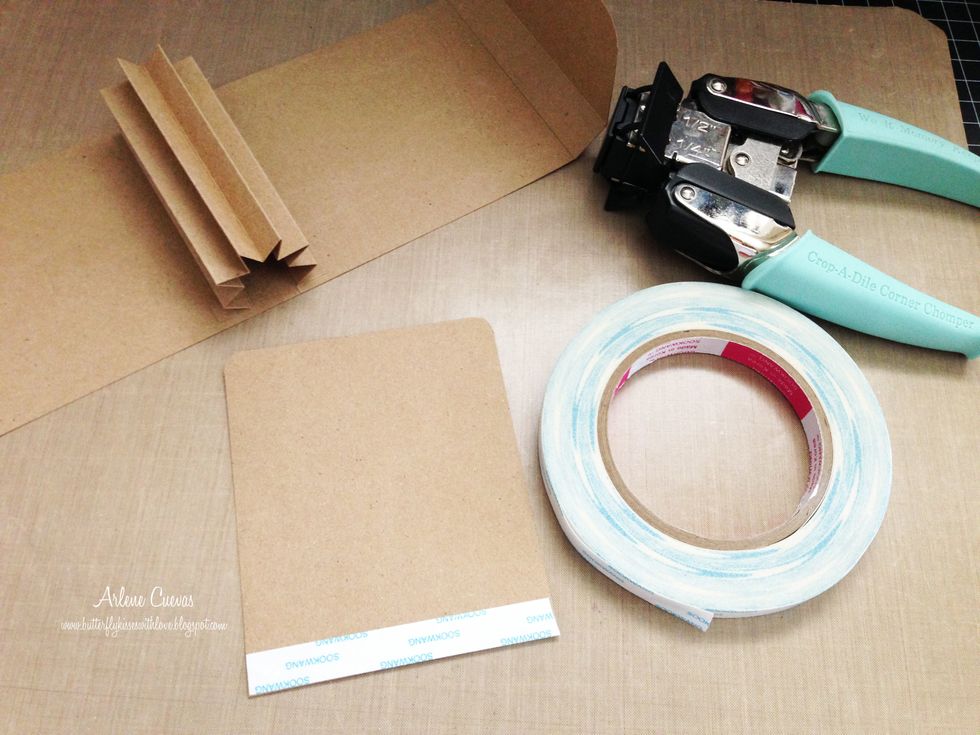
Creating the cover...
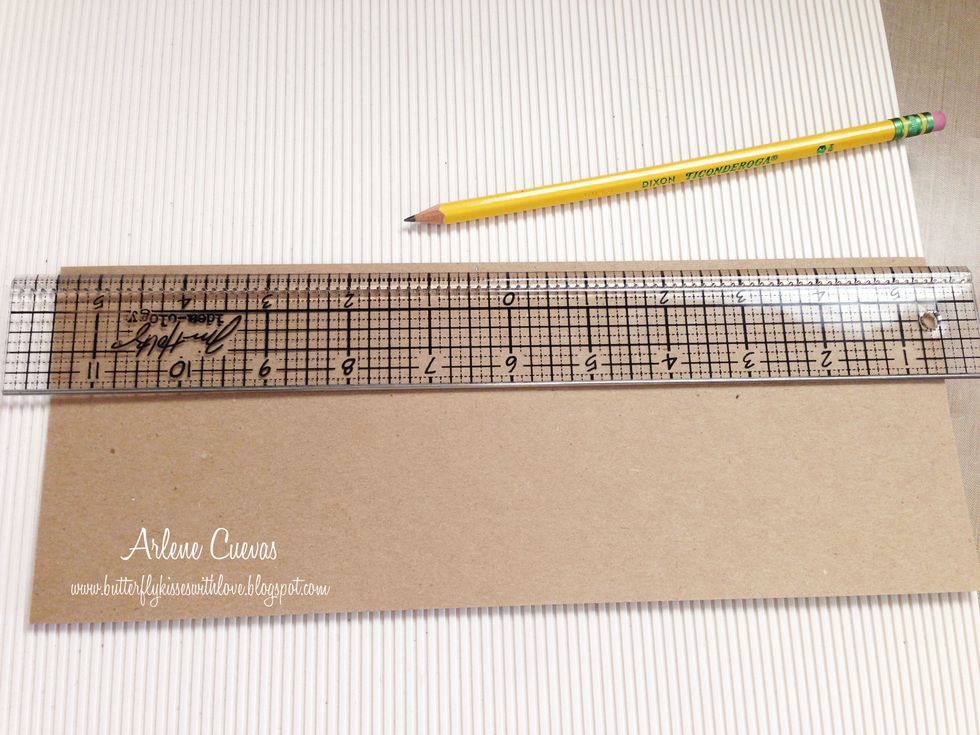
Cut card stock to 4 1/4" x 11". Find center ("0") of 11" side using craft ruler.
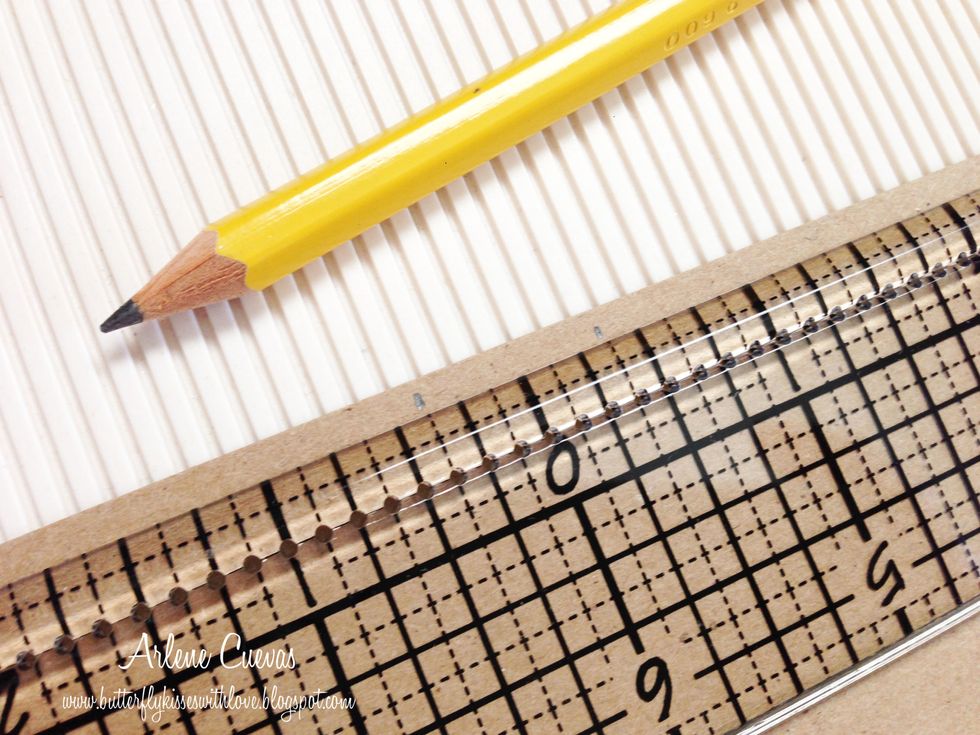
Use a pencil to mark 3/8" on either side of the "0" center.
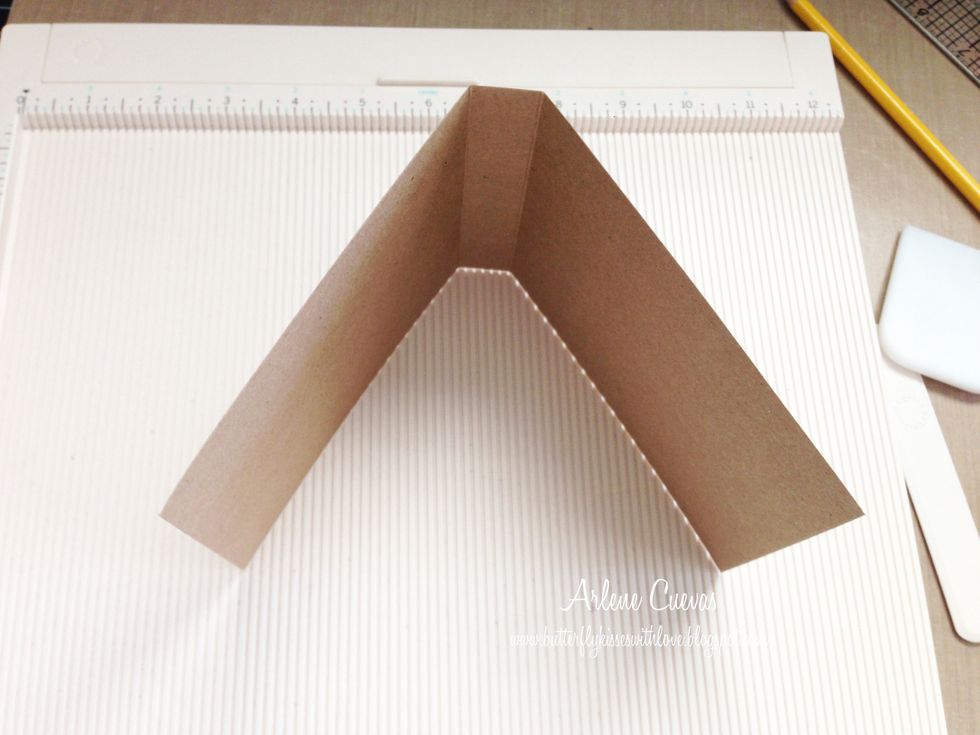
Use your score board and bonefolder to score at the pencil marks. This is what you have so far...
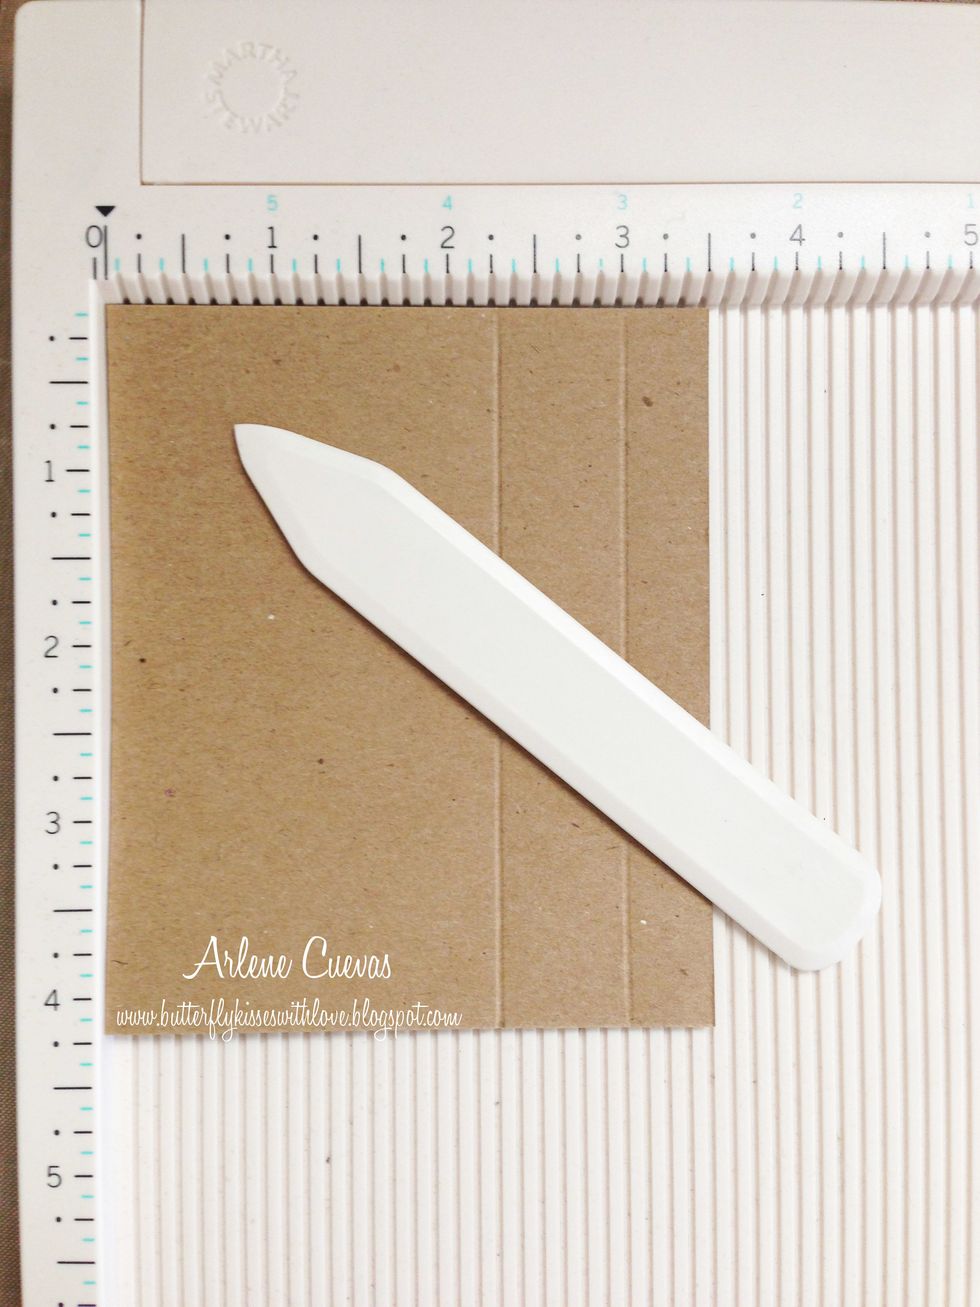
Cut a piece of card stock to 3 1/2" x 4 1/4". On the 3 1/2" side, score at 2 1/4" and at 3" (as shown).
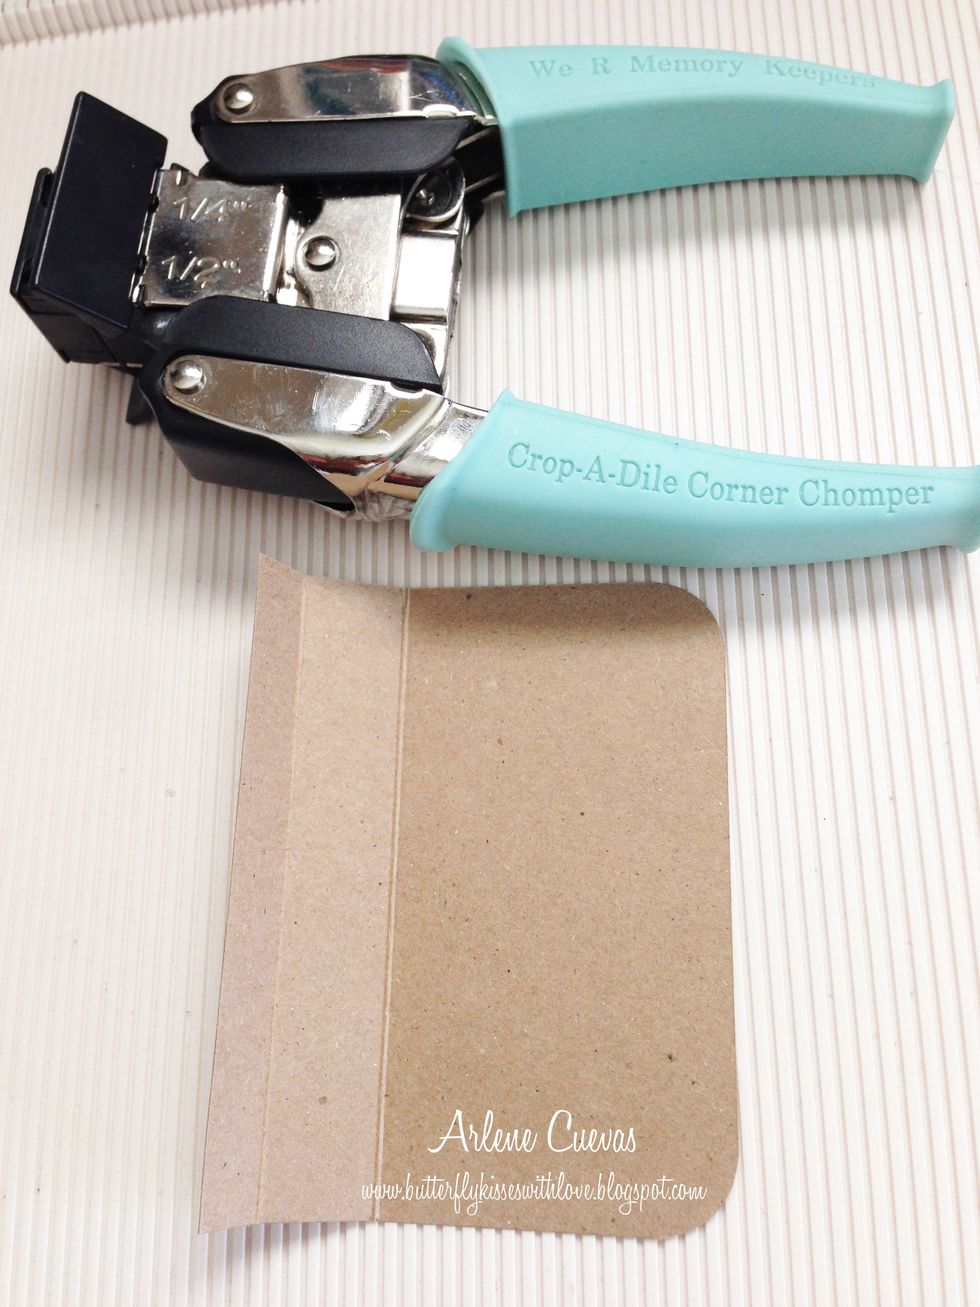
Round the corners using a corner rounder as shown.
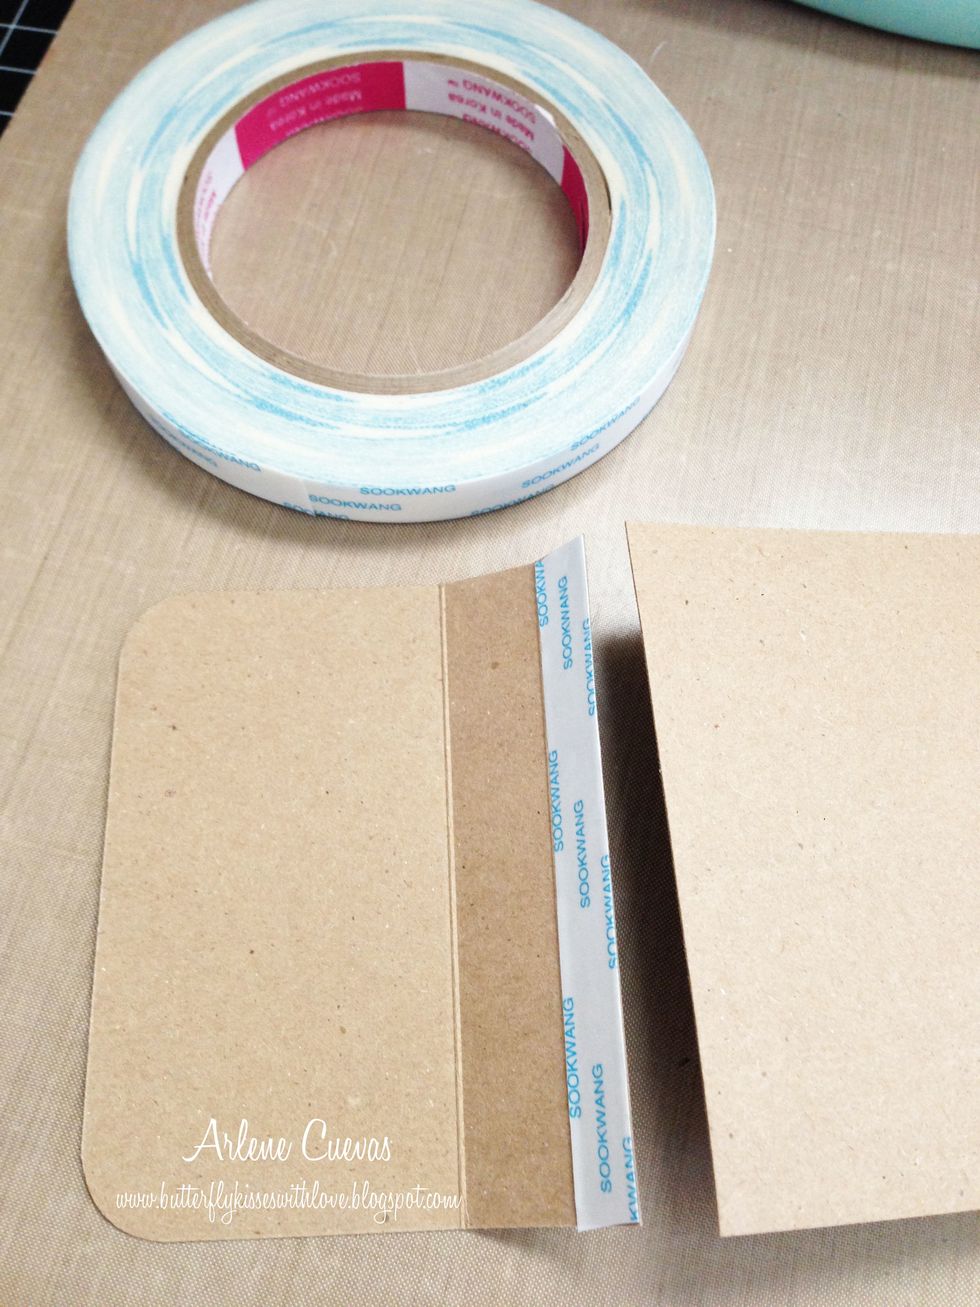
Add ScorTape. We'll be adhering the flap to the cover...
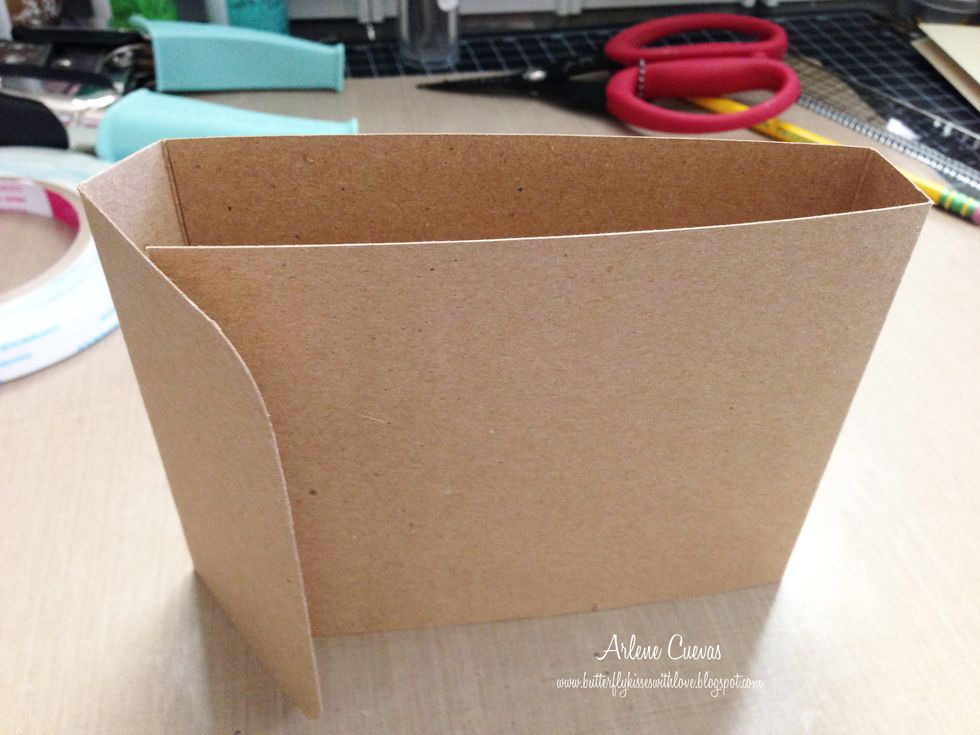
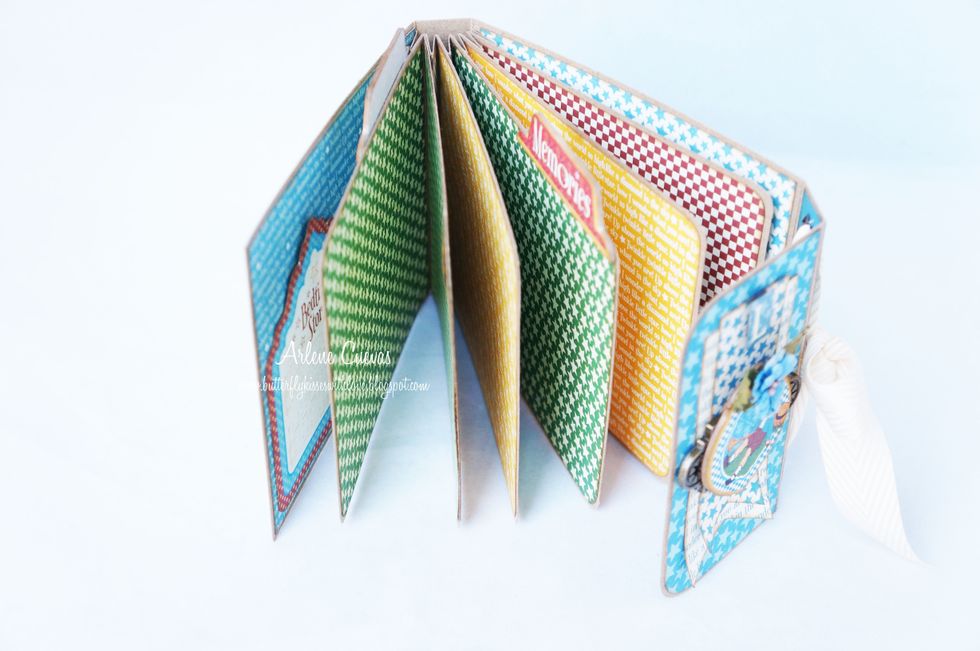
Your Pocket Album cover is complete. Now let's create the accordion binding....

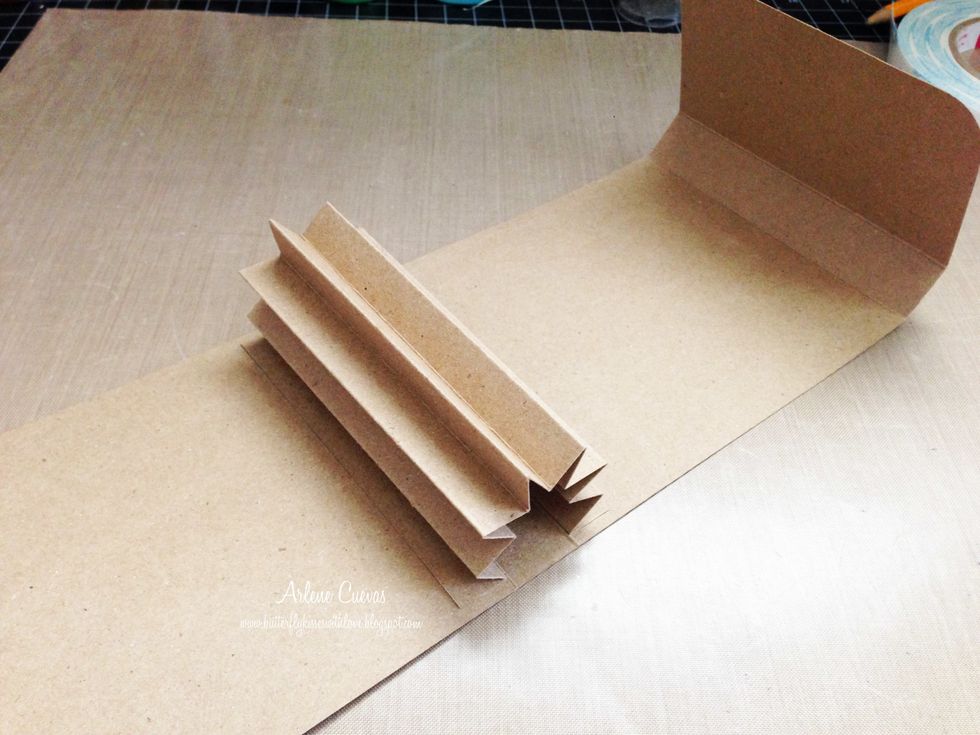
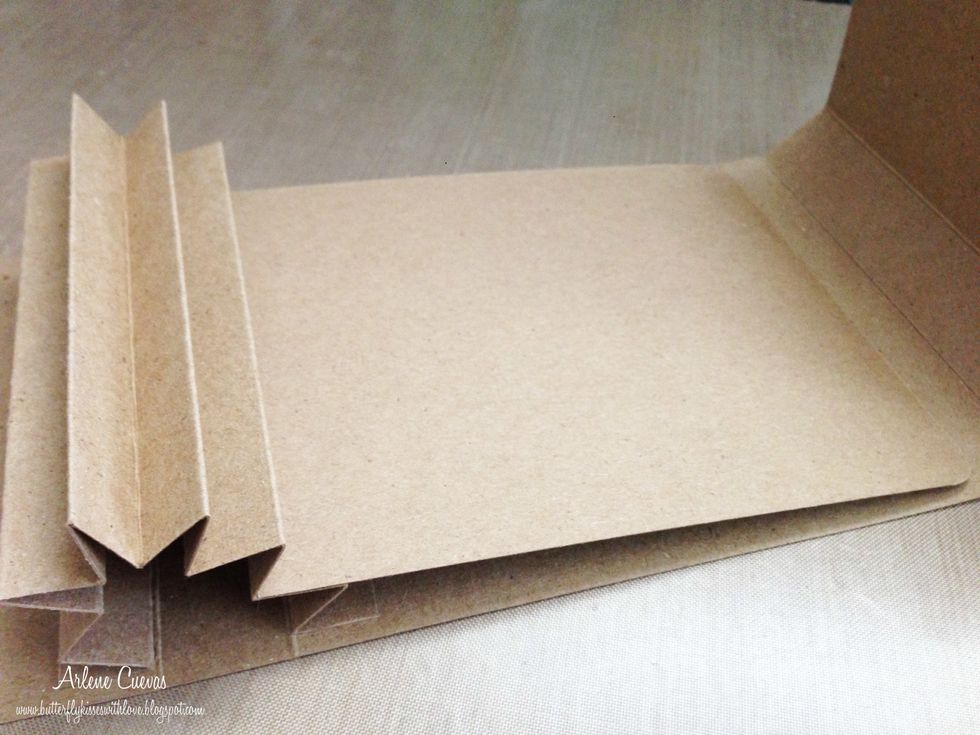
Cut a piece of card stock to 4" x 7". Score every 1/2" on 7" side as show above. Keep scoring until it looks like....

... this! (Tip: Use a bone folder to get really clean/crisp folds.)

Add ScorTape as shown...

Adhere accordion binding to the cover as shown.
The binding will look like this once you have it adhered onto the cover.
Create the pages of your mini by cutting 6 pieces of card stock to 4 3/4" x 4". Round the corners of one side. Add ScorTape to opposite side. We'll be adhering the page to the binding...
Adhere a page to the binding just like so. Do this until all 6 pages are adhered to your binding.
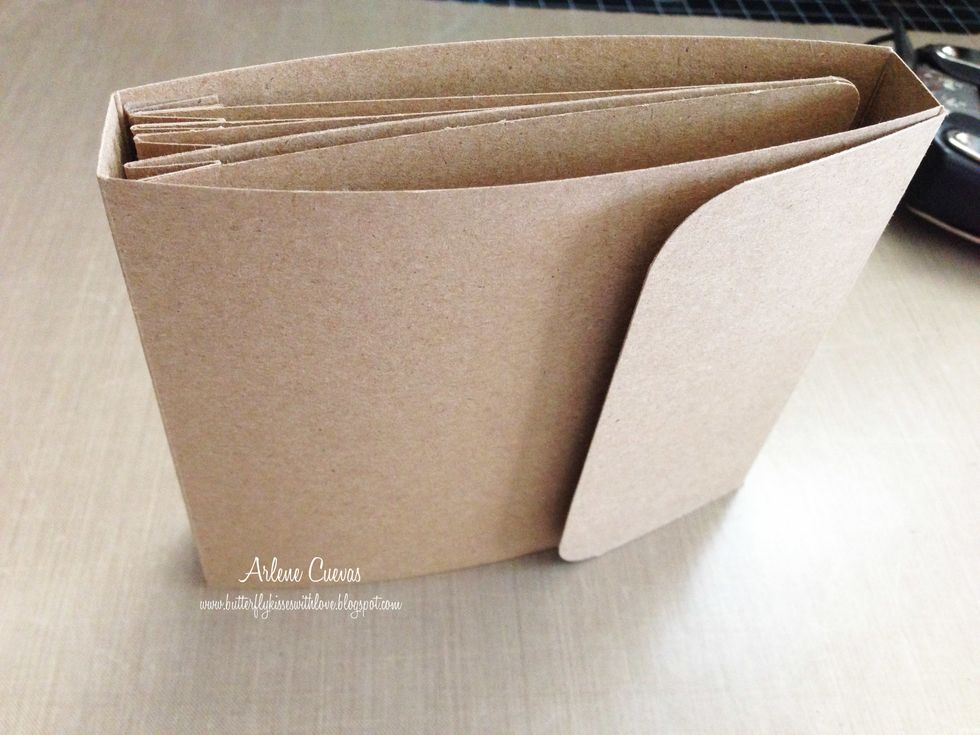
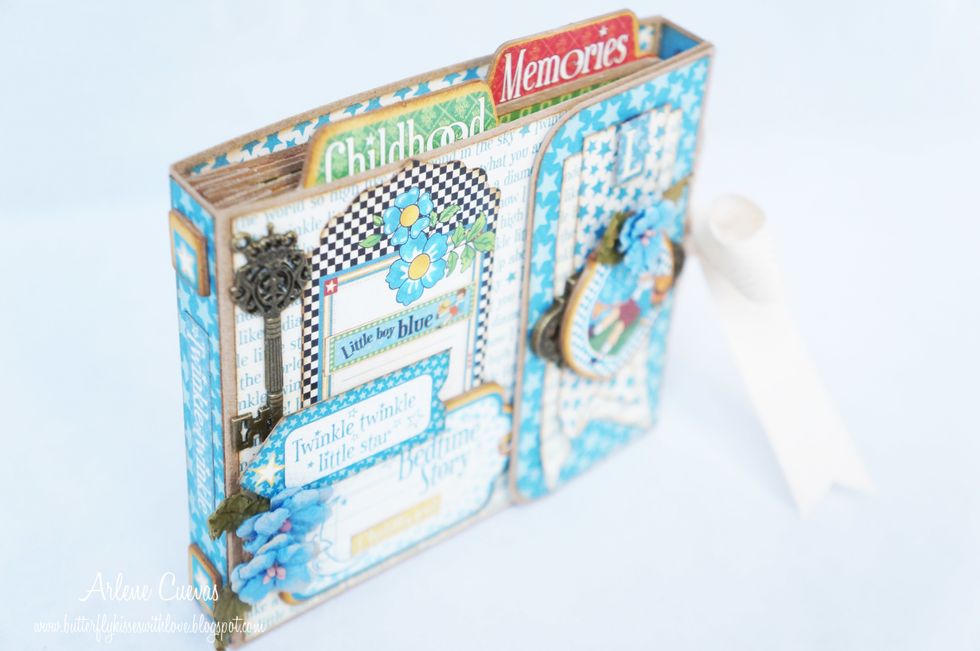
Your pocket mini is ready to be embellished!

Here are some photos of my embellished pocket mini... ready to fill with lots of pictures and memories...
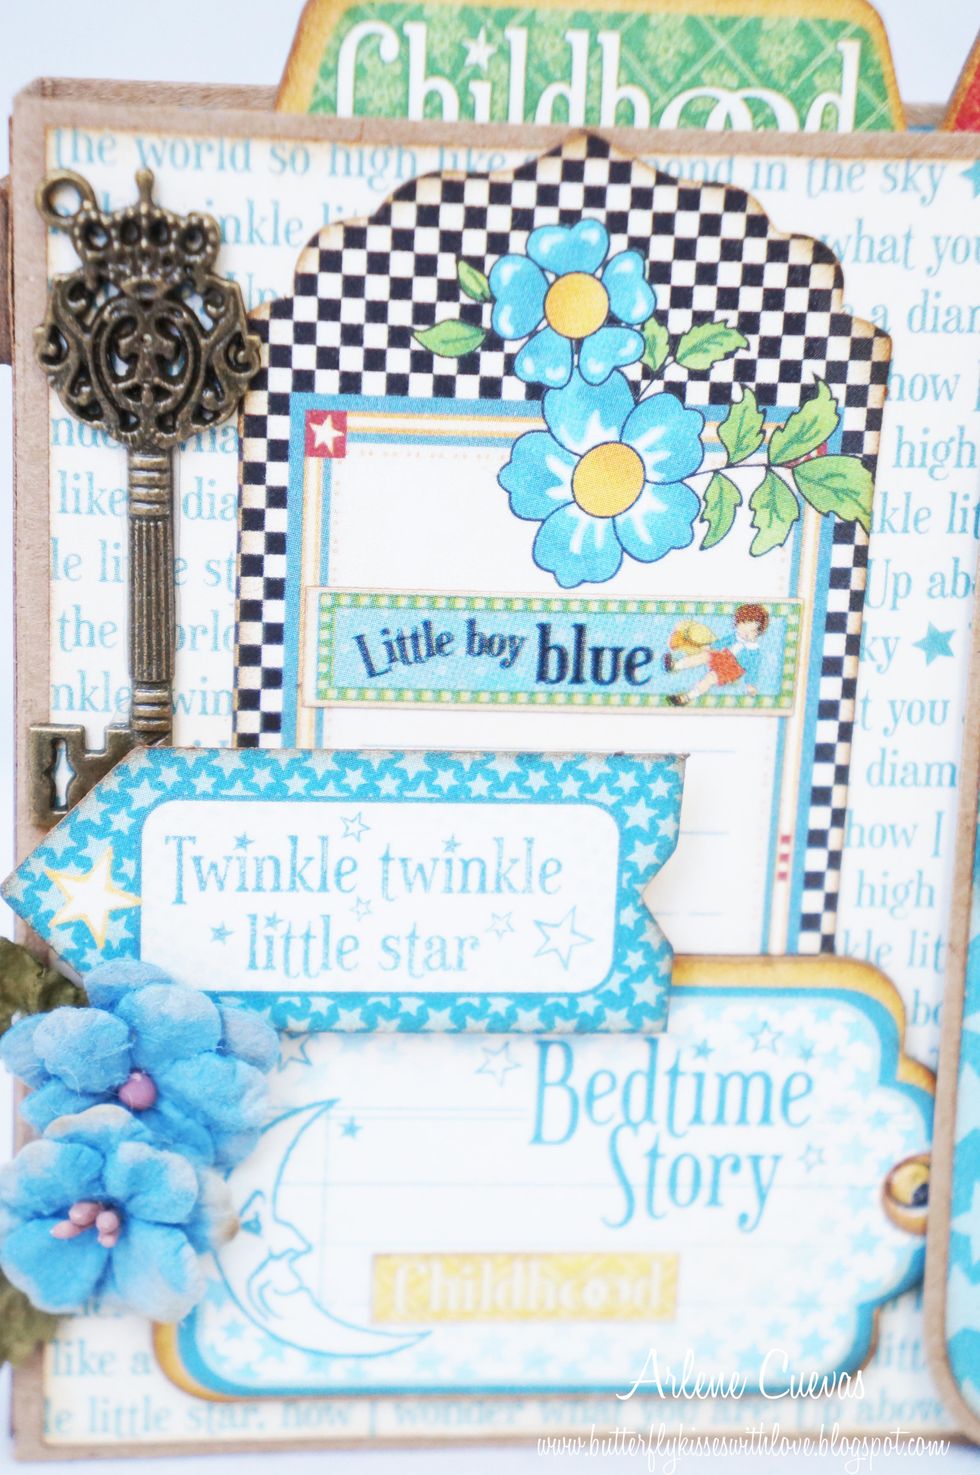
Love Graphic 45's Mother Goose collection... perfect for projects for your little ones!
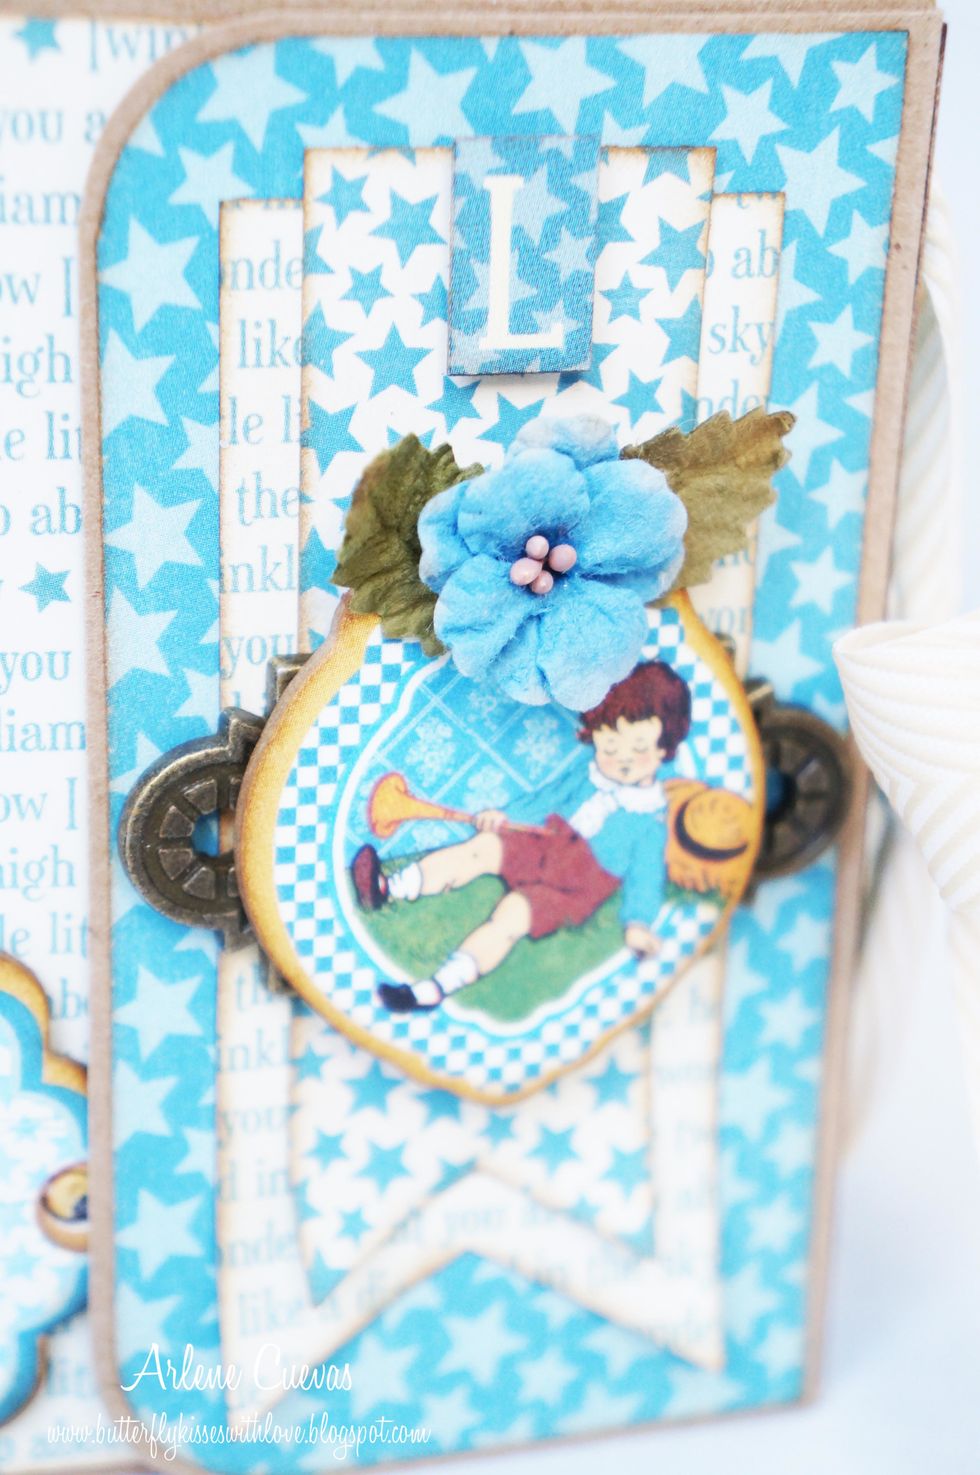
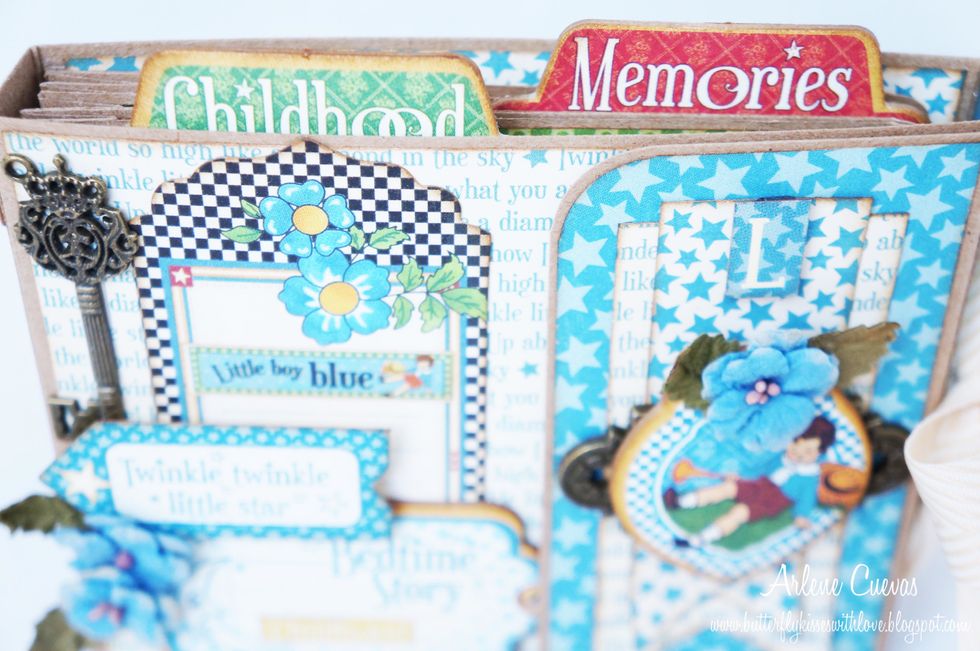
Add a bunch of fun embellishments to make it your own...
Design paper matting size: 3 7/8" x 4 5/8".
Thank you for joining me. Find me on Facebook at facebook.com/arlene.butterflykisses.