The Conversation (0)
Sign Up

These are the Graphic 45 products you will need to create the album.
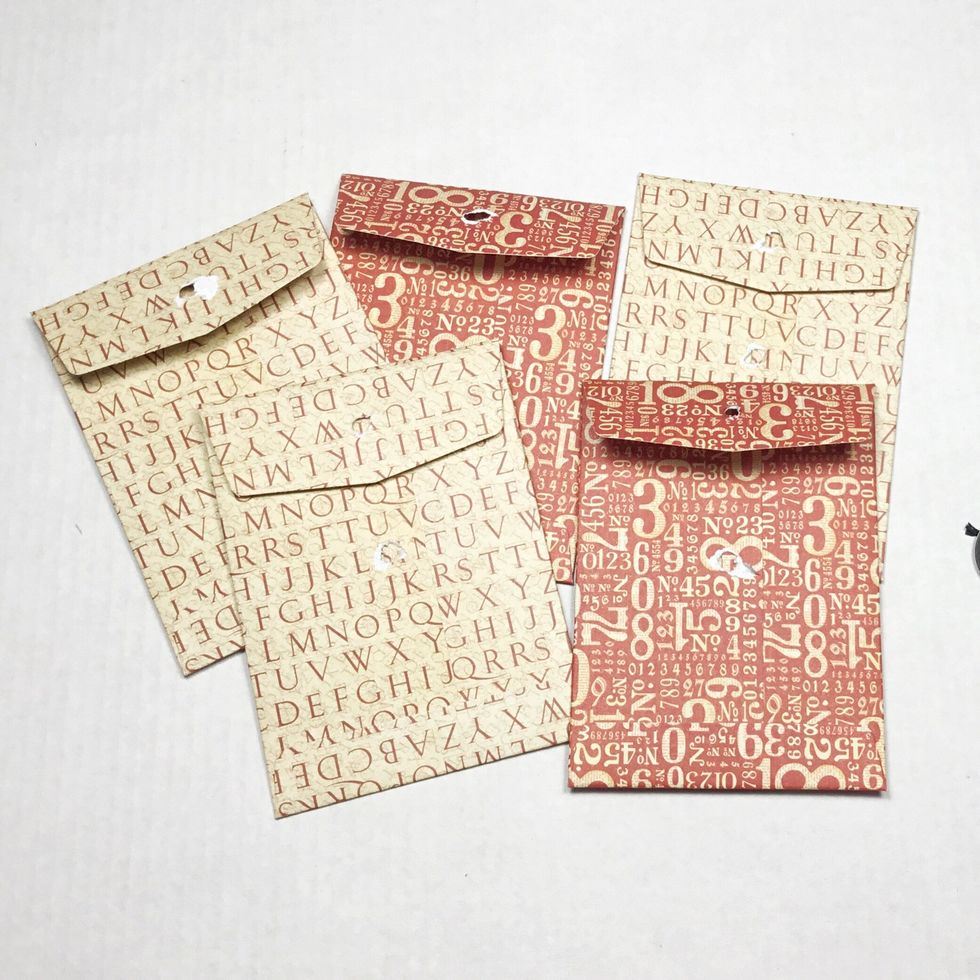
You will need 5 envelopes and remove the tie up strings and black tabs.
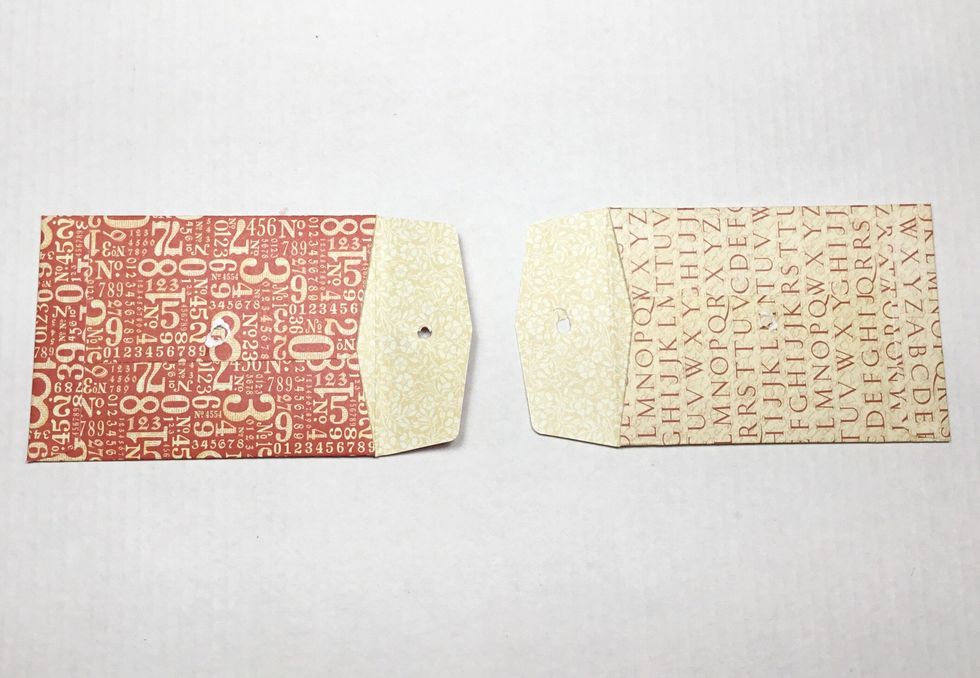
Fold out the top tabs.
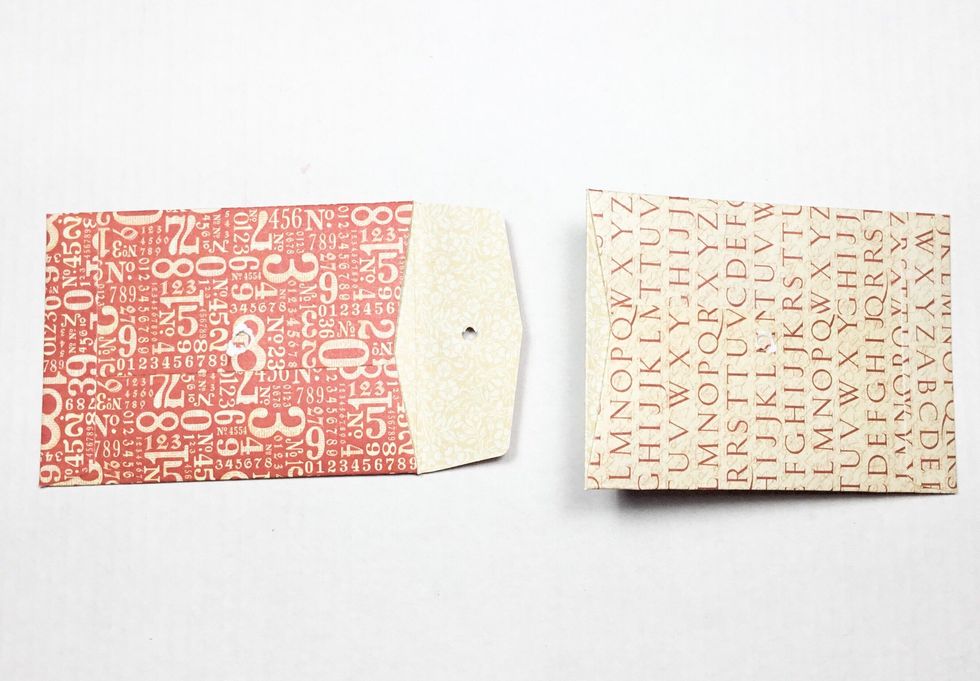
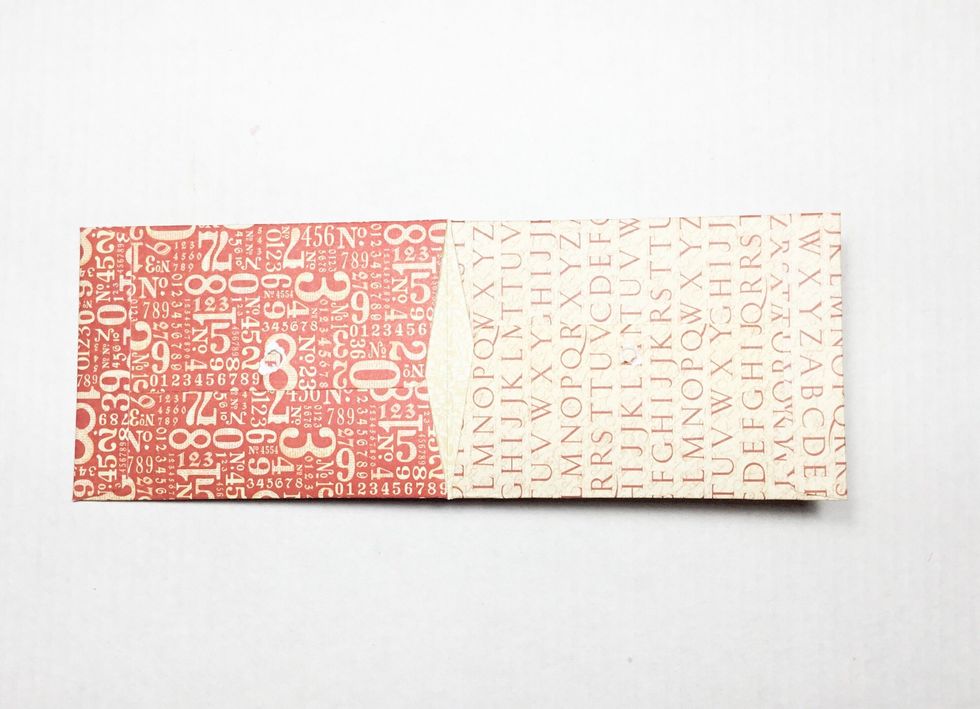
Add glue and insert tab of red envelope into cream envelope. Fold the cream envelope tab back as shown in next step, this is the glued and inserted into next envelope.
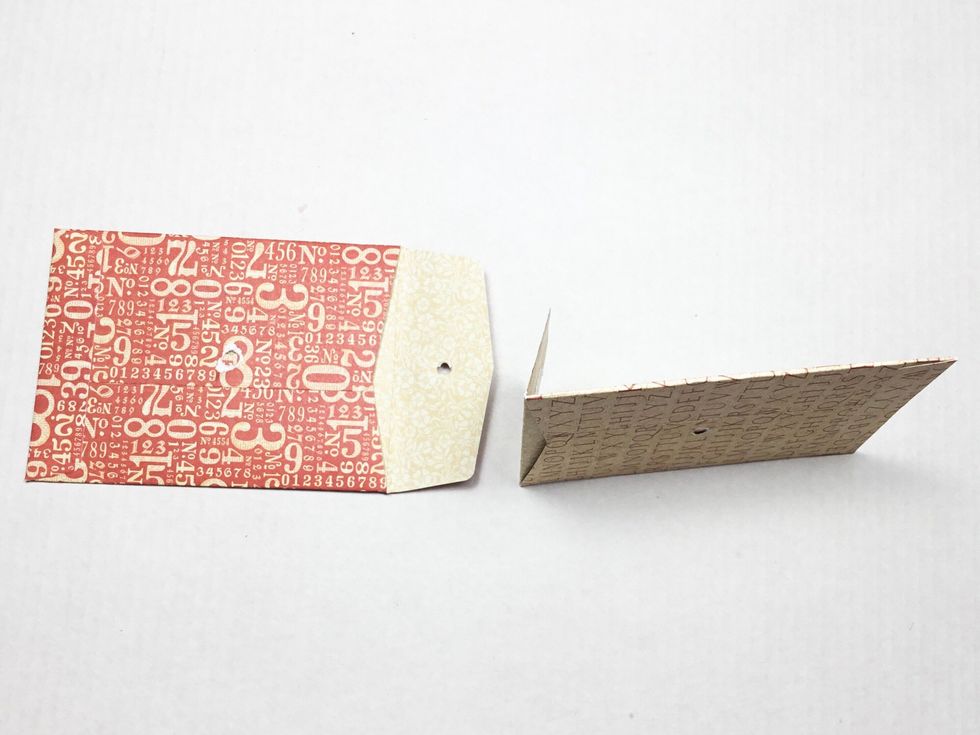
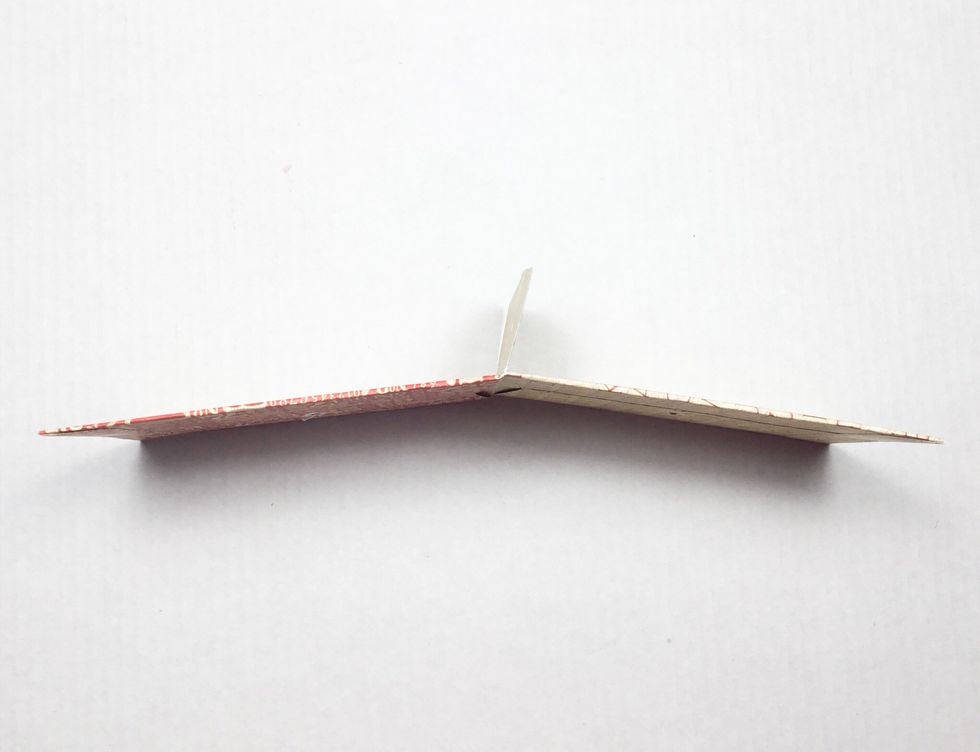
Showing tab folded back.
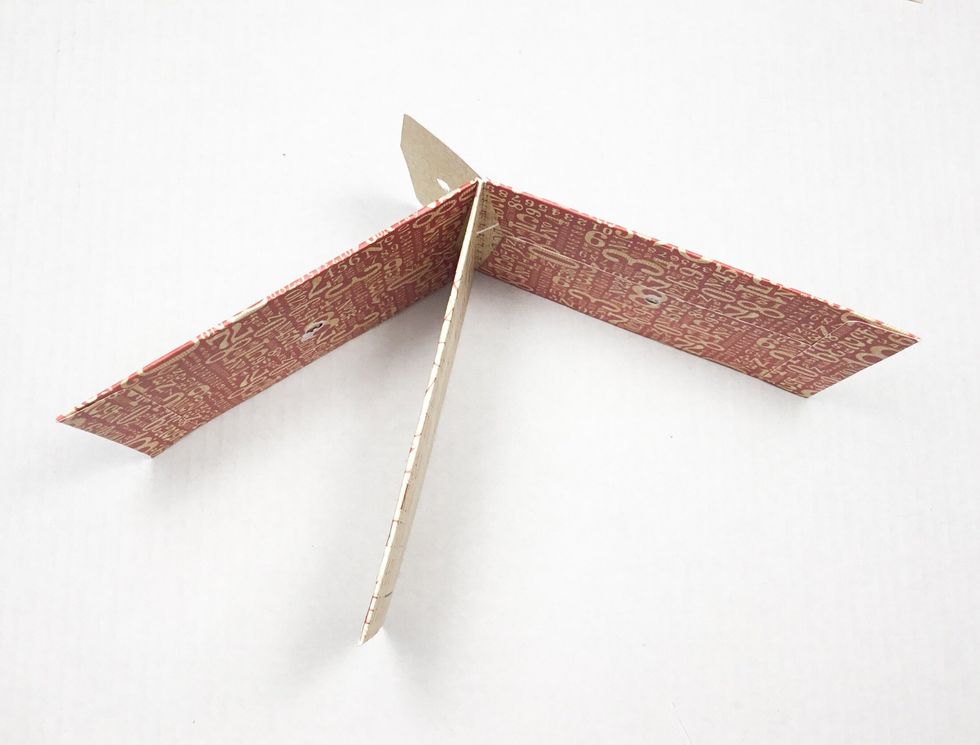
Showing red envelope glued into cream envelope to create the pages.
Cream tab is showing this is the glued and inserted into the next envelope.
Pages are coming along.
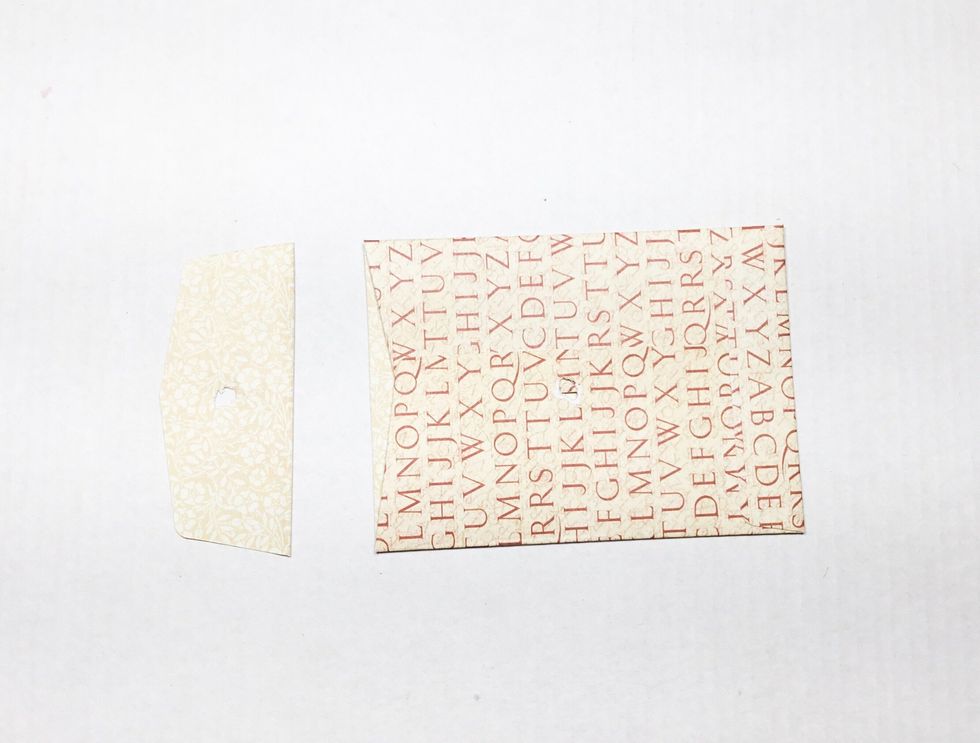
Cut tab off of one envelope as shown. This will be your back page.

Insert created pages into envelope with top tab cut off. Your album should now be assembled.
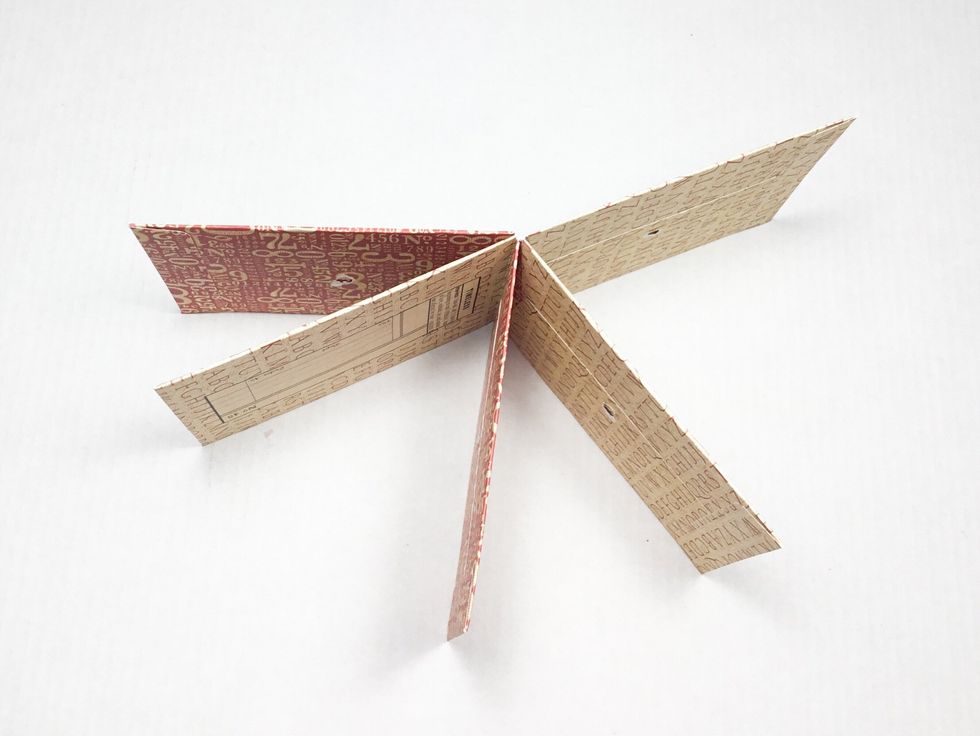
Assembled album pages.
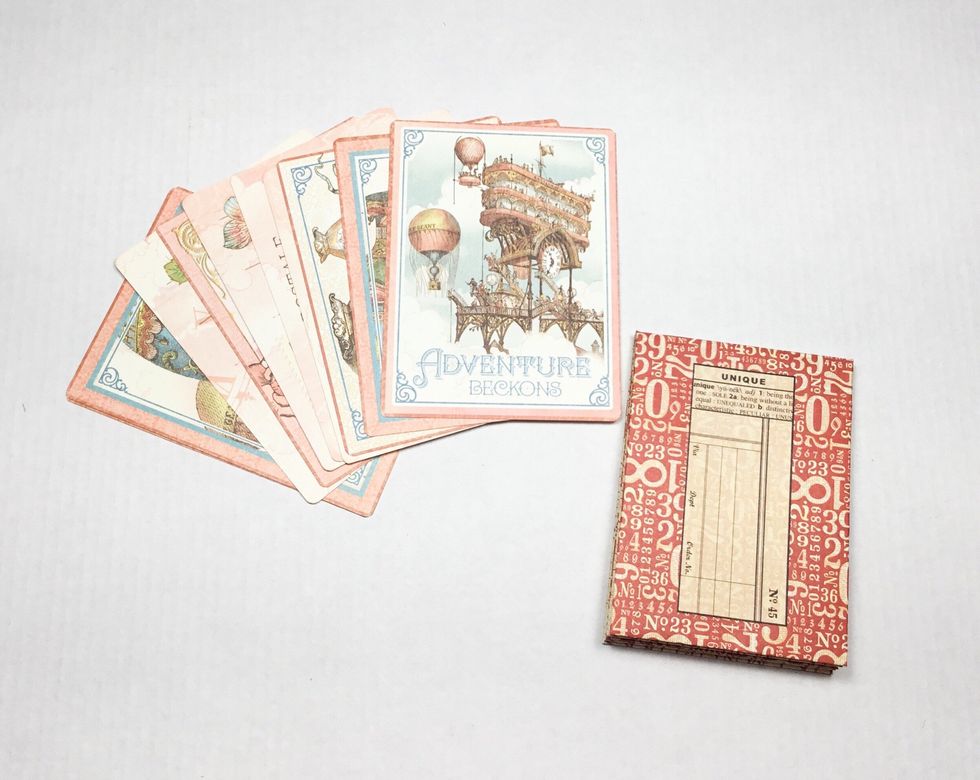
Now choose small ephemera cards to use as your pages.
Glue down your ephemera cards to create the pages.
I chose this one for my title page.
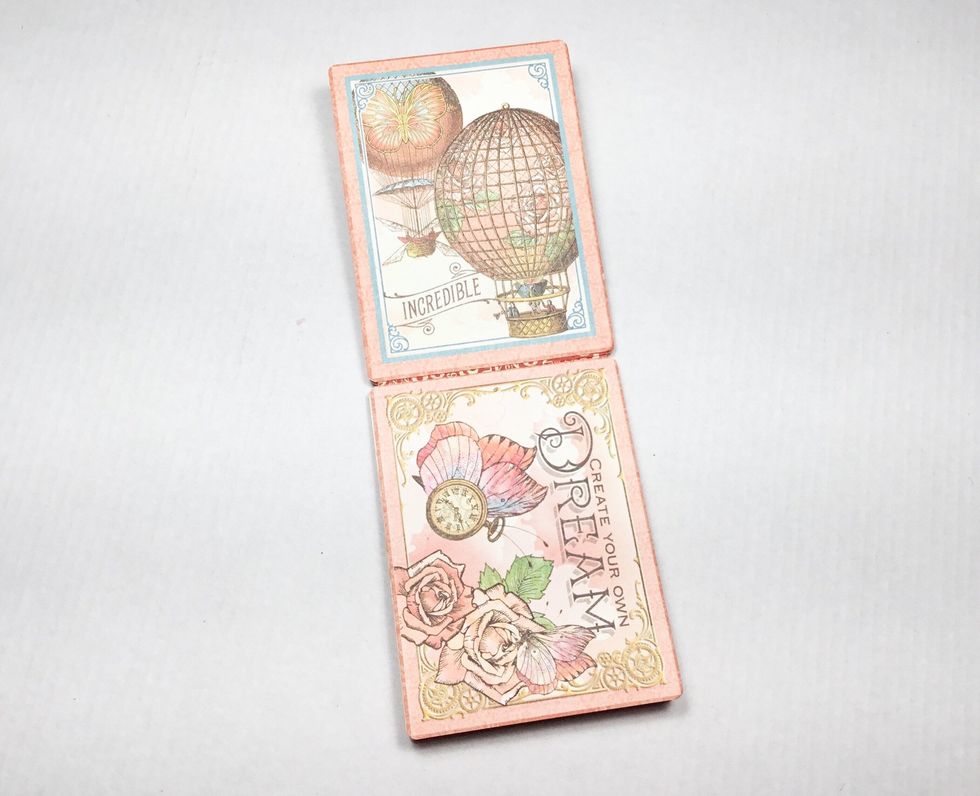
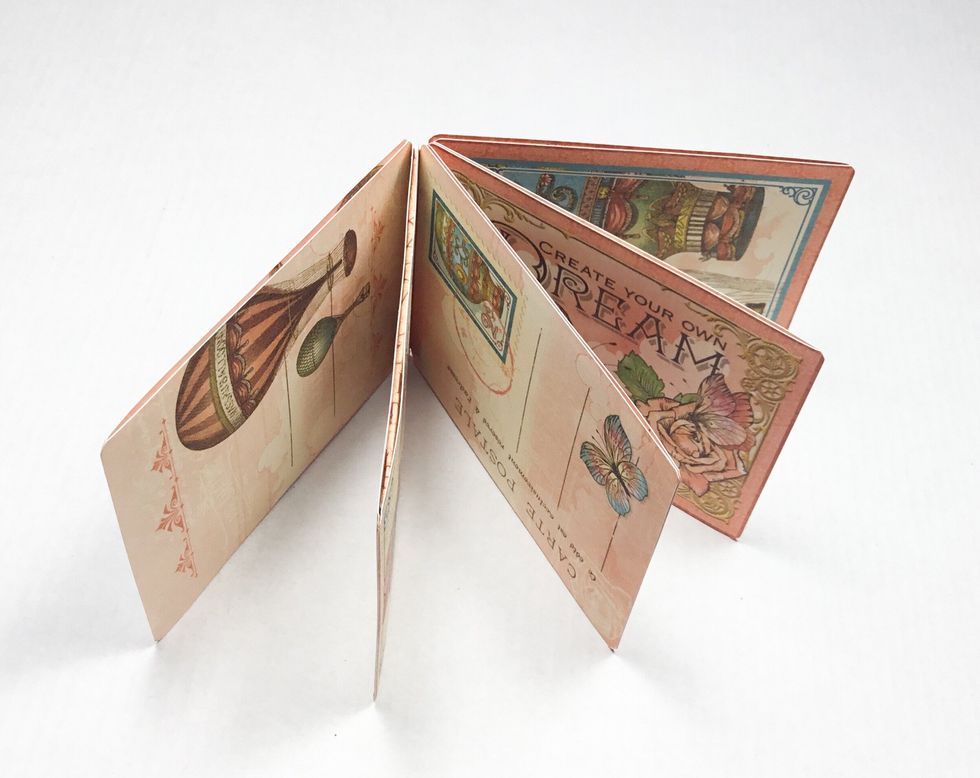
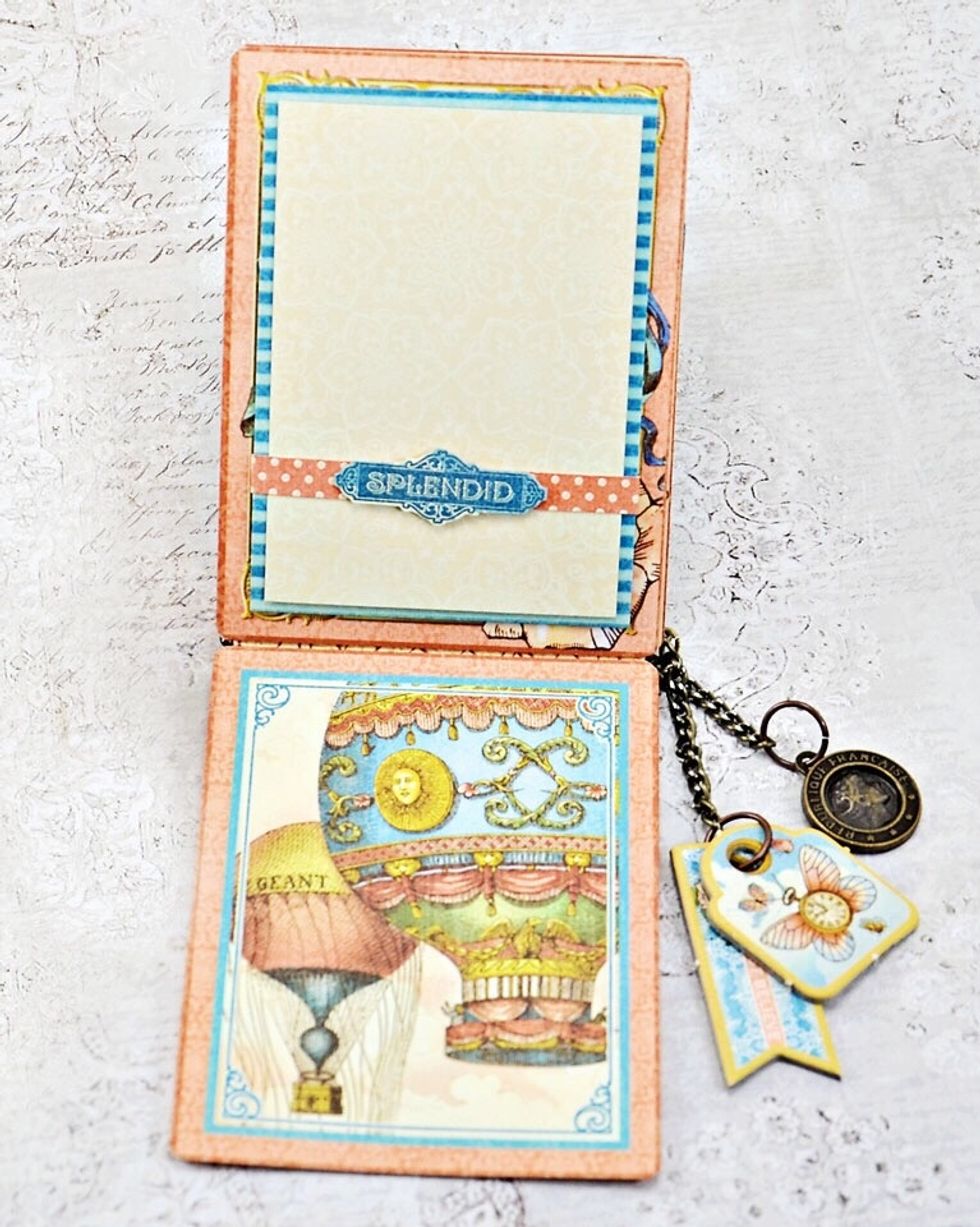
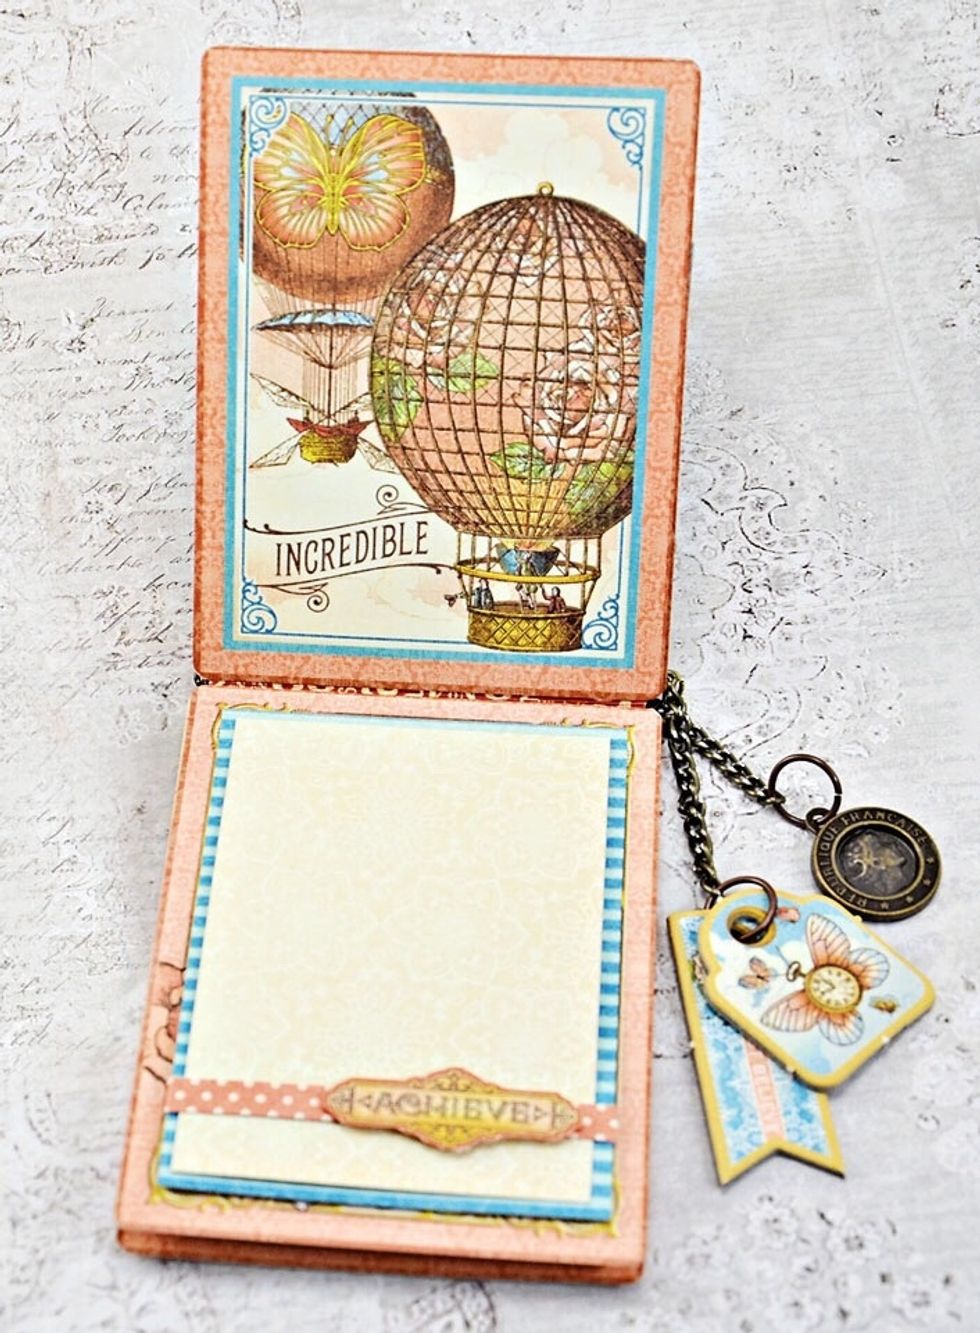
Inside ideas.

Inside ideas.
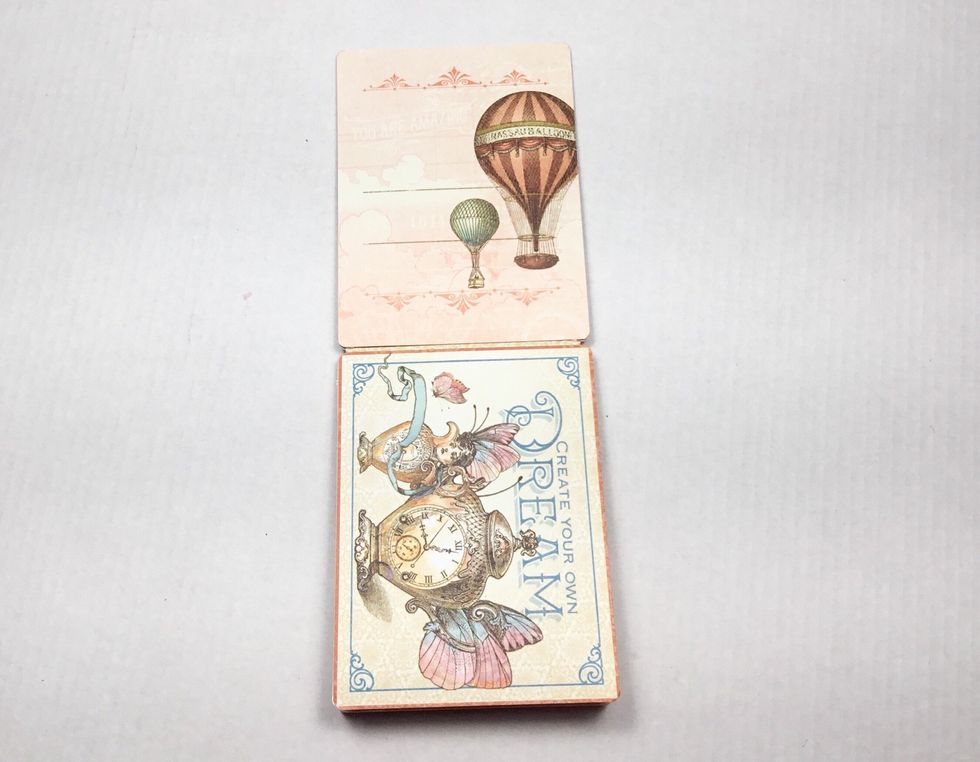
Inside ideas.

Photo mats. You will need 2 coloured patterned paper ones slightly larger then the cream ones as shown.
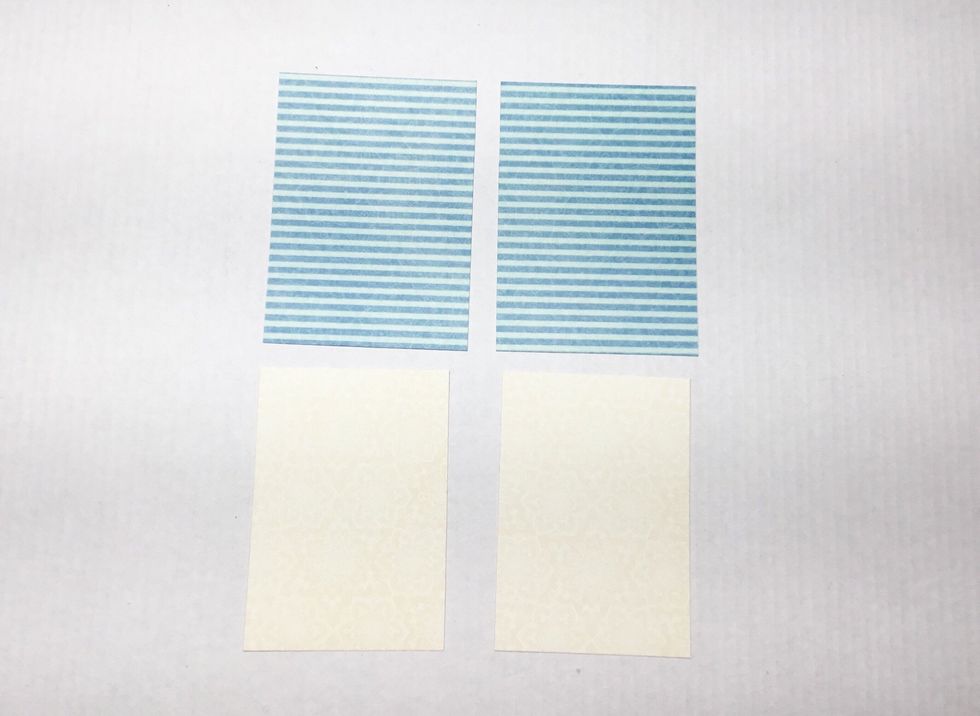
Photo mats. You will need 2 coloured patterned paper ones slightly larger then the cream ones as shown. You will need 4 photo mats in total.
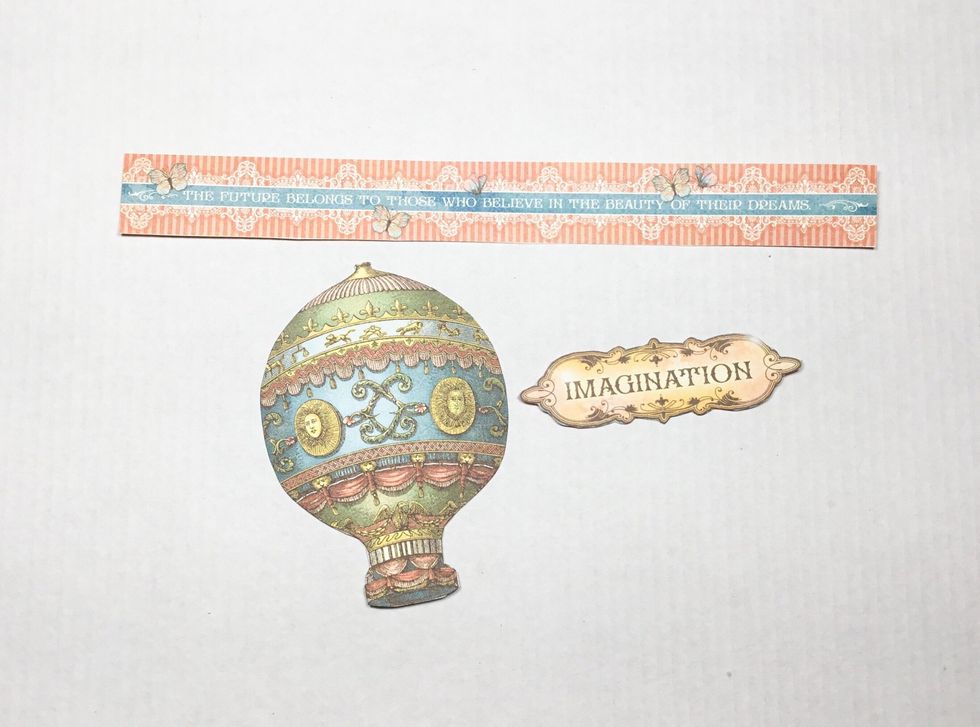
Locate these pieces as shown.
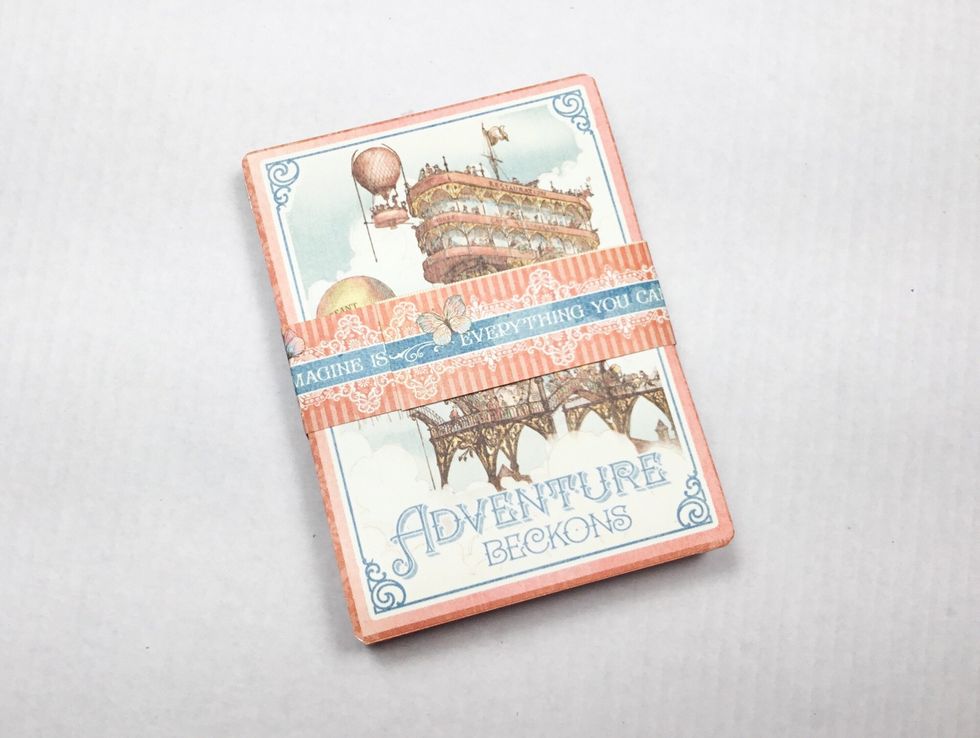
Wrap the strip around the album as shown. Do make it to tight, it’s needs to be able to slide on and off the album easily.

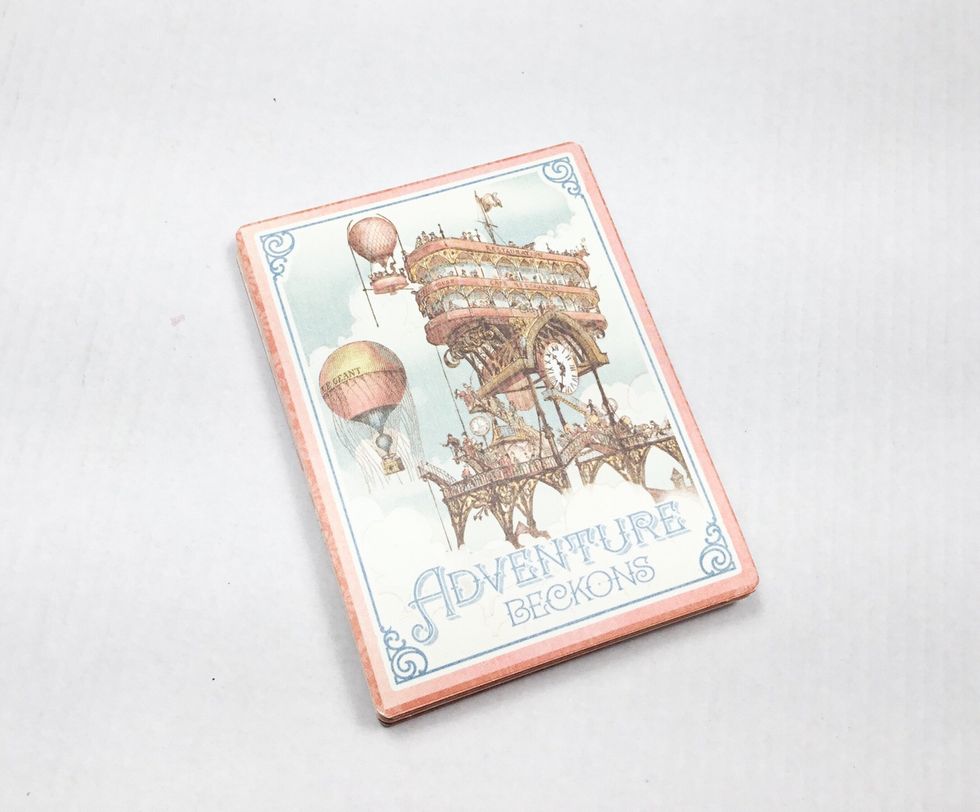
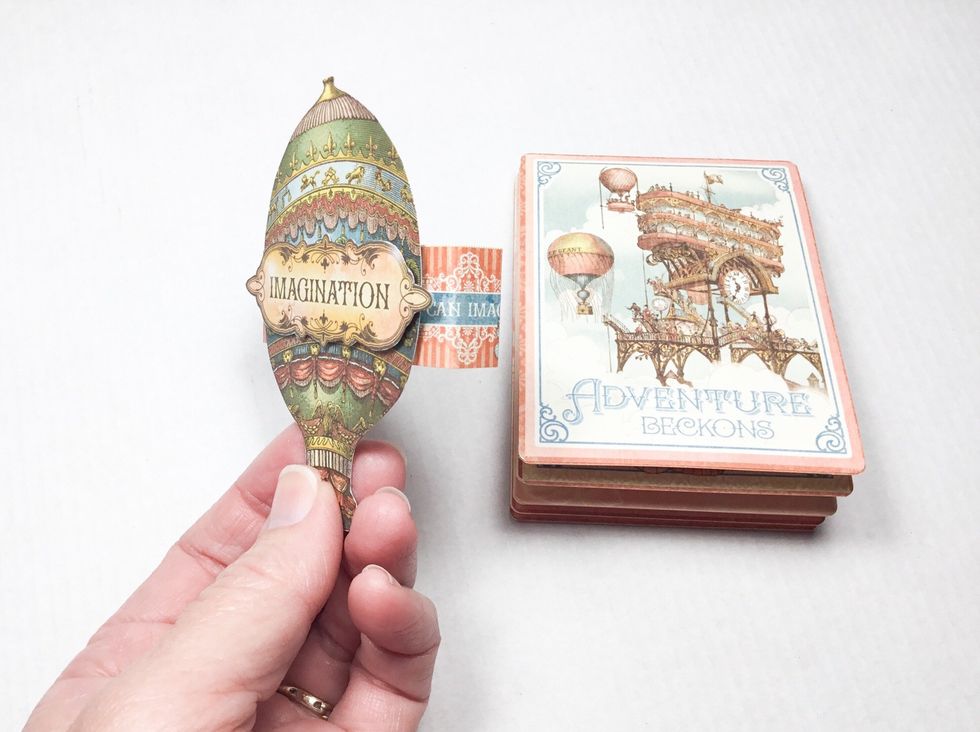
Attach balloon and title as shown to the paper band.
Showing band album wrap.
I have added the large tag from the tag and pockets set behind the balloon.
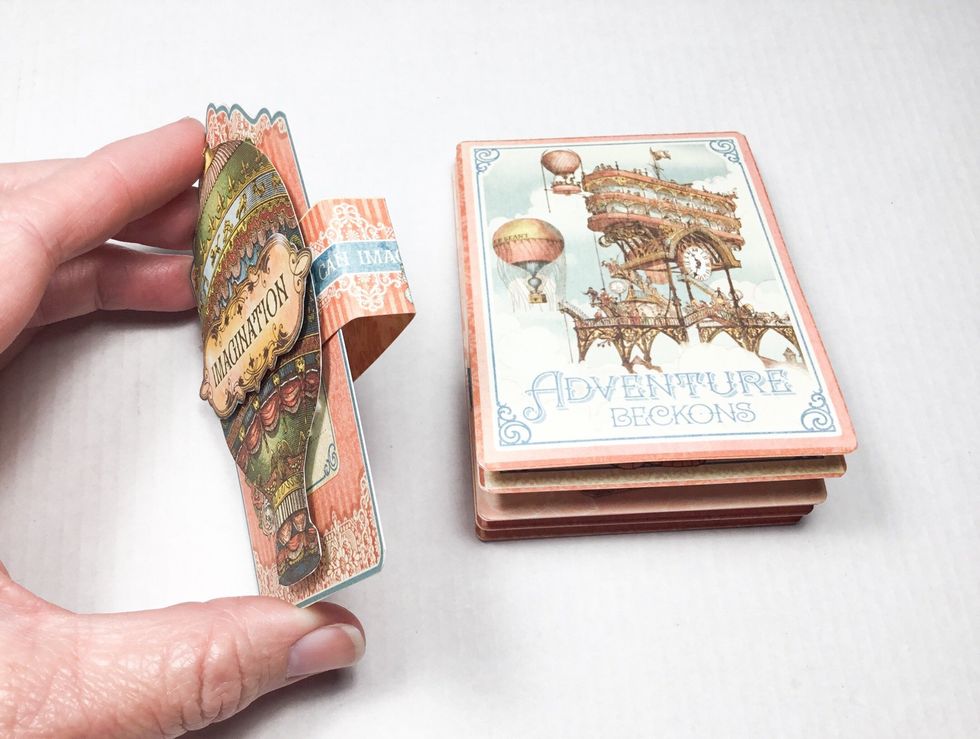
Showing tags added.
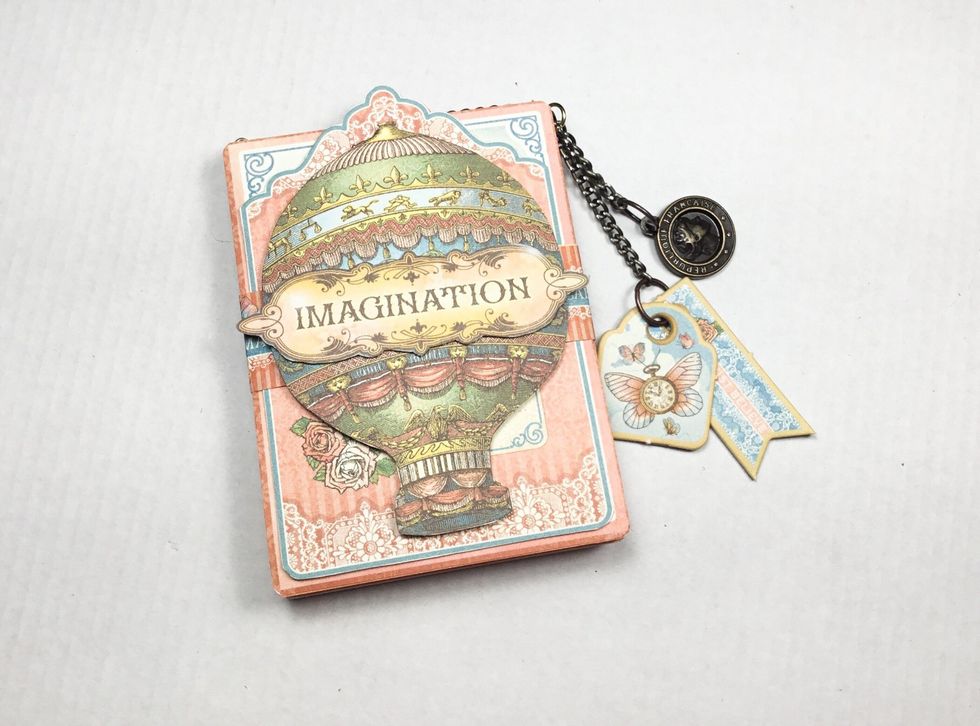
Added some chains and chipboard to trim.
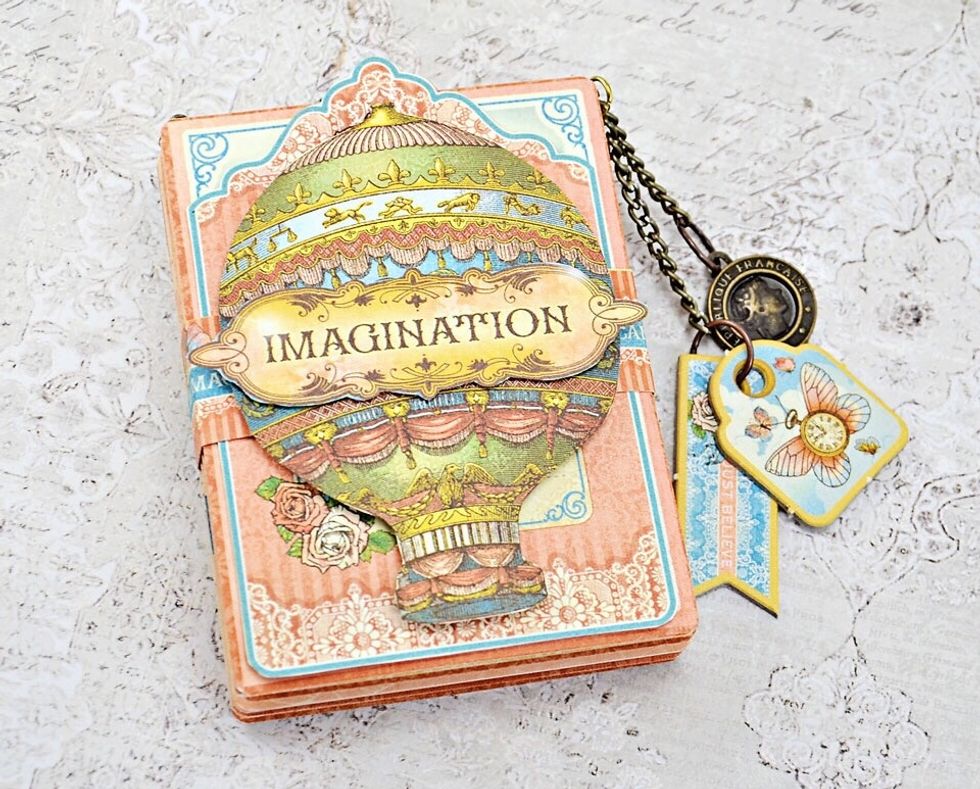
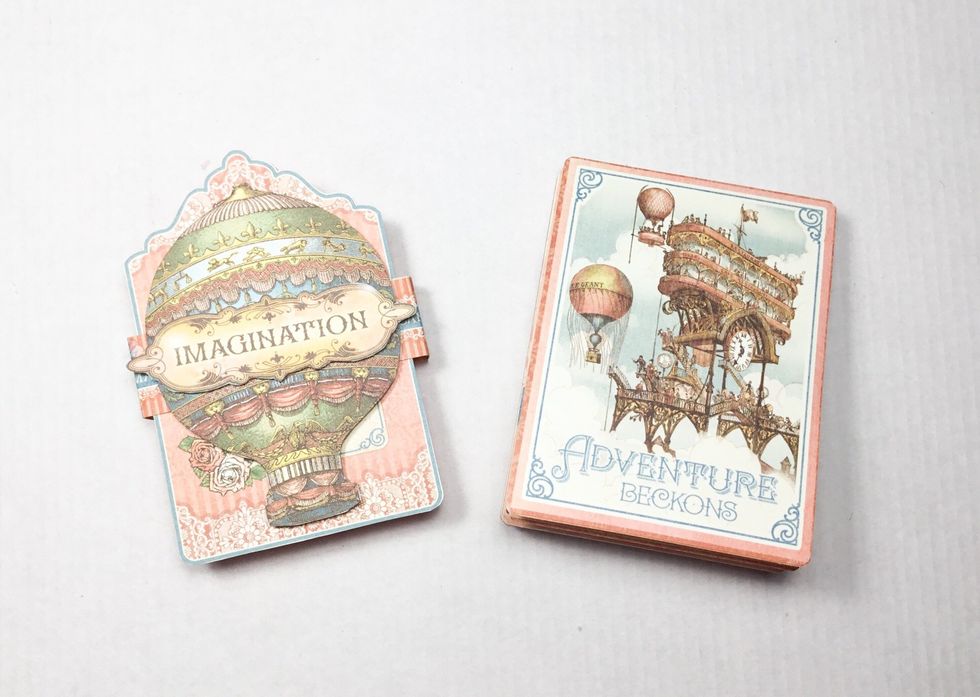
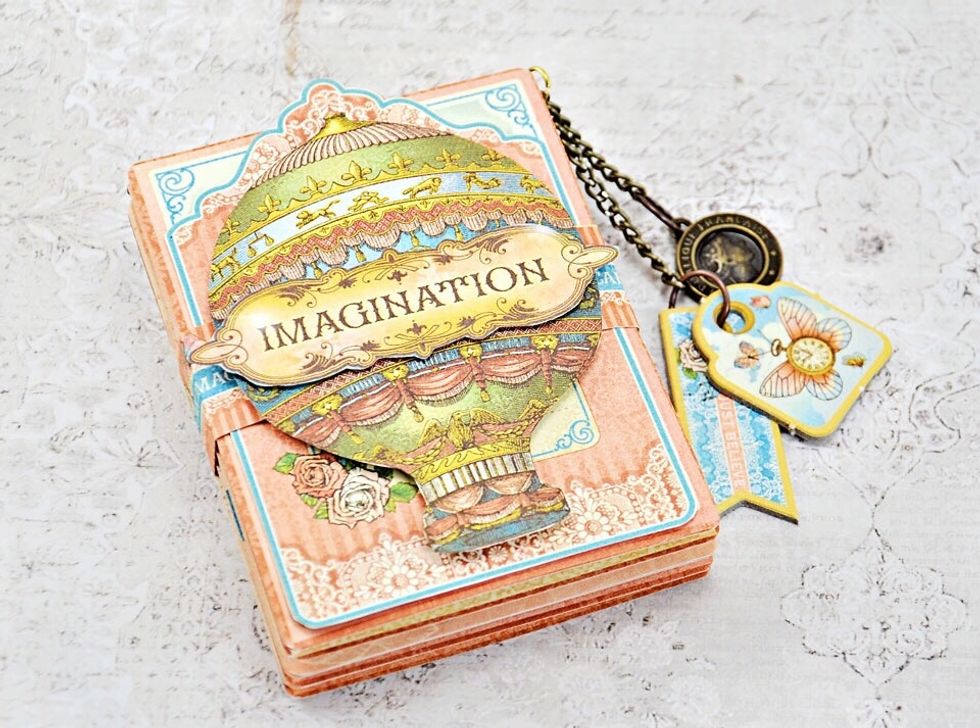
Finished album.
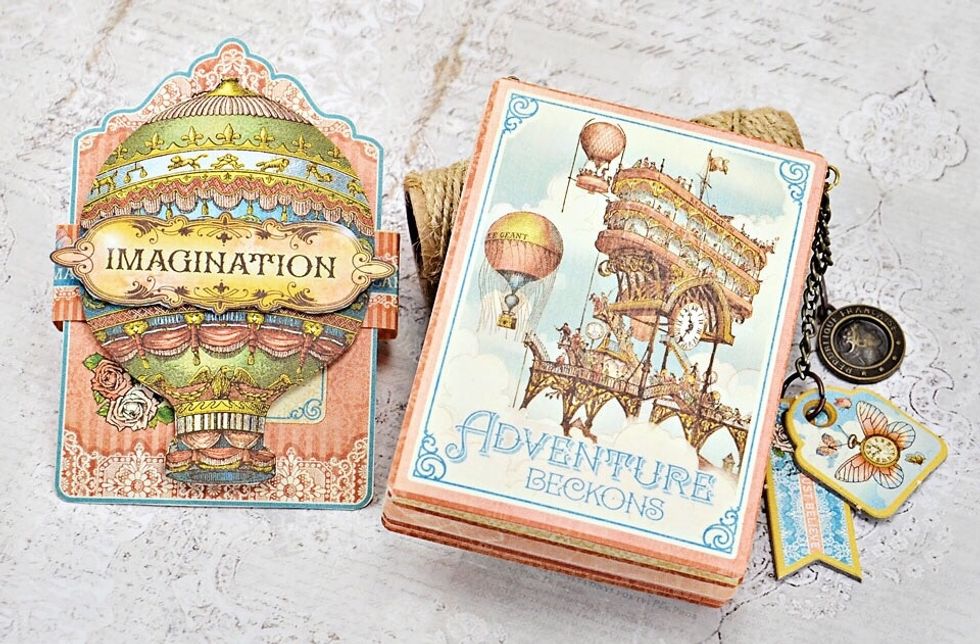
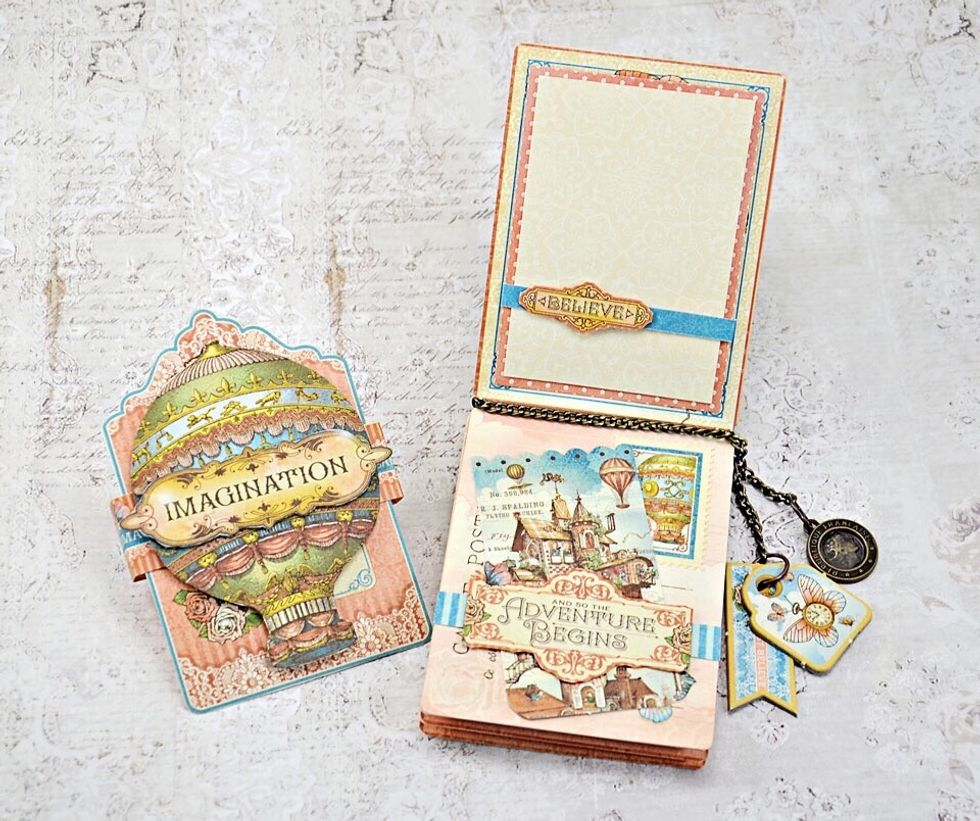
Finished album showing the inside pages finished.
I hope you enjoyed the tutorial. Please visit my blog www.scrappinforme.blogspot.com