The Conversation (0)
Sign Up
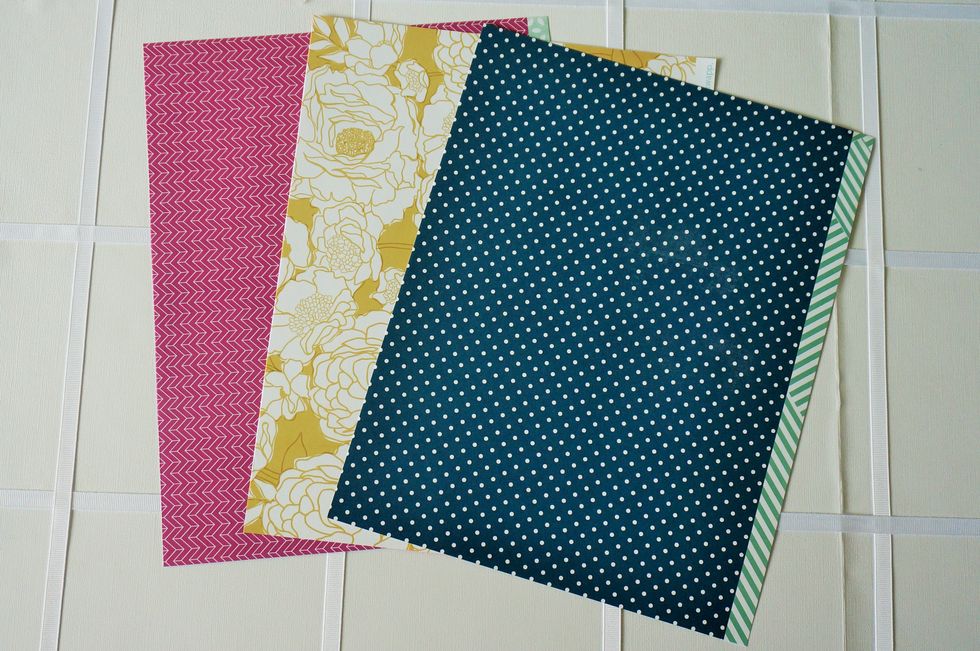
Choose three pieces of double sided paper (or six pieces if not double sided).

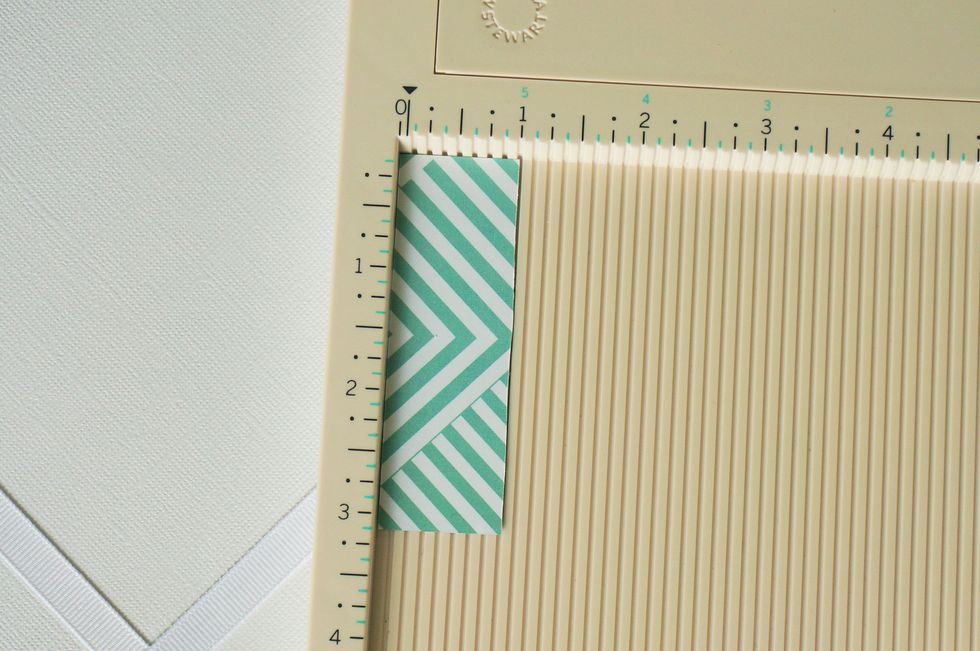
Cut your paper to 3x6 inches until you have six pieces.
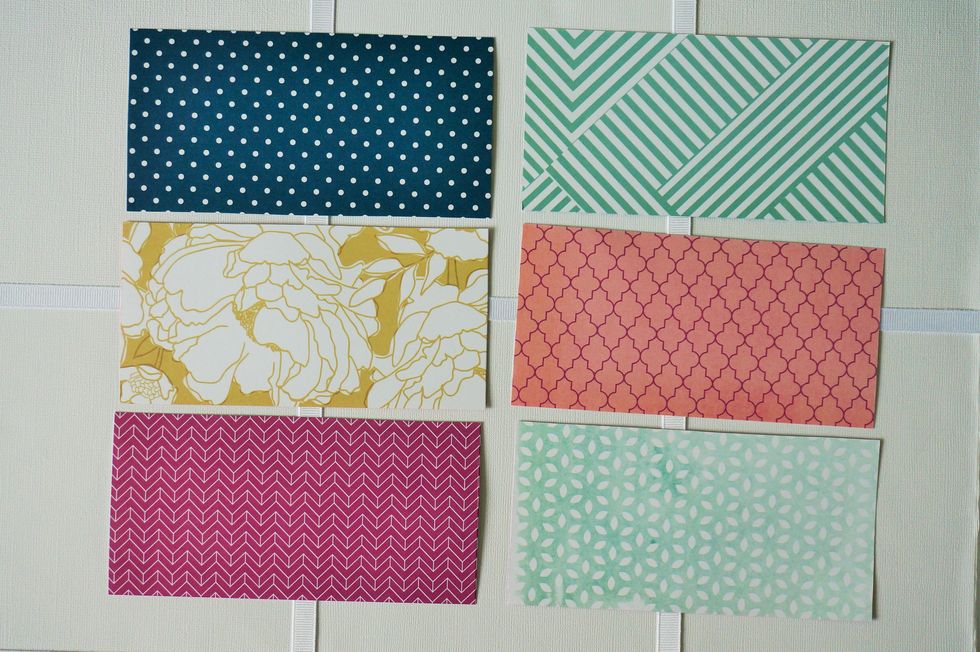
With my double sided paper, I have six different designs :-)
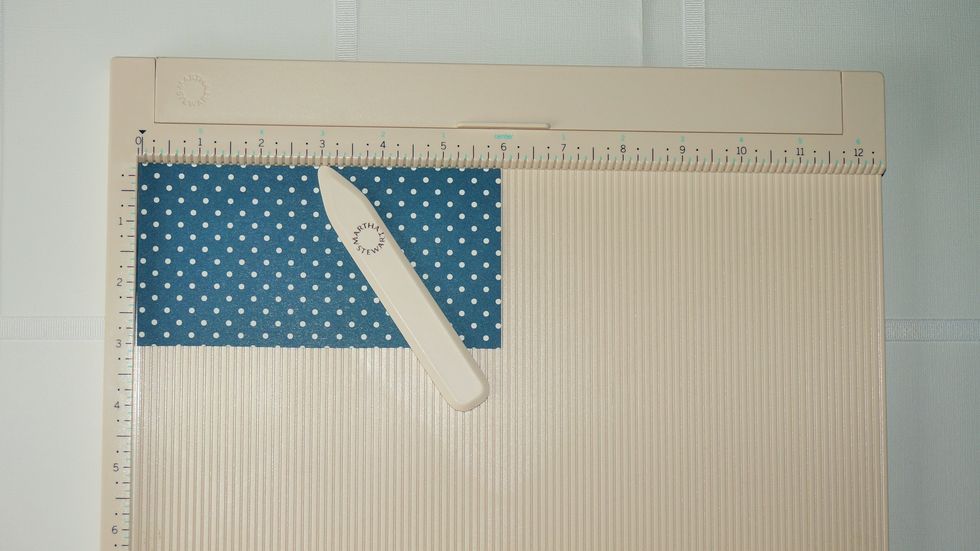
Score each 3x6 piece at three inches.
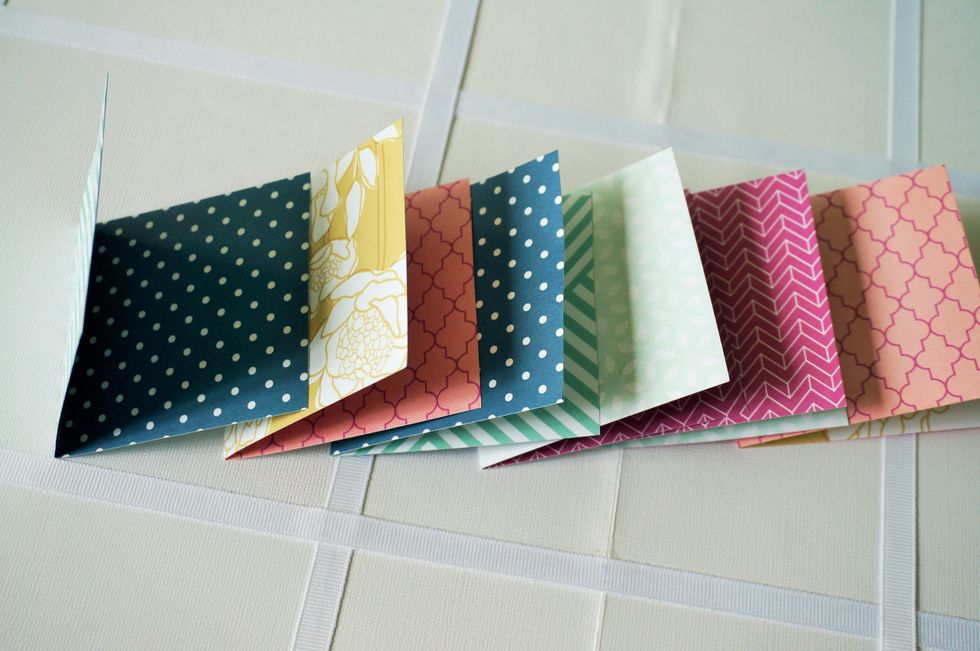
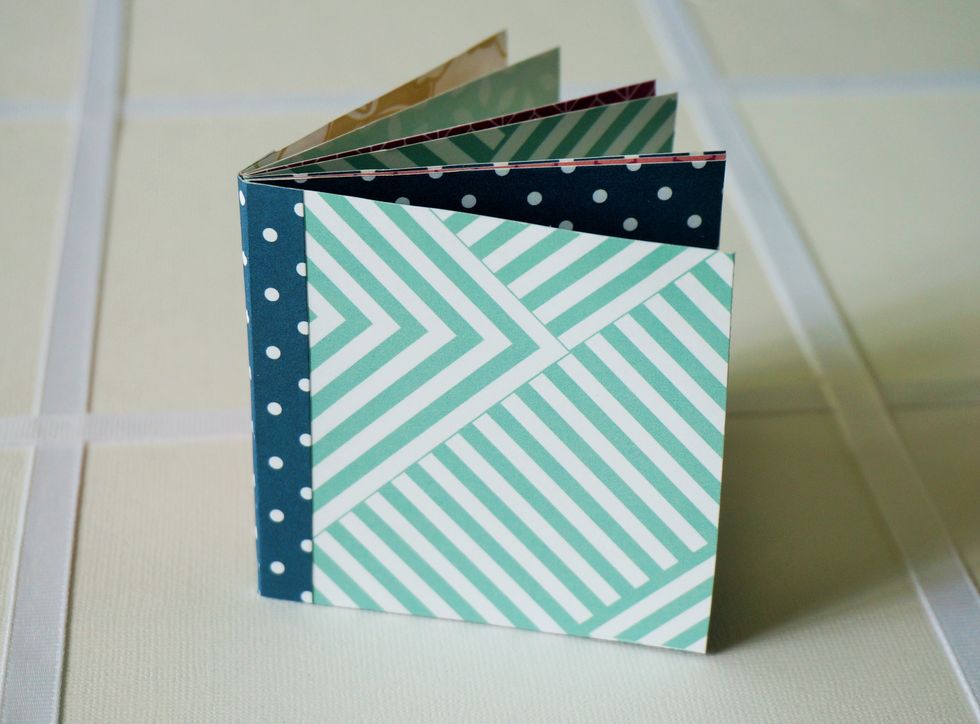
Now you have six 3x3 inch squares of folded paper :-) Put them in any order you desire for your album!
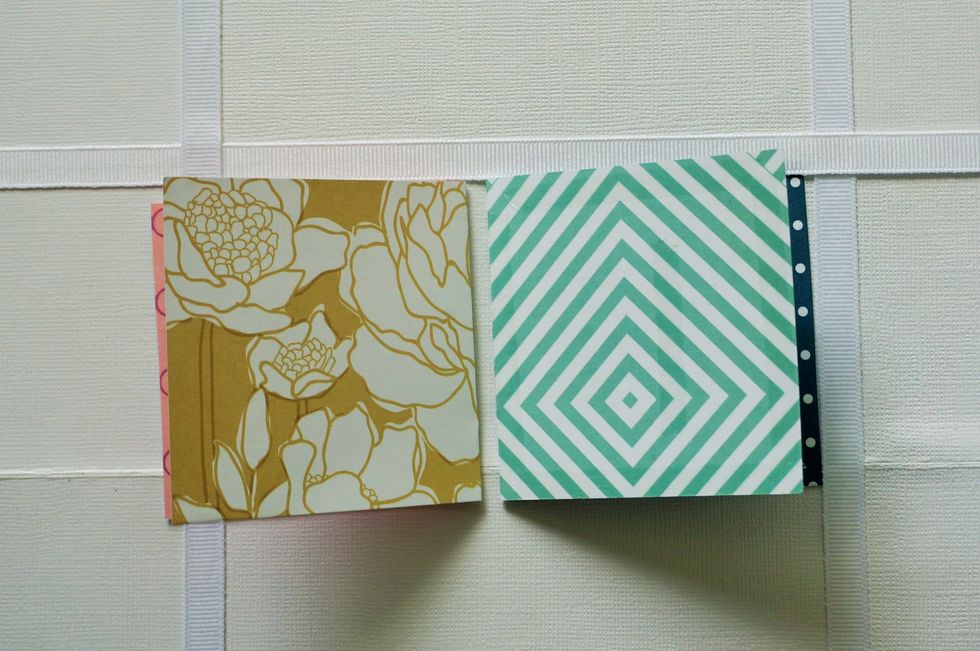
Set two of your folded squares side by side. Apply adhesive to one of them...
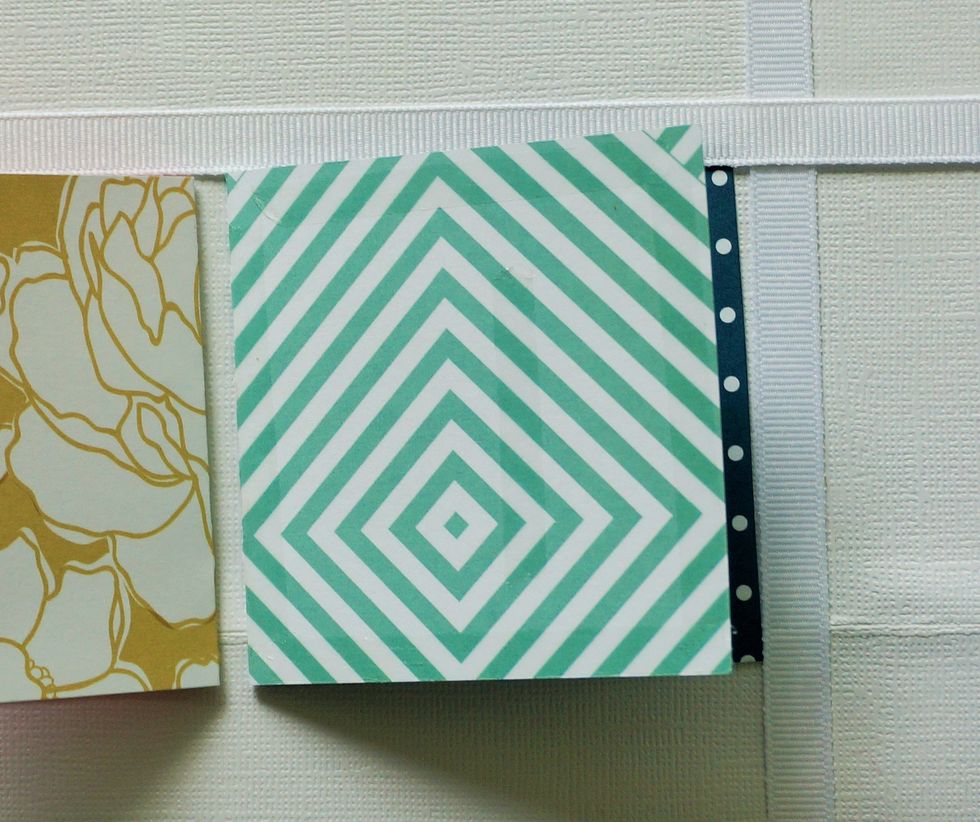
Close-up of adhesive on only one of the squares.
Place one square atop the other, so that the two together look as shown!
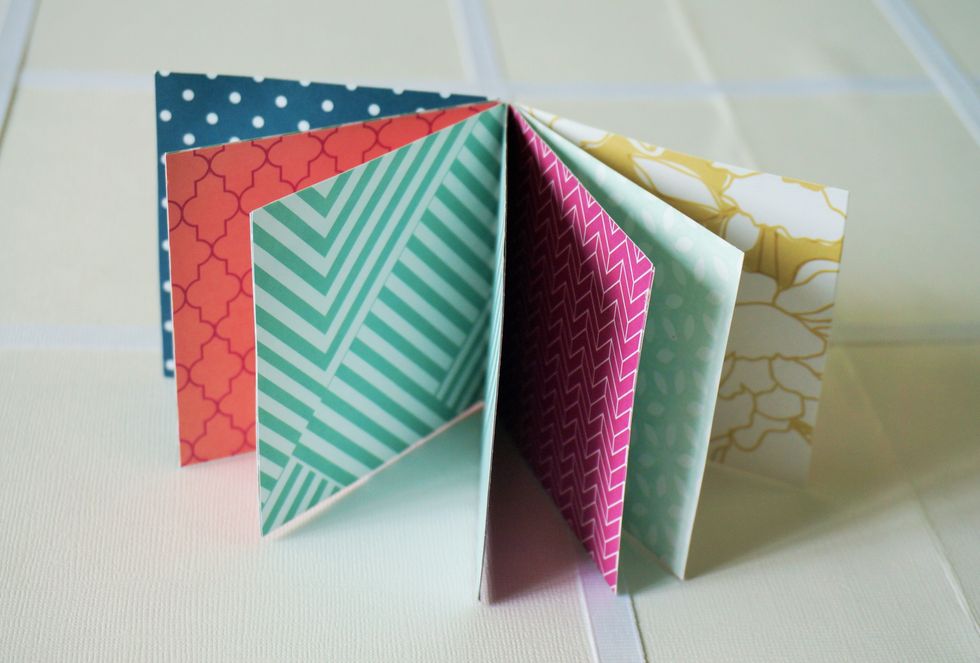
Continue with the rest of your squares, doing the same thing. Apply adhesive to the back of one square, and add the next, and so forth.
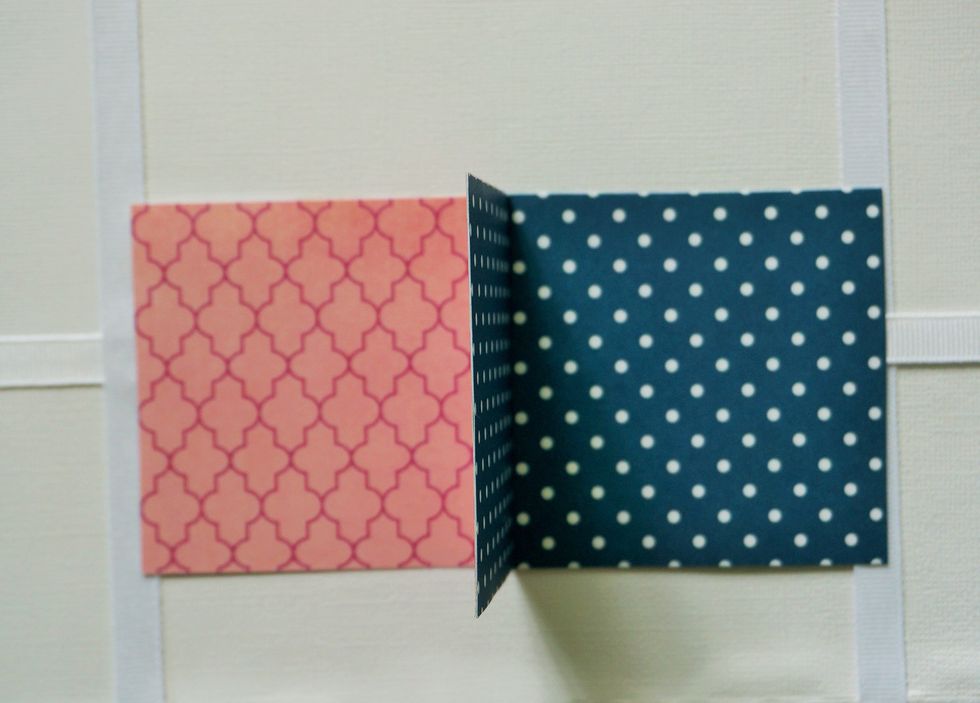
Cut a small piece of paper one inch by three inches (1x3) and score down the middle. This is all you need for your binding :-)
See it there on the edge? It's really not necessary since each page is attached to the next, but it makes the edge look much better ;-)

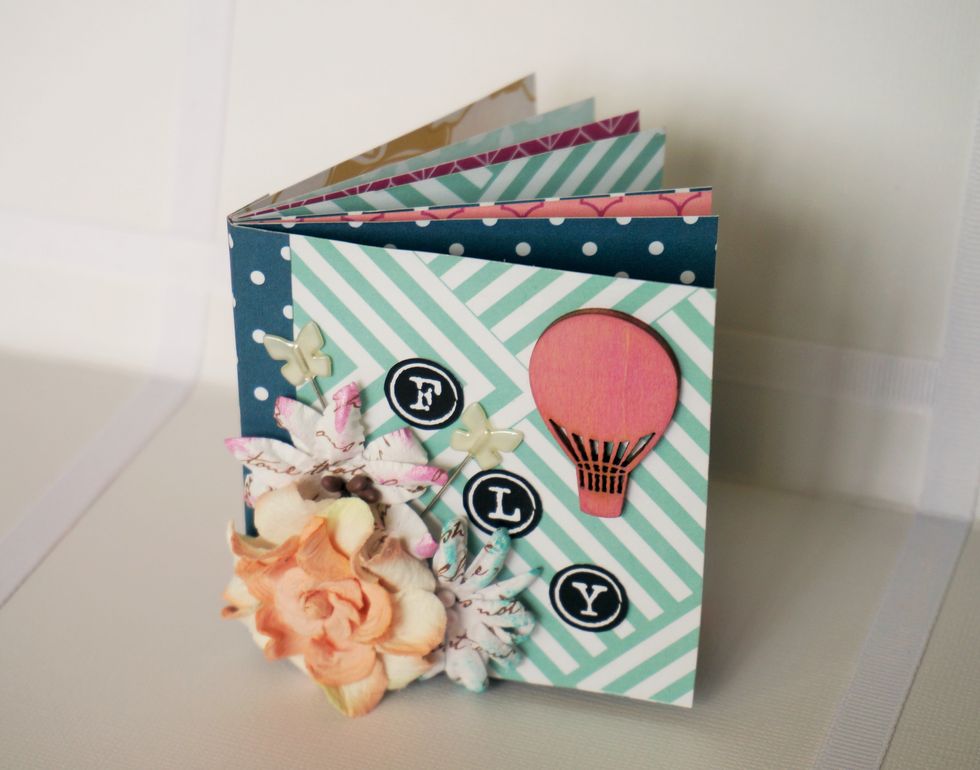
I added flowers from the kit, using inks from past kits to color the edges to match the color scheme.
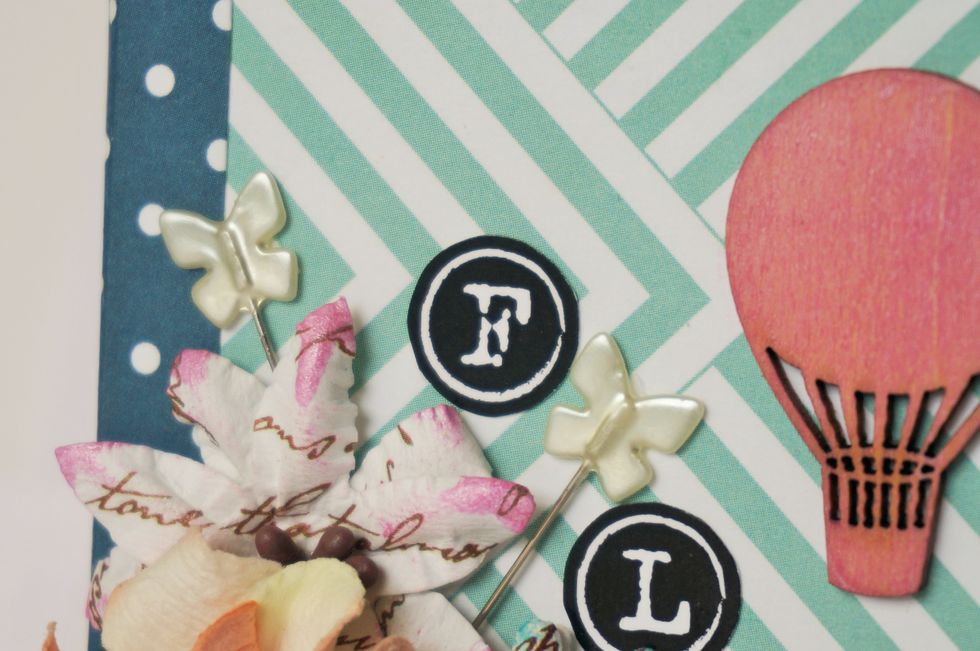
I also added the butterfly pins, small Kaisercraft balloon (which was inked to match), and the word "FLY" to the center!
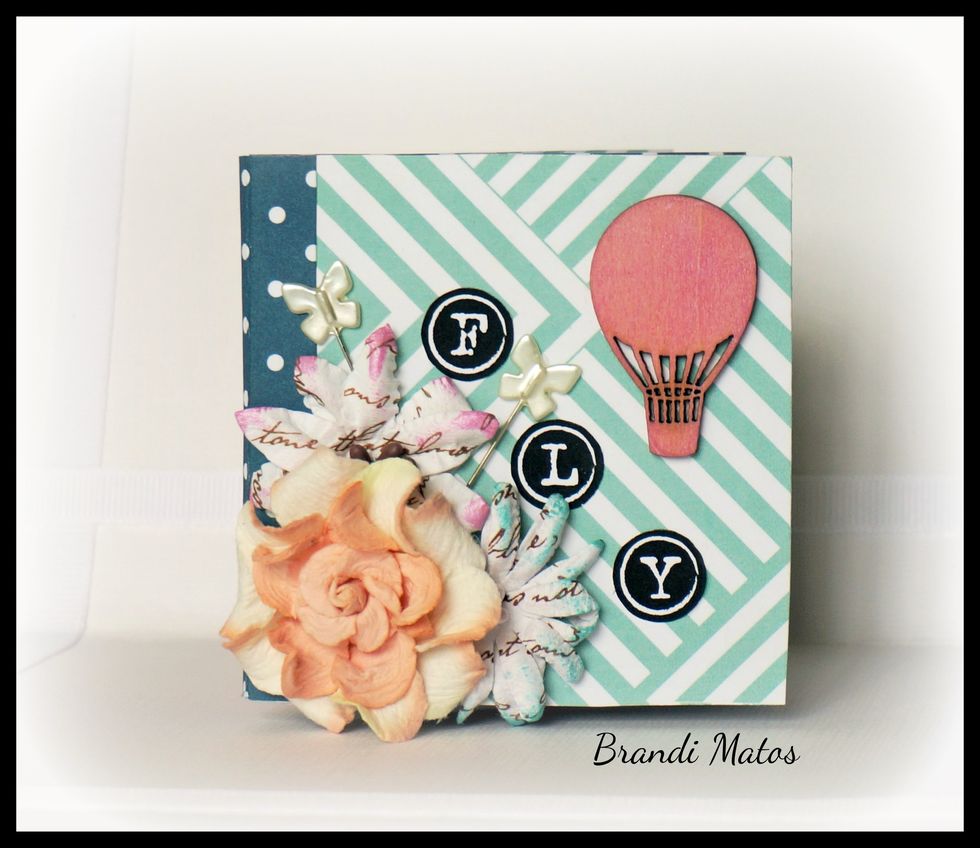
All done! Embellish as desired and add your favorite photos, inspirational quotes, sayings, etc.
Here's the view from the top!