The Conversation (0)
Sign Up

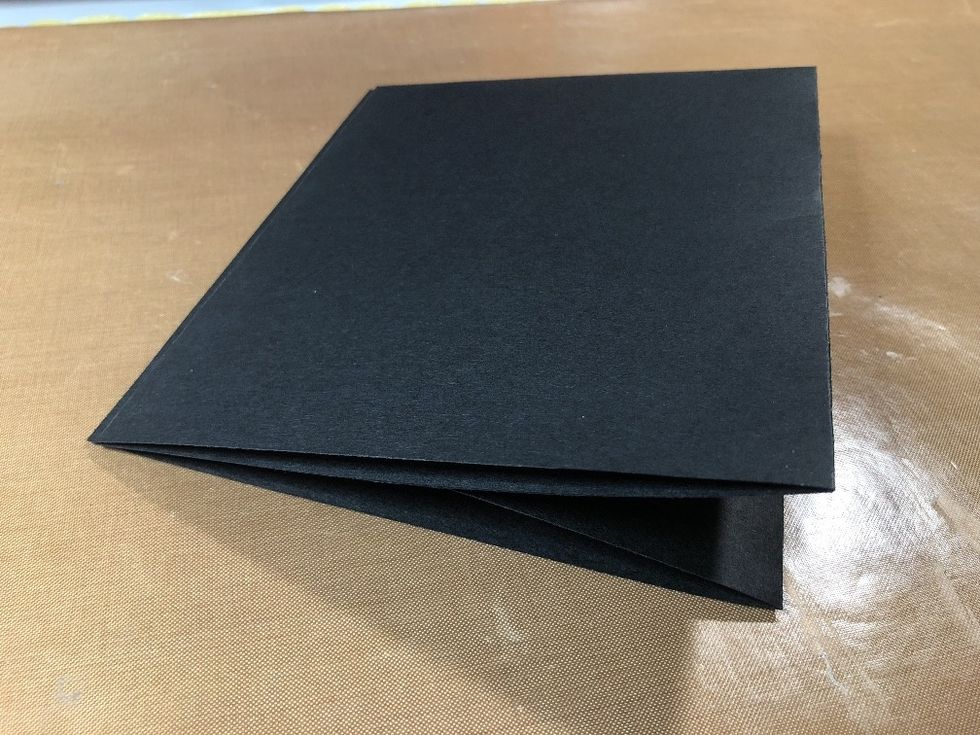
Cut a piece of cardstock: 18 x 29.7 cm (7 1/8 x 11 3/4"). Score at 1.2 cm (1/2"), once on the 18 cm (7 1/8") side and once on the 29.7 cm (11 3/4") side.
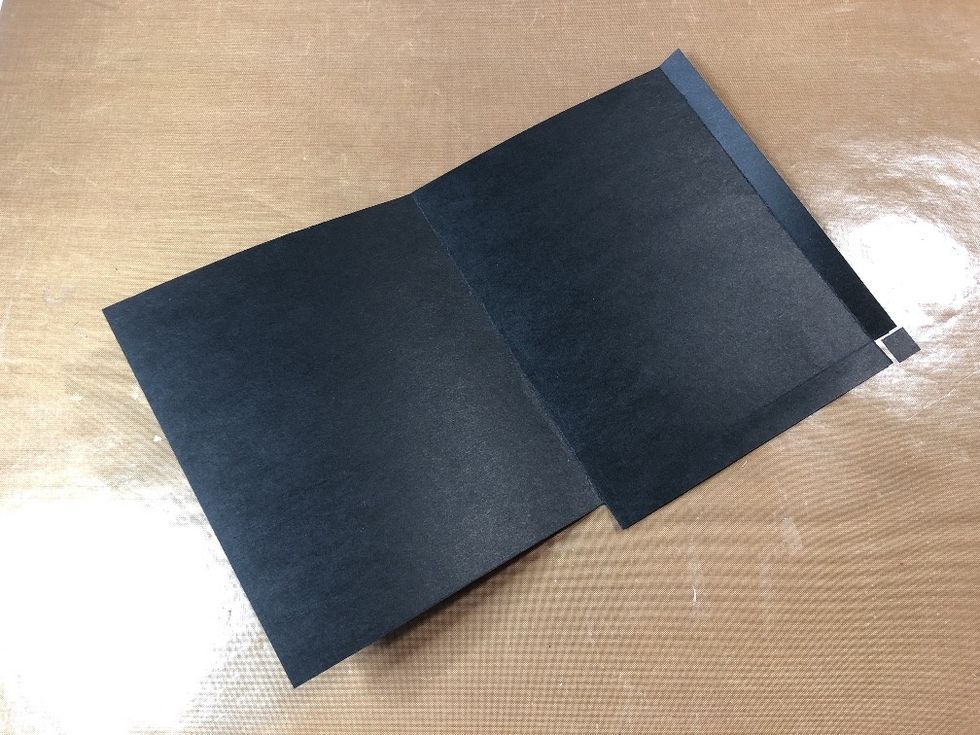
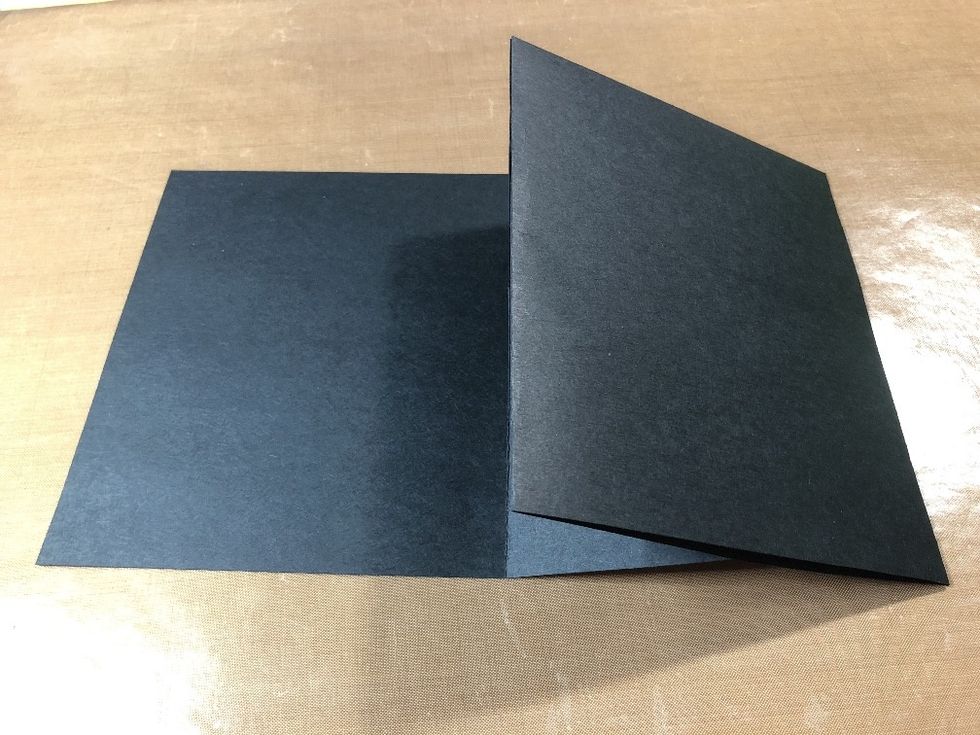
Fold on the score lines. Cut away half of the longest score line, as shown.
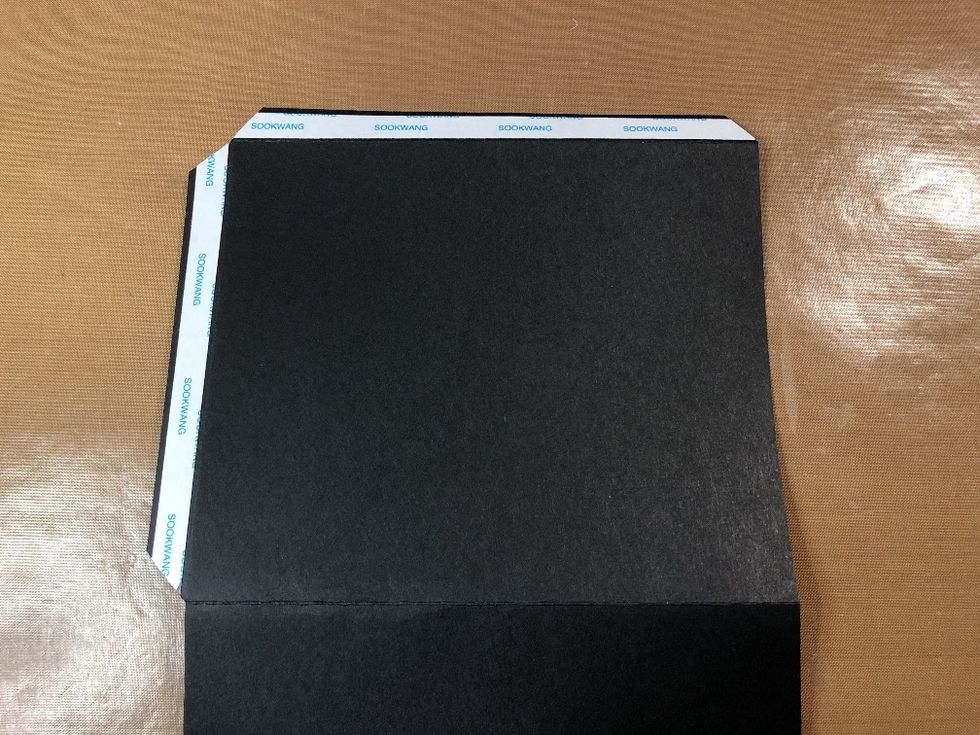
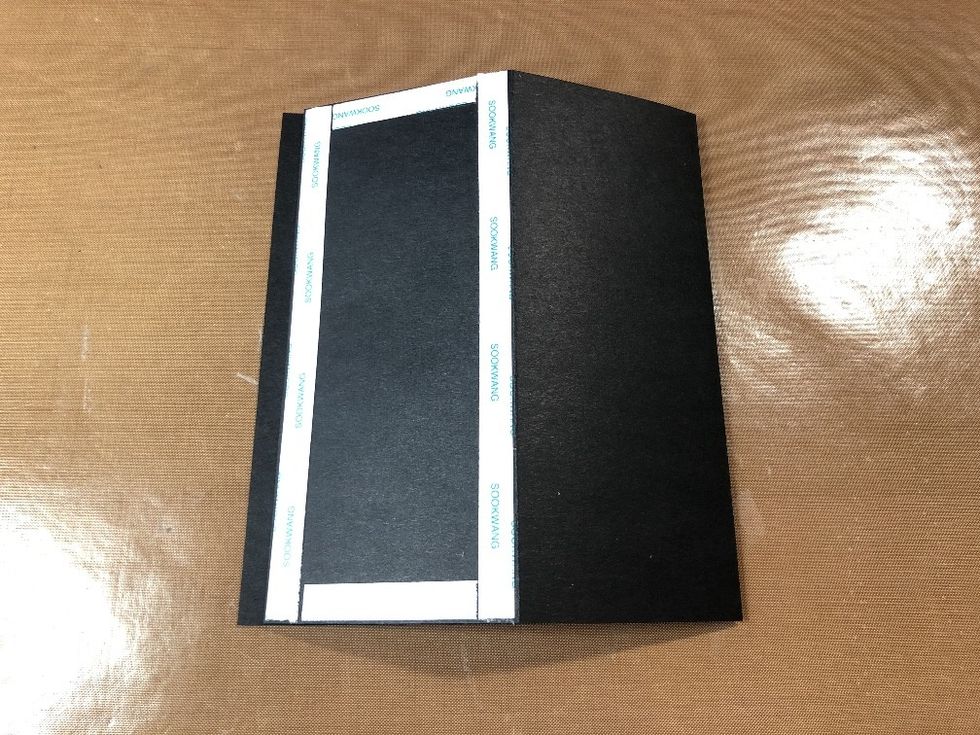
Apply double-sided tape to the glue flaps and taper the corners.

Remove tape backings. Fold closed to create a pocket.
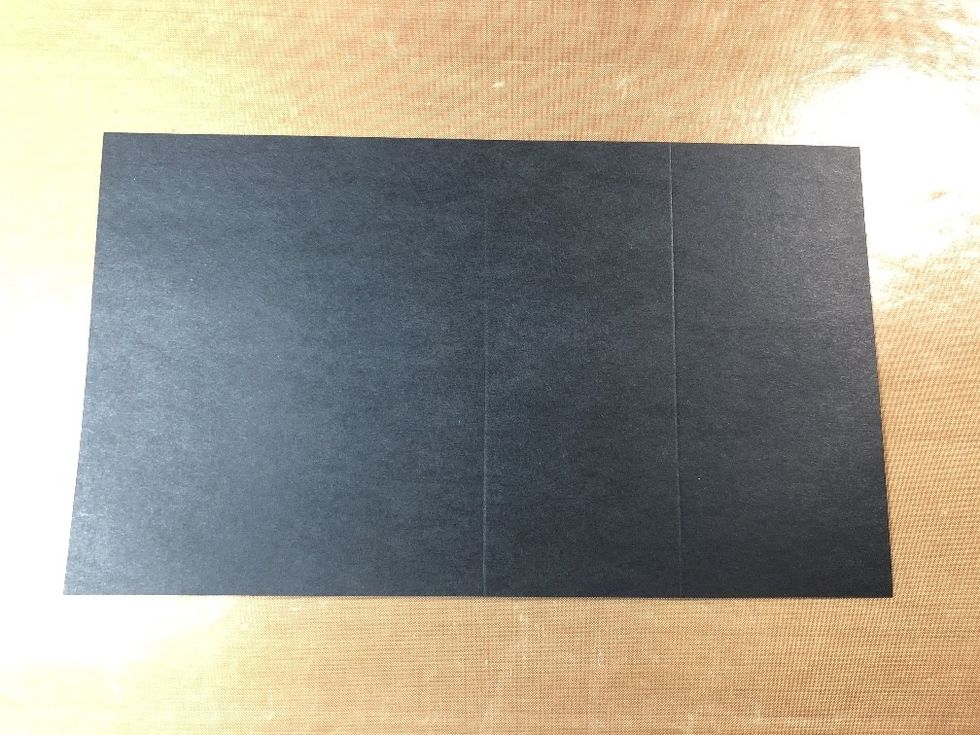
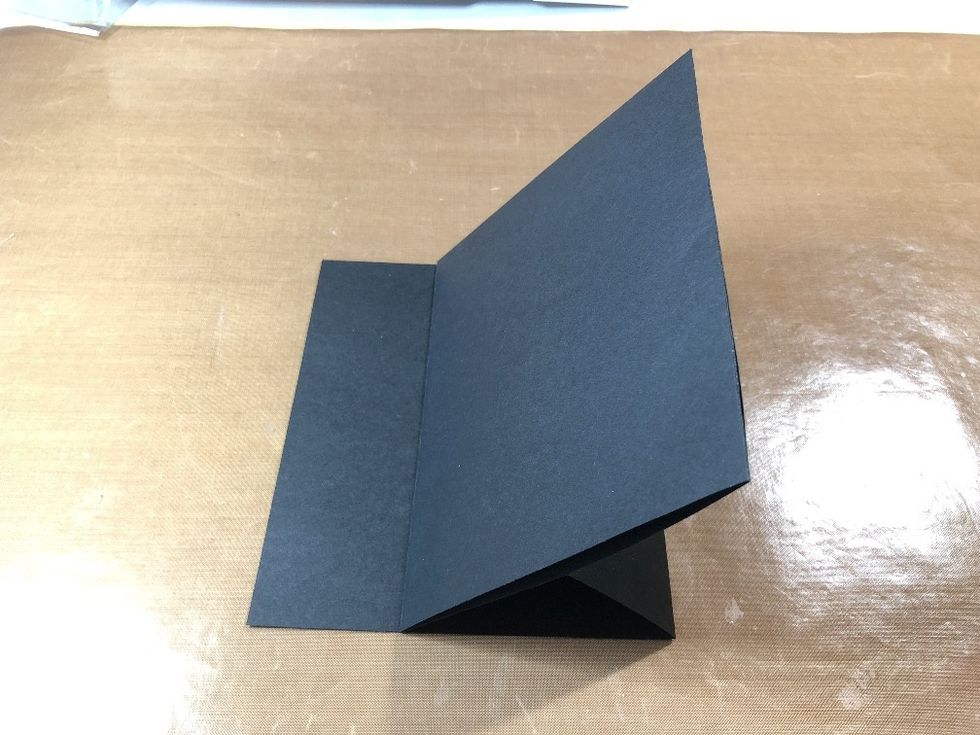
Cut a piece of cardstock of 16.6 x 29.7 cm (6 1/2 x 11 3/4"). Score at 14.3 cm (5 5/8") and at 22 cm (8 5/8").
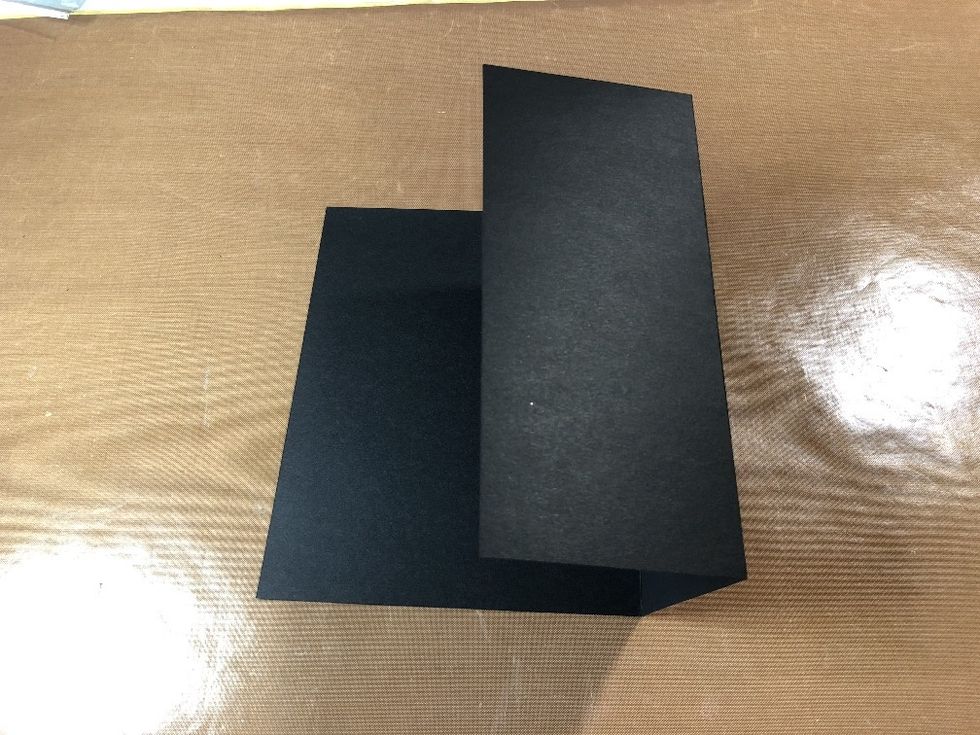
Fold on the score lines. You now have two small panels and one larger one.
Apply double-sided tape along the edges of the first small panel, as shown.
Fold in half, so both smaller panels lay flat. Remove the tape backings and attach your pocket flush on top of the panels.
You now have a movable front panel (which is also a pocket).
This is what makes your card an easel card.
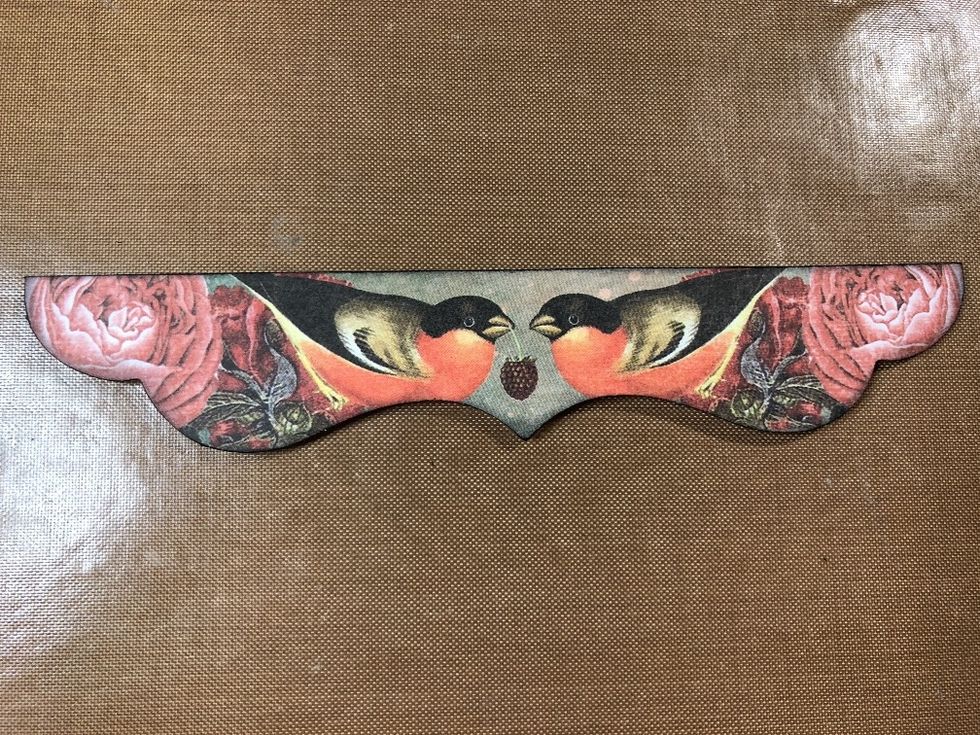
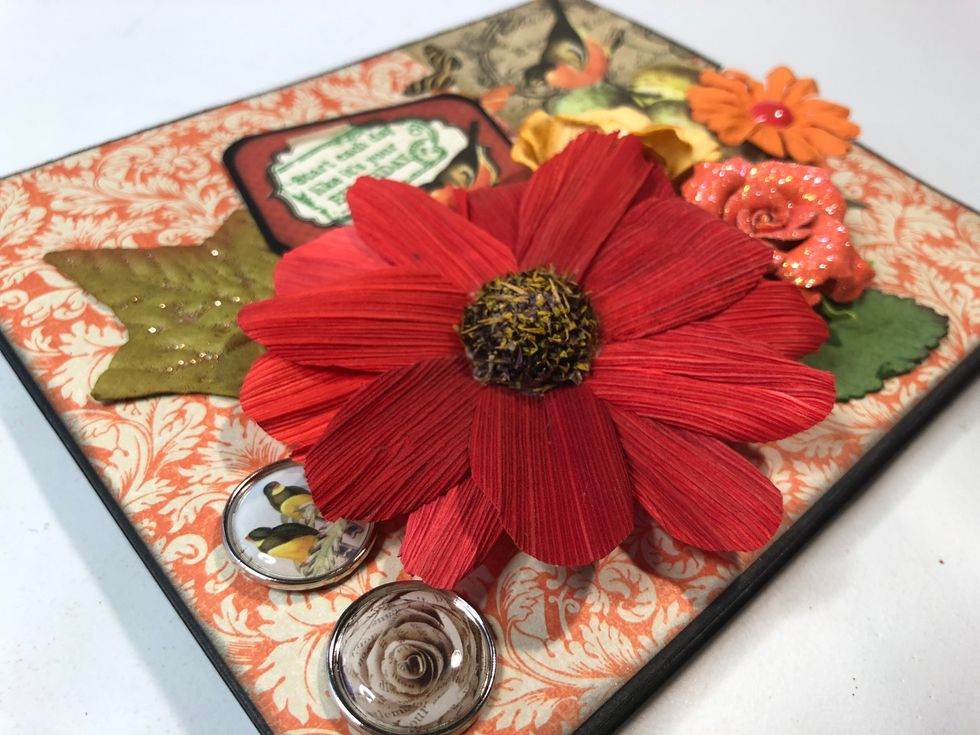
Cut or die-cut a decorative shape or border no wider than the bottom panel of your card. You can also use a punch-out that coordinates well with your papers, like I have.
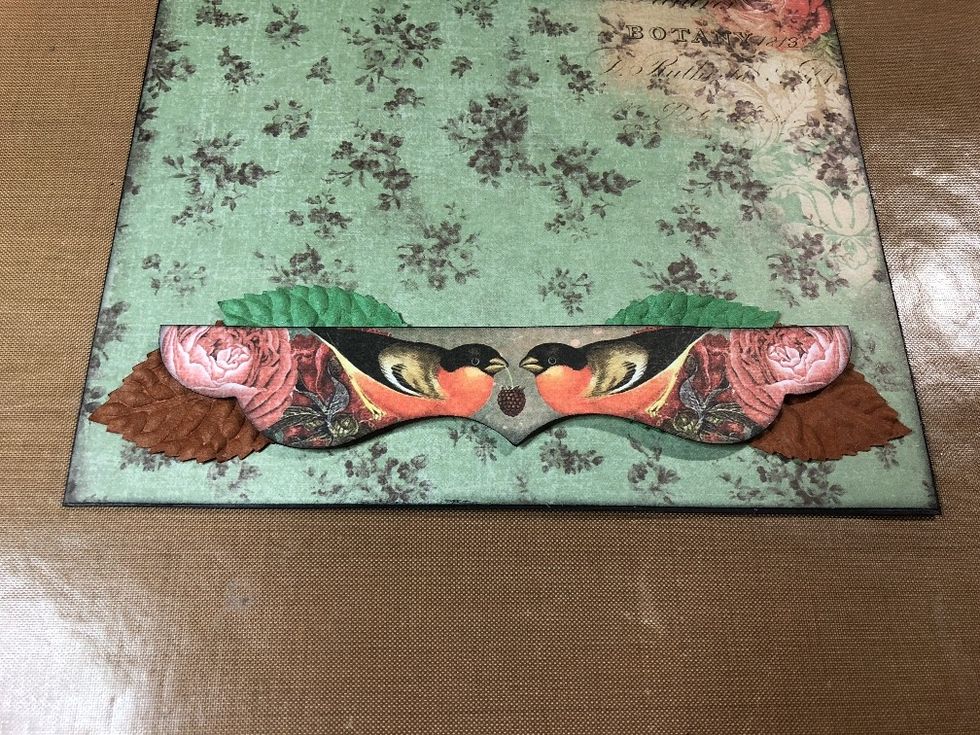
Mat the bottom panel. Attach the decorative piece with DIMENSIONAL tape - this is crucial, UNLESS you're planning on using sth. else bulky. You could also add some extra embellishments, like leaves.
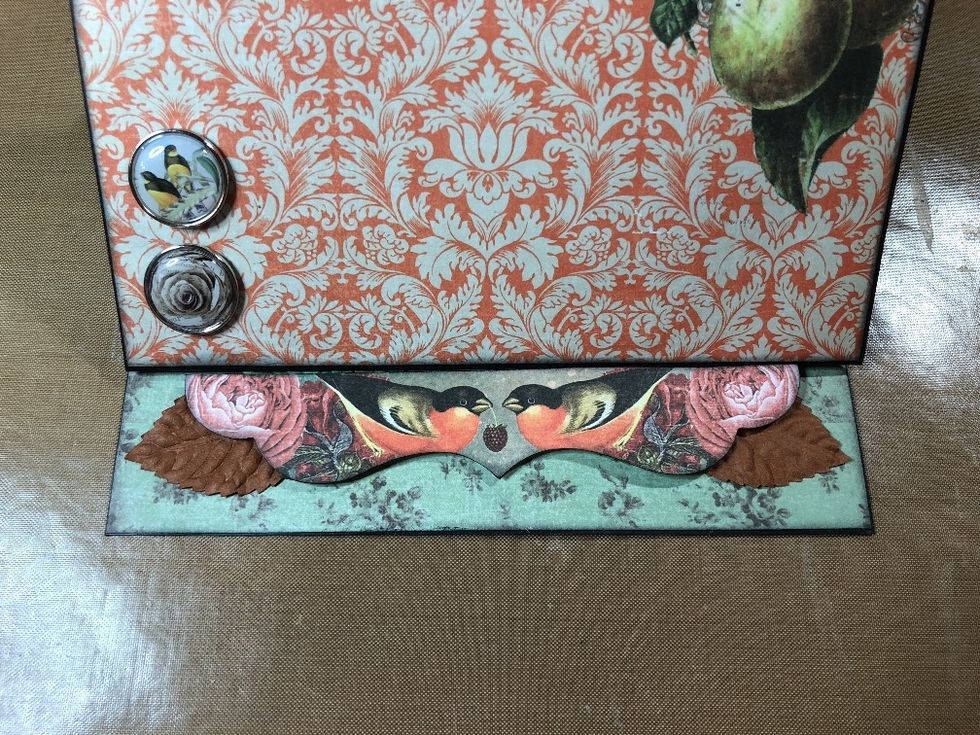
Mat the rest of your card. You can now use the lifted piece you just attached, as a stand for the 'easel part' of your card.
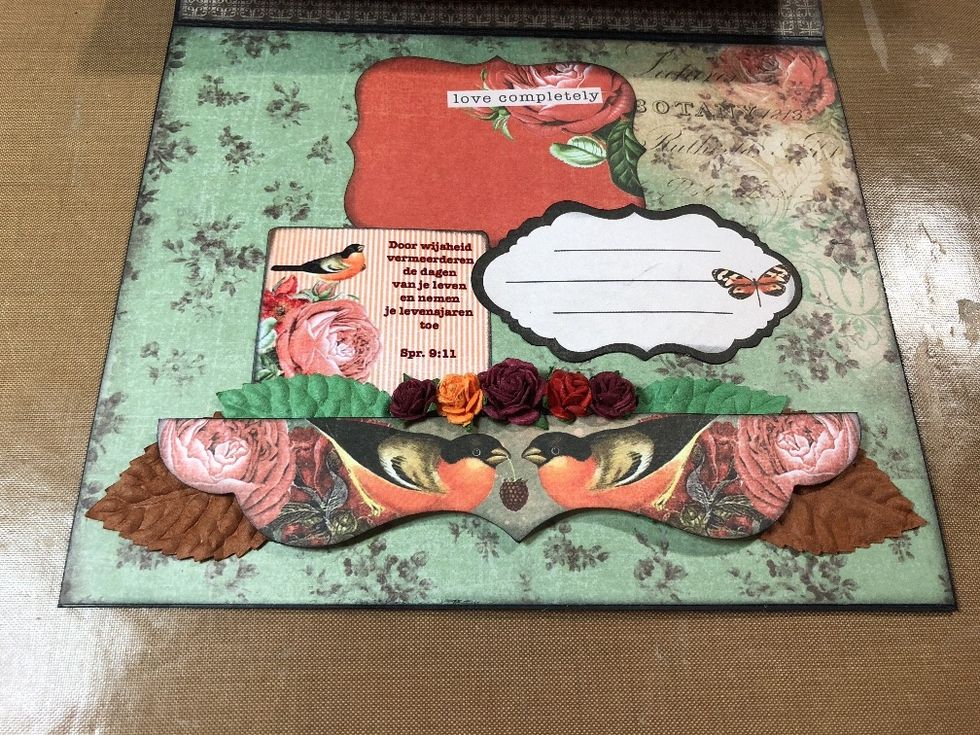
Add some more decorations to the inside of your card, like journalling spots to write a message.
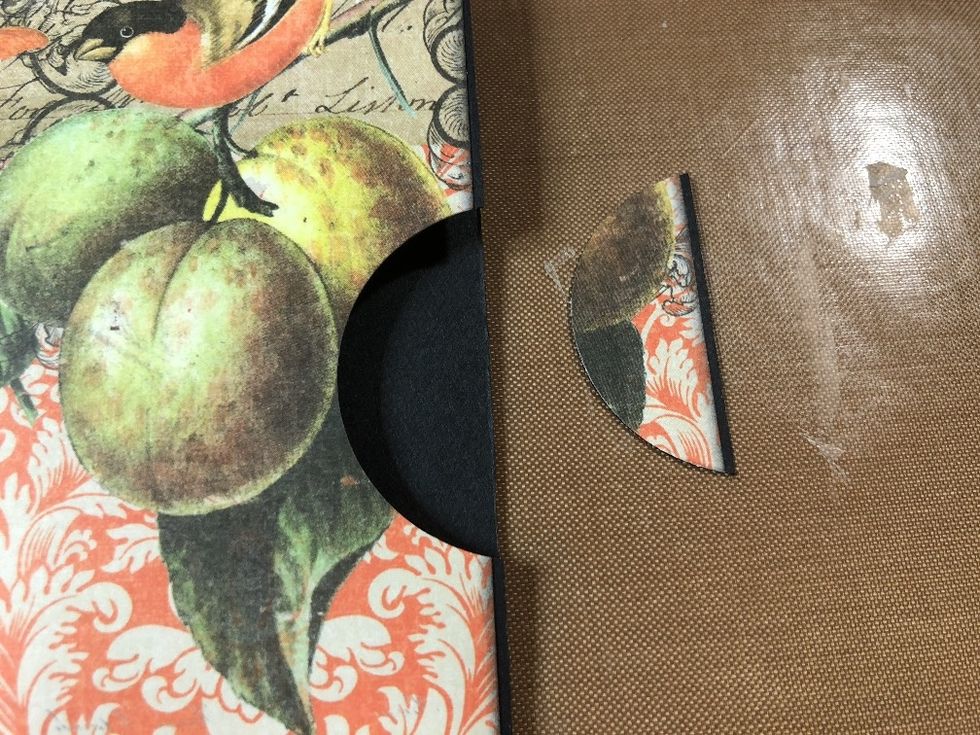
Mat the front of your card (the pocket piece). Punch out a half circle.
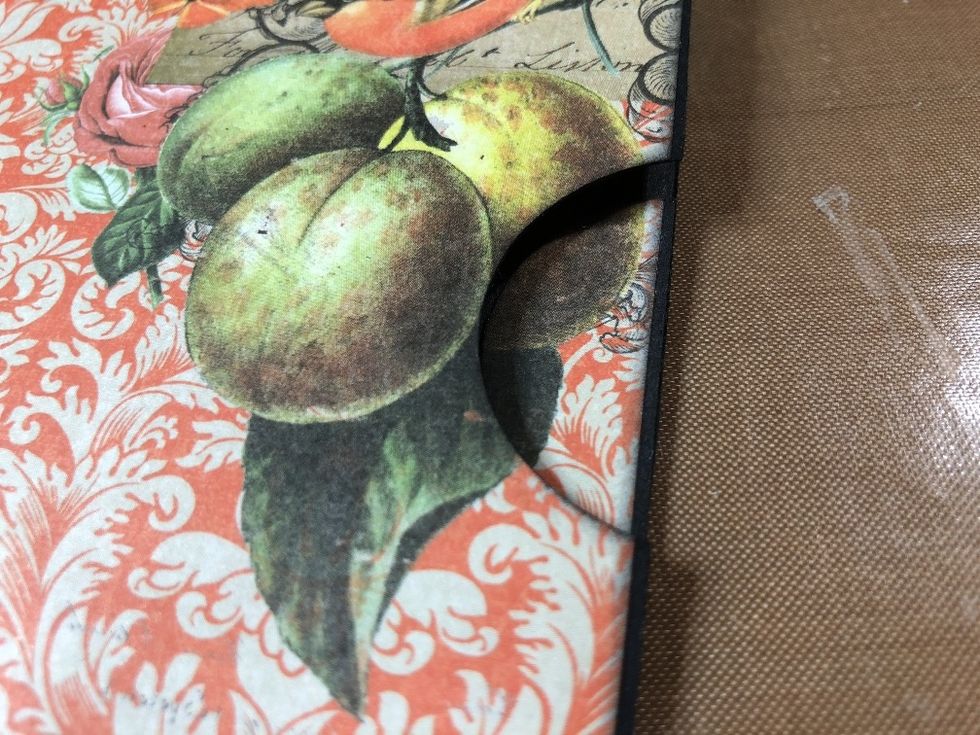
Adhere the punched-out half-circle to the inside of your pocket, as shown.
To create a tag (or photo mat) for your pocket, cut a piece of cardstock of 13.3 x 16.5 cm (5 1/4 x 6 1/2").
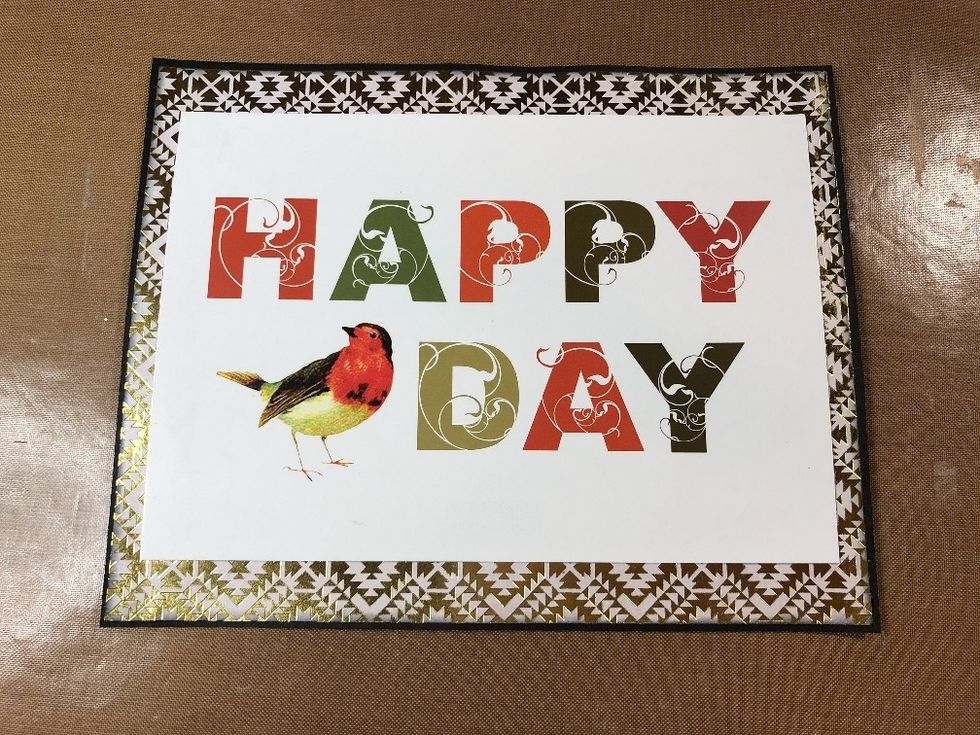
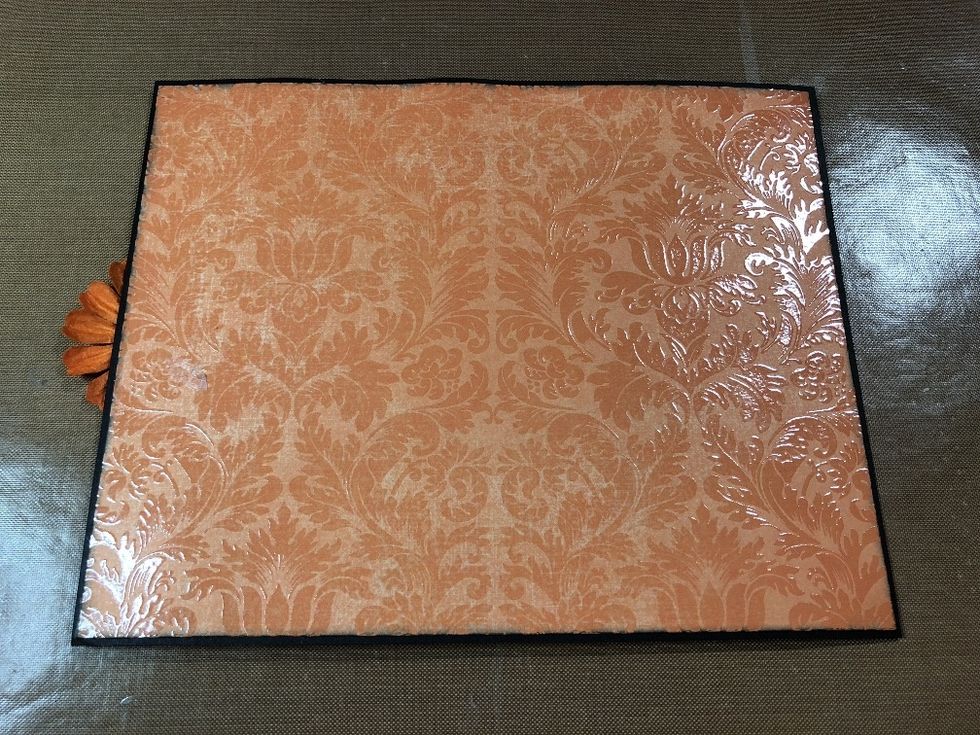
Mat the front of your tag and decorate with a picture, or with a post card as I have.
Mat the back of the tag.
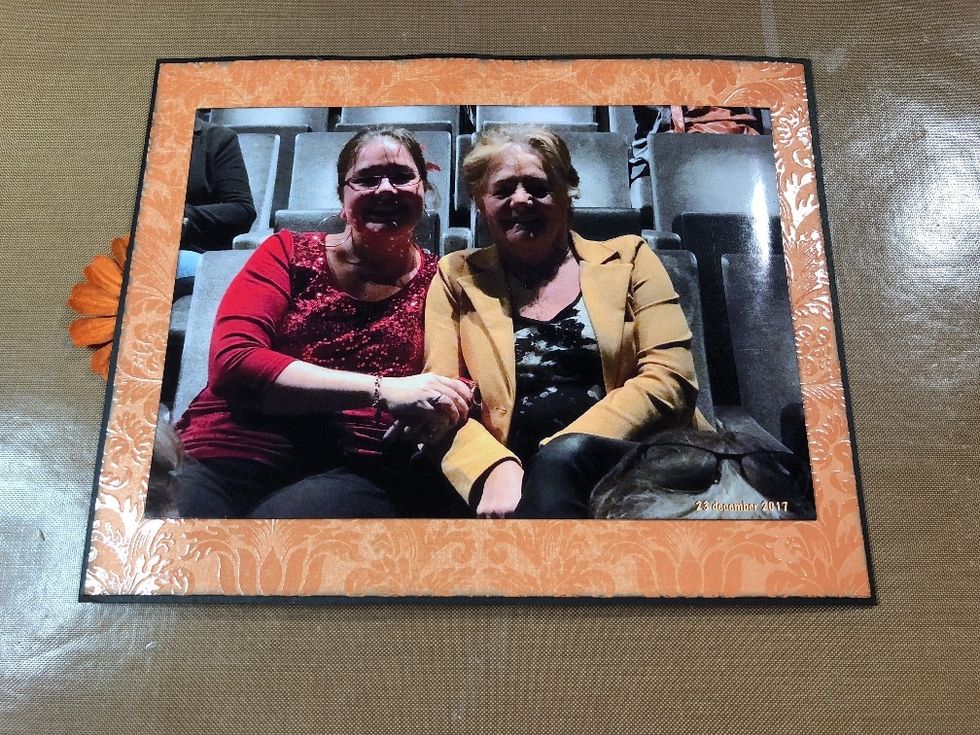
Decorate - this time I did use a picture. :-)
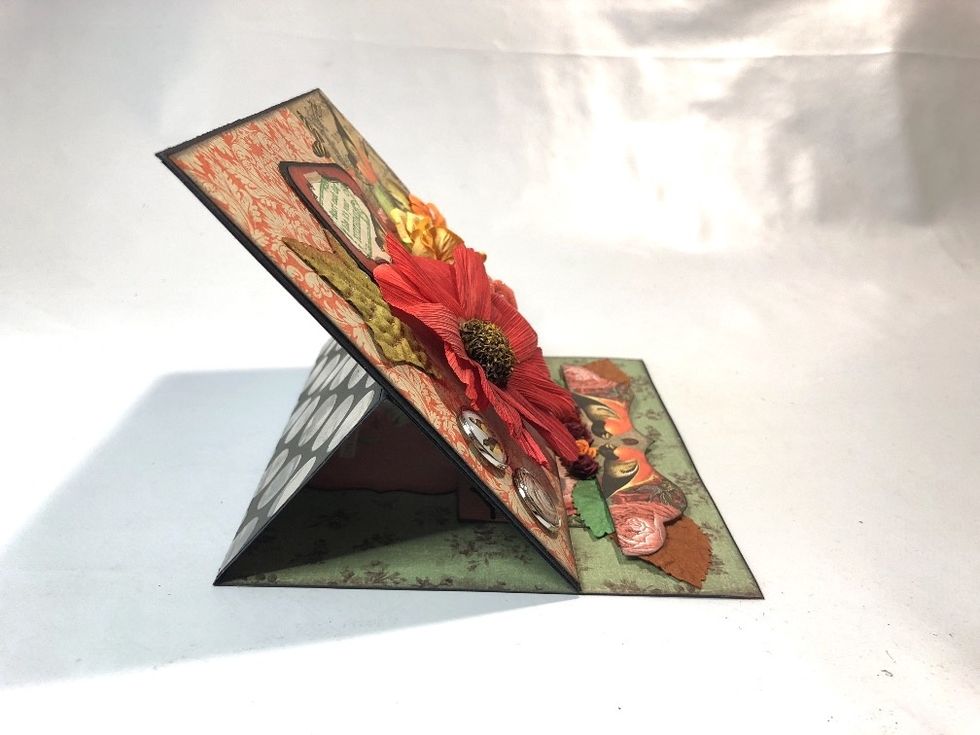
Decorate the front of the pocket - which also functions as the front of your card - to your heart's desire. You can go all out if you like. :-)
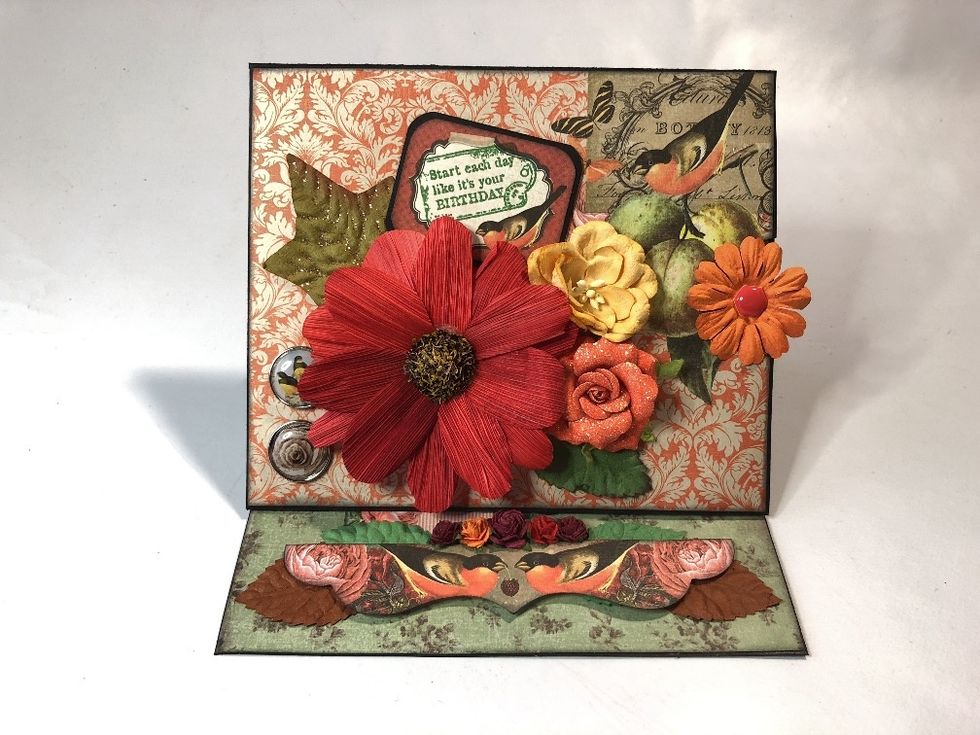
Congratulations, your done!
Want some more inspiration? Check out www.creatorsimagestudio.com :-)