The Conversation (0)
Sign Up
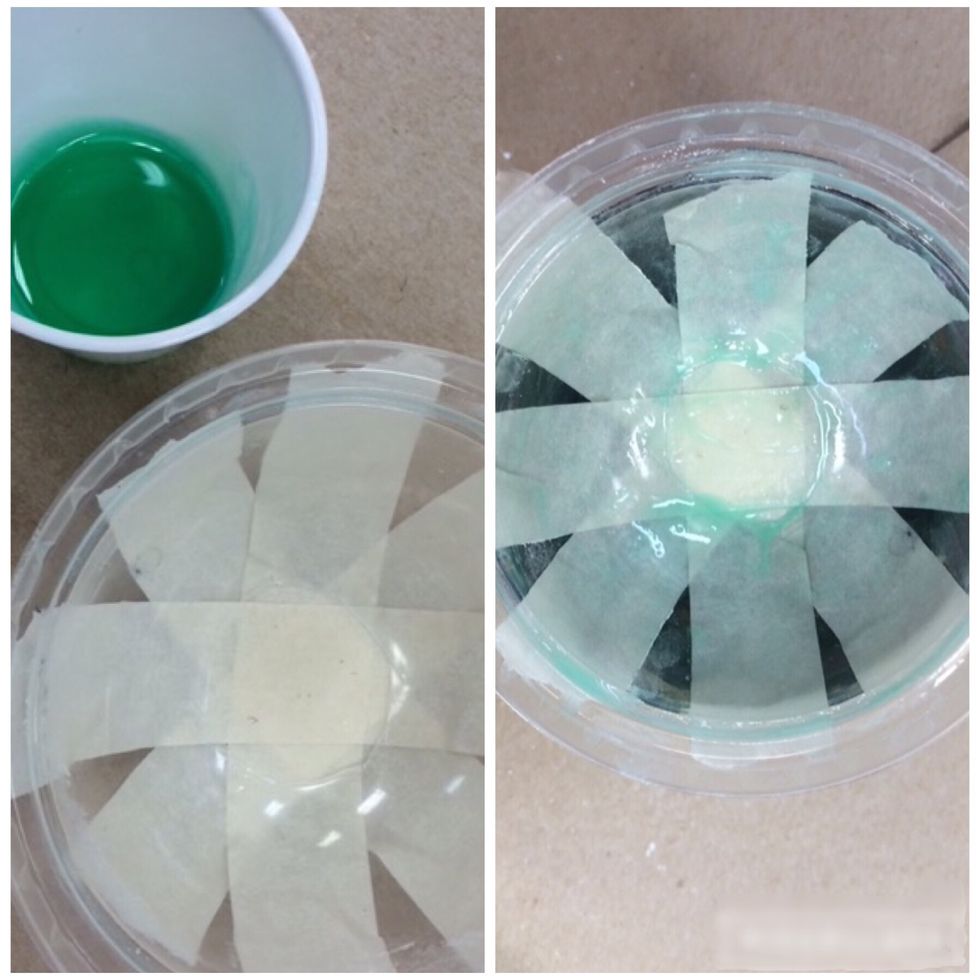
Start by taking the mold/shape/plaster cast you wish to use. Apply a generous amount of resistance throughout the inside of the mold. When finished, place the mold aside.
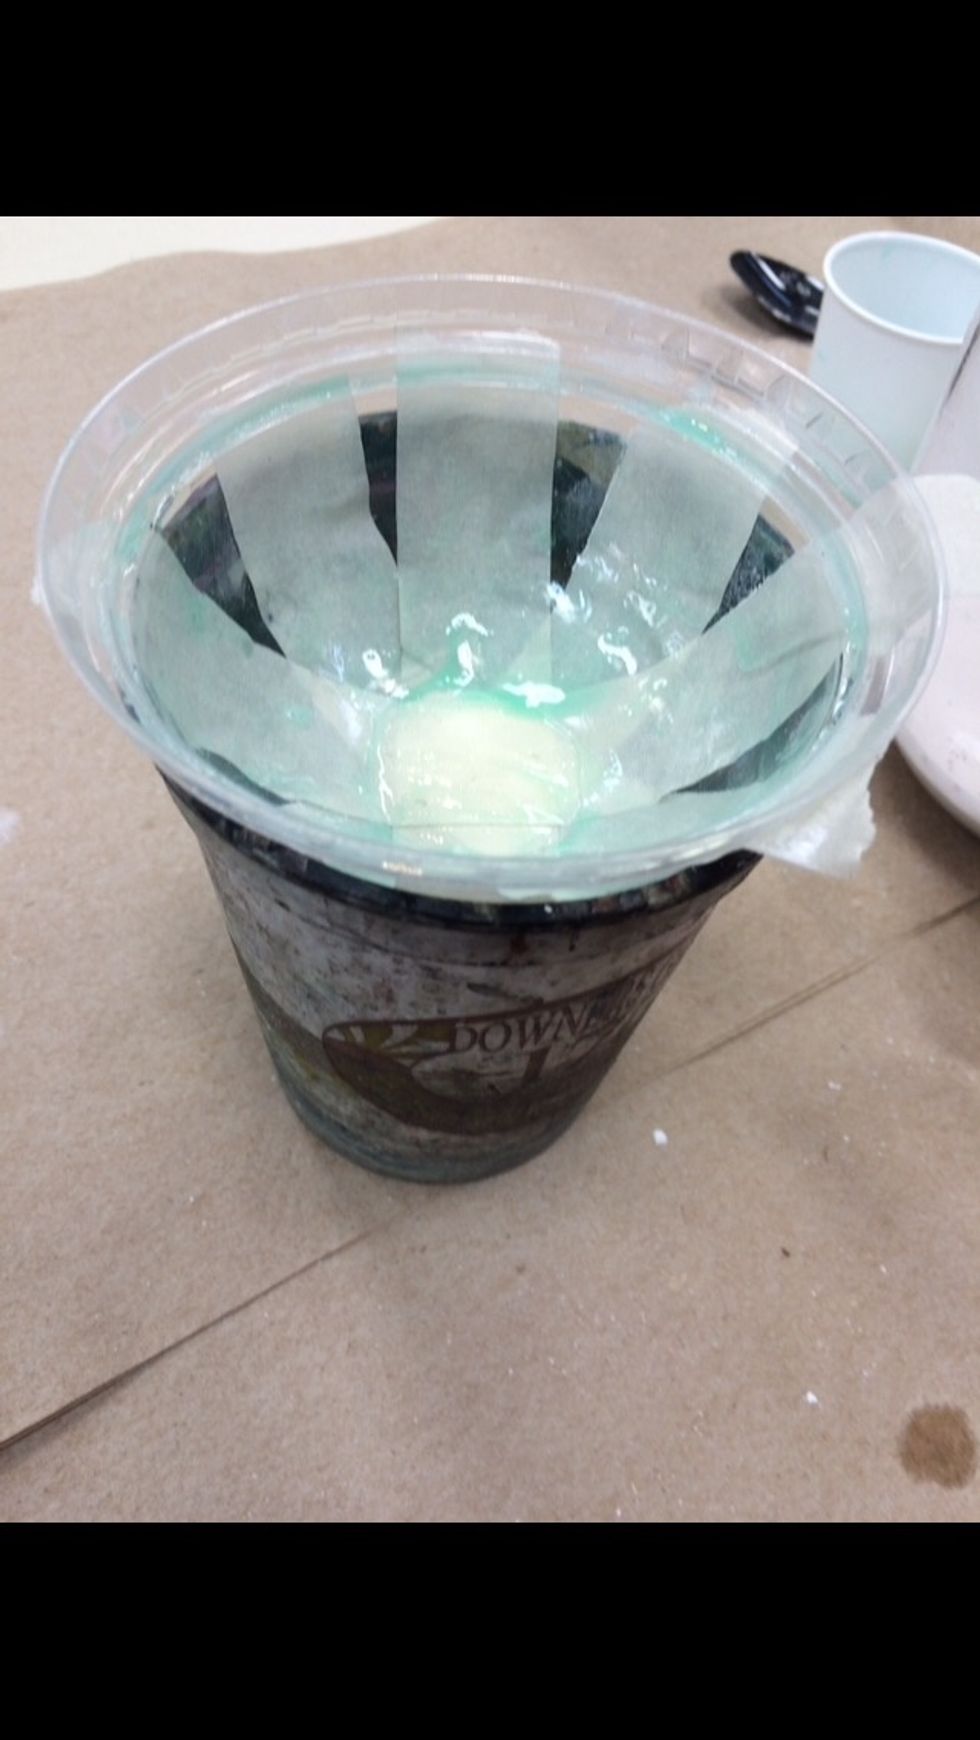
(OPTIONAL STEP) For worries of any leakage through potential holes or cracks in the mold, place the mold over another cup, container, or paper towels.
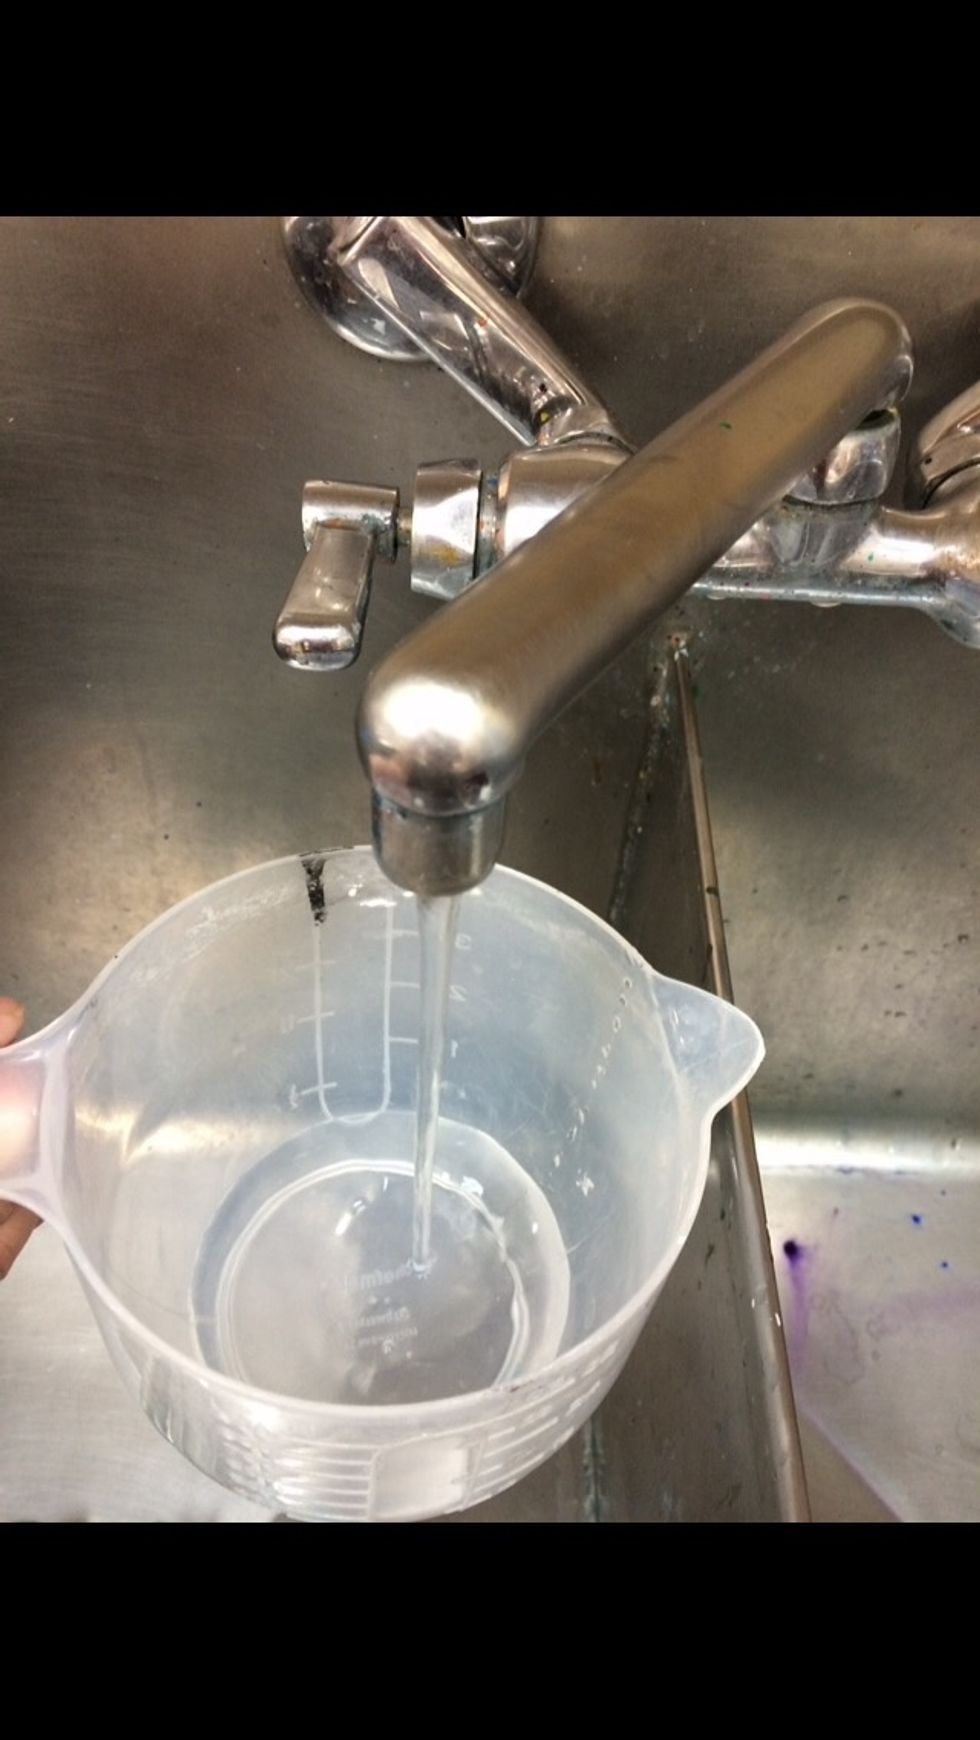
Take the measuring cup and add a small amount of warm or hot water to it. (Amount of water will vary based on the size of the mold and the desired thickness of the plaster.)
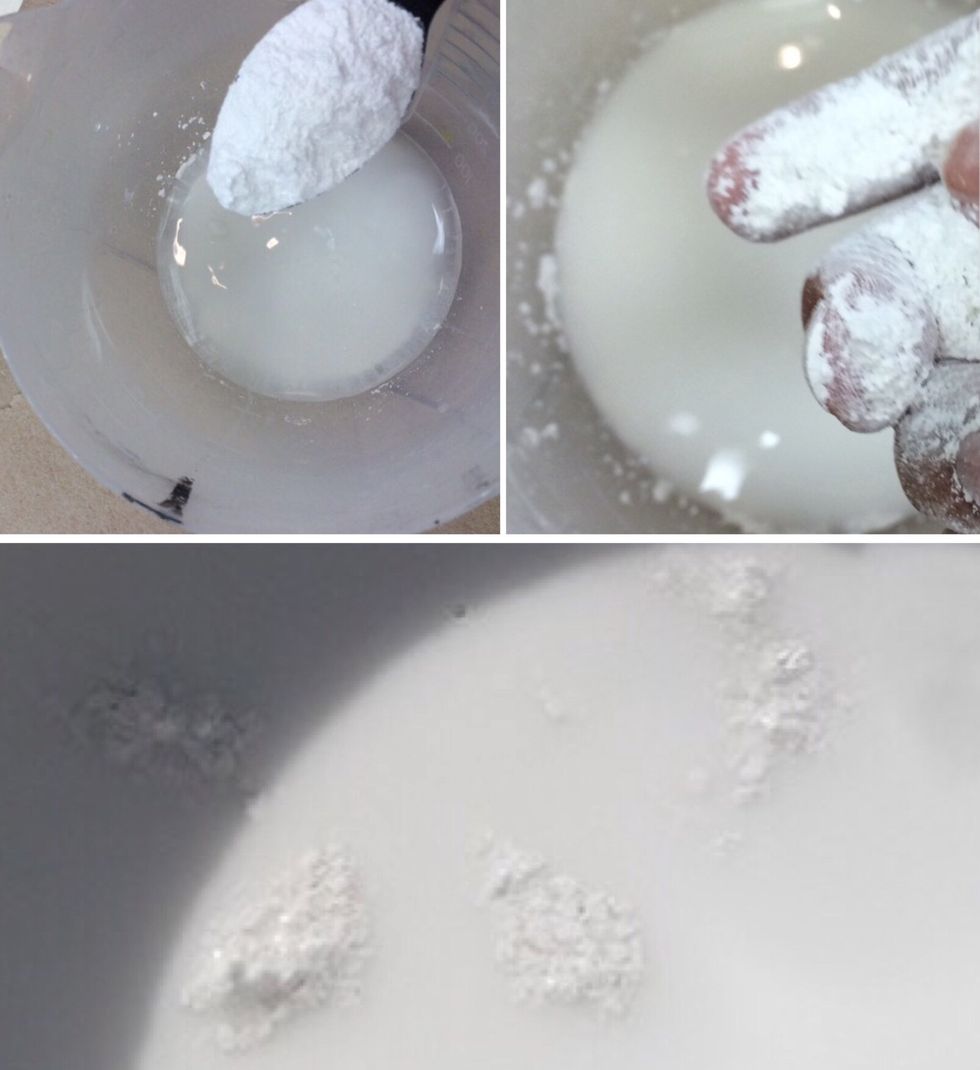
Add plaster evenly into the water. A spoon, or preferably, your hands may be used to scoop the powder and evenly distribute it. STOP adding plaster when you begin to see "islands" in the mixture.

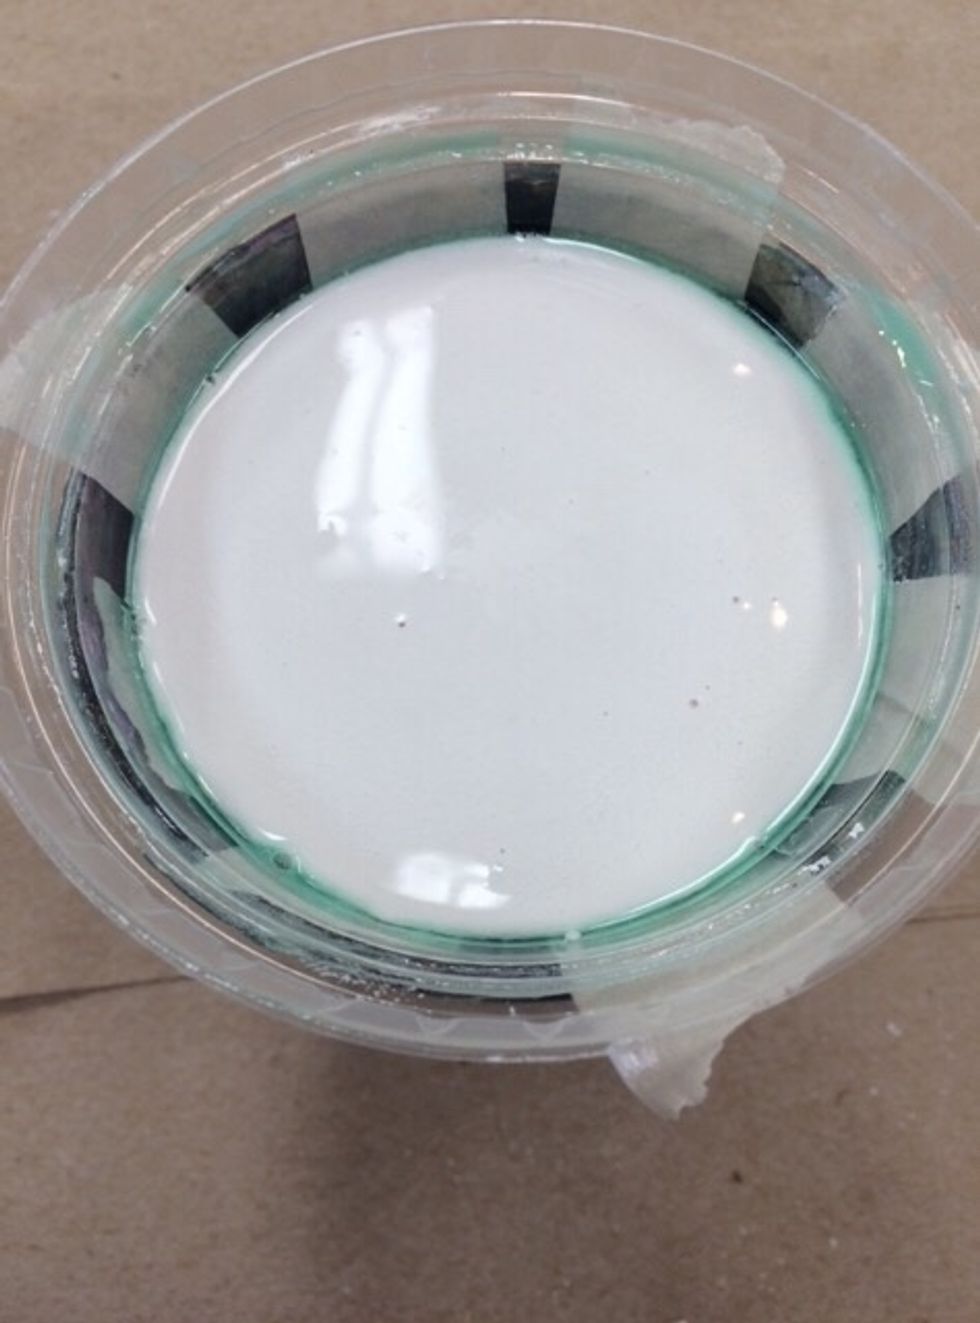
When the "islands" become visible, let the mixture sit for a couple minutes. Then, using your hand, stir the mixture until you reach a thick, even consistency (similar to that of a milkshake).

Grab your mold and pour the stirred plaster mixture into it.
Let the plaster set for at least 30 minutes. Time will vary based on thickness of the plaster. Once the plaster is not runny, or feels hard enough to hold together, it may be removed from the mold.
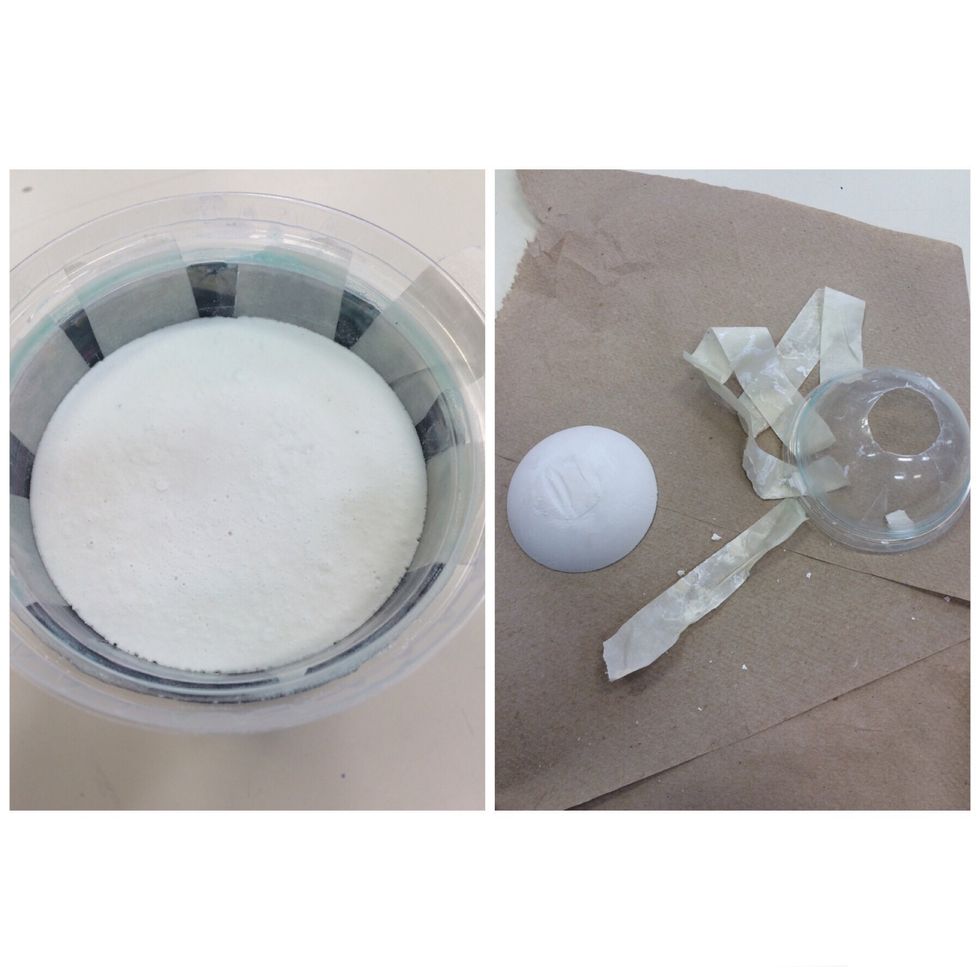
Once plaster is dry and hard enough, remove it from the mold.
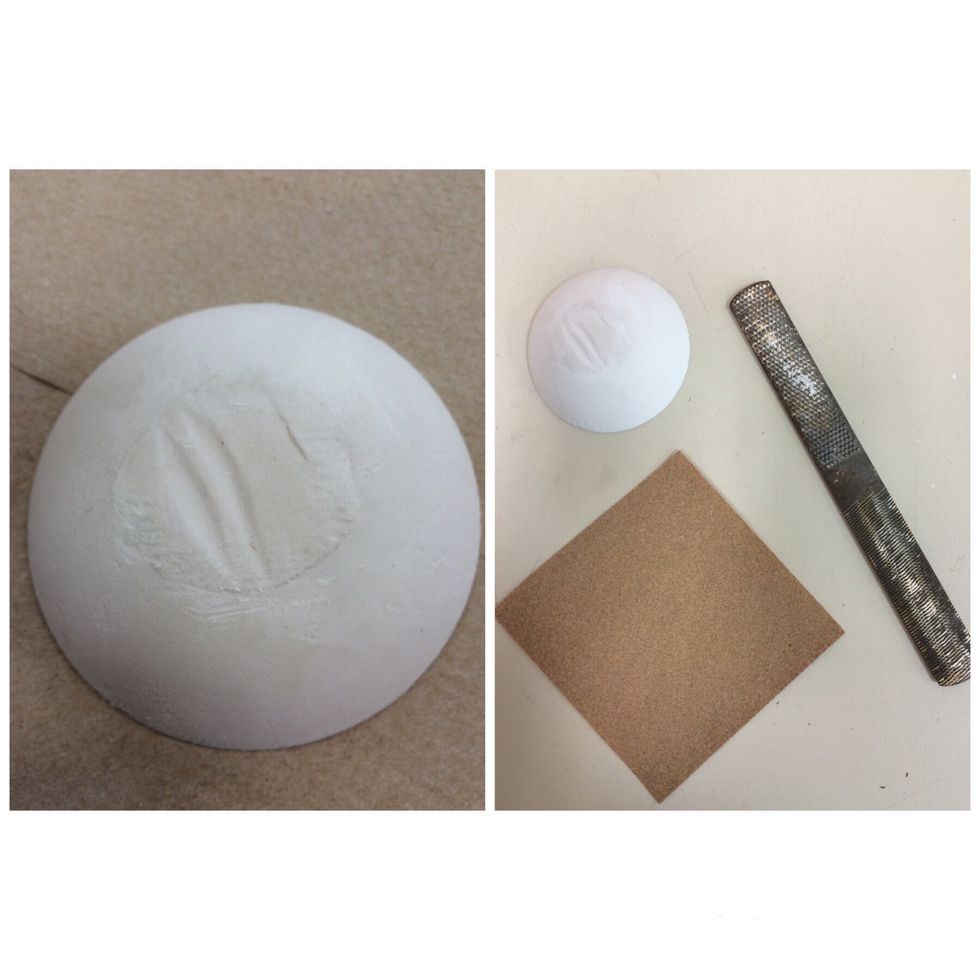
If plaster appears rough or has an uneven surface, use sand paper or a file to smooth it down.
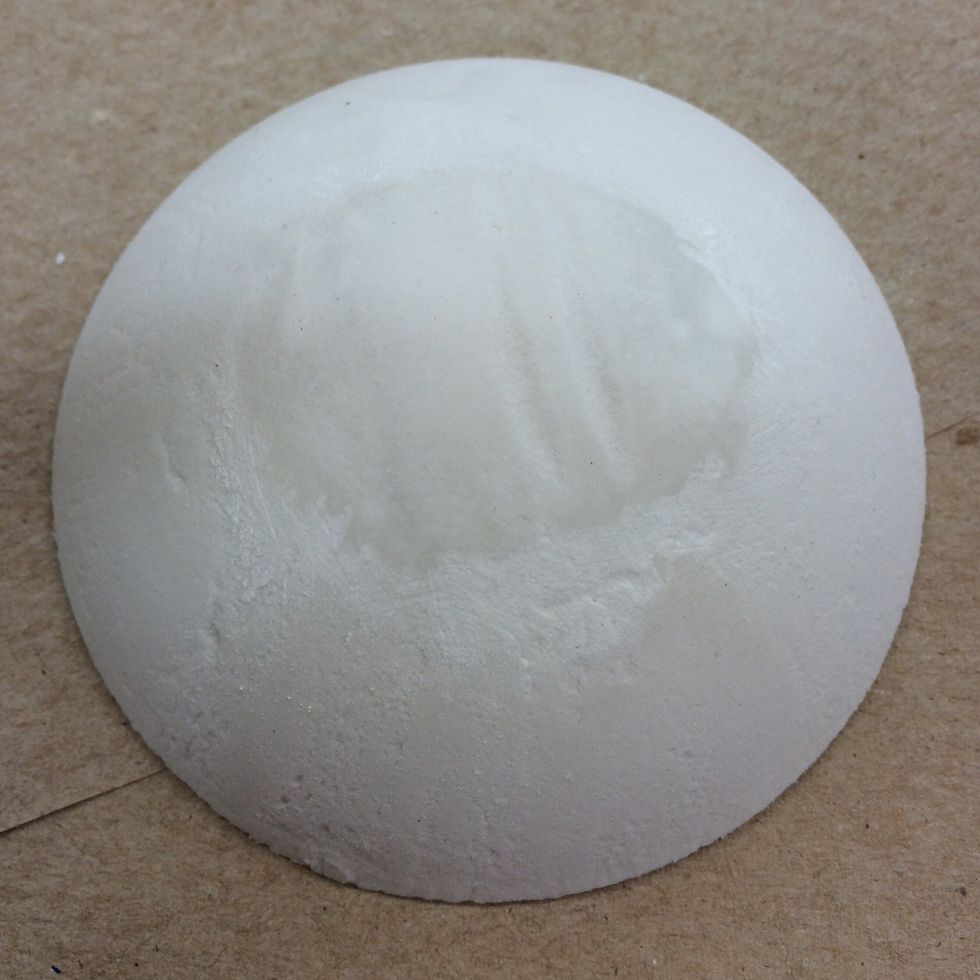
The finished product!