The Conversation (0)
Sign Up
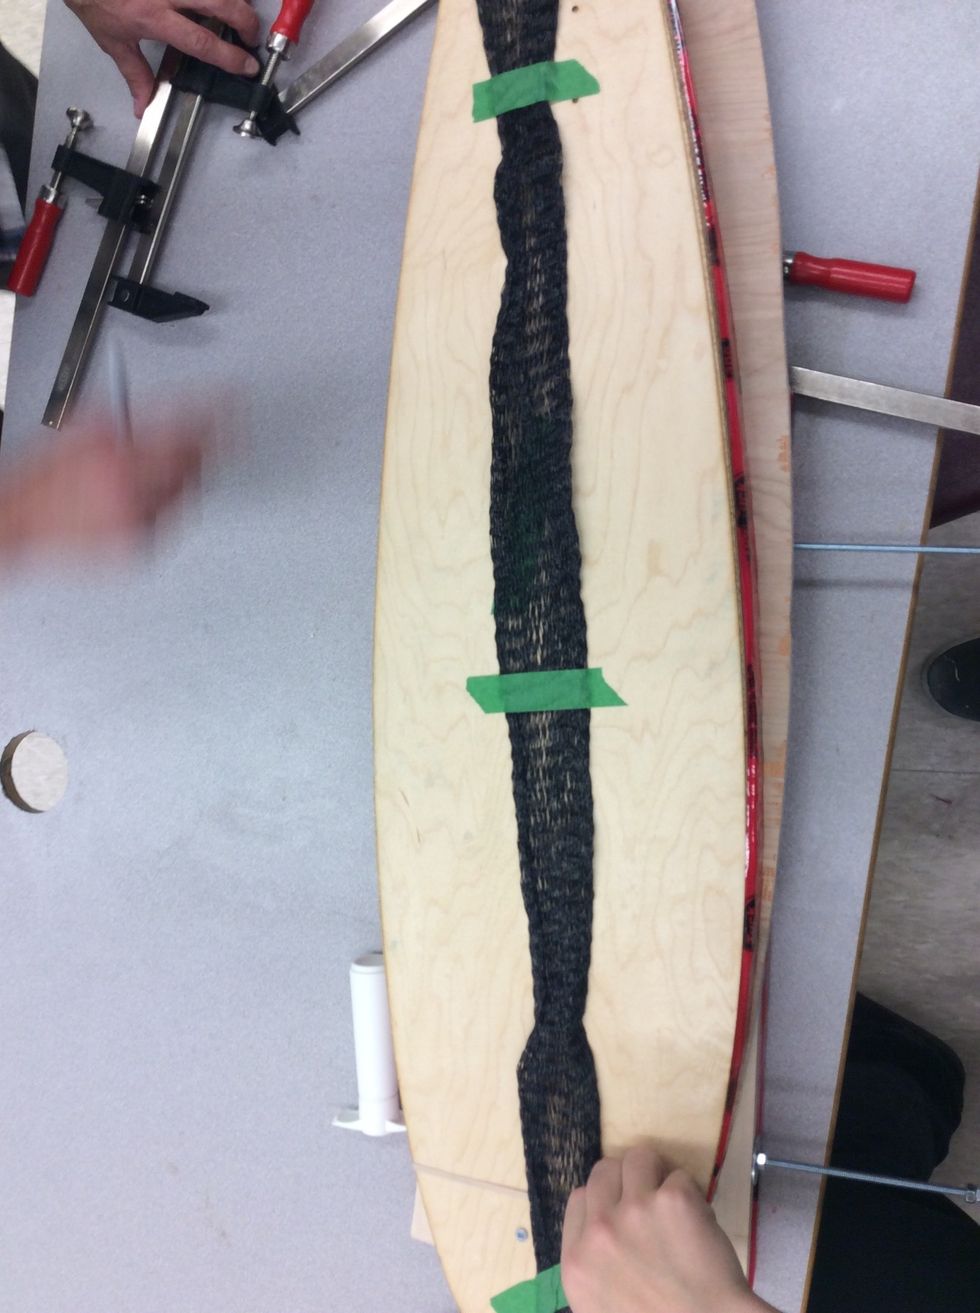
Sorry for missing some pics the next step explains what you missed Put the breather net on the board as shown but not cover to much of the net
Sorry for the leap but I lost some pics but this is after you apply glue to all layers but glue both sides of the middle layers and 1 side of the outer layers then after it drys slide it in the bag
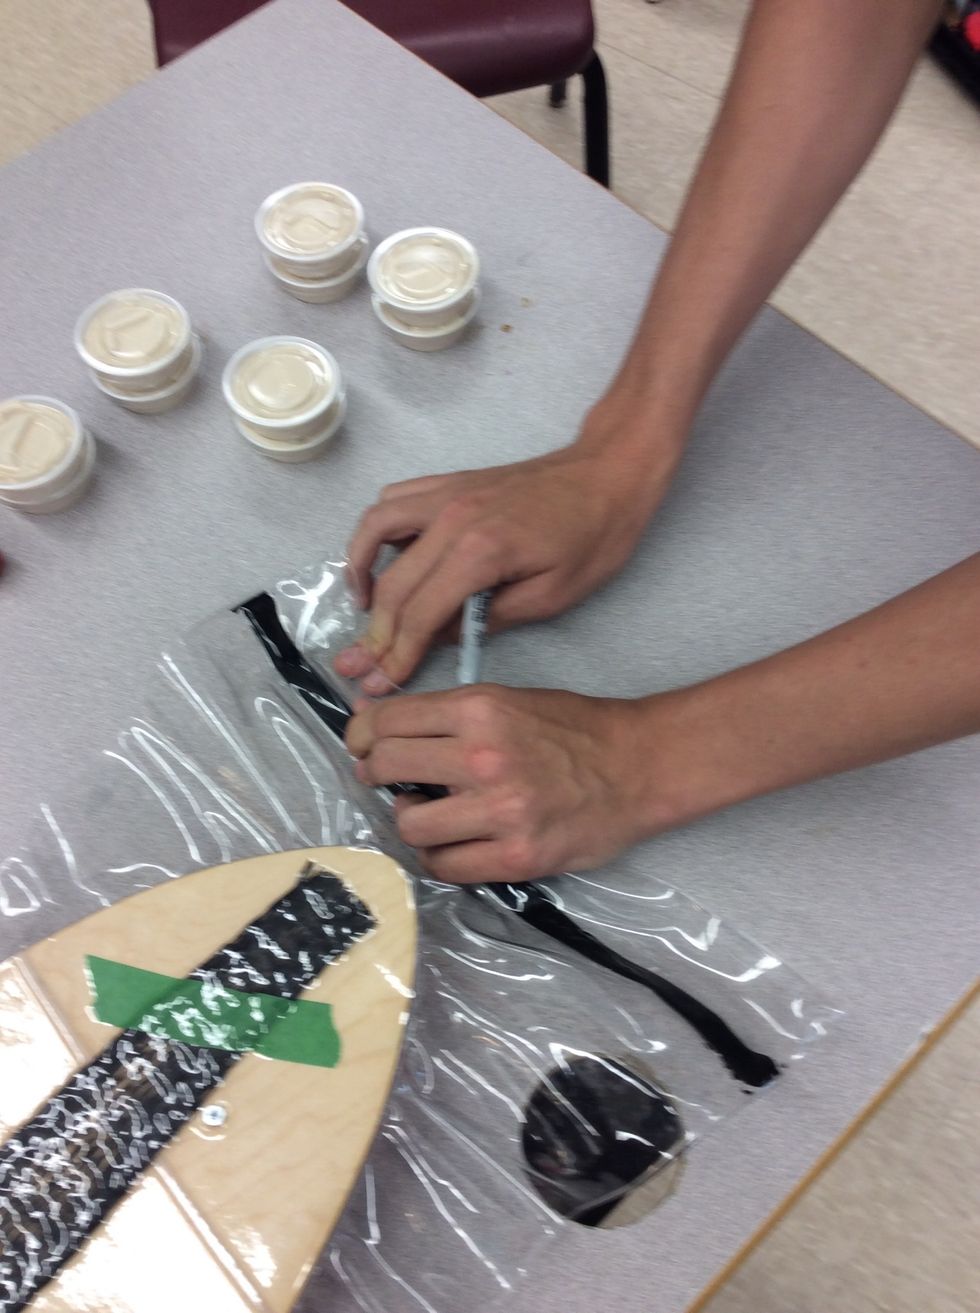
Once it's in with the mould underneath the board inside the bag with the board then seal the bag by pressing on the tar but don't press too hard just make it change colour
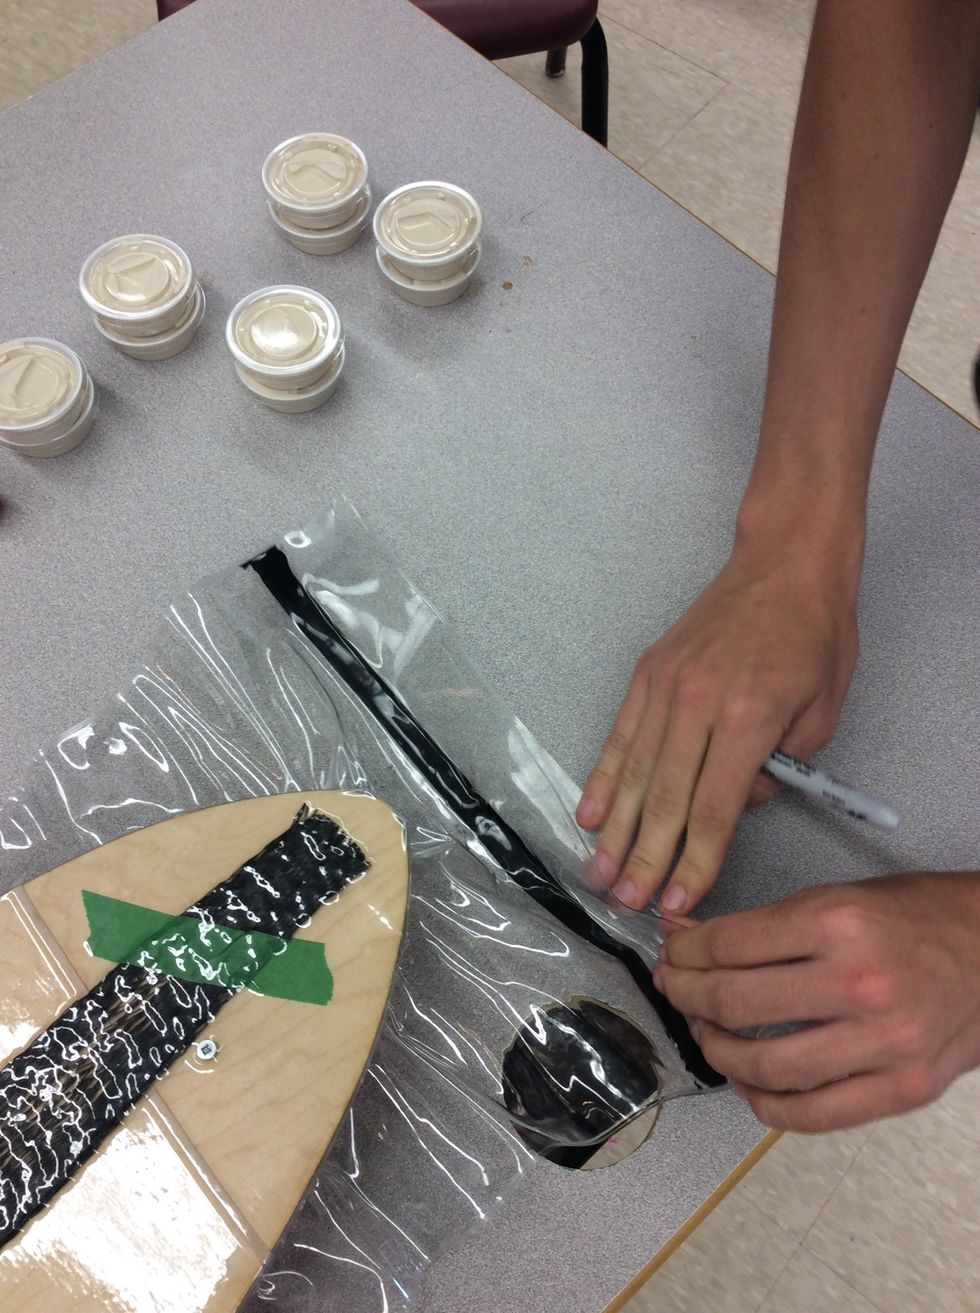
See how the tar is a shiny black that what you want it to be
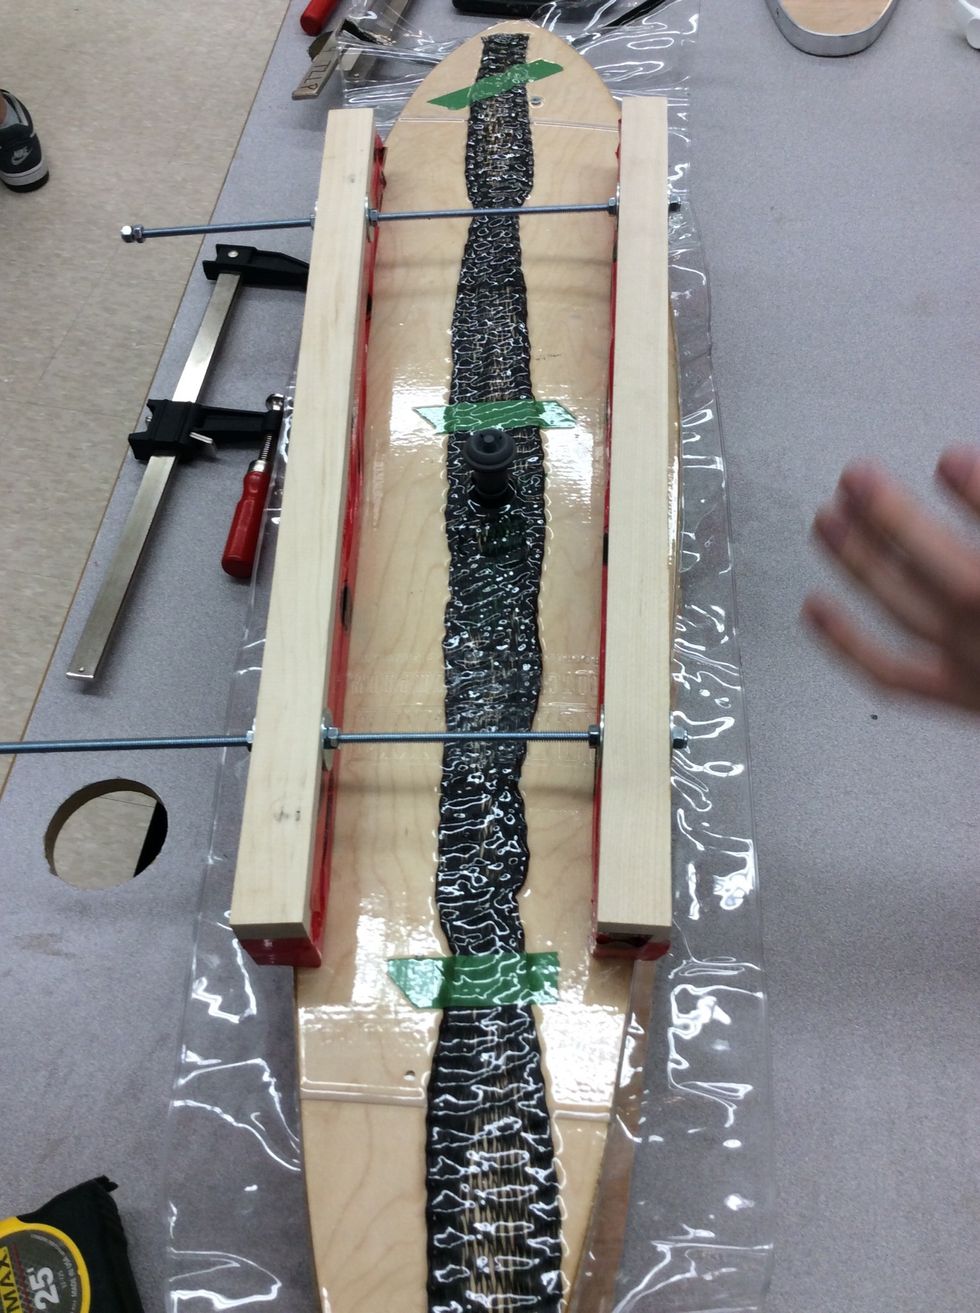
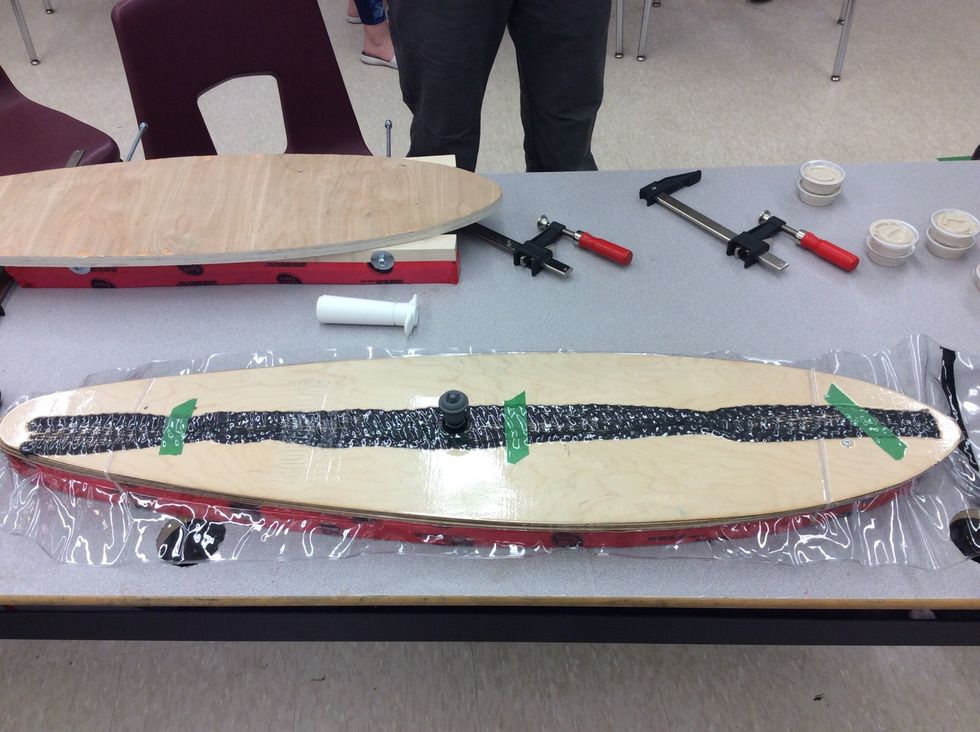
Now put the clamping cull on top to help get a curve in the board
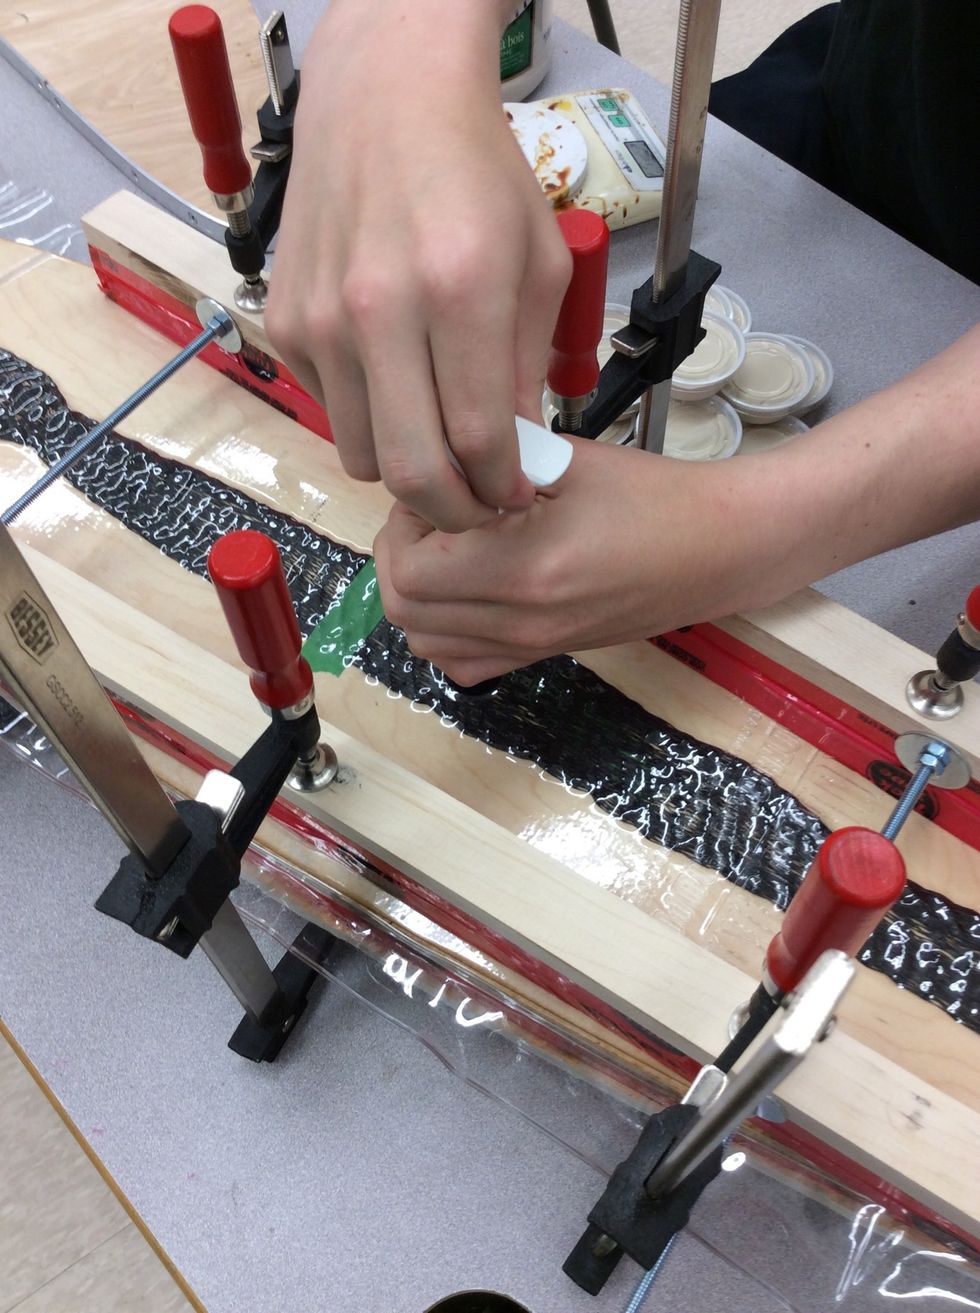
Place your 6 clamps on the cull with a wooden board shaped like your pintail under the bag and put the clamps on it
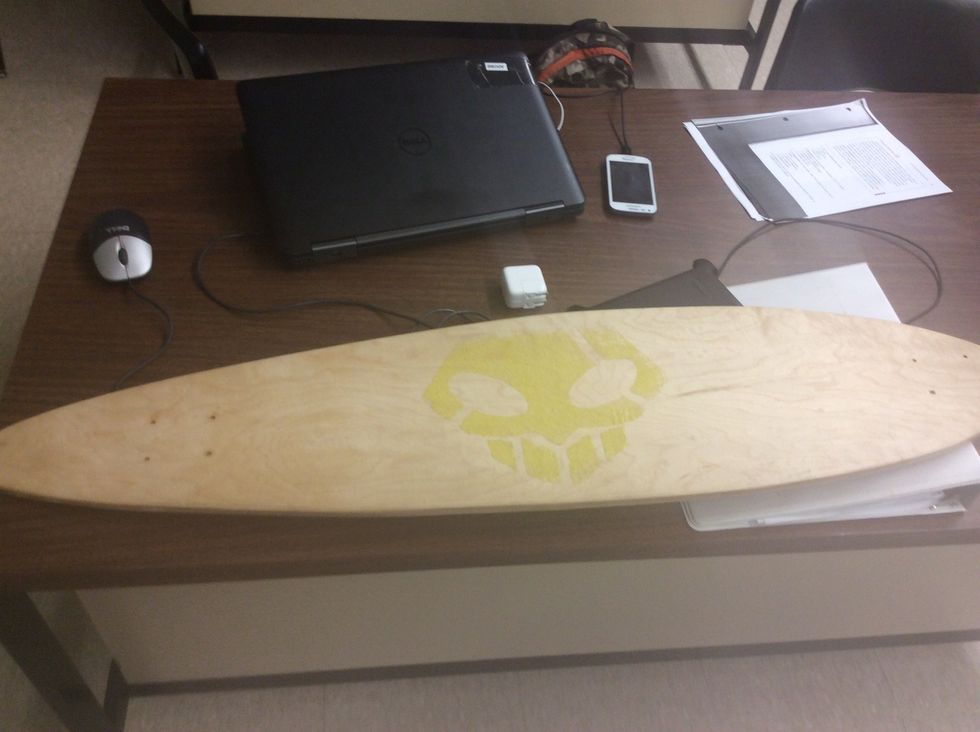
Wait 2 or more hours and then remove your board and the breather net and design it as you wish and there is your pintail