The Conversation (0)
Sign Up
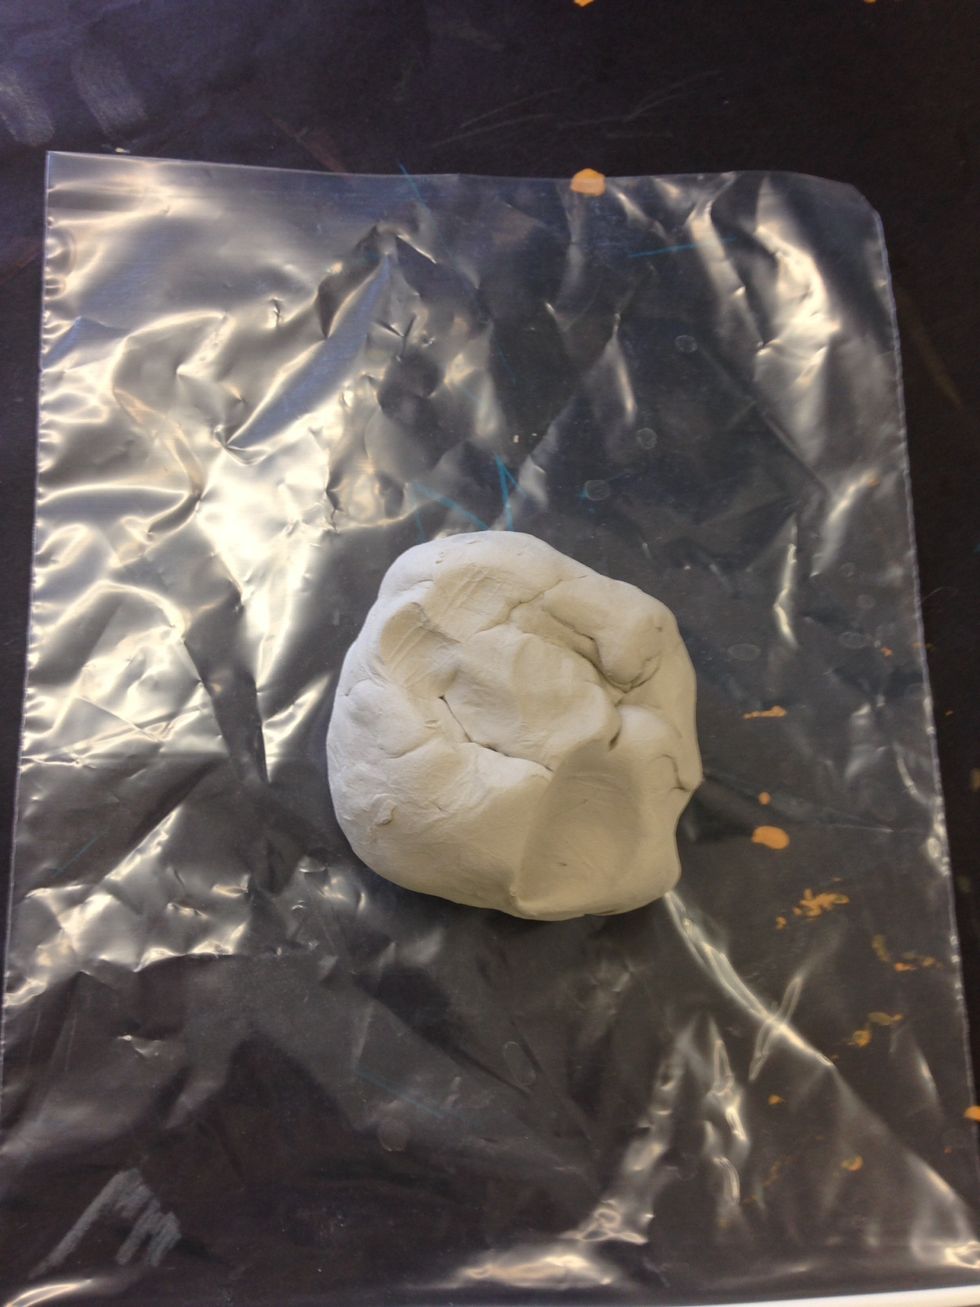
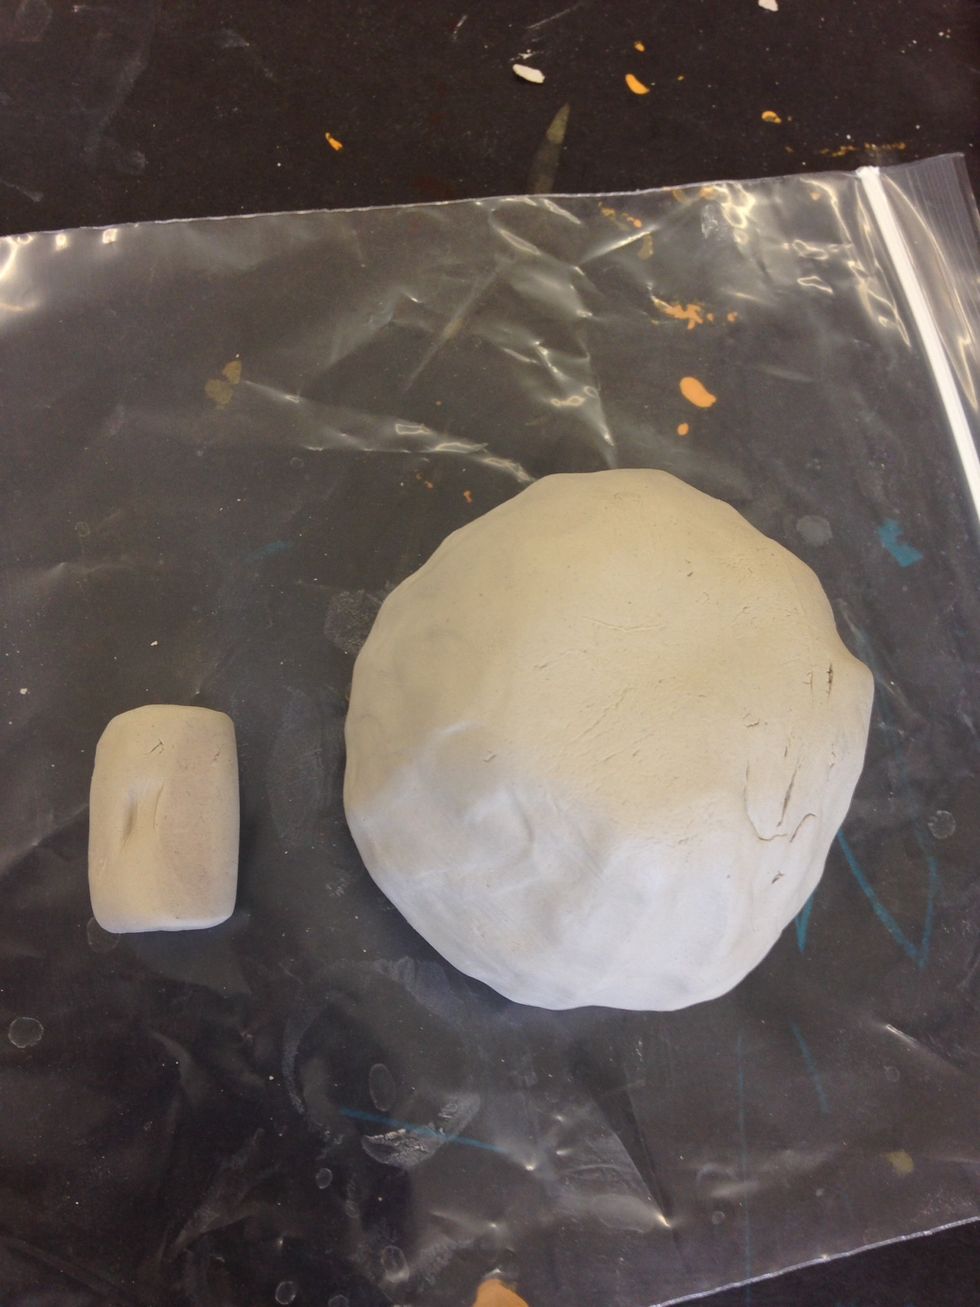
Gather your large chunk of clay and place it on the zip lock bag. This will prevent it from sticking to the table while working.
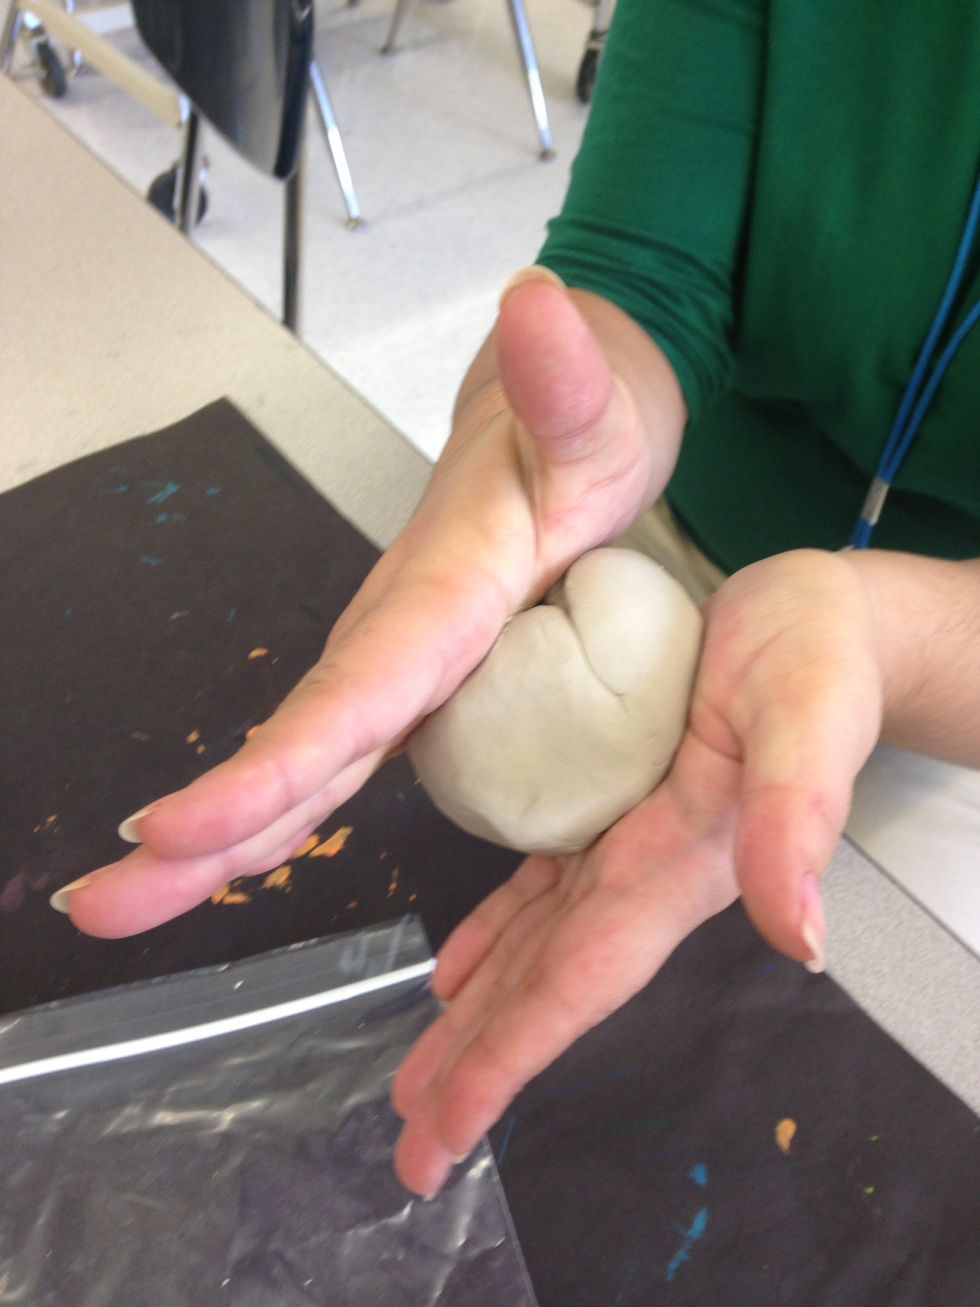
Take the chunk of clay and roll it between your palms to form a sphere.

The spere should be nice and round. If there are any wrinkles smooth them out with your fingers.

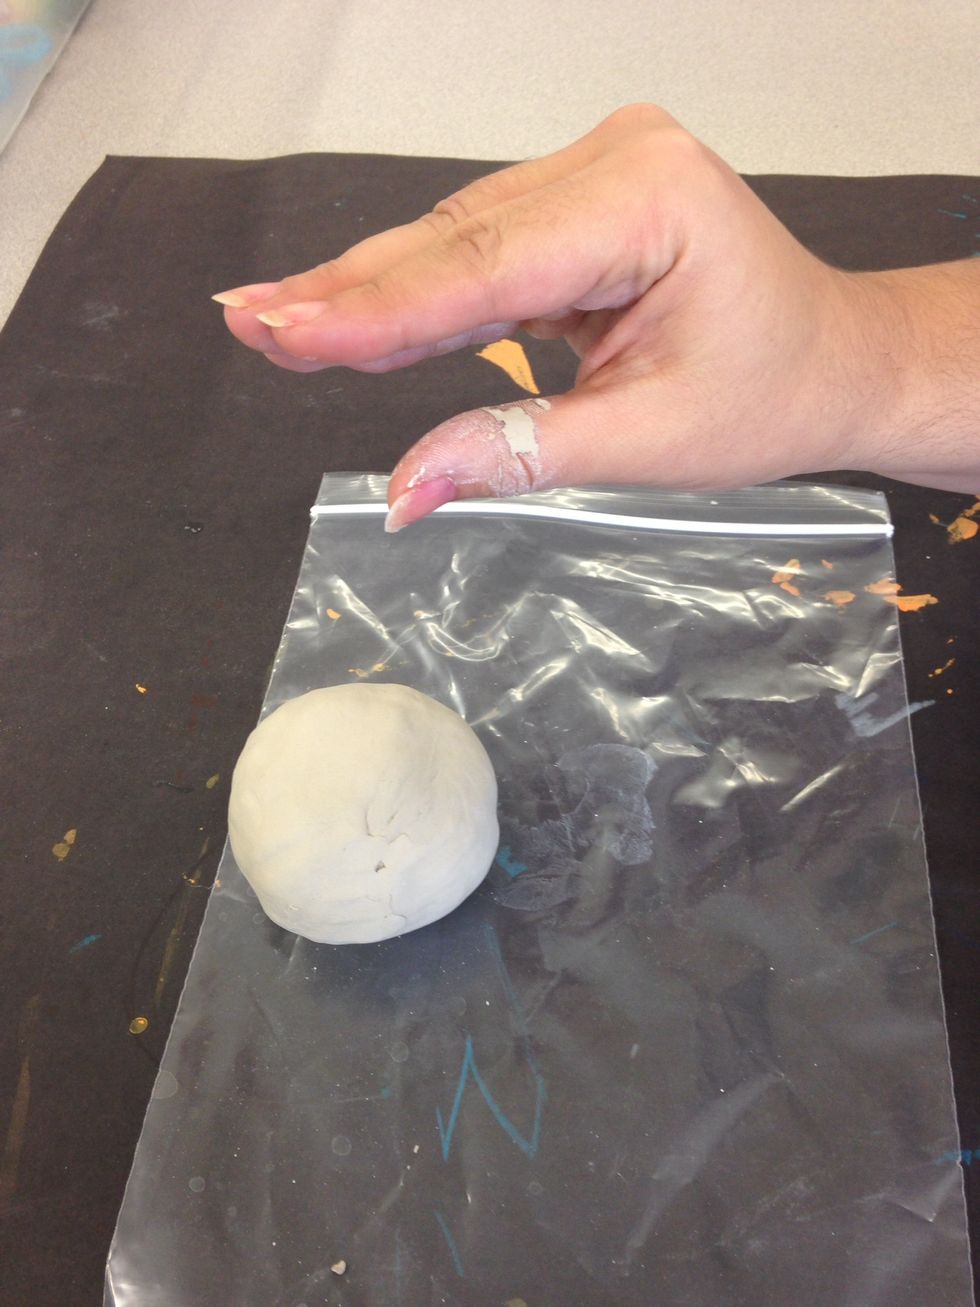
Next, take your thumb and push it into the center of the sphere. Use your other hand to hold the clay so that it stays round.
Next you are going to start pinching the clay with your thumb inside the hole. The pinching motion should look like a talking hand with your fingers together and your thumb flat.

As you pinch with your talking hand make sure your fingers go to the top of the pot. You want to make a pattern. A gentle pinch and then a little turn. You should barely be able to see finger marks.

You want to pinch and turn until have nice even sides and the opening of your pot looks something like this. Don't try and pinch it too thin.
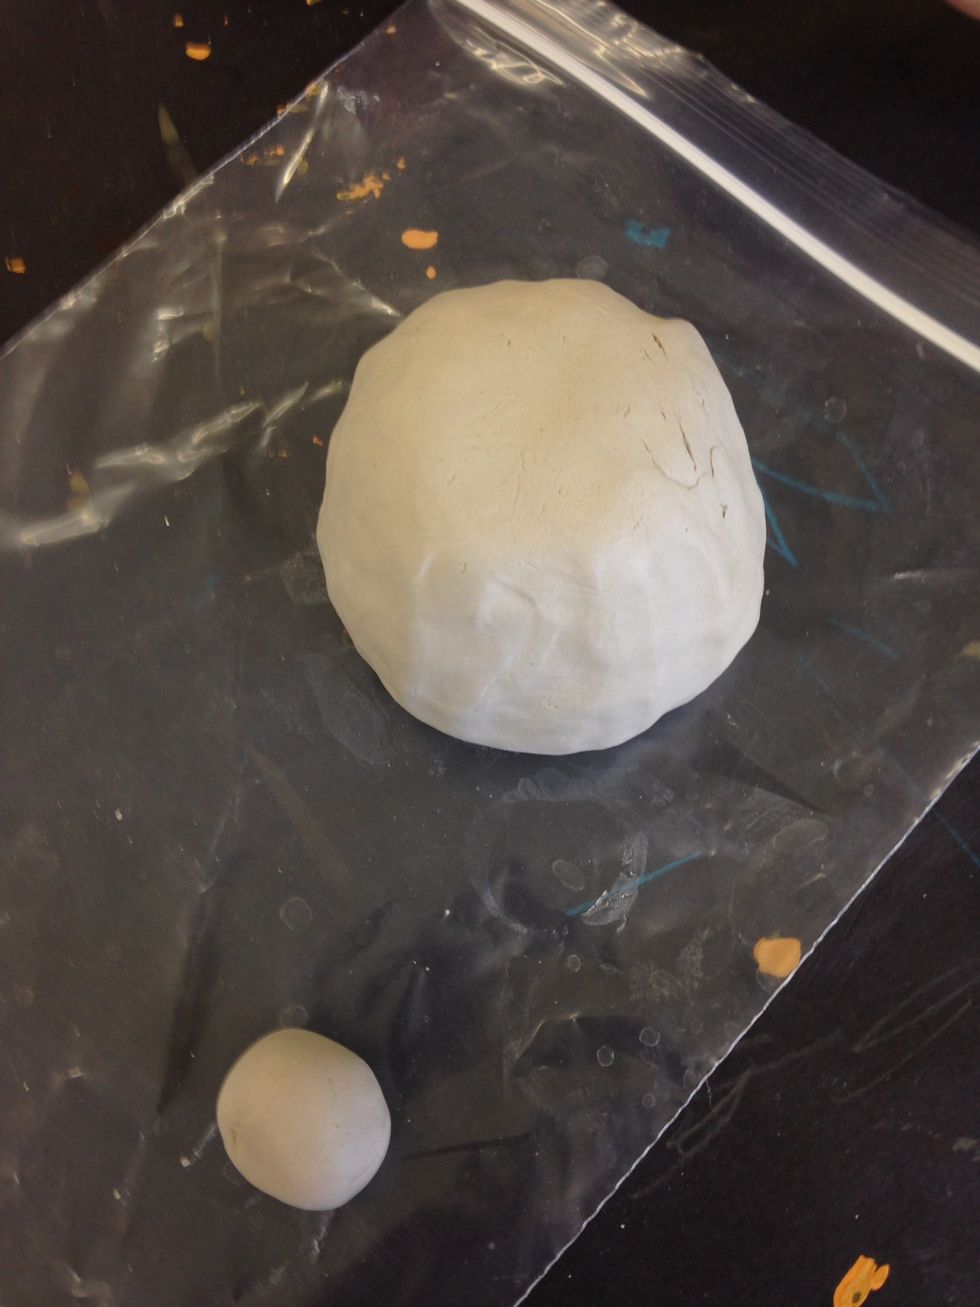
Take your pinch pot and set it mouth side down on your bag. Next take the small piece of clay and roll in into a sphere. This will be the stem of your pumpkin.
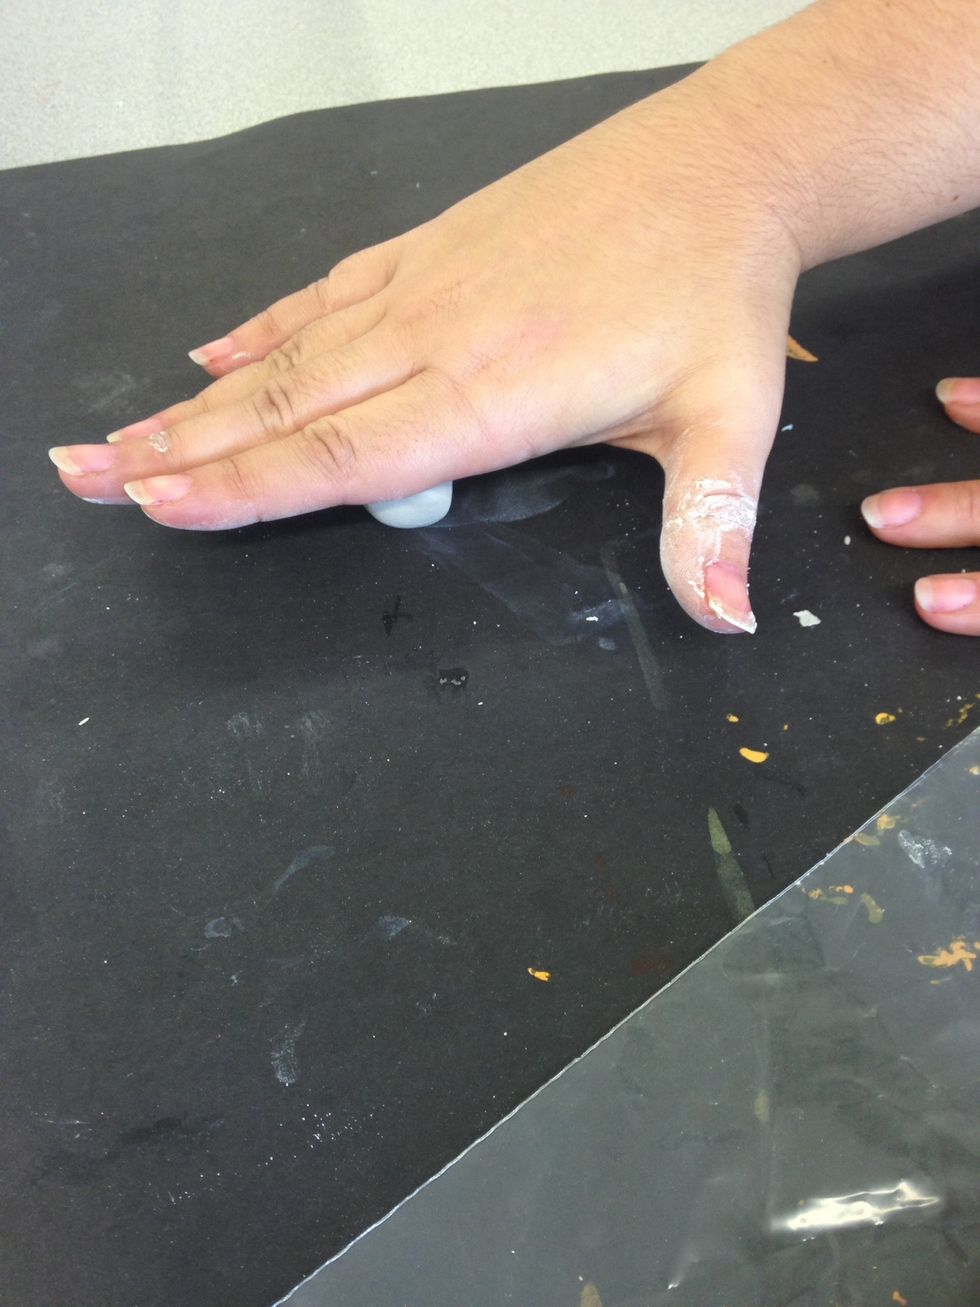
Take the little sphere and start rolling it on the plastic bag or on the table. Keep your fingers together. You want it to look like a tootsie roll when your are finished.
Your stem should be a cylinder and look something like this. Next, get the popcicle stick.

Take the stick and lightly scratch the top of the pot where you want to place the stem. Also scratch the end of the stem that you want to attach to the pot. This is called "scoring" the clay.
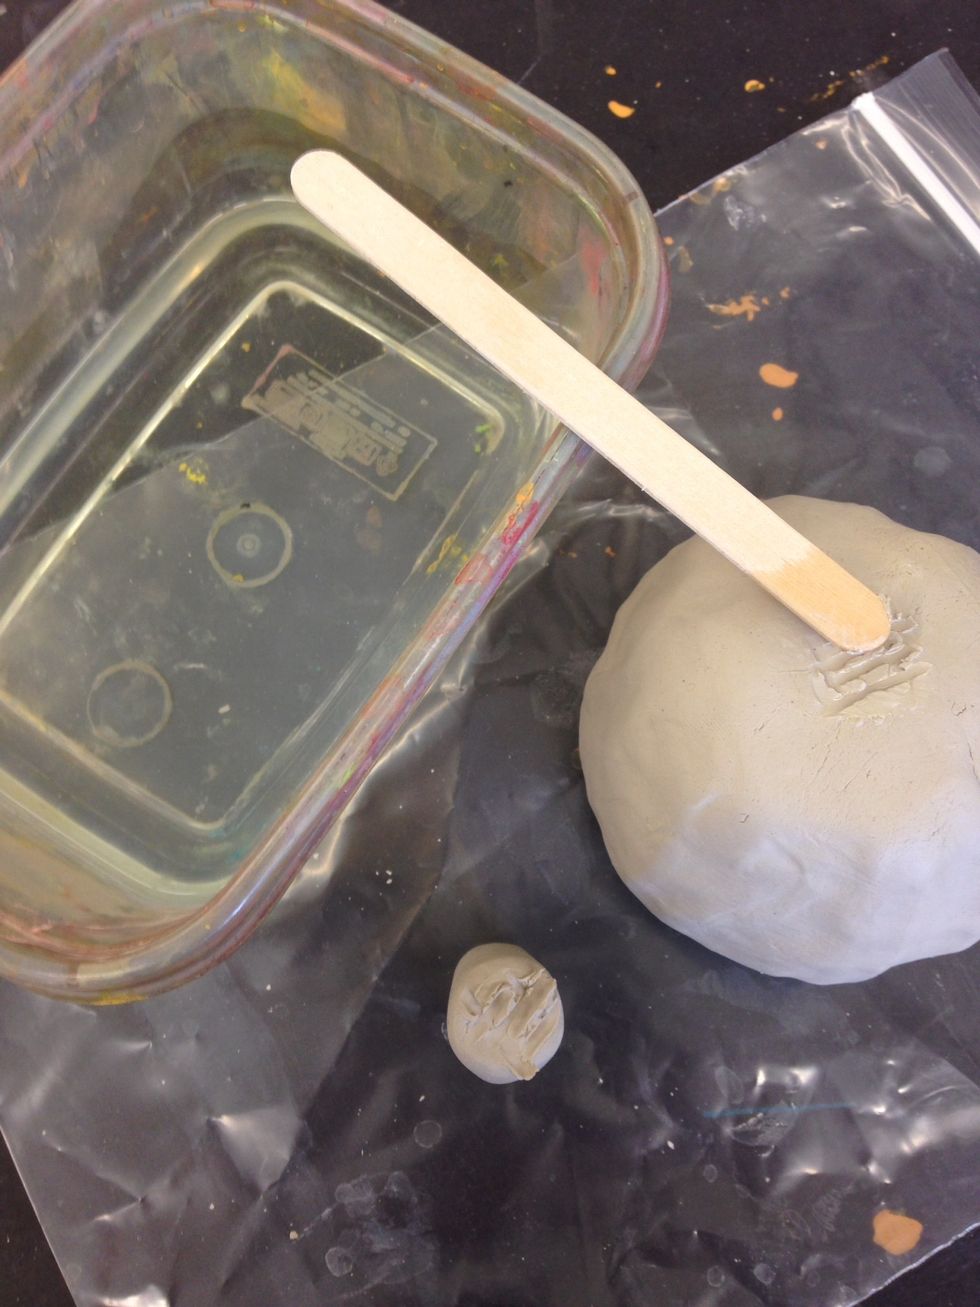
Take the water container and wet the end of the stick. Place a drop of water on the score marks of both the pumpkin and the stem.

Take the stem and gently push and wiggle the wet sides together so that they stick.
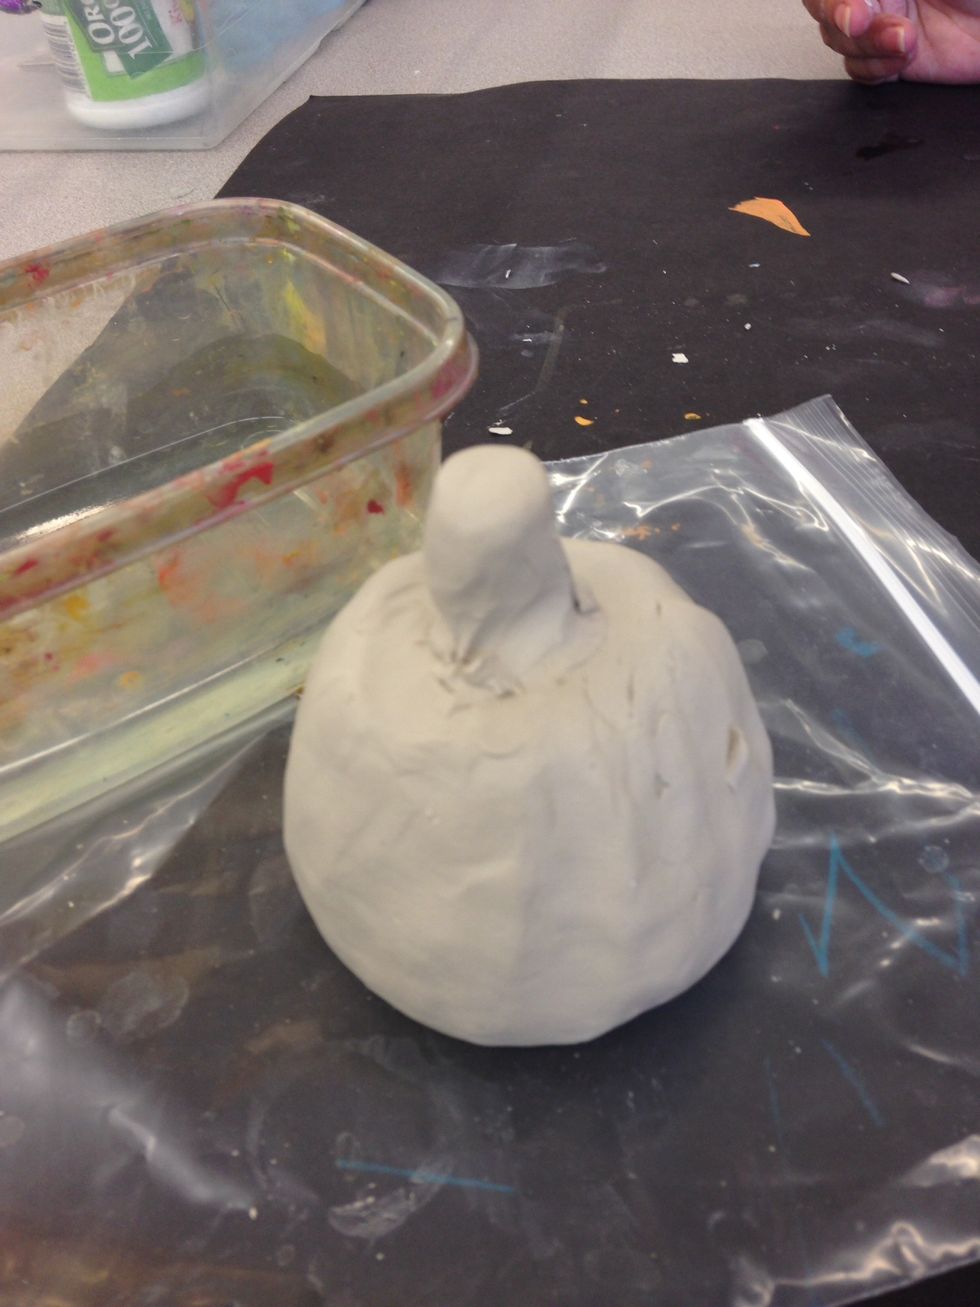
Take your finger and try and smooth the area where the stem and the pumpkin come together. You can also take your fingers and bend or pinch the stem to change its shape.
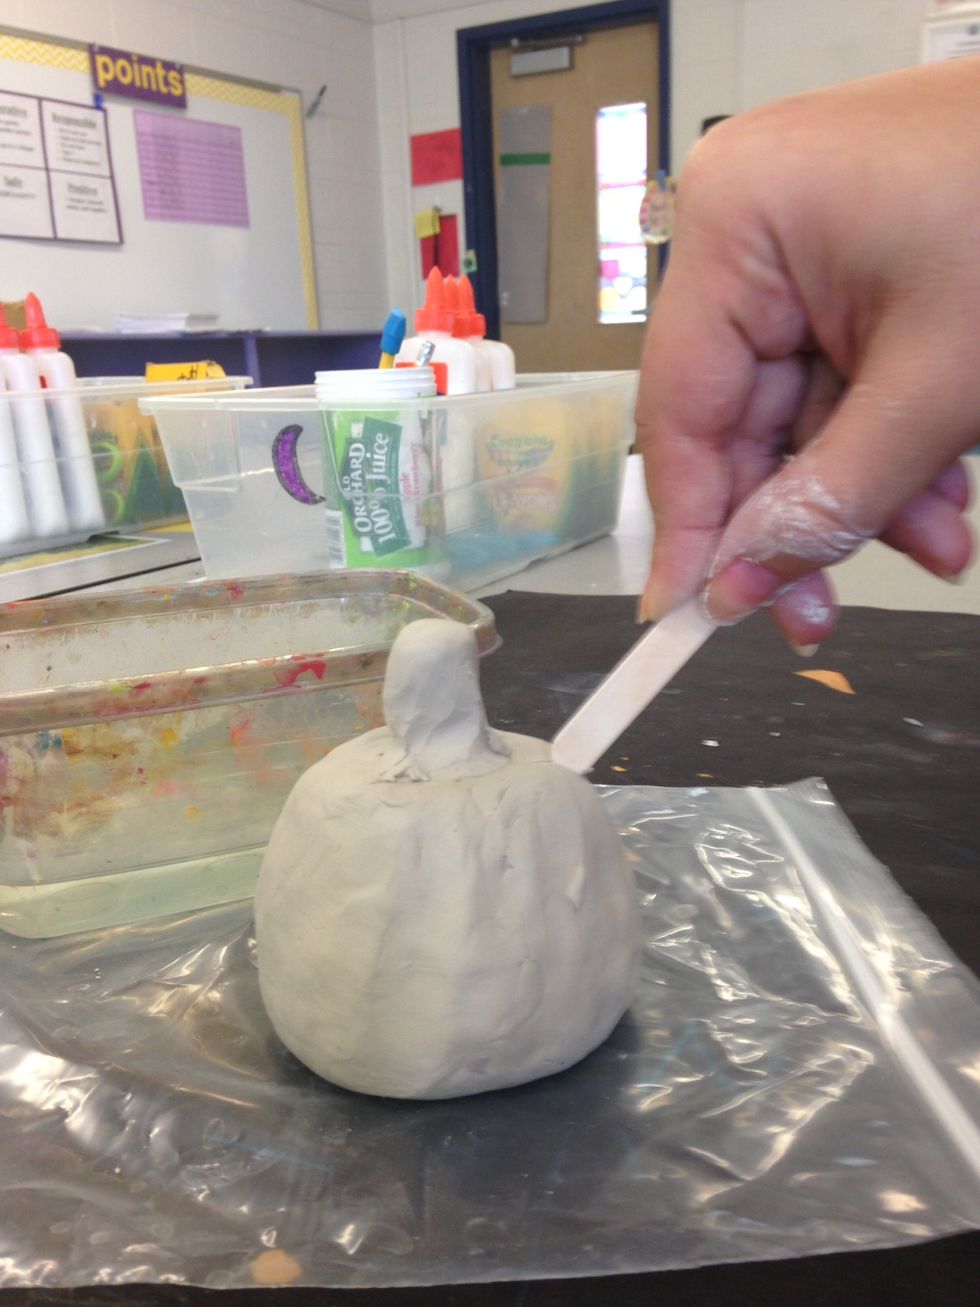
Take the end of the stick and gently make lines that start and the stem and go to the bottom of the pinch pot. We are trying to create the sections of the pumpkin. Do this all the way around.
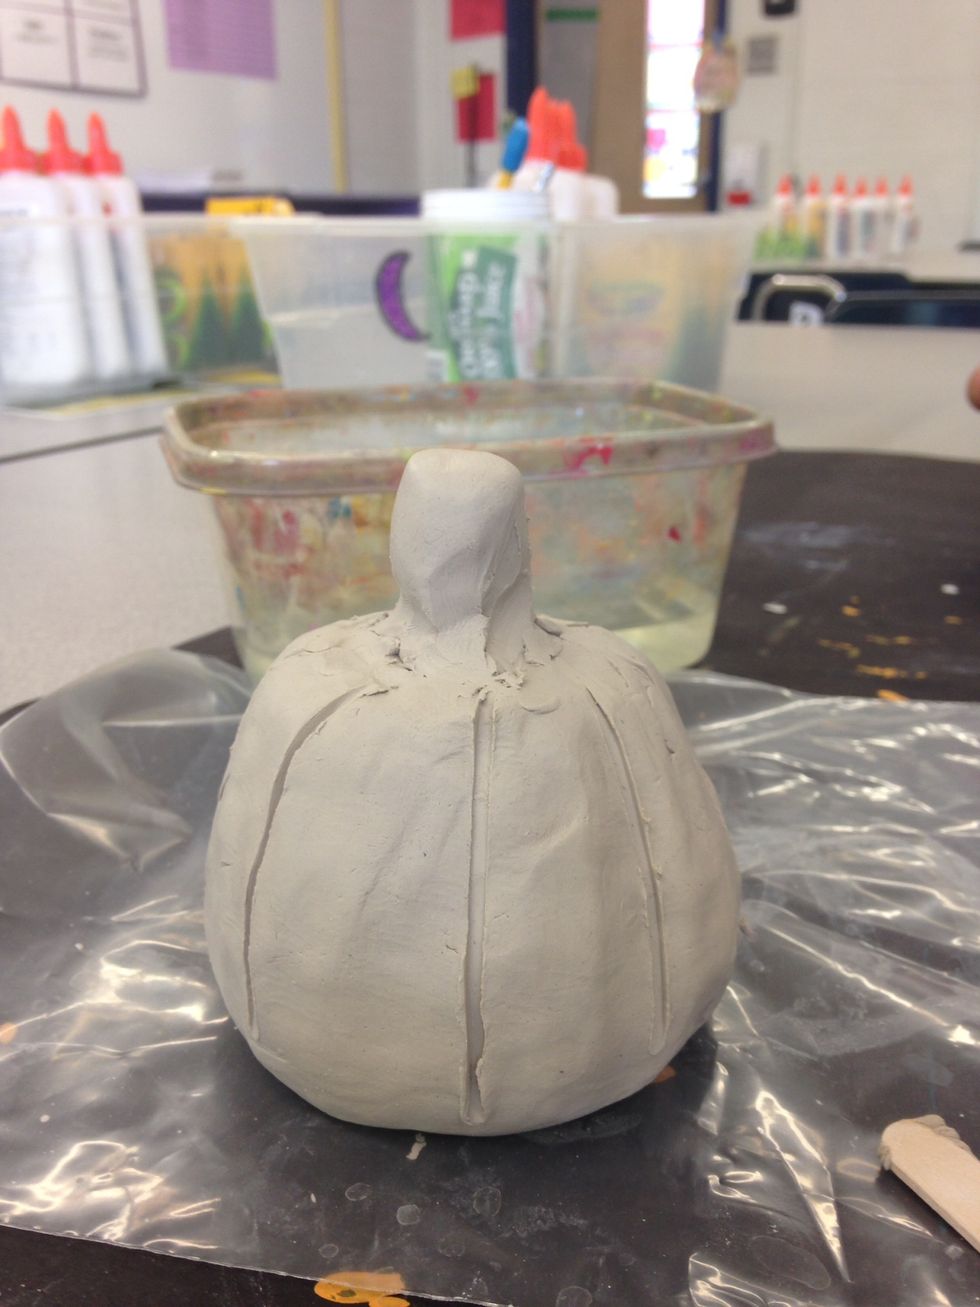
Your pumpkin should look something like this when you are finished. Bring it to the sculpture rack and ask for help to get your name on it.