The Conversation (0)
Sign Up

Fussy cut the images shown from the patterned papers.
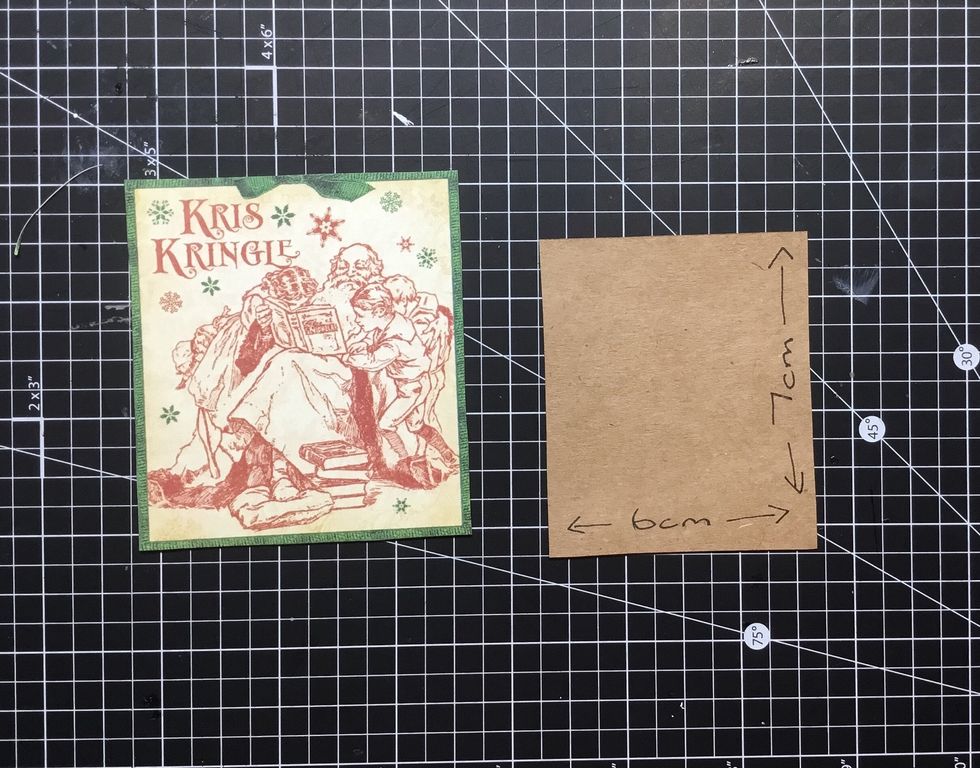
Cut a piece of contrasting card stock measuring 7cm x 6 cm as shown. Trim off excess paper from the paper tag as shown.
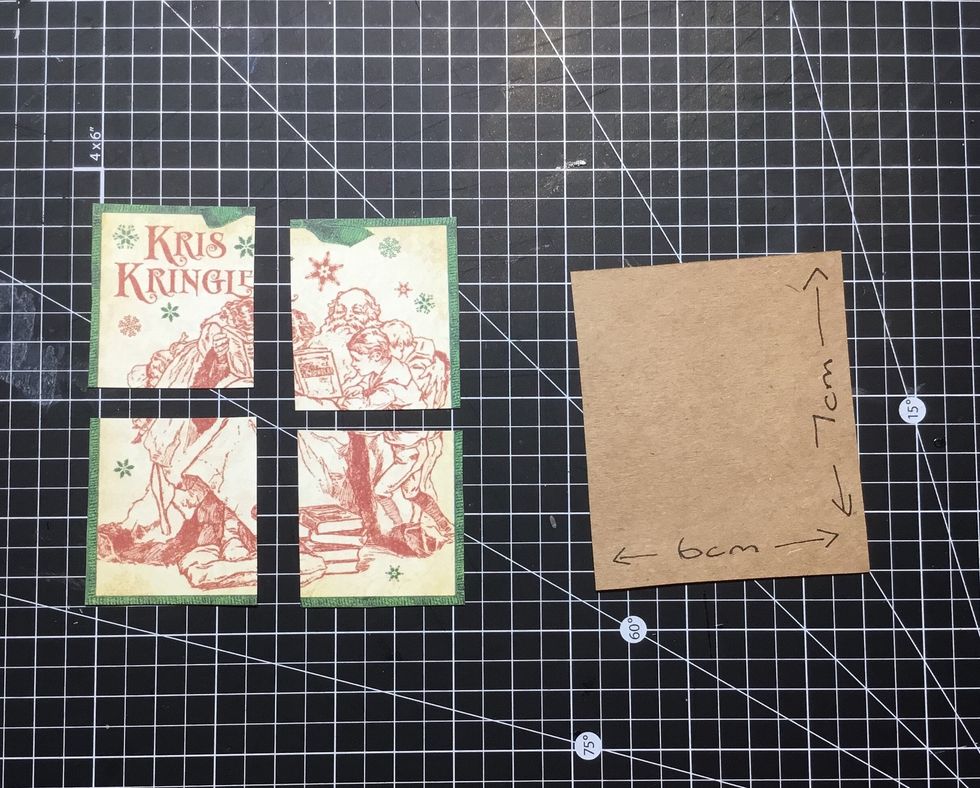
Cut what is left of the paper tag into quarters as shown.
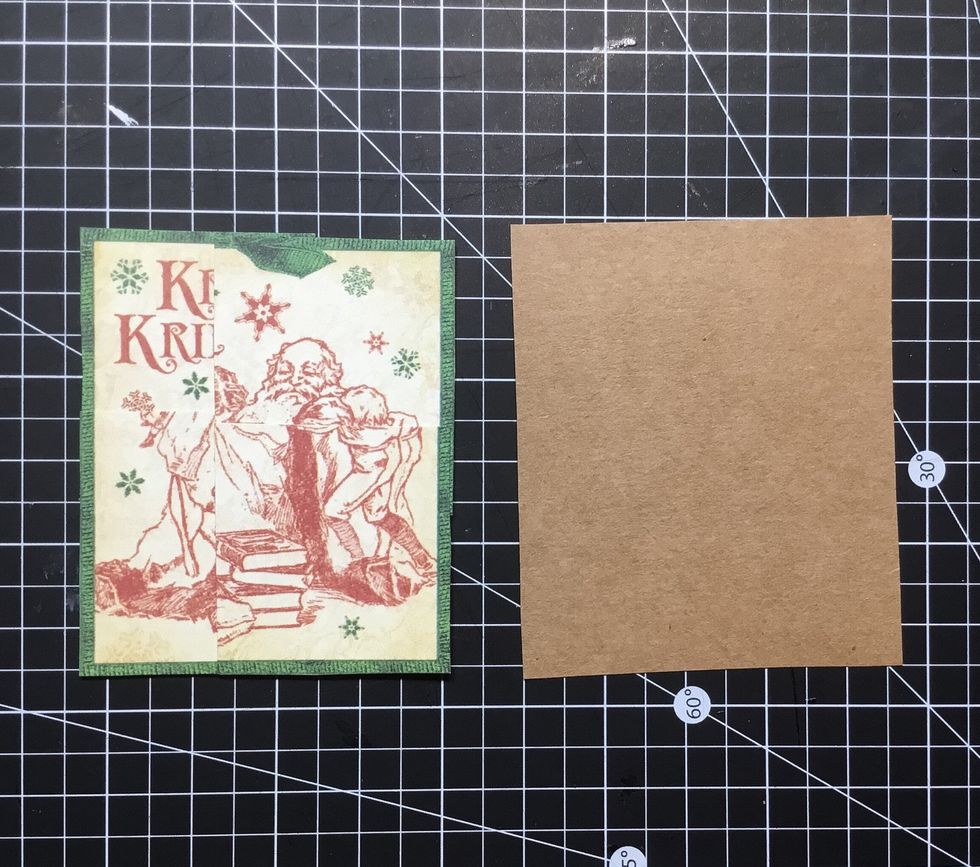
Now layer pieces back together as shown so that they fit onto the card stock piece leaving a small border.
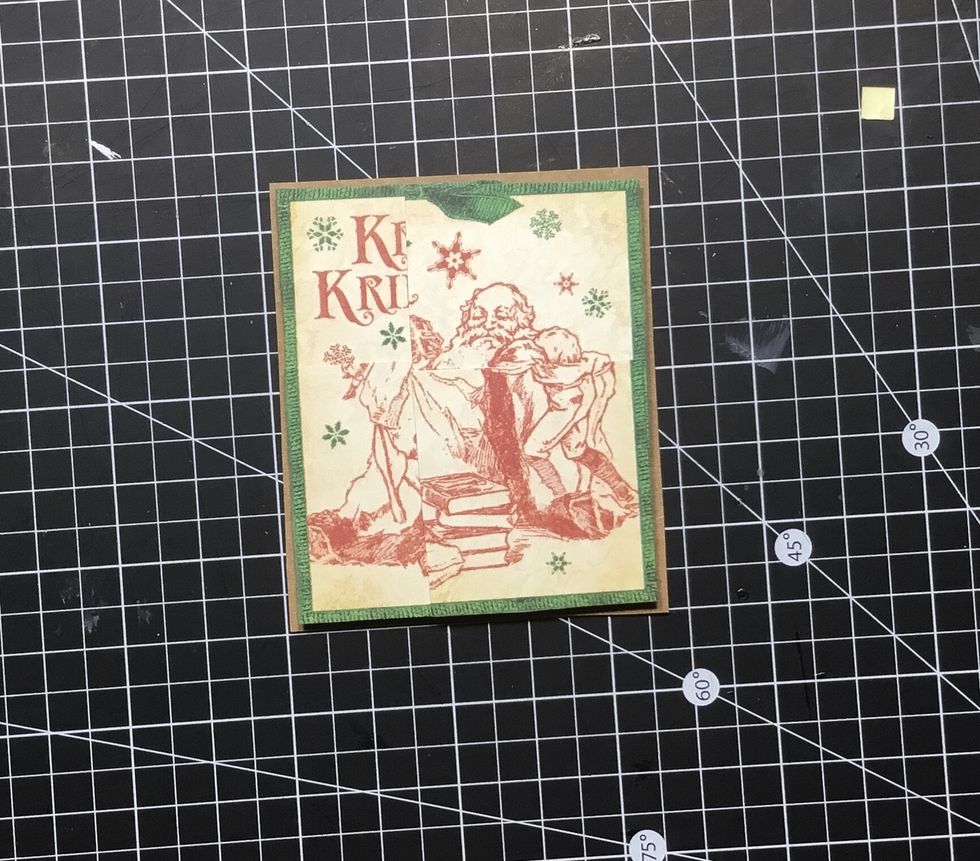
Attach to card stock as shown.
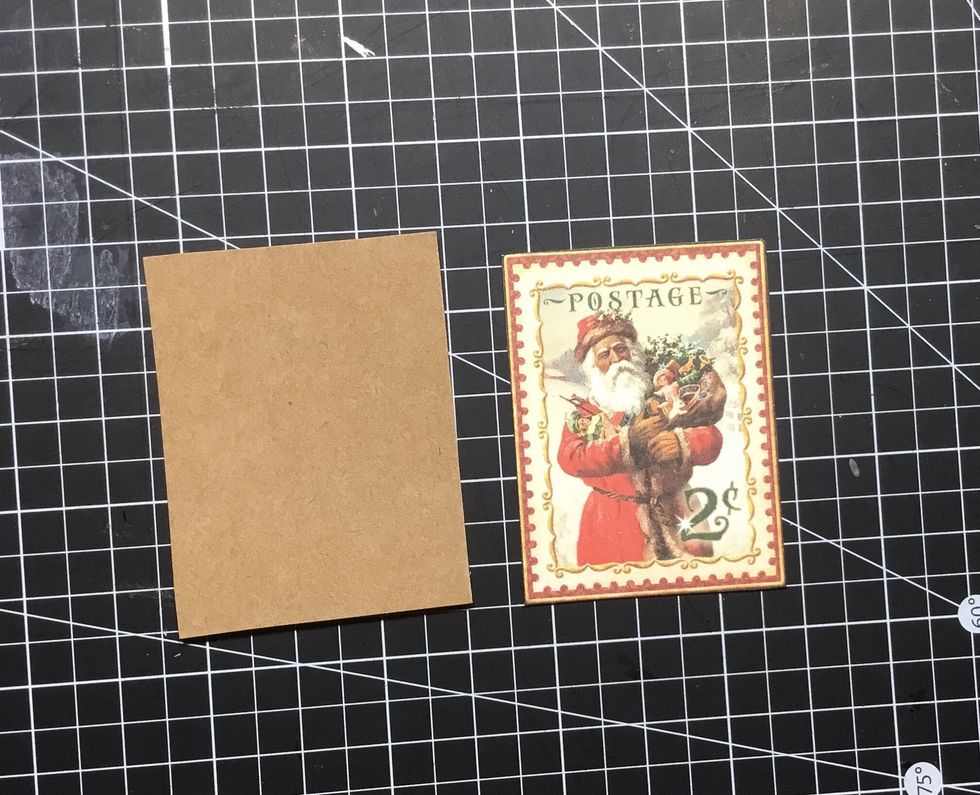
Now cut another piece of card stock a little bigger then the paper stamp.

Attach the paper stamp as shown.

Time to start layering the holly leaves as shown.
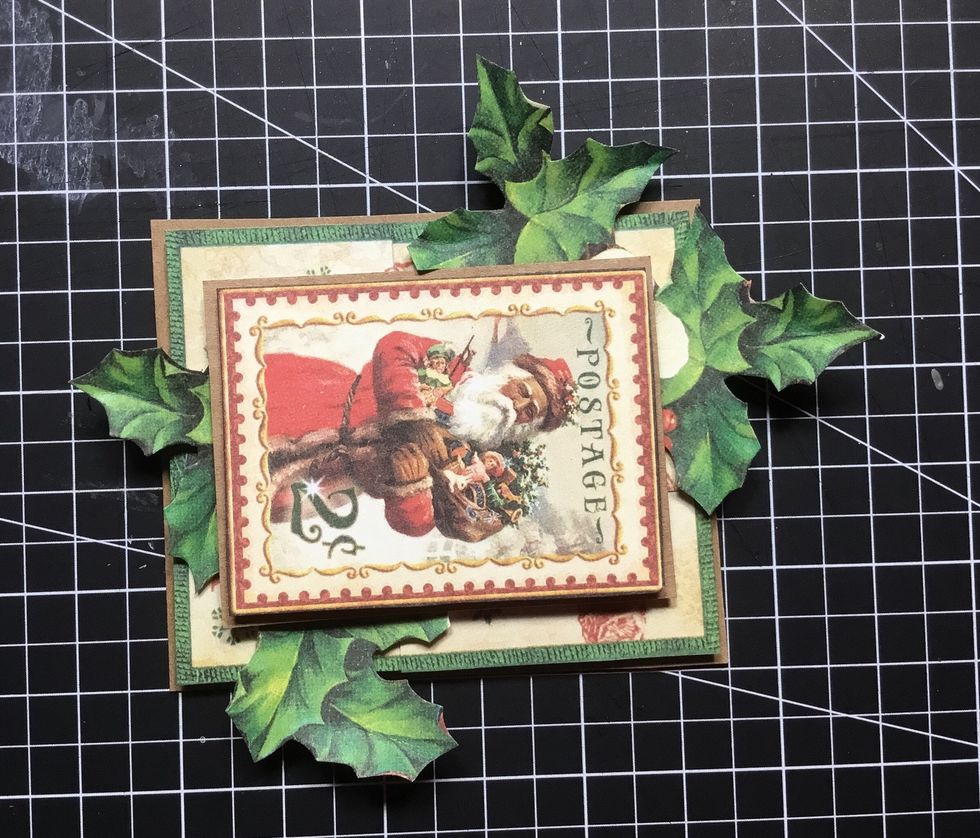
Attach the paper stamp piece as shown.
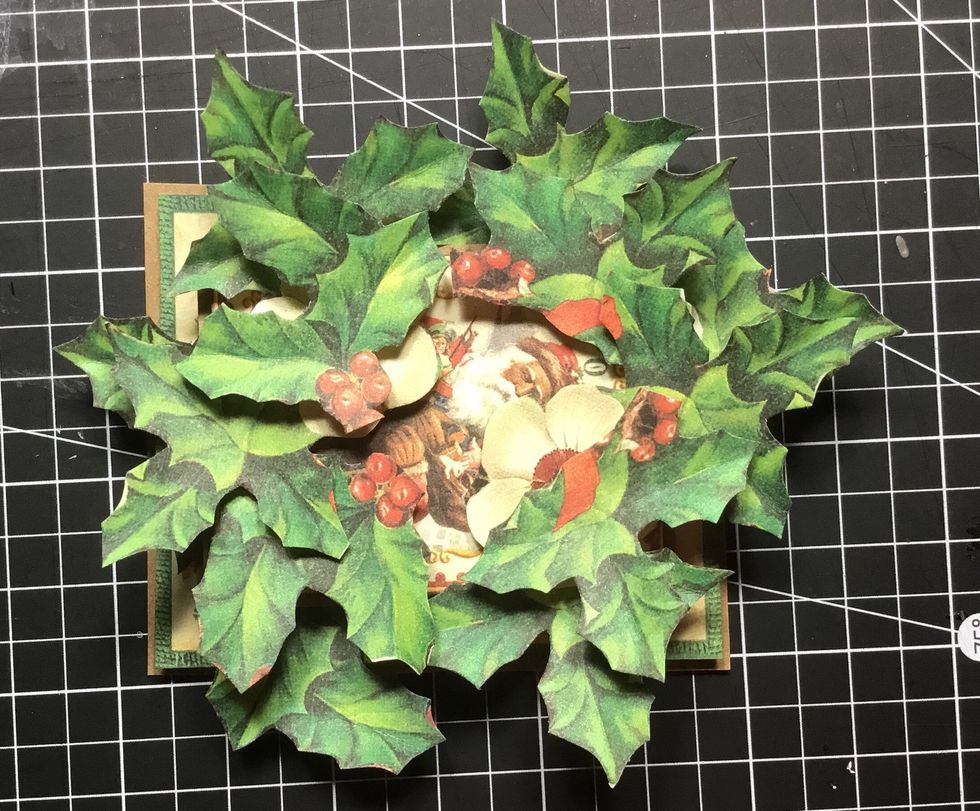
And now layer more holly leaves.
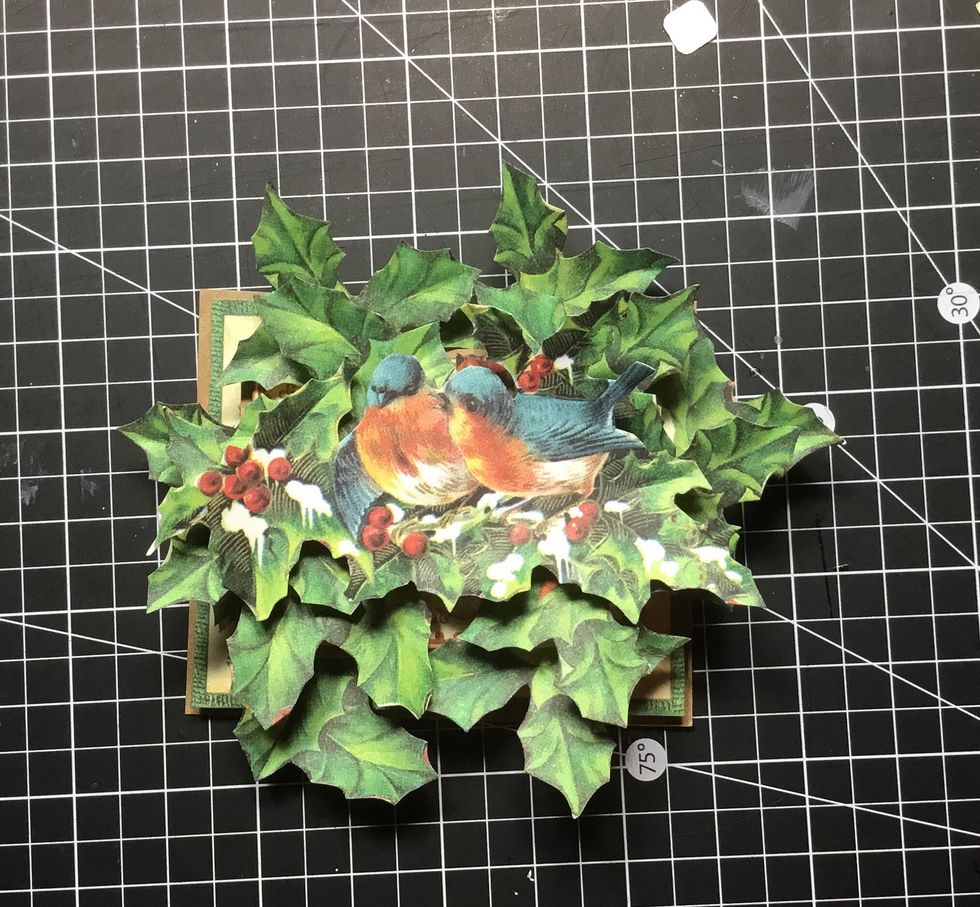
Now attach the fussy cut bird piece.
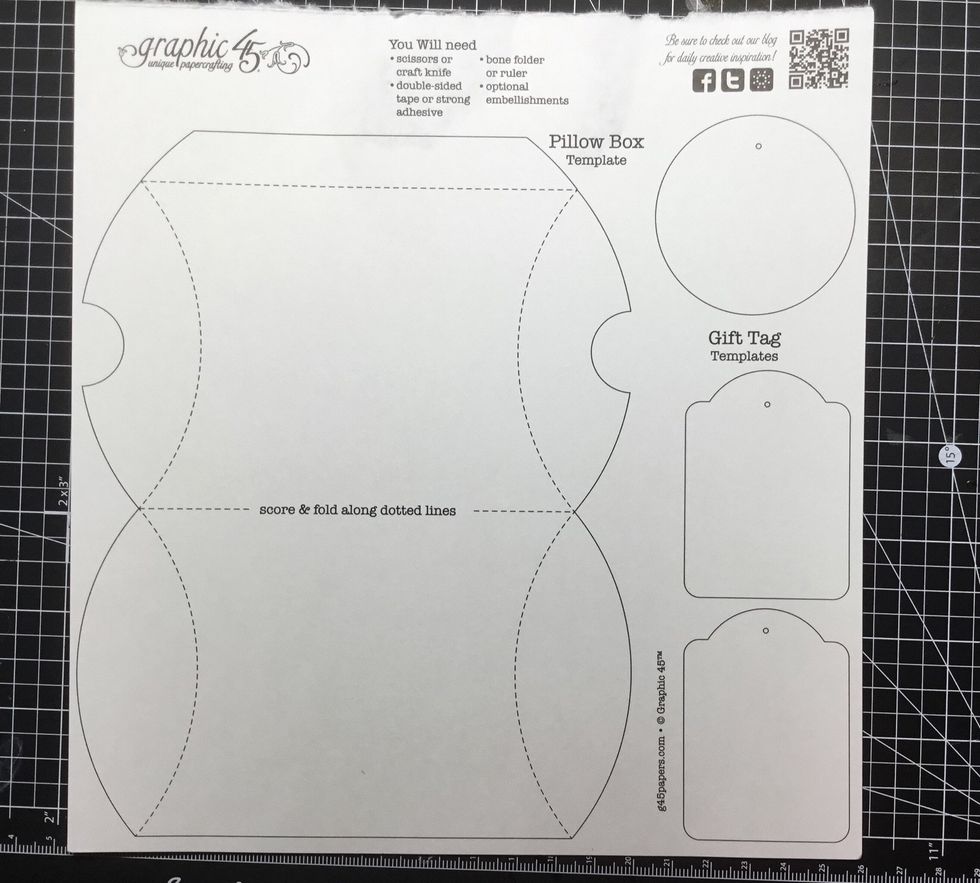
Find the pillow box pattern on the back page of most Graphic 45 8x8 paper pads.
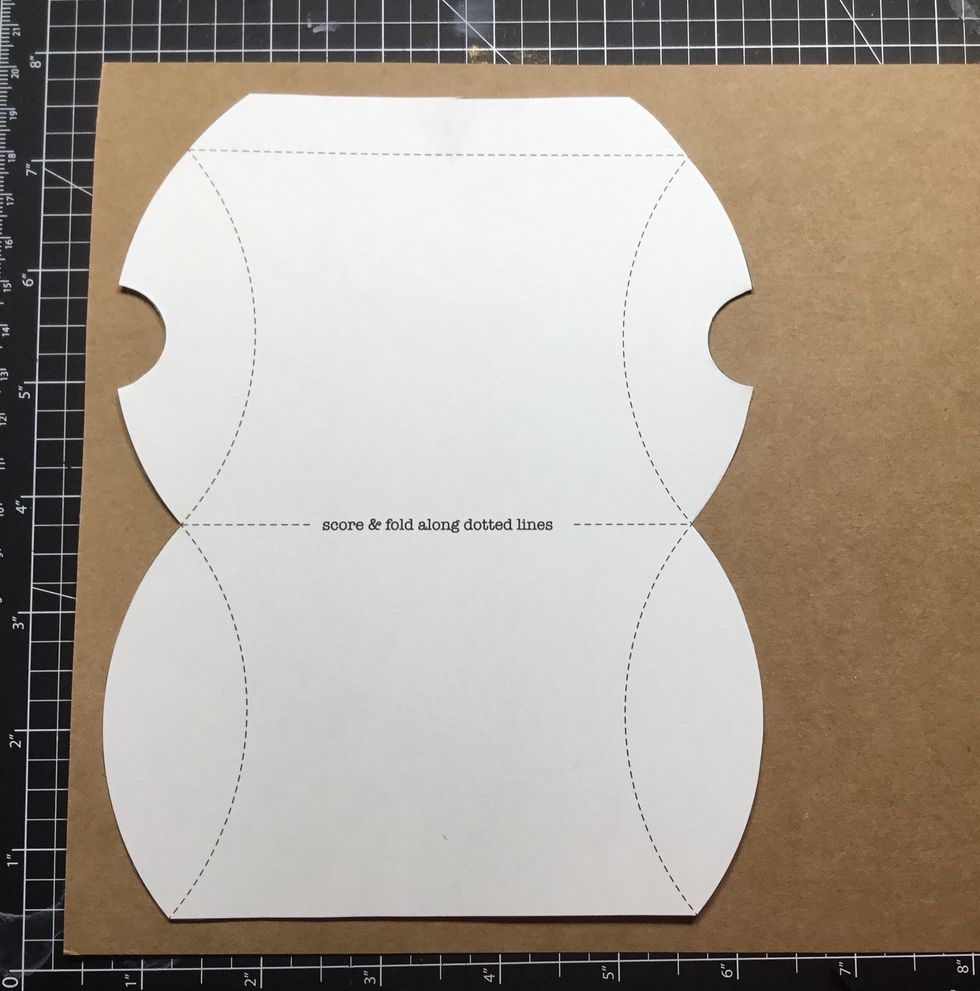
Cover pattern with the paper of your choice. I chose to use a thin kraft cardstock. Cut out and set aside to let glue properly dry.
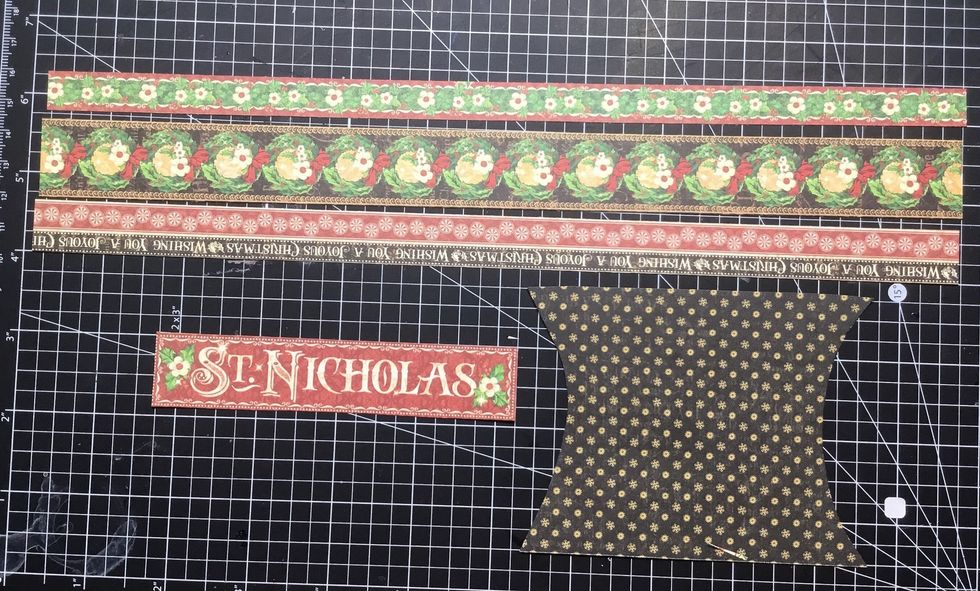
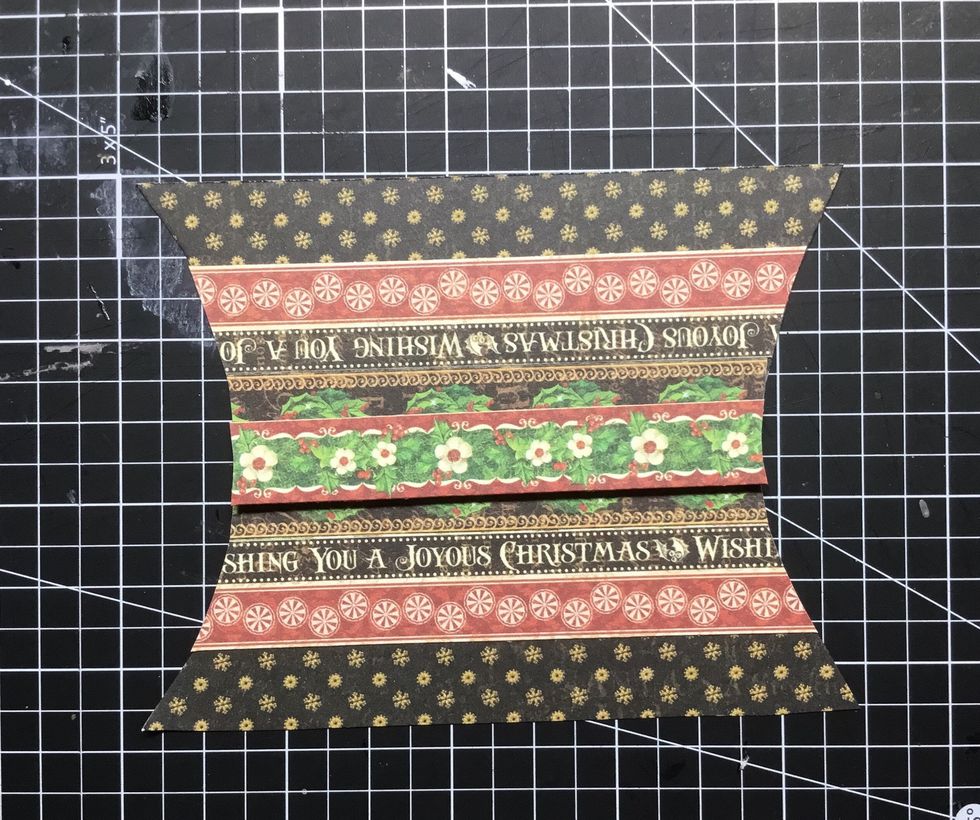
Locate these paper strips from the papers. Use the pillow box pattern to cut a piece of paper that will fit onto the front of the box.
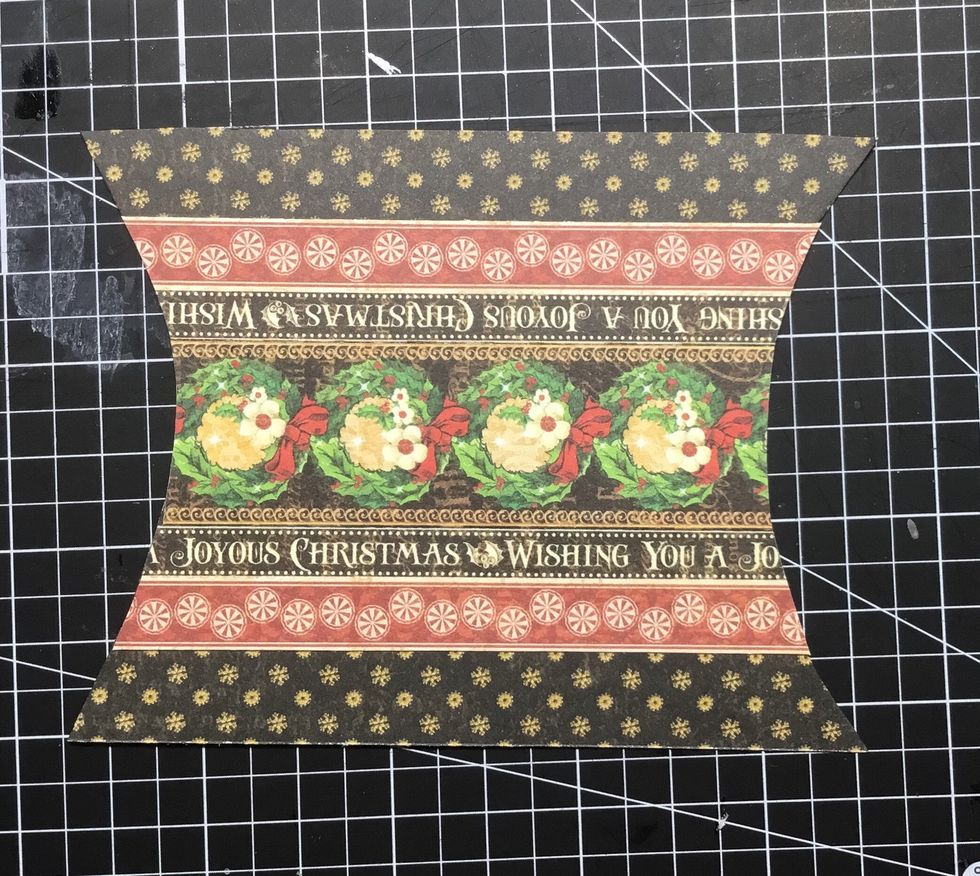
Attach paper strips as shown and trim edges to keep the shape.
Attach another paper strip as shown. I have attached with 3D dots.
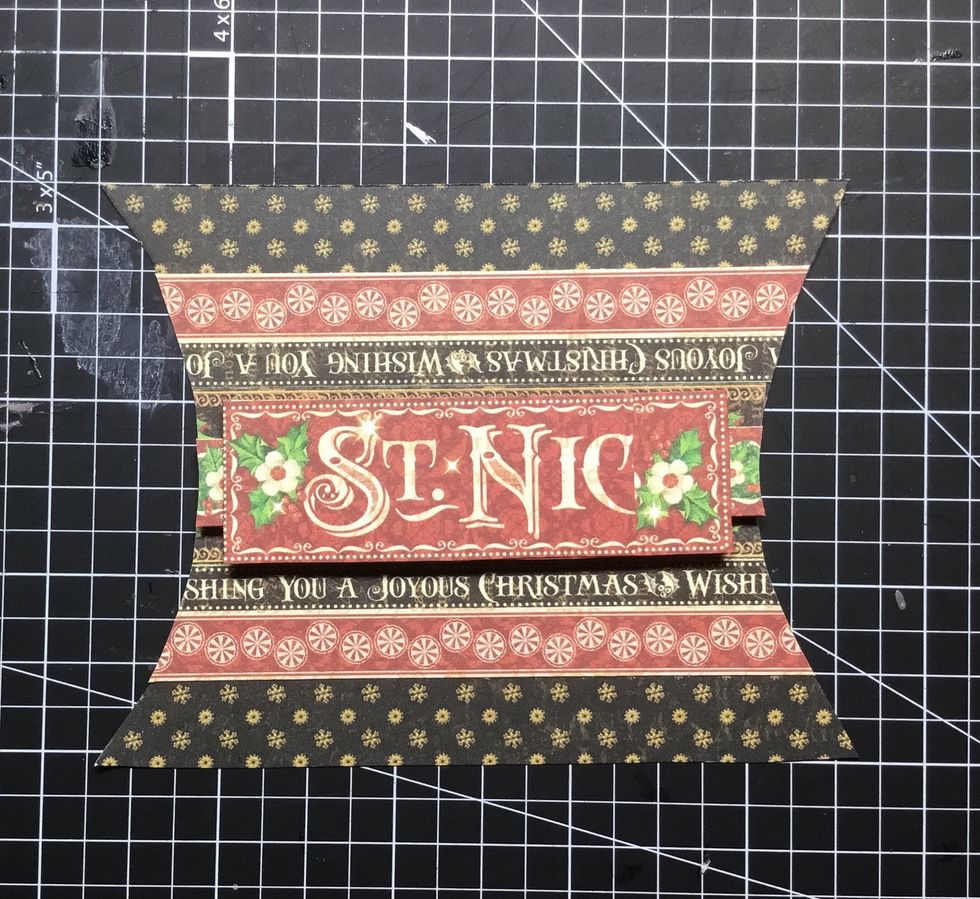
Cut the St Nicholas paper piece in half and then layer and attach as shown.

Now attach to the front of the pillow box.
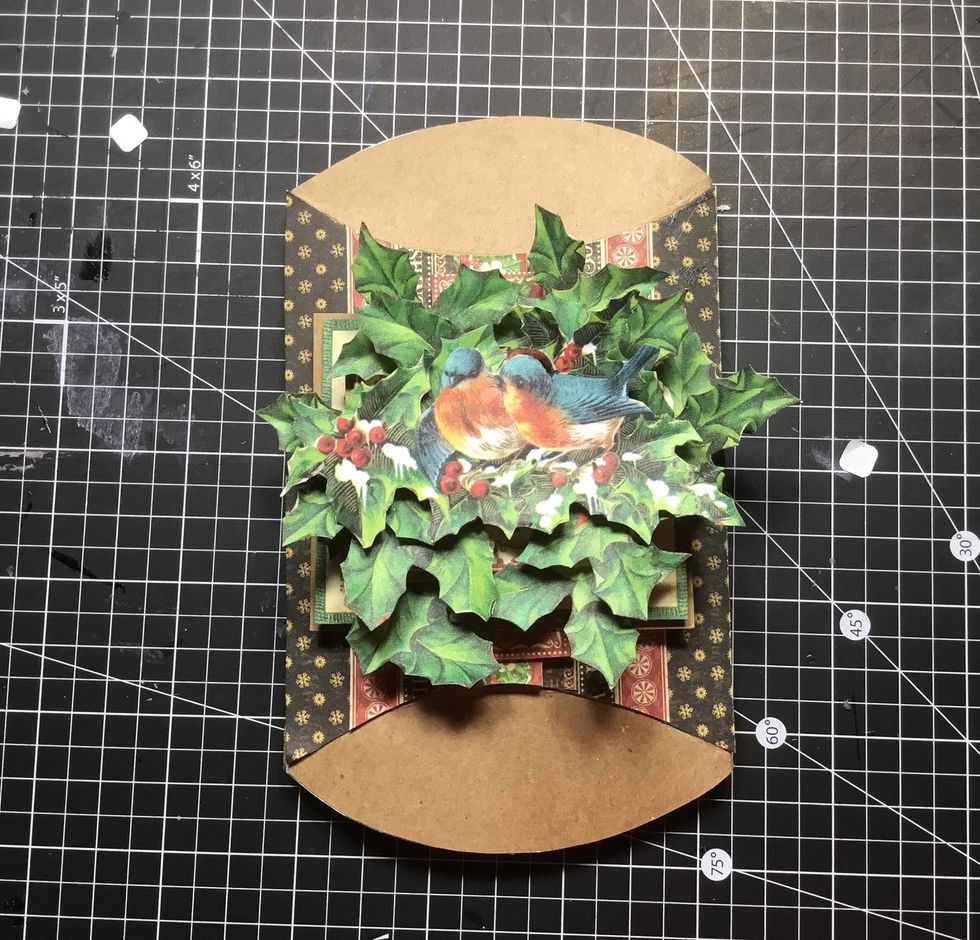
Attach your premade cluster as shown.
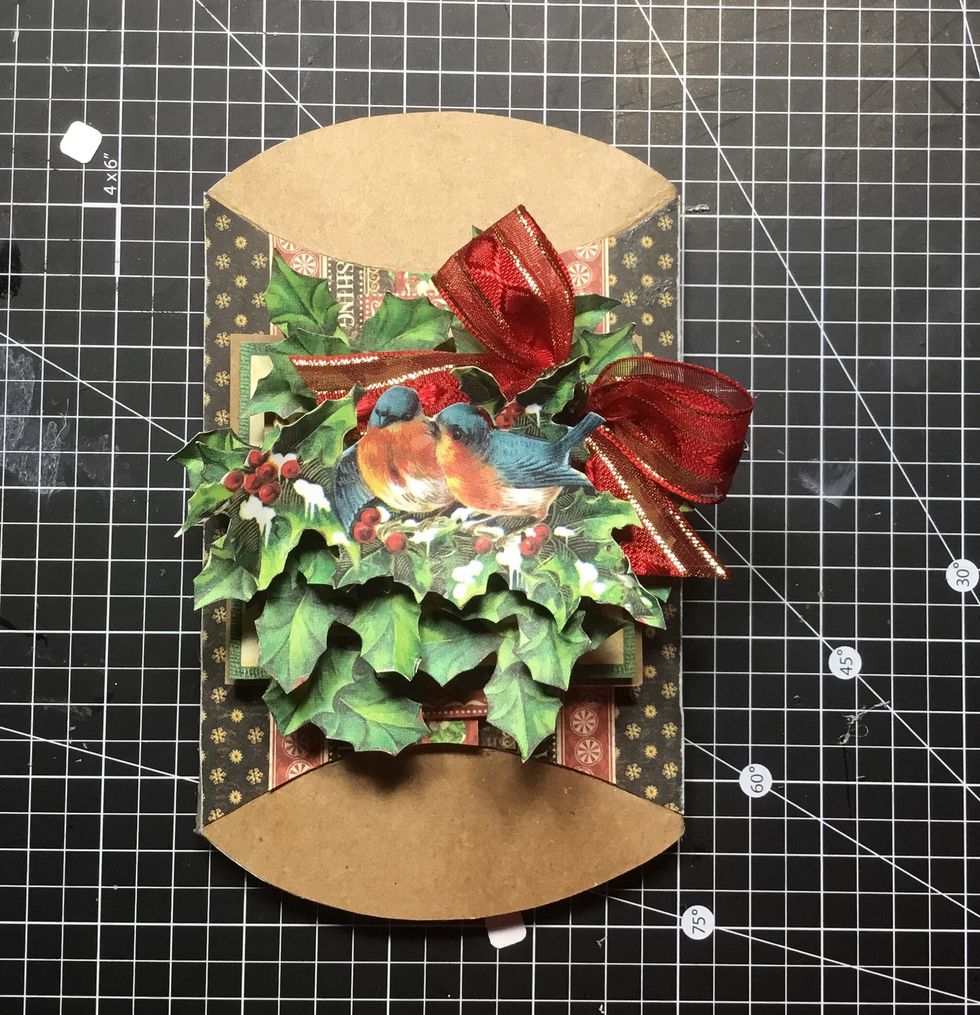
Add a contrasting ribbon bow.
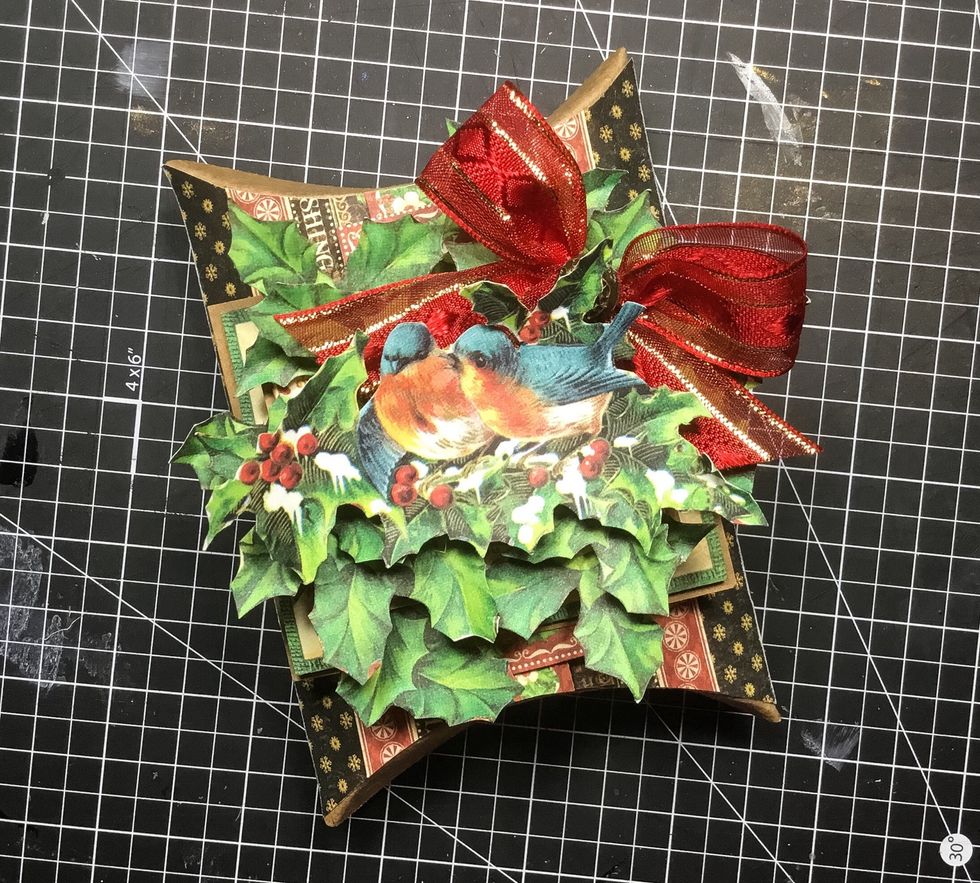
Your pillow box is now finished.
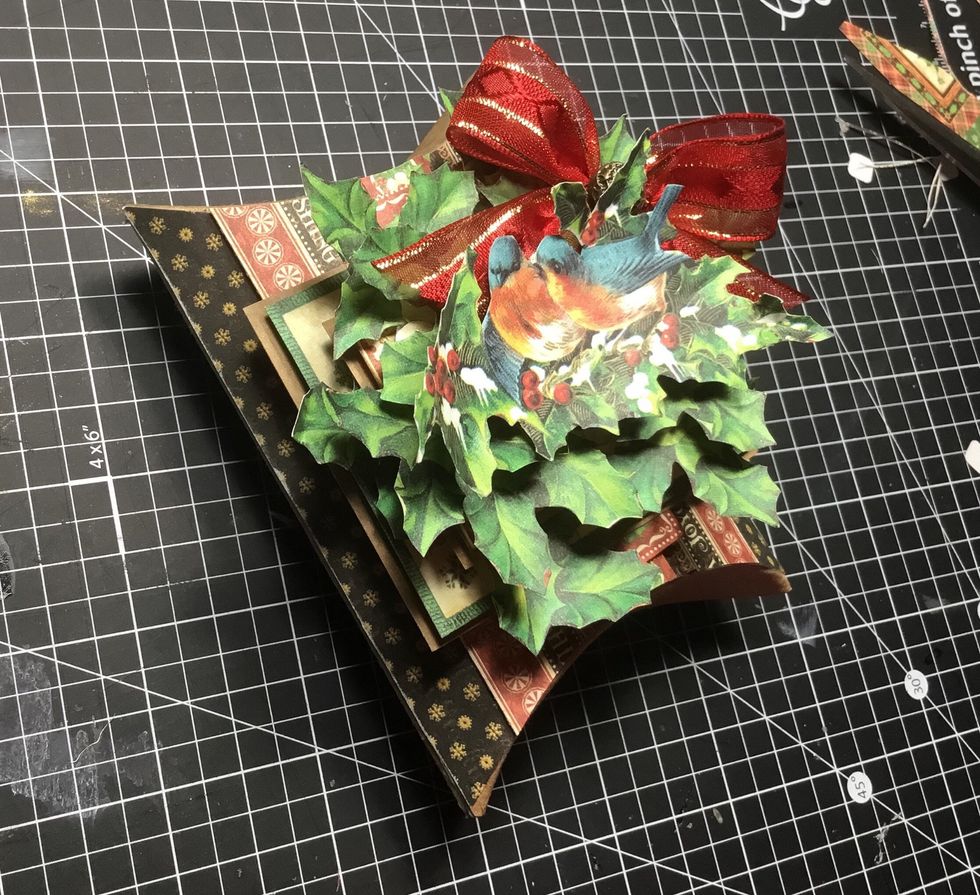
Lots of lovely layers 😃

Thank you for viewing my tutorial. Joanne Bain - scrappinforme.blogspot.com.au/